
Originally posted by grumps
View Post
-
Didn,t think the exhaust was coverd under warranty,only the cats.:smt017 -
What's the diameter of the pipe work? 55mm?
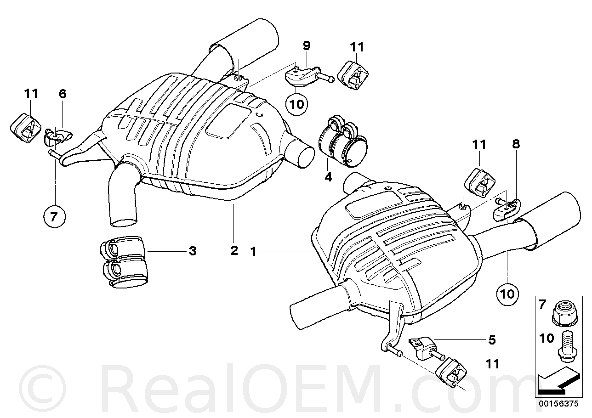
BMW has a clamping system (55mm, 50mm and 75mm) for situations like this - basically you just need to cut the flared ends off and use the joinder.
55mm - Part No. 18307560778 or 18307525639 (part 3 below)
75mm - part no. 18307560781
50mm versions - part no. 18101439722 or 18307560777
Not sure if it comes in anything larger than 55mm - I am sure it does, but it'd probably work for something like this.
Or you could find a section on the pipe work to hack apart, fit new flange and use the joinder part above to rejoin the pipe work rather than resorting to welding.
Comment
-
Tom,
That's exactly along the lines i was thinking
Don't really want to go down the route of welding etc if i can avoid it.
Very very handy to know that BMW have a part that might actually do the job.
Will measure up the pipe tonight as i was looking at making up my own clamp but this could save me a bit of time :thumbs: :thumbs: :thumbs:
If it fits i will buy you a Coffee next time i'm over :beer:
Comment
-
Paul
I measured it off a broken M3 CSL exhaust gasket that I had - it's 60mm +/- 1mm
Following are all 60mm clamping bushes from BMW directly - all slightly different pricing for some reason - I guess it could be a material thing?
Part numbers:
18201742445
18307560779
18201742445
18307560779
There's another one that's 62.3mm from a JCW mini which might also work if the 60mm don't fit: Part number for this one is:
18107573865
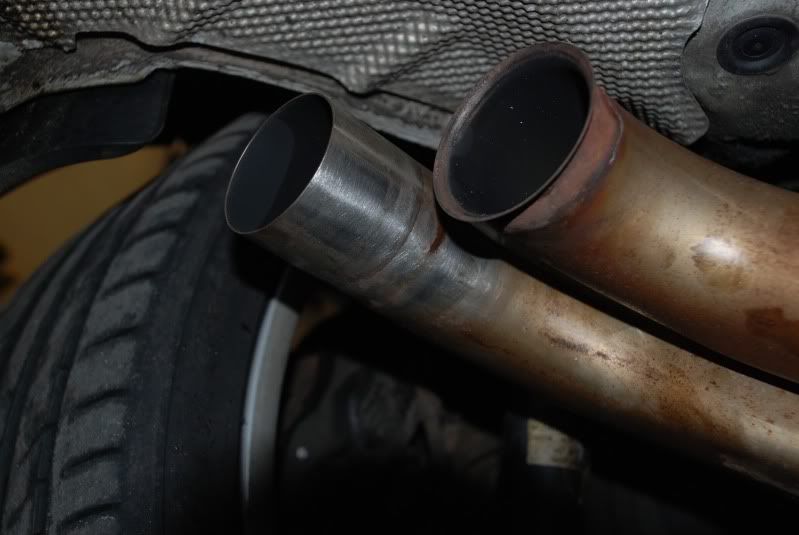
Let us know if you go down this route to repair and if it works out (perhaps even a photo for future reference - seeing how weak the caste iron flanges are!!)
Good luck :thumbs:
p.s. The clamping bushes from BMW are really well made - I've used one before on a Mini with a JCW exhaust system - hacked the old muffler off, used the clamp, tighten both hex nut on either side (don't even need to resort to hi temp exhaust gaskets) - no leaks whatsoever and it held the pipe work straight as an arrow!!Comment
-
I am popping down to Munich Legends tomorrow to get the flange cut and rewelded complete with a new flange as one of my flanges has cracked. I tried at the dealership for a new back box under warranty due to cracked flange but they turned me down despite saying that a lot of other owners had had it covered under warranty.
Robbing gypsies :banghead:
PipComment
-
Originally posted by Pip1968 View Post
If you are doing that might pay to get some rust proffing on the new flange or paint it with high temp VHT exhaust paint - otherwise it'll just corrode and break again.
My opinion is using the clamp bushing might be an easier method and longer lasting.Comment
-
While we're talking about Exhausts and warranty. Mine was in for a rattle last year and even though I've got a Milltek Backbox, they replaced the exhaust bracket on the centre section under warranty... which was nice.Comment
-
Local dealer has one of the exhaust clamp bushings in stock so have reserved it.
Shall do a photographic rebuild of the set up for future use to everyone
Thanks for the part no's Tom :thumbs:Comment
-
pip if you have a uac warranty they have no option to replace it under the terms of the aggrement!Comment
-
Just had a look at mine, looks like I'm in the same boat with no flanges left! :banghead: Not sure how to play it.Comment
-
Cheers Paul... how is the flange meant to stay on the longer piece of pipe if there's no flared end to it? :whistle:Originally posted by rstoughy View Post
Or is it normally fixed?Comment
-
Works by compression on the Gasket Ring much the same as a copper pipe and olive set up
Will take loads of pics tomorrow when i am doing it and post them up.Comment
-
-
Ok here goes...i will try to explain as best i can what i have done.
Had a trip into the local dealers this morning to collect my order.
Placed this during the week and basically ordered everything i thought id need to do the job.
The bits, £54 all in
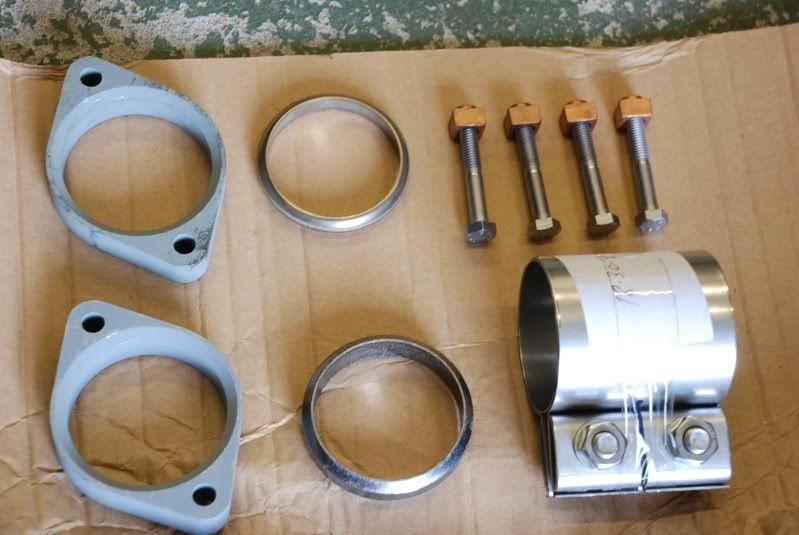
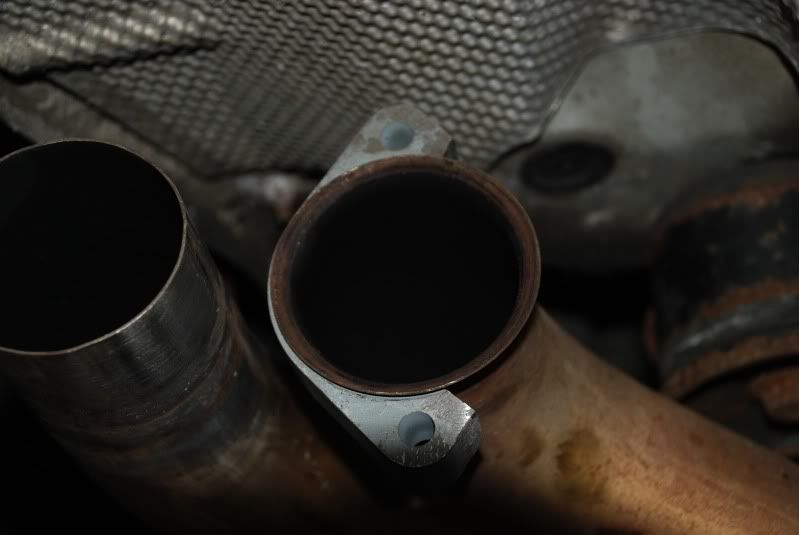
After looking to see where i was going to cut the centre part of the system to allow the flange to go on i discovered there is only one part of it that is round and that is up near the flared end so decided it wasnt an option and id need to go with plan B.
Double checked the OD of the pipe v's the ID of the flange and thought it was a bit tight.

Fired up the pencil Grinder and removed some material from the flange to give it a bit of movement.
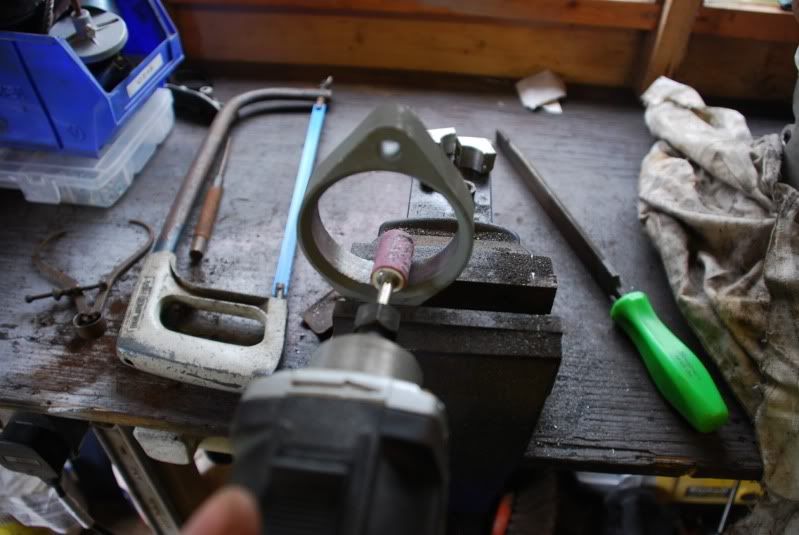
Then cut the side section out of the Flange. Decided on this rather than chopping the exhaust as it's much thicker material for welding + only £6 if i destroy it.
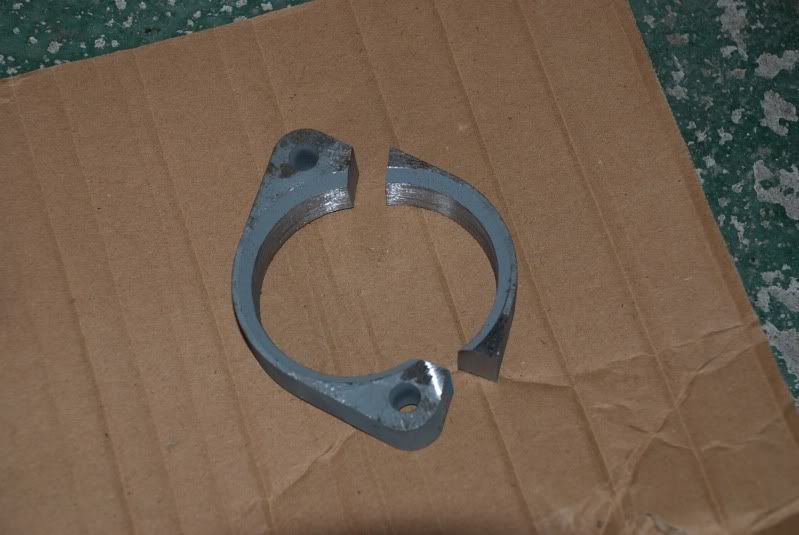

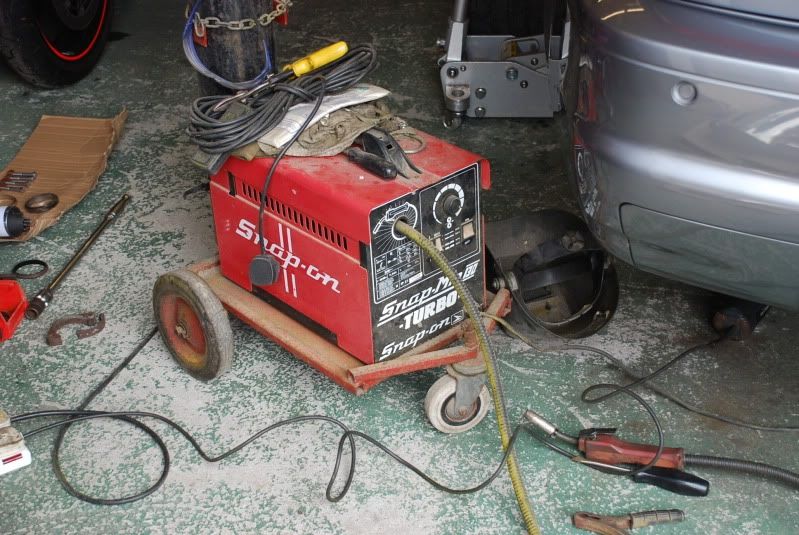
Time to break out the old Welder.
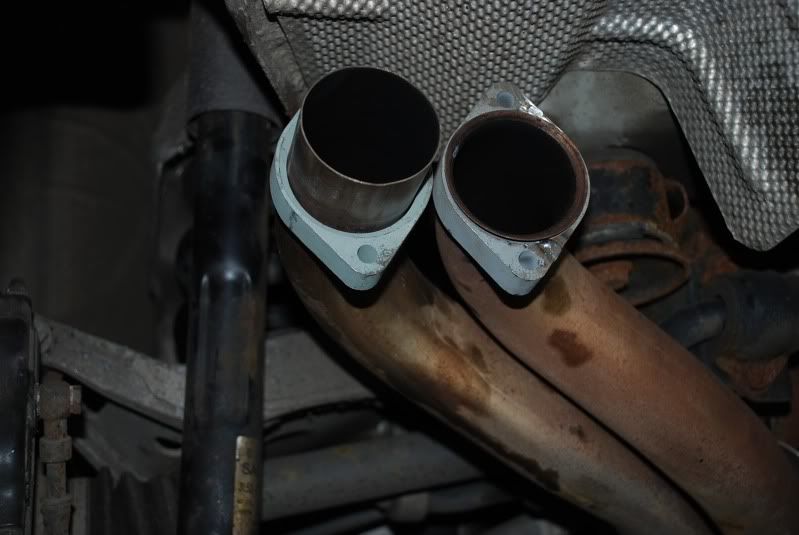
All done ready for painting.

At this stage i bolted up the 3 rear Exhaust hangers to the car with the bolts that attach them to the silencer in place but pushed back through the hangers so as not to catch the silencer on its way up into position.
This also allows you more movement with the silencer to get it onto the longer pipe of the centre section.
I also slid the seal ring onto the longer pipe.
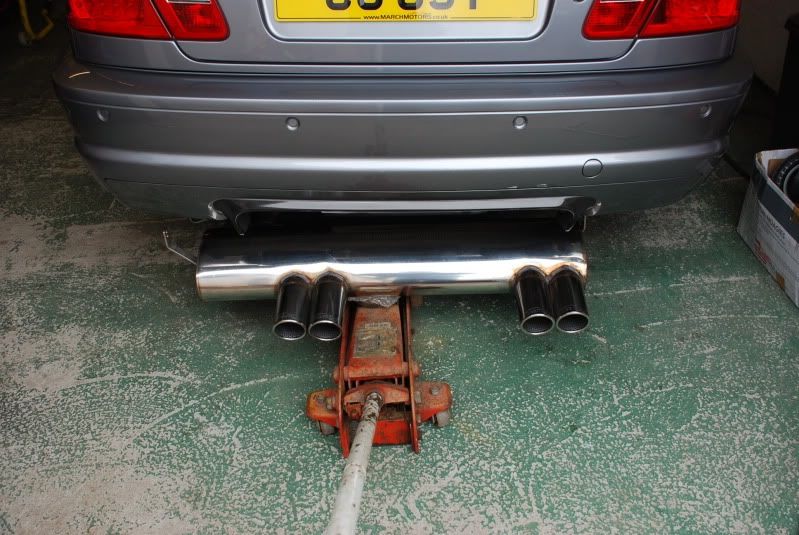
Once all the Hanger bolts were made up hand tight it was a case of tighten up the flanges.
I pulled the system apart slightly and popped in the other Seal ring then made up the flange / bolts.
I did the Inside pipe 1st as this is fixed in position so once tight it means that the outer pipe is in the correct position and can also be nipped up.
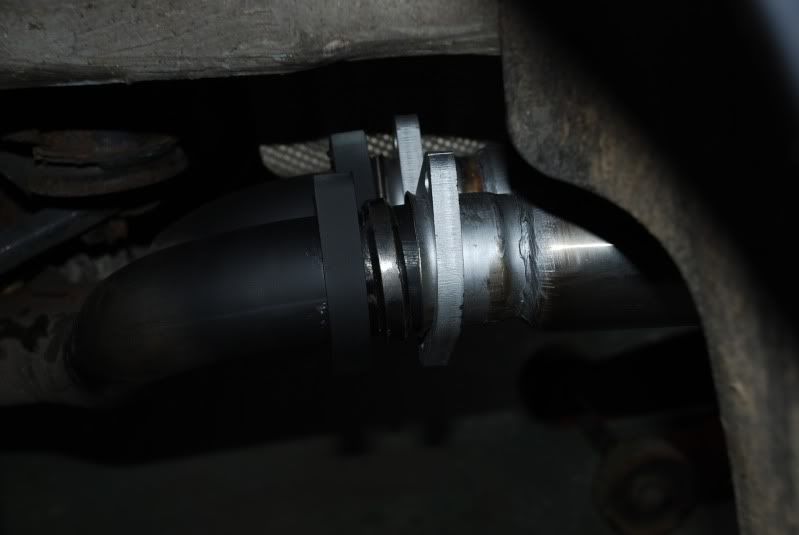
Again once all made up i painted the whole lot with a Hi Temp anti corrosion coating we use on stuff for offshore.
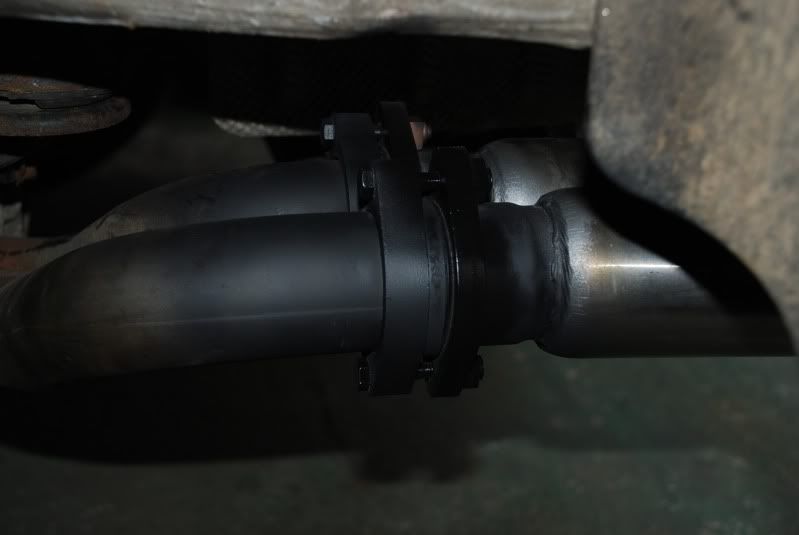


That was it really,
Fired up the car and checked for leaks, lowered it down, fitted my new Tax and went out for a road test.

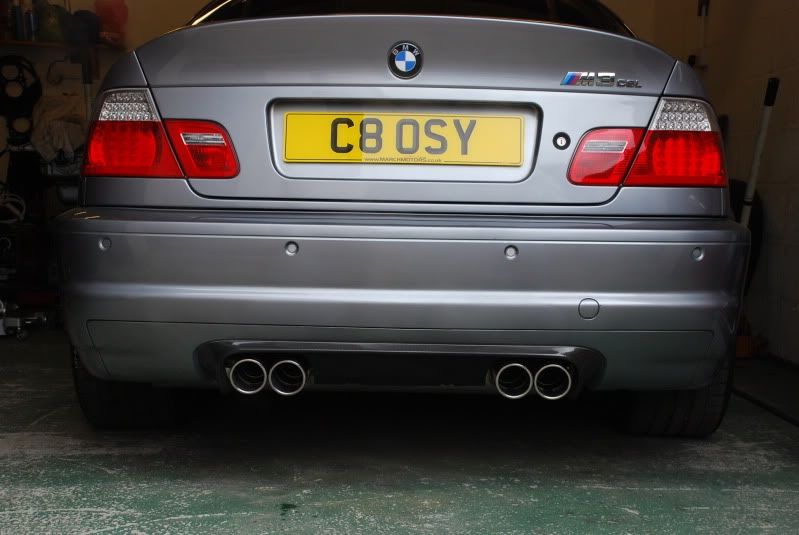
God it's good to have the thing back on the road :smt055
I hope this will be usefull to anyone who has the same sort of issue in the future.
Took me about 2-1/2 hrs from start to finish so worth it IMO.
Thanks to everyone who gave me information on this over the last week.
Cheers,Comment
-
Great job Paul :thumbs: Thanks for the pictures.
What a shame that the joinder clamp method wouldn't work - would have otherwise been an easy non welding repair (I suppose if you resort to hacking off both flared flanges then it "might" work?)
Interesting that the new flanges are now coated with what seemed to be an anti-rust coating.Comment

Comment