

Had my CSL detailed by a mate of mine this weekend, who spent 2.5 days getting it looking great.
Thought you might be interested in what he did, and what he used, and obviously like to see some pics!
So, here it is...
This w'end i had Dan's M3 CSL booked in for a Stage 1 paint correction detail. He arrived promptly around 7 am on Friday morning. The below pictures were the car upon delivery
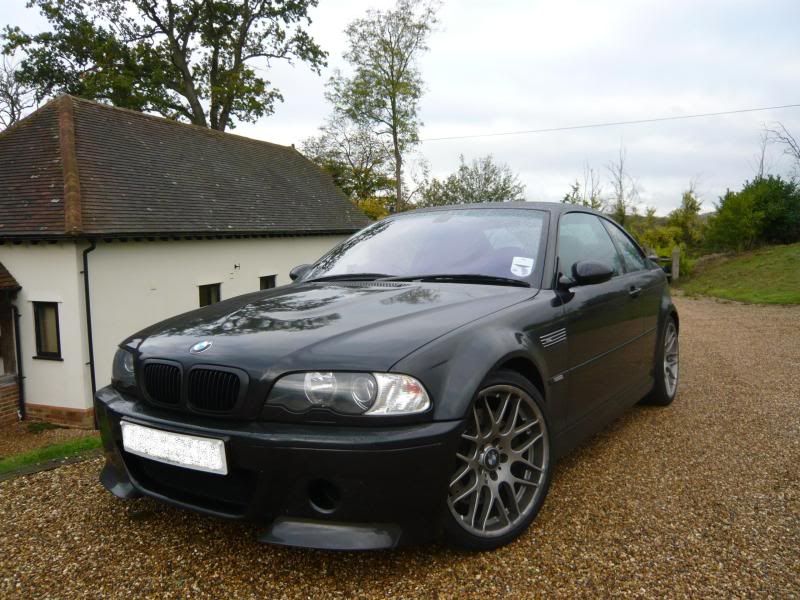
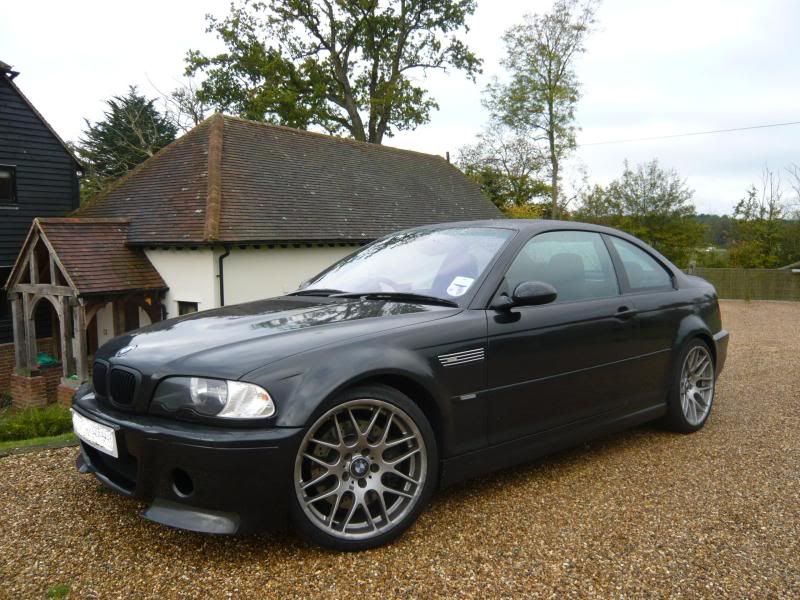
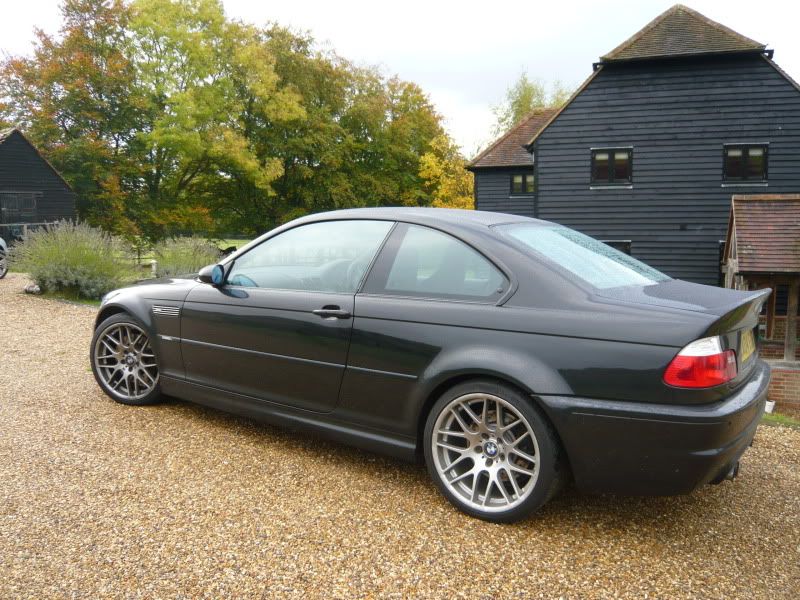
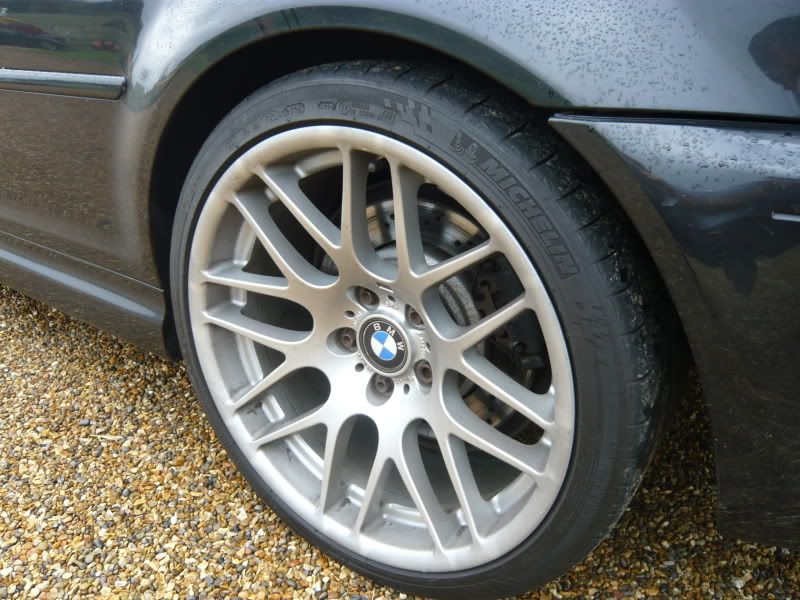
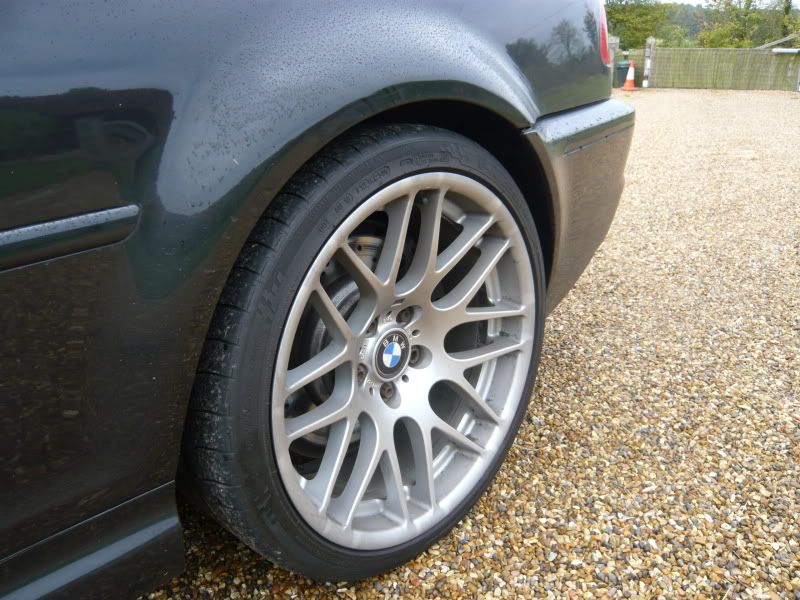
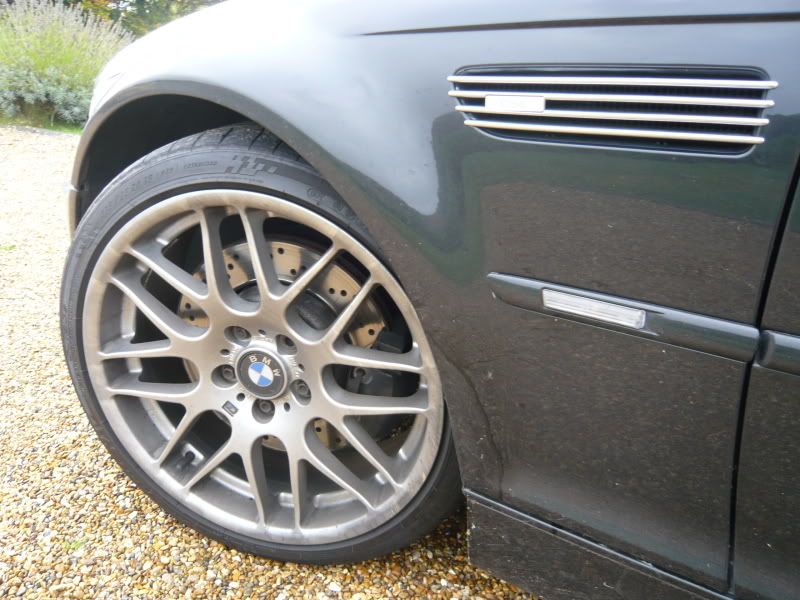
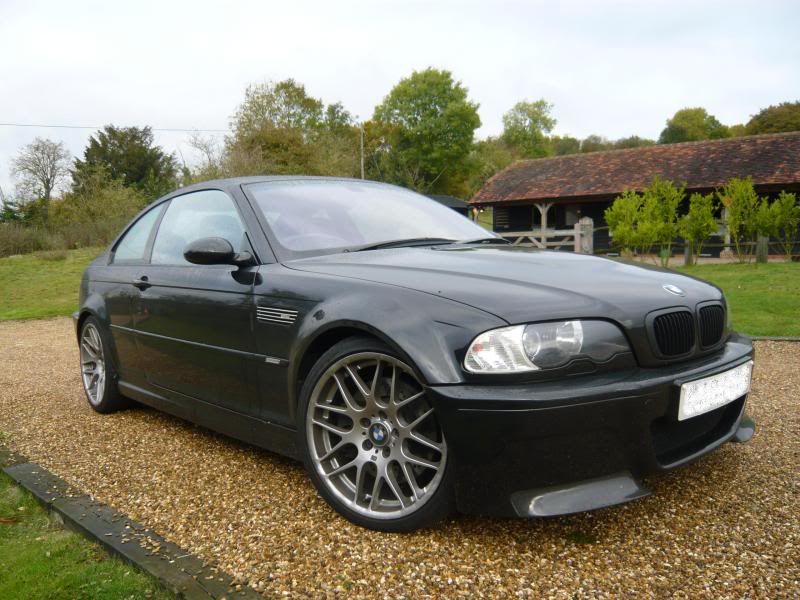
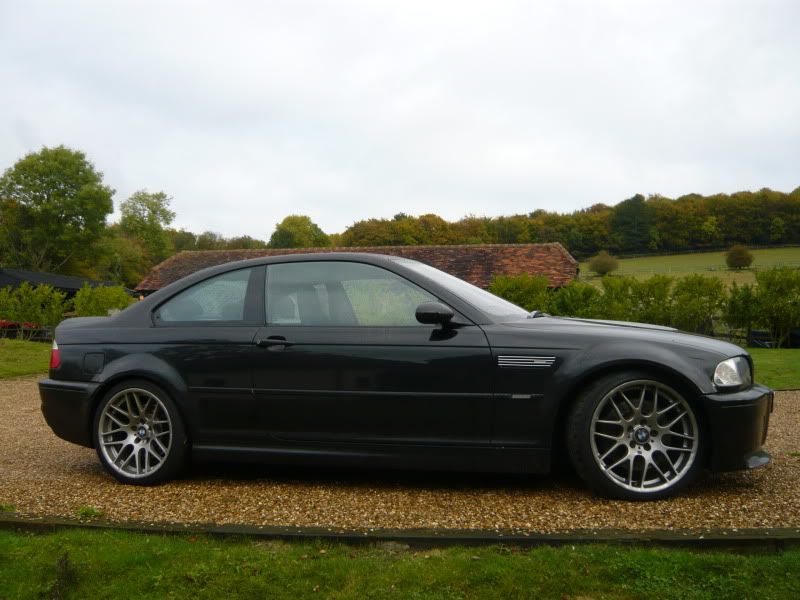
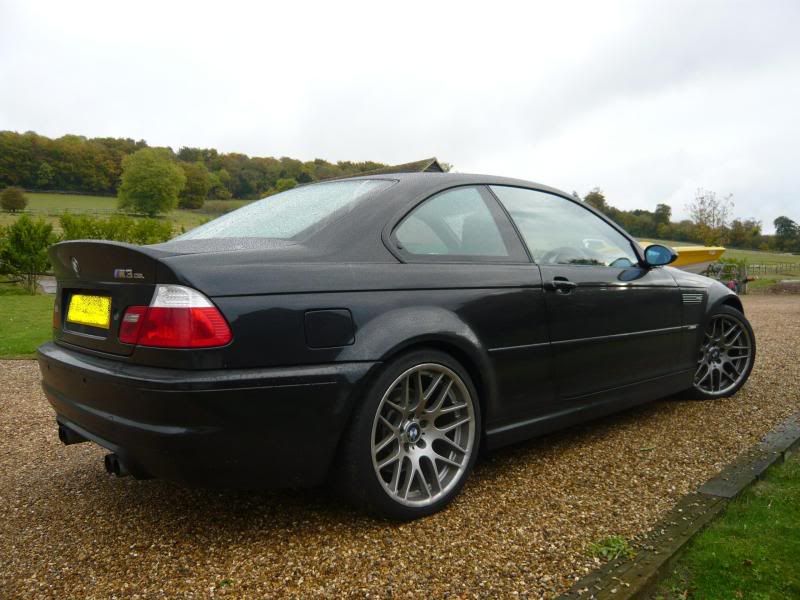
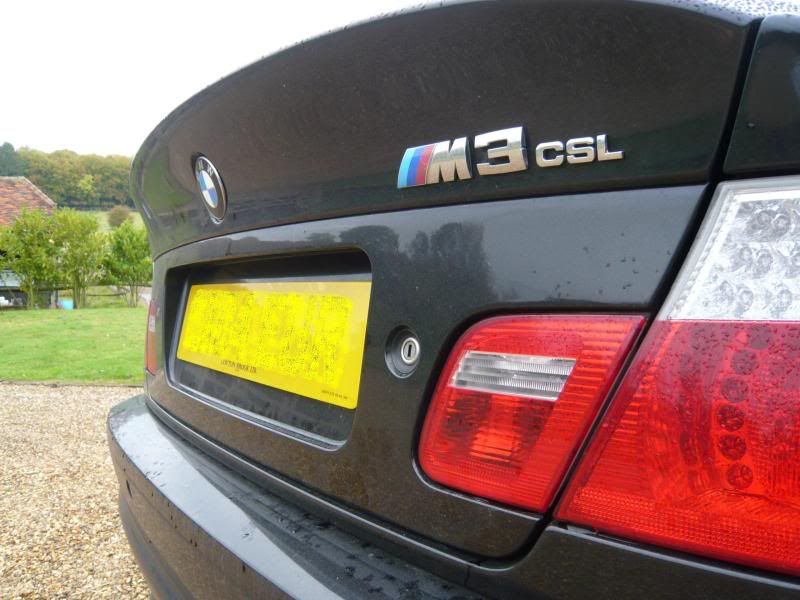
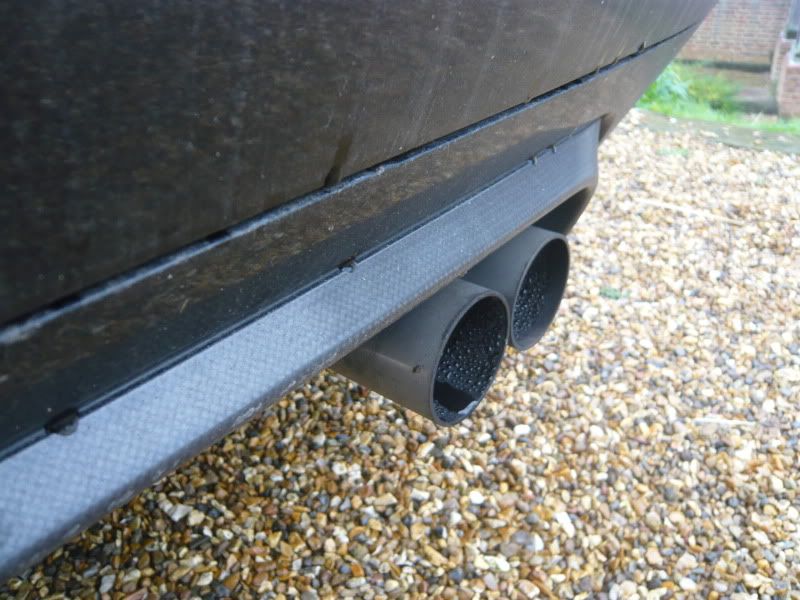
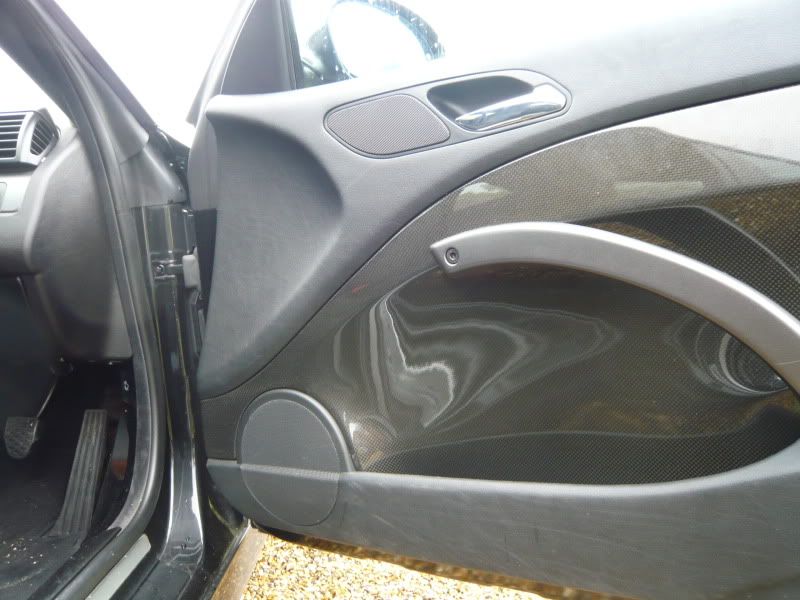
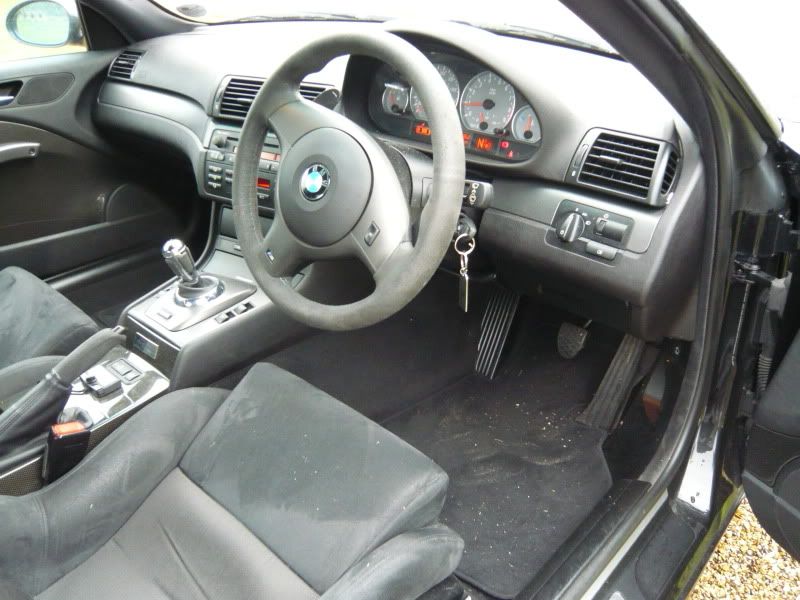
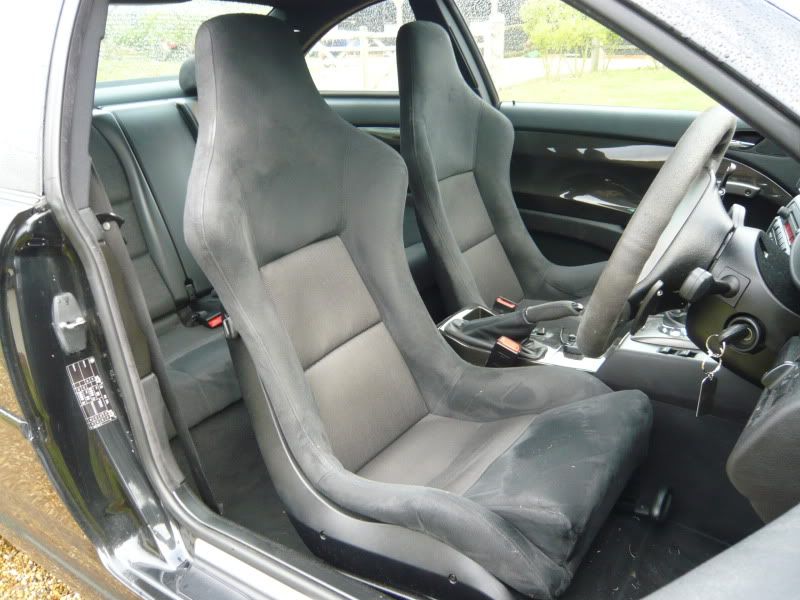
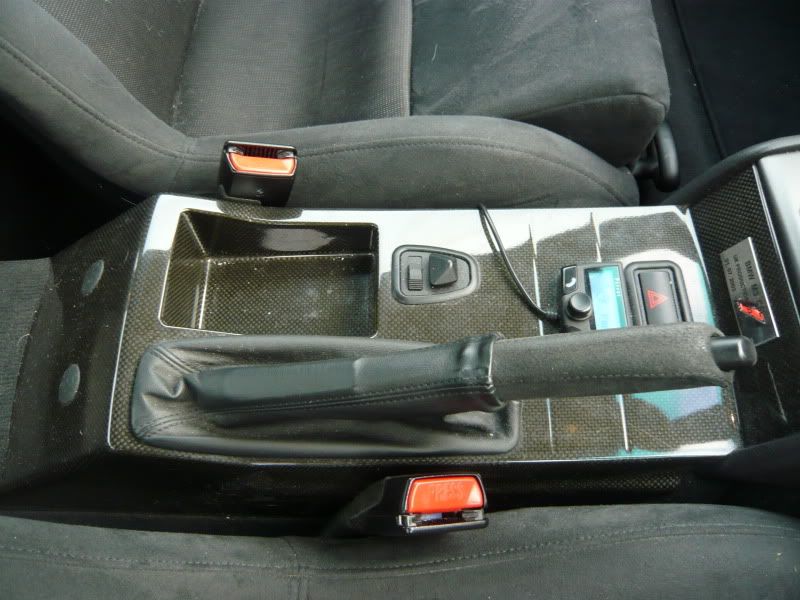
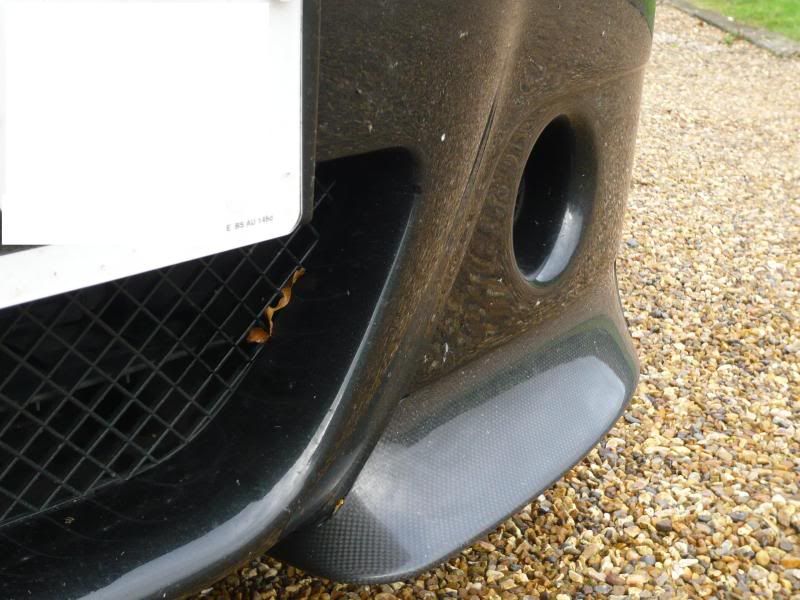
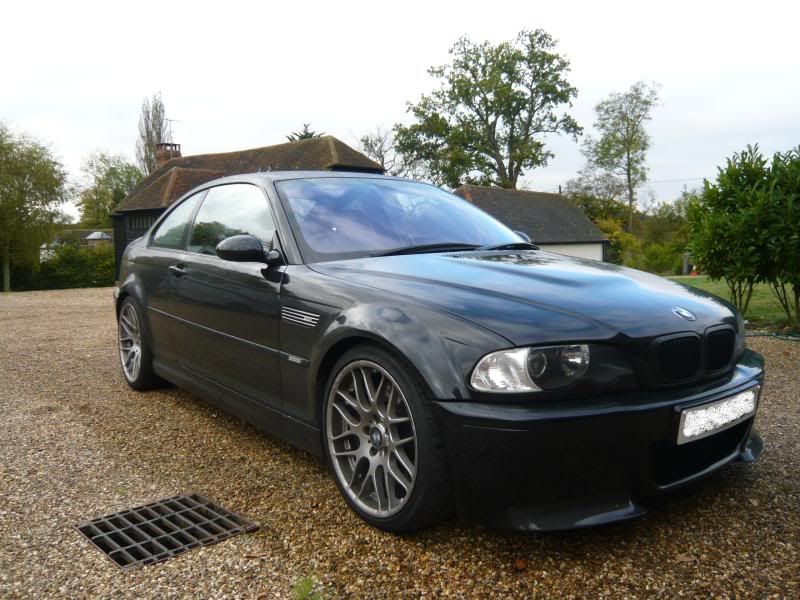
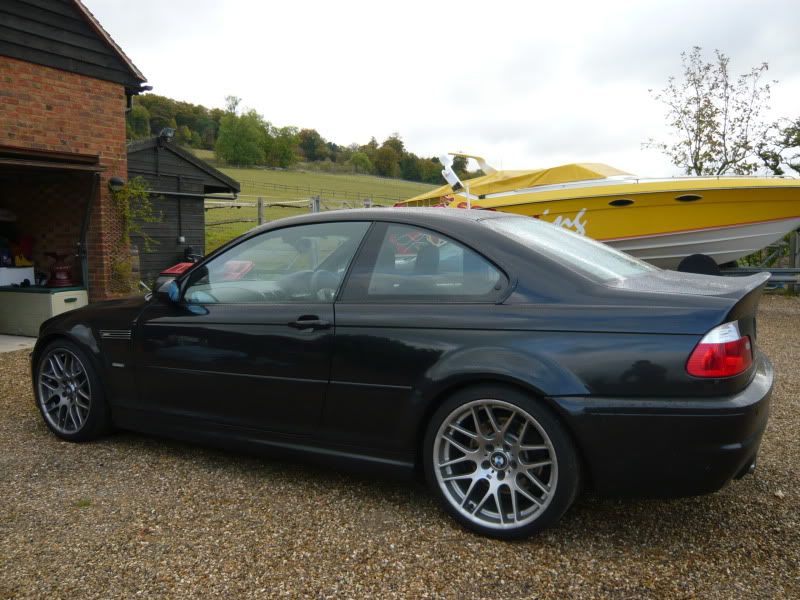
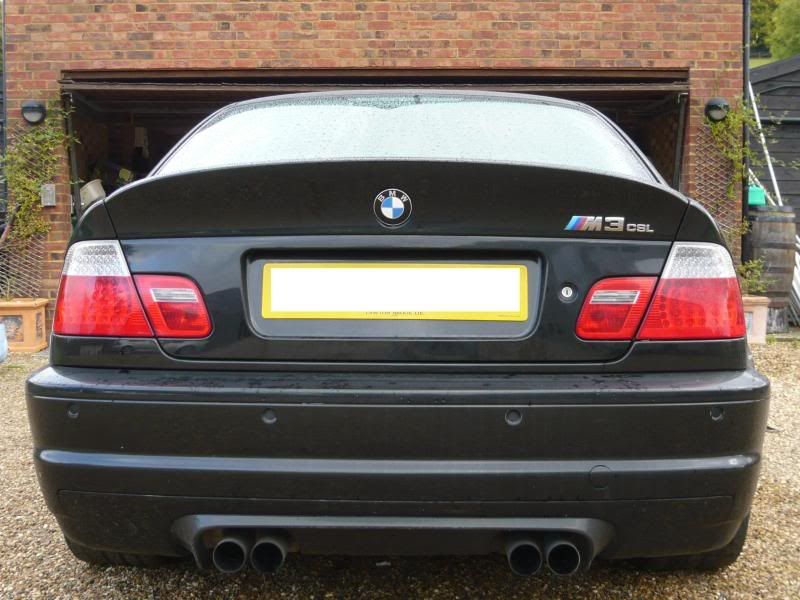
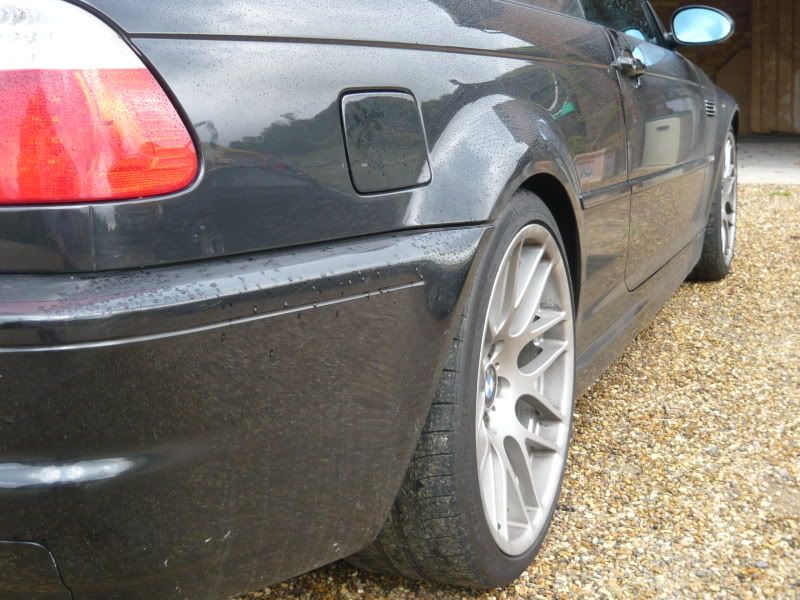
and the engine bay
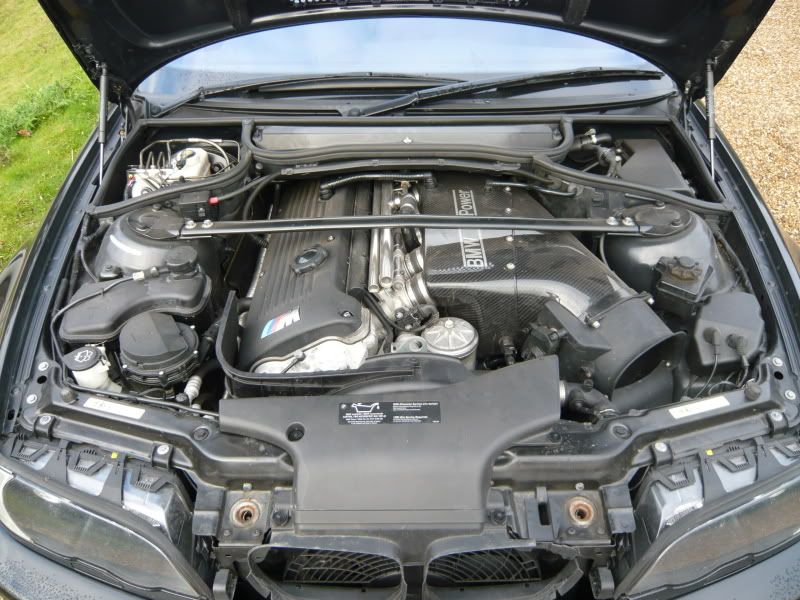
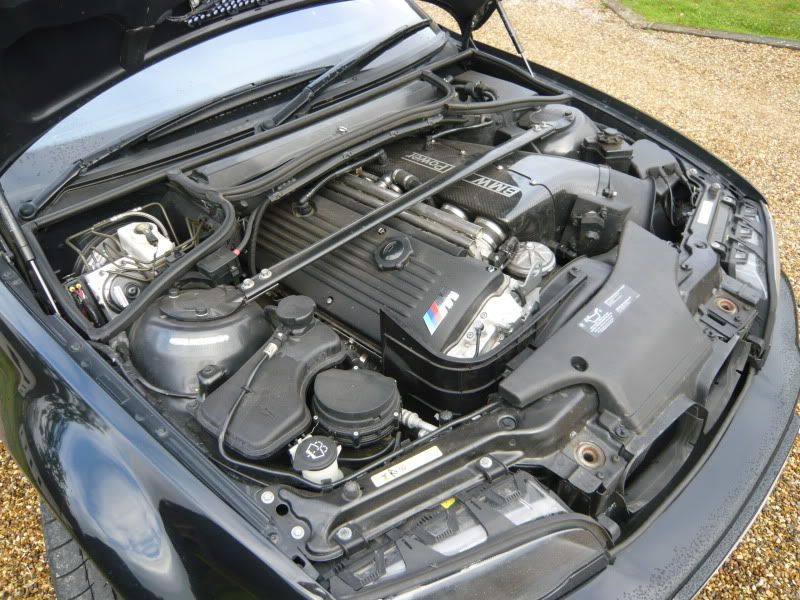
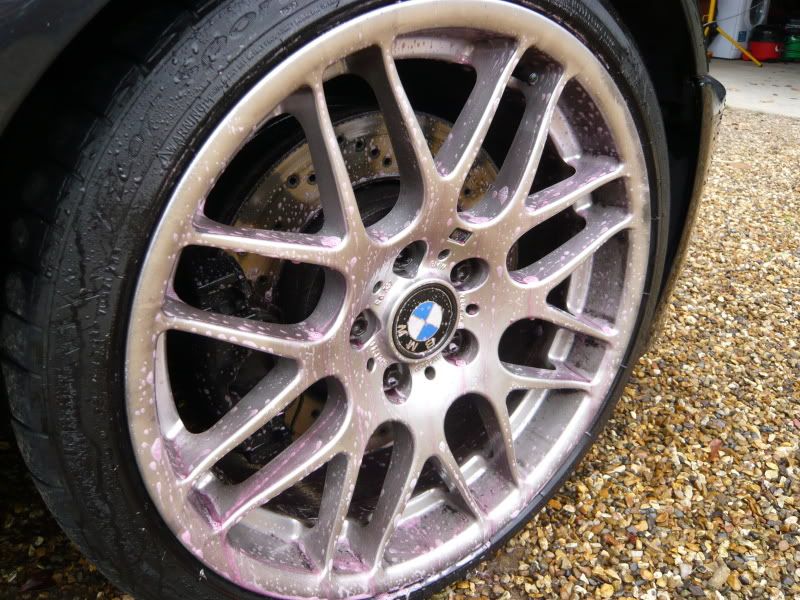
the car was jetwashed down and the wheels were sprayed and left to dwell in Bilberry wheel cleaner
the door shuts, fuel cap and arches were sprayed in Meguiars APC and left to dwell
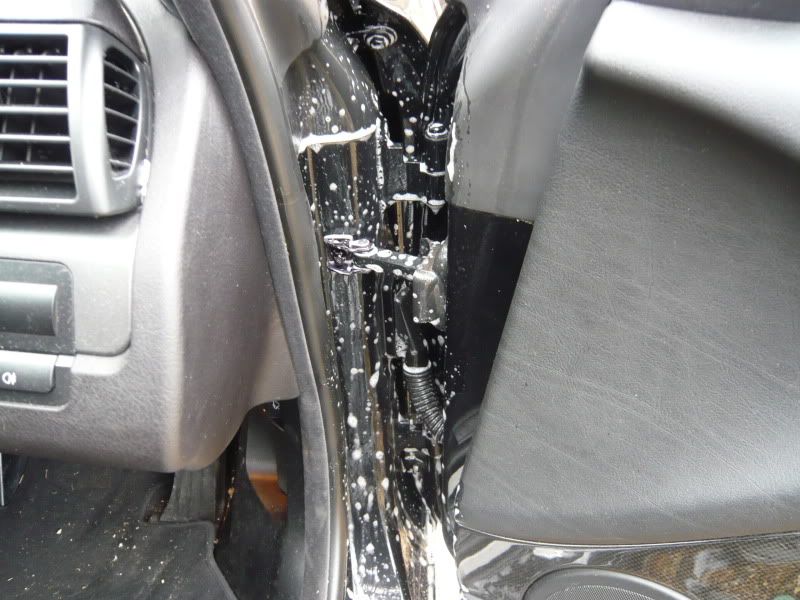
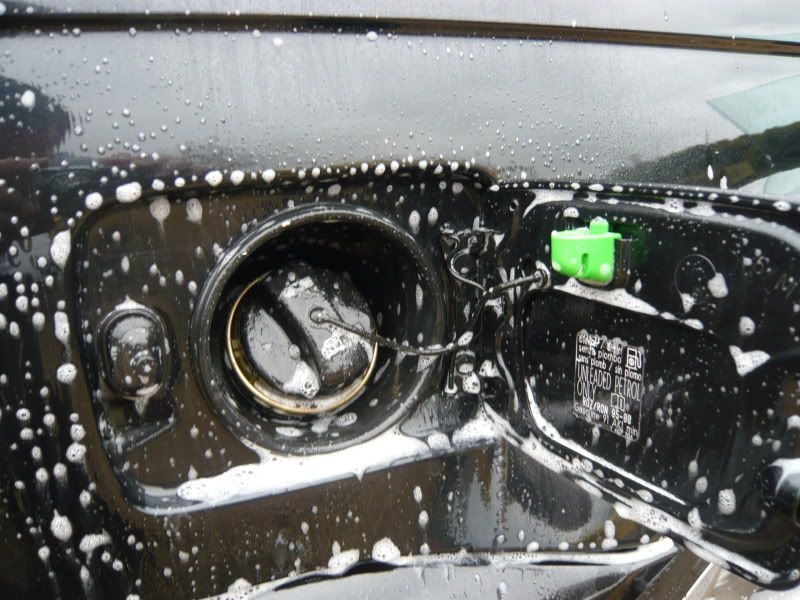
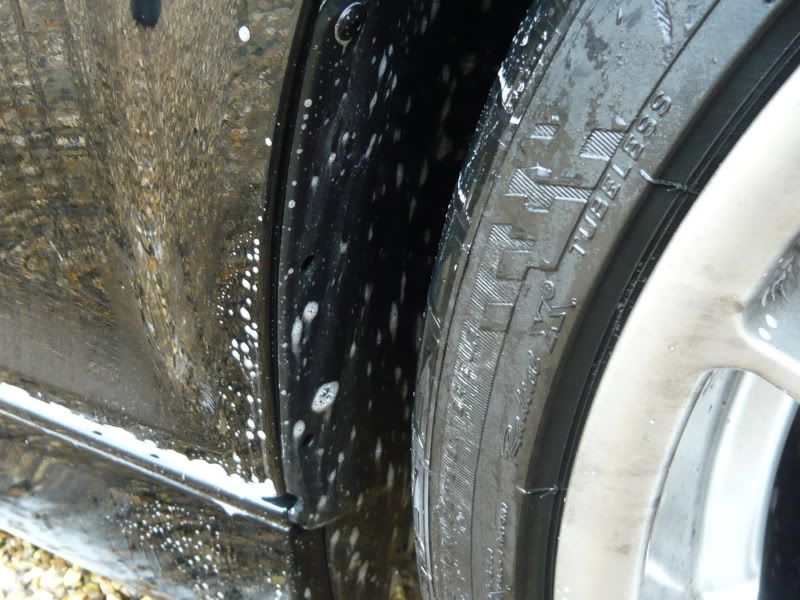
the car then had a prewash snowfoam which was left to dwell for 5 mins to loosen the dirt. It was then jetwashed down along with wheels, door shuts, fuel cap and arches. It was then washed using the 2 bucket method with Meguiars shampoo plus and jetwashed down.
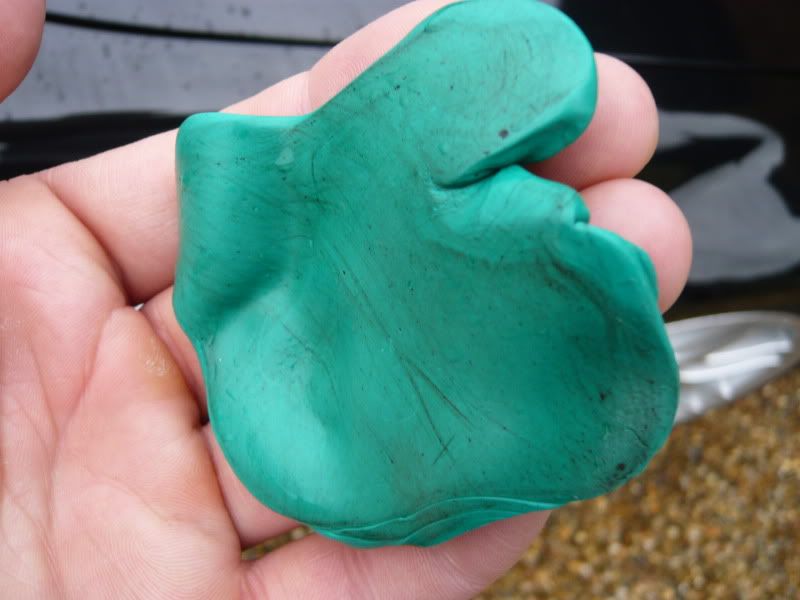
the car was then clayed with Gloss it mild clay and Meguiars Last Touch as lube. surprisingly very little contamination came off with only the lower body half being worst off. Hopefully this is a credit to your car maintenance Dan
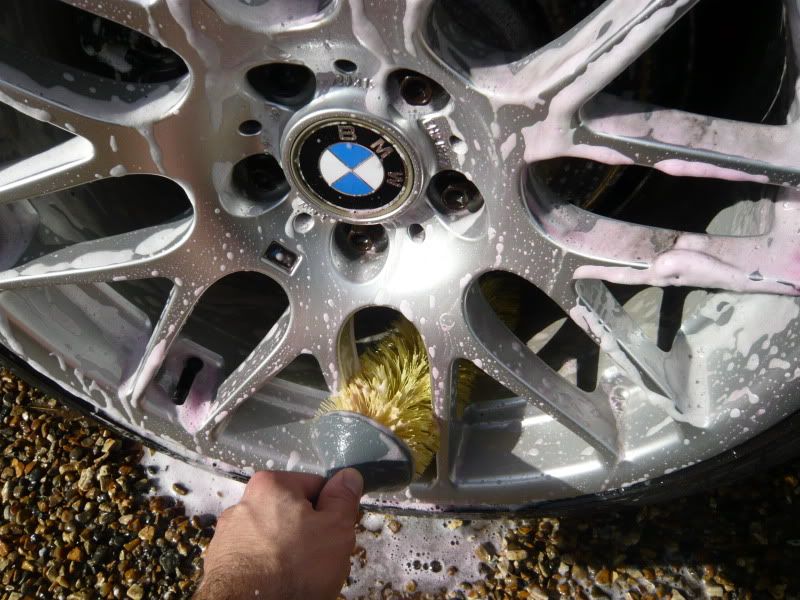
the wheels were then sprayed in Bilberry again and all parts were agitated with brushes
it was then washed again using the 2 bucket method
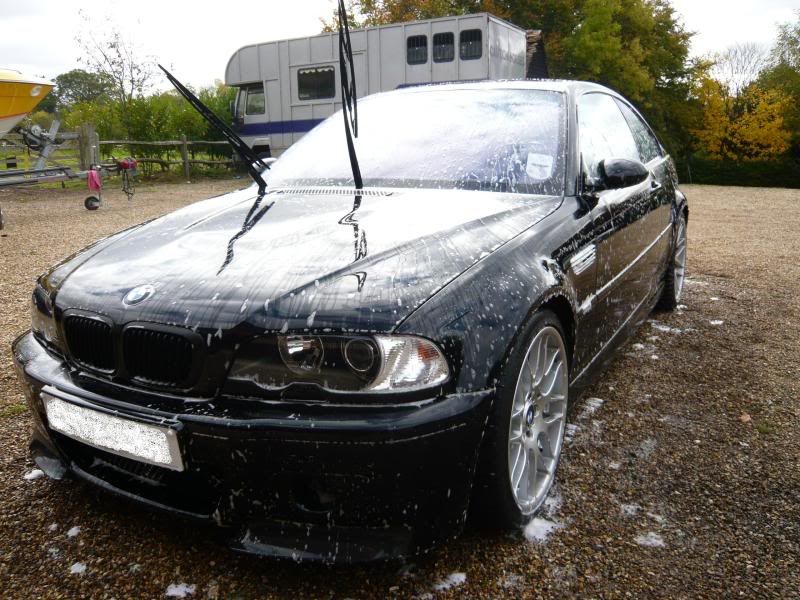
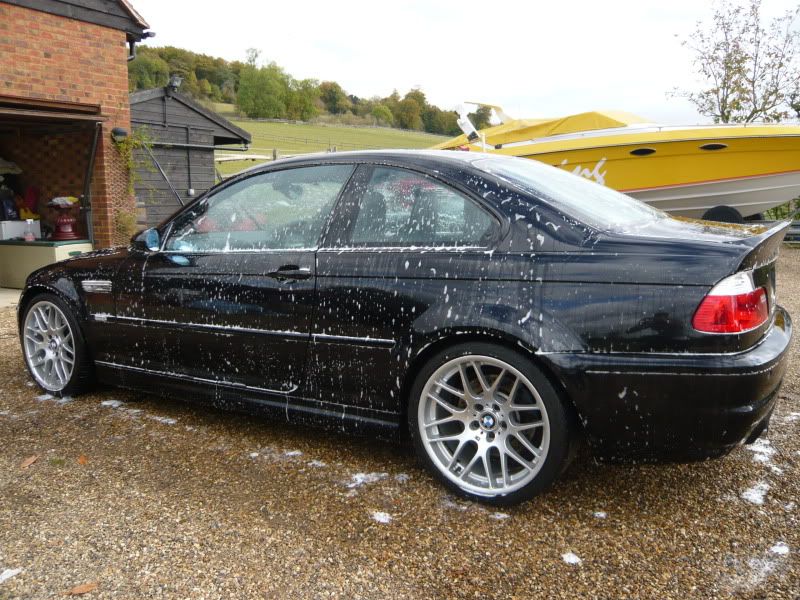
and then dried using Meguirs Last Touch as a drying aid, which left us with this
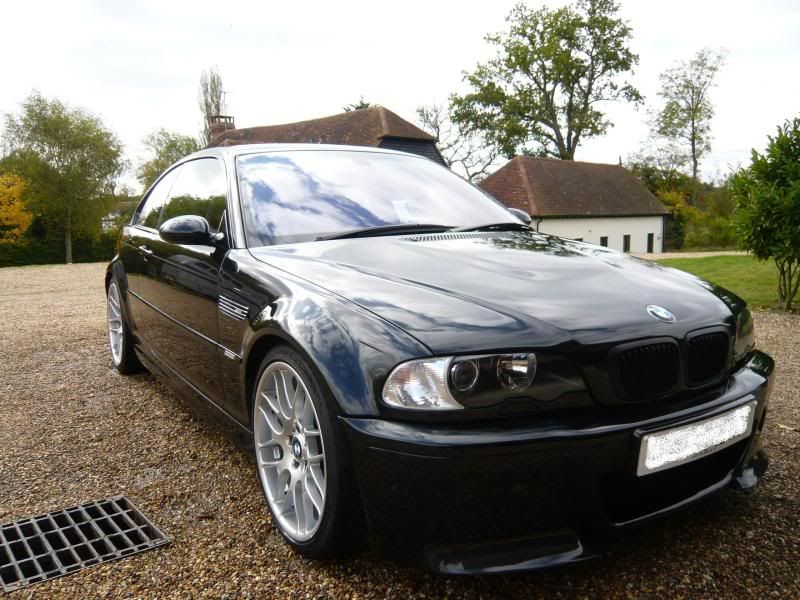
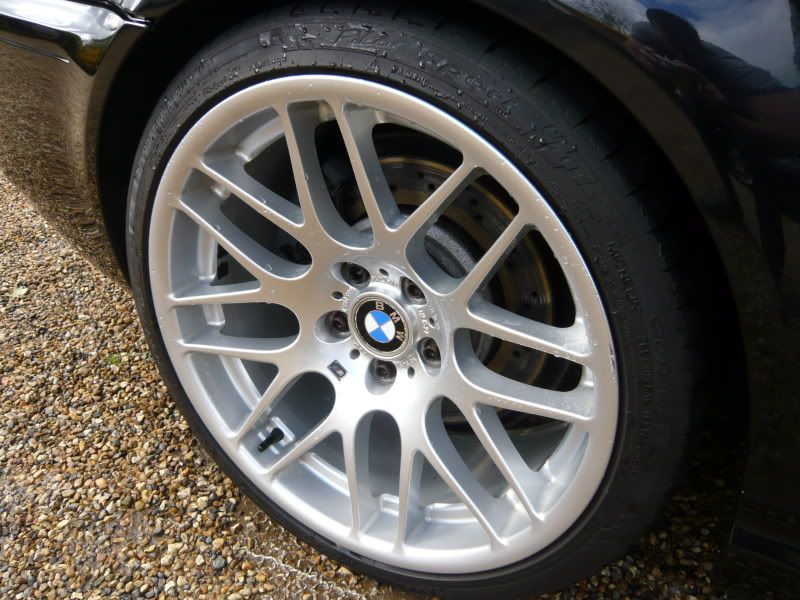
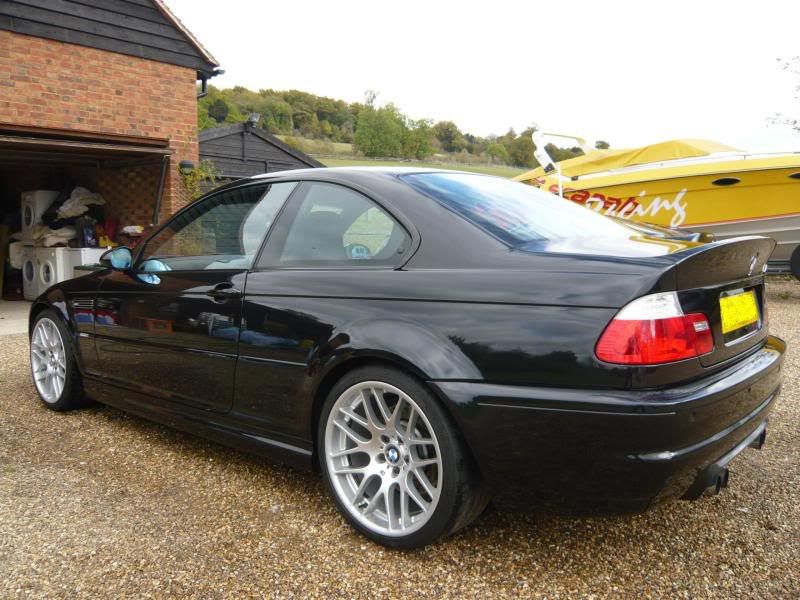
it was now time for a snack
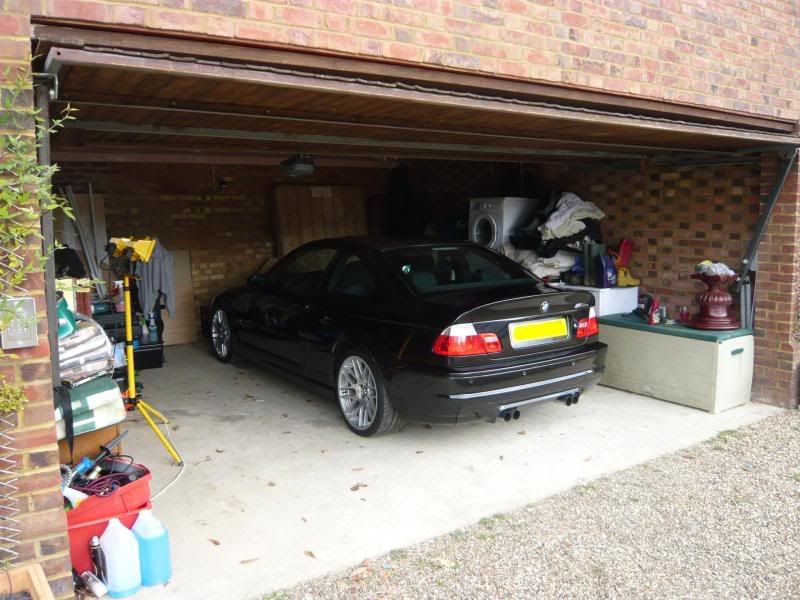
the car was then taken into the garage
it was then cleansed with a paint cleaner which left this, not bad
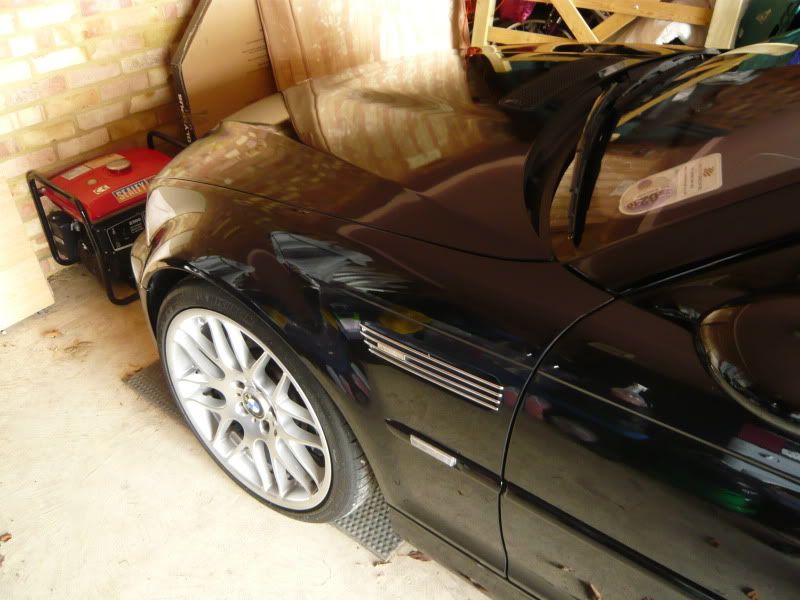
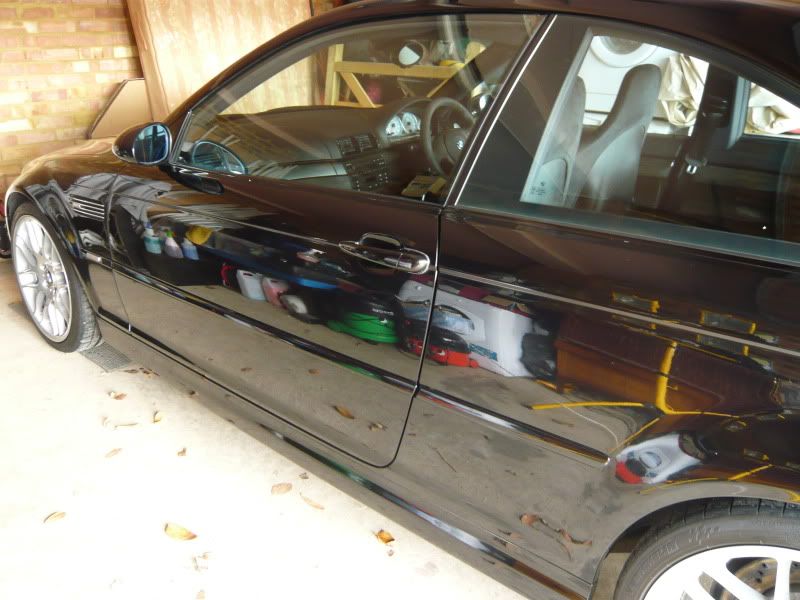
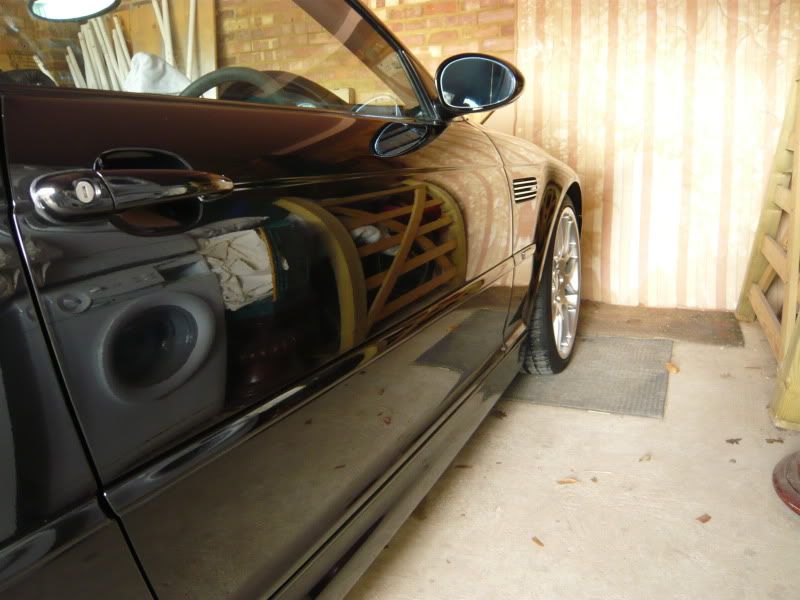
so lets get the halogen lights on and inspect the paint..
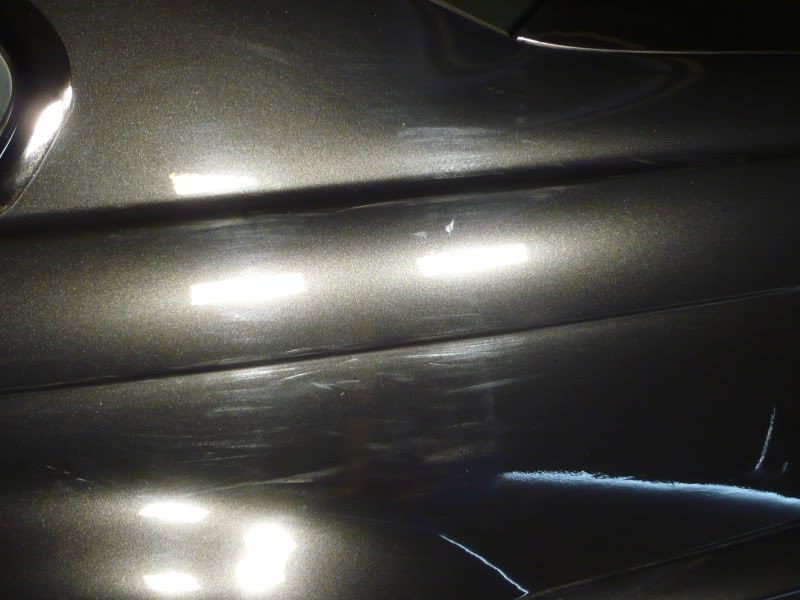
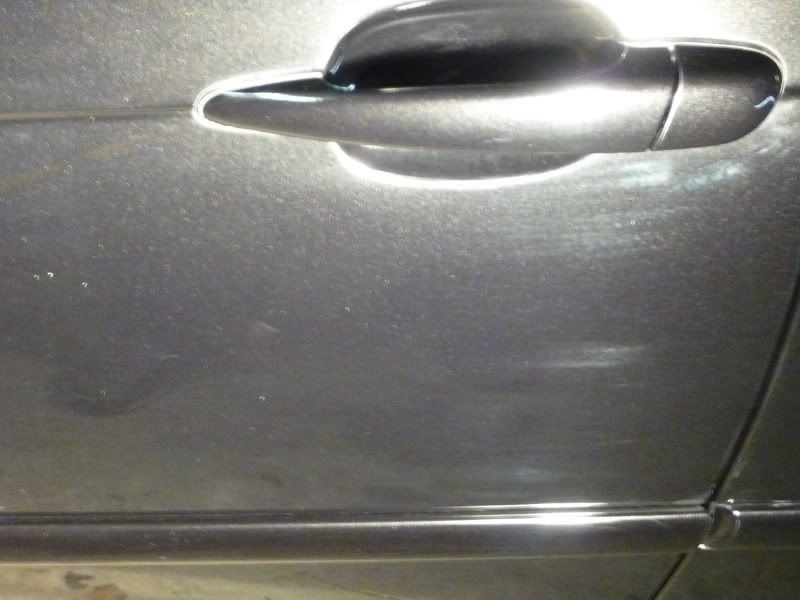
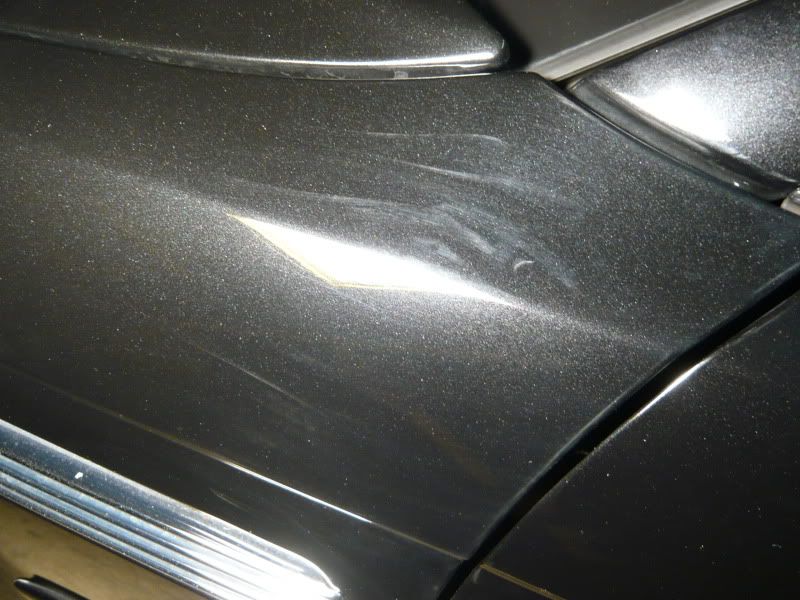
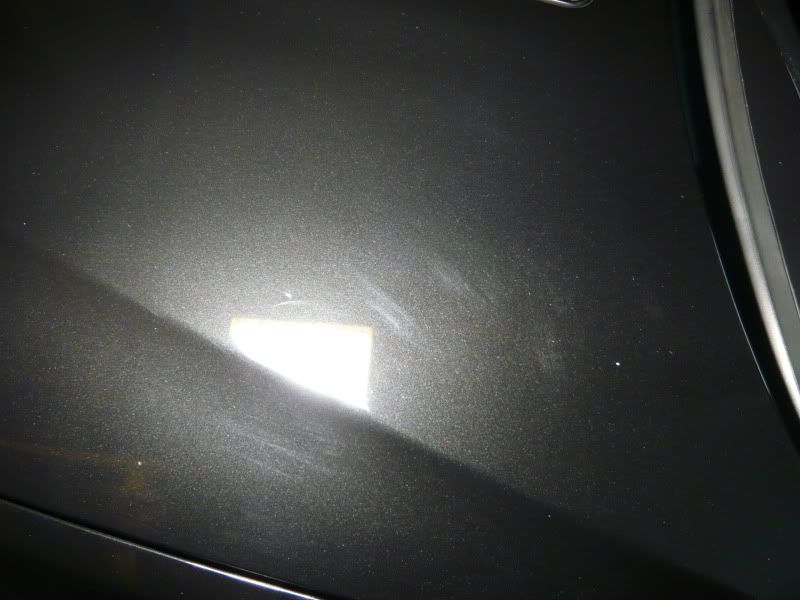
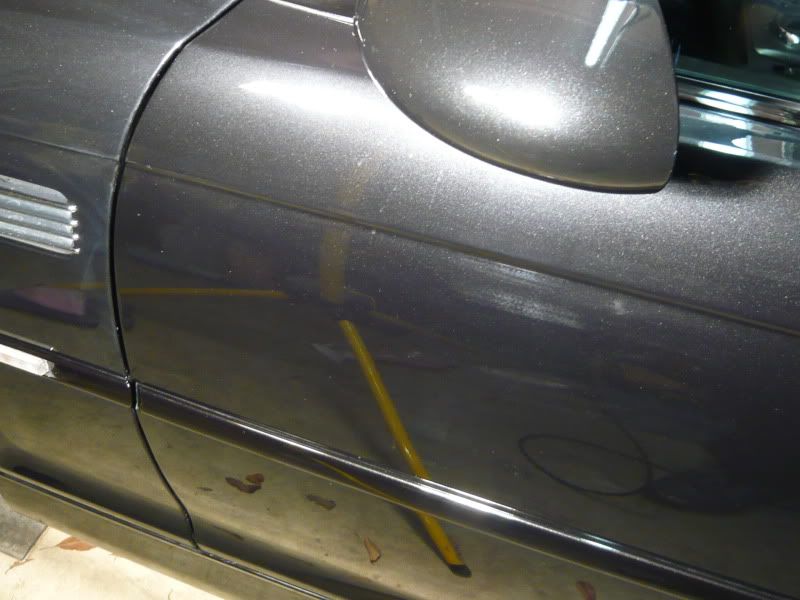
the M3 was then taped up ready for machine polishing. Now this was a stage 1 correction booking so the idea was not to remove all defects, but i would say 85-90% at least were removed. I used a Makita rotary with a selection of 3M polishing pads and Meguiars polishing pads where more bite was needed. For the polish Menzerna 106FA was used. This has enough cut if worked correctly but can also finish down to an LSP finish.
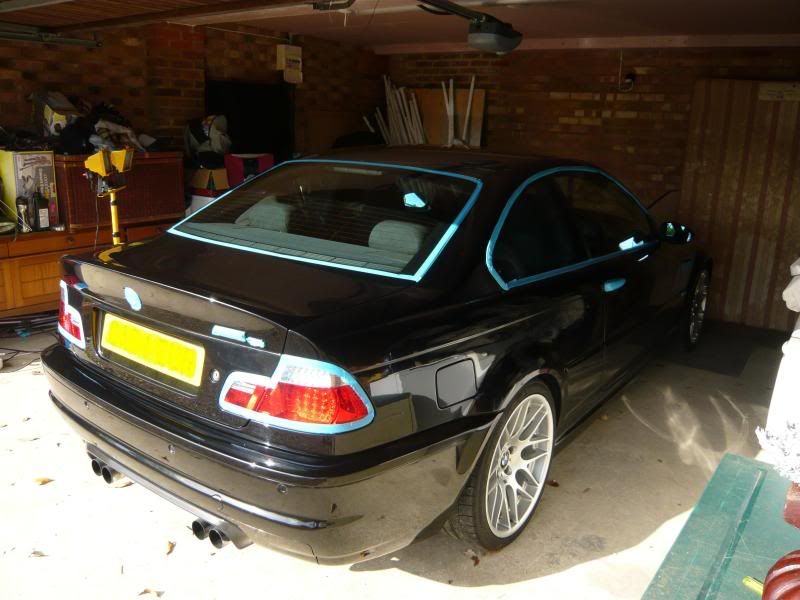
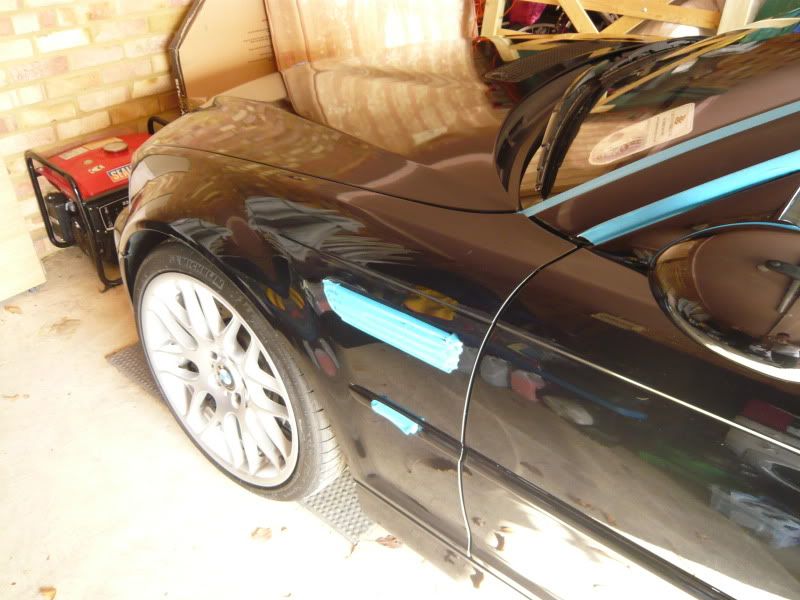
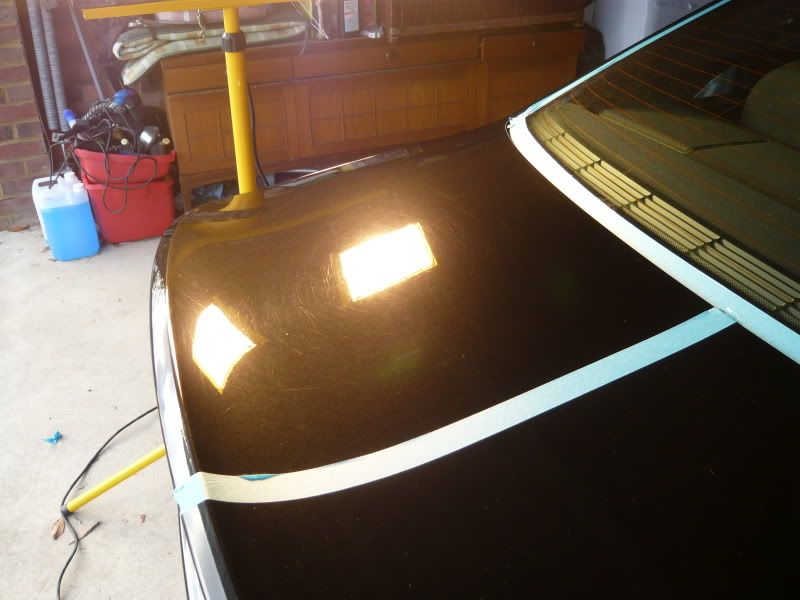
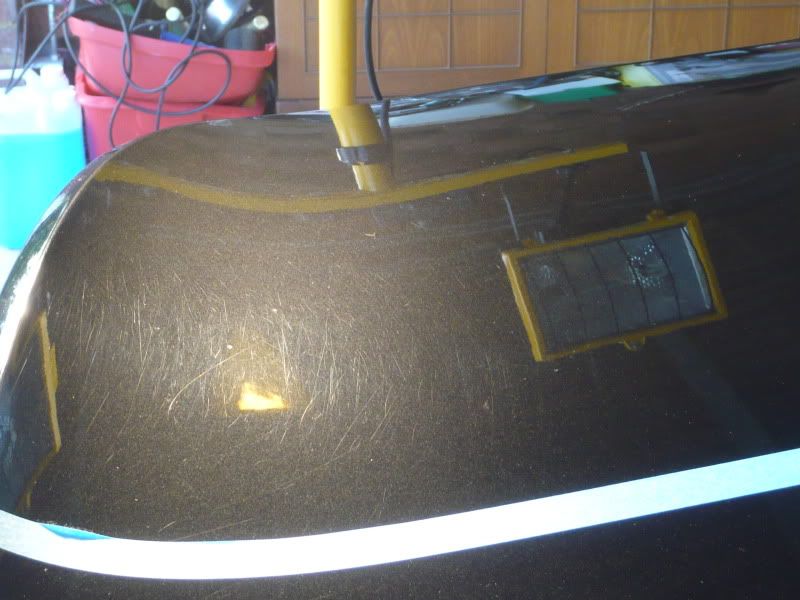
not the best of angles but here was a 50/50 of the drivers side rear arch being corrected, defects remaining clearly visible on the pillar
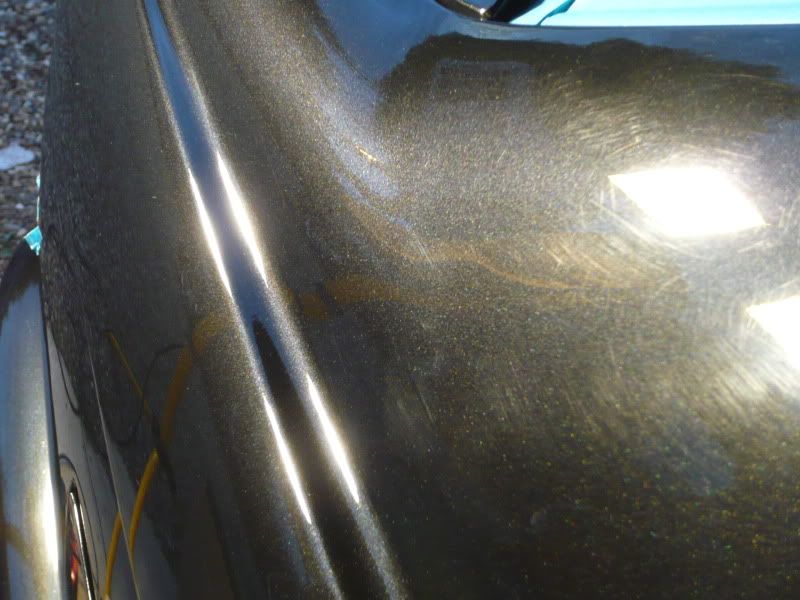
i worked my way around the boot and then the passenger side
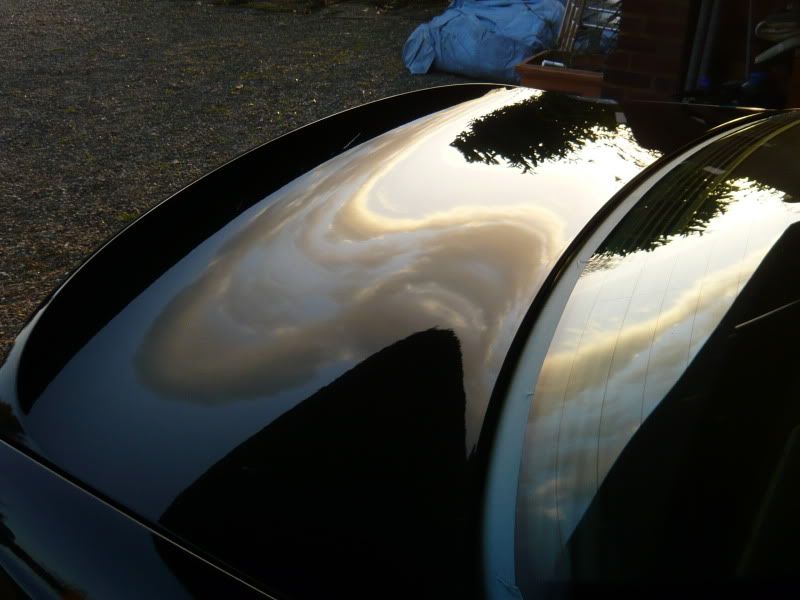
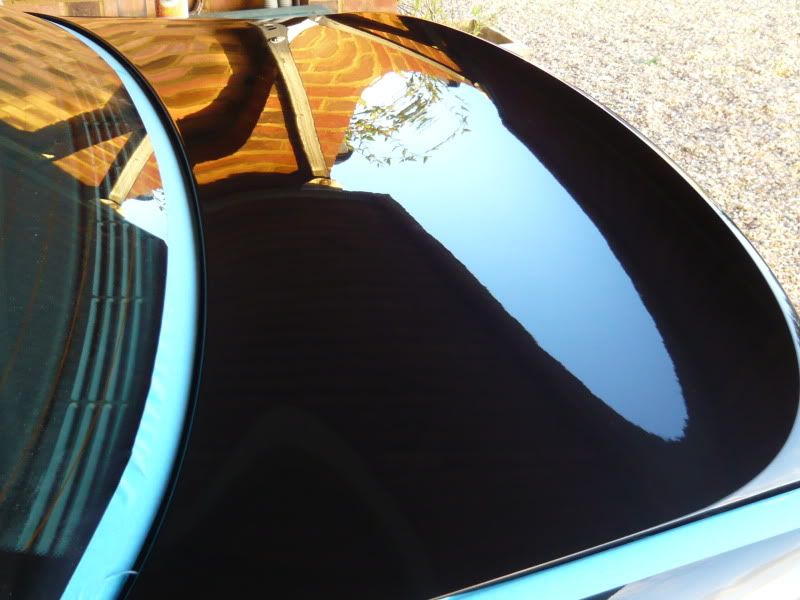
at this point it was getting late, so one last pic as the garage was shut
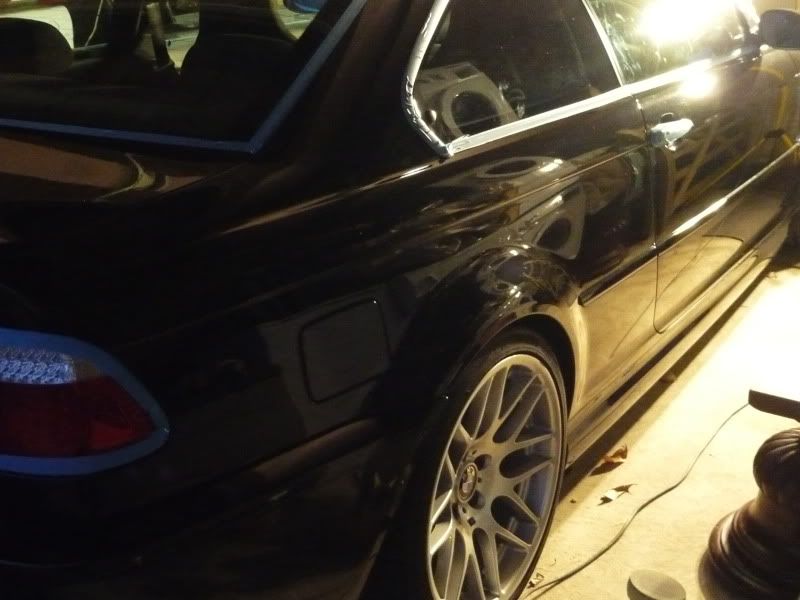
Saturday brought a new day, and these guys were already waiting for breakfast
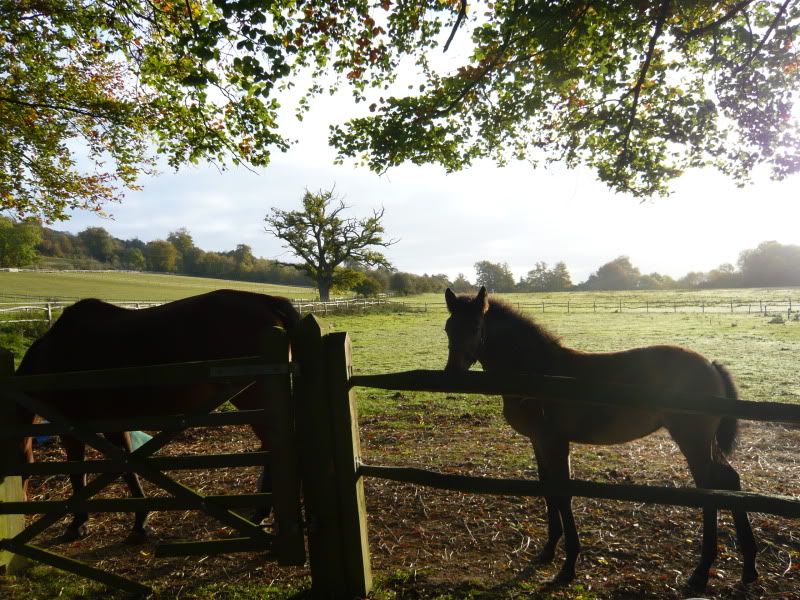
moving round to the drivers front wing
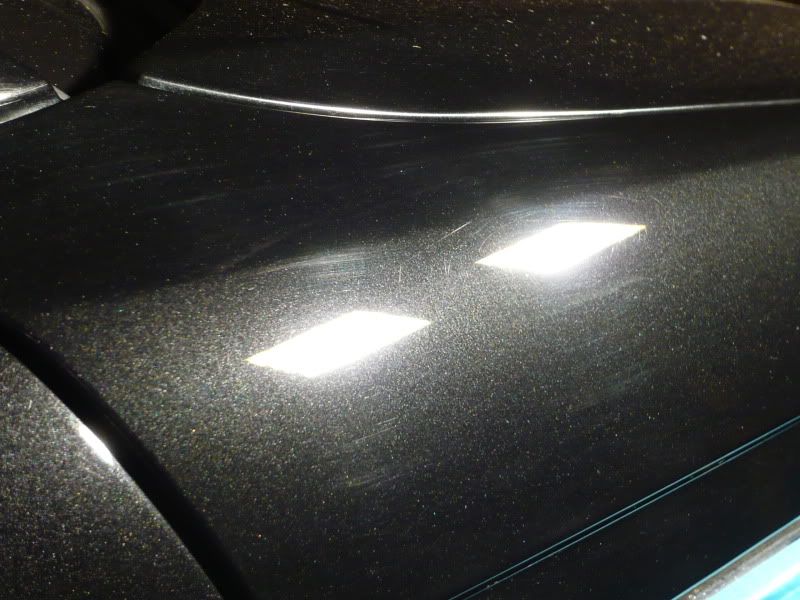
to this
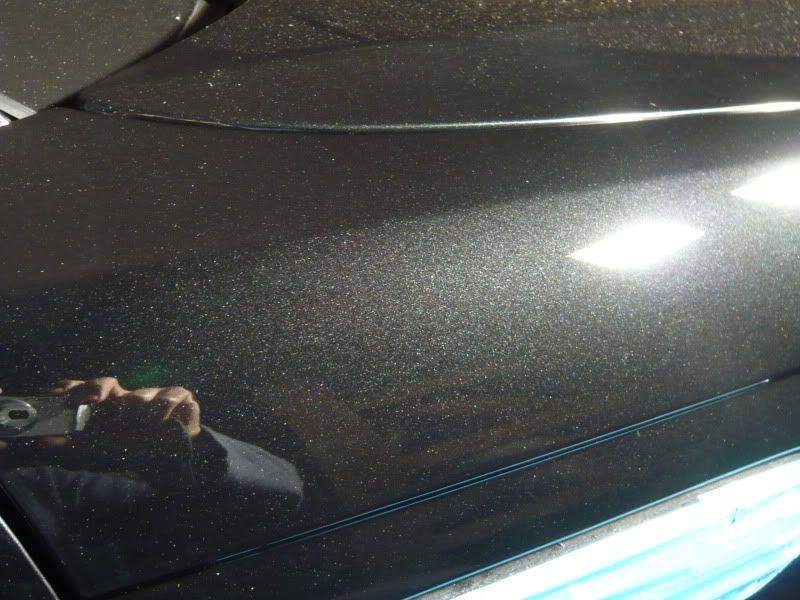
and this
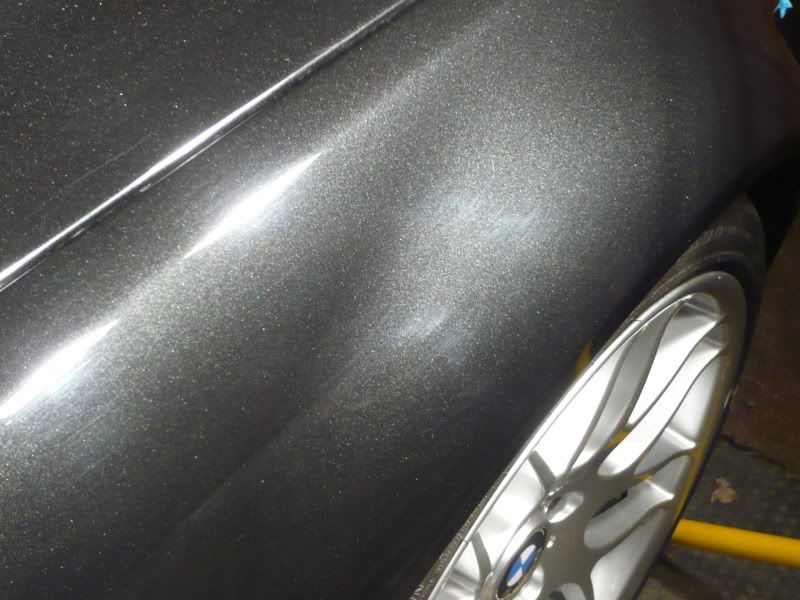
to this
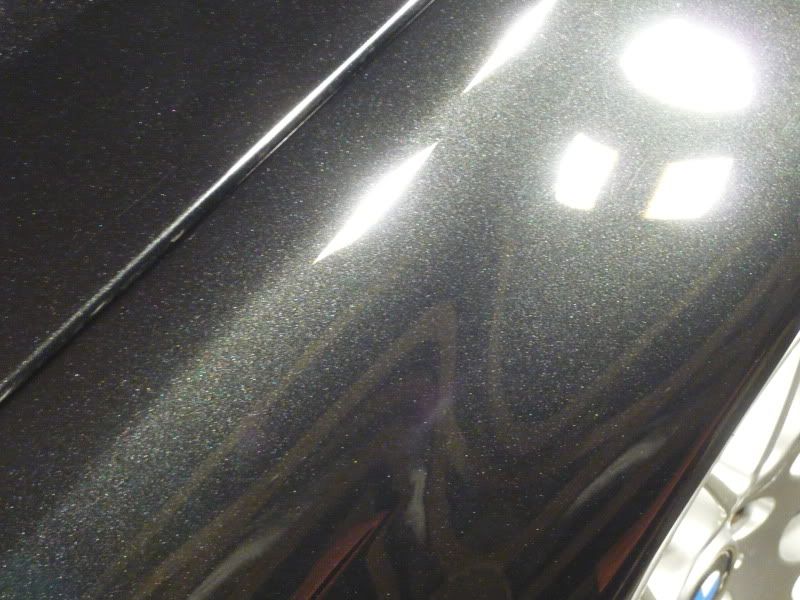
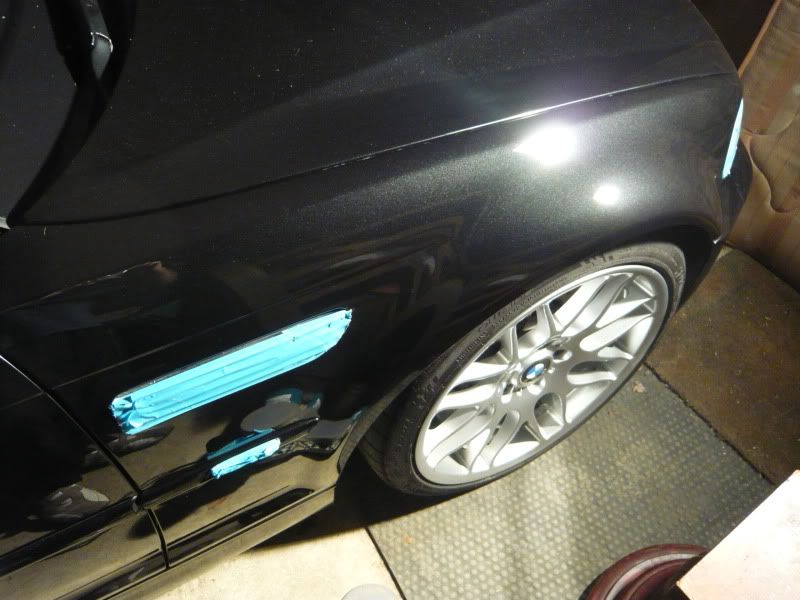
a quick shot of the passenger rear wing after correction
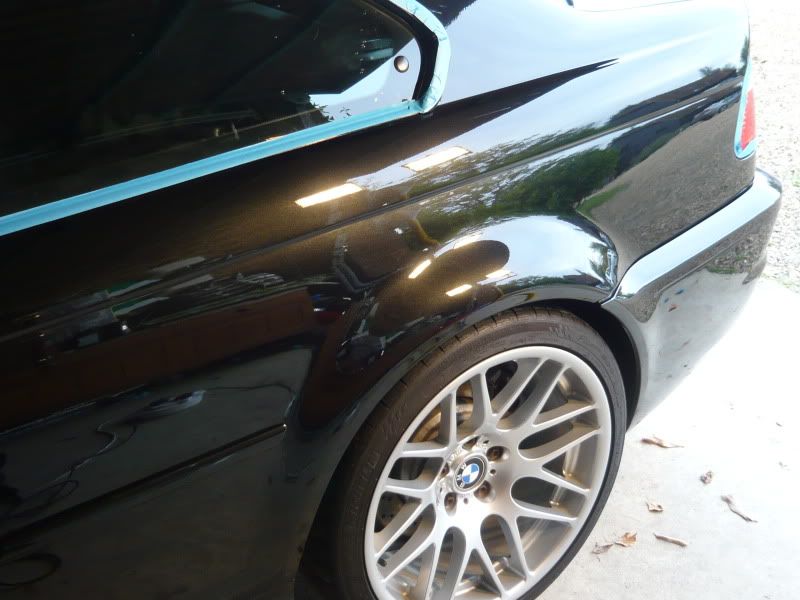
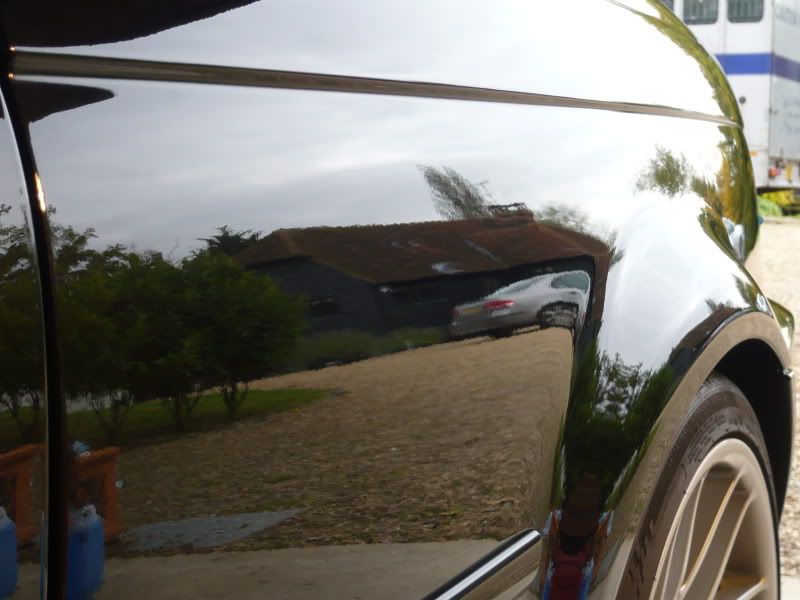
now onto the bonnet. The front of the car had clearly seen some paintwork, which in fairness had been done quite well, although the bonnet did have quite a 'flat' appearance to it. This pic doesnt show it too well, but the right hand edge of the bonnet is corrected, which brought the metallic flake out much more
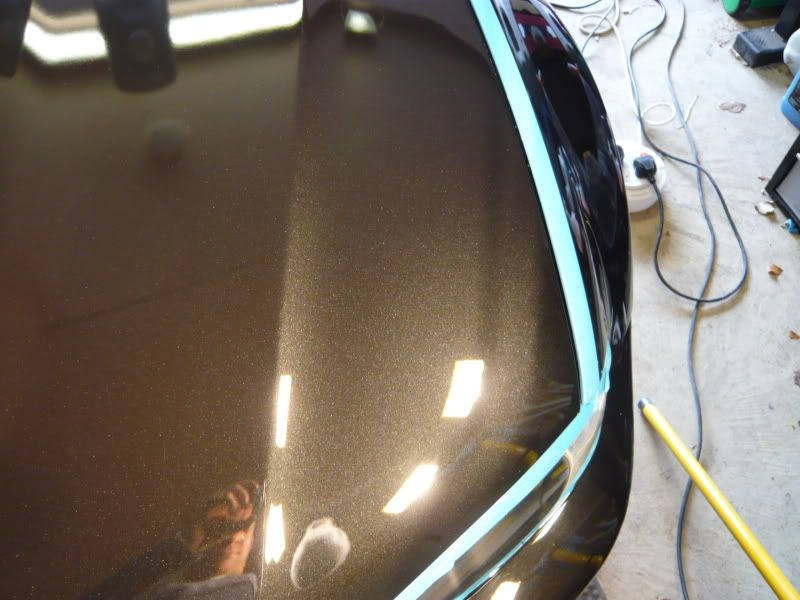
Then the drivers side of the bonnet leading up to the first crease, this pic shows it more clearly
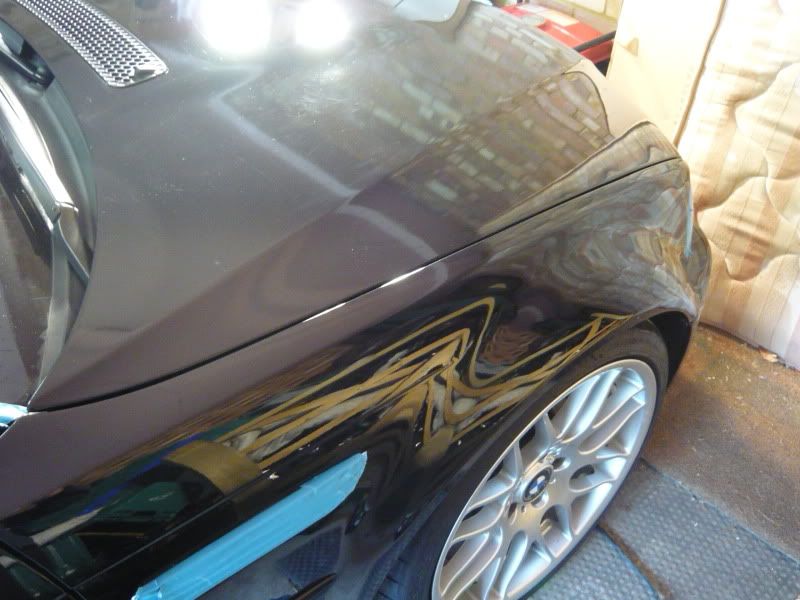
and the rest of the bonnet after machine polishing
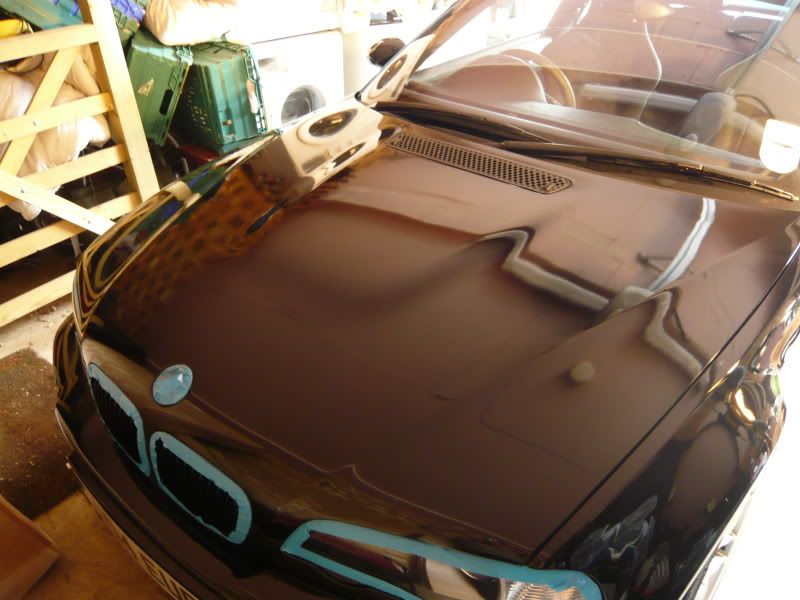
The car was then brought outside and dusted down using Meguiars Last Touch
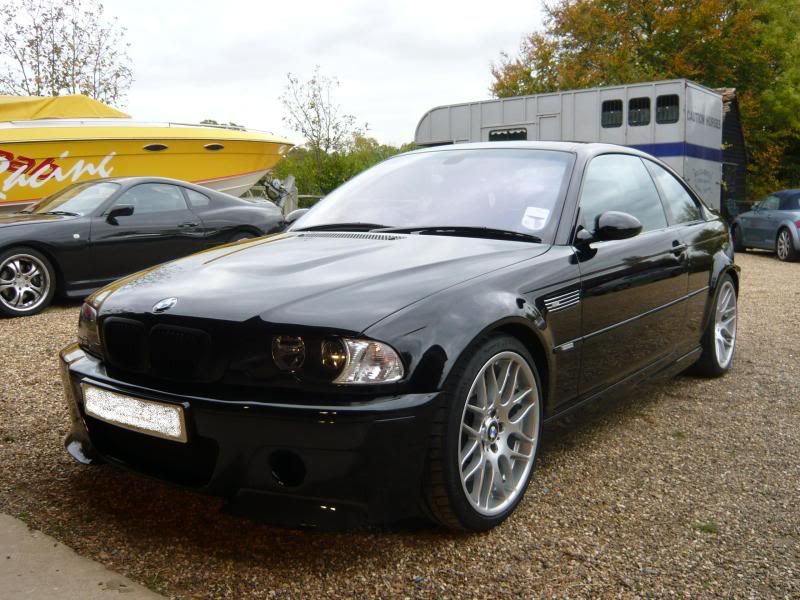
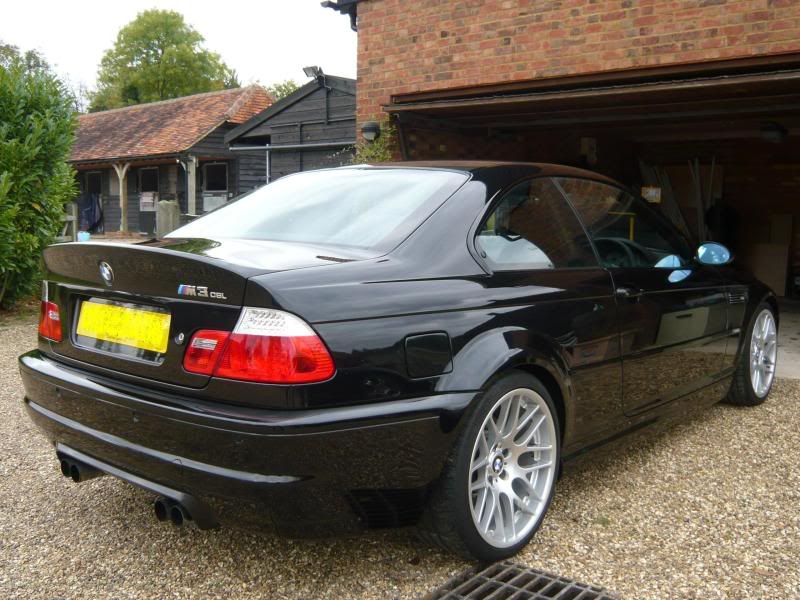
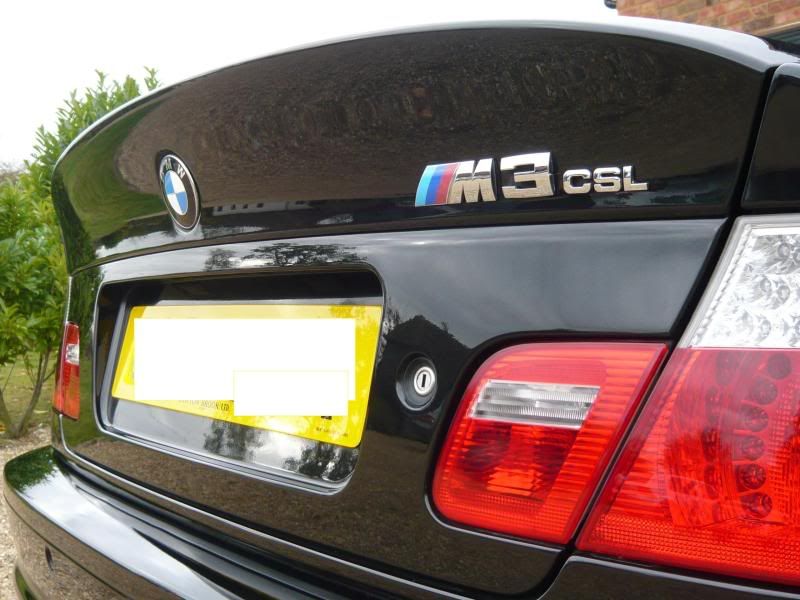
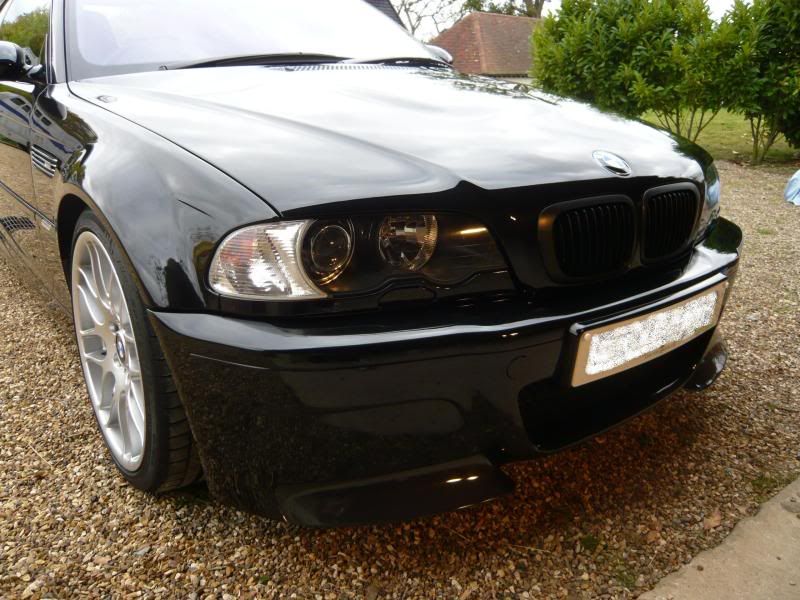
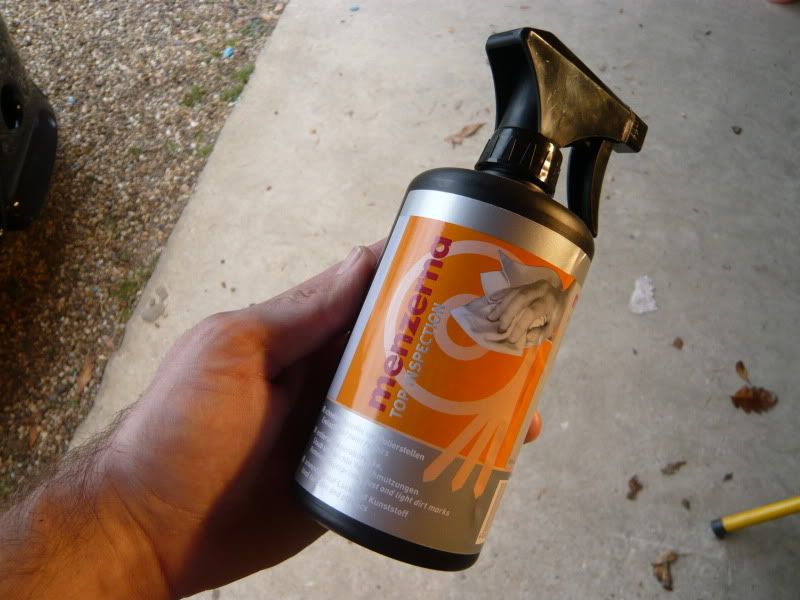
The whole car was then wiped down with Menzerna Top Inspection
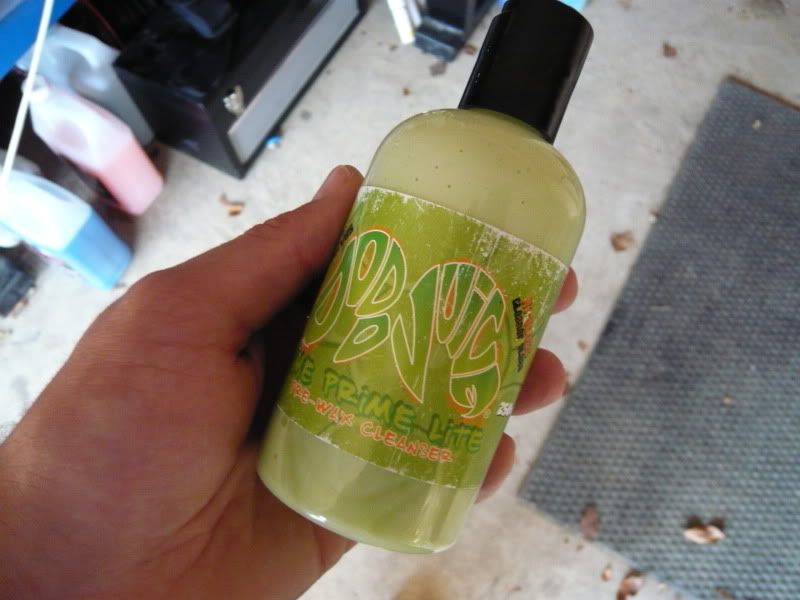
Dodo Juice Lime Prime Lite glaze and pre-wax cleanser was then applied and buffed off
For a wax i chose to use Collinite 476s. This wax can create a very good finish but was primarily used as winter is fast approaching and it will create a very hard wearing protective barrier from the elements. 2 applications were applied leaving a good curing time between each
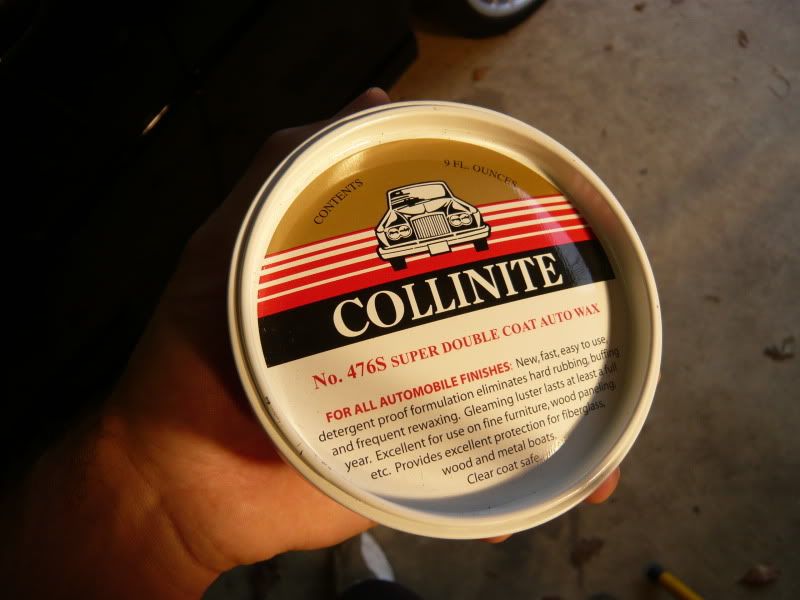
which left this
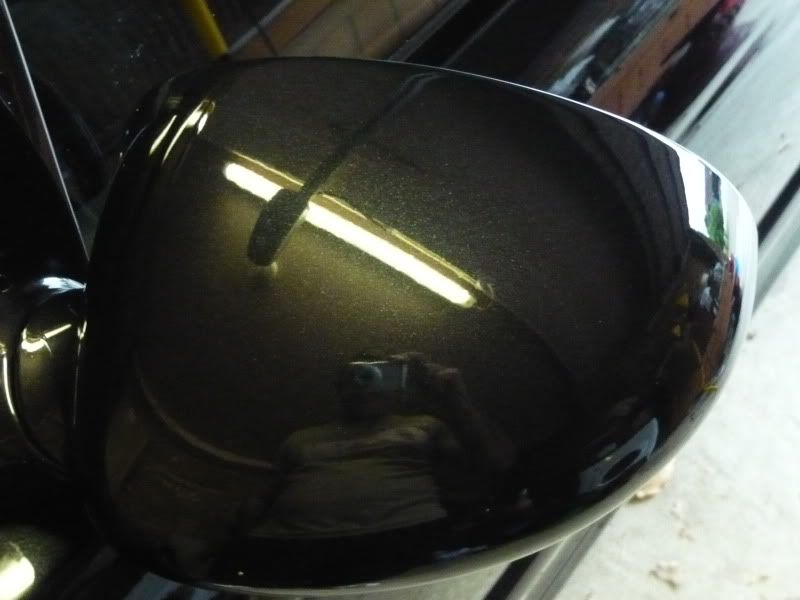
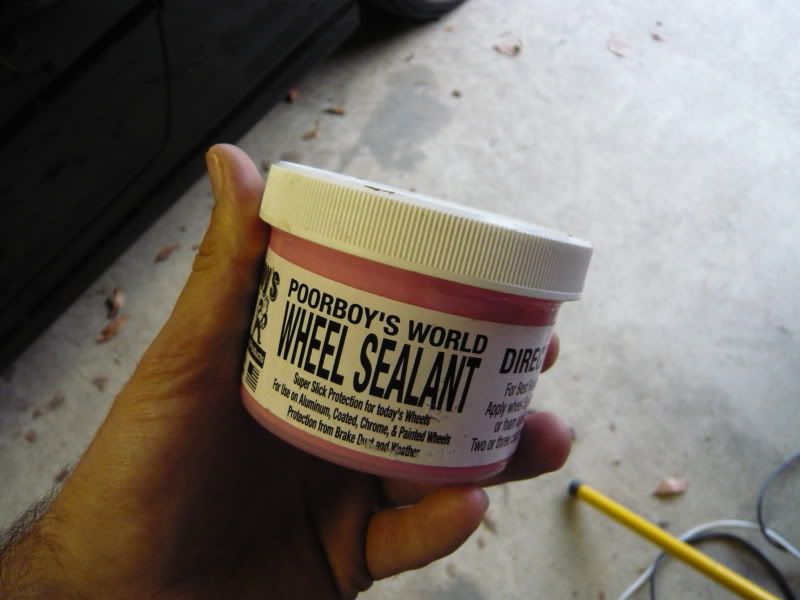
The wheels were treated with PoorBoys wheel sealant
and the tyres with 2 coats of Meguiars Endurance tyre gel
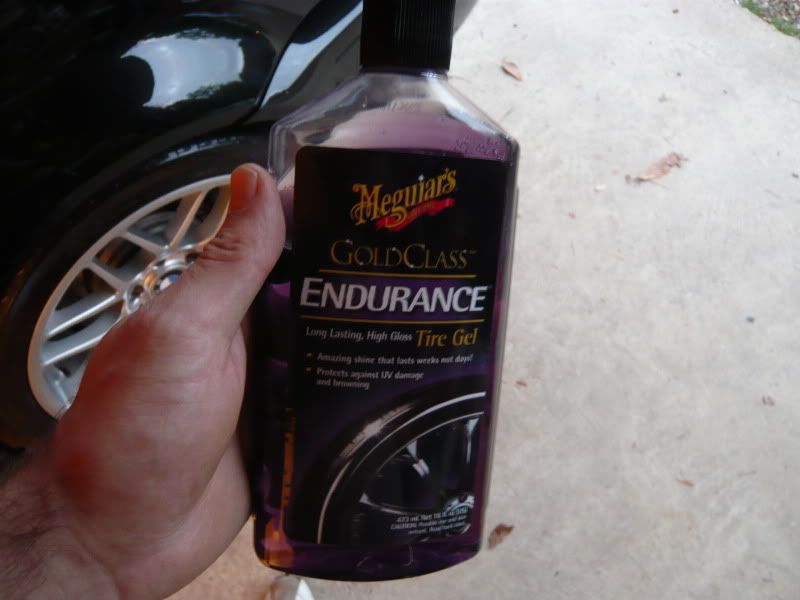
which left this
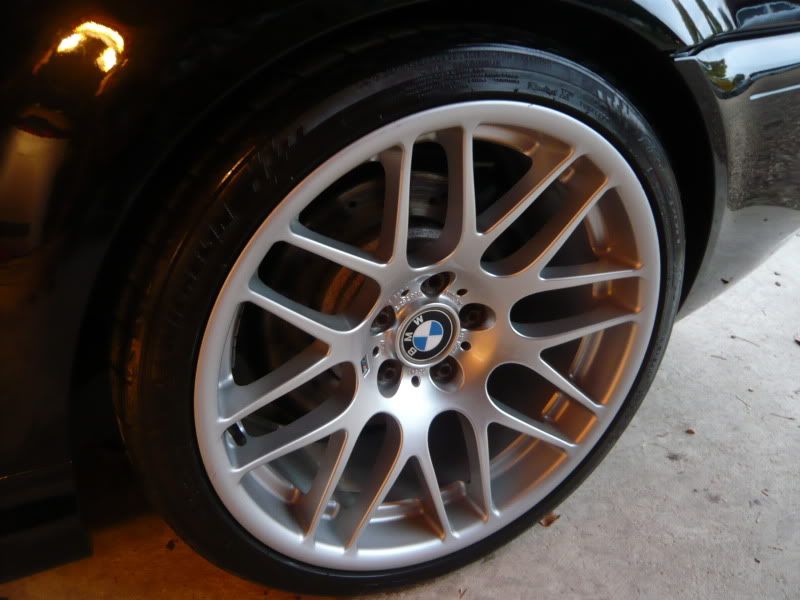
Another day was now complete, time for bed.
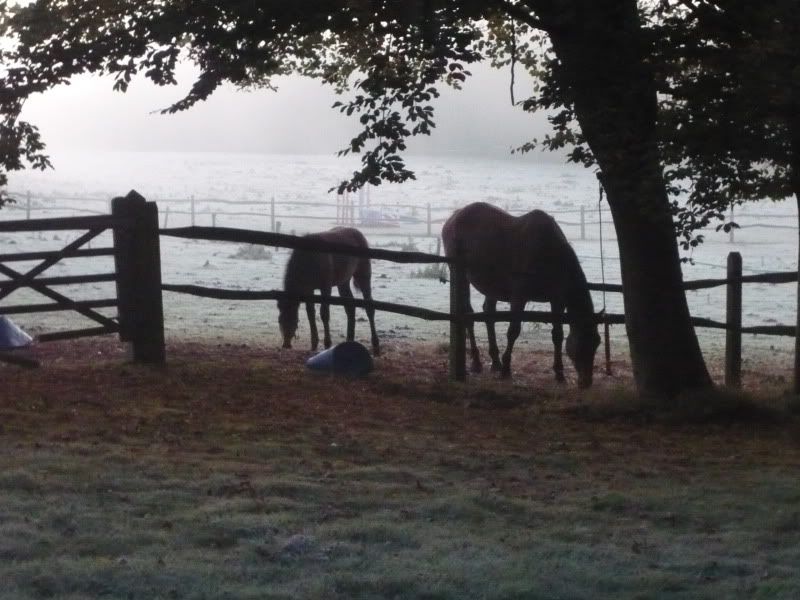
Sunday came and a cold morning it was, frost everywhere.
As always these guys were eating
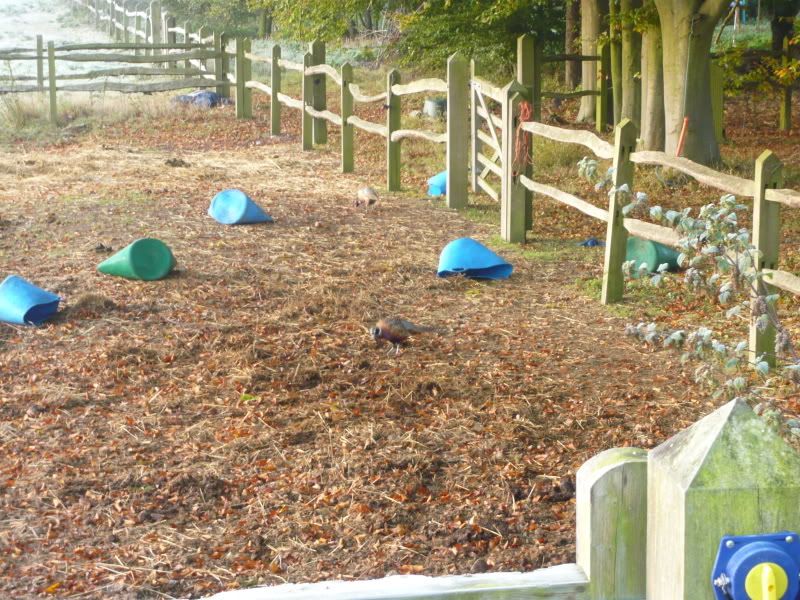
and so were the pheasants
these guys were waiting for breaky
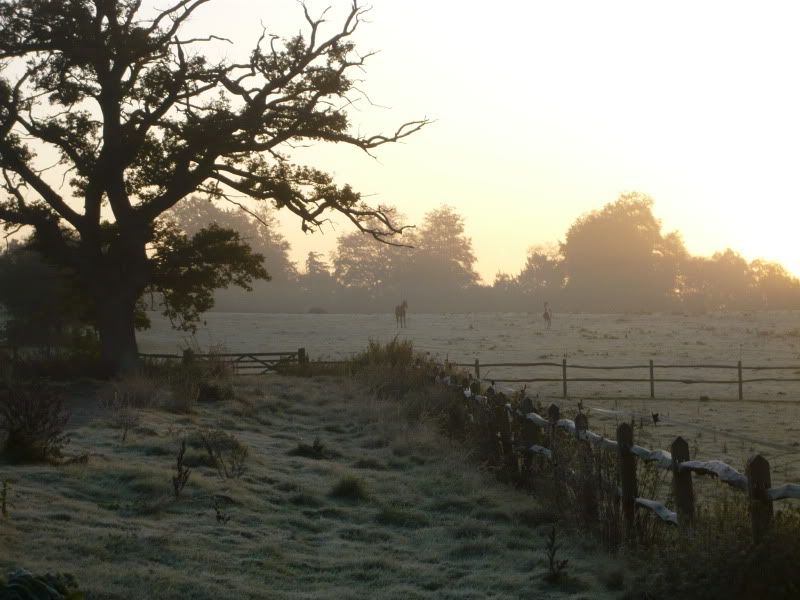
and the amount of noise these chaps were making they were definetly waiting for theirs
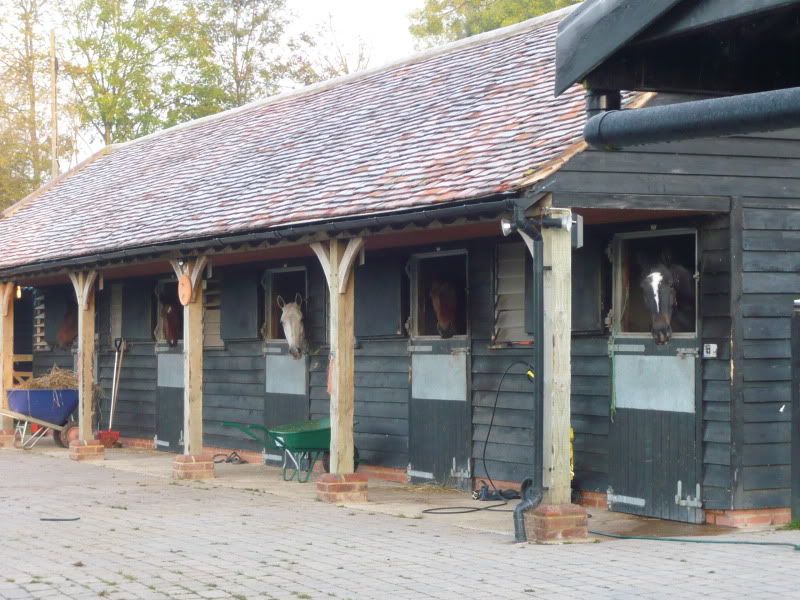
Anyway, the M3 was rolled out the garage. The sun being so low was really bringing the metallic flake out now On with this mornings task, the engine bay.
It was rinsed down with hot water and Meguiars APC was sprayed and left to dwell
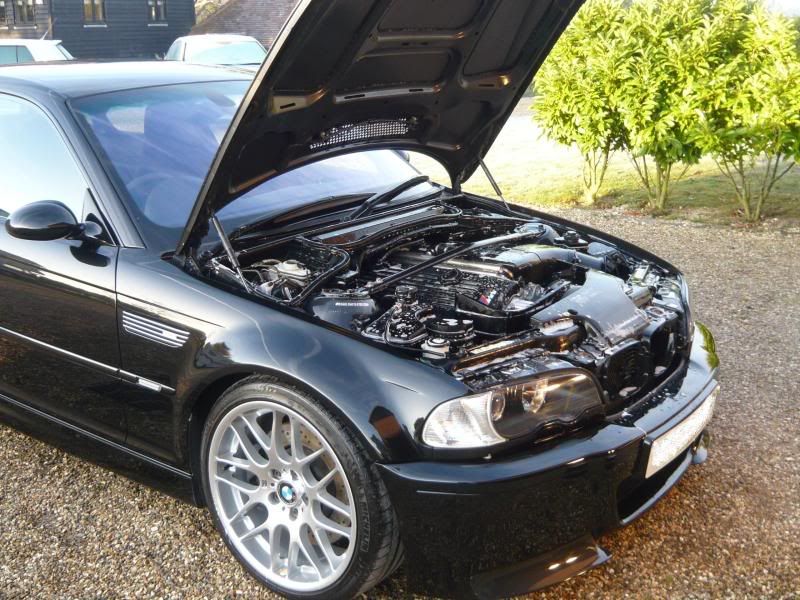
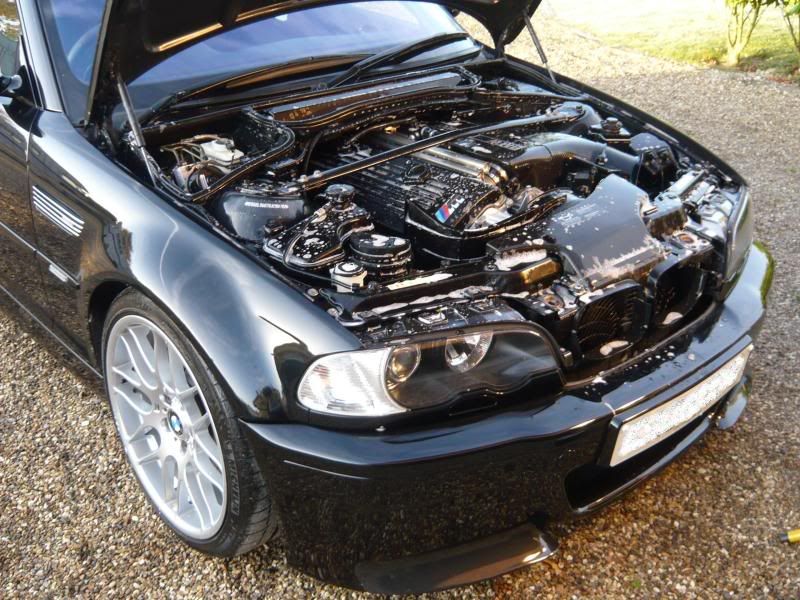
It was then aggitated with a selection of brushes, hot water and shampoo plus and more Meguiars APC. Then finally rinsed down.
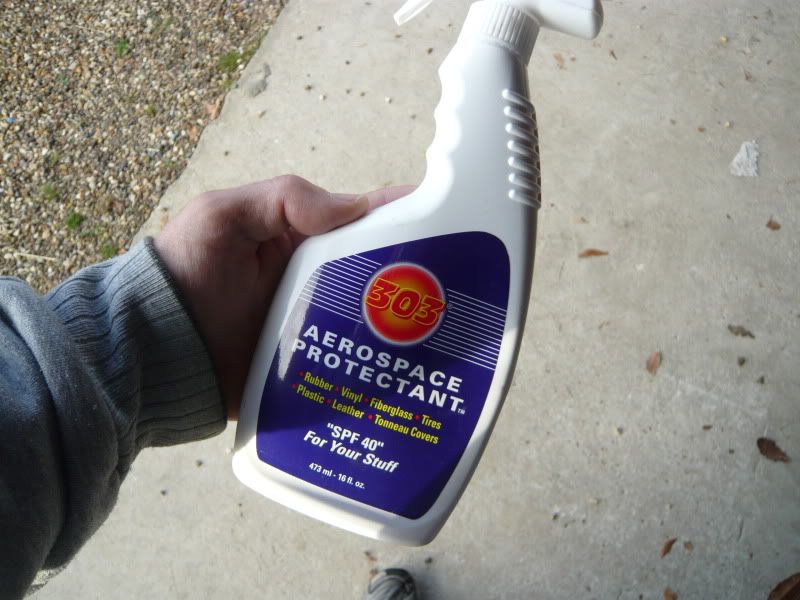
Aerospace 303 was then sprayed onto all rubbers and plastics and left to soak for 5 mins before being wiped down
which left this, much better than the delivery photos previously
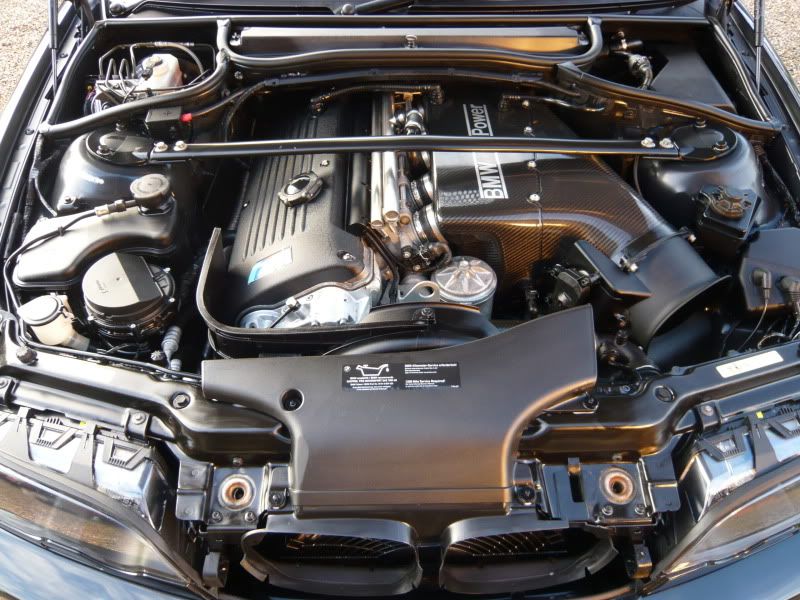
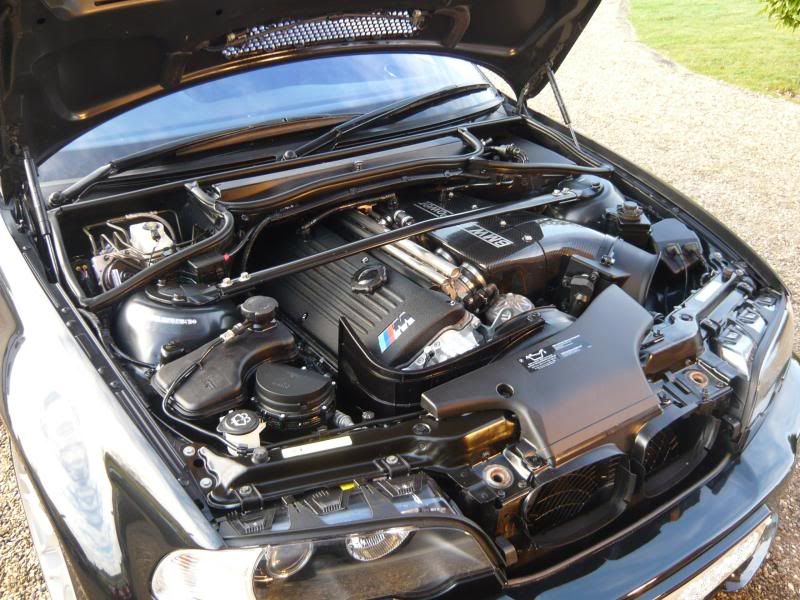
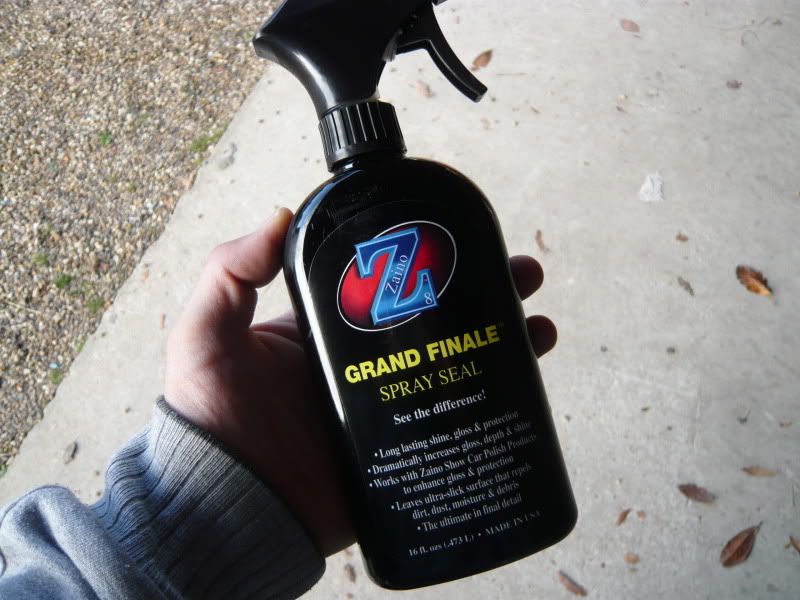
Next up was a lovely product, Zaino Z8 Grand Finale which was lightly sprayed onto a panel at a time, worked in and buffed off
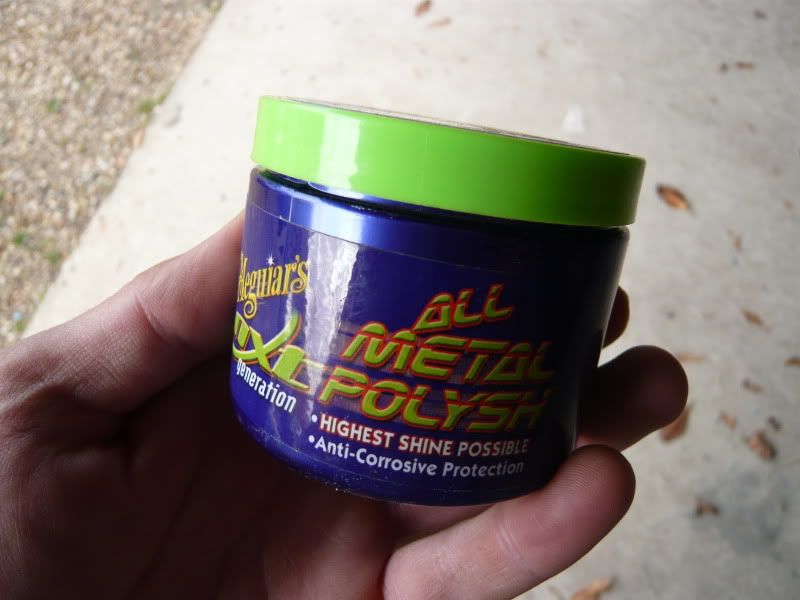
The exhaust tips were treated with Meguiars All Metal Polish
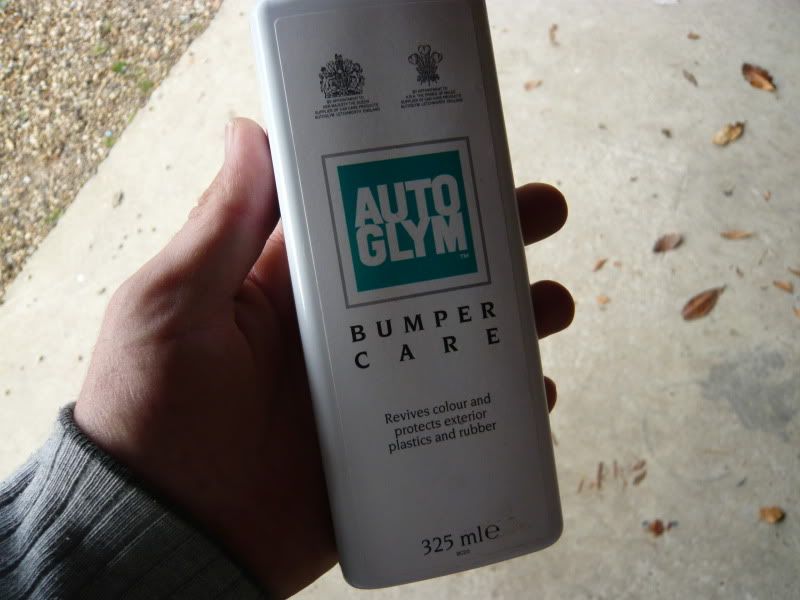
Door seal rubbers and any exterior plastic was treated with AutoGlym Bumper Care
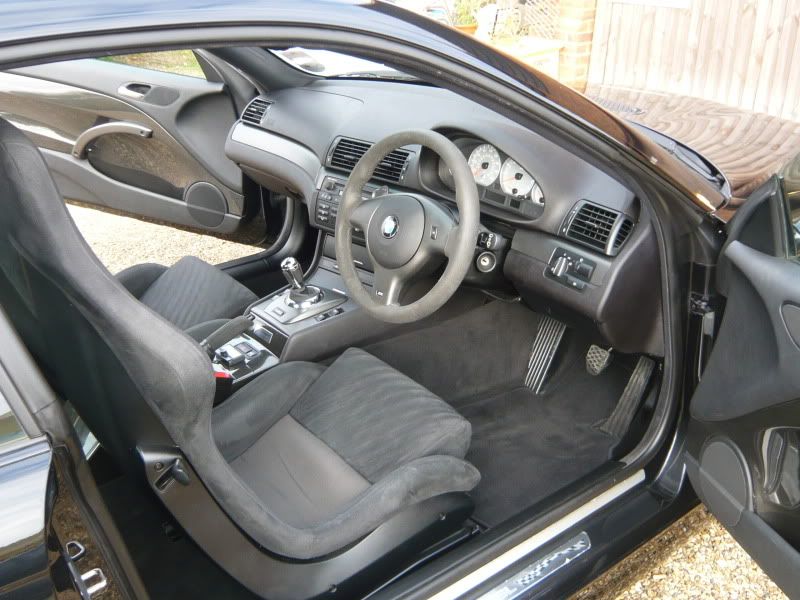
The interior was hoovered and dusted with fine brushes
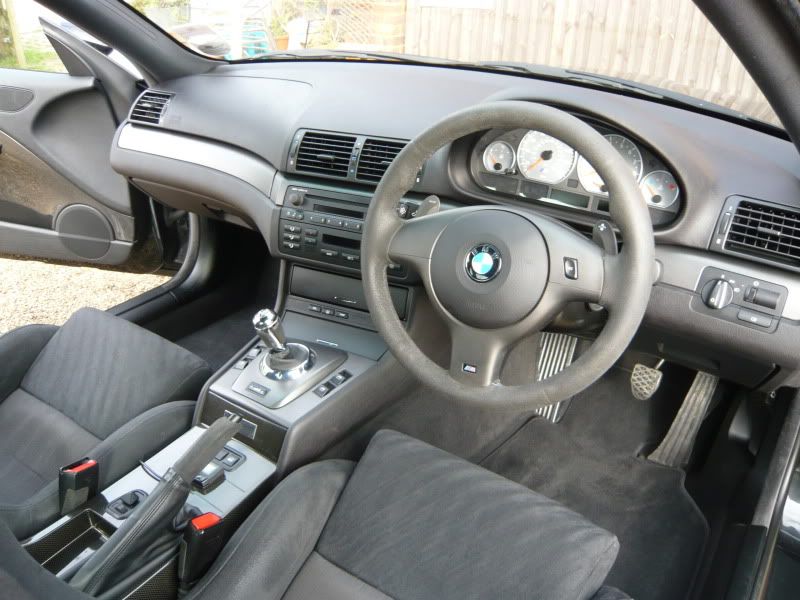
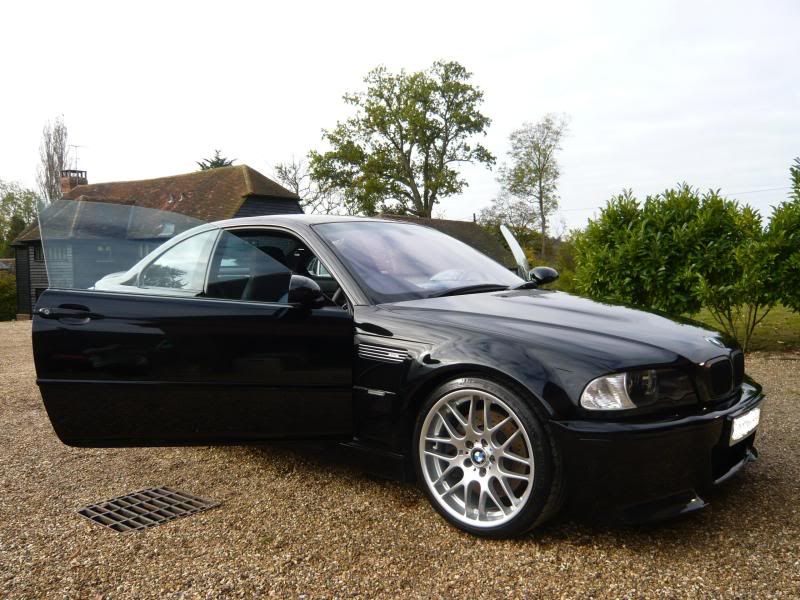
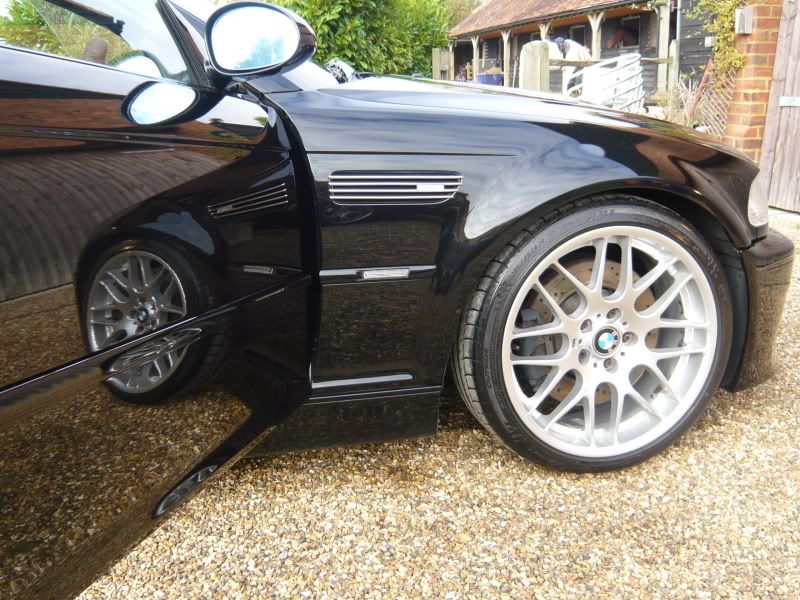
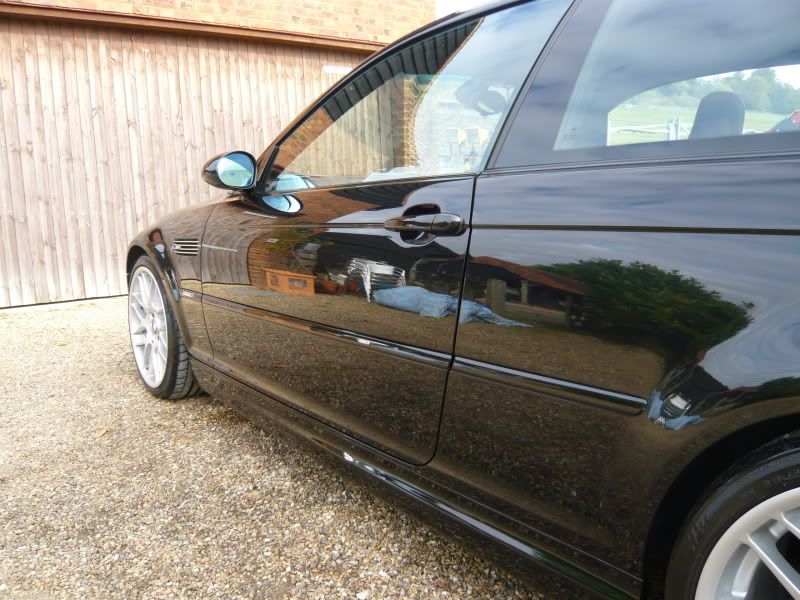
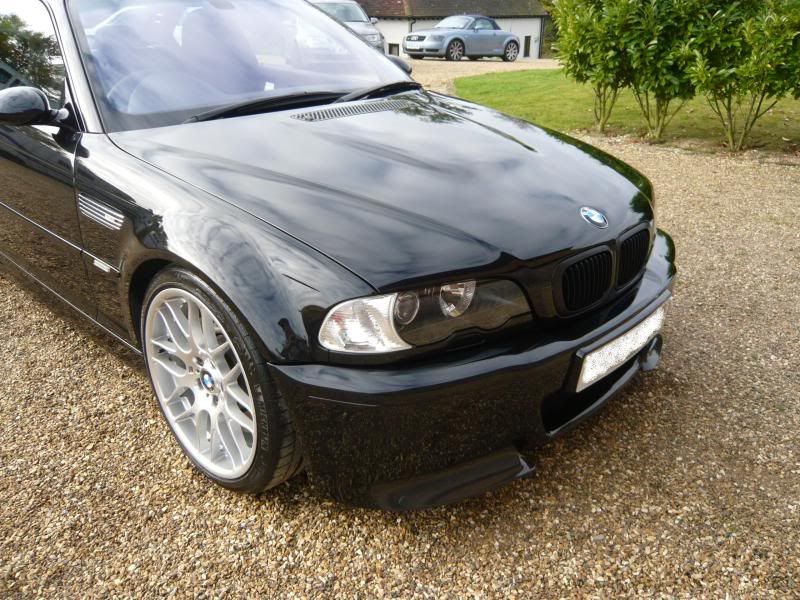
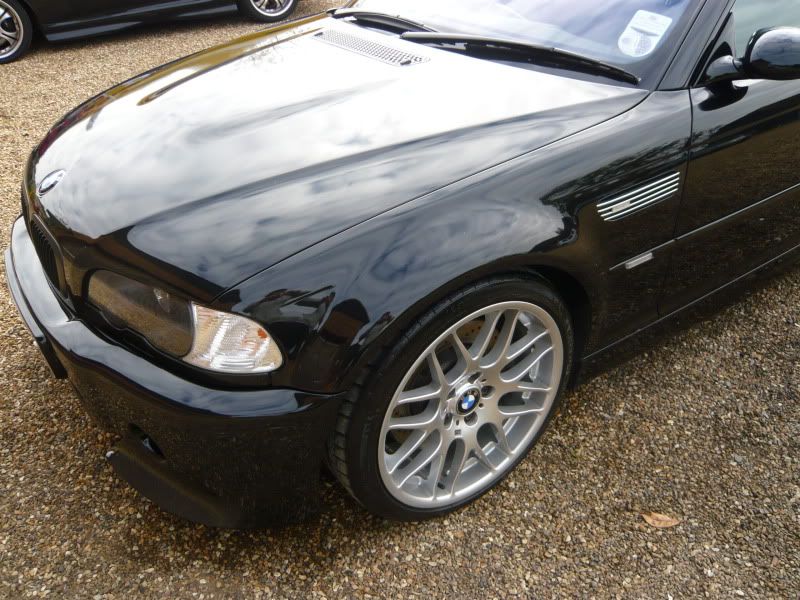
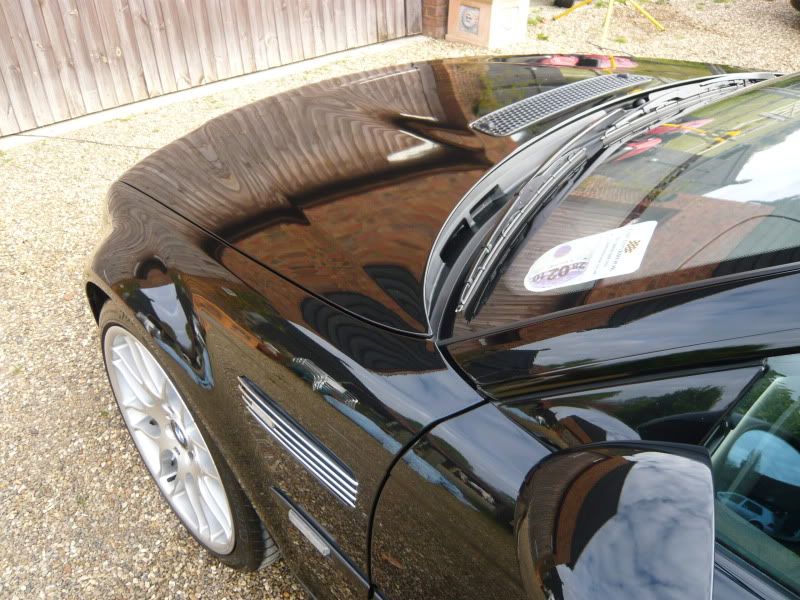
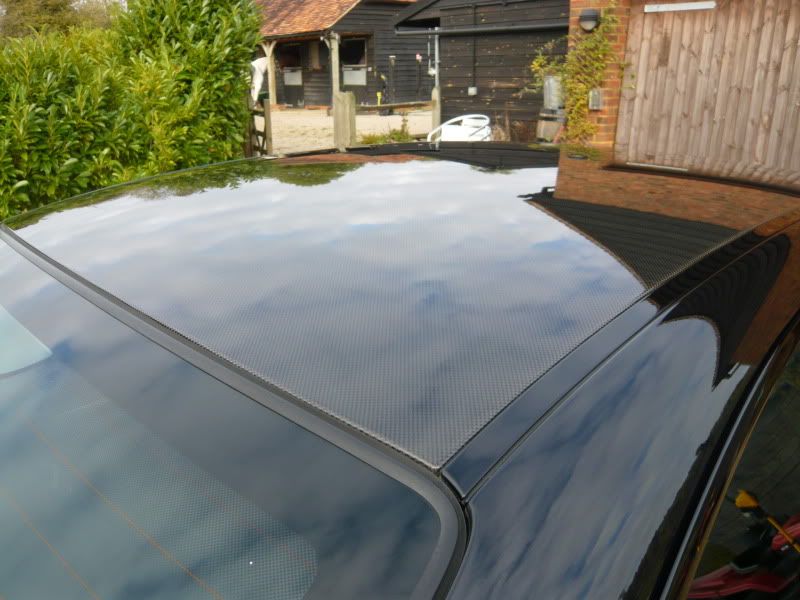
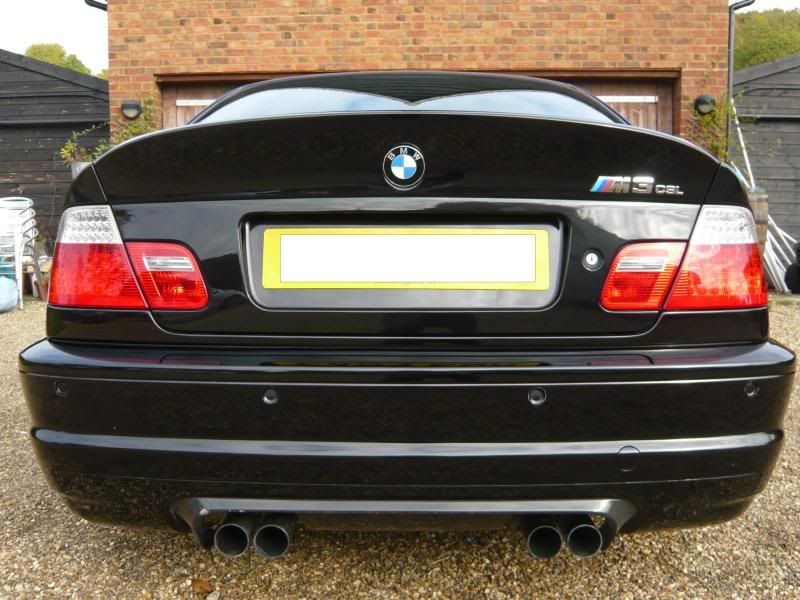
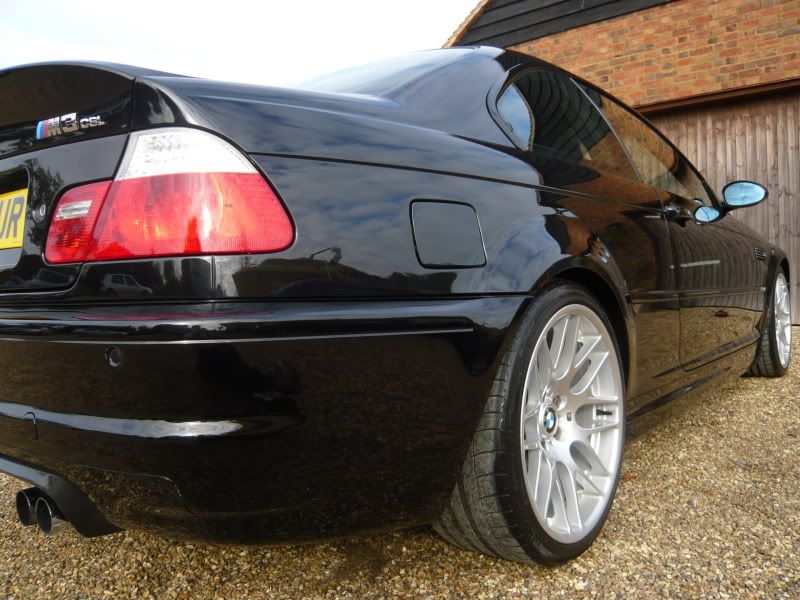
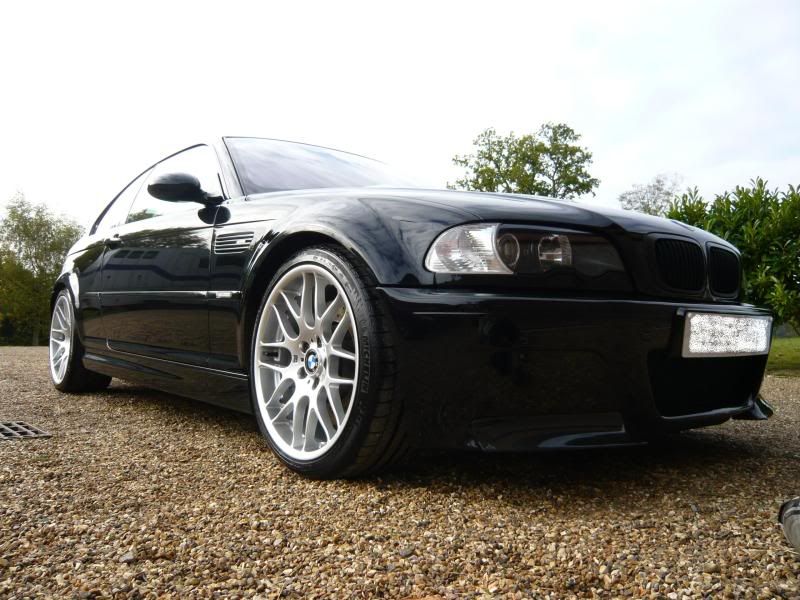
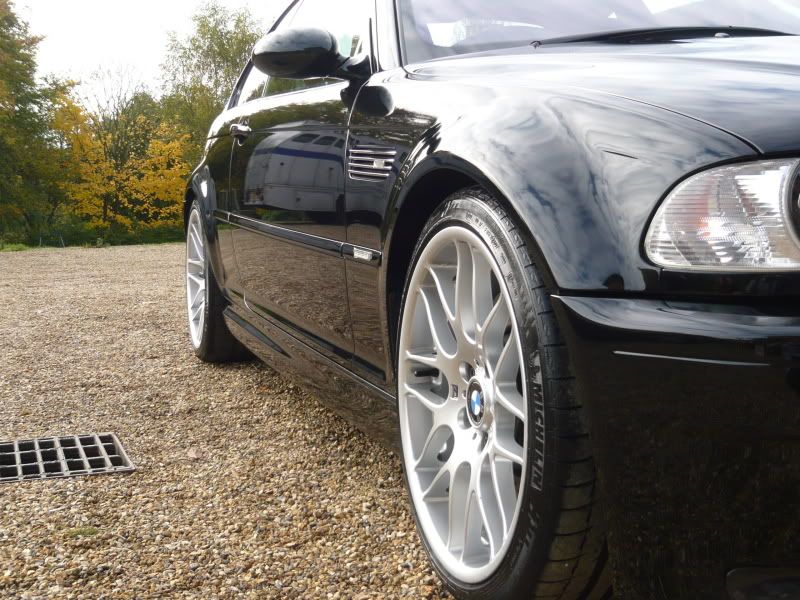
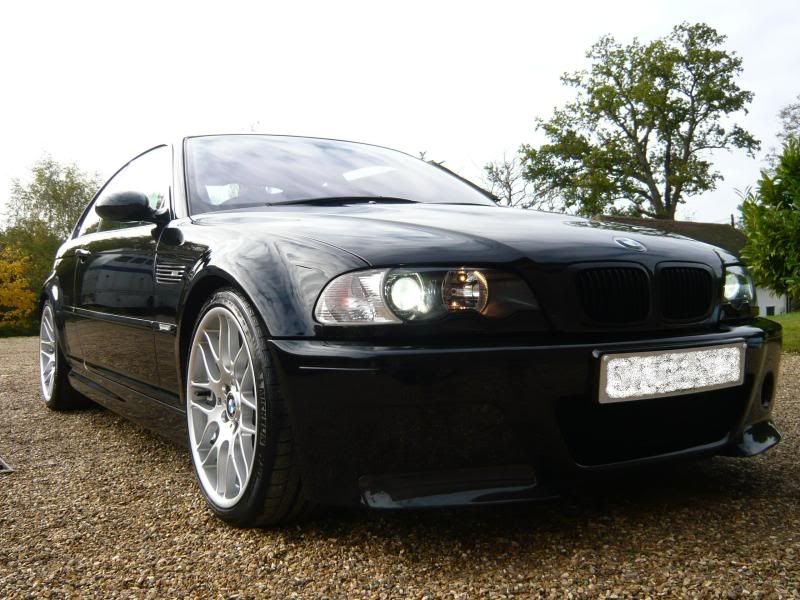
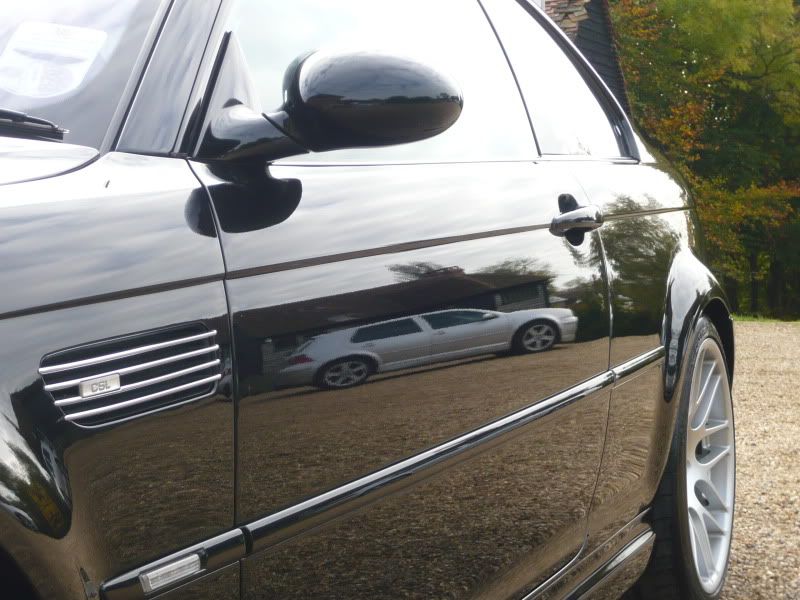
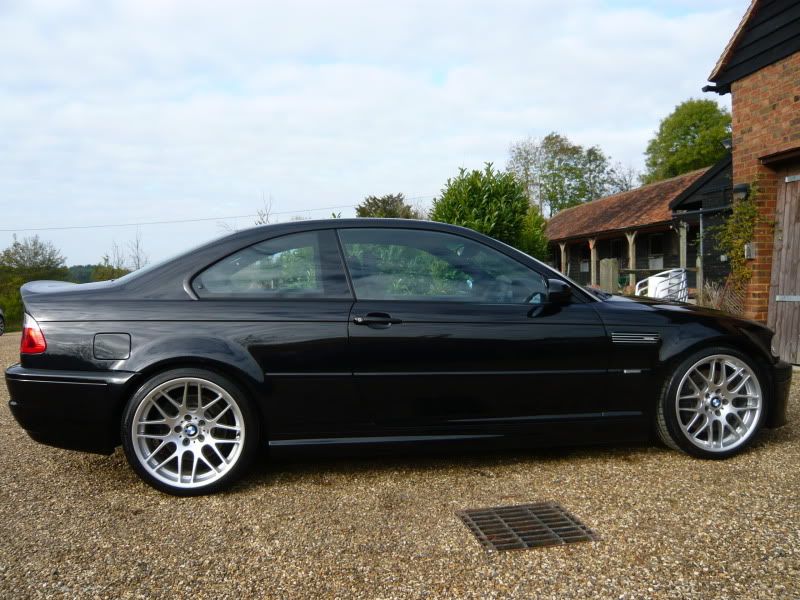
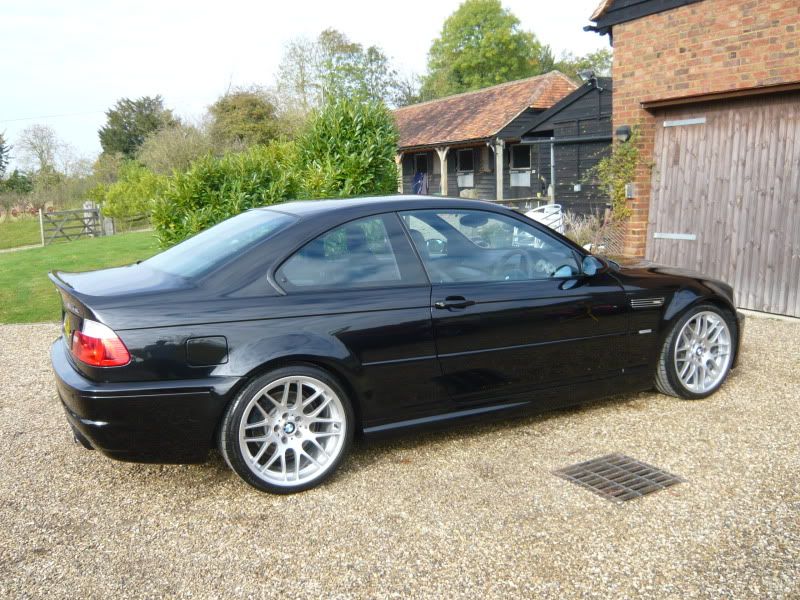
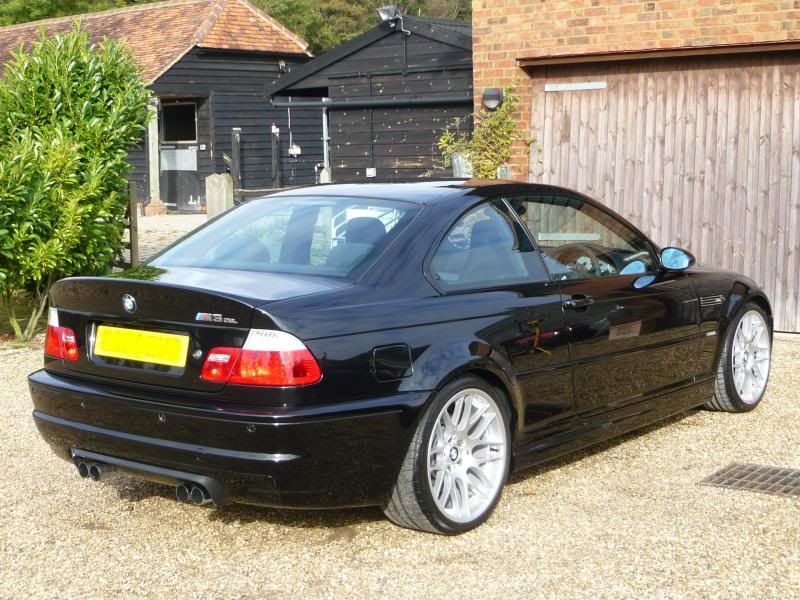
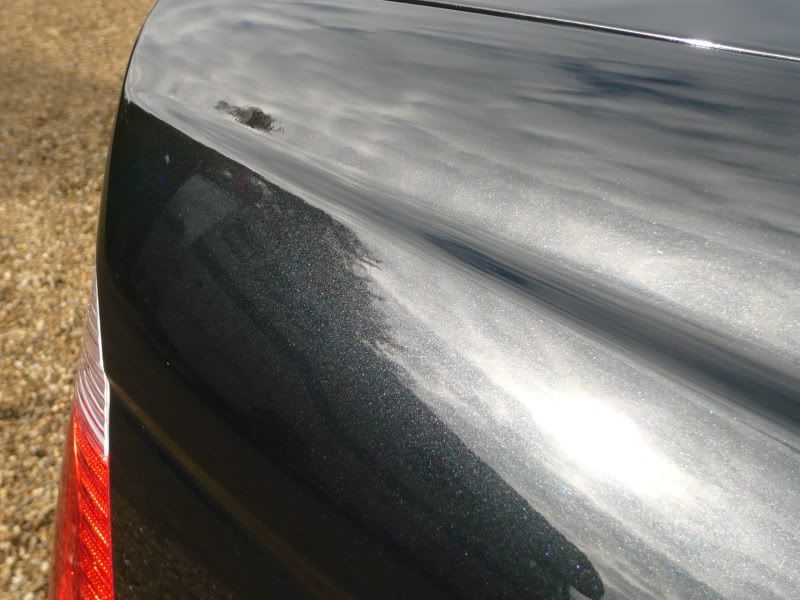
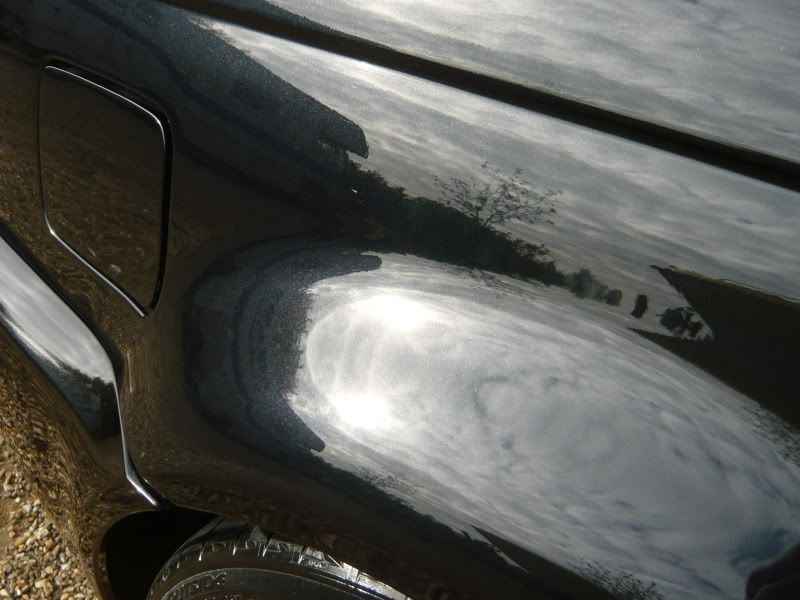
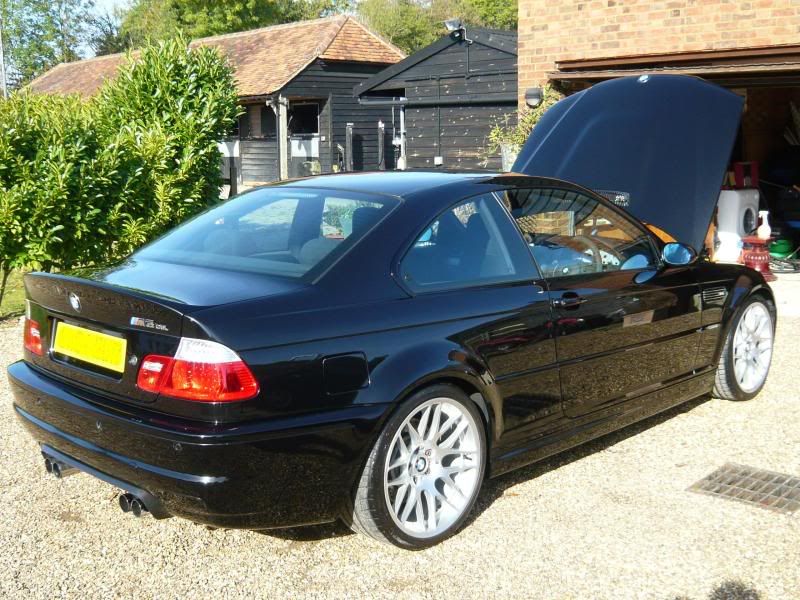
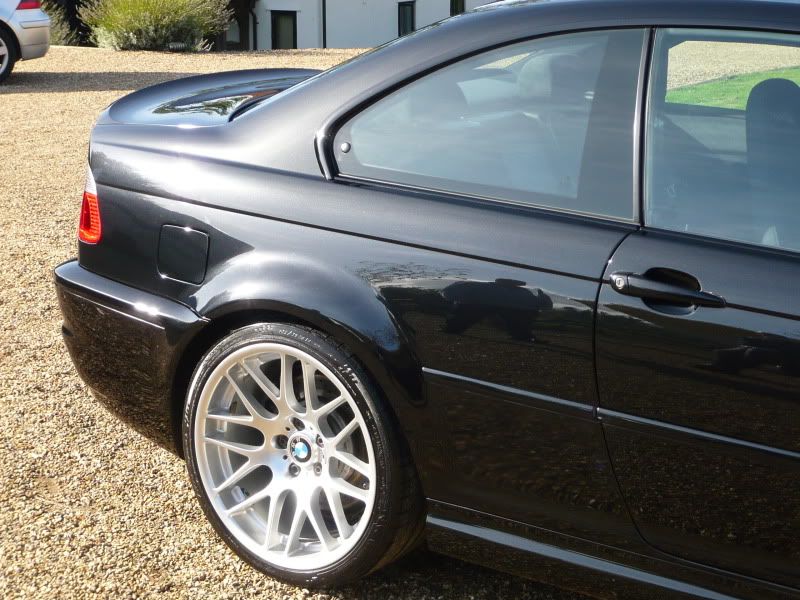
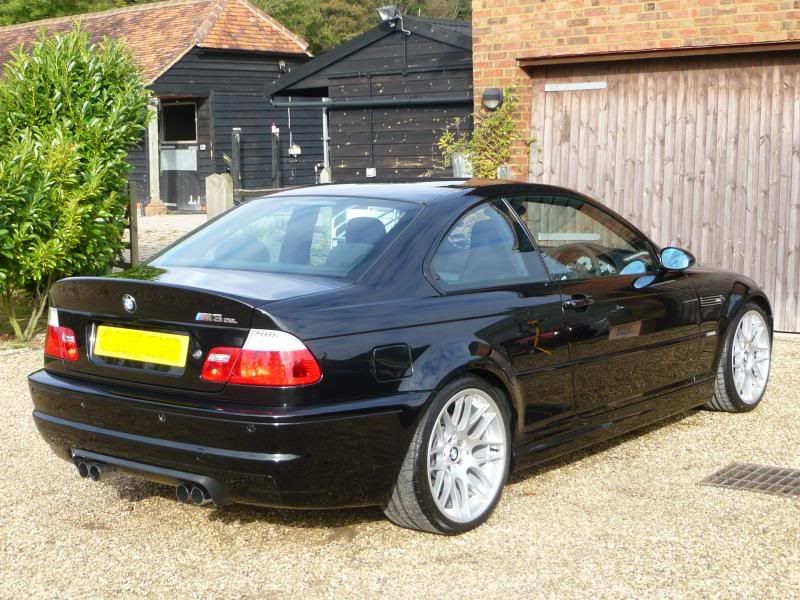
So, finally some finished pictures...
Thought you might be interested in what he did, and what he used, and obviously like to see some pics!
So, here it is...
This w'end i had Dan's M3 CSL booked in for a Stage 1 paint correction detail. He arrived promptly around 7 am on Friday morning. The below pictures were the car upon delivery
and the engine bay
the car was jetwashed down and the wheels were sprayed and left to dwell in Bilberry wheel cleaner
the door shuts, fuel cap and arches were sprayed in Meguiars APC and left to dwell
the car then had a prewash snowfoam which was left to dwell for 5 mins to loosen the dirt. It was then jetwashed down along with wheels, door shuts, fuel cap and arches. It was then washed using the 2 bucket method with Meguiars shampoo plus and jetwashed down.
the car was then clayed with Gloss it mild clay and Meguiars Last Touch as lube. surprisingly very little contamination came off with only the lower body half being worst off. Hopefully this is a credit to your car maintenance Dan
the wheels were then sprayed in Bilberry again and all parts were agitated with brushes
it was then washed again using the 2 bucket method
and then dried using Meguirs Last Touch as a drying aid, which left us with this
it was now time for a snack
the car was then taken into the garage
it was then cleansed with a paint cleaner which left this, not bad
so lets get the halogen lights on and inspect the paint..
the M3 was then taped up ready for machine polishing. Now this was a stage 1 correction booking so the idea was not to remove all defects, but i would say 85-90% at least were removed. I used a Makita rotary with a selection of 3M polishing pads and Meguiars polishing pads where more bite was needed. For the polish Menzerna 106FA was used. This has enough cut if worked correctly but can also finish down to an LSP finish.
not the best of angles but here was a 50/50 of the drivers side rear arch being corrected, defects remaining clearly visible on the pillar
i worked my way around the boot and then the passenger side
at this point it was getting late, so one last pic as the garage was shut
Saturday brought a new day, and these guys were already waiting for breakfast
moving round to the drivers front wing
to this
and this
to this
a quick shot of the passenger rear wing after correction
now onto the bonnet. The front of the car had clearly seen some paintwork, which in fairness had been done quite well, although the bonnet did have quite a 'flat' appearance to it. This pic doesnt show it too well, but the right hand edge of the bonnet is corrected, which brought the metallic flake out much more
Then the drivers side of the bonnet leading up to the first crease, this pic shows it more clearly
and the rest of the bonnet after machine polishing
The car was then brought outside and dusted down using Meguiars Last Touch
The whole car was then wiped down with Menzerna Top Inspection
Dodo Juice Lime Prime Lite glaze and pre-wax cleanser was then applied and buffed off
For a wax i chose to use Collinite 476s. This wax can create a very good finish but was primarily used as winter is fast approaching and it will create a very hard wearing protective barrier from the elements. 2 applications were applied leaving a good curing time between each
which left this
The wheels were treated with PoorBoys wheel sealant
and the tyres with 2 coats of Meguiars Endurance tyre gel
which left this
Another day was now complete, time for bed.
Sunday came and a cold morning it was, frost everywhere.
As always these guys were eating
and so were the pheasants
these guys were waiting for breaky
and the amount of noise these chaps were making they were definetly waiting for theirs
Anyway, the M3 was rolled out the garage. The sun being so low was really bringing the metallic flake out now
On with this mornings task, the engine bay.It was rinsed down with hot water and Meguiars APC was sprayed and left to dwell
It was then aggitated with a selection of brushes, hot water and shampoo plus and more Meguiars APC. Then finally rinsed down.
Aerospace 303 was then sprayed onto all rubbers and plastics and left to soak for 5 mins before being wiped down
which left this, much better than the delivery photos previously
Next up was a lovely product, Zaino Z8 Grand Finale which was lightly sprayed onto a panel at a time, worked in and buffed off
The exhaust tips were treated with Meguiars All Metal Polish
Door seal rubbers and any exterior plastic was treated with AutoGlym Bumper Care
The interior was hoovered and dusted with fine brushes
So, finally some finished pictures...
Comment