
Time for quite a positive update;
Mid-week I contacted Chris @ CR M-Tech regarding some bits, he informed me that he had an immaculate ’99 M3 3.2 Evo in ready for breaking, he mentioned that he’d seen the pictures of the my 328’s build and demise and would be more than happy for me to come down and break the car for bits myself as I had previously requested.
So, roll on 05:00 this morning when I fuelled up the trusty Astra Estate steed, purchased purposely for this job at an almighty price of £200.00 (with Tax and MOT!!) and set off on route to Shrewsbury. The journey down was pretty un-eventful as most parts runs are however I arrived in good time at 09:00 just as they’d opened for business.
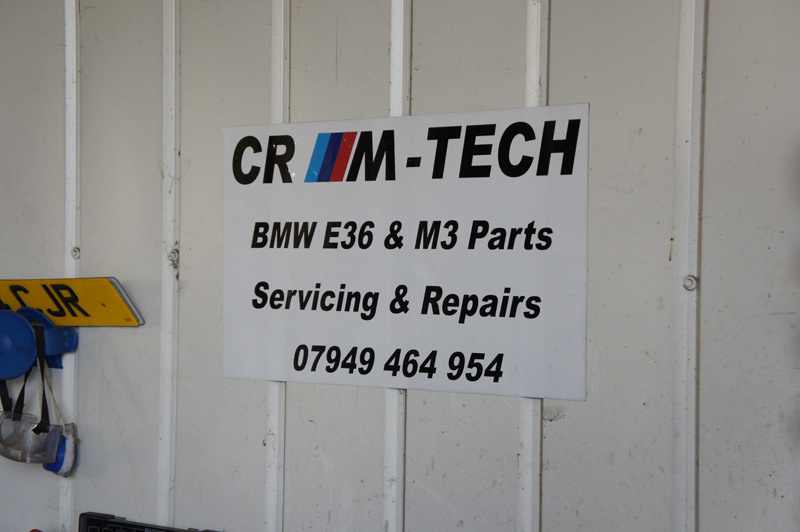
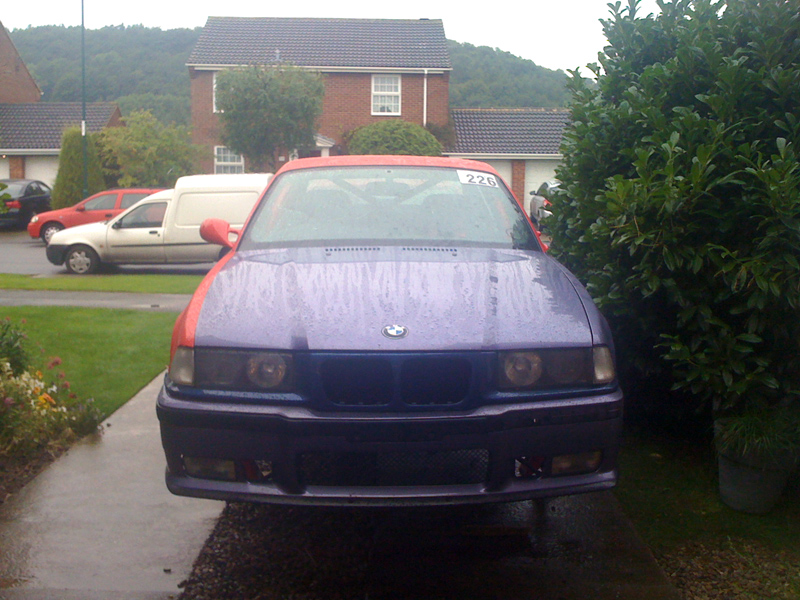
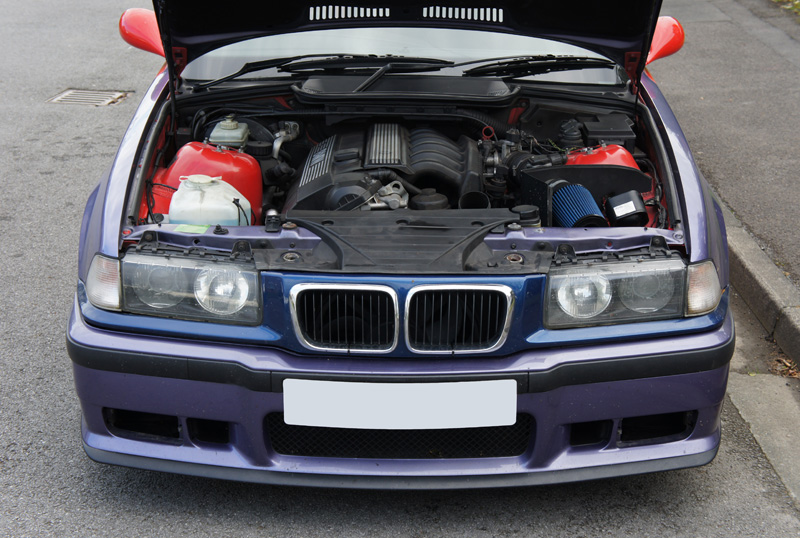
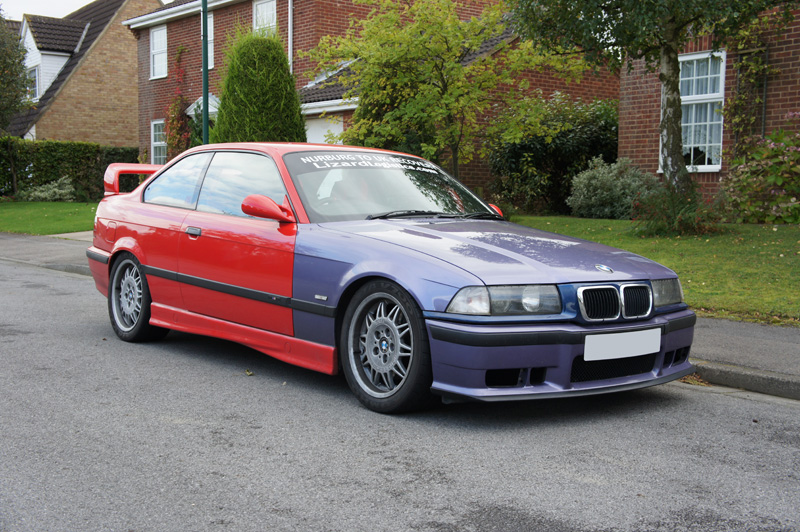
Next I was greeted by a stunning purple M3, the colour is one I’ve always had a soft spot for and thought it’d make a great track car, I was even more shocked when I found out this was the car to be broken... aside from the fact it was an SMG and had a sun-roof it was very, very tidy.
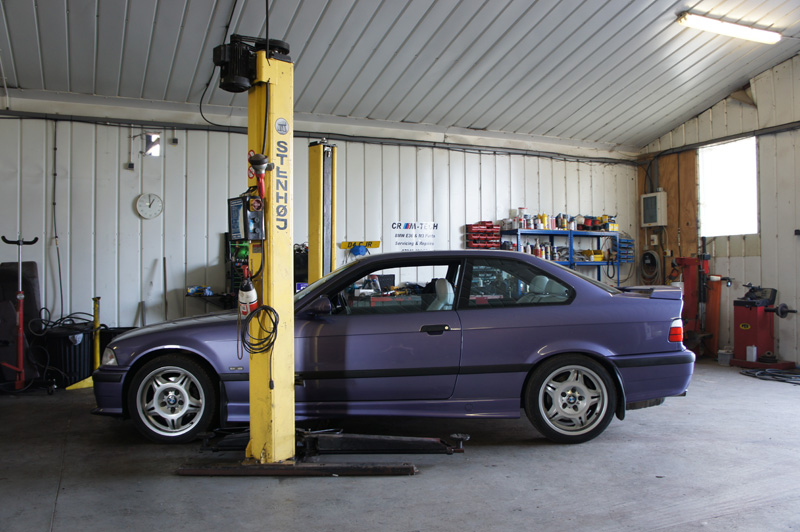
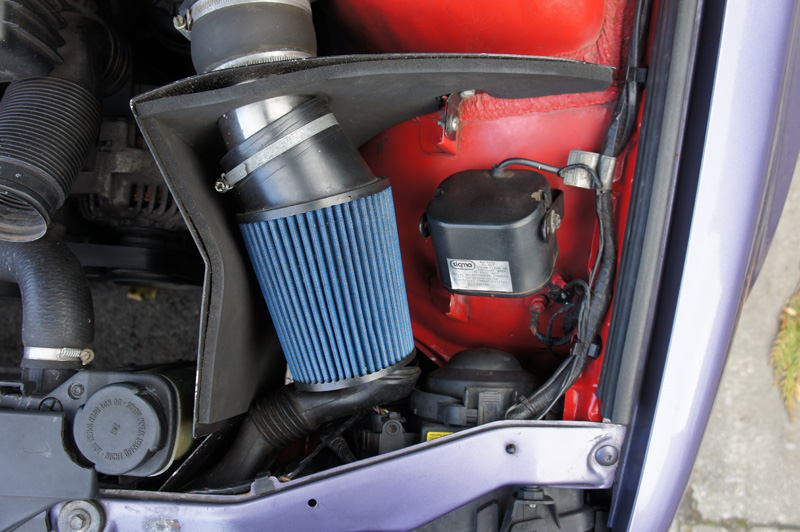
Work begun and within an hour it was missing most of the front end;
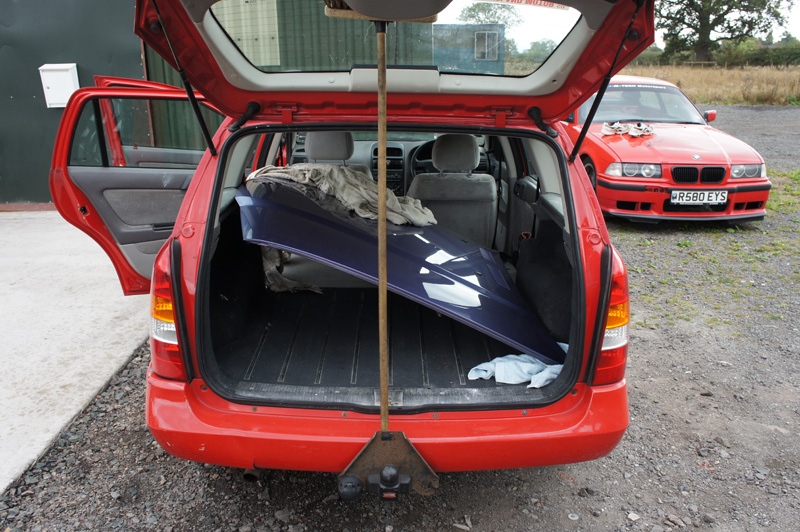
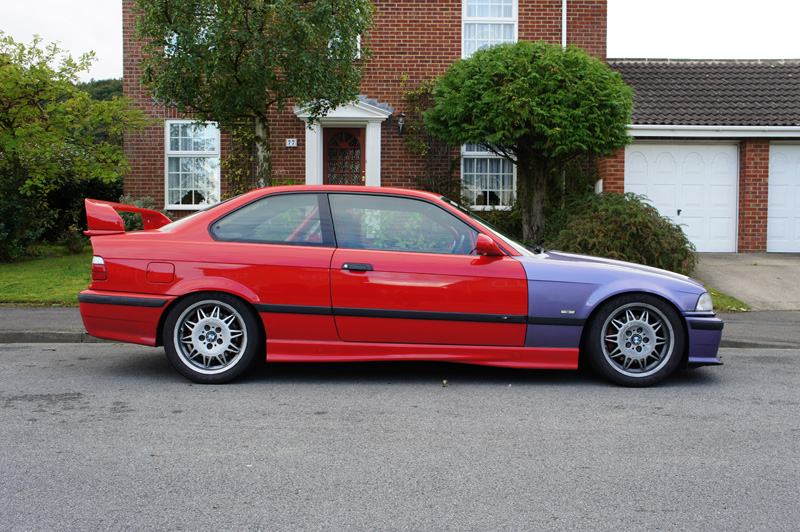
Next I tried the bonnet up for size in the Astra, to my amazement it fit which was a good as I really didn’t want to have to hire a van and hunt locally for a bonnet which would be in nowhere near as good condition as this one.
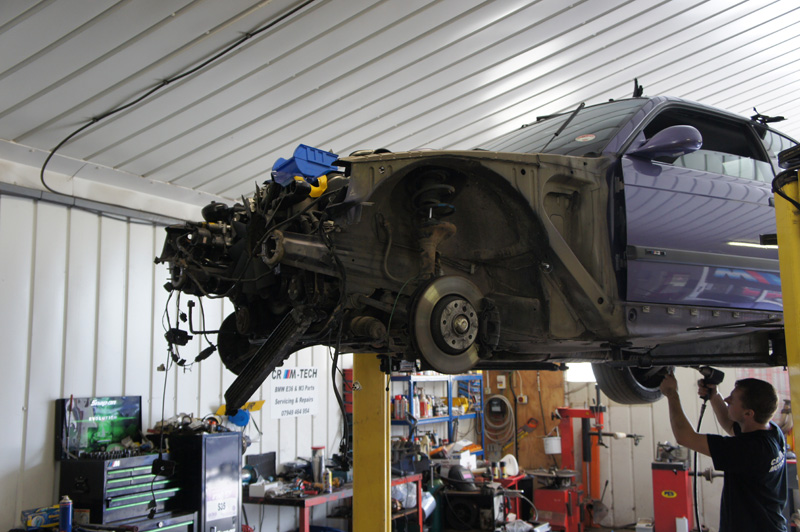
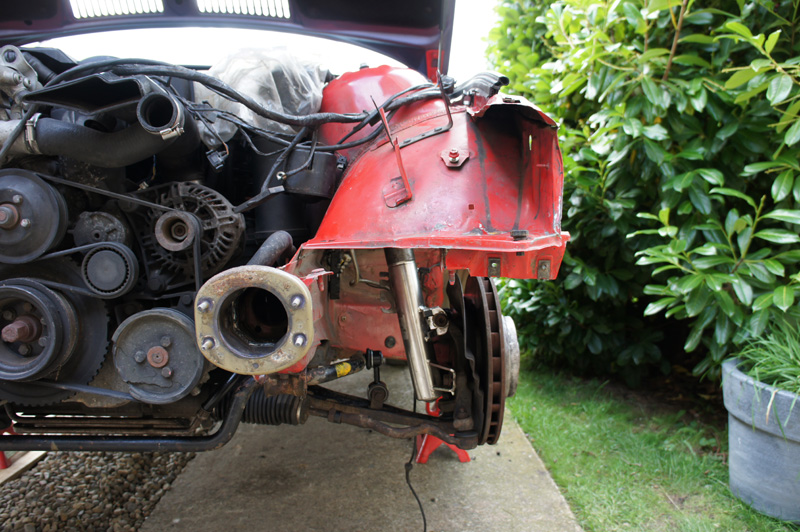
With the panels off, next it was time for the engine and gearbox. All this had to be removed as I wanted the front corner chassis to aid the repair of my own car. It was only a good few hours into the job and the engine was out ready to be split from the gearbox and cleaned.
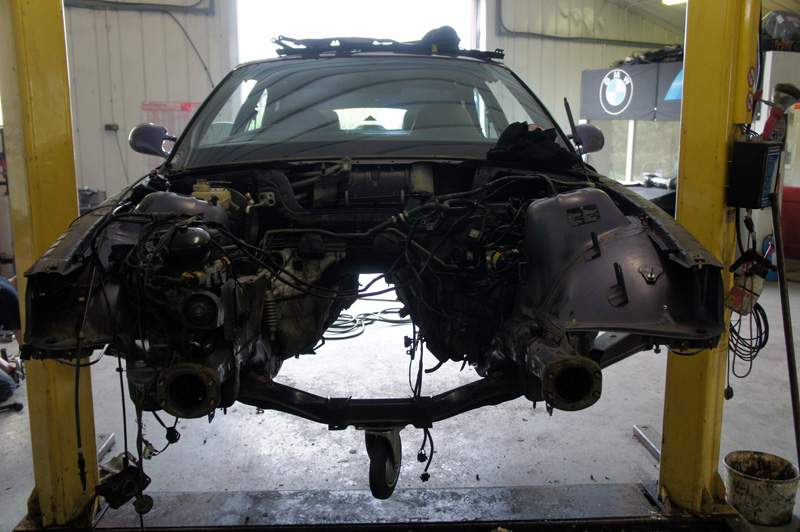
Now it was finally time for the car to rest in pieces, what was a beautiful M3 was now banished to the world of scrap in less than a few minutes, all in aid of repairing a lesser 328i.
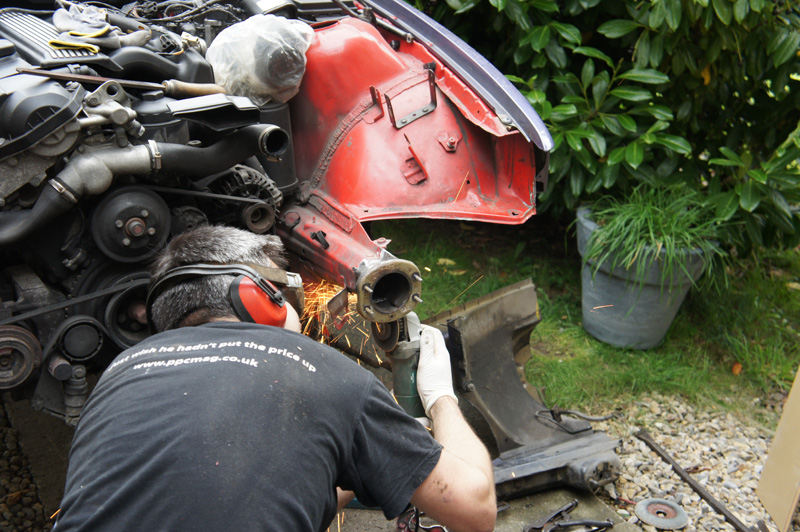
First up; grinder at the ready!!
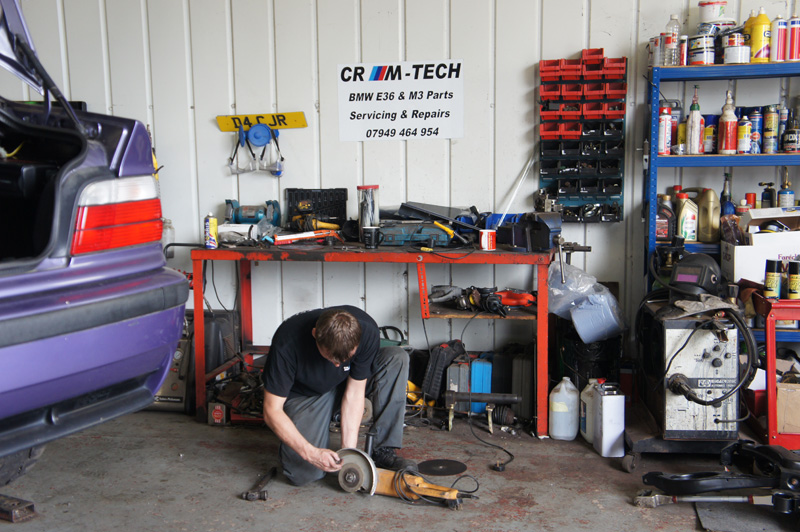
Ooooh and arrrr’s at the ready, it was now time to give the garage some light commencing with an array of orange and yellow sparks; sparklers ain’t half got better since I were a lad!
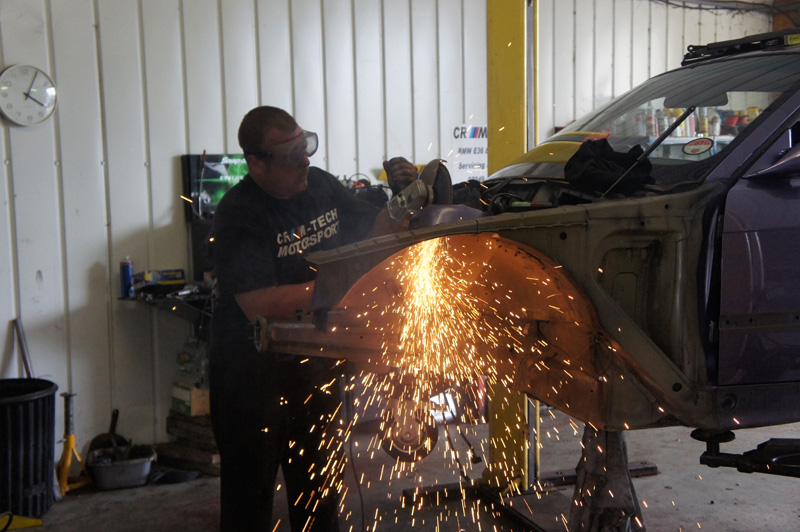
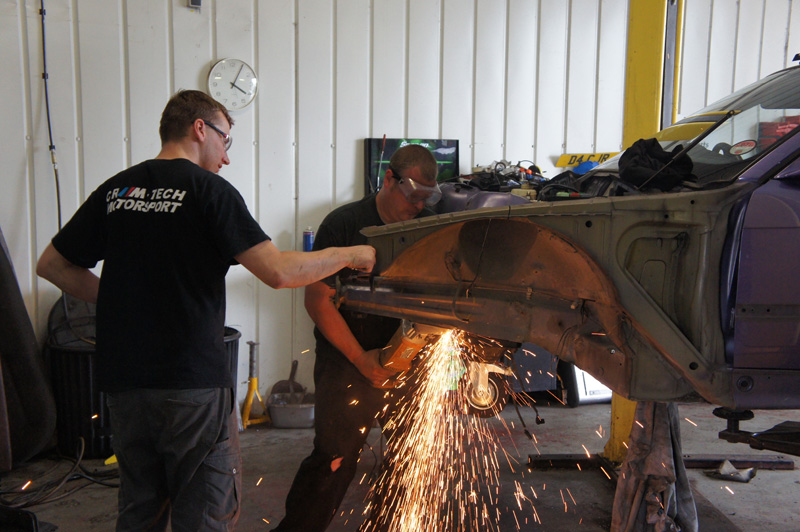
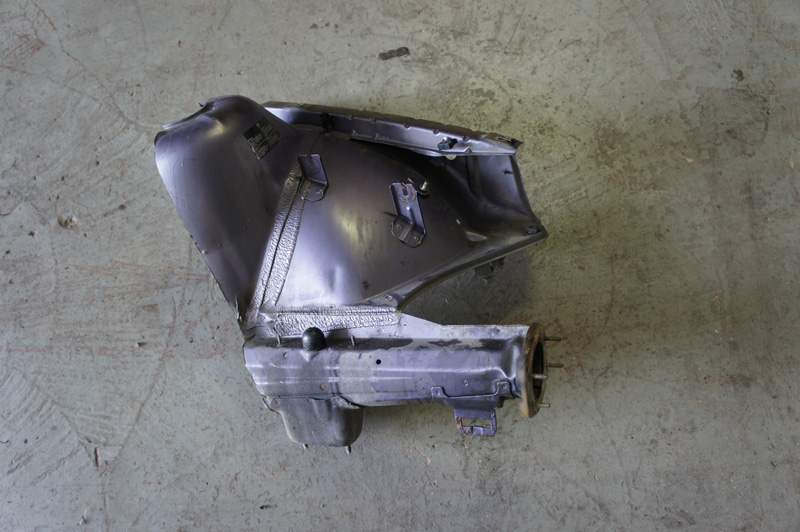
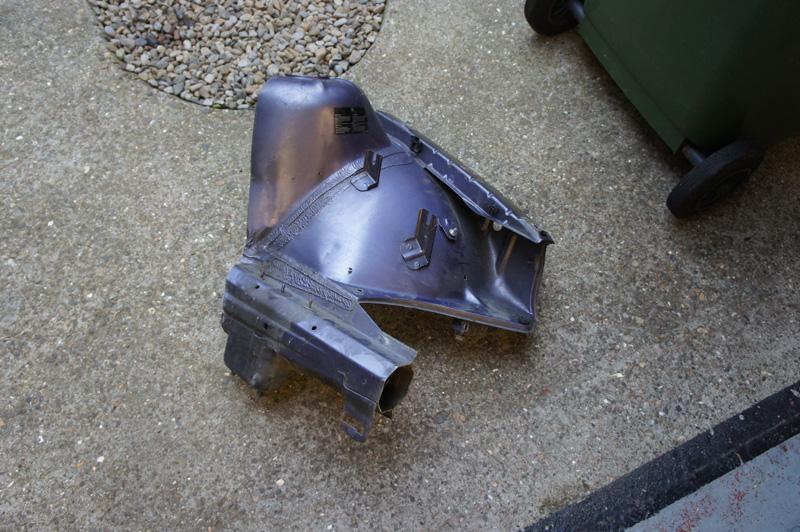
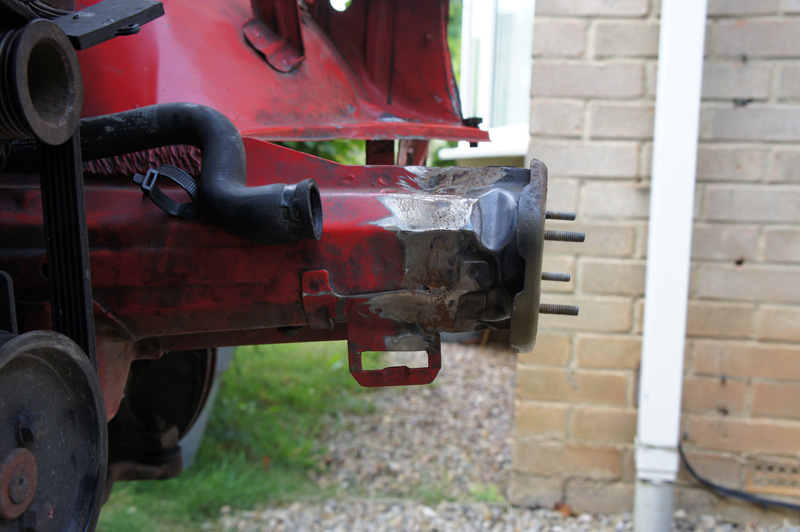
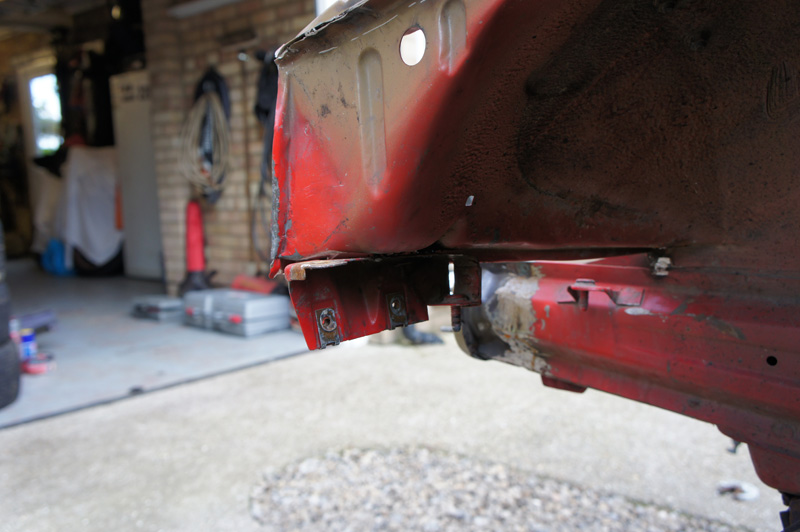
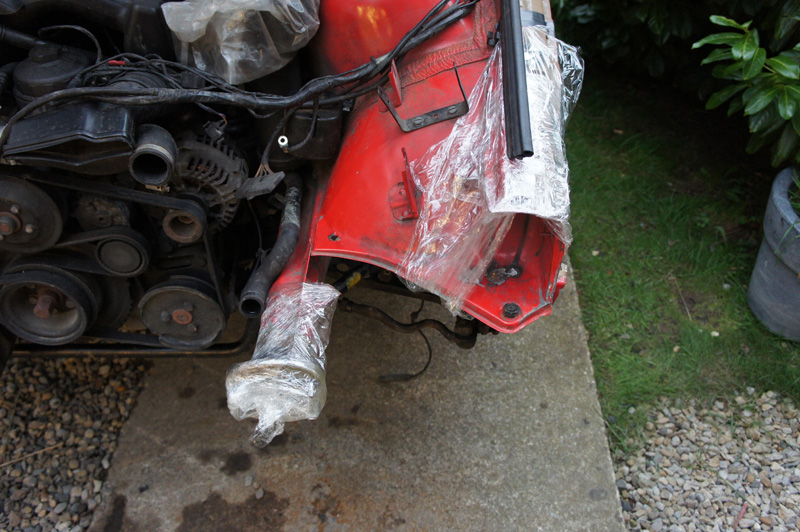
And here it is, one OEM BMW bandage ready to heal the 328’s wounds.
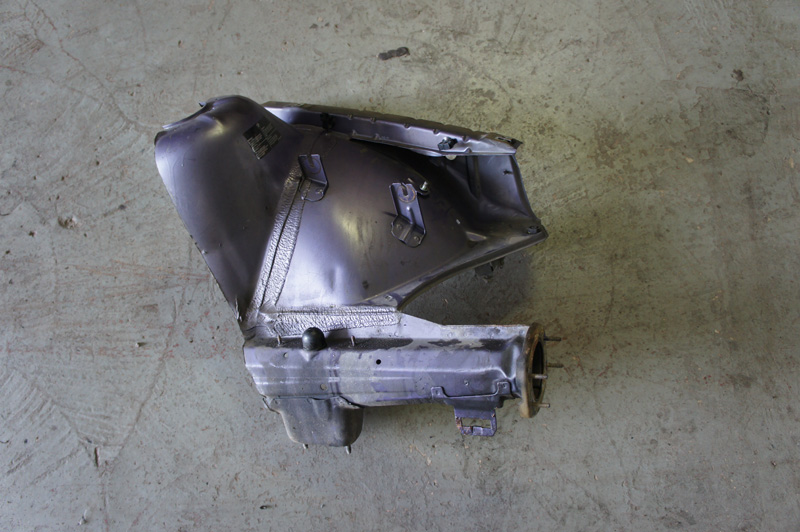
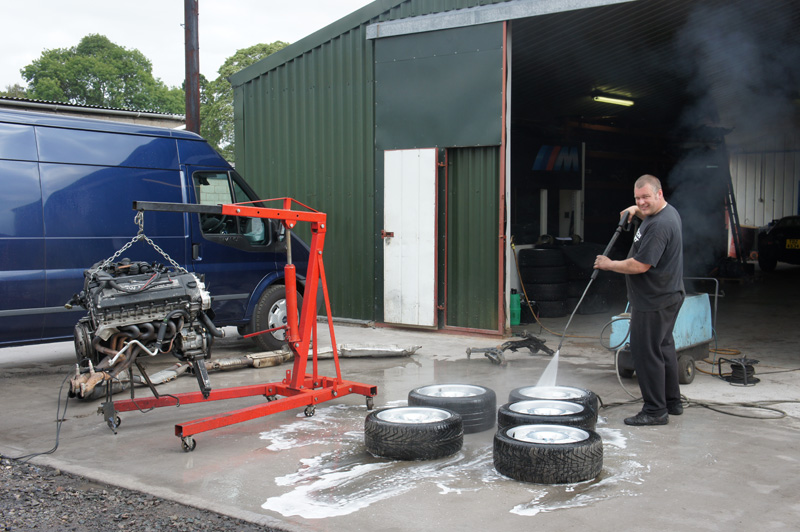
Back to what I mentioned earlier about the engine; cleaning. I couldn’t help but notice everything in Chris’s parts store was spotlessly clean and free from grease and grime usually associated with second hand parts from breakers.
It turns out, even though he doesn’t like to admit it, Chris has a cleaning obsession everything must be cleaned before it leaves the premises. Even though I wasn’t bothered, he insisted he cleaned all the parts before I left so that they were good to use straight away. I also noticed he was very anal about making sure all parts are supplied with the correct nuts and bolts, which was for me, a nice thing to see as I hate receiving parts only to find out I need to go buy a load of fitting hardware to mount the damn thing.
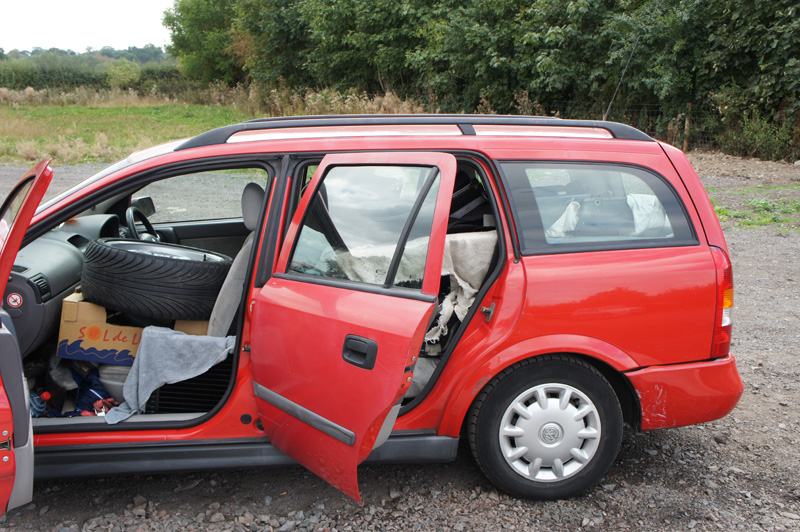
Next the Astra was loaded;
It may not look to bad but in this car there is as follows; bonnet, wings, bumper, crash panel, inner arch section, under trays, arch liners, wishbones, brake ducts, rear control arms, headlights, grill panels, aircon pre-rad, electric fan, a big box of bits and four wheels complete with tyres!
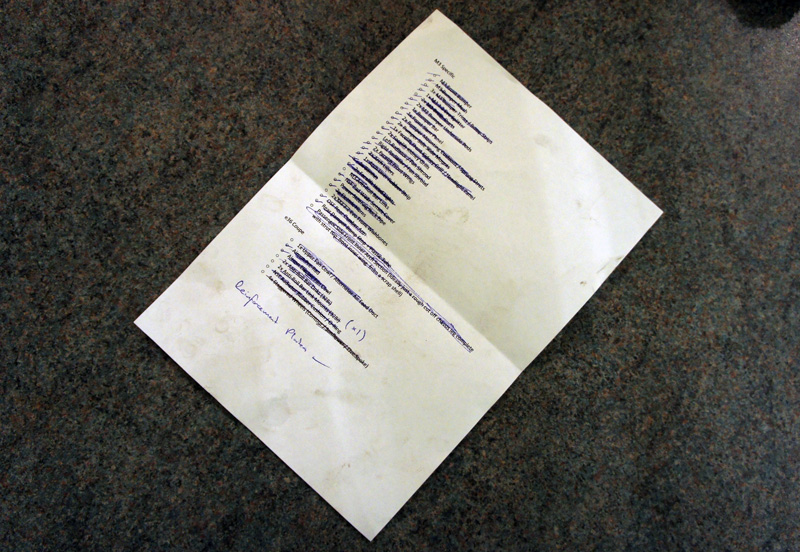
I got home and was able to cross off every single part I required off my list, and more!
I’d highly recommend Chris and CR M-Tech ([email protected]) for any of your e36 needs it was nice to deal with someone who also had a passion for the vehicles that were been broken. I liked how everything had to be right, if a part on the car wasn’t 100% it wasn’t allowed to be taken instead a perfect replacement was taken off the shelf, I also liked the fact he trusted me with his own tools and to disassemble the car at my own free will.... so I’d just like to say thanks Chris!!
Now... Let the re-build commence!!
Mid-week I contacted Chris @ CR M-Tech regarding some bits, he informed me that he had an immaculate ’99 M3 3.2 Evo in ready for breaking, he mentioned that he’d seen the pictures of the my 328’s build and demise and would be more than happy for me to come down and break the car for bits myself as I had previously requested.
So, roll on 05:00 this morning when I fuelled up the trusty Astra Estate steed, purchased purposely for this job at an almighty price of £200.00 (with Tax and MOT!!) and set off on route to Shrewsbury. The journey down was pretty un-eventful as most parts runs are however I arrived in good time at 09:00 just as they’d opened for business.
Next I was greeted by a stunning purple M3, the colour is one I’ve always had a soft spot for and thought it’d make a great track car, I was even more shocked when I found out this was the car to be broken... aside from the fact it was an SMG and had a sun-roof it was very, very tidy.
Work begun and within an hour it was missing most of the front end;
Next I tried the bonnet up for size in the Astra, to my amazement it fit which was a good as I really didn’t want to have to hire a van and hunt locally for a bonnet which would be in nowhere near as good condition as this one.
With the panels off, next it was time for the engine and gearbox. All this had to be removed as I wanted the front corner chassis to aid the repair of my own car. It was only a good few hours into the job and the engine was out ready to be split from the gearbox and cleaned.
Now it was finally time for the car to rest in pieces, what was a beautiful M3 was now banished to the world of scrap in less than a few minutes, all in aid of repairing a lesser 328i.
First up; grinder at the ready!!
Ooooh and arrrr’s at the ready, it was now time to give the garage some light commencing with an array of orange and yellow sparks; sparklers ain’t half got better since I were a lad!
And here it is, one OEM BMW bandage ready to heal the 328’s wounds.
Back to what I mentioned earlier about the engine; cleaning. I couldn’t help but notice everything in Chris’s parts store was spotlessly clean and free from grease and grime usually associated with second hand parts from breakers.
It turns out, even though he doesn’t like to admit it, Chris has a cleaning obsession everything must be cleaned before it leaves the premises. Even though I wasn’t bothered, he insisted he cleaned all the parts before I left so that they were good to use straight away. I also noticed he was very anal about making sure all parts are supplied with the correct nuts and bolts, which was for me, a nice thing to see as I hate receiving parts only to find out I need to go buy a load of fitting hardware to mount the damn thing.
Next the Astra was loaded;
It may not look to bad but in this car there is as follows; bonnet, wings, bumper, crash panel, inner arch section, under trays, arch liners, wishbones, brake ducts, rear control arms, headlights, grill panels, aircon pre-rad, electric fan, a big box of bits and four wheels complete with tyres!
I got home and was able to cross off every single part I required off my list, and more!
I’d highly recommend Chris and CR M-Tech ([email protected]) for any of your e36 needs it was nice to deal with someone who also had a passion for the vehicles that were been broken. I liked how everything had to be right, if a part on the car wasn’t 100% it wasn’t allowed to be taken instead a perfect replacement was taken off the shelf, I also liked the fact he trusted me with his own tools and to disassemble the car at my own free will.... so I’d just like to say thanks Chris!!
Now... Let the re-build commence!!

Comment