
Announcement
Collapse
No announcement yet.
RoyalFlushness's 2001 Imola Red E46 M3
Collapse
X
-
Some photos from today:


 Last edited by RoyalFlushness; 02-07-2022, 12:25 PM.
- Likes 2
Leave a comment:
-
Man, that is one clean and good-looking car. I'm hoping the weather gets better so I can wash mine!
- Likes 1
Leave a comment:
-
-
Tbone is correct. 2000-2001 build date have clip in turn signals. Later models used screw in. You are going to want to order: 63137165857 and 63137165858 if you have screw in ones.Originally posted by sg.e46m3 View PostI was just about to order those turn signals since mine were badly chipped and i was having issues with one of the sockets.
i was wondering is there a difference between 710311329004/710311329003 (the ones you ordered)
and BMW Turn Signal Assembly - Magneti Marelli 63137165858 / 63137165857 (https://www.fcpeuro.com/products/bmw...li-63137165857 the ones where i was going to order)
Leave a comment:
-
His aren't screw in due to 2001 model year. Yours are likely screw in corners (different part #) Same lens though, same brand.
- Likes 1
Leave a comment:
-
I was just about to order those turn signals since mine were badly chipped and i was having issues with one of the sockets.
i was wondering is there a difference between 710311329004/710311329003 (the ones you ordered)
and BMW Turn Signal Assembly - Magneti Marelli 63137165858 / 63137165857 (https://www.fcpeuro.com/products/bmw...li-63137165857 the ones where i was going to order)
Leave a comment:
-
Wow those door handles were disgusting, nice job on the indicators and bulbs. I feel I need to get a new set too. Good deal?
Leave a comment:
-
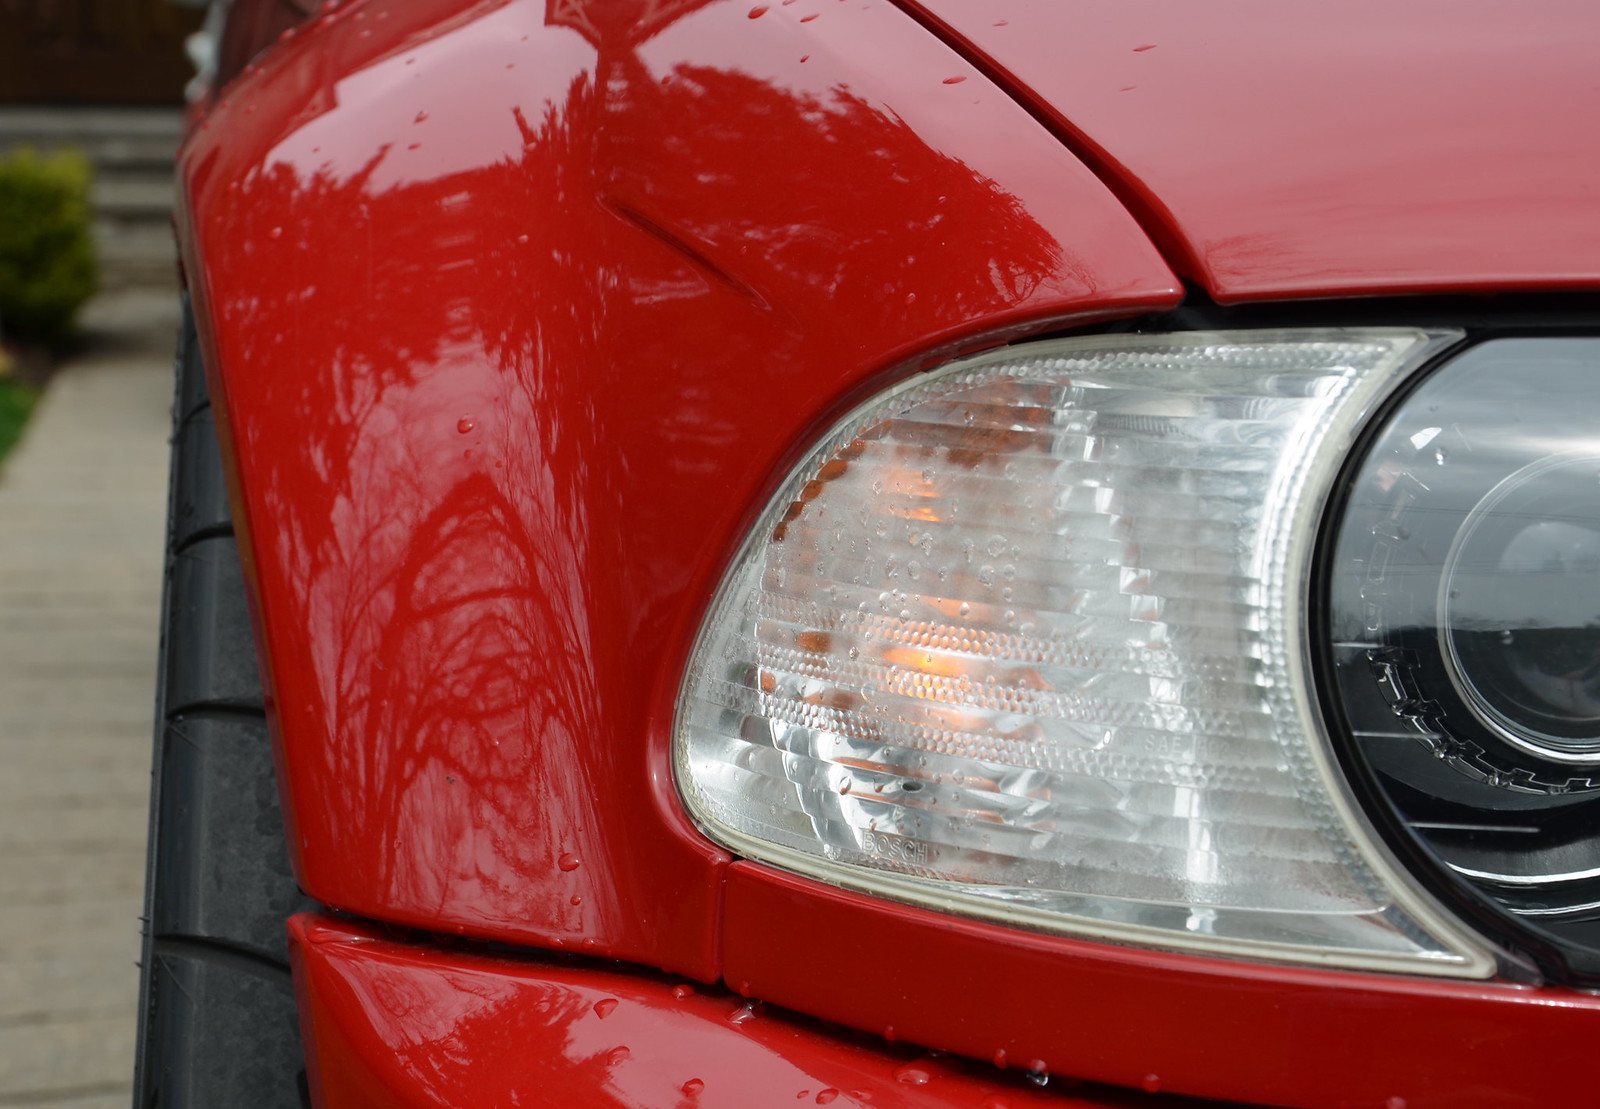
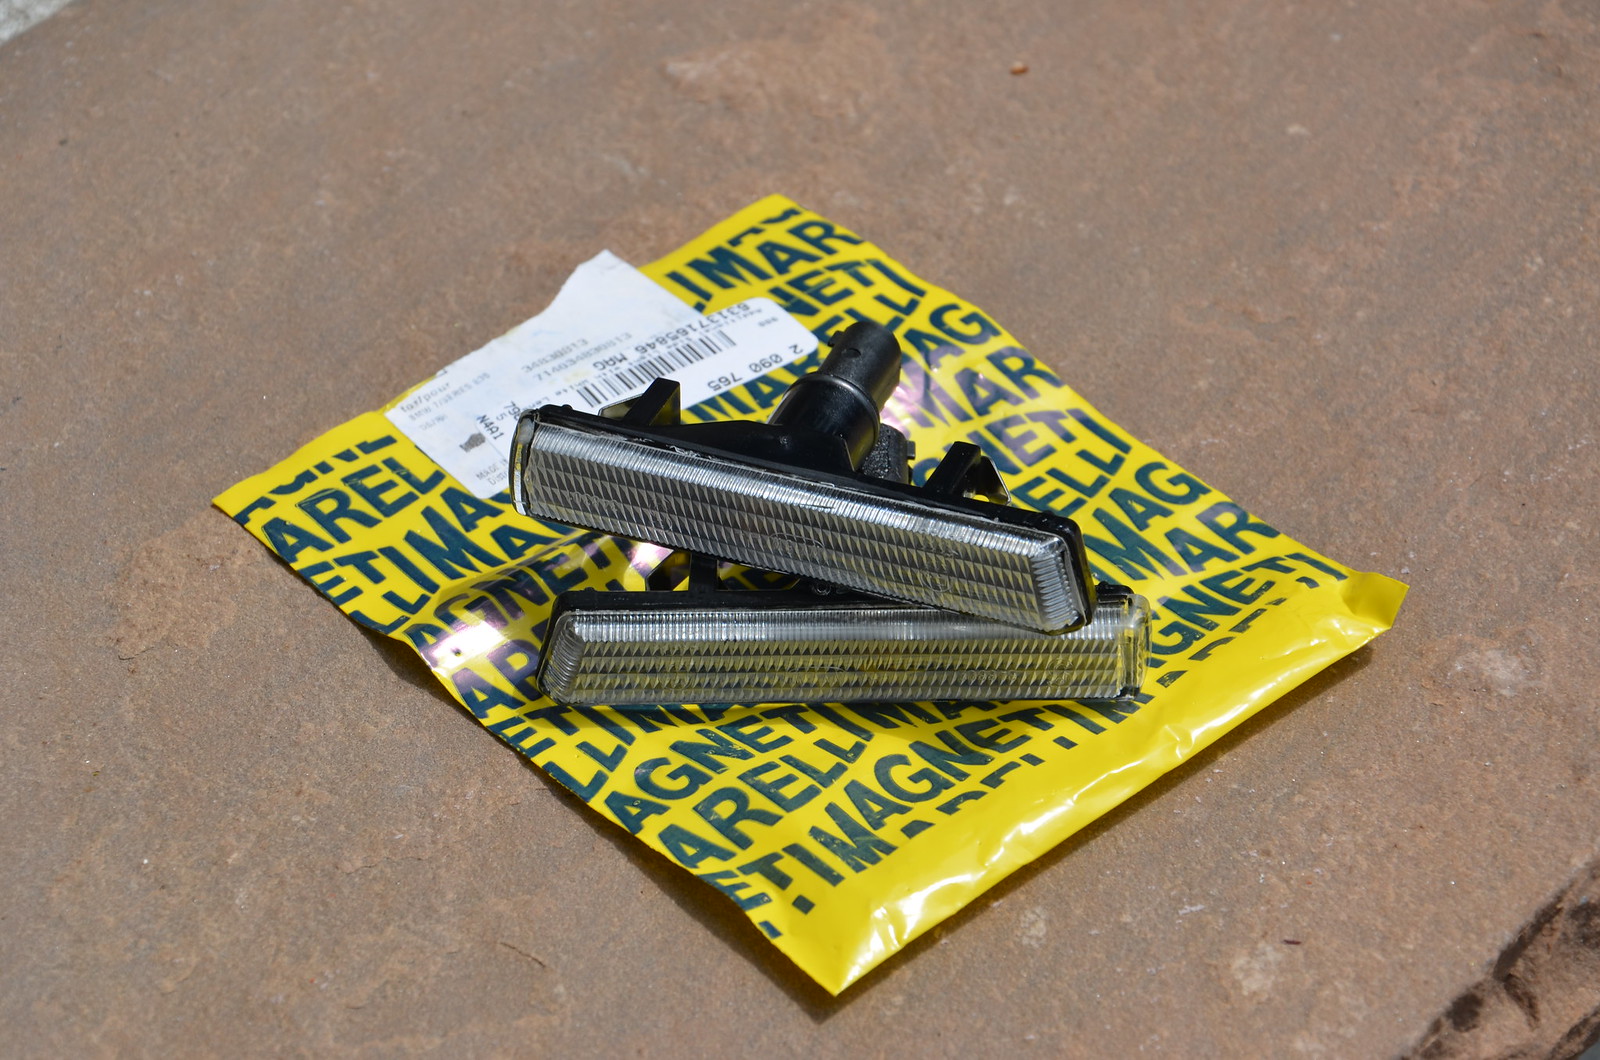
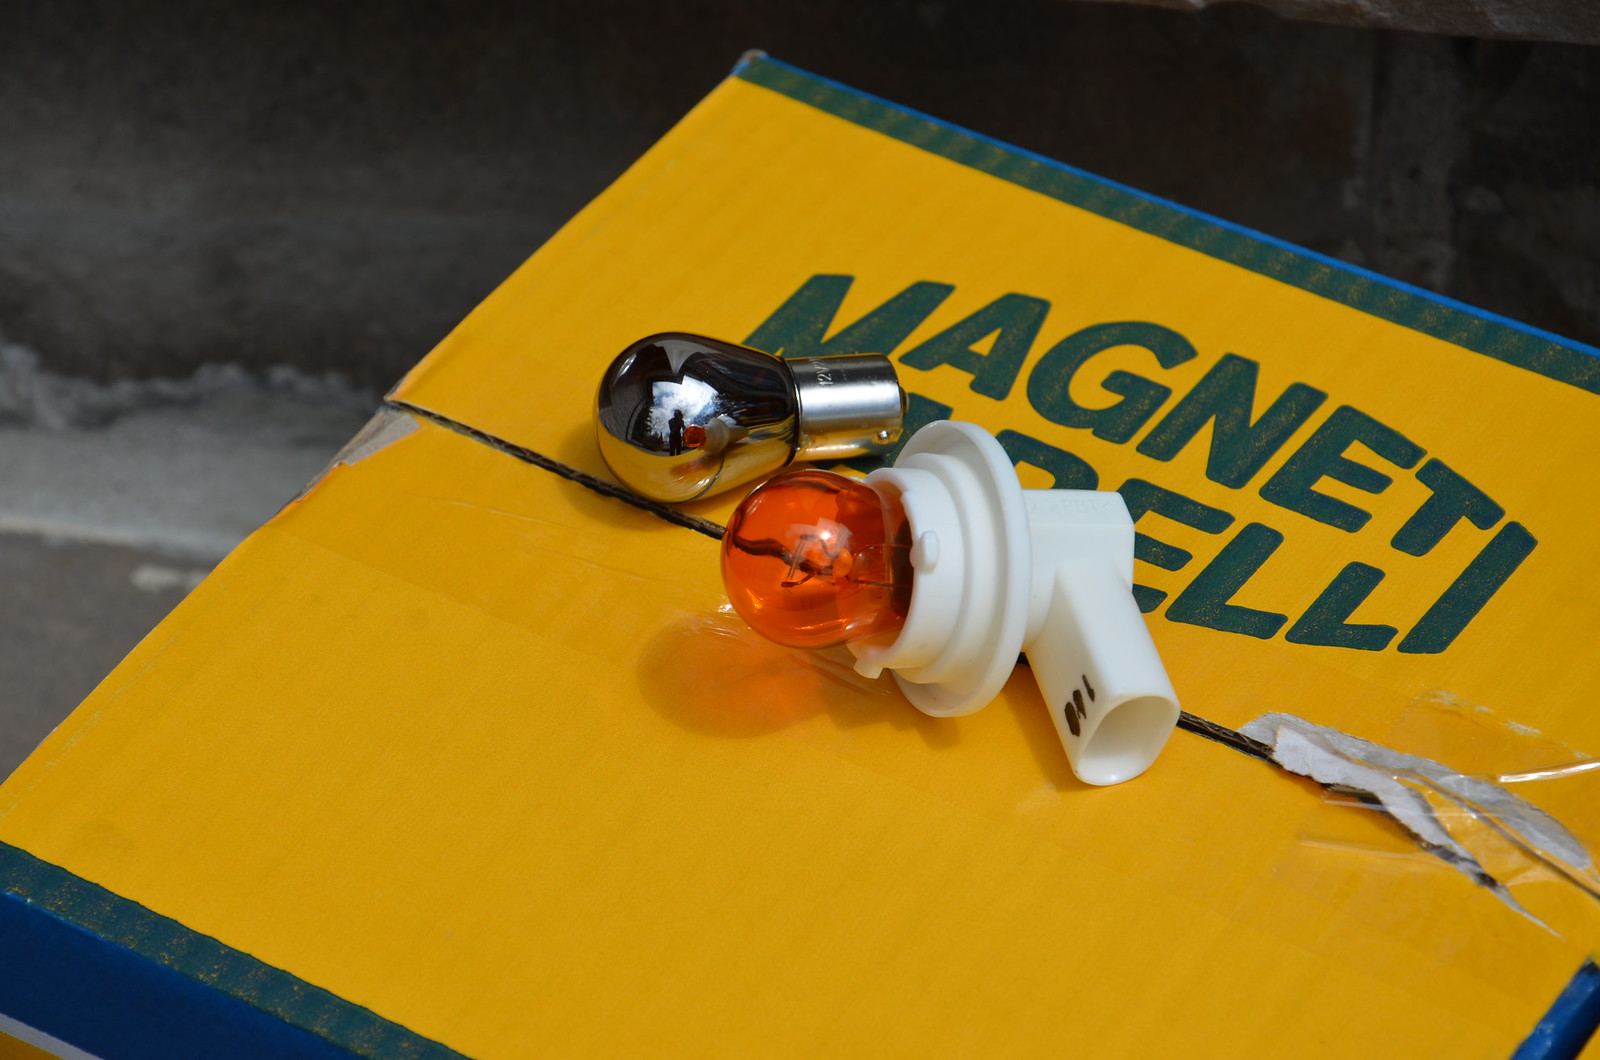
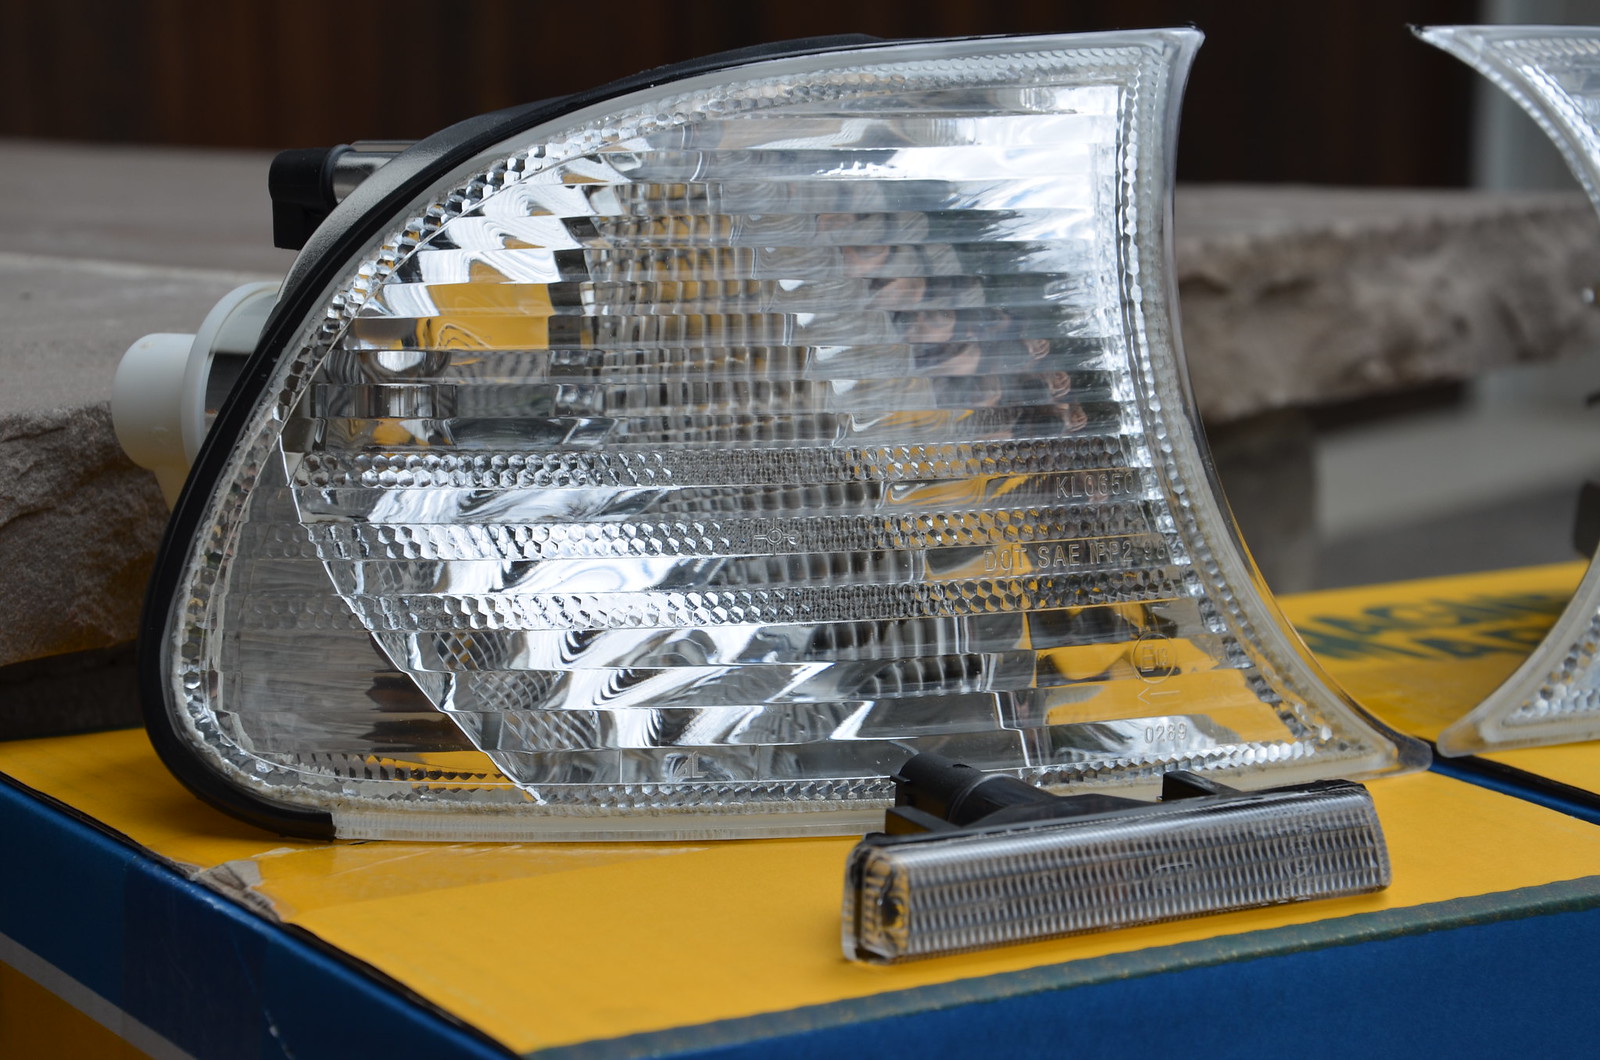
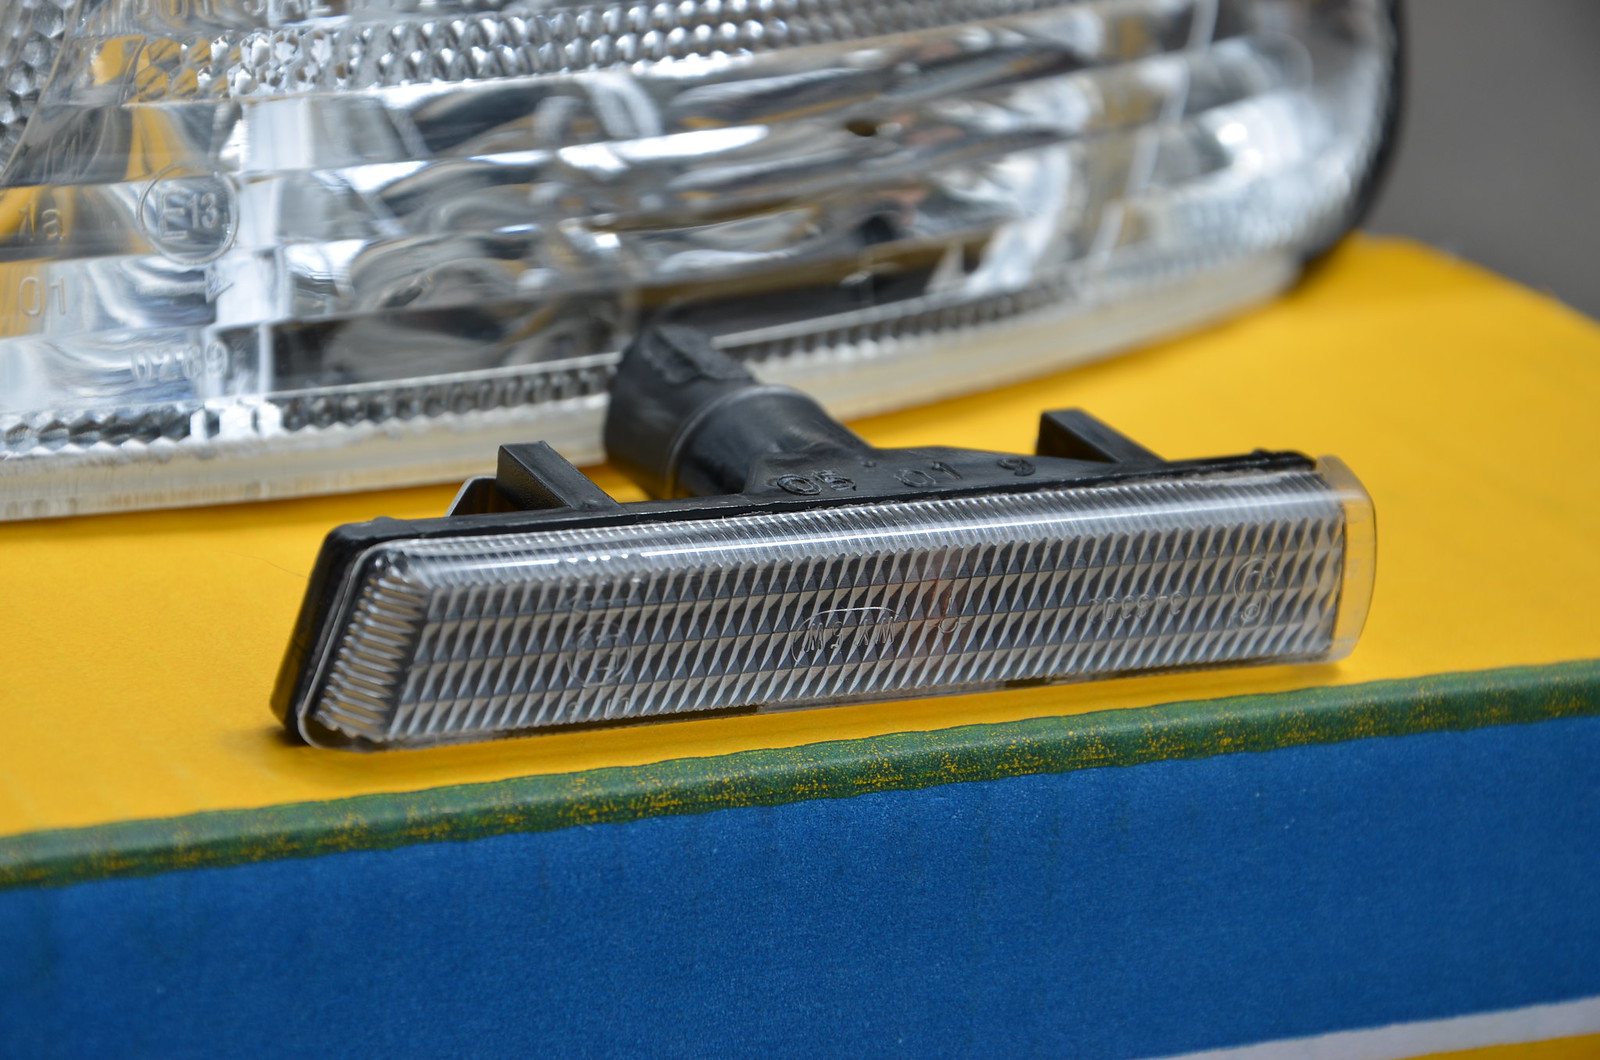
Couple more odds and ends starting to come in. The seals on my old front turn signals went bad long ago and the turn signals began to retain water. So I figured it would be a good time to replace with some new OEM goodies. I also ordered to some stealth bulbs for the front and the back to get rid of the annoying "egg yolk" effect the orange bulbs have inside the lights. I also got some new euro clear side markers to get rid of the old grungy ones.
Will be installing once my ceramic coat cures in a few more days.
Moisture in old turn signals:
Fresh Parts:



Stealth Bulbs Installed:

Leave a comment:
-
The new style BMW centre caps I bought for the EC7's weren't flowing right with me. I felt as if they were too modern for the car. As much as I like the look without center caps I wanted to find a solution. So I sourced some period specific center caps and cleaned them up before ceramic coating them.

The paint correction is now finished. Crazy how the car has changed after 3 days of wet sanding and cutting. Topped of with Ceramic Pro and its looking wet. I drove the car into my storage garage to let the ceramic coat cure for a few days because we are expecting light snow in Toronto this weekend (yes in May). I have some other odds and ends I am going to install over the coming days and then time for a proper photoshoot.
Some teaser pictures in the meantime.


- Likes 1
Leave a comment:
-
Looks great man! We definitely need to have a cruise/shoot once our cars are done.
- Likes 1
Leave a comment:
-

Grimey..


The doors really deepened up from the cut and are starting to match the rest of the car very well:
 Last edited by RoyalFlushness; 05-05-2020, 01:46 PM.
Leave a comment:
-
Thank you guys!
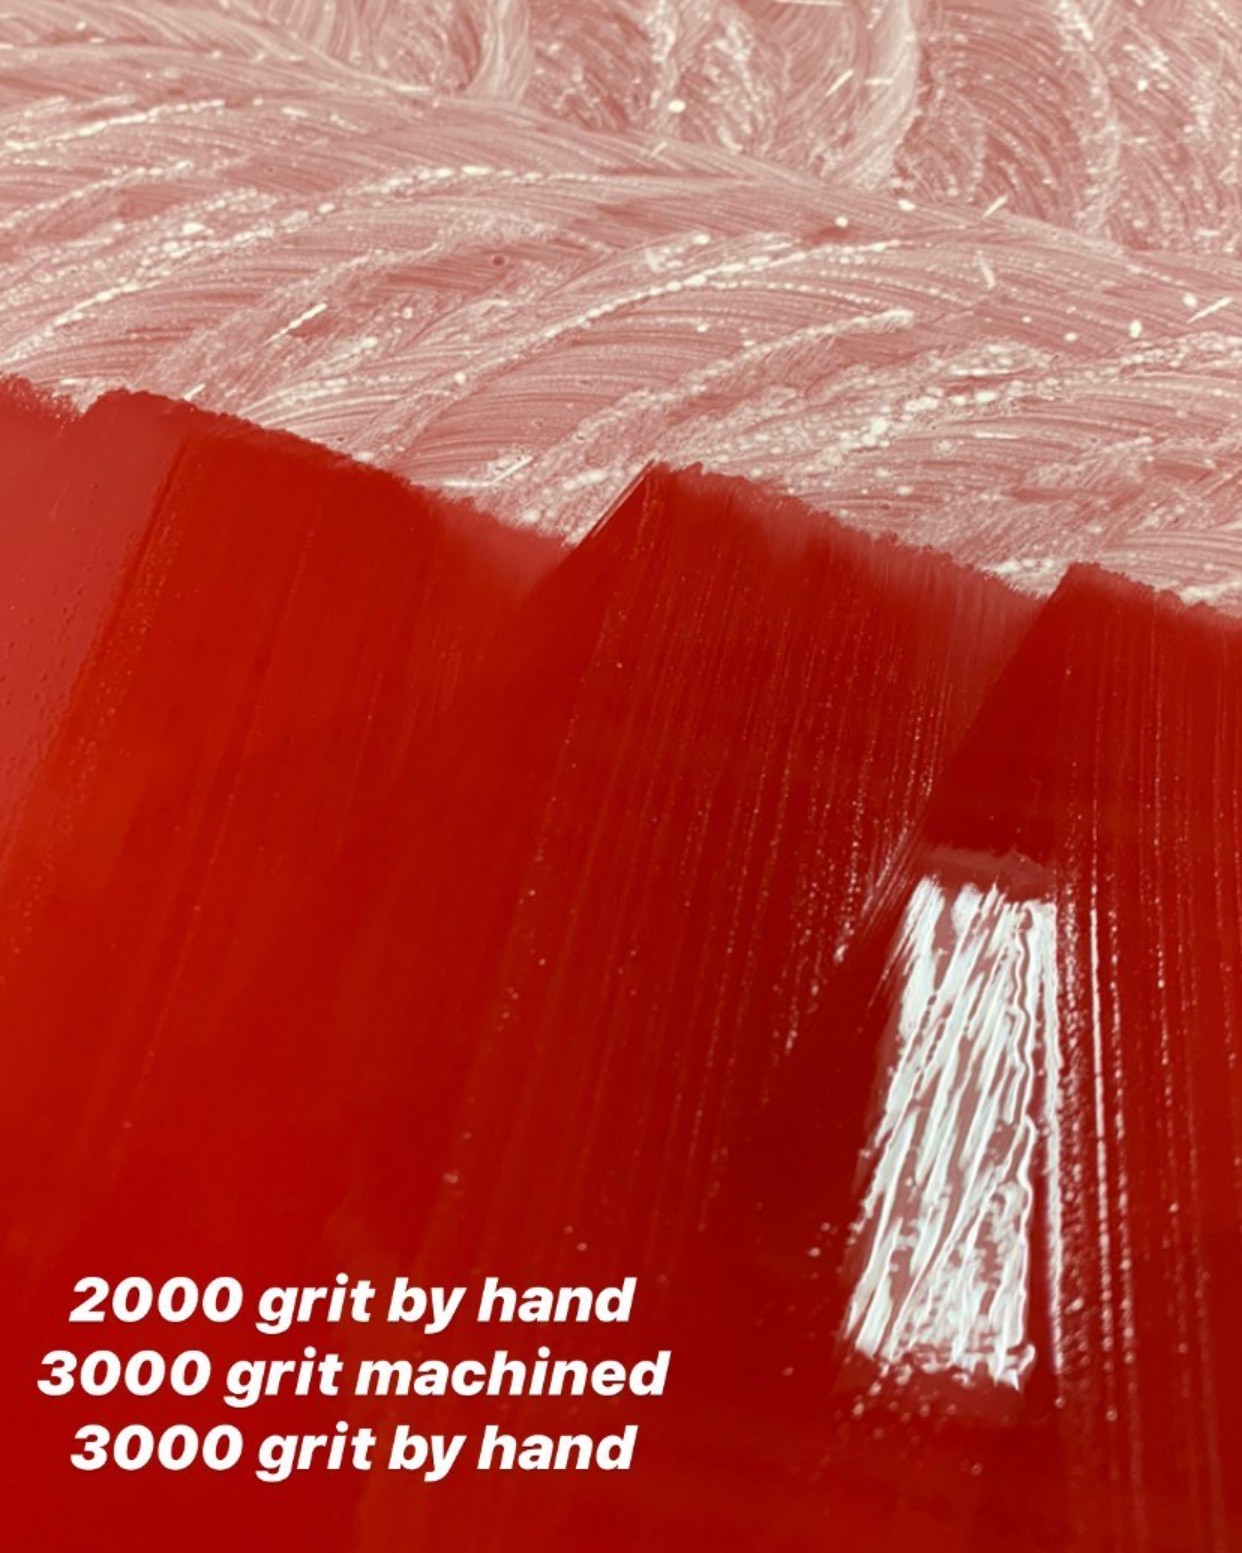
After having the car sorted mechanically and getting the paint where I wanted it, today I dropped the car off to my detailer for some extensive work. Although the respray job looks great on camera, if you look closely there are allot of imperfections in the paint from the prep work. Getting the old faded paint on places like the doors, trunk and roof to match the fresh Imola is also being addressed with some deep cutting and refining. Currently the car is undergoing:
- Complete wet sand
- 3 stage paint correction
- Ceramic coating
Beginning to wet sand on areas of the hood you can really tell the high and low spots from the prep work:

Wet sanding beginning on the roof:

Progress starting to show after wet sanding the hood:

 Last edited by RoyalFlushness; 05-05-2020, 02:07 PM.
Leave a comment:

Leave a comment: