Announcement

Collapse
No announcement yet.

KhanArt's Jet Black///Cinnamon 6spd E46 M3 build journal

Collapse
X
 
  • Filter
  • Time
  • Show
Clear All
new posts

  • KhanArt
    replied
    Update (3/23/2013) Few detailing supplies from Detailers Domain

    Detailers Domain was having a spring sale so I picked up a few items I needed. I already have a good amount of detailing products that I picked up from local parts stores over the years but slowly want to upgrade to better quality products. I heard good things about Griot's Garage and Adams for the price. I will continue to upgrade as I run out of my current products.

    Hope to have a DA polisher soon so I can do my first paint correction.

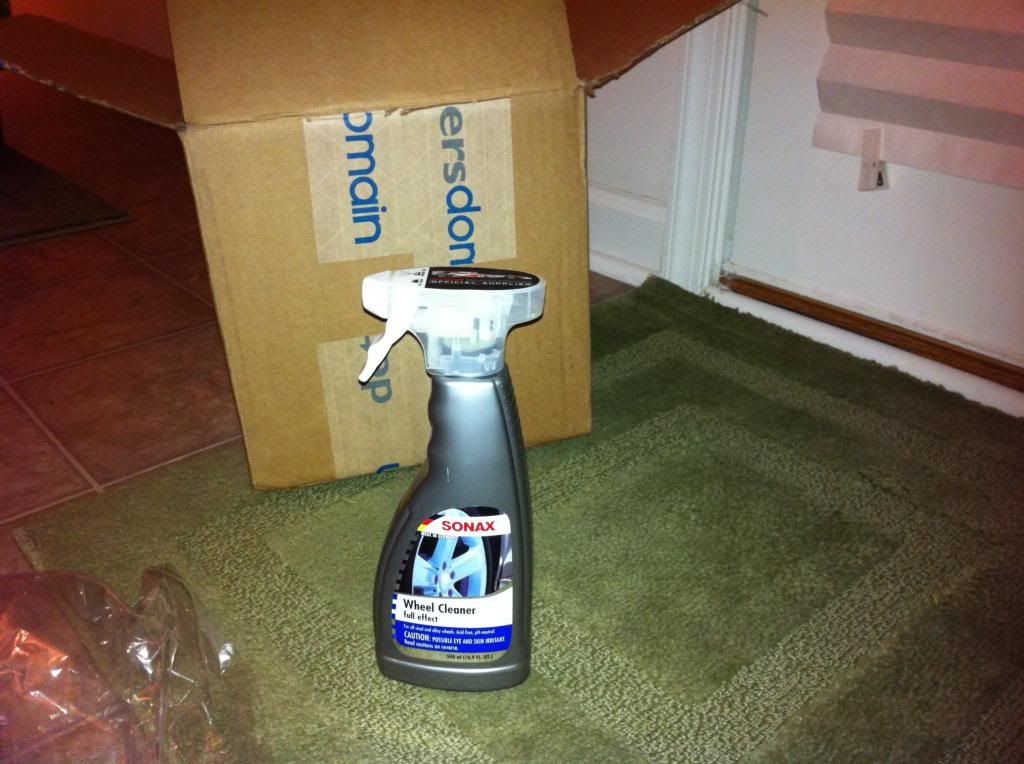
    Ran out of wheel cleaner so I picked up Sonax Full Effect wheel cleaner, heard this is one of the better wheel cleaners out there.


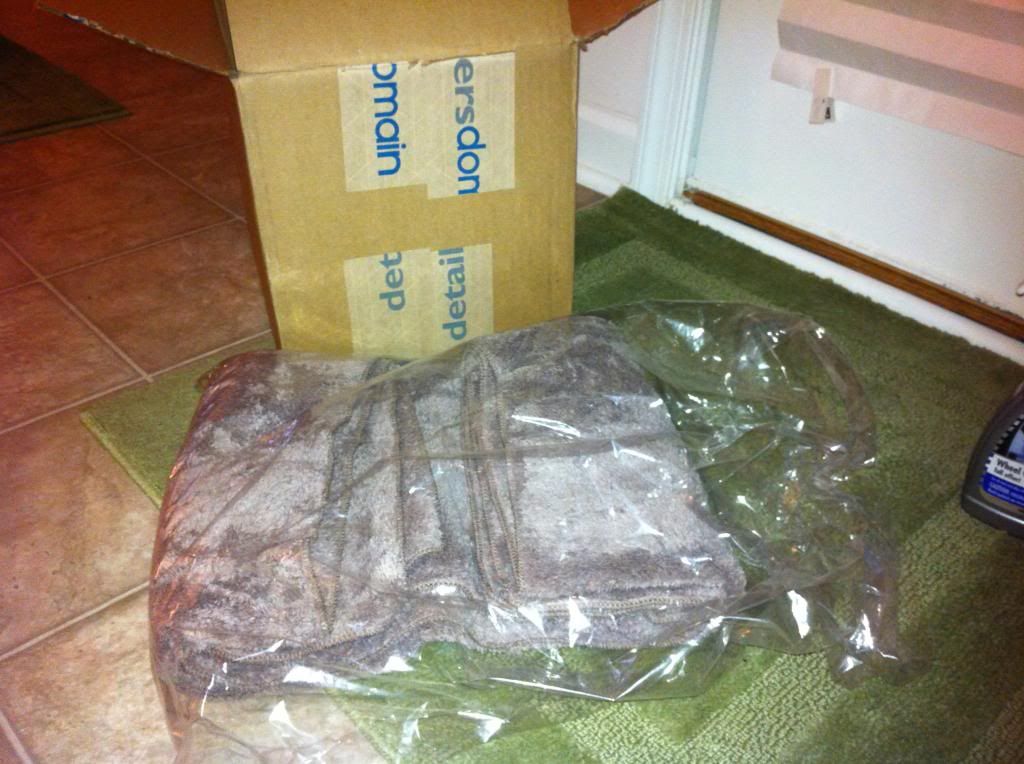
    It was taking me for ever to dry my cars currently and I read good stuff about this Uber Super Drying Microfiber towel. Drys the whole car in one shot without wringing (huge towel). This will save me a lot of time and I can blot instead of wipe the car down.


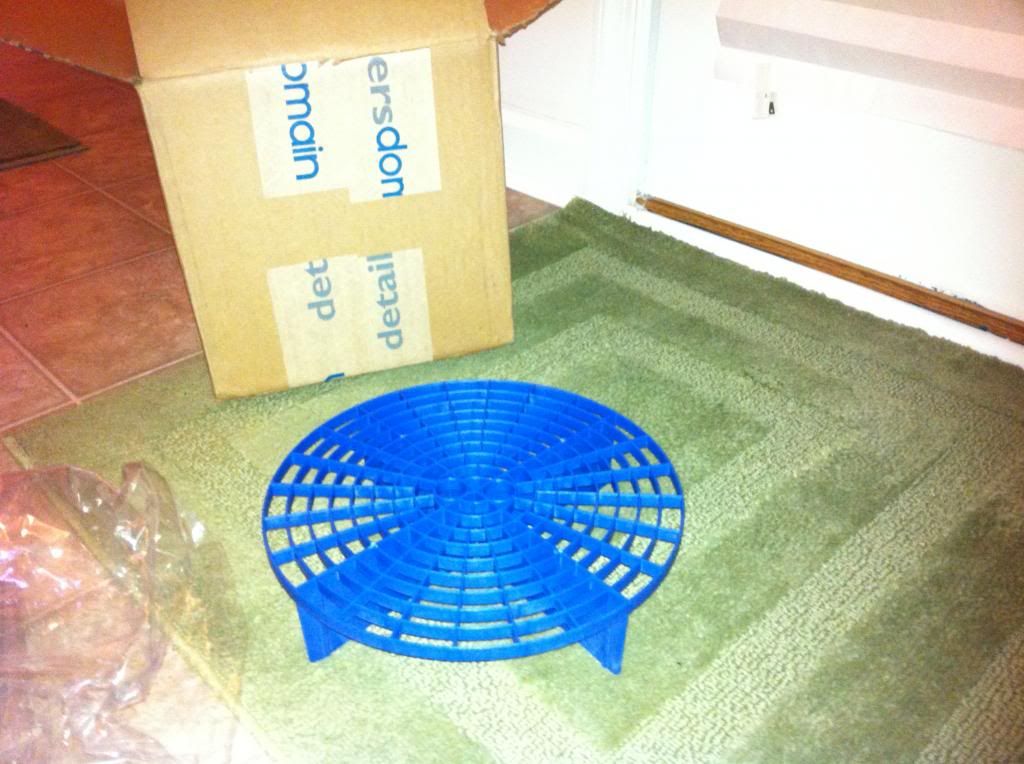
    Finally the 2 bucket method can't be done right without a Grit Guard. Had to pick one up.


    Can't wait for the weather to get better so I can start detailing.

    Leave a comment:


  • KhanArt
    replied
    Update (3/17/2013) Aluminum M pedals

    Saw these pedals online and I thought they would look great on my black car. Haven't seen anyone with black ones and the price was fair so I purchased them. DIY wasn't bad but I would stress to be careful not to scratch the pedals.

    DIY threads for install:

    http://www.bimmerfest.com/forums/sho...d.php?t=569332

    Before


    Pedals


    During


    After

    Leave a comment:


  • KhanArt
    replied
    Update (3/16/2013) Plasti dipped center console/Magic erased e-brake handle and steering wheel/Cleaned steering wheel stitching/M hat

    I recently have been hearing a lot of fuss about plasti dip and people trying it on there interior trim. My center console was beginning to show it's age so I went ahead and tried it. Results weren't bad but some areas were clumpy and you could notice the texture of the plasti dip. I am only using this as a temporary fix as I already have my mind set on a new short style center console with armrest delete.

    Plasti Dip thread:


    Sorry all pictures were taken from a iphone so you can't notice the finer details.

    Parts removed and cleaned.


    Before


    After


    I saw this thread on Magic eraser so I wanted to give it a shot. I plan to get a Coby wheel in the future so this is just for the time being. I also cleaned the stitching on the steering wheel using another thread I found. Love how the wheel feels now. It is not shiny anymore and the colors pop on the stitching.

    Magic erase thread:


    Steering wheel stitching cleaning thread:


    Steering wheel before shots.


    Steering wheel and stitching after shots.


    E-brake before


    E-brake after


    ///M hat I got recently as a birthday gift

    Leave a comment:


  • KhanArt
    replied
    Update (3/2/2013) CDV Delete

    I wanted to work on the car so I figured I do the CDV delete which I never got to. I wanted to wait until I did my trans fluid and fuel filter so I could do all 3 at once but I couldn't wait.

    DIY link for CDV delete:


    My workspace


    Under panels removed


    During..


    CDV


    Removed


    Panels cleaned and ready to go back on


    Done


    I can say there is a noticeable difference. Especially shifting from first to second. The wife will like this mod as well as me. I love how it changes gears smoothly now. This paired with the clutch stop mod and ZHP shift knob :thumbsup:

    Leave a comment:


  • KhanArt
    replied
    Update (6/11/2012) Loose mirror repair and 3rd brake light cleaning

    I did these DIY's soon after I bought the car but did not take any pictures and actually forgot about it. So for my record keeping purposes and possibly to help someone else out I have included some links I used. :thumbsup:

    I don't remember if it was my drivers or passengers side mirror that was loose but it bothered me. I followed this easy DIY and it made a noticeable difference.


    Also another thing that bothered me when I first bought my car was the dead bugs in my 3rd brake light housing. I followed this DIY and removed the housing, cleaned it, and took the bugs out. Put it back together and much better!

    I'm trying to remove the 3rd brake light housing to clean the glass underneath. I assume that when the fabric cover is removed, it will expose mounting points for the plastic CHMSL housing. I can easily pry the rear clips of the fabric cover loose next to the plastic CHMSL housing by sliding...

    Leave a comment:


  • KhanArt
    replied
    Update (2/16/2013) Angel eye ballast/inverter replacement

    A few weeks ago both angel eye rings on my drivers side went out at the same time. I did some research and determined it was the ballast/inverter. I contacted a good amount of vendors and they all said they do not carry these any more. I then went on Ebay and found a inverter. It took some time since it was coming from Hong Kong but it arrived a day ago. I purchased butt connectors as well for the install.


    After inspecting the inverter I realized that the connections were the opposite of what I needed so instead of giving up I did a lot of wire cutting, stripping, and crimping and used the old inverters connections for a ghetto fix.


    Not sure how long this will work for especially since it clearly stated not to extend or shorten the wires.. but it worked! I got all my angel eyes working again.

    Edit: I read these catch fire sometimes..may have to upgrade to LED.

    Leave a comment:


  • KhanArt
    replied
    Update (2/6/2013) Driver side mirror

    My driver side mirror was showing it's age so I purchased one from ECS.

    DIY thread for mirrors:


    Haha


    Mirror


    Before


    The mirror did NOT come with the wire extension. I had to tweak the wire to make it work (pull and shift it to the right side).

    During with the wires moved to the right side


    I'm not going to lie.. I broke the mirror while taking it off. It was stuck on there good and I was impatient.


    After

    Leave a comment:


  • KhanArt
    replied
    Update (2/2/2013) Spark plugs, Cleaned MAF sensor, and replaced wipers.

    After seeing what a difference spark plugs did to Dave's (Dafoes) dyno numbers. I decided that would be the next maintenance item on my list. Member Drew (boomersooner523) provided me a link to great deal on some NGK Iridiums.

    Before vs. after


    Pieces cleaned ready to go back on


    Old spark plugs


    Spark plug DIY threads and video:

    For those that own a Bentley manual, the instruction for this fix is in there but those who dont, my DIY should provide the instructions without the manual. Thanks for viewing and again, thanks to the forum for being a guide for my own DIY. Tools needed: 3/8" drive ratchet 10mm deep well hex...


    HOW TO: BMW E46 M3 Spark Plug change (Easy DIY) - YouTube


    My wife picked me up some wipers from Costco :thumbsup2: I like this new style of wiper. I was going to get the Bosch Icon but I will try these out.


    Gave my MAF sensor a quick spray down. 4-10 hp to the wheels, lol!


    Thread for MAF Sensor cleaning DIY:
    http://www.m3forum.net/m3forum/showp...6&postcount=22

    I went to check my battery since I never inspected it and did not know what I had back there. Pleasantly surprised again it was changed with a Optima Red Top battery. A little weight saving over stock.

    Leave a comment:


  • KhanArt
    replied
    Update (1/26/13) CPI RTX Rasp Terminator (section 1)

    CPI RTX Thread:


    Let me begin by thanking Jack from CPI and Frank Smith from Tuning Tech Frank Smith for allowing me to work with them on this product.

    The main purpose of this part was to eliminate the rasp on a stock M3 and I can say it has achieved that! The rasp is completely gone and sounds clean now. I will post better videos of the sound hopefully tomorrow. I also want to add that this piece is slightly angled up at the resonators to help with clearance.

    During the before dyno runs on my car today it was putting down great numbers..over 300whp so Frank couldn't believe it and said he had to take my car 2 bays down to another dyno to make sure. My car at the second dyno again made over 300whp. He said there is now way this car can be stock so we checked the DME and as he suspected the car had a tune. He believes it is a Active Autowerks tune from the maps.

    All runs were 4th gear pulls.

    Conditions:


    Before dyno at the other shop:
    E46 M3 with tune - YouTube

    Before dyno graph from the other dyno, the 287 was a misread:


    Before dyno graph from Frank's dyno:


    After CPI RTX installed dyno:
    E46 M3 with CPI RTX section 1 - YouTube

    After CPI RTX Installed dyno graph:


    Before and after on the same graph:

    This is the icing on the cake! Not only did it remove the rasp it showed 2-4 whp and ft/lb torque gains throughout the mid range power band. 306.9whp before, 307.9whp after. 250ft/lb torque before, 253ft/lb torque after. They only change made to the car from the before and after dyno runs was the CPI RTX.


    OEM Section 1:


    CPI RTX:


    OEM Section 1 removed:


    Now here are some final pics of it installed. Notice how the piece angles up when it nears the resonators. It is tucked in there pretty good for lowered cars like mine.


    Here is a video of the start up and take off:

    E46 M3 with CPI RTX section 1 exhaust note - YouTube

    I am very happy with the product.

    Leave a comment:


  • KhanArt
    replied
    Update (12/19/2012) Diff fluid change

    Very easy DIY, you just need the right tools. The diff fluid stinks!

    DIY thread for Diff fluid change:
    http://www.m3forum.net/m3forum/showt...&highlight=DIY


    Leave a comment:


  • KhanArt
    replied
    Update (12/1/2012) Rear fenders rolled

    Rear fenders rolled. Sorry I did not take any pictures of the process. So far no rubbing, I have rode alone and with one passenger and so far so good. I think this may have eliminated the rubbing. I will try to add some pictures of the finished product tomorrow.


    Leave a comment:


  • KhanArt
    replied
    Update (11/21/2012) Front/rear spacers

    Installed ECS Tuning 20mm front 15mm rear spacers. I'm running a 225/40 front and 255/35 rear tire on OEM 19's. Rears rub slightly sometimes during turning, big dips, and hard acceleration. I plan to get my fenders rolled in the rear, hopefully that will eliminate the rubbing.

    I am very happy with the spacers. Car is planted and looks aggressive. James at ECS also helped me with a small issue I had.


    Good video for reference:

    Leave a comment:


  • KhanArt
    replied
    Update (11/10/2012) Baseline Dyno

    I got a baseline dyno today (stock other than canned tune discovered by tuner). I am very happy with my numbers 288.1 whp. Minor mods and a custom tune is where I will begin.

    Last edited by KhanArt; 03-23-2020, 12:18 PM.

    Leave a comment:


  • KhanArt
    replied
    Update (11/3/2012) Lowering springs installed

    I finally got around to getting these Tein S Tech springs installed that were laying around in my garage. First impressions, I am very happy with the drop considering that these are springs. As of now I don't think I would want to go any lower but we will see if I change my mind in the future. It drives and handles well, not bouncy and I don't hear any out of the ordinary sounds. I am in bad need of spacers now that my wheels have sunk in under the fenders. Probably next on my list. On to the pics..

    Springs


    Before


    After


    Leave a comment:


  • KhanArt
    replied
    Update (10/27/2012) LED Reverse bulbs and M stripes

    I received my CREE LED reverse bulbs and M stripes in the mail last week.


    I have not installed the stripes yet. Thanks to member rovert for the stripes.

    Thread for the stripes:


    I ordered the reverse bulbs after seeing them on (IB//M3) journal and seeing many great reviews on them. Really bright!


    Leave a comment:

Working...
X