-
I had the same issue with the turner IATkit.. i wish i didnt waste money on it. -
A few days back, I replaced my side markers with some new OEM bits. Crazy the difference these little guys make when they aren't old and faded. Little by little, slowly getting my car refreshed.
Leave a comment:
-
Thanks! It certainly wasn't my first choice, but it has really grown on me!Originally posted by 03m3vrt View PostLeave a comment:
-
Thanks, man! I used an oscillating multi-tool. Cut right through it like butter and easy to handle to ensure a clean cut.Originally posted by skristedja View PostLeave a comment:
-
Interesting and good to know. It's not in the way at the moment, so I'll probably leave it as is until my hand is forced and I have to remove it, but either way, thanks for the info!Originally posted by repoman89 View Post
Besides, my car is nowhere near the level of a real CSL! 🤣
Thanks for the kind words about the car and garage. Cheers!Leave a comment:
-
Great work on the install! What'd you use to trim that shroud? I should be doing my install this weekend, was probably just going to dremel it but feel like that will be super messyLeave a comment:
-
FWIW real CSLs ditch the driver side shroud piece that you trimmed. I cut mine out because I was too lazy to remove hoses, and have since removed the passenger side piece too during my Spal 2082 conversion. Working and cooling great so far, street and track. BMW also takes the front kidney CAI piece and trims off that right side lip for the CSL, so I copied their method with a hacksaw 😂
Car and garage both look greatLeave a comment:
-
Gave the M3 it's first wash of the year in preparation for an overnight stay in the Cape for the wife and I this weekend to celebrate our anniversary:


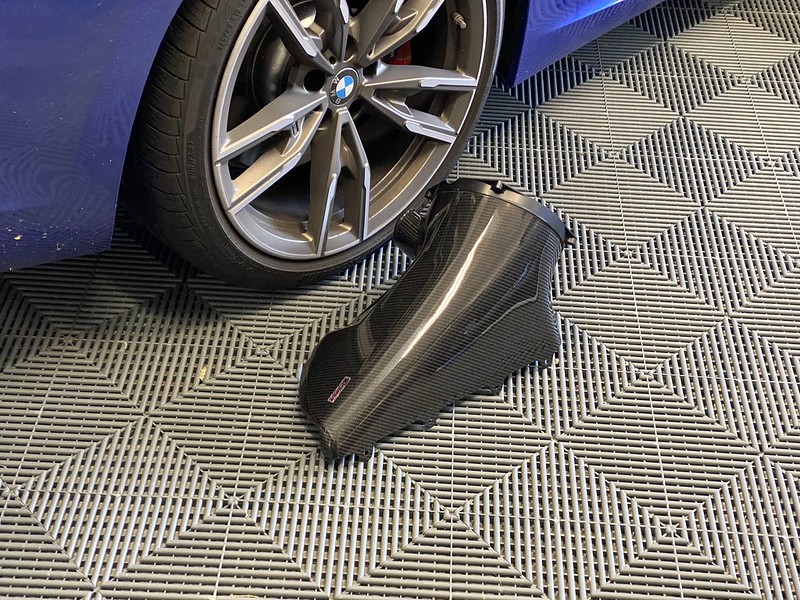
And more of this CSL sexiness:


Leave a comment:
-
Not a great video, but gives you a decent sense of the induction noise provided by the new intake:

Leave a comment:
-
Thanks, man!Originally posted by Nick_P View Post
I bent it up behind the strut bar. Certainly not ideal, but many others seem to have done the same thing with positive results. I didn’t like the idea of getting the CSL dipstick and having to remove part of the intake any time I wanted to check oil level.
I got them from O’Reilly Auto Parts. Pretty sure these are them: https://www.oreillyauto.com/detail/c...5-bmw-m3?pos=4
Sent from my iPhone using TapatalkLeave a comment:
-
Great update! Couple of questions since I will be installing my airbox soon.
1. Did you end up rotating the dipstick or did you have to bend it?
2. Do you have a link for those ICV hose clamps that you installed after cleaning?Leave a comment:
-
Excellent update and the best intake and tuner choice combo will make you love it even more. EnjoyLeave a comment:
-
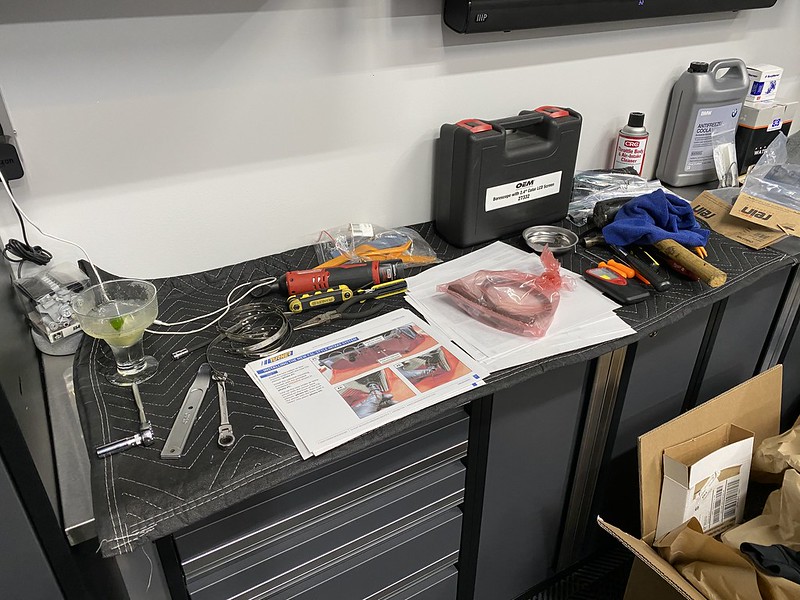
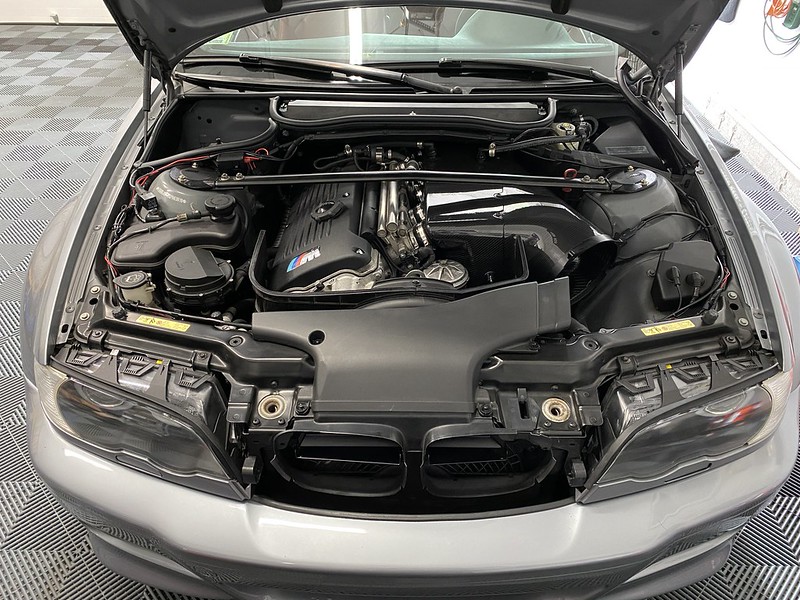
Let the install commence (hope you're ready for this photo overload):

Stock plenum/airbox removed:


It was Cinco de Mayo, so a margarita was necessary:

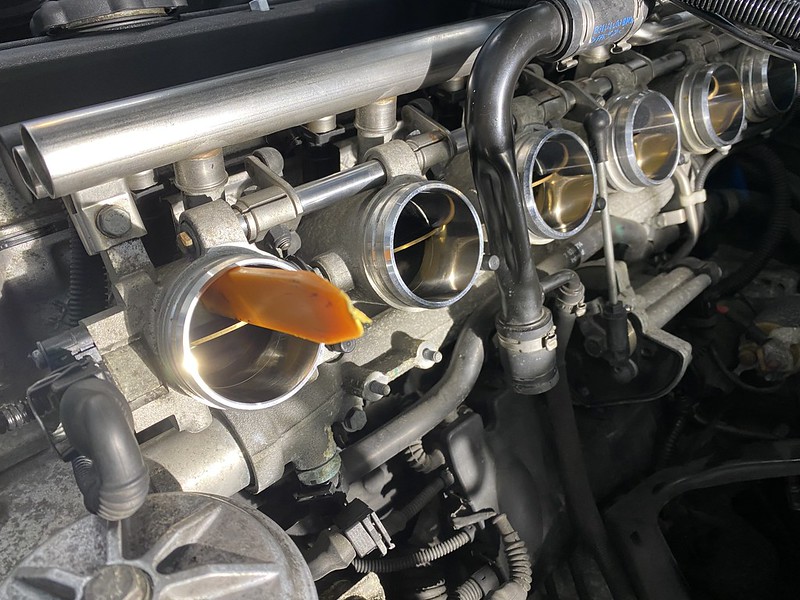
Blow by, what?!:

Dirty throttle bodies:


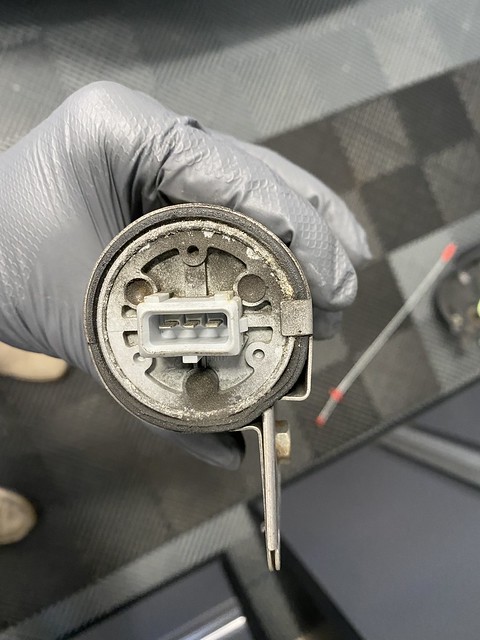
Removed and cleaned the ICV while it was accessible:


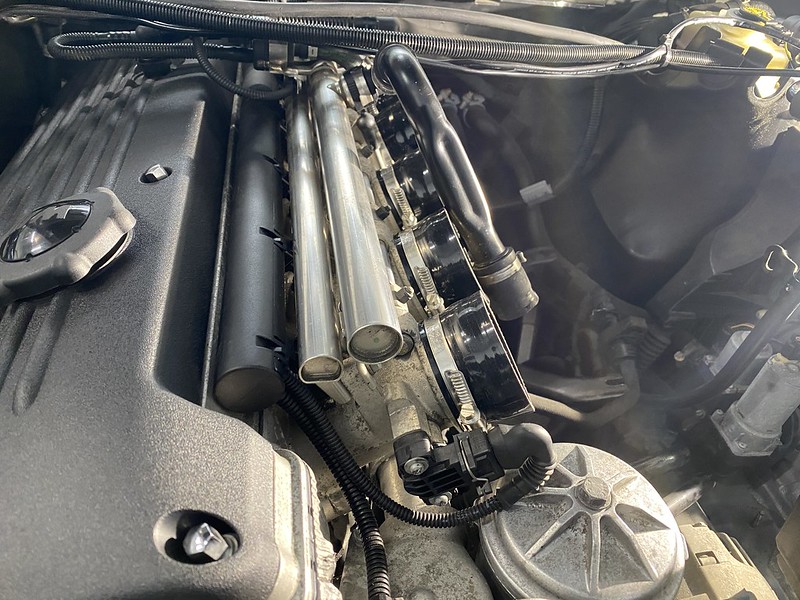
Clean throttle bodies!:


New Turner Motorsport throttle body boots installed:


ICV cleaned and reinstalled:

Swapped rubber mounts from stock box to the new Karb box:


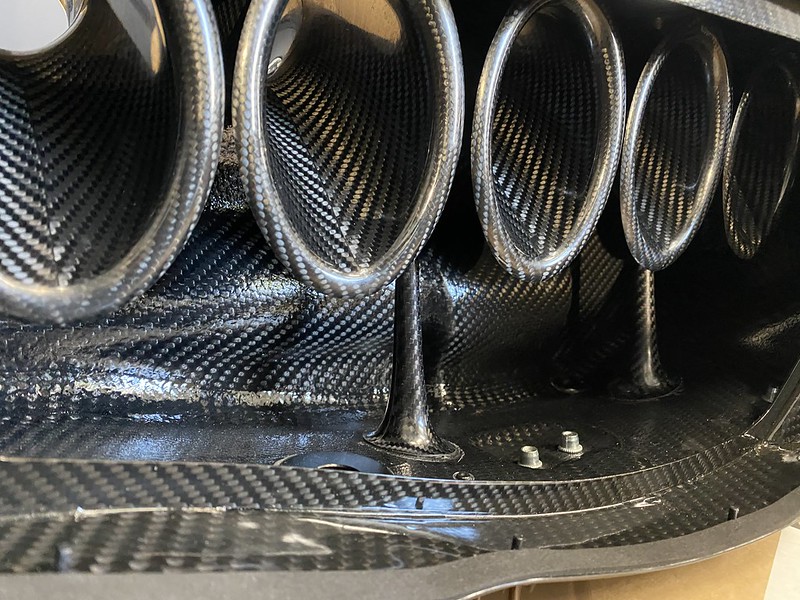
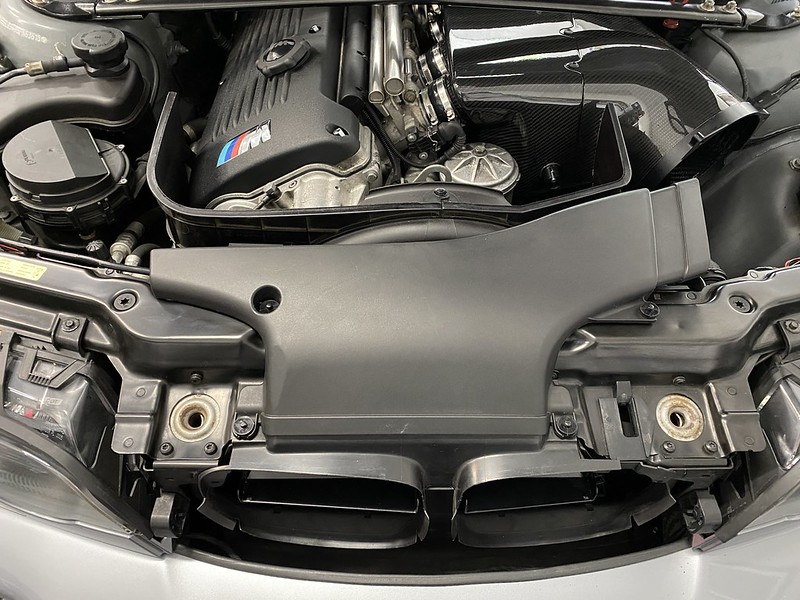
Carbon Fiber sexiness:


Turner IAT kit supposedly fits all CSL intakes....EXCEPT the sensor they include 100% does not fit the Karbonius box:


THIS is the sensor I actually need. Waiting to hear back from Turner on whether or not they'll refund me for the incorrect sensor and swap with this one:

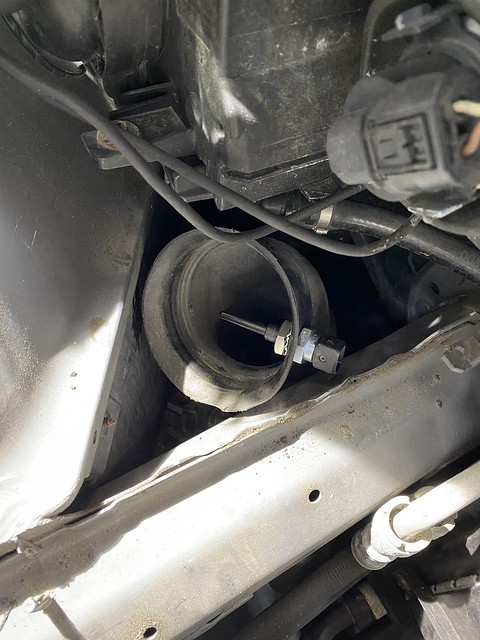
Needed to temporarily install the sensor somewhere until I get the correct one, so the tuner suggested putting it here for now:
Some fabrication (lol) work was required for the new intake to fit. Trimmed this plastic piece back about 1/4":

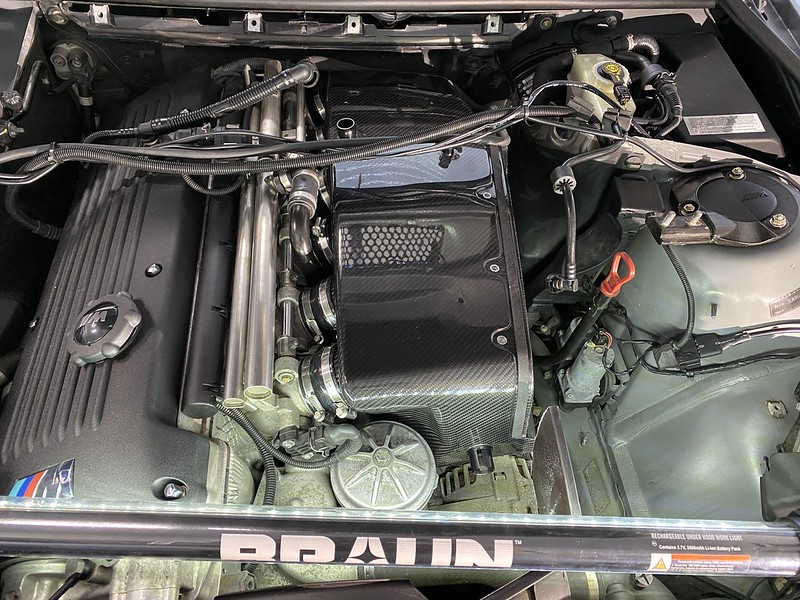
New CSL box installed:


Remote tuning time (courtesy of HTE Performance):


Along with the Alpha-N (CSL) tune (needed because I'm no longer running the factory MAF), I also opted for the cold start delete and a very mild burble (I was a bit skeptical, but he suggested I try it out and I am GLAD I did...it's so subtle, yet so perfect between shifts).
And tuned and all put back together:


Leave a comment:


Leave a comment: