And after a failed attempt thru eBay (I would highly advise against AutoPartsGeek, who claimed to have the driver side ZKW non-fluted fog light in stock, then provided me with erroneous tracking info, which led to several phone calls to USPS and the seller), I found a seller in Lithuania selling the driver side fog light. I was able to source the passenger fog thru FCP (they do not stock the driver fog).
To help protect the new fog lights, I bought and installed some pre-cut Lamin-X film specific to these fog lights:
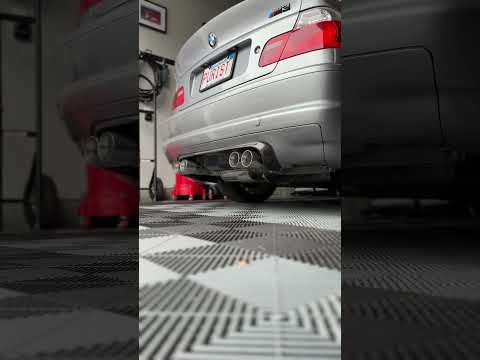
BEFORE
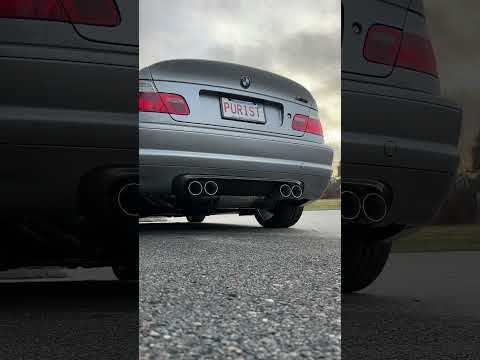
AFTER
Thinking my next purchase will be the fog light surround/trim. Now to put some more miles on it before she goes away for the winter.


Leave a comment: