If this is your first visit, be sure to
check out the FAQ by clicking the
link above. You may have to register
before you can post: click the register link above to proceed. To start viewing messages,
select the forum that you want to visit from the selection below.
Love the attention to detail Tyler, this has to be the best looking 150k+ M3 out there.
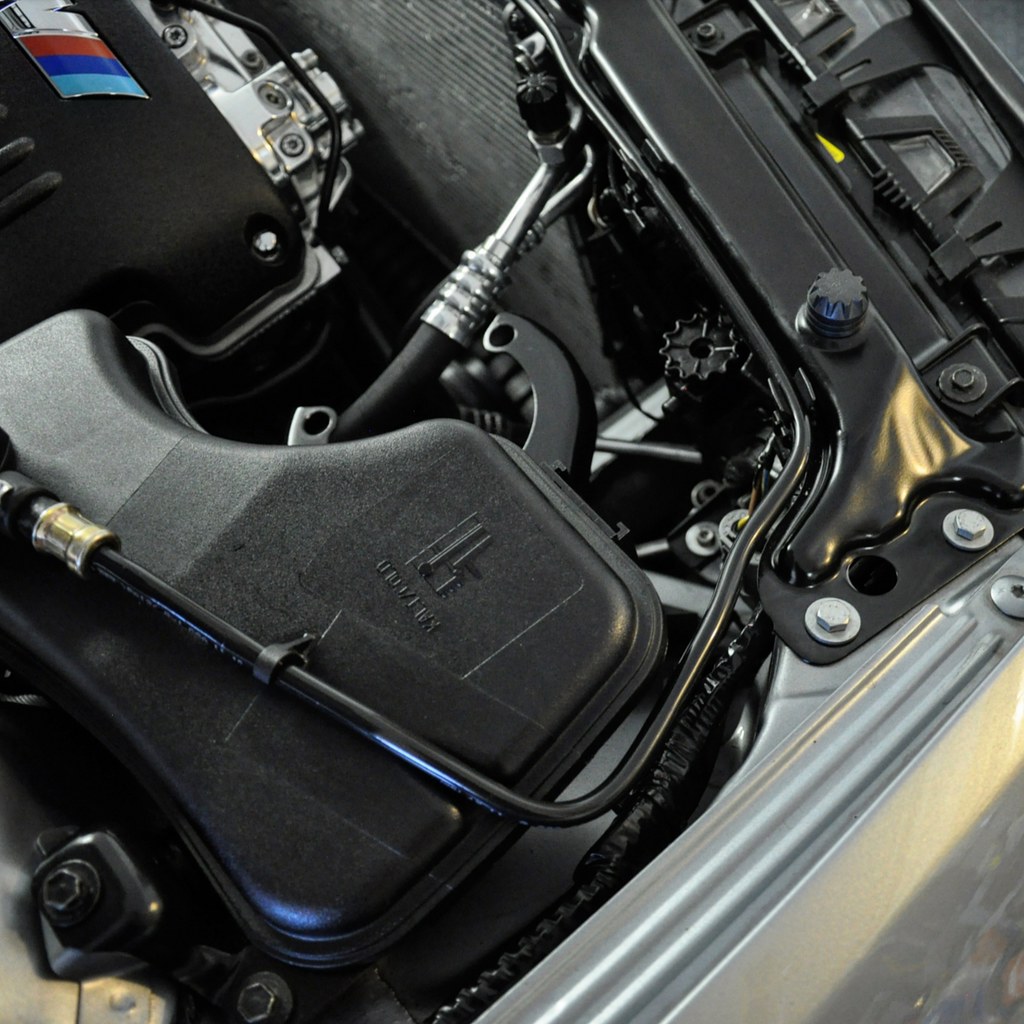
Odd question, for the CSL airbox: did you bend the dipstick yourself for relocation?
Thanks man! I did. Also have a spare, unbent one.
I used vice grips with rubber to hold below where I wanted a slight bend, and used a 12" 3/8 extension to pull it. Had to secure it or provide a fulcrum. Did it numerous times in the directions I wanted. Would be better to take it out and do it in a vice. Mine's not that smooth, but it works fine. Have to bend it again going to dmg bar. Might start over with my good one, just like having spares.
I had redone my 996 calipers and had made some changes like new textar pads, and went from CM brackets up front to RR. I already documented that, and posted some of these pictures earlier, but this is when I did a last bleed to really eliminate all bubbles and get the best pedal feel possible. I also wanted to try out my new pressure bleeder (typical motive euro)! I use ATE typ200 fluid.
First time using it, I wrapped some tissue around the quick connect to see if it leaked at all. No issues.
The best pressure seemed to be about 16-17 psi for me. Fluid wasn't coming out very fast below 15.
At first, I thought it'd be an issue, but there's a lot of space in the tubing. It's deceptive though, because there is a thin film of fluid that moves through, and the air never goes into the reservoir so no issues.
Starting at the back right. You can just see some tiny bubbles coming out. I use some 1/4" hose and a "smart" water bottle as my catch, works a treat!
Happy to report the pedal feel is incredible! The RR brackets are so much nicer than CM too! Half the weight, they fit better and the rotor turned in the caliper with slightly less resistance. It felt like something was just a hair off about the CM brackets. They'd get very touchy when hot and would heat up a little too quickly like the pistons weren't coming off the rotor. Maybe their planes weren't perfect? But I tested the pistons, and the issues seems to have been solved by swapping to RR brackets or at least, by taking things apart and redoing it. So whatever, I'm happy.
Look at this thing. What a car. This and E39, perfection.
You might have seen, I made a new thread for it, but I recently acquired a 02/2002 Steel Grey 6 speed coupe with 123k, 2 owners, no accidents M3. It doesn't fit, chronologically, with this thread as I'm still updating from 2020, but I wanted to mention it, very exciting! It's replacing the experiment that was the 128i. A very cool car in its own right, but not what I want exactly, as I came to find out in 2020, after owning it about a year. In the end, it being a place holder for this new E46 worked out perfectly as its value hasn't dropped at all.
Continuing with the silvergrey...
September 2020
Coolant flush/refresh. I'd already replaced the WP, Tstat, radiator previously, so this wasn't a full refresh, but it was time to flush the coolant anyway so I took the opportunity to make some small-ish changes. My friend gave me a lower mileage expansion tank (mine's level had broken inside), I replaced the hard line going from upper hose to exp tank (with new OE), I got Wolfn8tor's O-ring pack, and I bought new radiator hoses as I tired of the blue silicone ones after like 6 years (going more OE look).
It also gave me the opportunity to clean the last, untouched part of my car, the area under the exp tank/SAP.
One of the messier cars to drain. I pull the lower hose off the rad.
Tank removed. SAP is already gone, if you remember.
My friend also gave me a waterpump shaft "beauty" nut. I should prob sand it down and paint it.
Putting Gary's o-rings in. I bought new hoses, but the OEM CRP (conti) ones, and I didn't quite trust the o-rings like I would with OE. Gary's kit was great timing.
I use aerospace 303 wipes on just about everything, even little harnesses. Cleans and rejuvenates in 1 step, plus protection.
New(er) Exp tank in, O-rings on and lubed. Two o-rings on these because this cap vents. Our exp tank is the highest point and is self bleeding (after/as it cools). The little screw on the upper rad hose is vestigial from E36 days, I believe.
I already polished most exposed metal like heatshields, vanos, AC line ends. I did a another quick polish since I was in there. Used a wet rag and simple green to clean the fender area down there. Sprayed the back of the headlights with 303 to renew all that plastic/rubber.
More than any special product/chemical, just putting in some effort will yield a significant improvement. My way isn't too fancy, I clean with simple things like water and diluted simple green, then I follow up with products like 303 or any trim/vinyl protectant. Mostly, it comes down to elbow grease/effort/time. Which is great, cause I have that! No real $ spent yet it transforms these 20 year old cars.
Moar engine bay shots 'cause why not
To finish, I use Genuine BMW blue, I put in a half gallon and then almost 2 gallons of distilled water. Run it, open the heater, let it get hot, then check it the next morning and add a few ounces of water till the level pops up. No need to bleed, as I mentioned earlier. Squeezing the hoses can help move fluid through, but you don't need to do it to try to get air bubbles to come out.
I had been running OE grilles with blacked out center slats ala non-m 3 series. It was a sleek look, striking a balance between OE class and aggressive, but I decided to go completely original as far as the exterior goes.
New OE:
August 2020
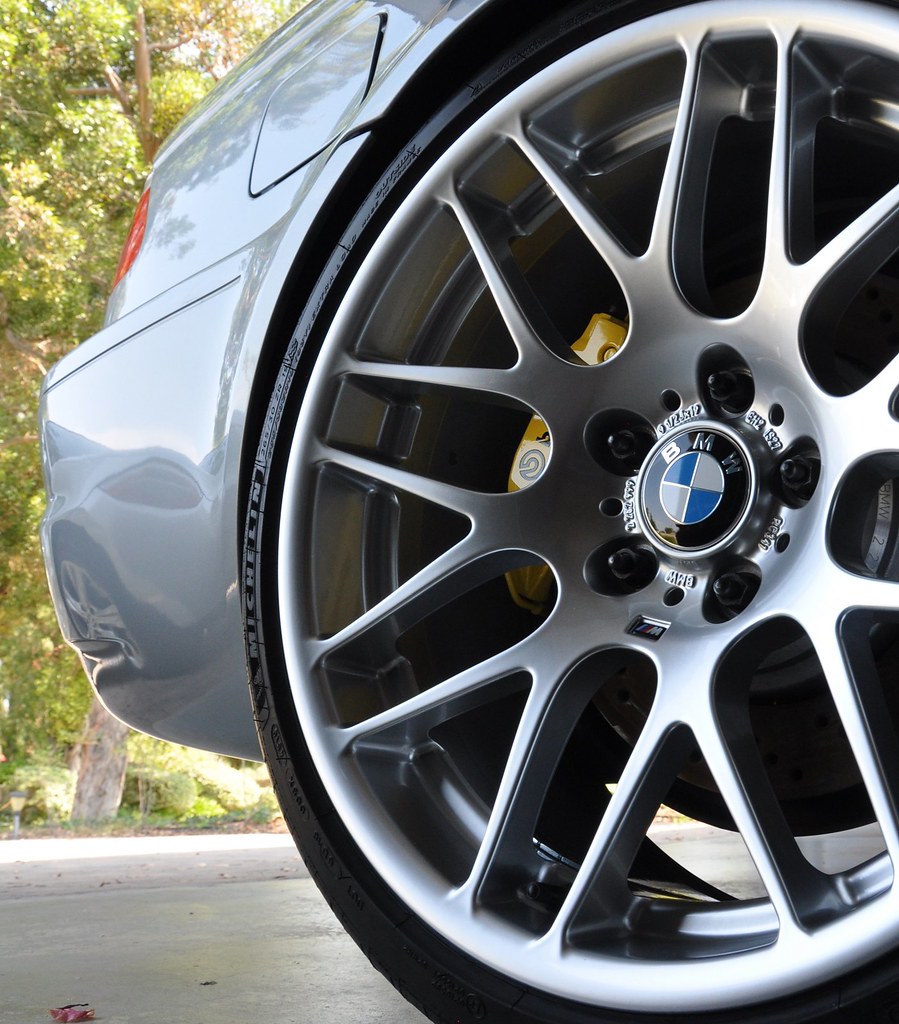
I was starting to tire of the paint finish (too flat, too bright) of my Sportline wheels. They're such great wheels, I even contemplated having them repainted, but when an almost new set of CSL wheels (which are backordered!) with new PS4S popped up, locally, for sale by member Discowagon, I jumped. These wheels and the CSL boot are just perfection to me, I had to have them!
Glam shot upon returning home:
Sportline 18" 275 PSS vs. OE CSL 19" 265 PS4S
Mounted
Before mounting, I dressed the wheel liners and cleaned the suspension:


Leave a comment: