Announcement

Collapse
No announcement yet.

Steve's 2000 E46 Touring Dog Transporter Project

Collapse
X
 
  • Filter
  • Time
  • Show
Clear All
new posts

  • Steve
    replied
    I don't have too many photos this time around, but I do have a pretty good update.

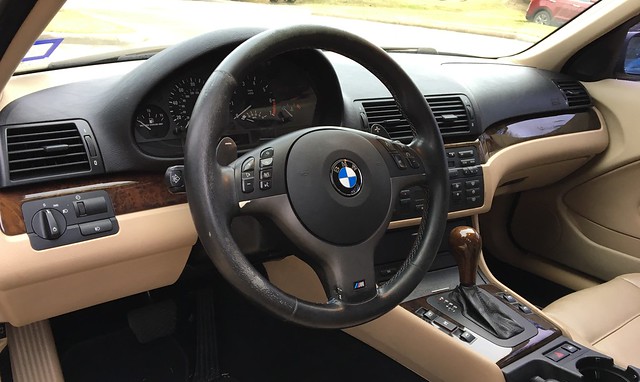
    First I bled the brakes and clutch to get that out of the way. Next, I moved some pins around in the DME, wired the clutch switch and also ran wires for the throttle pedal and put them in the proper pin locations.

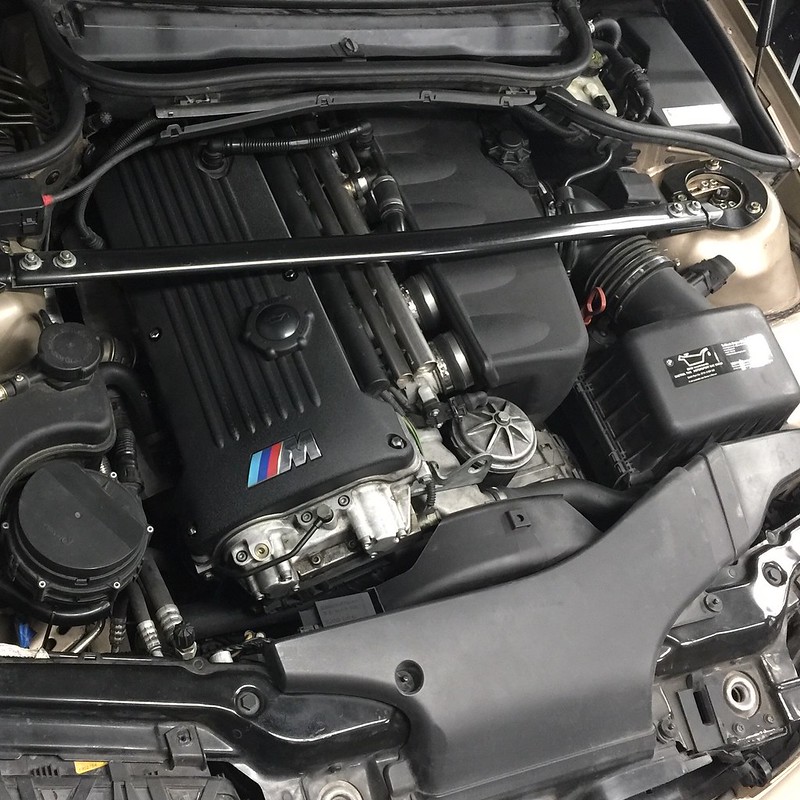
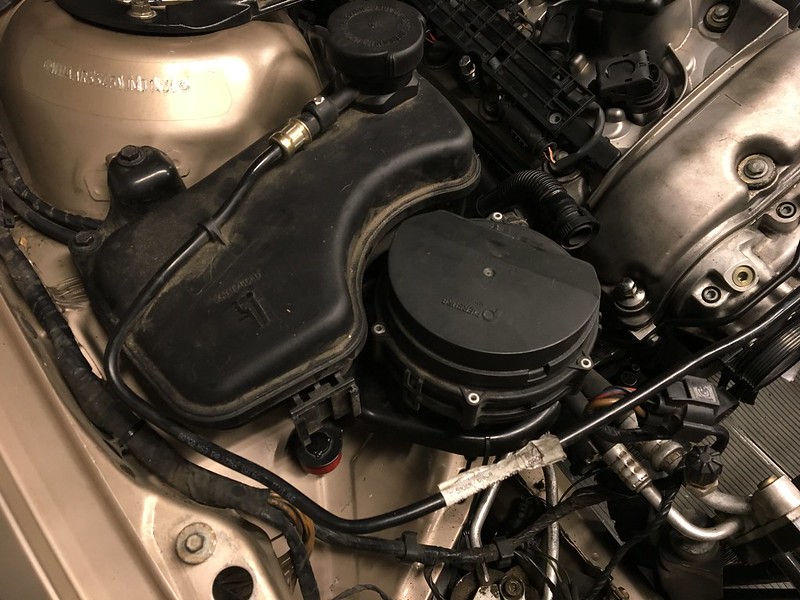
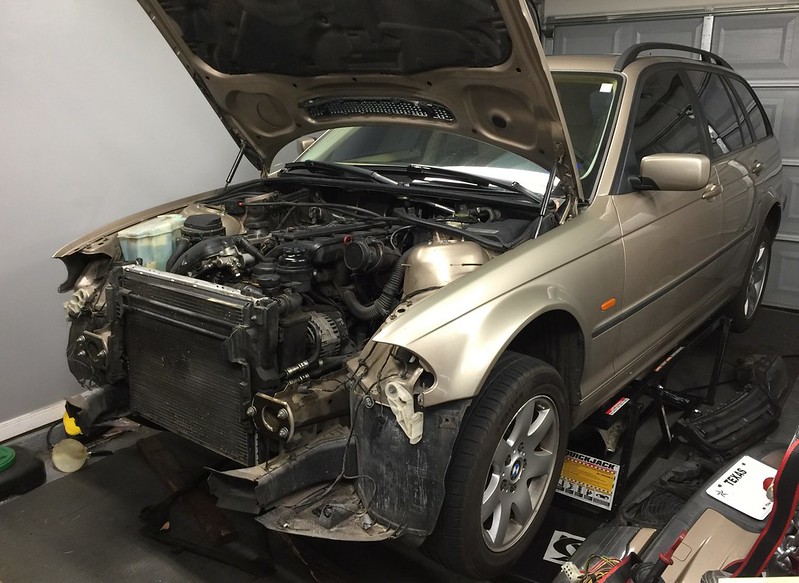
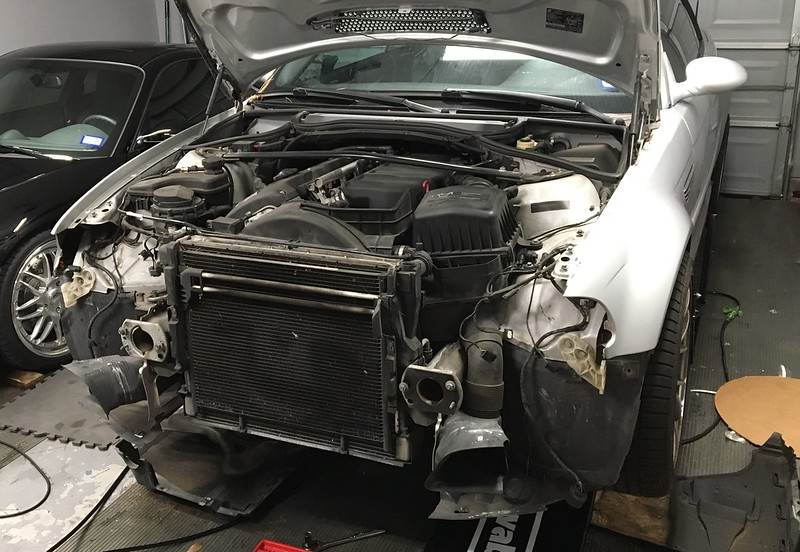
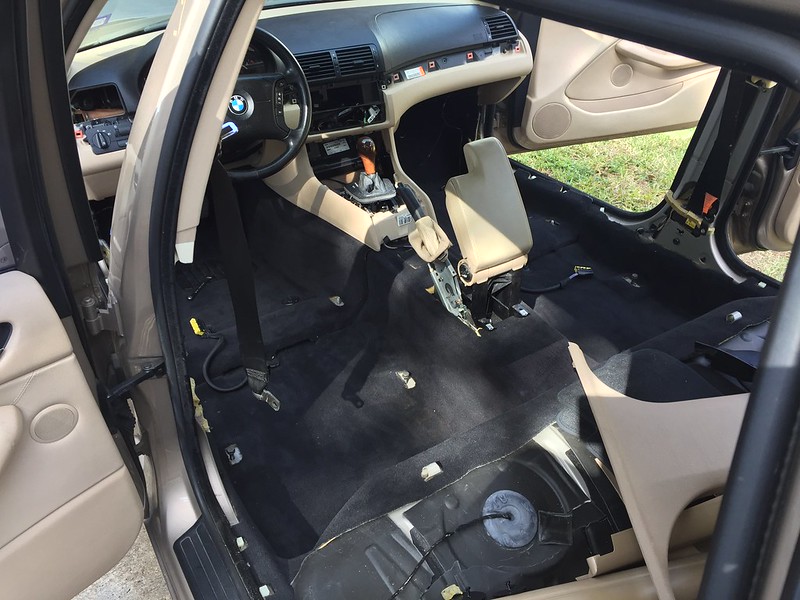
    Next I installed the air box and other odds and ends in the engine bay.


    Installed the rest of the stuff to make it look a little more complete.


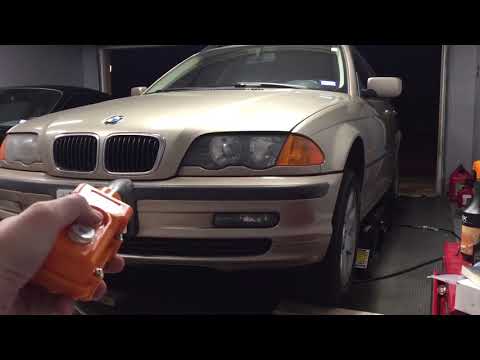
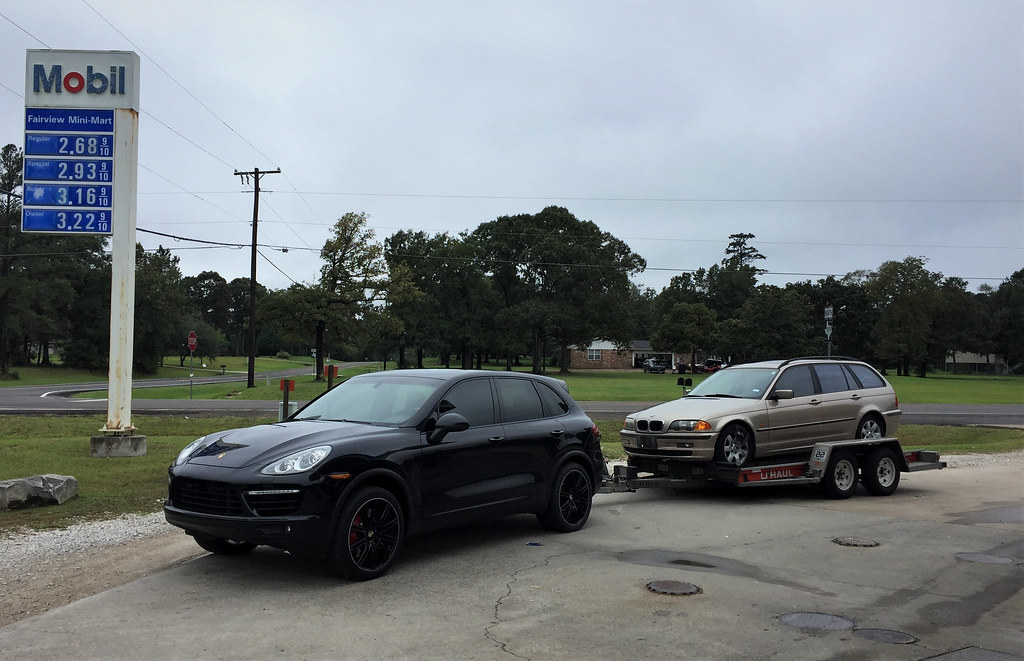
    Did a quick DME flash on the car, started it, checked for fluids and went and got some gas


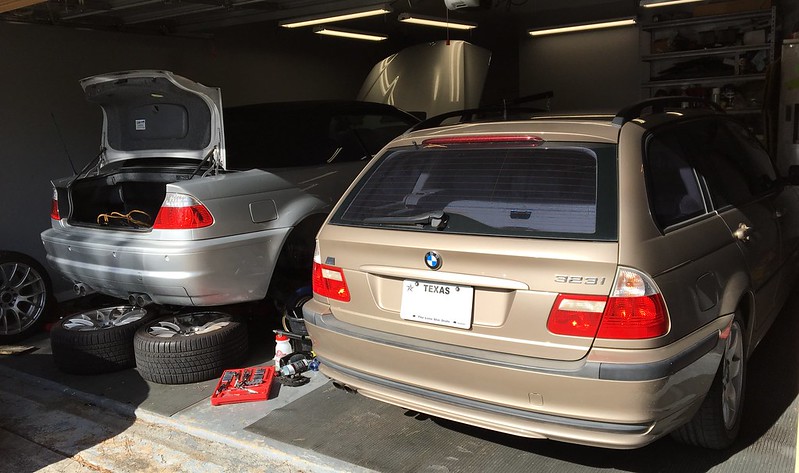
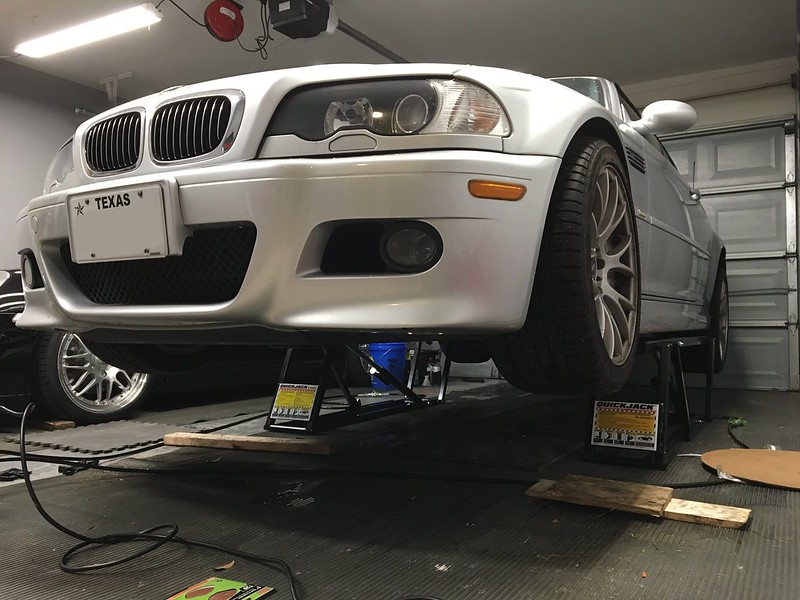
    The car has no muffler and is ridiculously loud, but seems to run and drive just fine. From my short test drive on mismatched wheels, it feels and drives like a M3. Still have some loose ends to tie up, but overall I'm excited that I have a running and driving car again

    Leave a comment:


  • Steve
    replied
    Speaking of updates...

    Swapped the manual bellhousing I sourced second hand onto the transmission. Wasn't sure exactly what all I was looking at, but at least everything inside looked clean


    Swapped over the M3 fuel lines, pump, tank baffle and other various parts.


    Next up I started scratching my head over the coolant overflow tank as it has been on the back of my mind for awhile since there is only one of the three mounting provisions in the touring. I was looking in my toolbox for something else and noticed that some old sway bar endlinks I had looked awfully close to what the tank mounts into on the M3.


    Most people cut these mounts off and weld or bolt them on, but I decided to try to drill out these sway bar endlinks to see how they'd fit or if this may work.


    Believe it or not, it seemed to work. It gave the bracket something to mount into and sat against the fender perfectly. I zip tied the front of the bracket down and will use this as a temporary setup until I can find a more permanent solution. Definitely not OEM, but I'll take it.


    Back to the transmission, next I installed a new LUK clutch kit. Don't worry, I didn't use the throwout bearing supplied with the kit, I went OE BMW for that as I had read not so great things about the other parts they provide.


    Prepped the trans and installed it.


    Searched ECS's website and found the condenser for the M3 and 323i appeared to be the same part. I pulled the rad, condenser, etc. off the M3 as a unit, but I chose to leave the condenser on the 323i and pulled everything separately to hopefully avoid having to recharge the system. I was able to take apart the M3 unit and put it all back together around the 323i condenser to hopefully save some time and a few bucks when it comes to working AC.


    Next I dropped the subframe out of the 323i, looks pretty weak compared to the M3 parts.


    The rear M3 subframe mounts also look way beefier than the 323i.


    I got the M3 unit into the touring and put the 323i unit back into the M3 so I can make it a roller when the time comes. At this point it was late on Sunday and I decided to call it a day as I had to get ready for my normal work week.

    Still several things left to do, but it is getting awfully close to being a complete car again. Can't wait to make more progress!

    Leave a comment:


  • Steve
    replied
    Made some progress on my build

    Swapped clear tails onto the touring. They made a huge difference on the car and I feel it looks a bit more modern. I haven't detailed the car or done anything with it yet other than this. I plan to redo the faded trim and give it a full detail once done with the mechanical side of things.

    Pulled in and ready for work to begin.


    The touring looking over its new powerplant.


    Put the M3 on jackstands and moved the quick jack over to the Touring.

    I was a little worried about the exhaust on the touring, but it came right off with very little effort despite some slight rust on the oem bolts from 2000.


    Pulled the front clip.


    Pulled the transmission and the auto gear selector.


    Pulled the M52tu and cleaned up the bay as it was disgusting in there.


    The leaky turd that made a mess of the engine bay.


    Once I had the engine out I swapped the front subframes.

    323i brakes.


    M3 brakes, much better.


    Also installed new engine mounts on the M3 subframe before moving it over as I don't think this one would work too well anymore...


    Don't know if these really make a difference, but decided to install them since I'll be running coilovers on the wagon and a little extra mounting surface never hurts.


    Unfortunately, the 16" touring wheels wouldn't fit over the M3 brakes. I put the square setup on the front, but it obviously isn't going to work as they were aggressive on the M3, but look just plain ridiculous on the Touring. They'll work to roll it around for now and I can figure something else out when it comes to wheels and tires in the future.

    Also lined up the engine to place it in the bay.


    The S54 looks pretty good in its new home


    That was enough work for one weekend. Will take a few days off from the project and hopefully get back on it this coming weekend. I still have so much to do, but it feels good to not only put the engine in the touring, but to also get back some of my limited garage space by getting it off of the floor

    Leave a comment:


  • Steve
    replied
    Box of goodies showed up. Engine mounts, fluids, clutch install kit, etc. etc.


    Lowered the car down and hooked up the crane.


    As easy as just pull it out right? Nope, of course not. The car is too low for the engine hoist legs to fit underneath it without contacting the control arms. I decided to sit the front tires down on ramps and then roll it backwards once the engine was free. This worked, but it was a process that involved moving it back a few inches, jacking it up manually and then moving the ramps further back three times. After I rolled it back, I felt like celebrating as I was able to do this completely by myself in my home garage


    The celebration was short lived as I realized that I needed to clean the floor, find a spot to put the engine and push the car back into the garage. Without an engine, it was quite easy to push it back inside. Now when it's on the lift, it seems a bit sketchy without any weight on the front end, but I'm hoping that it's better once I pull the rear subframe. Thinking to definitely do the back before the front as I would hate to take any more weight off of the front at this point.

    I still have so much left to do, but this was a big milestone for the project in my mind. The next steps will be to remove the subframes, pull the fuel tank and related lines and hopefully get to work on the wagon within the next several days.

    Leave a comment:


  • Steve
    replied
    Unfortunately, pulling the motor and trans as a unit didn't work out for me. While I'm sure it's possible, I just didn't have enough space to make it happen how I wanted. I decided to go about it a different way and remove the transmission first as I've seen several builds done this way. Some of the bellhousing bolts put up a decent fight but overall it wasn't too bad. Luckily I already had a bunch of long extensions and a transmission jack from a previous transmission swap I did on a truck.

    Transmission pulled with shift actuator and hoses still attached.


    Safe to say this is getting replaced, yikes!


    Next up will be removing the engine, subframes and fuel system. I am getting pretty close to being able to work on the wagon, which has me pretty excited!

    Leave a comment:


  • Steve
    replied
    Did a little work on the donor. Decided to pull off a headlight to see how easily this thing was going to come apart. As expected, it's basically a giant tinker toy. About 40 mins later I had most of the front end off and decided to take a quick break.


    Next I pulled out the under panels, exhaust and driveshaft. At this point the quickjack was already paying for itself as it made access to everything much easier than I'm used to. I can see how an actual two post lift would be even better, but unfortunately I don't have the room for one and I like that the QJ is portable and I can easily store it when not in use.

    Next I pulled off the airbox. I "borrowed" some elastic hair bands from my soon to be wife and used some plastic bags to keep the intake protected from foreign objects.


    Then I decided to pull the radiator, condenser and other stuff to give myself access to the engine.


    The SMG wiring junction box under the car was unbolted and it looks like everything should come out as an assembly. I still need to disconnect the fuel feed line, ground strap and a few other odds and ends but it is getting really close to coming out of there. I'm planning to pull the engine and trans as a unit and separate them later. Hopefully this won't cause any issues but I will find out soon enough. If anyone has any tips or suggestions, it would be great to hear them!


    Finally, I assembled my engine crane that I picked up from HF. This thing was actually somewhat frustrating to get together since one of the support bars in the back didn't want to line up, but I eventually got it into place. I also picked up a load leveler as it seemed like a good use of a few bucks. Of course I used a coupon on it as well


    This is where I decided to stop for the weekend. I could have gone ahead and pulled the engine, but I would rather wait until I am fresh to get it out of there as well as figure out the best approach so nothing is damaged in the process.

    Leave a comment:


  • Steve
    replied
    This car was built 04/2000, which left a lot of questions on whether it would have a single or dual stage airbag. Some sources said the change to dual stage happened in April while others stated June. I noticed mine said "AIRBAG" instead of "SRS AIRBAG" like some of the older cars and also had the thumb grips, so I thought it was a dual stage, but I wouldn't be 100% sure until I took it apart.

    I decided to take a look at it last night. Two T30 torx bits would reveal either excitement or disappointment. Luckily, the bag had two connectors on the back. I'm not sure if the tourings got the dual stage bags earlier, or if it's a toss up for these build dates, but either way I am not complaining

    Installed the M3 wheel as I couldn't take another moment of the thin wheel it came with. The M3 wheel is in need a rewrap and work on the lower trim, but that can be done at a later time. It's really amazing how much different the car feels with just a steering wheel swap, almost a night and day difference!


    I also changed out the radio and HVAC controls to the facelift models to gain an AUX input as well as the controls I am used to since I've had a facelift car for so long. It's only a small difference in layout on the HVAC setup, but I kept reaching in the wrong areas to adjust the temperature or settings and it was driving me crazy

    Leave a comment:


  • Steve
    replied
    I've gone back and forth on this, and have just decided I'm going to do it. I've owned a 2004 M3 Convertible for about six years and have enjoyed it, but recently took ownership of a Coupe on the basis that I was going to get rid of the convertible. With what all I've put into this car compared to what 100k+ mile convertibles go for, it makes sense to use it as a donor rather than sell it and get another donor with an unknown past. It's also nice that I have the full history of this car before my ownership as well as everything that I've done to it while owning it. Overall, it's a solid car and I'm not sure what I'm going to do with the chassis, but that can be figured out later.

    Batter up!

    Leave a comment:


  • Steve
    replied
    Picked up a Quickjack to assist with my project as well as general maintenance and detailing with my other cars. Overall, I'm impressed.

    The Touring got first dibs on trying it out

    Last edited by Steve; 03-25-2020, 07:11 AM.

    Leave a comment:


  • Steve
    replied
    Putting the new carpet in was way easier than removing the old carpet, mostly because I had templates of where to cut based on how much of the old carpet I had removed. I cut the front carpet into two sections and installed each side separately. I left the rear carpet in one piece because it is easy to install as-is, as long as it isn't water logged that is


    I got a bit excited at this point as the interior looked so much better with the black carpet than the tan. Why BMW decided to do beige EVERYTHING, I'll never understand.

    Little bit of beige to remember where we came from with this car. It's worth mentioning that no beige carpet is visible when the rest of the interior is installed.


    I also decided to swap in a black console from my '05 Coupe as the tan console just looked weird and out of place in this car. Since I had recently swapped a fresh one into my other car, this was a "free" mod that was a no-brainer.

    Interior reinstalled 100%


    I put the old mats from my convertible in as they somewhat matched and the "M3" logo was good for some laughs...and hopefully a tease of what I'd eventually like to do with this car

    Leave a comment:


  • Steve
    started a topic Steve's 2000 E46 Touring Dog Transporter Project

    Steve's 2000 E46 Touring Dog Transporter Project

    I've always been intrigued by wagons, but I've never owned one and certainly didn't expect to own one anytime soon as I've always had a truck to use for my errands and larger items. All of that changed when I found the perfect Cayenne for my wife and I to share and I had to let my truck go to make it happen. I didn't mind the dogs being in my truck, but there is no way I was going to let them into the Cayenne as it has a full leather interior and I can only imagine the terrible things that their nails would do to it.

    I originally thought to just get another truck but then I started to think about maybe getting a wagon instead to see how it would work out in my life. I came across a lot of E91s for sale, but I really wanted an E46 as they are super simple to work on, beyond depreciated and could function as a "hand me down" car for parts that I remove from my M3s.

    It actually didn't take me long to find a car worth buying. I ended up finding one that was owned by an elderly gentleman that unfortunately passed and was being sold by his nephew so that his wife wouldn't have to deal with it. The car had a book of service records, all original keys and was 100% original and never modified and had relatively low miles to boot. The car spent many years in a small Texas town so it wasn't subjected to the normal amount of wear and tear that is often seen in cars that have lived in Houston their entire life.

    I talked to the seller via phone a few times, worked out a deal and decided to go get it. My wife was thankfully ok with the idea of a "dog car" being around the house. She has been very patient with me bringing home cars, so I was glad she wasn't upset about this one and actually seemed quite interested in the idea of both a wagon and a car that was meant to haul around the dogs.

    Unfortunately, she was working on the day I was supposed to get the car and it was two hours away from me. After realizing that the Cayenne had a pretty decent tow rating, I did what any sane, or insane, person would do and rented a uhaul trailer and drove two hours to get an eighteen year old brown station wagon :rofl:

    When I got there, it was as described so I paid the seller, loaded it up and thought the whole way home "what in the world have I done?".


    So with all of that said, I now have a third E46 and a project car to play around with on the weekend. I'm quite excited and thought I would keep a journal on this one as I make progress
Working...
X