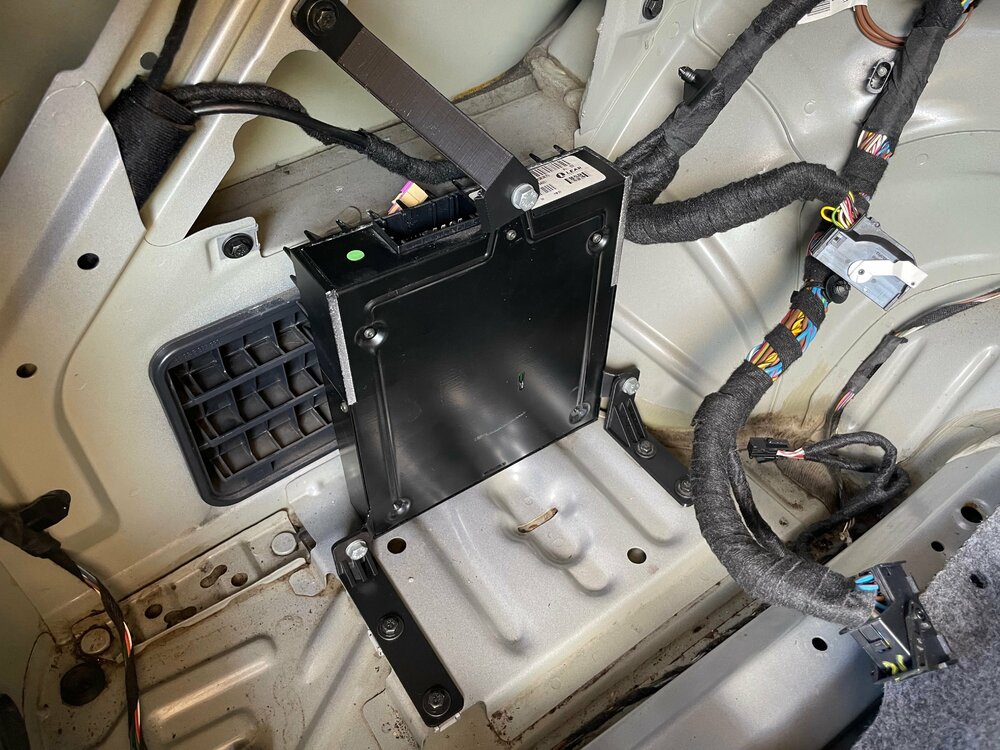
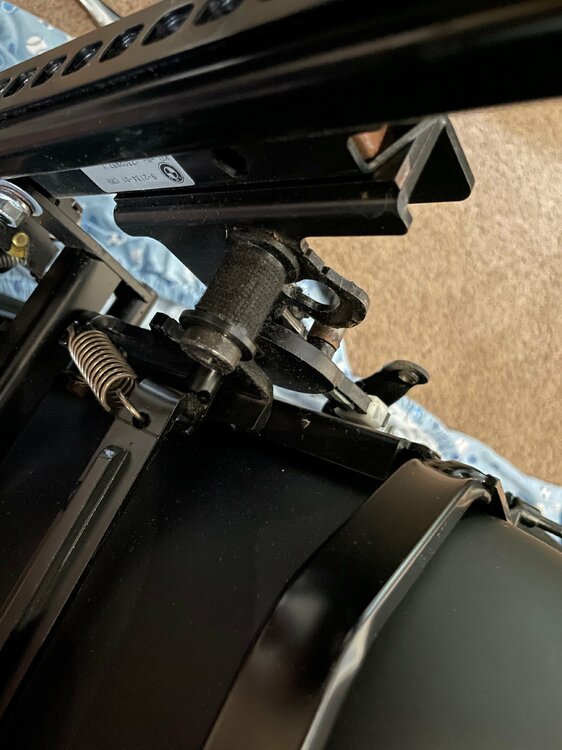
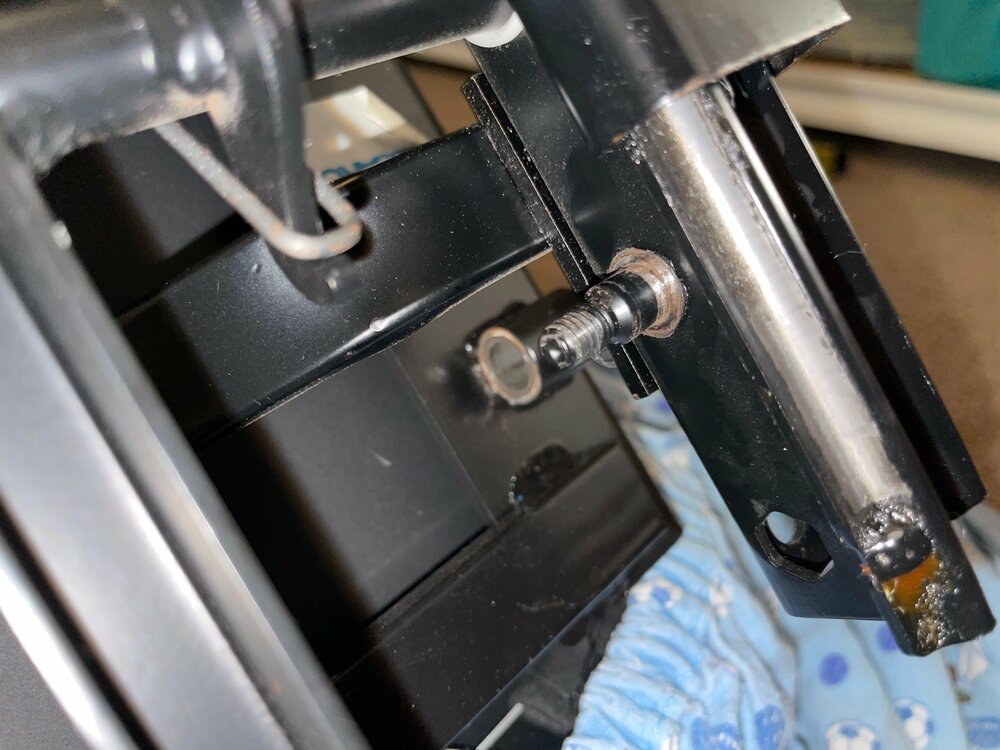
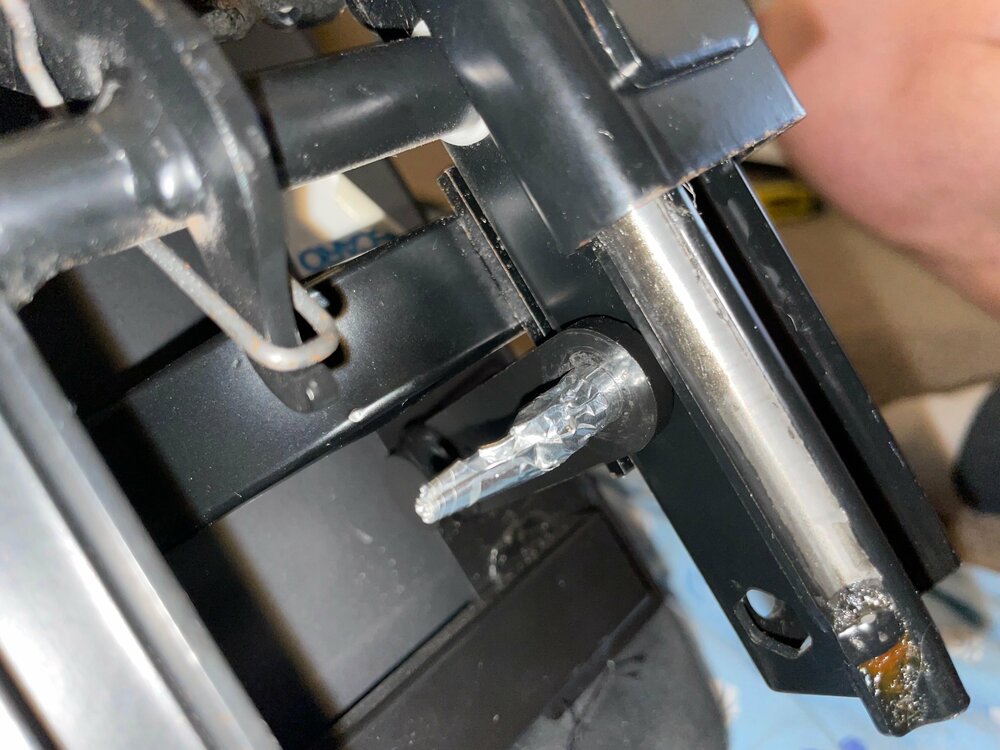
And today is the final day of my summer holiday before I head back to work. This morning before it got too hot I finally got around to doing the work on the rear seat. First up I removed the black leather seats and bolsters, and then I was able to install the rear seat sound mat that arrived a couple of months ago. It fits really well and was no problem to install, at less than half the weight of the rubber/butyl one and not likely to disintegrate like the original I'm very happy with this:
You can see there are a couple of cut outs that aren't needed on the M3, presumably they are for the E46 compact or similar, but aside from that it all fits in very nicely.
I was then able to install the G7AT interior (which I've been cleaning and drying over the last week) from NZ_M3 and now finally have an (almost) matching interior.
I took the covers off the headrests and put them through the washing machine (gentle cycle, no spin) and wet vac'd the bolsters, seat bench and backs.
The bolsters needed new clips at the tops, as they seem to ALL break. I ordered new ones in one of my orders last year, so had these on the shelf ready to go. Originals were black, these new ones are white, maybe they're also stronger 🤣
Then it was just a case of putting everything in, and soon it was all done! (apologies for the terrible photos and dusty car, am rebuilding a retaining wall at the moment and the clay dust gets into everything).
I also got to take the car for a drive today. With the work I've done on the drivers door, and the cloth rear upholstery, a good 90% of the rattles and such that were present in the car seem to be gone! I thought there were going to be a bunch still to hunt down, but appears I have one in the dash by the drivers door, and aside from that any other noises were pretty infrequent!
Now I just need to give the car a good wash!


Leave a comment: