-
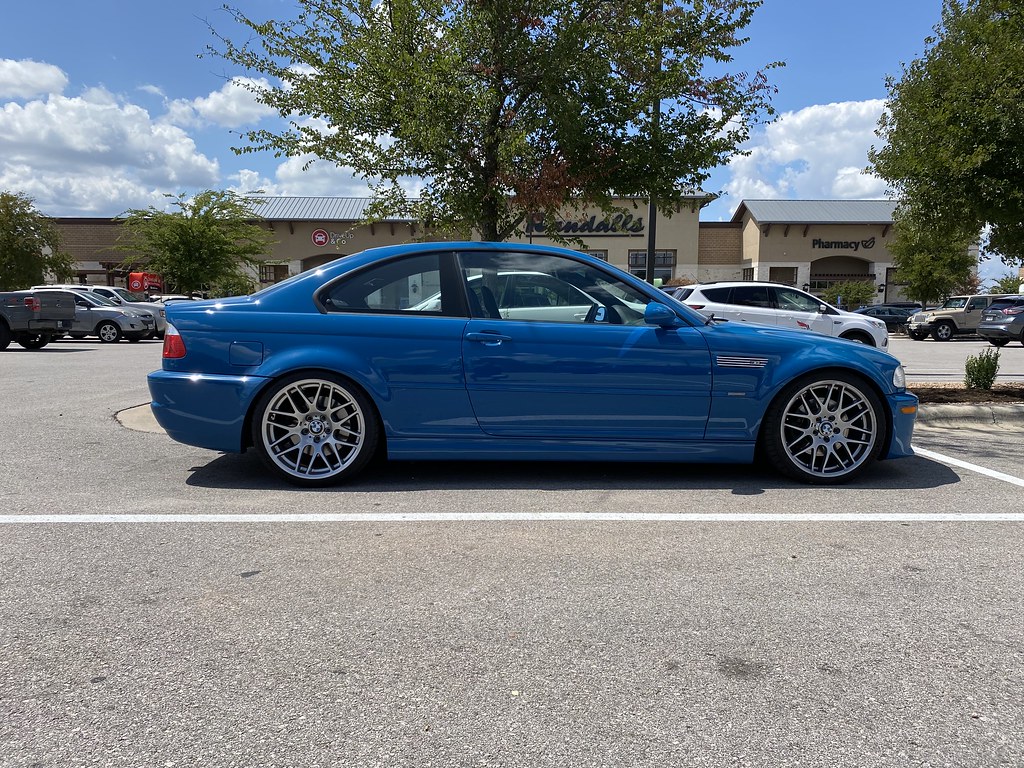
The pic with the tower looks like an old BMW ad.
But what happened to the RACs???Leave a comment:
-
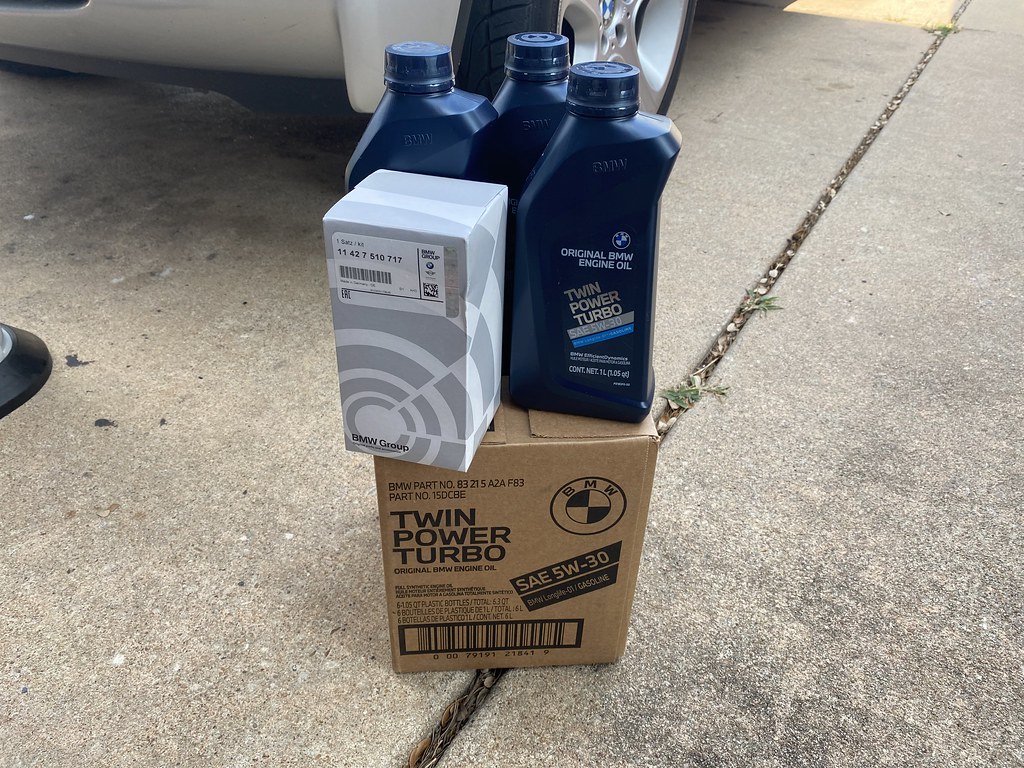
Made it a year (only 2700 miles) on my oil change for the M3 so it was time for a change

Untitled by jake ellegard, on Flickr


Recaro Pole Position ABE seats with BK mounts;
 Untitled by jake ellegard, on Flickr
New rear deck (top) vs the one I attempted to re dye;
 Untitled by jake ellegard, on Flickr
I got new OEM A, B and C pillars as well. Still have to put the B pillars on.
New OEM Competition wheels with Michelin PS4S 245/35 and 265/30.
 Untitled by jake ellegard, on Flickr
 Untitled by jake ellegard, on Flickr
Originally put 12MM spacers on the back (pictured below) and it rubbed so I took them off and used a 5MM. Installed Motorsport Hardware studs as well.
 Untitled by jake ellegard, on Flickr
 Untitled by jake ellegard, on Flickr
Finally made it back out to COTA, first time with this M3;
 Untitled by jake ellegard, on Flickr
 Untitled by jake ellegard, on Flickr
 Untitled by jake ellegard, on Flickr
 Untitled by jake ellegard, on Flickr
Leave a comment:
-
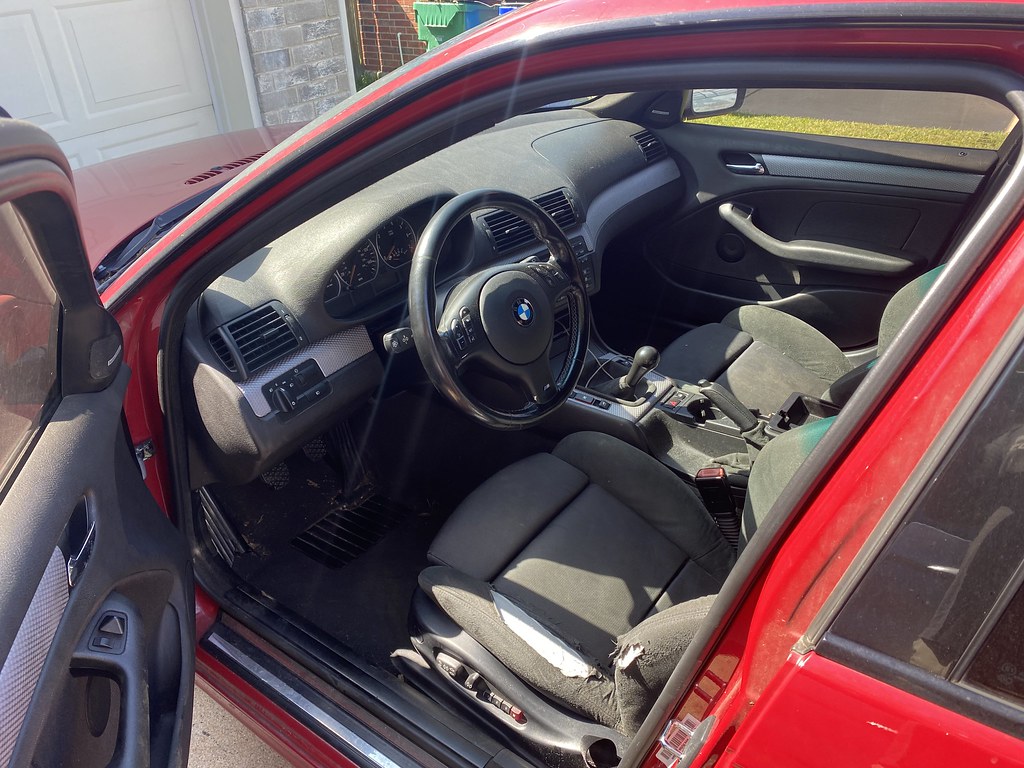
It has been a while! I haven't been very good at keeping track of everything so this will be more of a spam post. I ended up getting another project to get work on in addition to the rest of them as well.
-2004 ZHP Imola/alcantara with 147k
-6 speed (swapped)
-JB racing light weight flywheel
-Bilstein coilovers/Vorshlag camber plates
-Performance Gearing 3.46 3 clutch LSD with finned cover
-UUC swaybars
-RE transmission mounts
-ECS aluminum water/power steering pulleys
-BW dual fuel pumps
-Turner rear camber arms
-Style 216 wheels (no ZHP wheels)
-Brass caliper guide bushings
-stainless brake lines
-wheel studs
-swapped to silver cube from black
-GAS DISA upgrade
-AFE intake
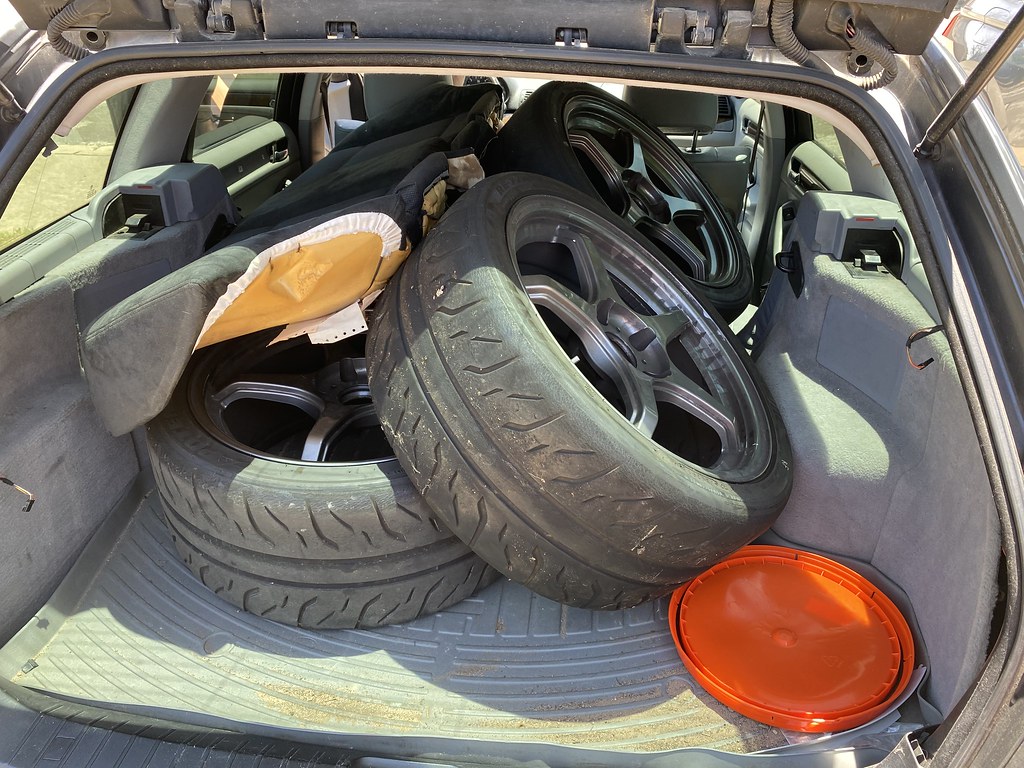
I'm probably missing some things but that's most of it. It also came with a set of D Force LTW 18x9 wheels and a bunch spare parts. The PO had owned it for the last 5 years and done about 3 track events with it.
Now onto the problems. The PO was selling it because it had become more of a project than he wanted to deal with. It had a gas leak, a couple oil leaks, made a horrendous noise while steering with an equally horrendous steering feel, clear coat is peeling in a couple areas, good amount of dings (most should be able to be PDR'd), interior needs some love etc I enjoy bringing back cars like this so it was perfect for me.
After bringing it home;
 Untitled by jake ellegard, on Flickr
 Untitled by jake ellegard, on Flickr
 Untitled by jake ellegard, on Flickr
 Untitled by jake ellegard, on Flickr
 Untitled by jake ellegard, on Flickr
 Untitled by jake ellegard, on Flickr
Low coolant light was on the following day. The bleed screw was broken so I took one off a new hose I had laying around. The whole system will be getting replaced soon.
 Untitled by jake ellegard, on Flickr
Cause for the fuel leak was the hose running between the dual pumps
 Untitled by jake ellegard, on Flickr
Steering noise/feel was due to a faulty steering rack. After tracking down a yellow tag rack I got it replaced along with new Lemforder tie rods, steering coupler and new boots. I didn't due a super thorough inspection before buying it and it ended up not even having a ZHP rack in it. It had a TRW rack. :facepalm I didn't take a tremendous amount of pictures during this as I was a bit pressed for time.
 Untitled by jake ellegard, on Flickr
Old rack
 Untitled by jake ellegard, on Flickr
I went after the windshield cowl next as it was duct taped to the windshield and falling apart. I also noticed the E box was missing all four screws so those were replaced as well.
 by jake ellegard, on Flickr
 Untitled by jake ellegard, on Flickr
 Untitled by jake ellegard, on Flickr
 Untitled by jake ellegard, on Flickr
 Untitled by jake ellegard, on Flickr
Loose wire is from a haphazardly wired manual swap
 Untitled by jake ellegard, on Flickr
 Untitled by jake ellegard, on Flickr
Next I wanted to check the rest of the wiring. The pin running to the DME had came out of its connector. I will be going through and tidying everything up at a later date to include the reverse light wiring that can be seen in the previous pics. I'm on the lookout for a complete manual harness if anyone has one. While I was down there I noticed a leak coming through the brake booster so I'll be replacing the master cylinder and brake booster as well.
 Untitled by jake ellegard, on Flickr
 Untitled by jake ellegard, on Flickr
 Untitled by jake ellegard, on Flickr
 Untitled by jake ellegard, on Flickr
Nice
 Untitled by jake ellegard, on Flickr
Started with jack pads as all of them were missing. One did not come with the insert so hopefully it doesn't fall out too soon.
 Untitled by jake ellegard, on Flickr
One of the pulleys was making some noise so I replaced the belts/pulleys/tensioners all at once along with the oil filter housing gasket, VANOS line etc.
 Untitled by jake ellegard, on Flickr
 Untitled by jake ellegard, on Flickr
 Untitled by jake ellegard, on Flickr
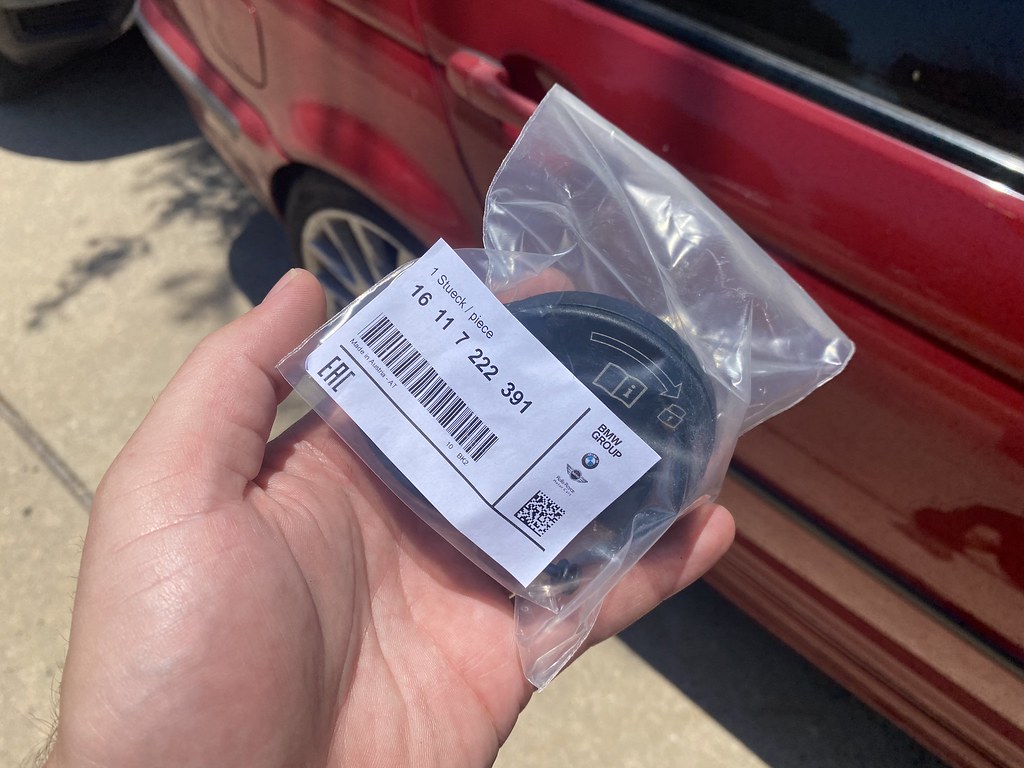
EVAP monitor wasn't setting (no CEL) so I started with the easiest possible fix, the gas cap, replaced it and let it idle a few minutes then it set. Maybe that was the fix maybe it was a coincidence.
 Untitled by jake ellegard, on Flickr
 Untitled by jake ellegard, on Flickr
AC didn't blow cold when I bought it, PO said he would have to recharge every so often so I knew it was more than likely the evaporator. Did it over a weekend.
 Untitled by jake ellegard, on Flickr
 Untitled by jake ellegard, on Flickr
 Untitled by jake ellegard, on Flickr
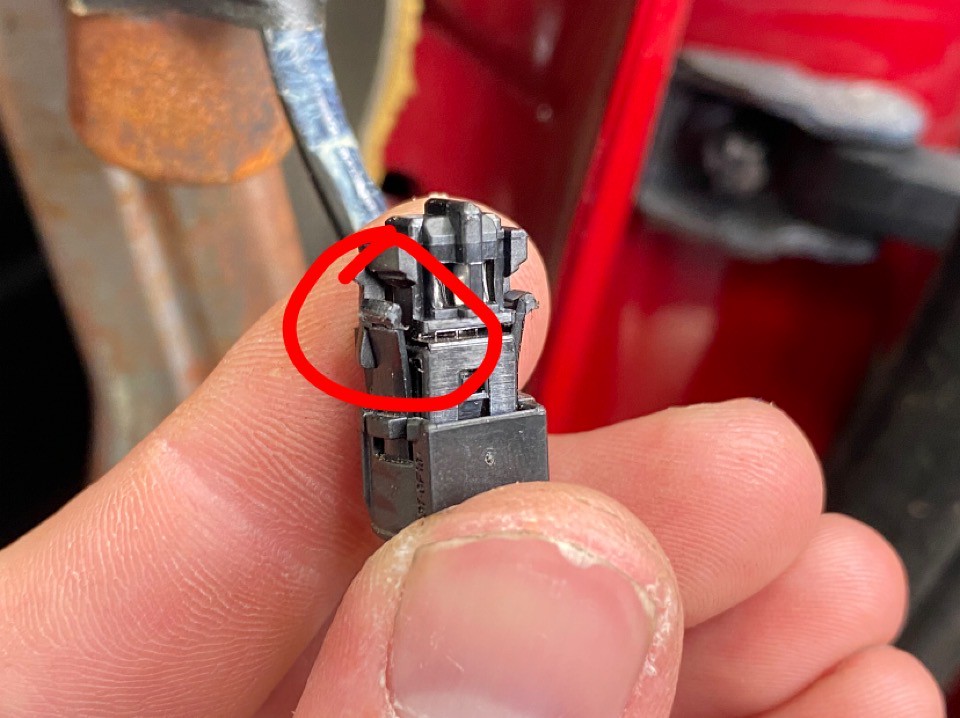
Even if you're careful with the curtain airbag connectors they will likely get a little damaged removing them. They still clipped back in nicely and didn't come out with a tug I just used some electrical tape as an added layer of protection.
 Untitled by jake ellegard, on Flickr
 Untitled by jake ellegard, on Flickr
 Untitled by jake ellegard, on Flickr
 Untitled by jake ellegard, on Flickr
New evap with fresh foam
 Untitled by jake ellegard, on Flickr
Old evap
 Untitled by jake ellegard, on Flickr
Mostly back together. There's some things I want to replace before it putting it back 100%.
 Untitled by jake ellegard, on Flickr
 Untitled by jake ellegard, on Flickr
Onto some random pics;
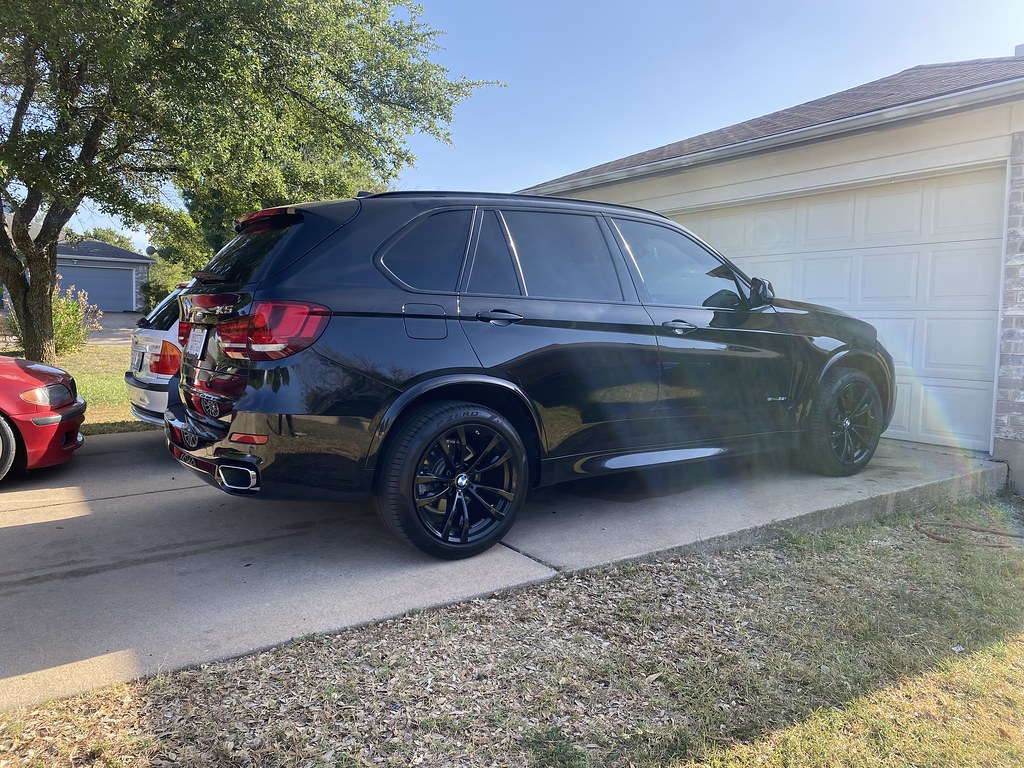
Traded my wife's Tiguan for her new daily. It was remarkably clean and very well optioned with a full service history so I had no choice.
 Untitled by jake ellegard, on Flickr
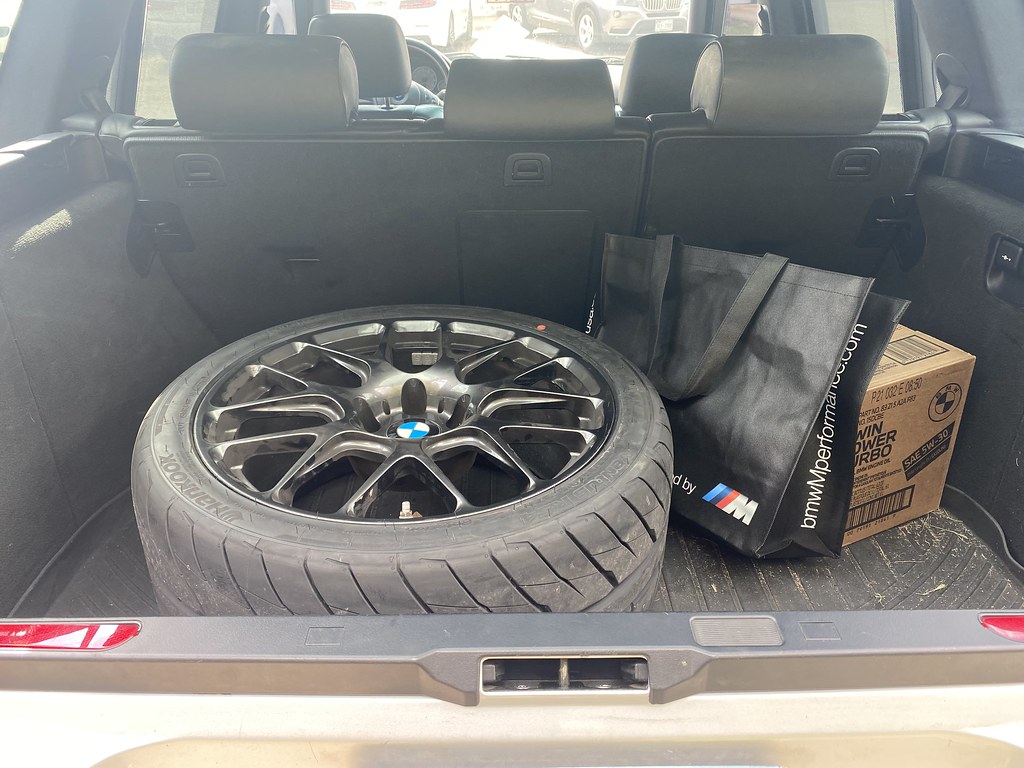
Had the wagon loaded down with bricks
 Untitled by jake ellegard, on Flickr
Last edited by Mpower04; 10-22-2022, 01:36 PM.Leave a comment:
-
 Untitled by jake ellegard, on Flickr
 Untitled by jake ellegard, on Flickr
 Untitled by jake ellegard, on Flickr
Leave a comment:
-
Nice update! You will love the X5 after all the issues are resolved.Leave a comment:
-
After getting the Ground Controls on with the 7" spring up front I wasn't happy with the ride height so they sent me out some 6" springs that I was able to get to an acceptable ride height without going full stance nation. Beyond that, I got it aligned and have been messing with the dampening. If I remember correctly I'm about 3/4 turn from full soft F/R and it feels pretty good. Any firmer and it's a noticeable difference in ride quality over the stock set up.
In other news, I picked up another project. I've been wanting a 4.6is for some time now but have never really been interested in paying what people have them listed for. Long story short one popped up locally that was super clean other than a nasty oil leak. We ended up getting a deal done and now I have it. I originally tried to buy it earlier this year from the individual who had owned it the past 12 years but I was beat to the shot. Since then it was passed around between a couple people who I assume didn't want to deal with the leak and eventually landed with me. Looking it over the day after I found the timing chain tensioner crush washer was missing all together causing the horrible leak. 99 cents later we were good to go with no more puking oil. The guy who had it the past 12 years did the timing chains/guides late 2016/early 2017 and this is where I'm assuming this was never replaced as carfax shows only about 3k miles driven between then and present day. After a visual inspection the chain also does look quite new compared to what else can be seen through the valve cover at 191k miles. Cold starts are also good. It also appears all the front arms/tie rods have been recently replaced and drives quite nicely after the alignment.
Since then I've been catching up on some deferred maintenance. So far;
-oil change
-window regulators
-engine air filter
-cabin air filter
-fuel pump
-hood struts
-alignment
 Untitled by jake ellegard, on Flickr
 Untitled by jake ellegard, on Flickr
 Untitled by jake ellegard, on Flickr
The fix for why it was (primarily) passed around;
 Untitled by jake ellegard, on Flickr
 Untitled by jake ellegard, on Flickr
Broken down on the toll road after the fuel pump failed while driving
 Untitled by jake ellegard, on Flickr
 Untitled by jake ellegard, on Flickr
 Untitled by jake ellegard, on Flickr
Also had a valve stem go out on the M3
 Untitled by jake ellegard, on Flickr
 Untitled by jake ellegard, on Flickr
 Untitled by jake ellegard, on Flickr
 Untitled by jake ellegard, on Flickr
The "fix" by someone previously. So far far I've got two new BMW regulators/clips for the front windows and will have to do the rear windows next.
 Untitled by jake ellegard, on Flickr
 Untitled by jake ellegard, on Flickr
Broken one;
 Untitled by jake ellegard, on Flickr
New one installed;
 Untitled by jake ellegard, on Flickr
Well aged filters and hood struts were also replaced;
 Untitled by jake ellegard, on Flickr
Still a ways to go but off to a good to start and I'm glad I was able to save it.Last edited by Mpower04; 09-06-2021, 05:54 PM.Leave a comment:
-
Had a chance to get some things done recently and am due for an update.
George Hill and I worked out a deal for an E46 I had that involved some labor so he took care of bullet proofing the VANOS for me as well as a valve adjustment. I knew I was in good hands and he even took some pictures along the way. There was no broken bolts, no broken tabs and the chain guide was even intact.
 Untitled by jake ellegard, on Flickr
 Untitled by jake ellegard, on Flickr
 Untitled by jake ellegard, on Flickr
 Untitled by jake ellegard, on Flickr
Reached the one year mark on the oil with only about 2k miles driven (so sad) so I changed it.
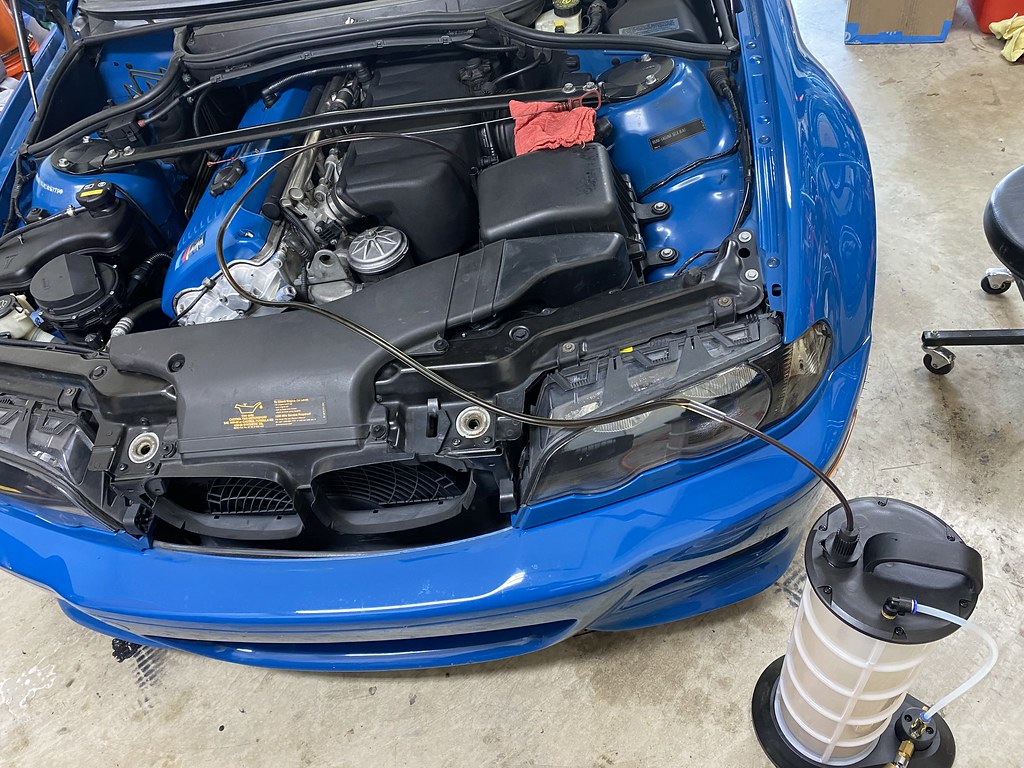 Untitled by jake ellegard, on Flickr
 Untitled by jake ellegard, on Flickr
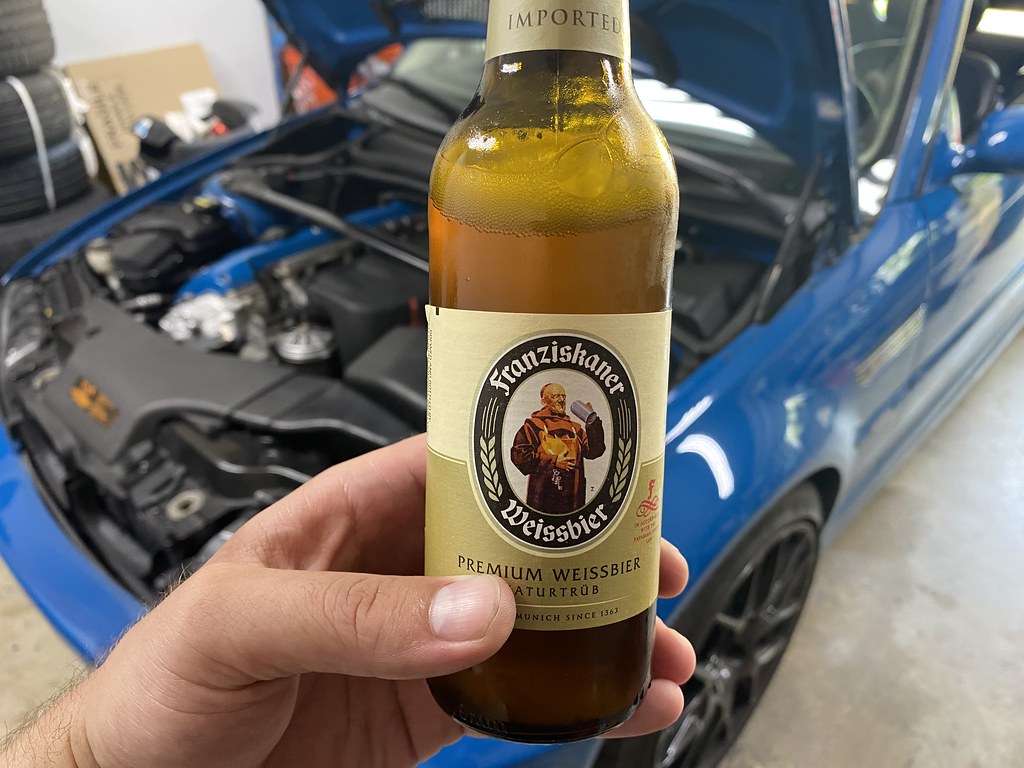
+5hp
 Untitled by jake ellegard, on Flickr
I also got some Ground Control coilovers that recently went on. I have the fronts set to pretty much full low and there's still nearly a 2 finger gap in the front. Hopefully they settle in enough to be acceptable.
Pre assembled from GC.
 Untitled by jake ellegard, on Flickr
 Untitled by jake ellegard, on Flickr
Had 265/285 Hankook RS4s put on at the same time.
 Untitled by jake ellegard, on Flickr
I know the badge is crooked, I didn't do it, and will be taking it off soon.
 Untitled by jake ellegard, on Flickr
I have Lemforder front control arms, control arm bushings and tie rods to go on next then I'll get it aligned.Leave a comment:
Leave a comment: