
Wow, lots of great work with this build! Also liking the composites work.
For the splitter are you going to be implementing steel or aluminum inserts into the layup for fasteners? It would make the mounting points a lot stronger, and a lot less prone to tearout.
-
Its time to start on my carbon fiber splitter. First off...took awhile to get used to having a splitter on the car. I've been through 5 plywood splitters. Also takes some time to figure out how to mount the splitter. I've experimented, tested and think I have a good solution.
First...make the splitter. Using a 3/8" foam core with 1 layer of 12k spread tow carbon on each side.
Foam core cut to shape

Making a spare

Beveling the bottom edge with a angle grinder and sanding sponge
 Last edited by bigjae46; 10-24-2020, 11:23 PM.
Leave a comment:
-
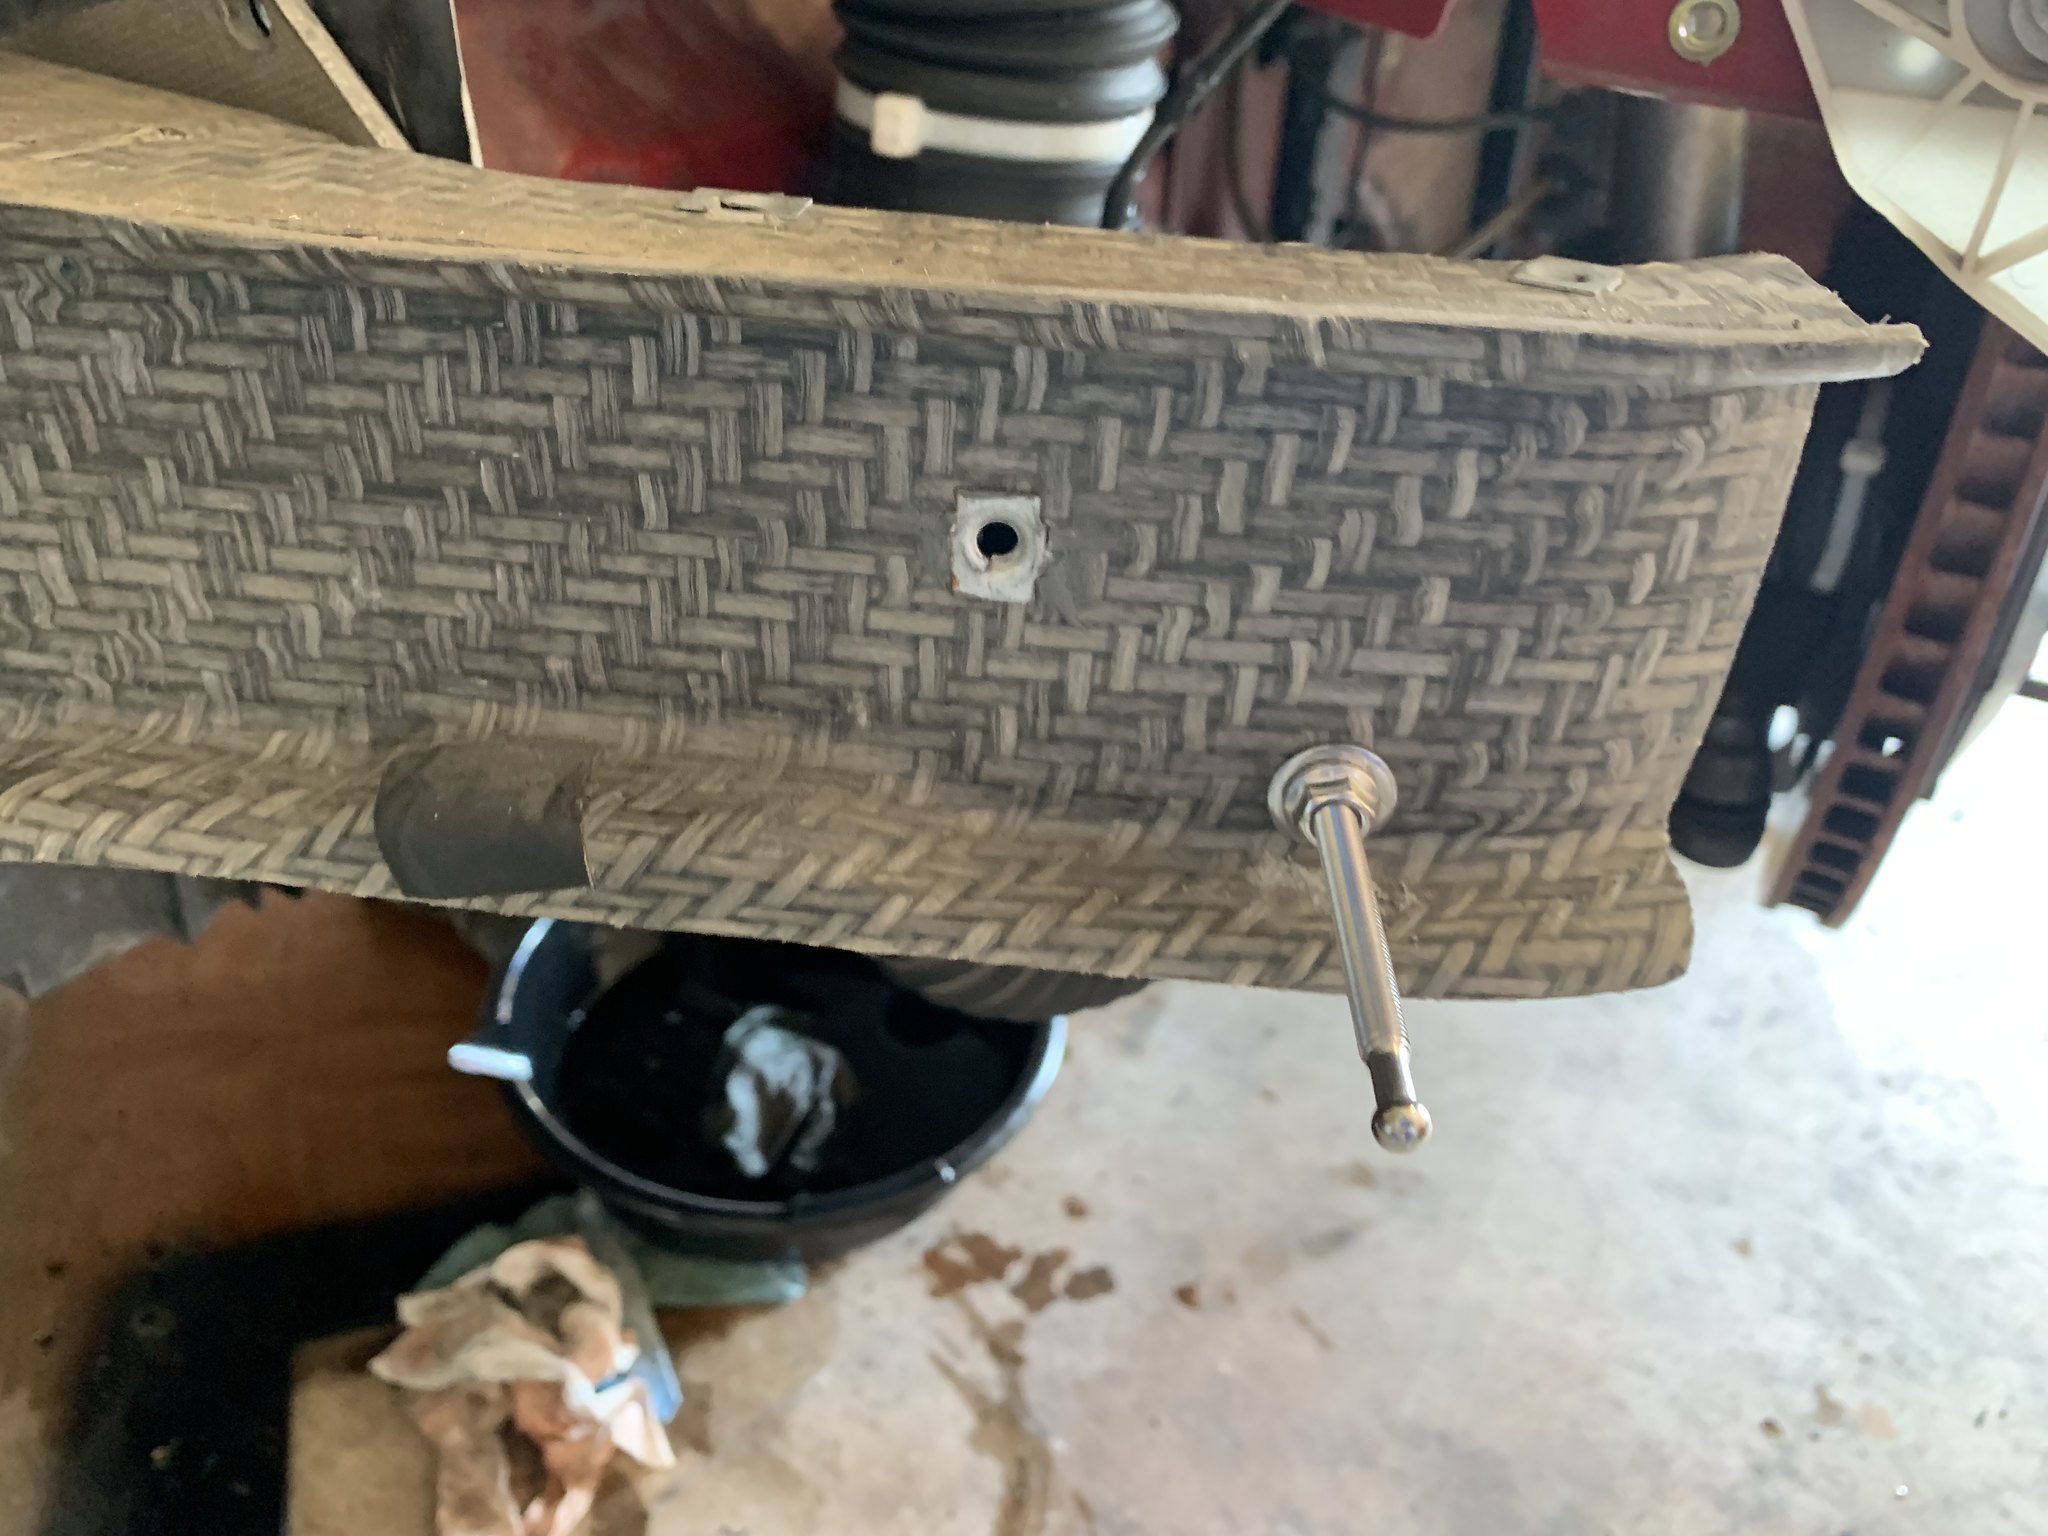
Making the front bumper removable. You can find long stud push button quick releases on eBay for $10 a set. You need something about 4" or 100mm long


Leave a comment:
-
Lately...the car has been having stuff break. I had noticed my water temps have been getting higher and higher the last couple of events also had a squealing sound at start up. I looked at the coolant (distilled water + water wetter) and noticed it was gray. I decided to check the water pump...the pulley had some play so I pulled the pump to find this.

Then my red battery light started flickering. Here is my alternator regulator. That rectangular piece is the brush that should be inside of the regulator.

Next up...COTA with Chin. Damn its LOUD!!!
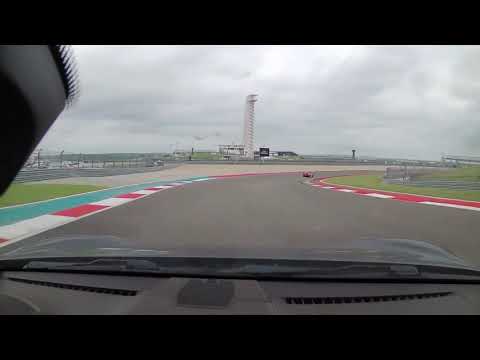
Best lap was a 2:34.69 on NT01s, theoretical best is a 2:30.9. I am very happy with that. I have an easy 2 seconds in driver improvement. I could not go over 140mph because the front would start porpoising (sp?) because my plywood splitter isn't stiff enough. Coolant temps even in hot weather (not the HOTTEST though) never got above 195 all weekend. Oil temps...still climb to 275-280. I need to admit defeat on my secondary oil cooler idea.
Post COTA list
1. Ditch my "unique" secondary oil cooler setup for a more normal setup.
2. Need to make a stiffer splitter and better mounting
3. Found leak from the input shaft seal on my steering rack
Oil cooling. I'm going with a common mounting location. I was concerned with the cooler affecting coolant temps but based on recent data I should be Ok. I also deleted the radiator fan.


Leave a comment:
-
Awhile back, I scored a 3.73 LSD diff from a 635CSi. I installed a 4 clutch conversion from racing diffs and had the bearings, races and R&P REM polished. Building it wasn't too difficult. The hardest part was the crush washer. I used an impact and a holder that I bolted to the input flange. I would give it a hit with the impact and check the preload. It takes a while to get any preload and then once you get some preload it goes from 0 to 30 in/lbs in about 3-4 uga-duga's. Patience is the key.
I reused the shims that came with the case. Came out spot on.


Leave a comment:
-
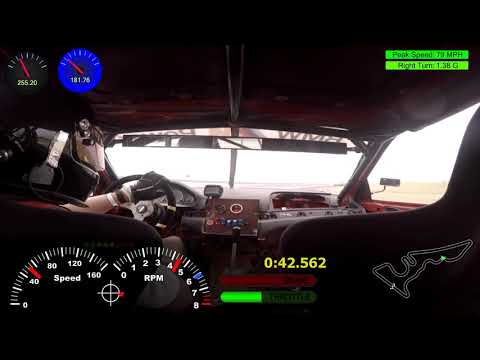
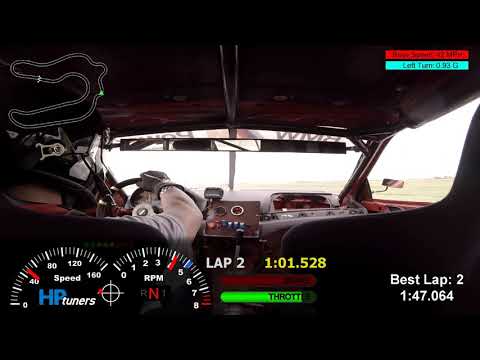
Video from June. Testing out my plywood splitter v2 and a new 4 clutch LSD. Tried not to beat on the diff and slide the rear too much. I've added some compression and rebound on the front. The front end wouldn't respond as well as I'd like in the slower turns. We'll see how it turns out for my next event either Aug 29 or Sep 12.
 Last edited by bigjae46; 08-09-2020, 05:19 PM.
Leave a comment:
-
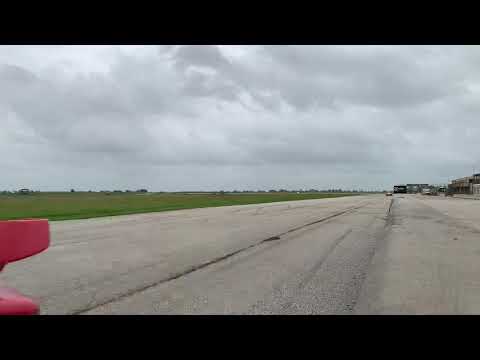
Here's a flyby from a couple of months ago. My car is LOUD! You can hear it throughout most of the video.
Leave a comment:
-
Starting to learn how to do infusions.
First part I made was a gauge panel. I used 1 layer of 3k CF, 2mm soric core and 1 layer of 3k CF. It was great until i had to drill holes. The drill would penetrate the CF layer and the soric would force the drill bit to walk. So my holes are not lined up. Lesson learned.

I made a divider that splits the air going to the oil cooler and radiator.


 Last edited by bigjae46; 08-09-2020, 04:52 PM.
Leave a comment:
-
Final wiring harness thinning. This took awhile. I tried to install a manual brake light switch to replace the hall effect switch so I could delete the LCM. The hall effect switch is tied to the ECU which uses the hall effect as an input to control the solenoid on the brake booster. LCM and hall effect back in car. Still...wiring harness looking pretty light


Painted my wheels technoviolet. They look great but not sure if they look really good on red.

Last edited by bigjae46; 08-09-2020, 04:37 PM.Leave a comment:
-
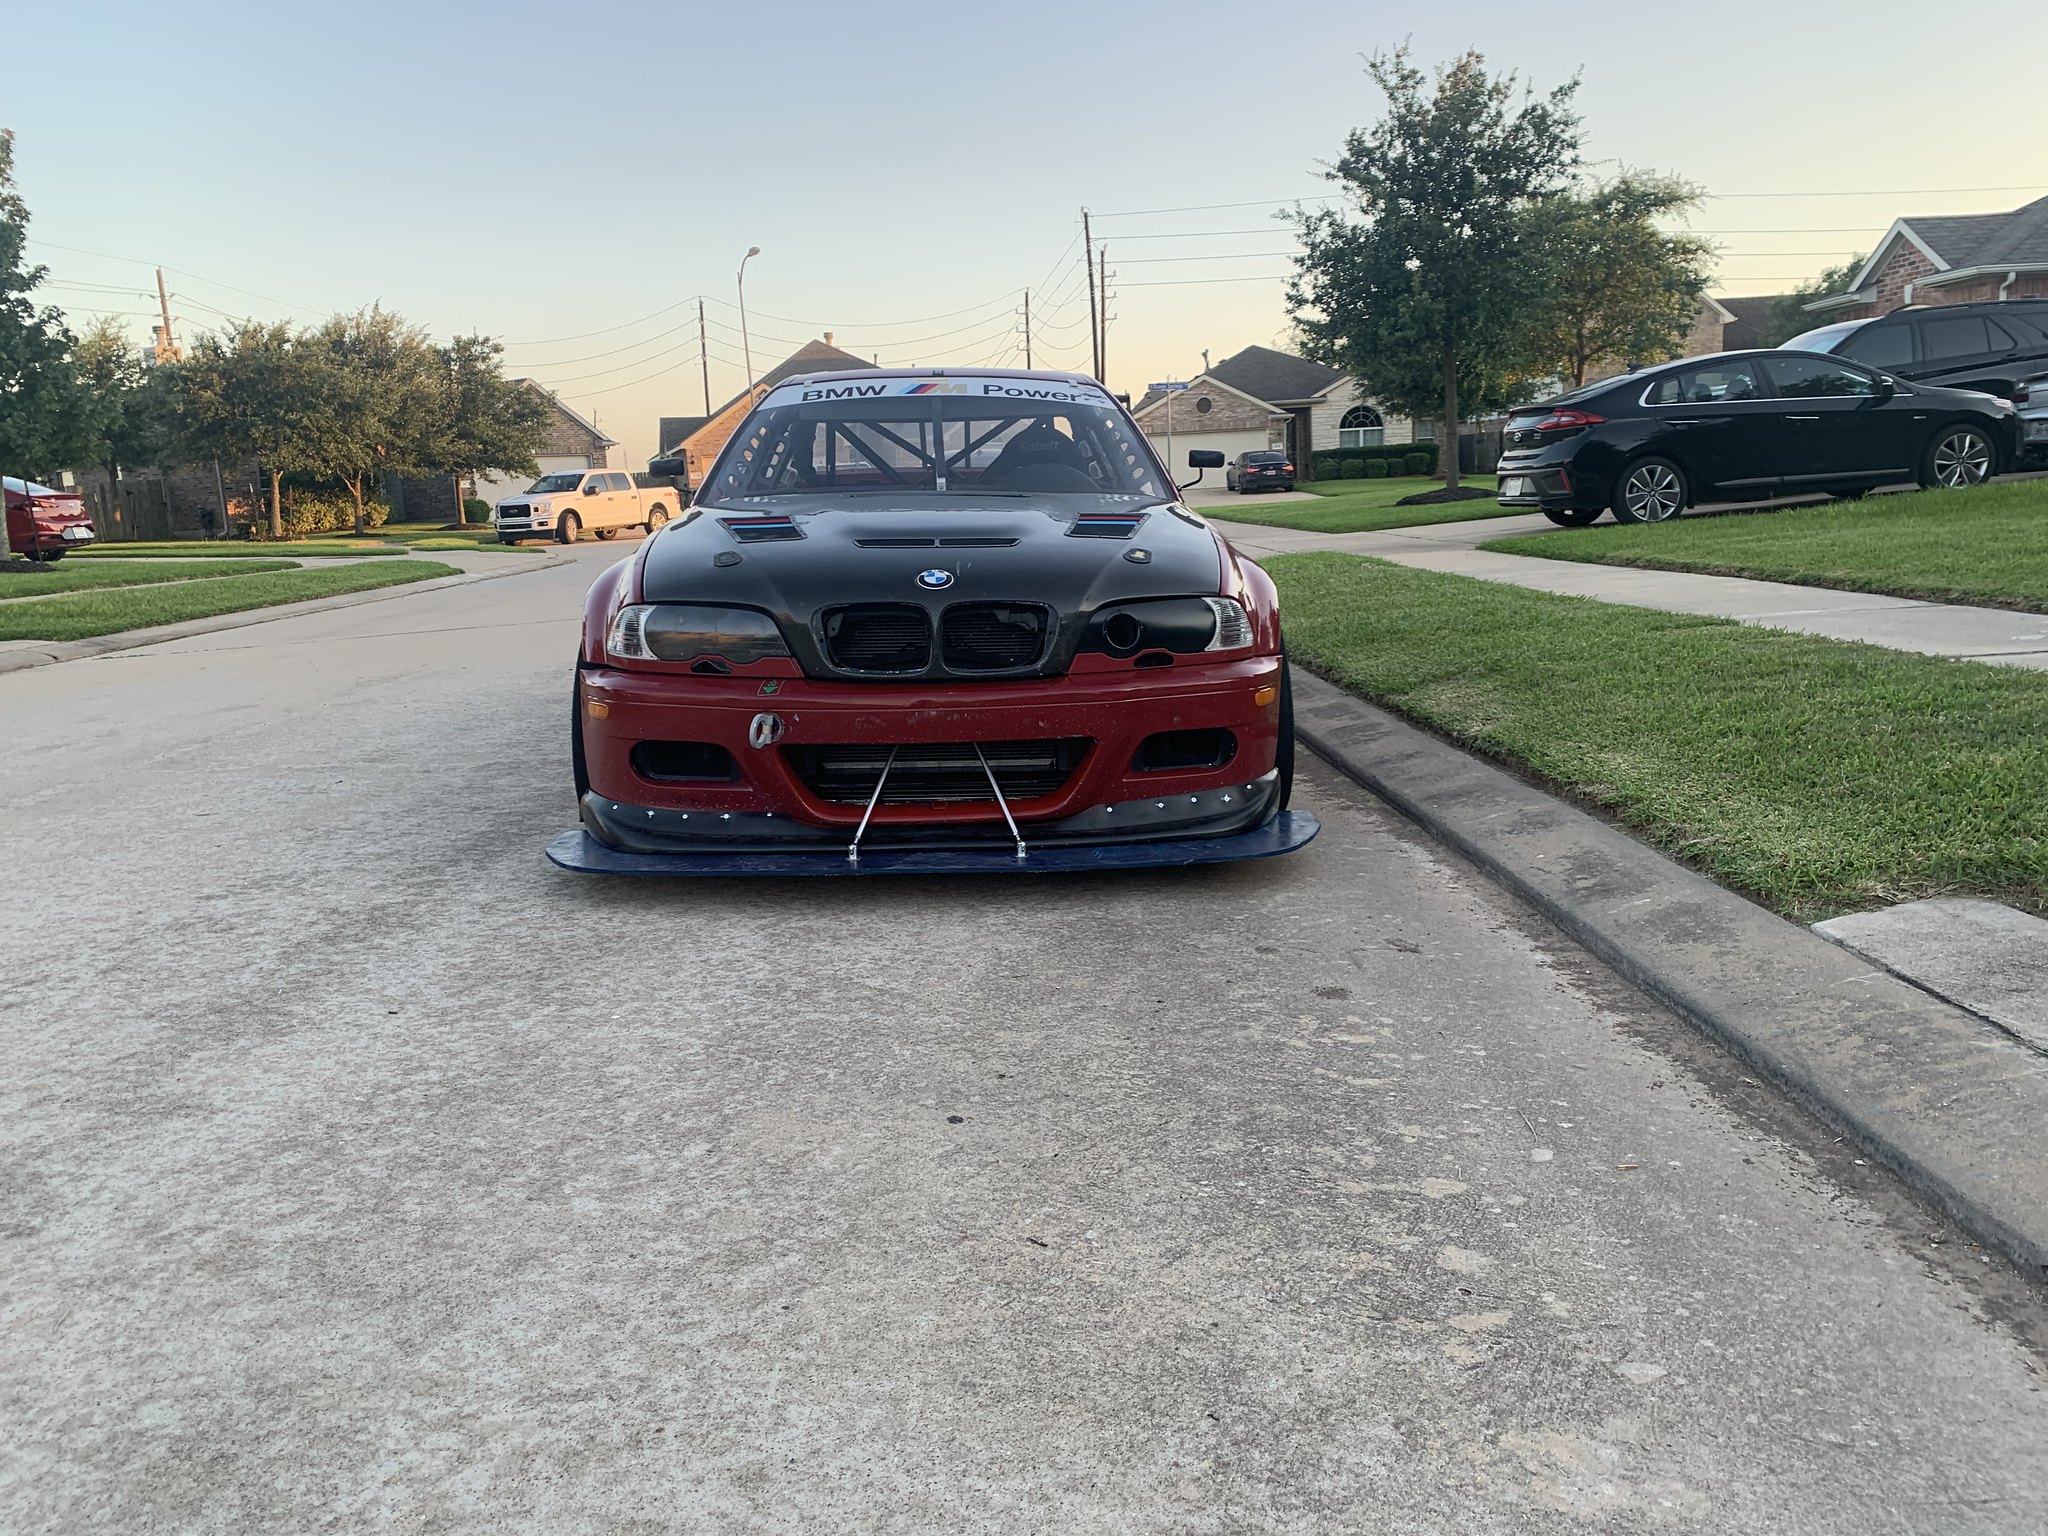
Onto the aero. Going with plywood for cost. The challenge here is minimizing weight. First attempt, it made a difference but there was too much flex.


2nd attempt with the plywood splitter. Going with 1/2" and 8 mounting points (added 2 to the sides since this pic). Also added an air dam. It worked a lot better! Ran consistent low 1:47/high 1:46 at MSR Houston in 90+ degree heat with
NT01s. Best time was a 1:45.899
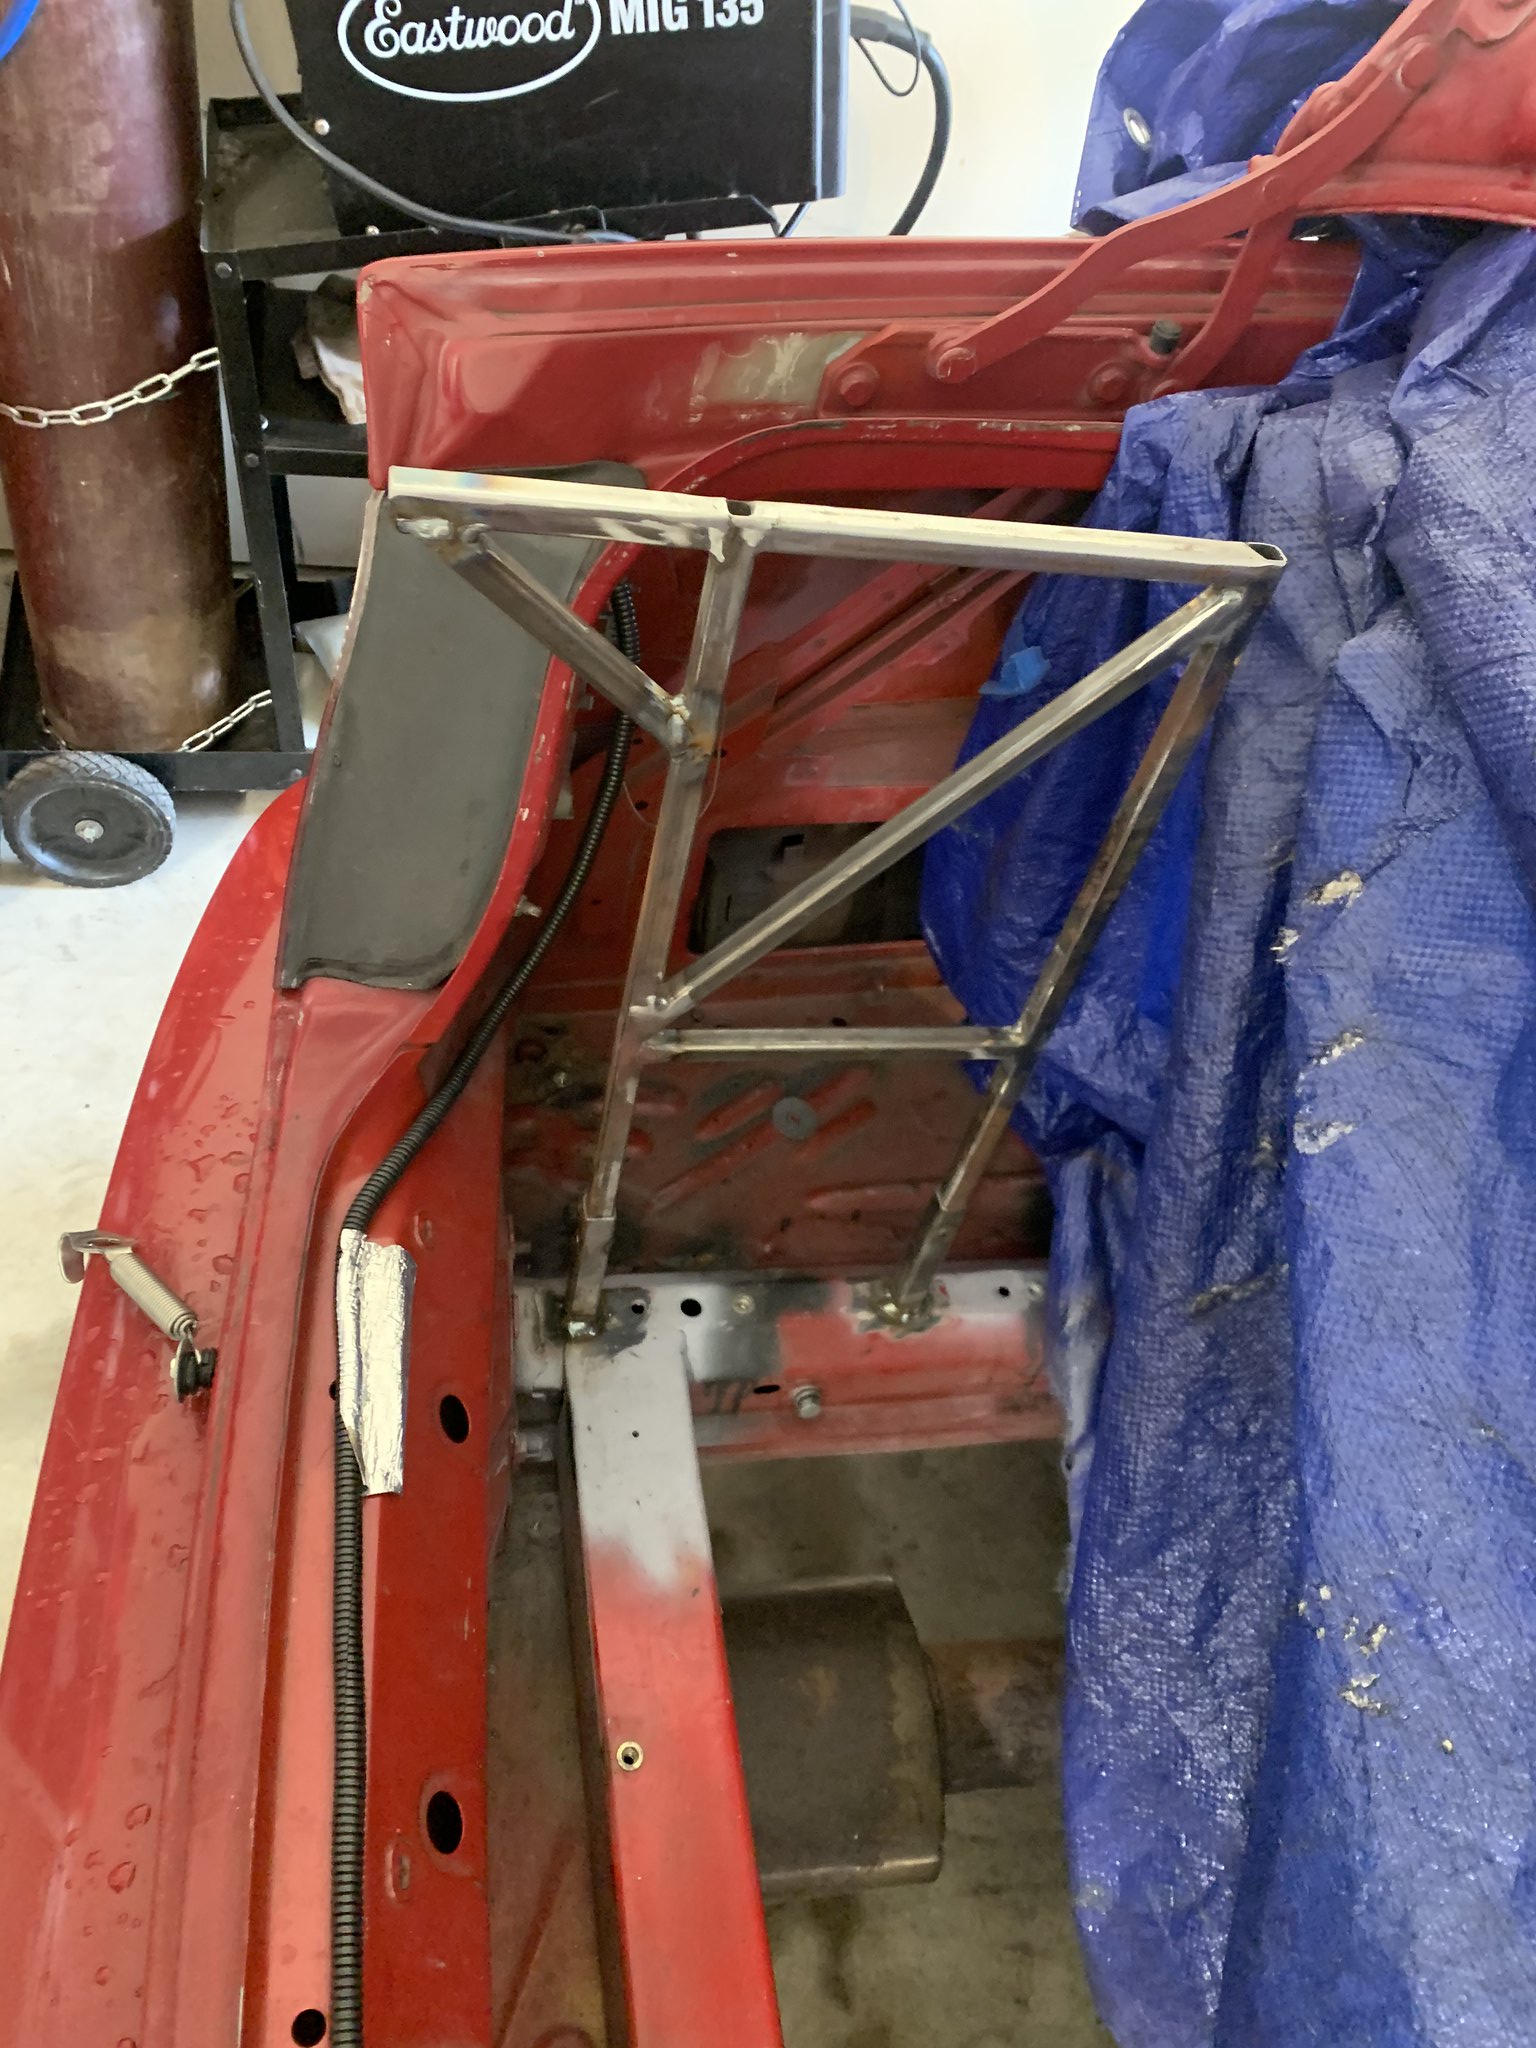
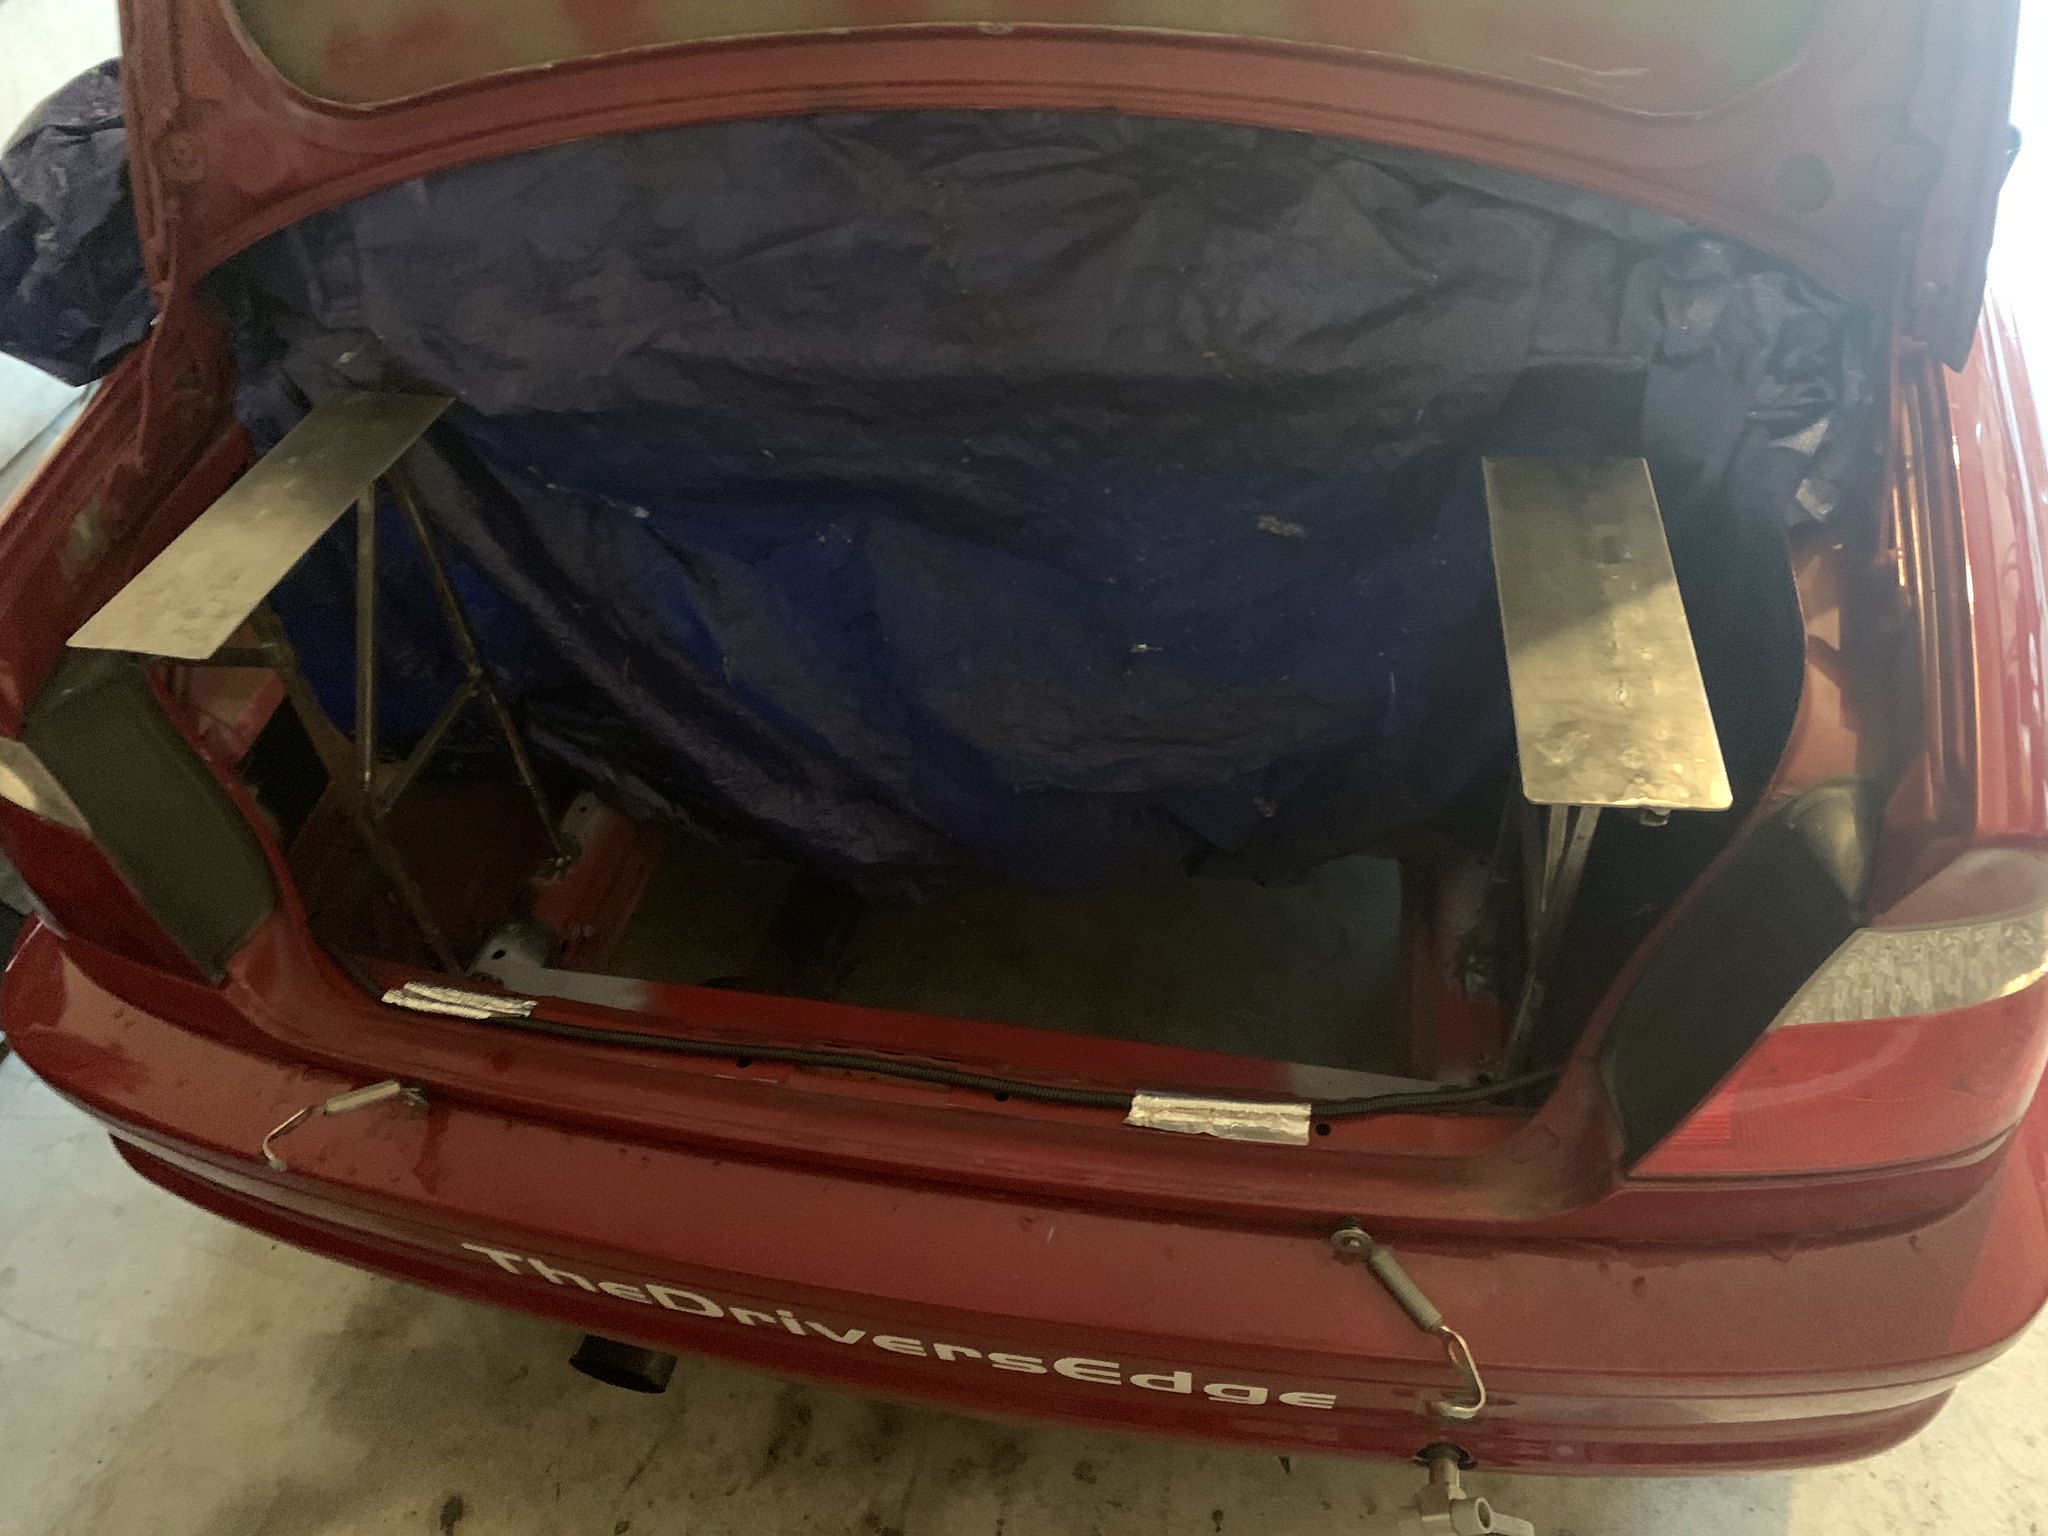
Making chassis mounts for the rear wing. No way around it...need to cut holes in the trunk lid.
Installed a blower in the intake for the secondary oil cooler. I think it helped. Probably should just install the C&R or CSF cooler.
Last edited by bigjae46; 08-09-2020, 04:28 PM.Leave a comment:
-
First weekend on track in a long time. Heartland Park in Topeka KS is a fun track. Only bad thing I can say is while there is LOTS of paved parking the black top is brutal in the summer.
After my hood became unpinned (on the street...no idea how that happened 😉), I went with the aero catch pins which is what everyone should go with, I put a reminder if my hood pins aren't engaged.

I went out, ABS light was on. Apparently wheel speed sensors don't work if they aren't plugged in. Who knew? LOL No power steering wasn't bad at this track but it adds an element of work. The feel and accuracy was...unbelievable!
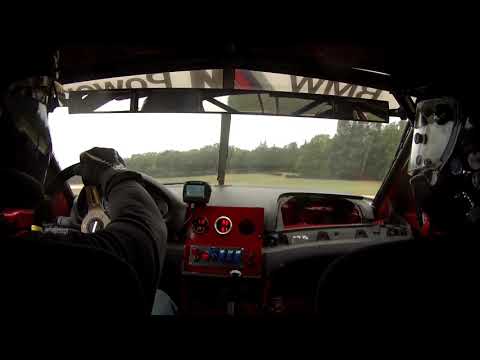
Had Hankook C51 Mediums - 275/40R17s. Best lap was a 1:51.896. I was VERY happy with that! Car ran well...SUCCESS!!!

Installed an oil pressure sender and a switch set at 20psi. I used a port next to the OE oil pressure switch (M12) and ran line to the strut tower.

The switch activates a siren if the oil pressure falls below 20psi. The problem is idle PSI is below 20 so I had to wire in a switch to power up the siren when on track. Never mind the spin...but you can hear it working. The audio is out of sync with the video so never mind the timing.
Last edited by bigjae46; 08-09-2020, 04:07 PM.Leave a comment:
-
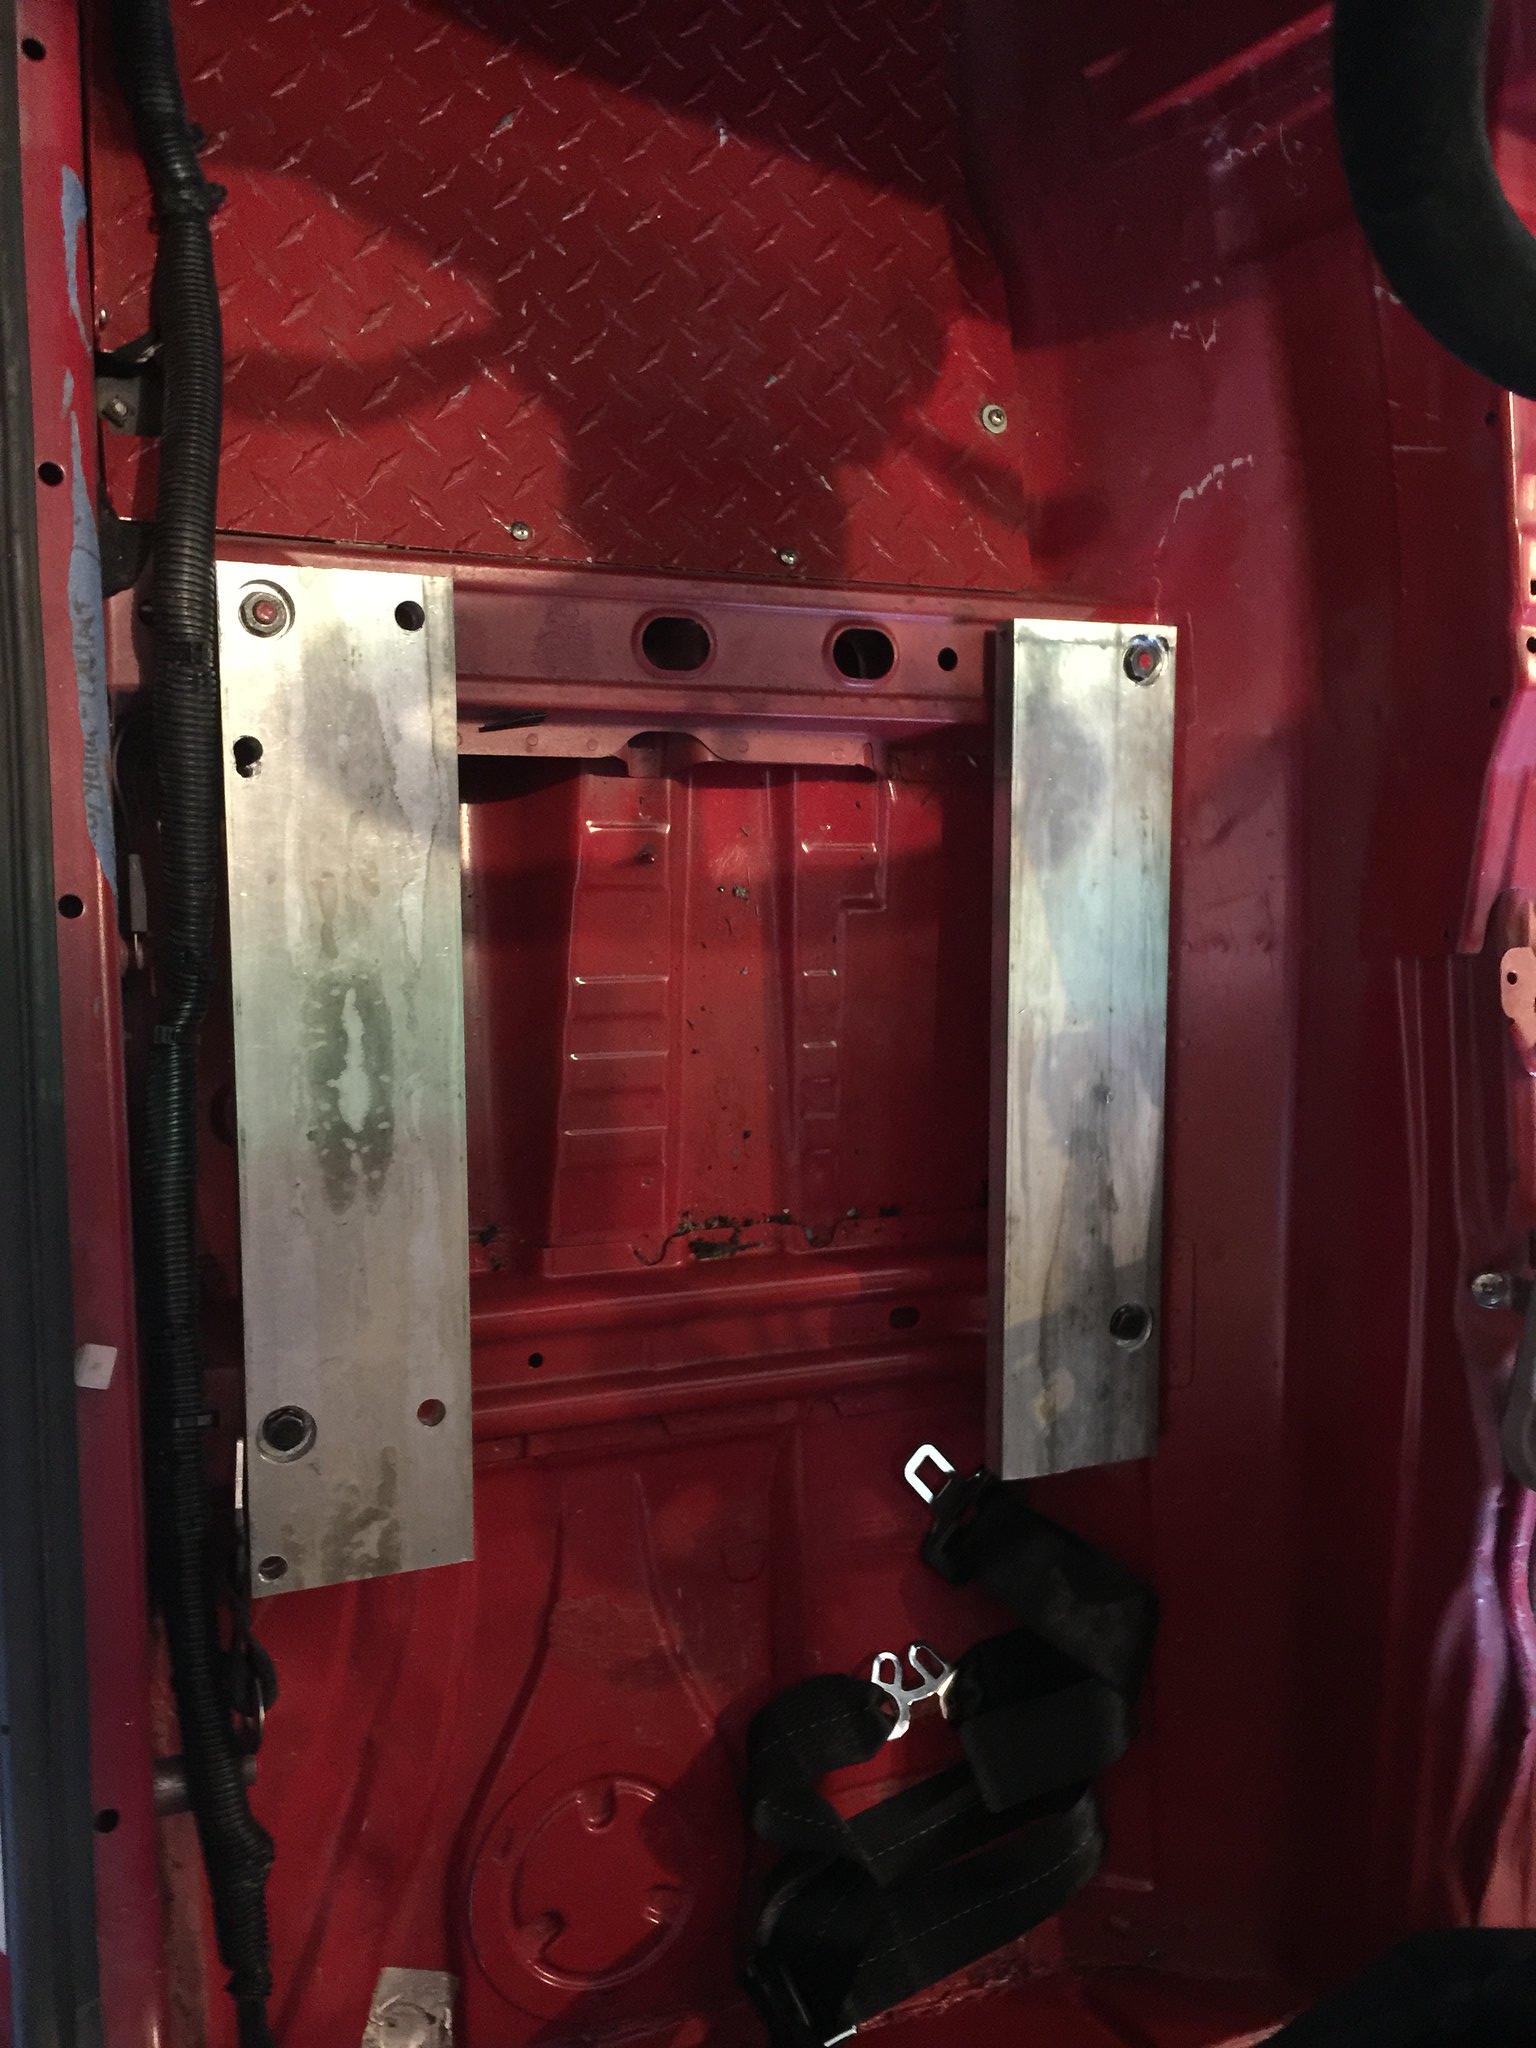
Made my own floor mounts. Total cost - $80. I used a forstener bit to counter sink the bolt holes.
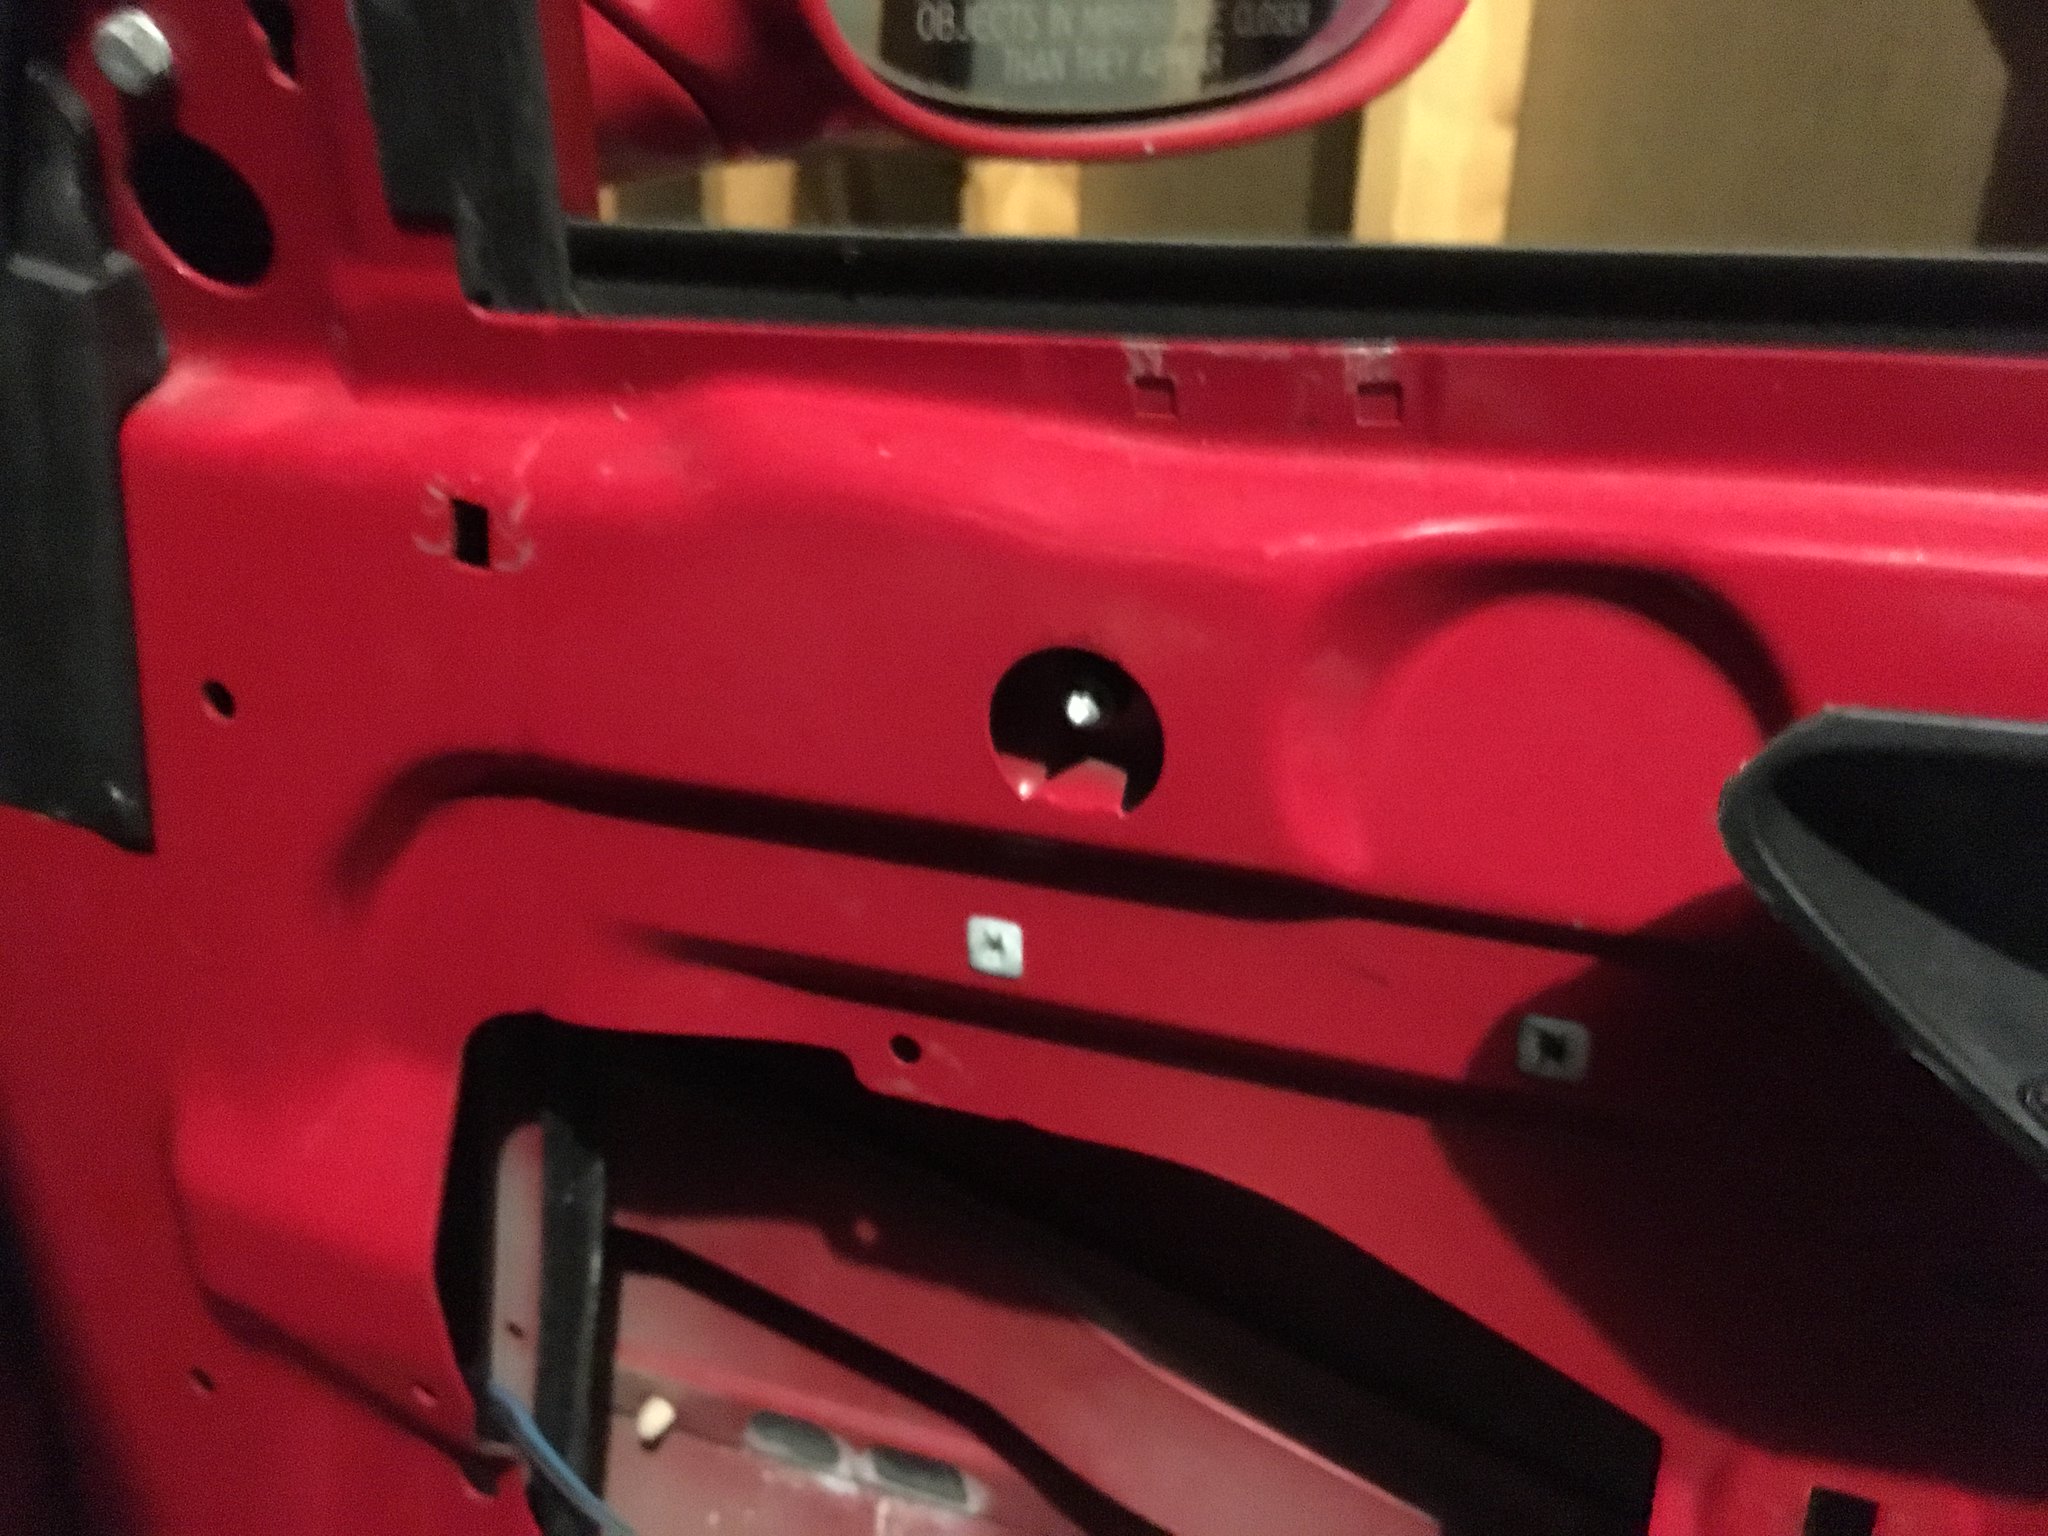
My gutted doors

It is official...I am an idiot
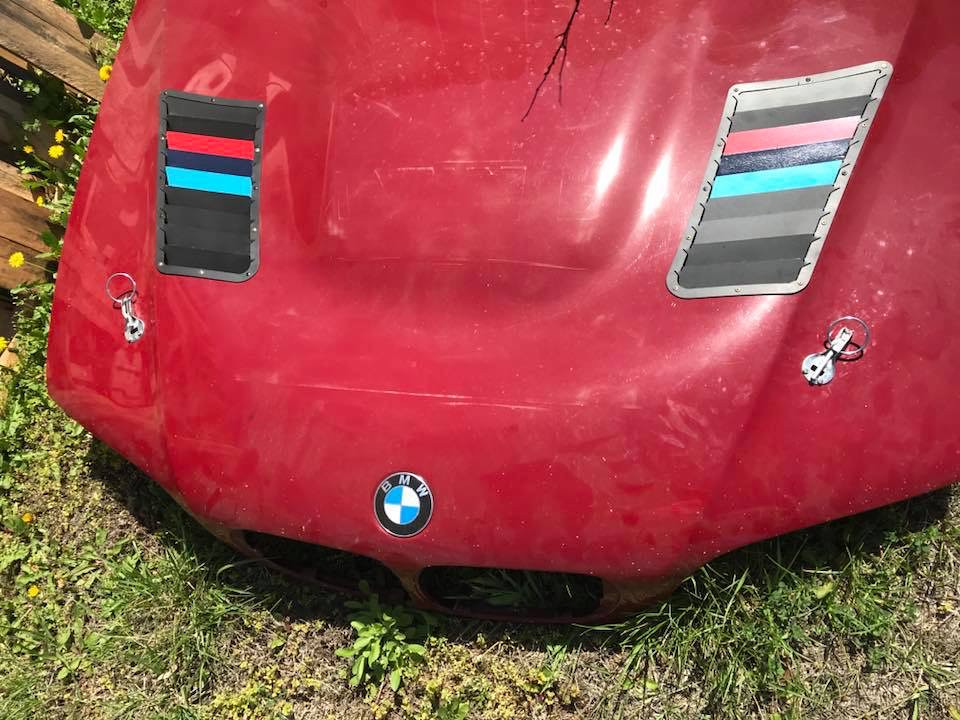
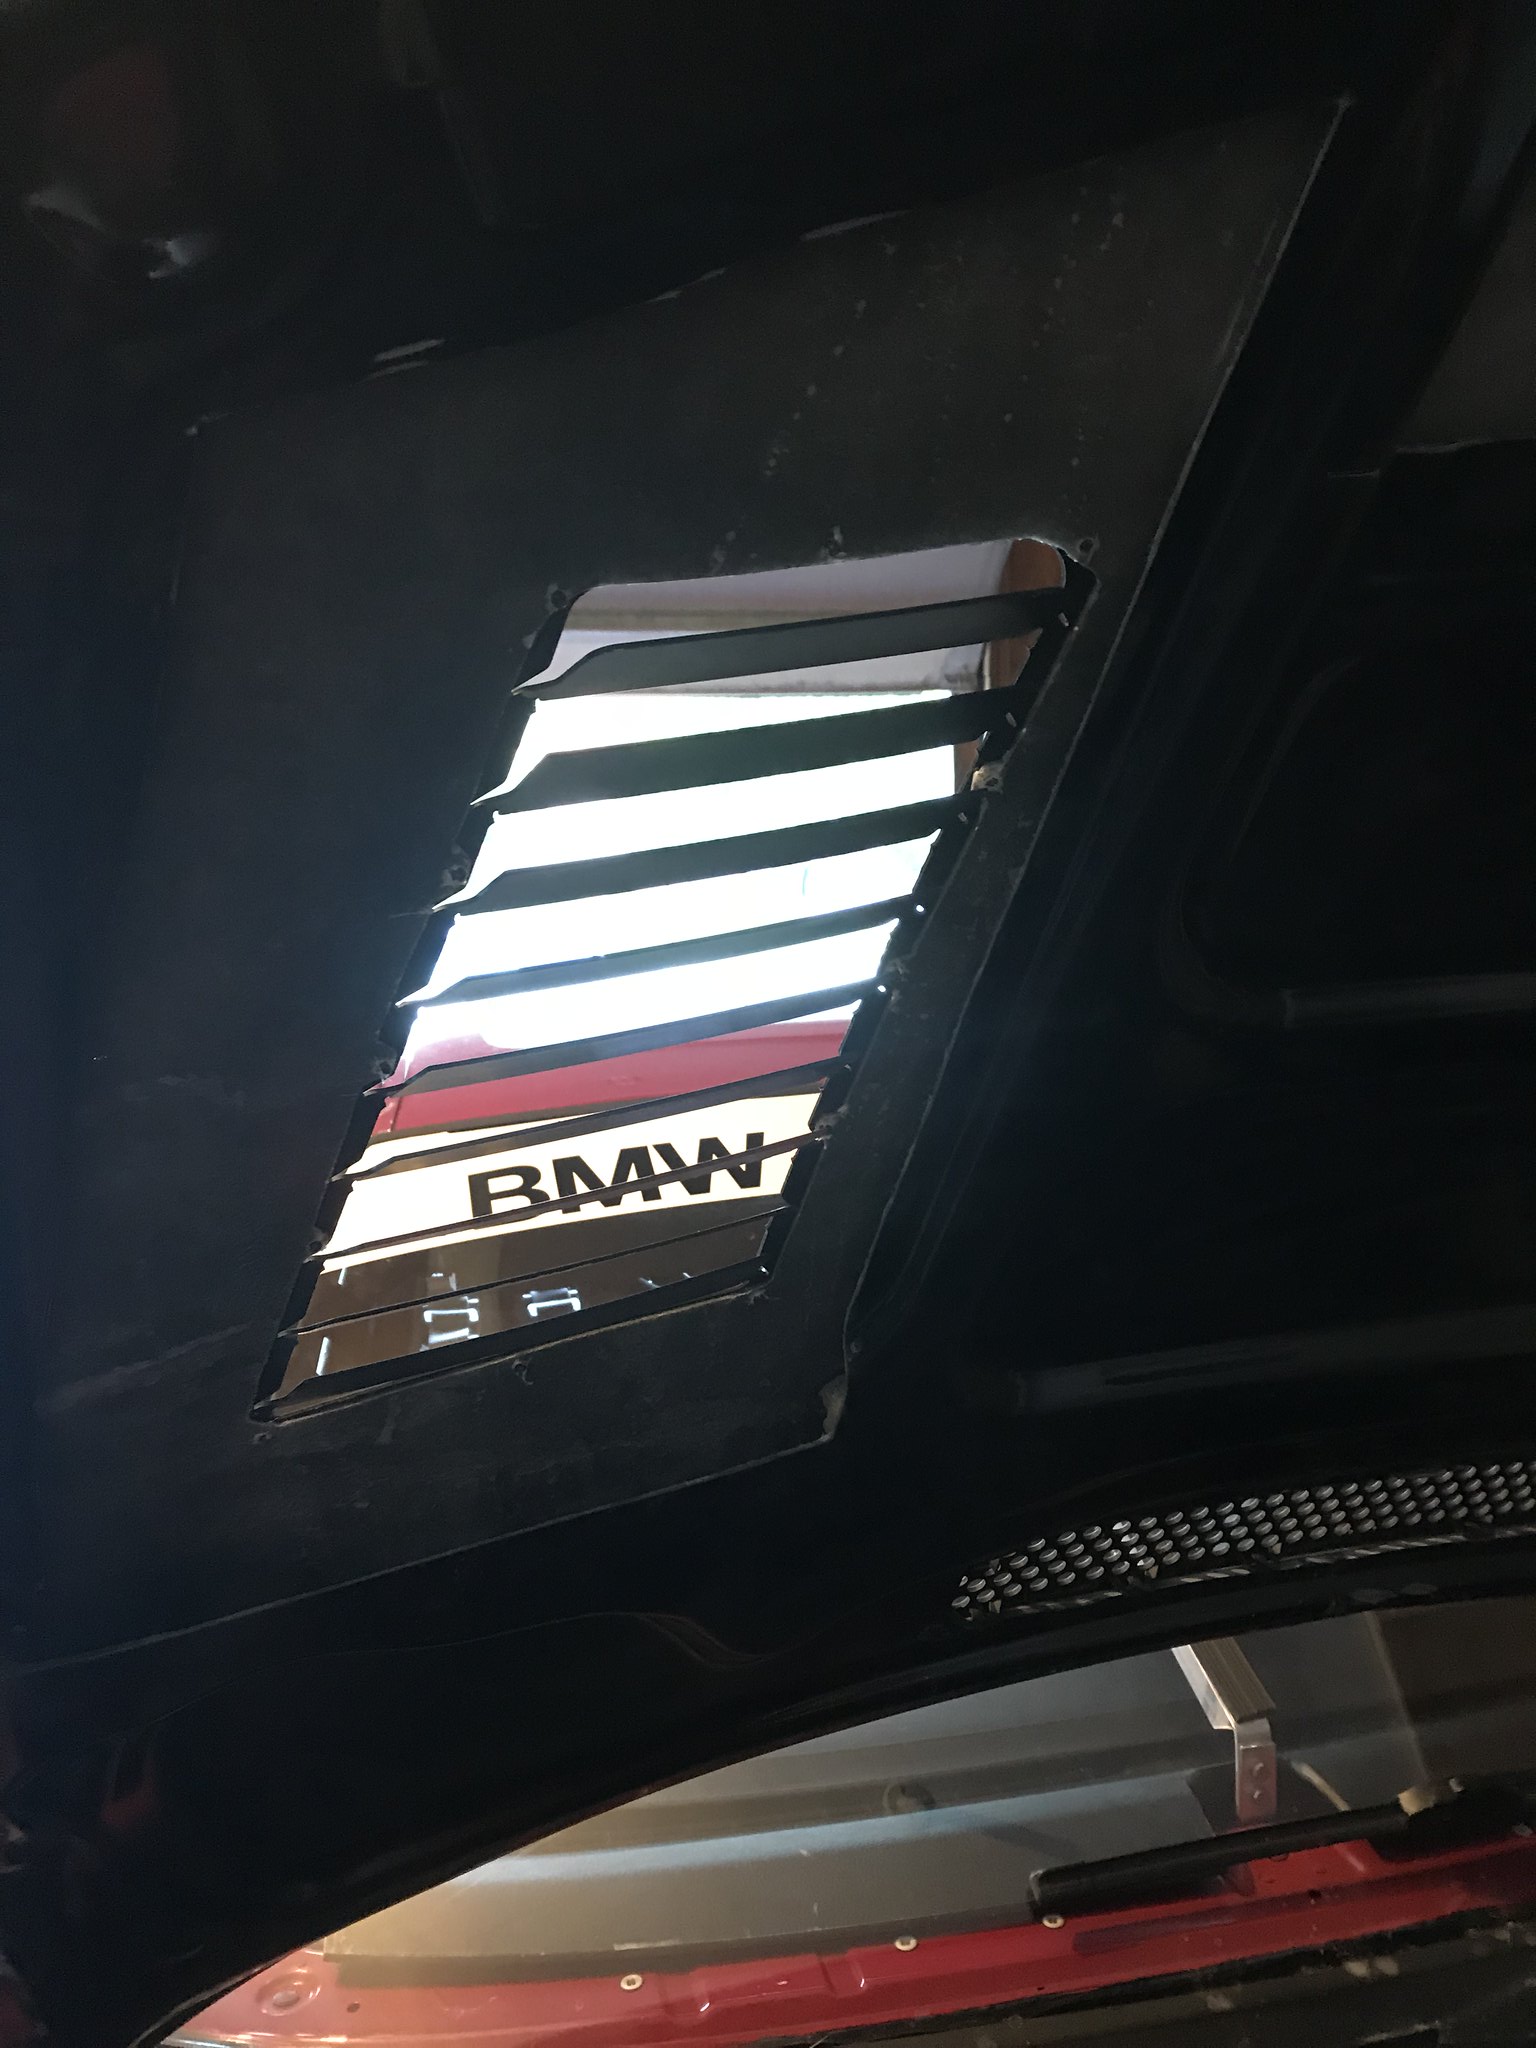
I found a blem VRS hood for cheap. It was heavier than the OE hood and it is clearly CF on top of FG chop mat. They use black epoxy top coat on the underside over FG chop mat. It fits ok...but the hood is a total POS. I'd be pissed if I spent $1000 on this.

Clearly FG chop mat...
I experimented with deleting the power steering. It wasn't too bad to daily drive. Just had to get the car rolling. The feel was fantastic but it was just a little too much through slower turns especially when there was a switch back. Ended up putting the P/S back in.
Belt routing was easy once I found the right belt. I think it was for a 2009 Mazda 3.

Go with Garagistic's aluminum delete block. Condor speed made this nylon block which is a POS. I installed the banjo bolts hand tight...leaked. Torqued it down a little...leaked. Trying to save weight...not worth it in this case.

Red Drift Machine...ready for its first day on the track since Sep 2014. Heartland Park with BMWCCA Jun 2018.

 Last edited by bigjae46; 08-09-2020, 11:09 AM.
Leave a comment:
-
Oil cooling...up front...so far I've not achieved the results I've wanted. If temps are above 85-ish, I can get oil temps under control (back to 255-ish) if I use 5th and back off for a couple of corners. Temps get as high as 280 and 290 which was much better than before but still far off from where I want it to be.
My theory is a second cooler is needed. I know some have had some good results with the C&R cooler from BW (Thundermoose) and I'm starting to lean that way. I want to avoid mounting the 2nd cooler behind the foglights due to potential for splitter mounts. I need to find some time to analyze data on oil temps vs speed. I think oil temps are increasing at lower speeds.
AN lines to an external thermostat. Its a $40 eBay unit which is pretty much the same as most sell for $100+ dollars.

Replaced the OE oil cooler with a new OE unit. Then the oil goes to a second cooler. Had a lot of room since I deleted the secondary air pump and moved the coolant expansion tank to the drug bin. I know..it's next to the head and on the exhaust side of the engine. There is a lid and an aluminum shield on the back side of the cooler. I also had the headers swaintech coated. I want to try and swaintech coat the back shield to see if that helps.
I need to look at data and see when temps are going up. If its at low speeds then I would suspect heat from the head it causing oil temps to go up.


I installed some brackets so I can put the windows in for transport or when it rains at the track.


 Last edited by bigjae46; 08-09-2020, 10:45 AM.
Leave a comment:
-
First up...windshield and rear window from Five Star Bodies. Normal thickness is 1/4" for the windshield. Saving weight is the name of the game...gambled and went with 3/16" windshield and 1/8" rear. I had the windows installed like normal with a urethane adhesive by a local windshield installer. I added some bracing to both windows. At speed the windows were moving quite a bit. The windshield still pushes in a little on the passenger side (scares the sh1t out of most passengers...lol) but not a distraction to me so not worried about it.

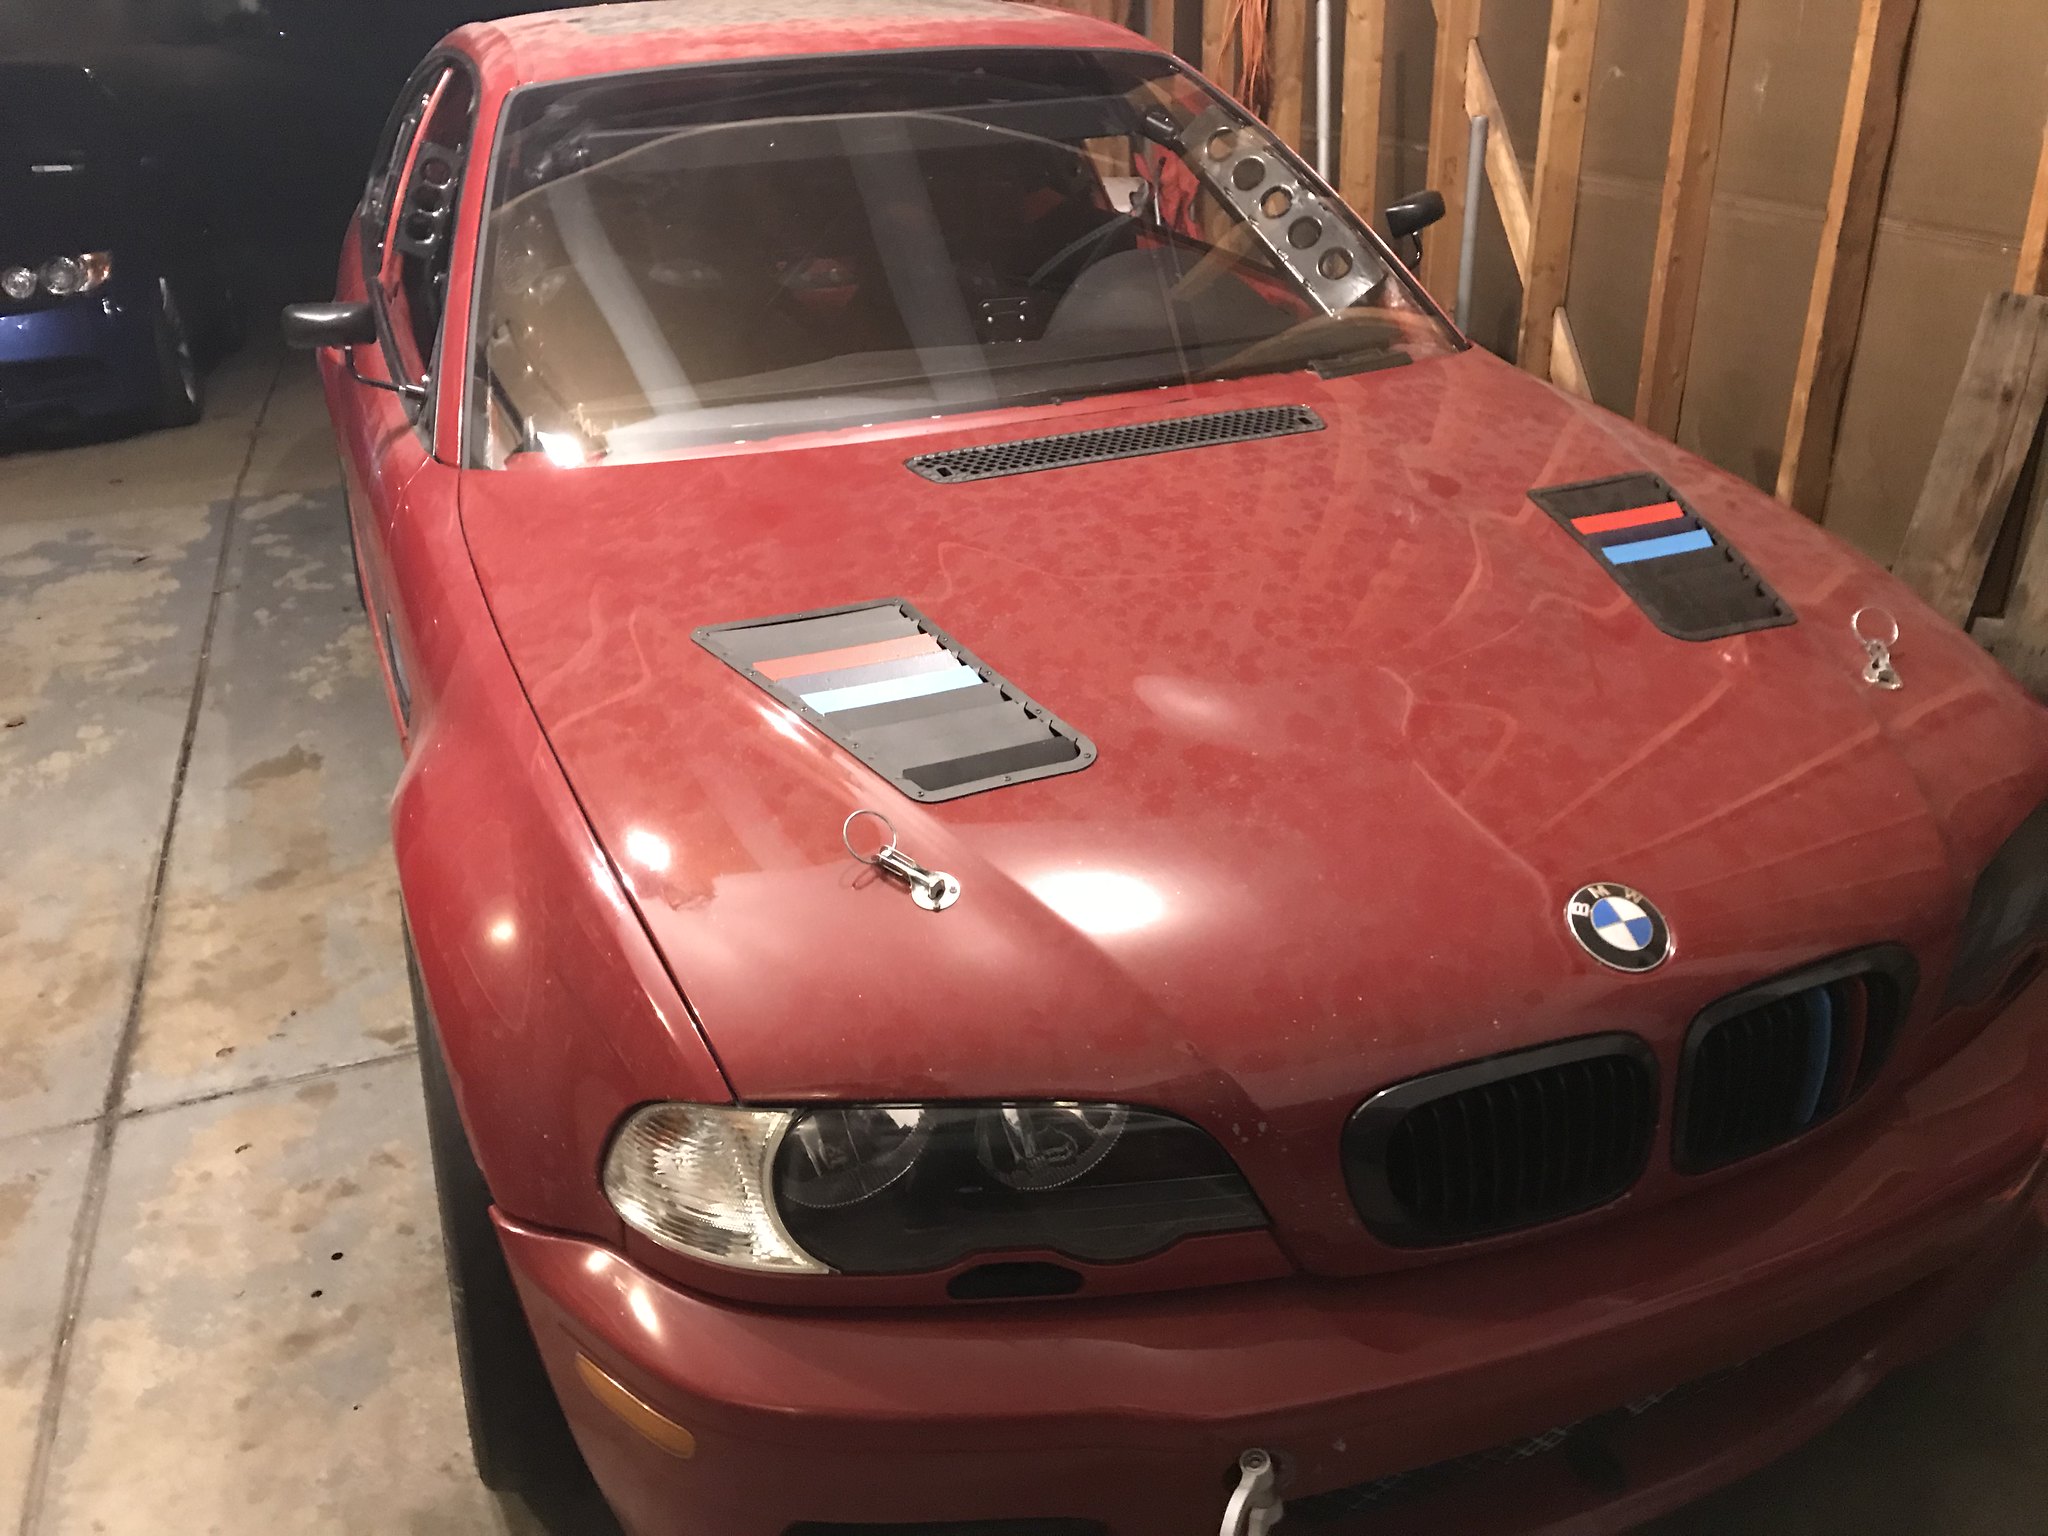

Installed a Wink mirror. This is another roll cage install failing. I should have welded in some tabs for the windshield and some sort of brace in the middle. The mirror shakes so its hard to see what's going on behind. I guess its more of an incentive to just drive faster.

Installed some NACA ducts in the side windows. Some day they will feed a diff and maybe a trans and oil cooler (dry sump!)
Oops...

Installed some hood pins and deleted all of the hood catch hardware. I'm not one of those idiots that will forget to pin my hood.

And some springs on the back trunk. Deleted the locking mechanism...

Also installed an AN line on the engine block coolant drain plug. Flushing coolant is now easy and neat.
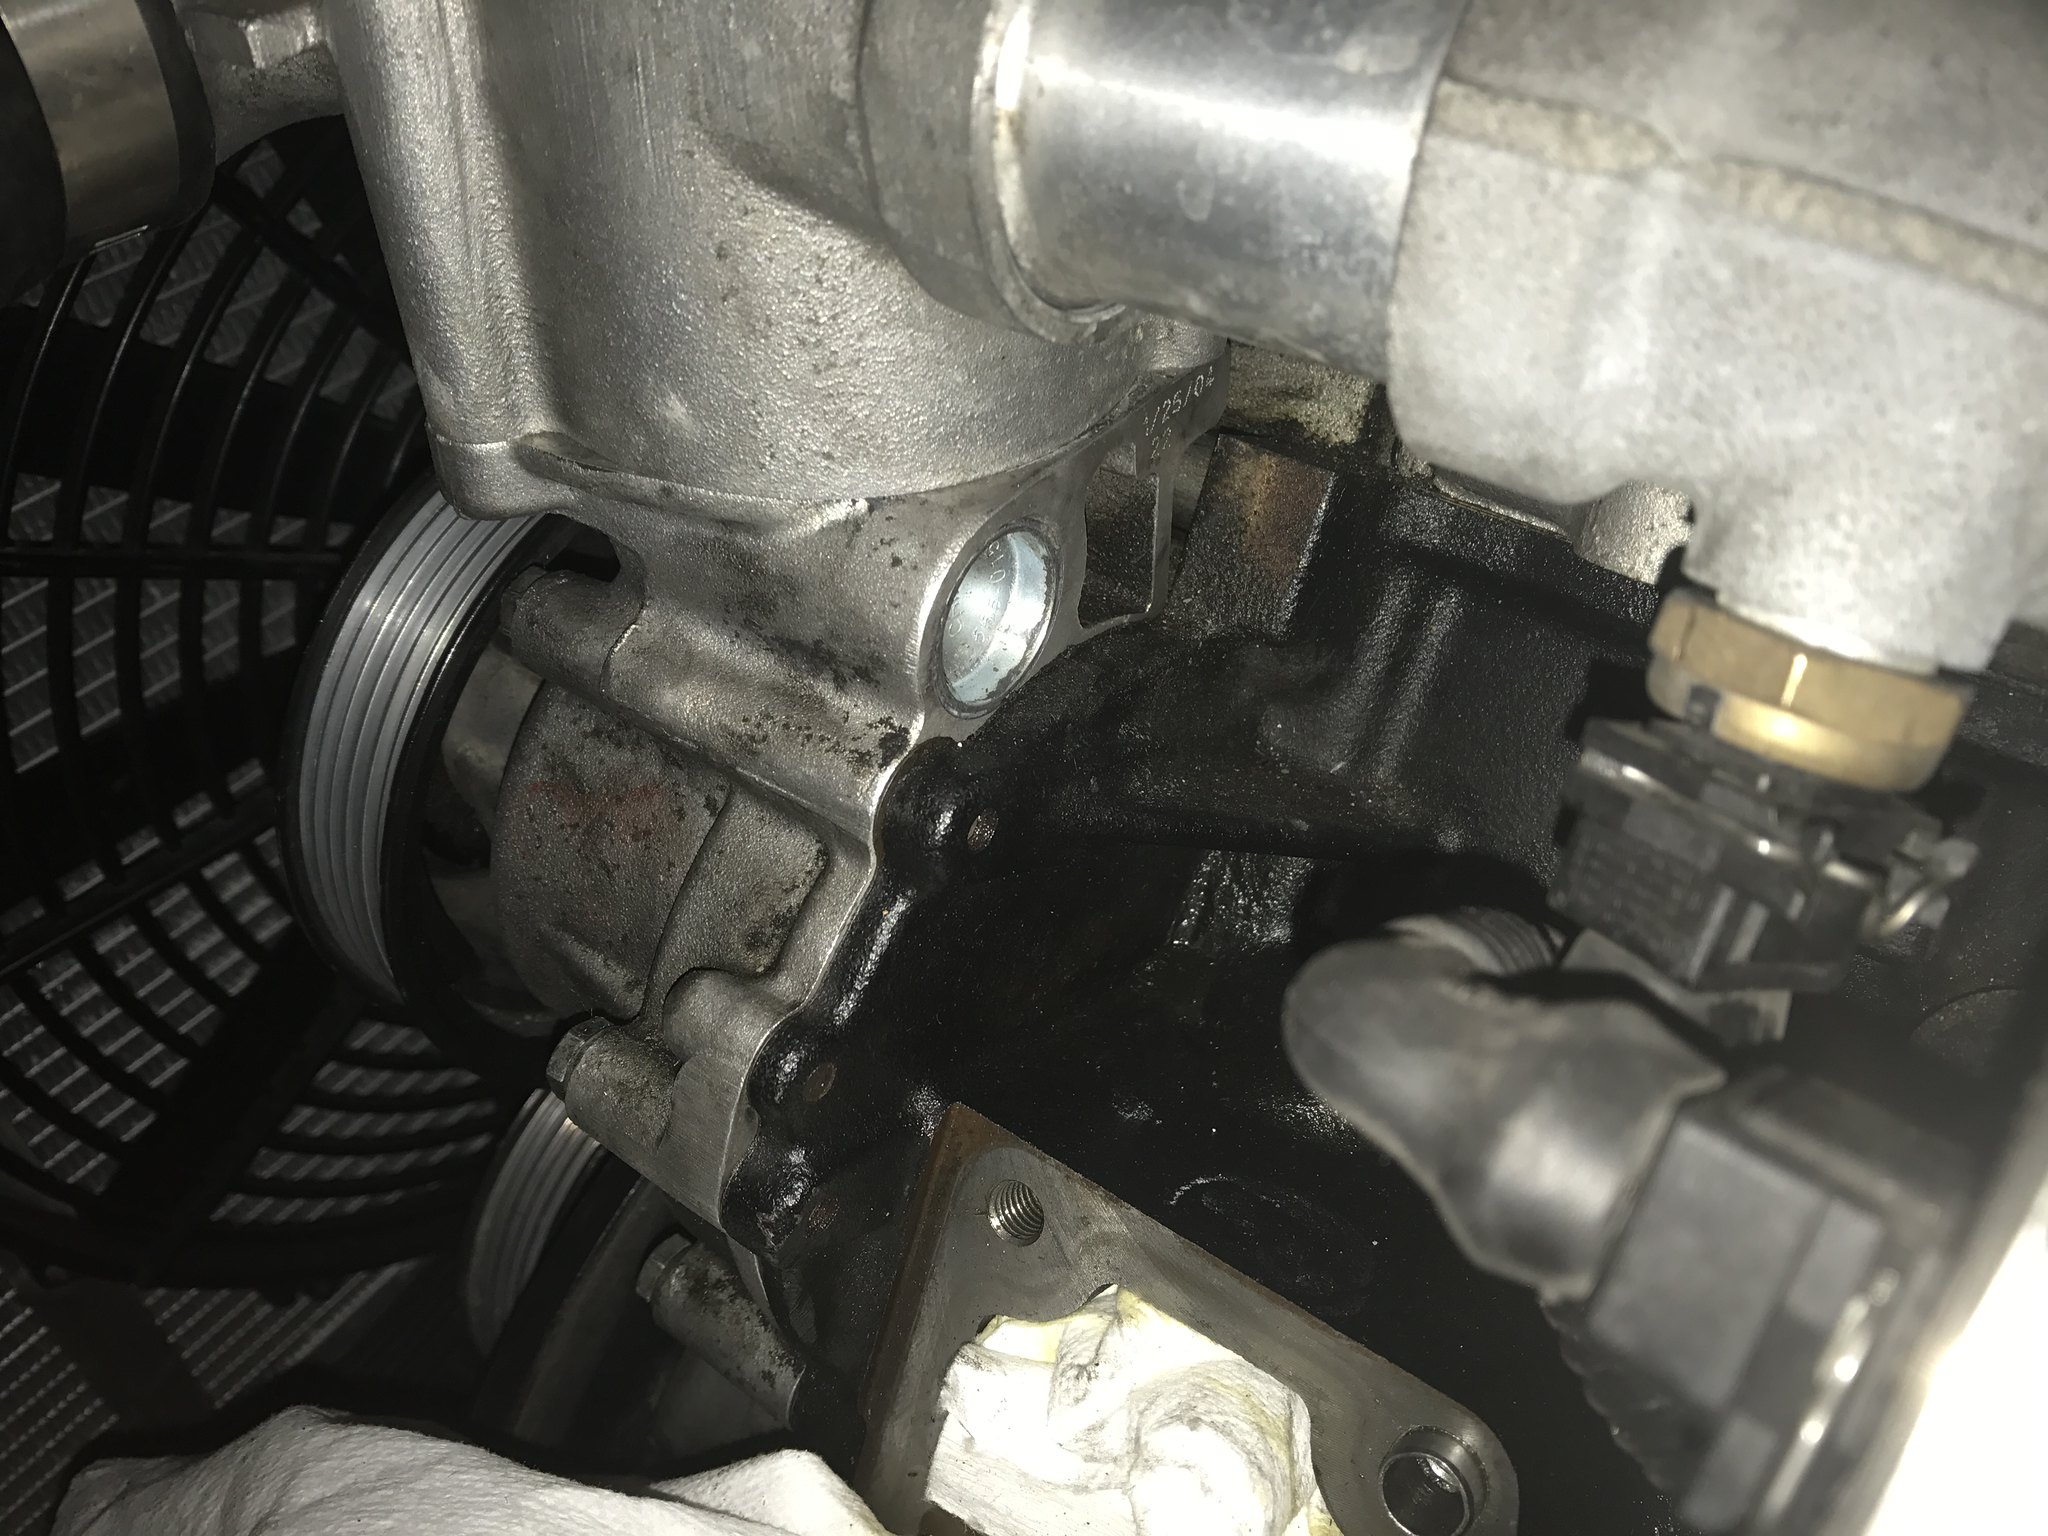
I deleted the heater core so now to block off the loop. Thinking lightweight... installed a freeze plug in the water pump. Got it at O'reilly's for a $1. I wanted to TIG weld the freeze plug in but couldn't find an aluminum freeze plug in the correct size. So used some JB weld and pressed it in (5 speed trans drift pin and a hammer). The hard part was the water pipe. I cut off the end, used a step drill bit to drill out the end to make it a round (there's a casting seam). Then same thing, JB weld and freeze plug.

Last edited by bigjae46; 08-09-2020, 10:27 AM.Leave a comment:
-
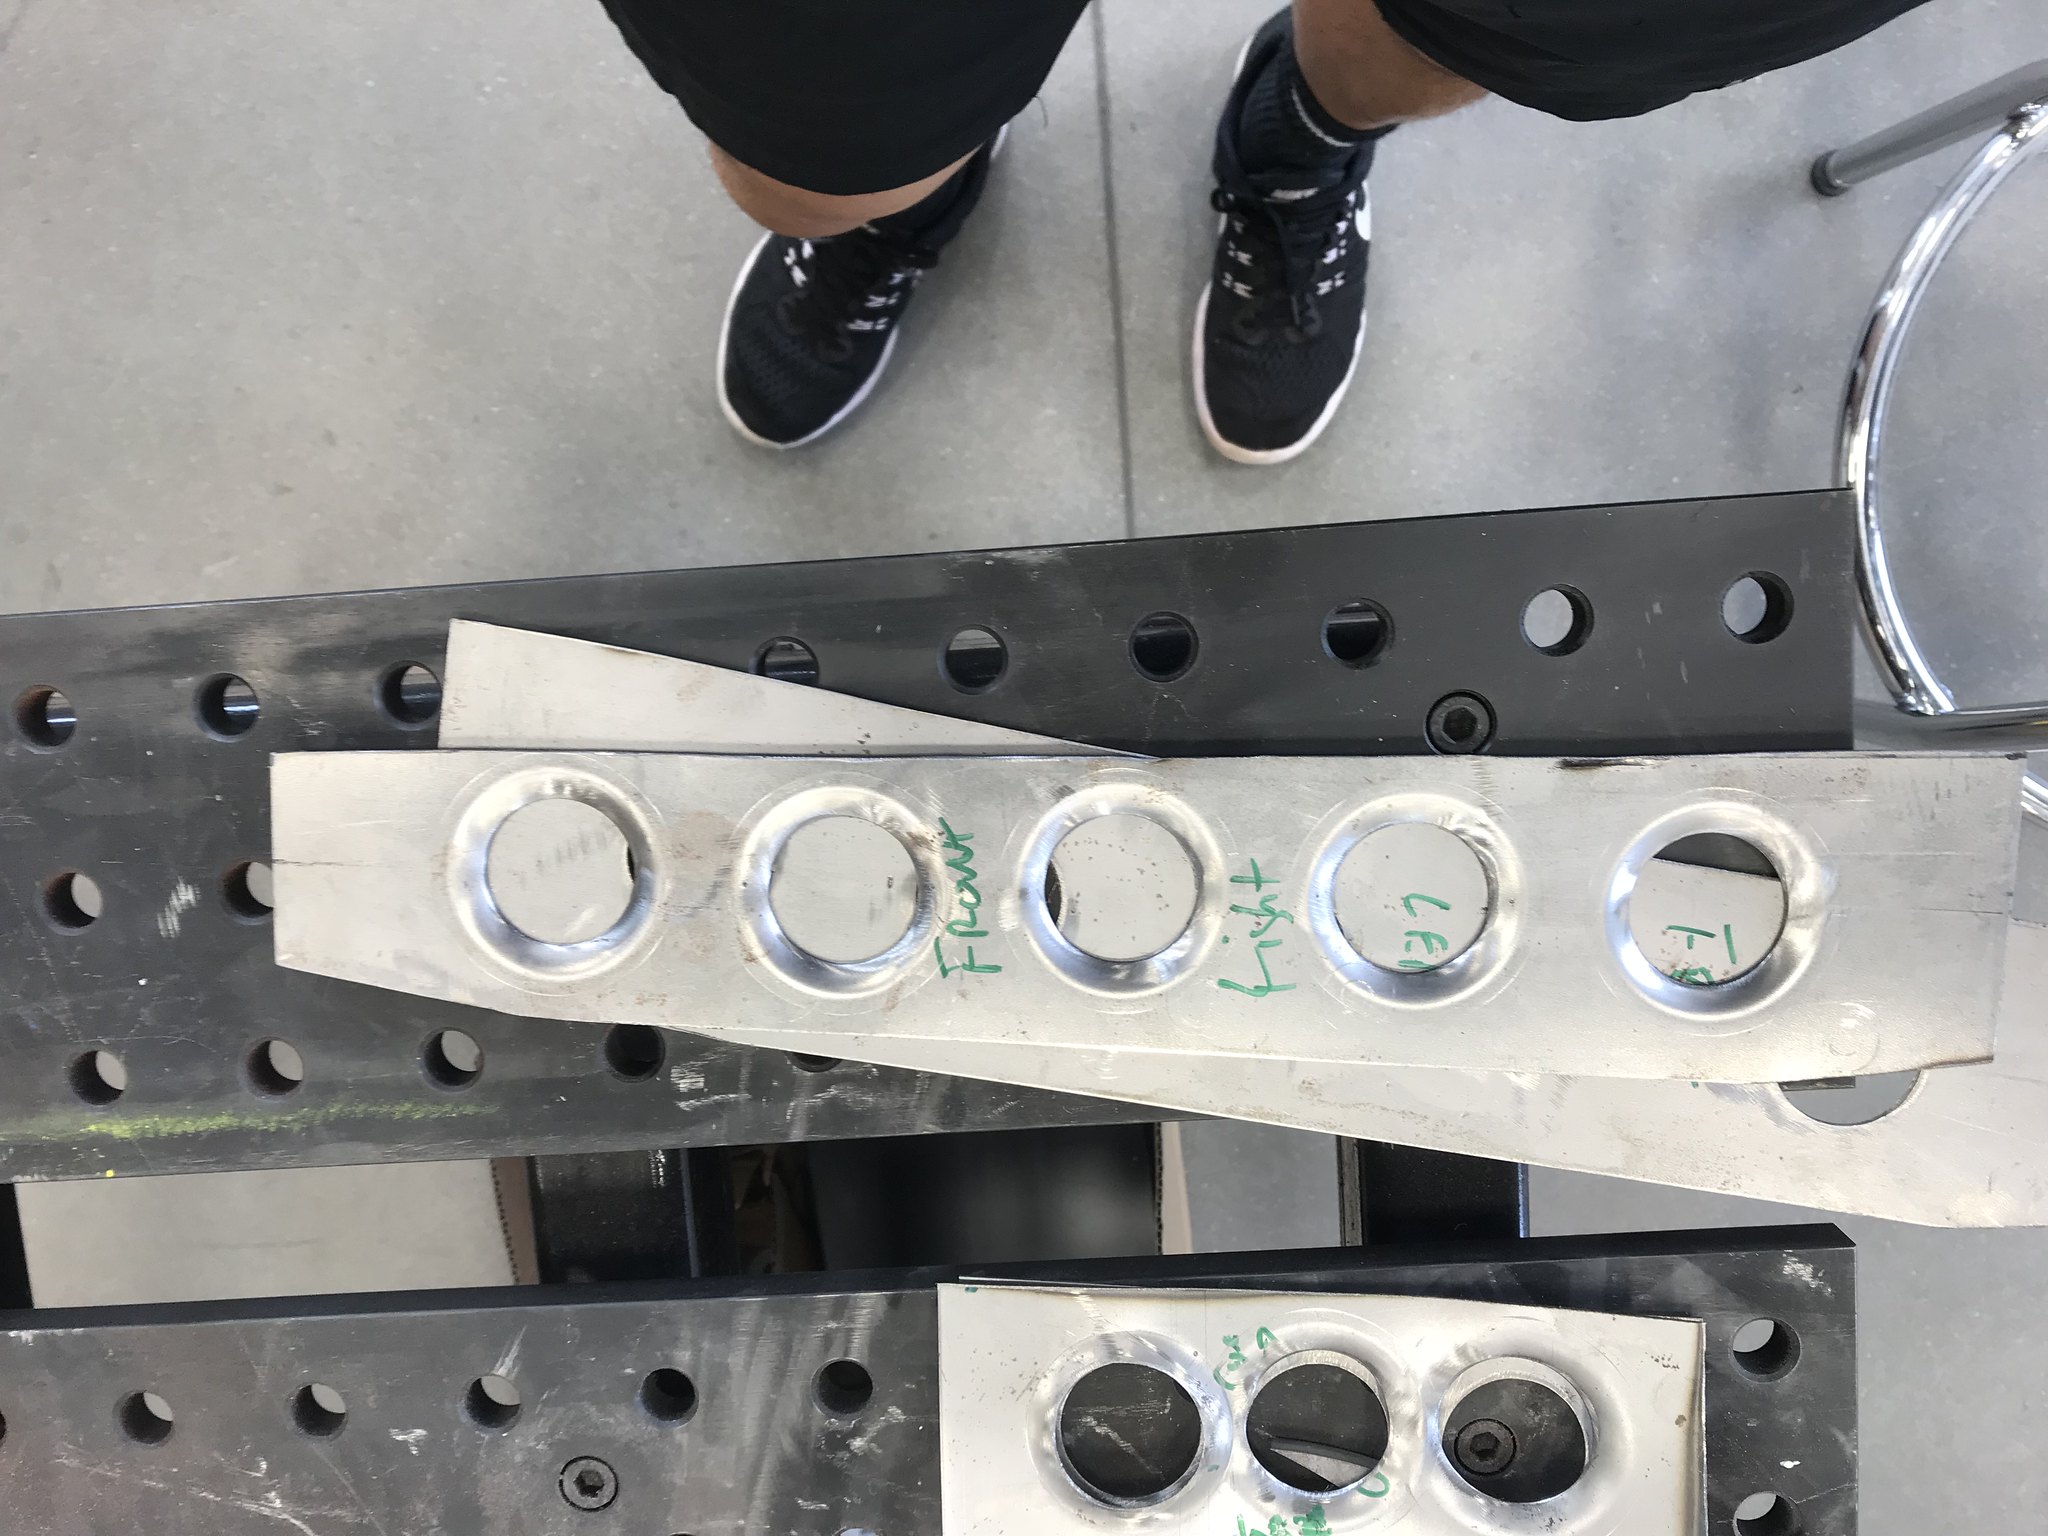
Building some gussets for the A pillar and B pillar. I should have cut smaller holes for the b pillar. The inner edge interfered with the cage. I trimmed it a little bit to make it fit.


And that's all for the cage! Not perfect, won't win any beauty contests but all of the key joints are welded 360. Had a storage tank engineer look at them. He said not pretty but they would pass. He did see some questionable welds on some corner reinforcements that connect the roof bar to the windshield and main hoop and the subframe tubes welded to the floor...not a surprise. Not critical or really important so not going to worry about it.
Next regret...my interior rattle can paint job isn't so great. N
Now to put the car back together.
Overall...HAPPY!
Last edited by bigjae46; 08-09-2020, 10:06 AM.Leave a comment:
Leave a comment: