-
I want to do an full interior swap like this on my pheonix yellow car as well, but after looking through these pictures, I think I'm going to learn to love dove grey instead. :-) -
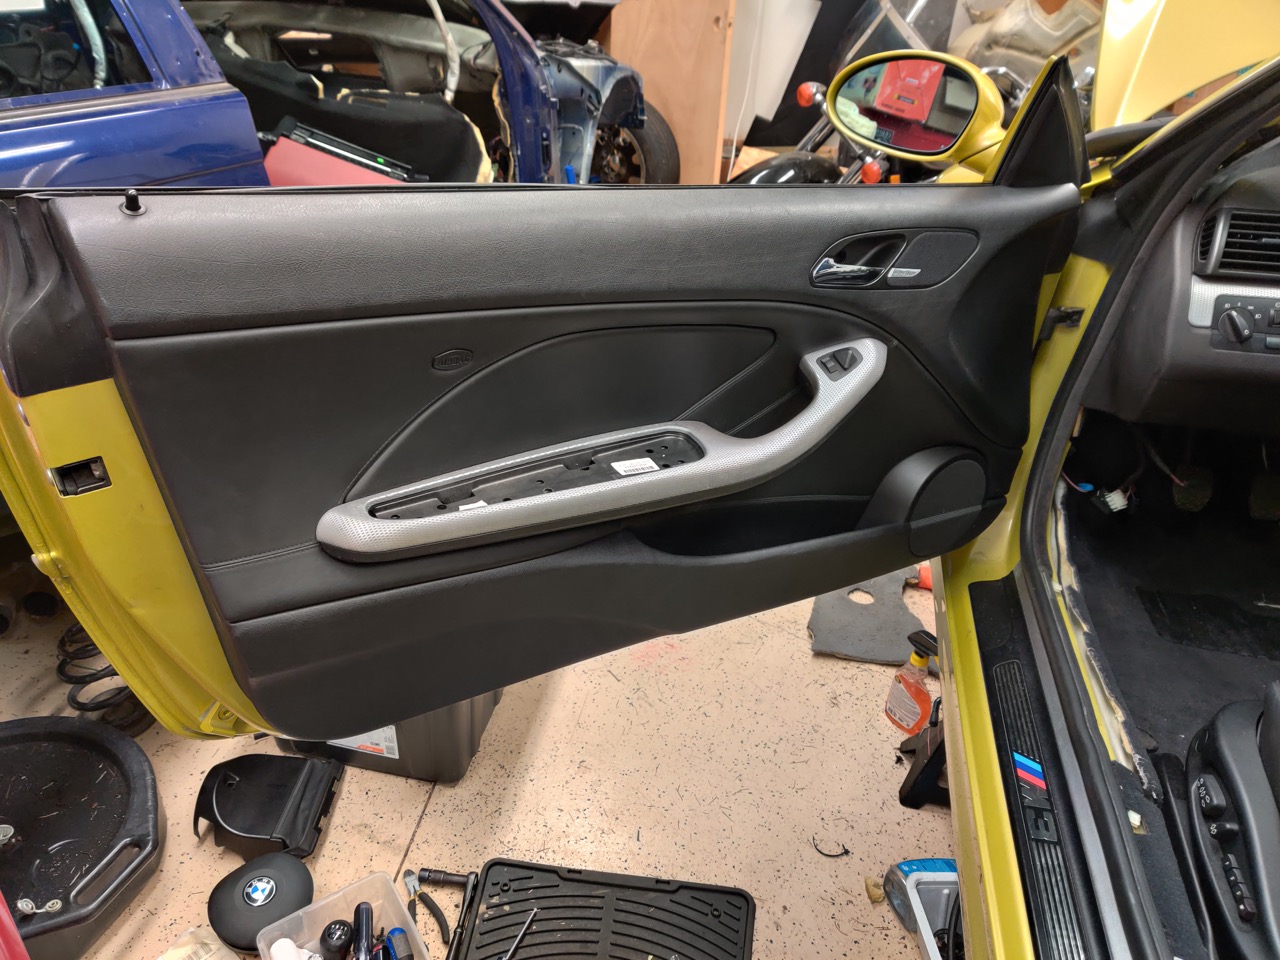
The car has HK audio but came with upgraded Boston Acoustics front speakers in the doors and HK speakers in the rear. I'm not really sure what I want to do with the stereo yet, swap back to the stock HK speakers or whatever. Either way, the front door card Boston speakers are fairly expensive and sound decent. The previous owner decided that just wrapping the speaker wires around the speaker terminals was enough to make it work - haha - so I fixed that of course.
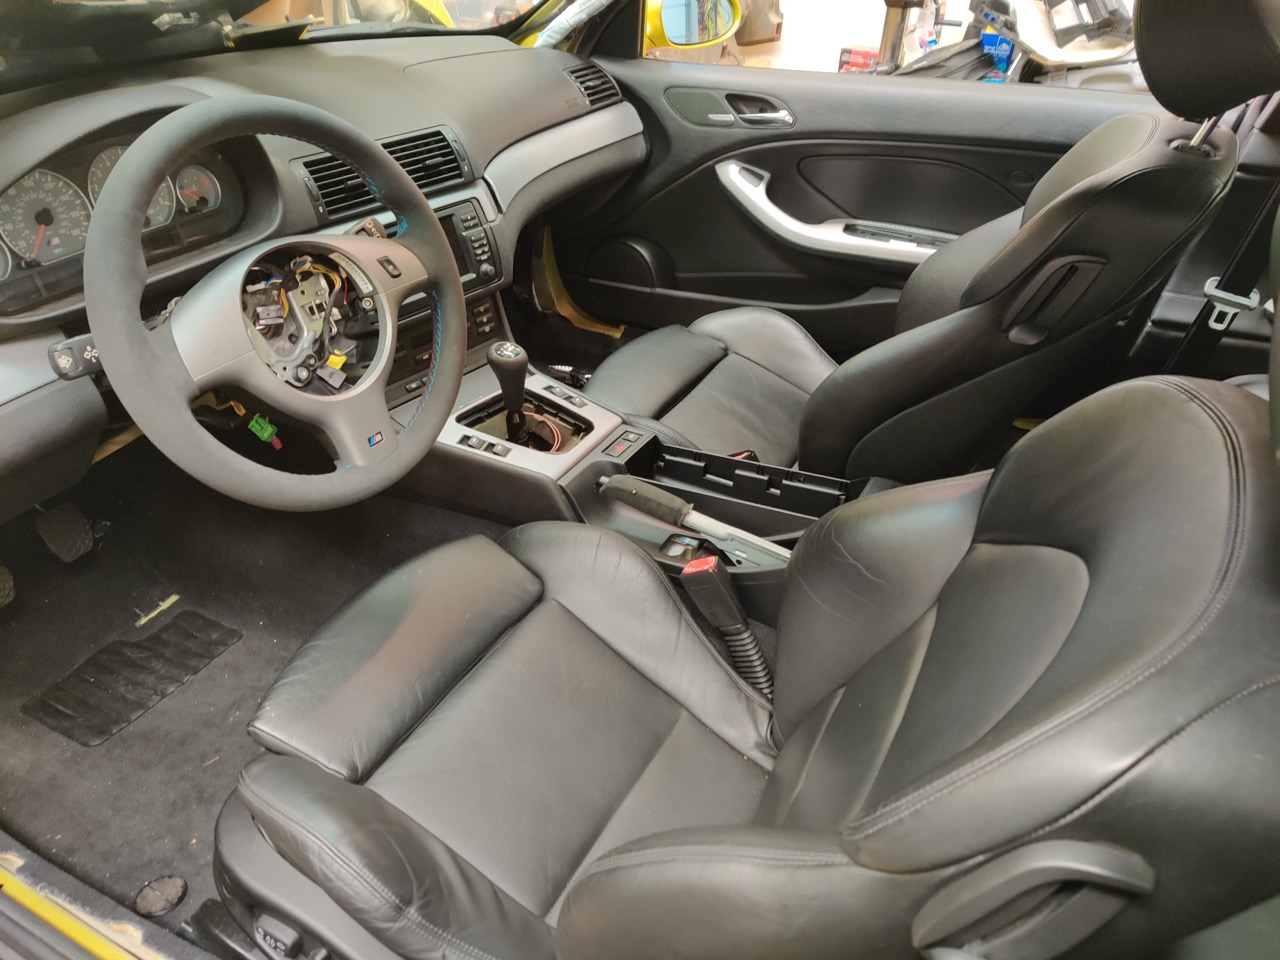
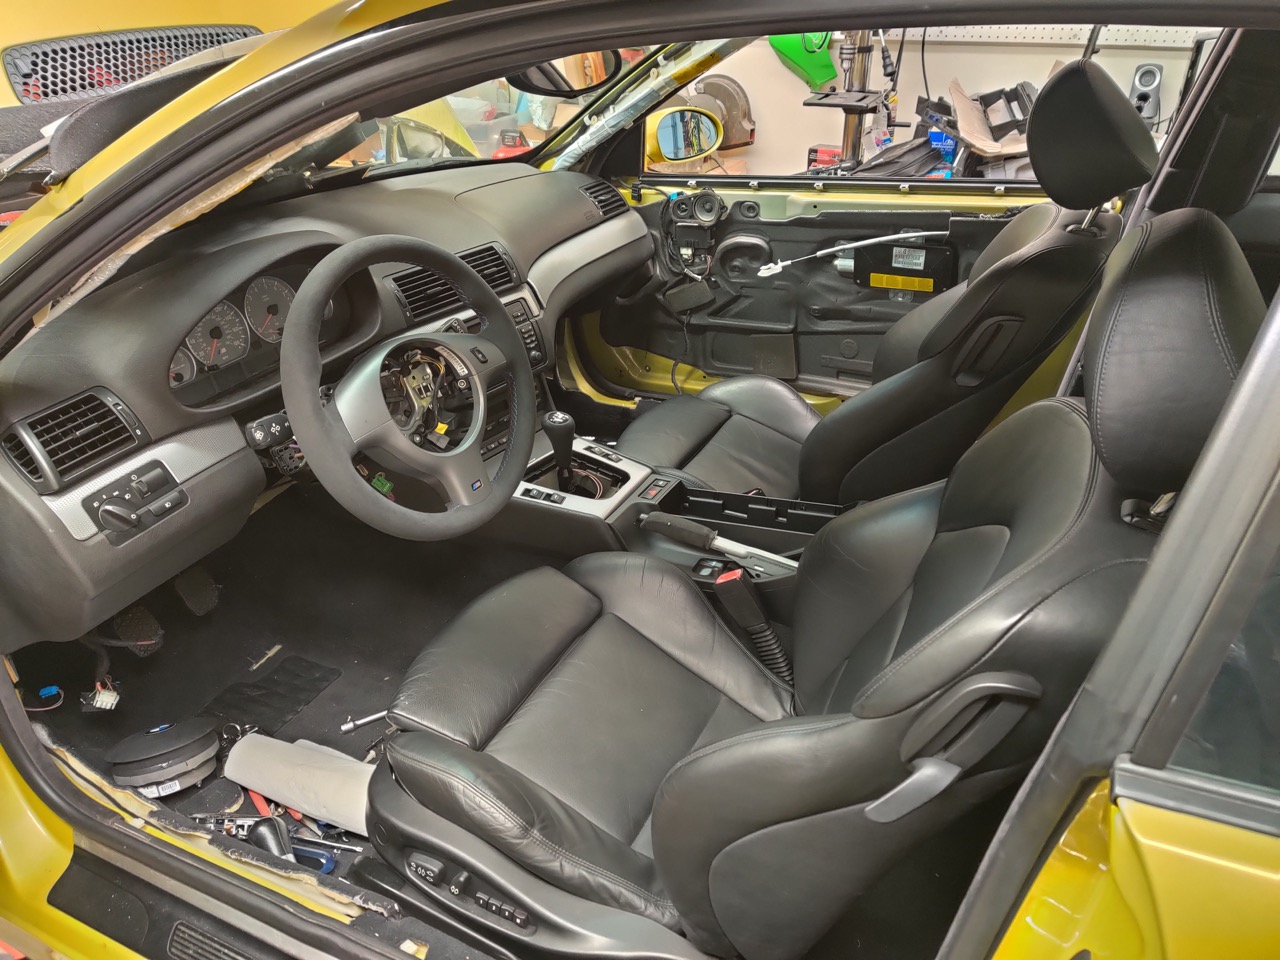
Anyway, tldr, I got the speakers in the door cards, got the door cards all mounted correctly. Just a few odds and ends to finish up the interior than on to the fun stuff like putting the suspension/brakes/subframe back together.
Stereo works, Bluebus works (thanks Ted!)
Leave a comment:
-
It has a pulse! Was able to test to hvac system (at least with the engine off). Blower fan/ducts/vents all seem to work correctly. Stereo works.
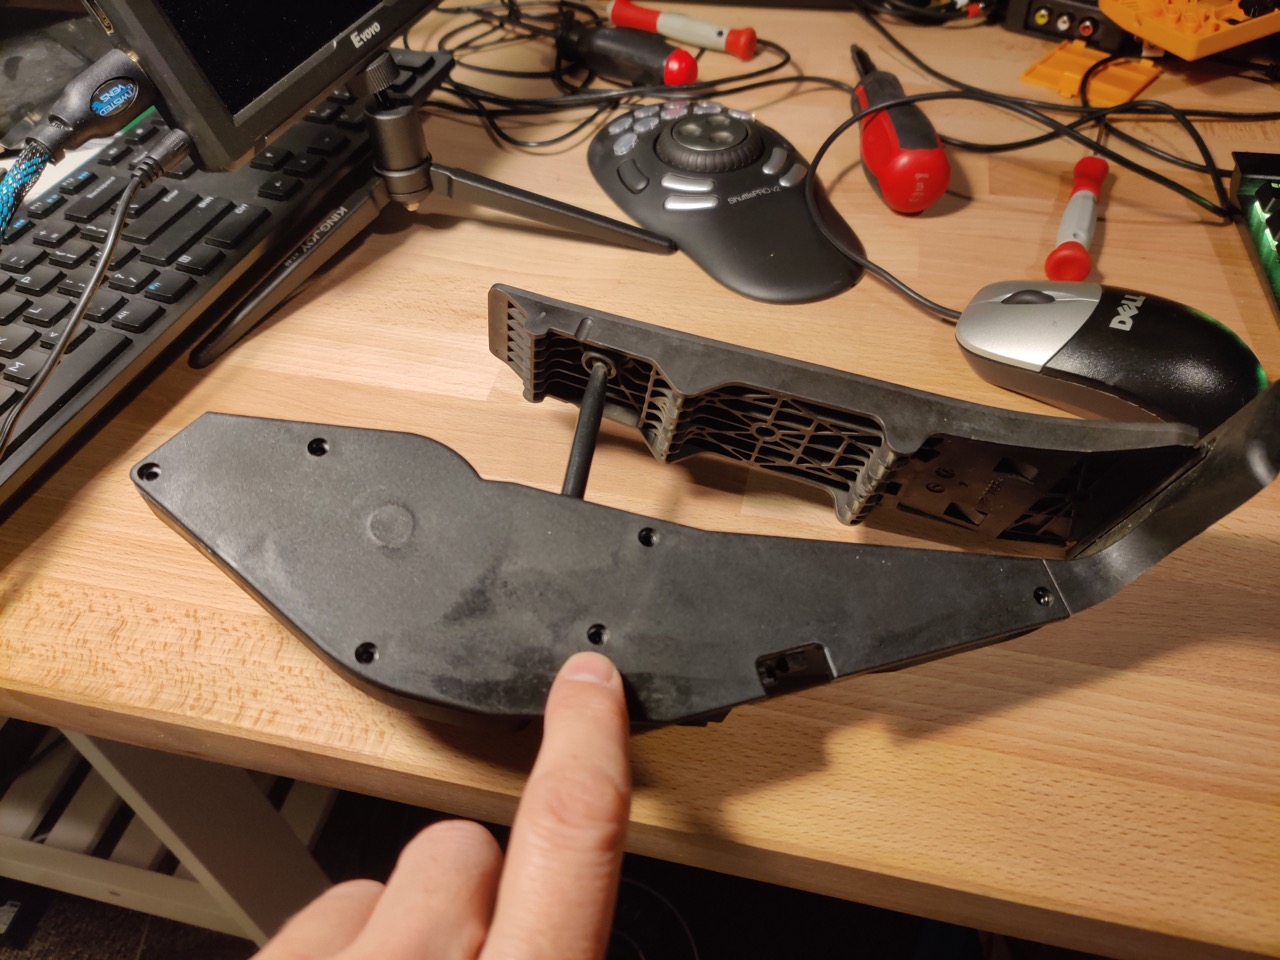
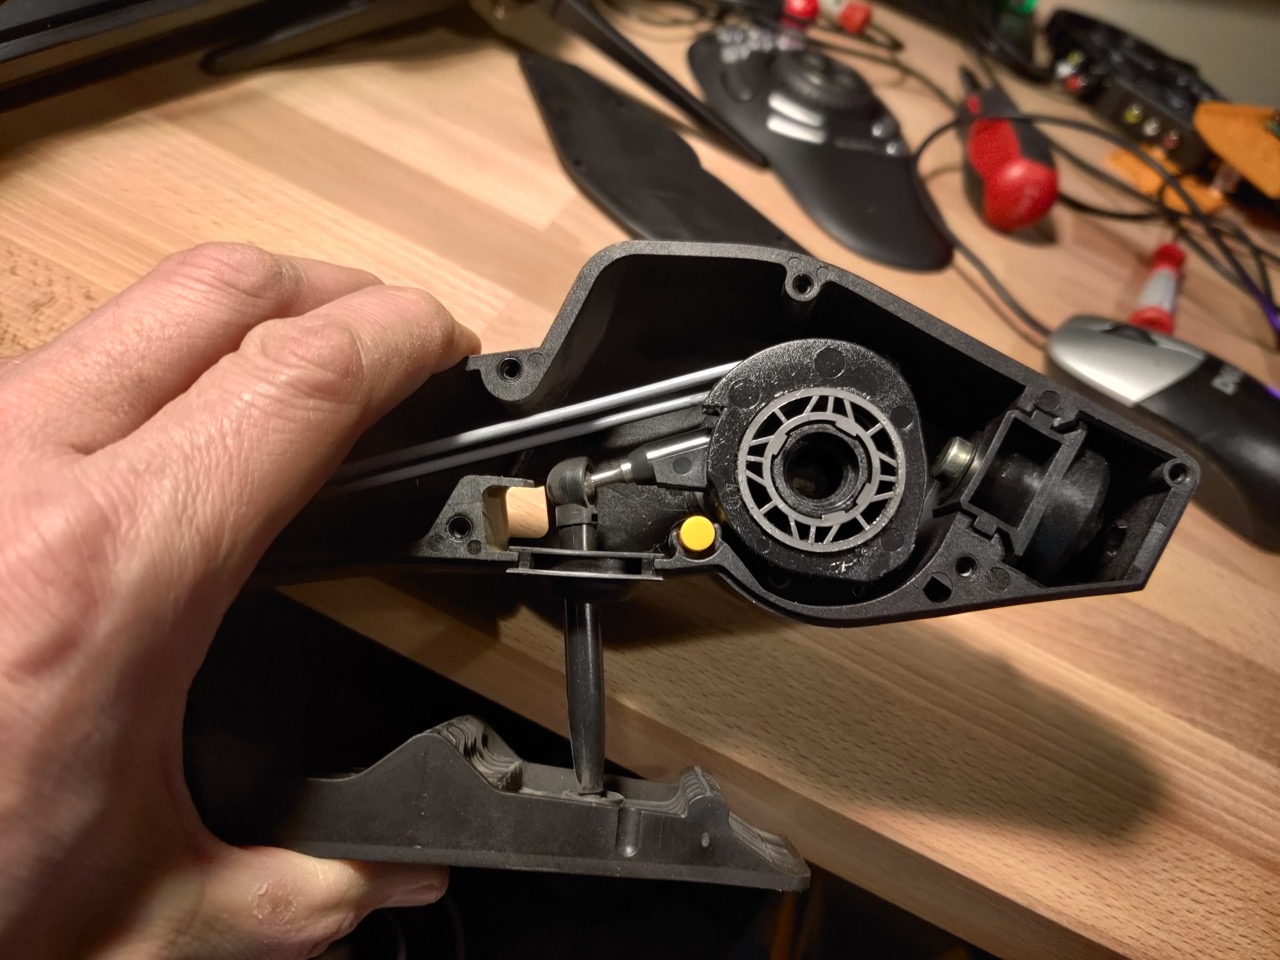
Just holding up the door card to see what it looks like
Leave a comment:
-
Yes. I've been spending so much time/money on new OE or OE+ parts, but I never reverted the windows to OE doh!Leave a comment:
-
More boring interior stuff...
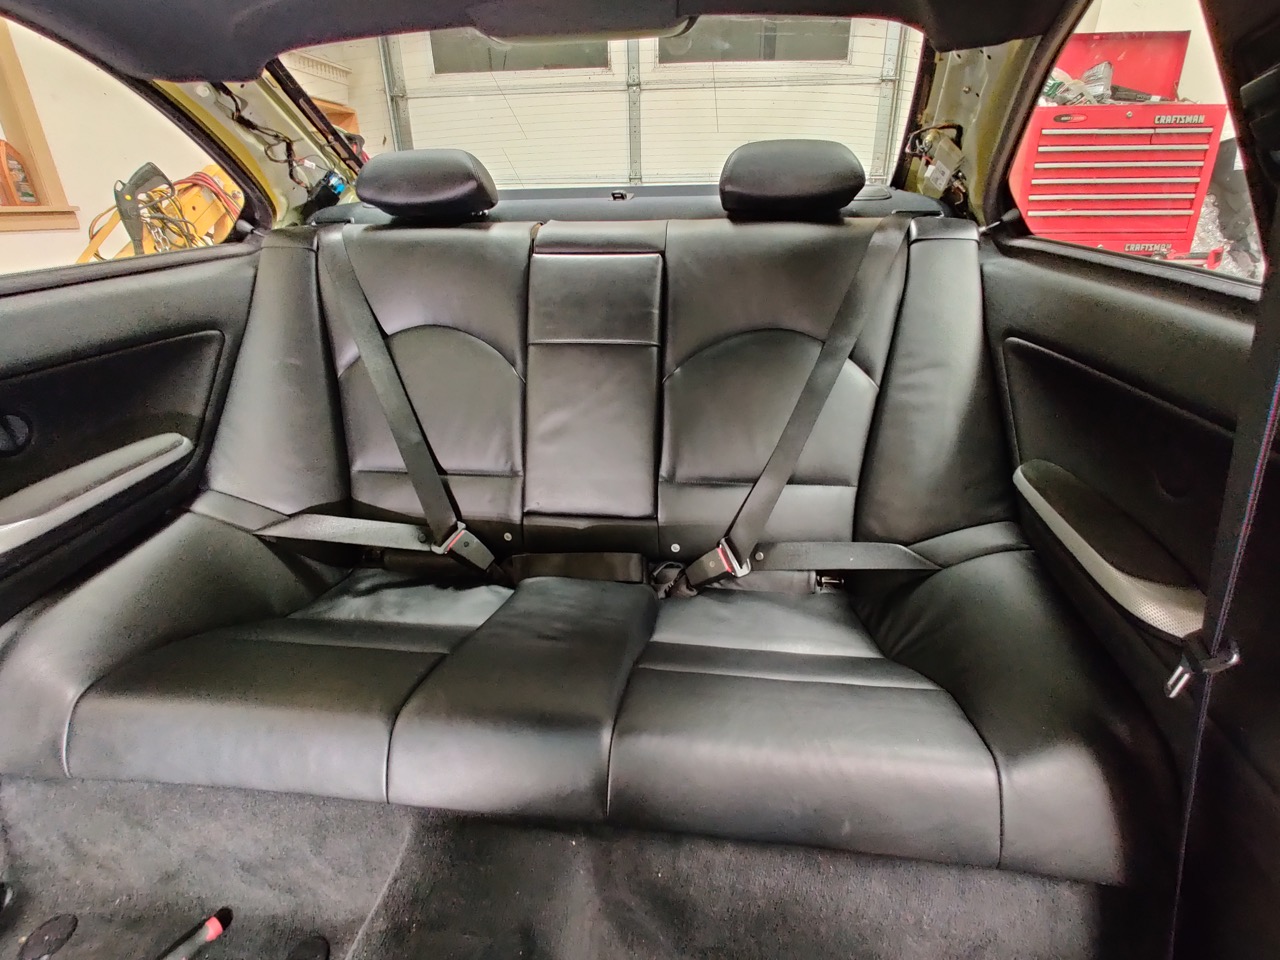
Finished putting together the rear seats.
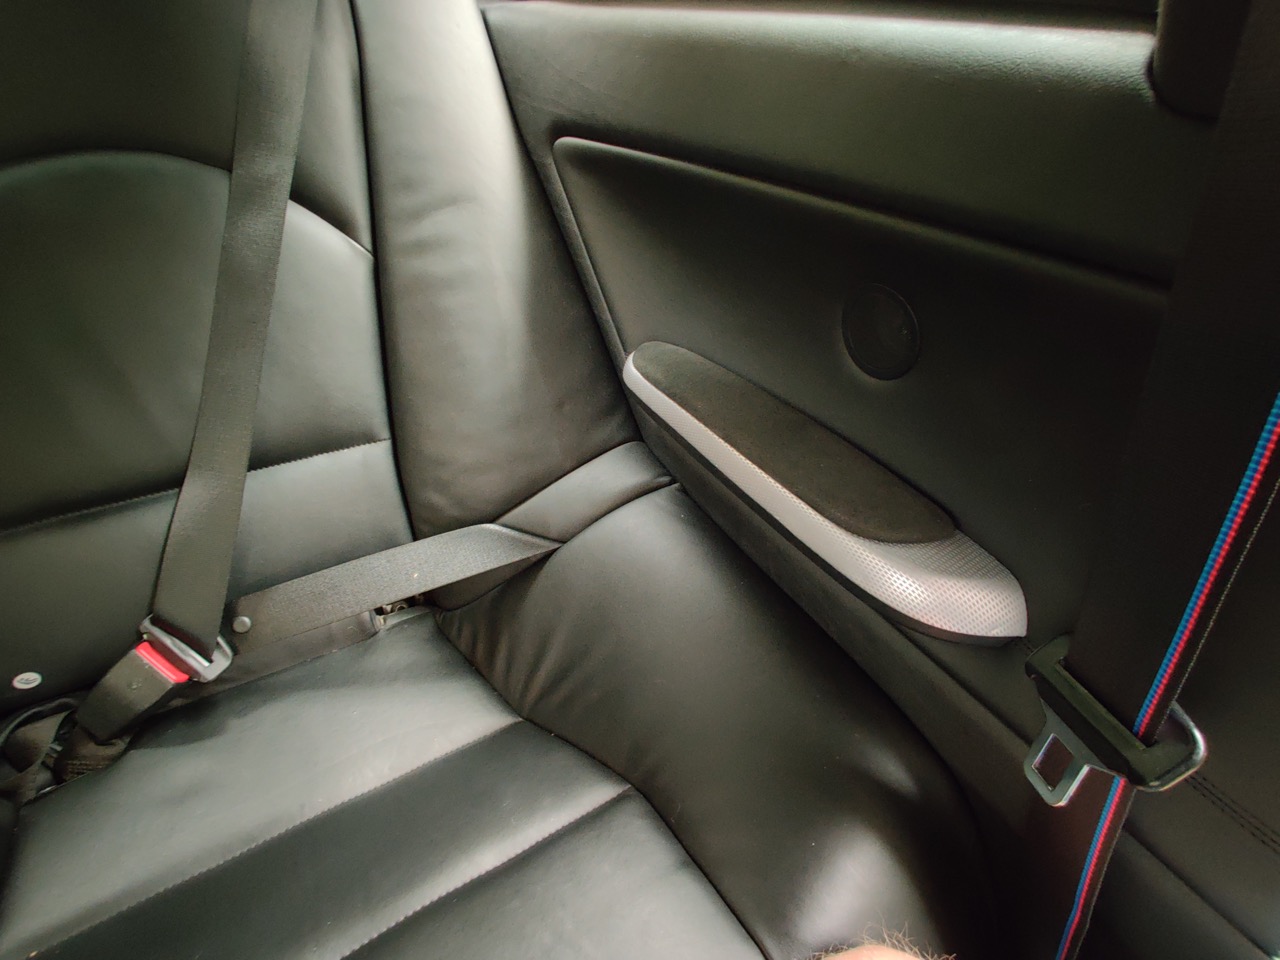
My old ZCP trim off my blue car and OEM Alcantara armrest pads
Got most of the center console back together. New cubby, center console, etc
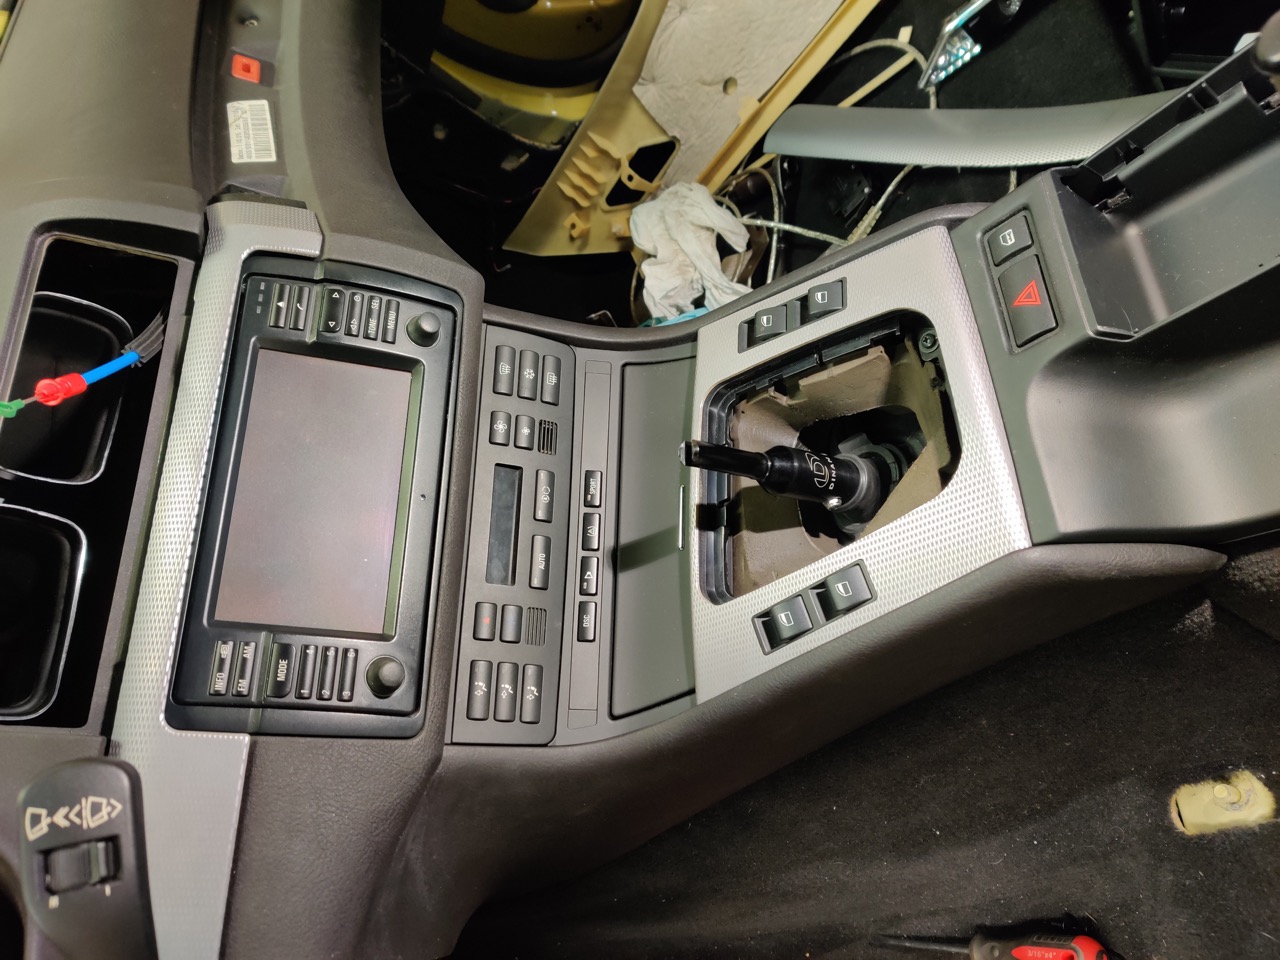
Getting there! I have all new Alcantara gearshift and ebrake boots from Coby. I'll put that in last so it won't be damaged. I somehow lost the center heater vent, I'm sure it's in the garage somewhere, so I'll find it eventually. But it's keeping me from putting the rest of the trim on.
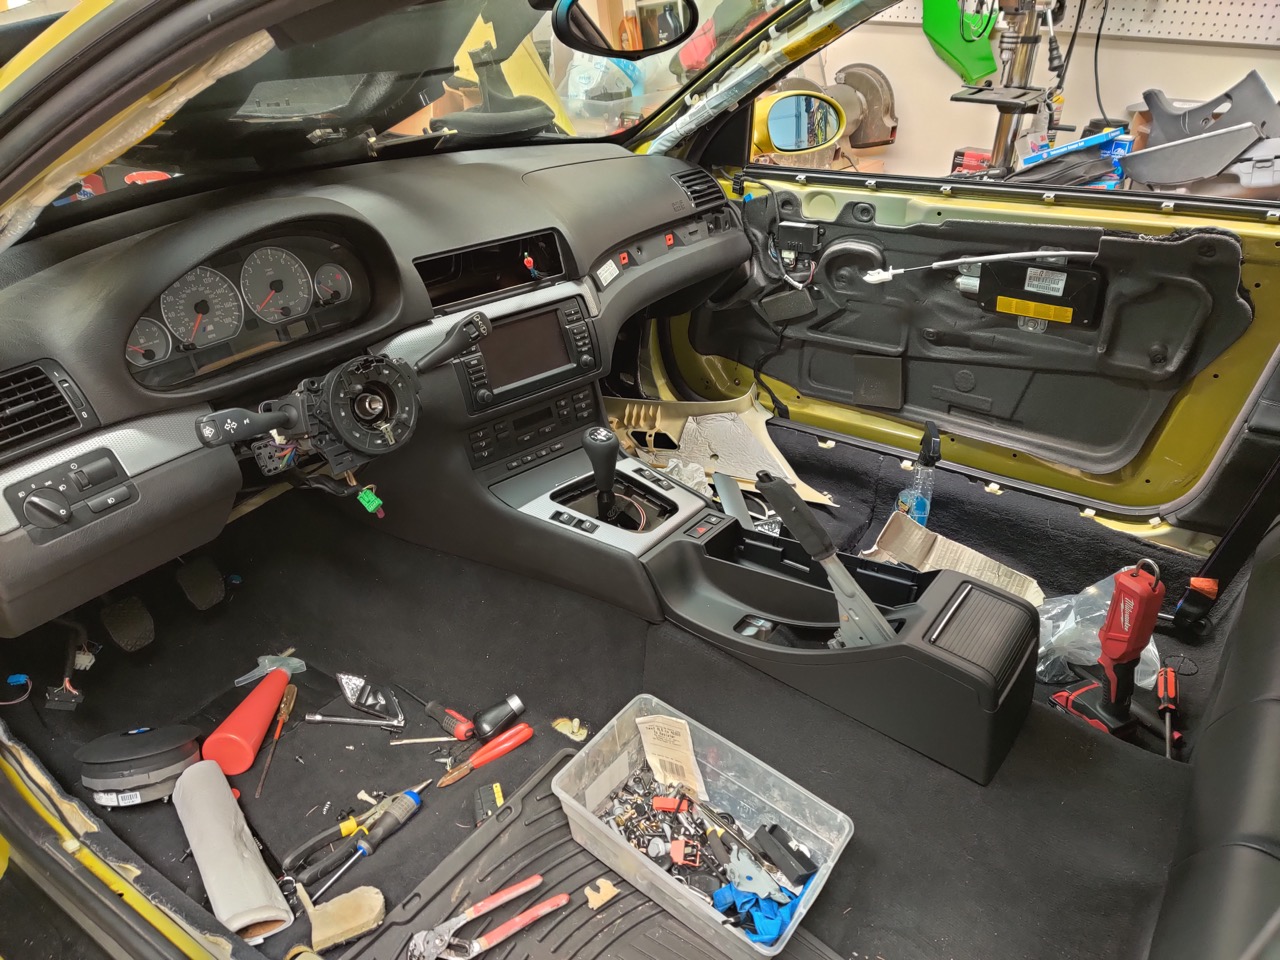
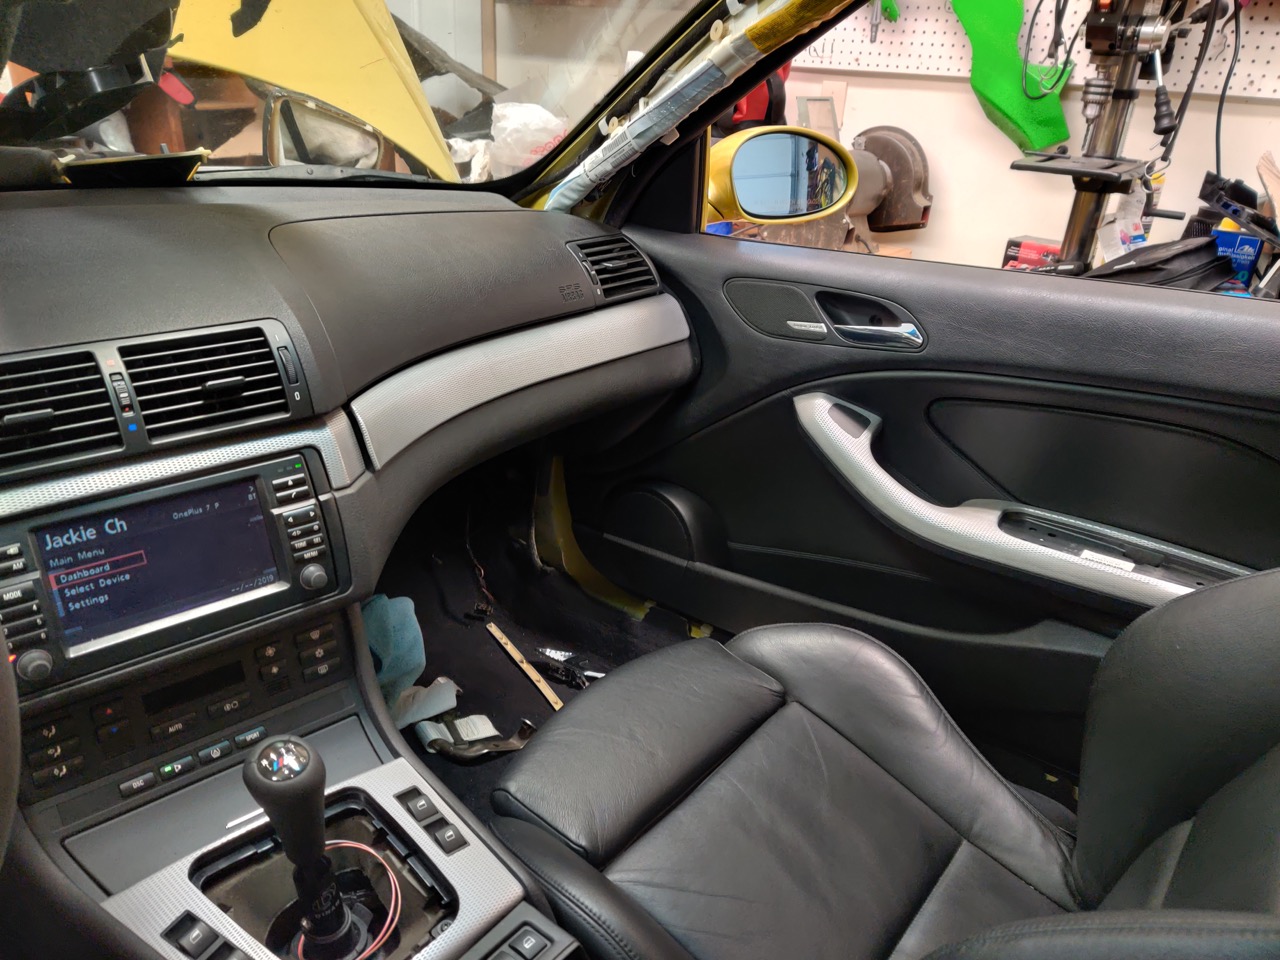
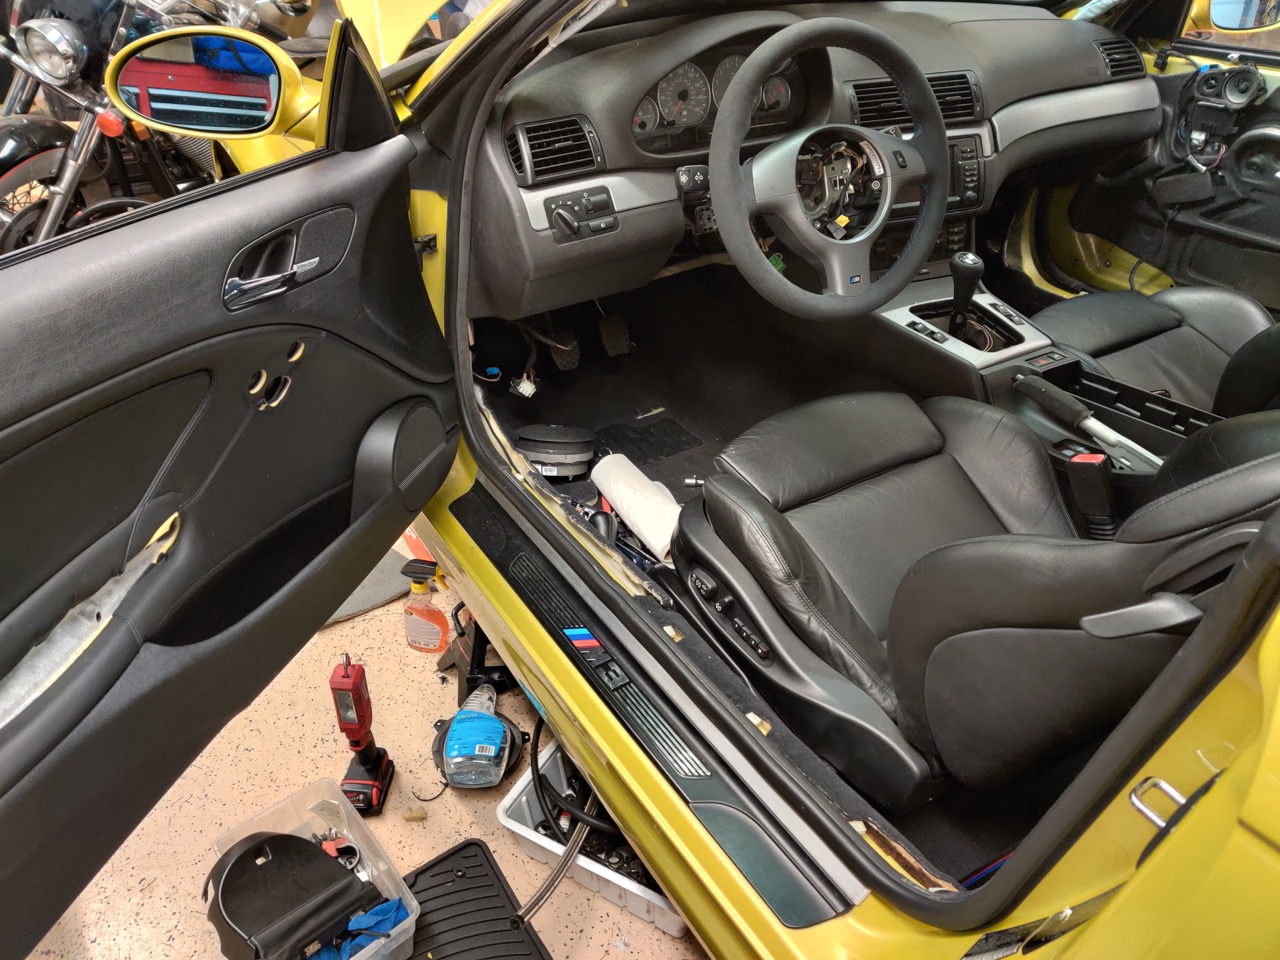
All that's really left in the interior is putting the door cards back on and the front seats. Oh, and the A & C pillars need to get done. Then I can get back to work on putting the front and rear suspension/brakes/subframe back together...you know, the fun stuff.Leave a comment:
-
Update time! I found some time to work in the garage on Saturday, amazing amazing.
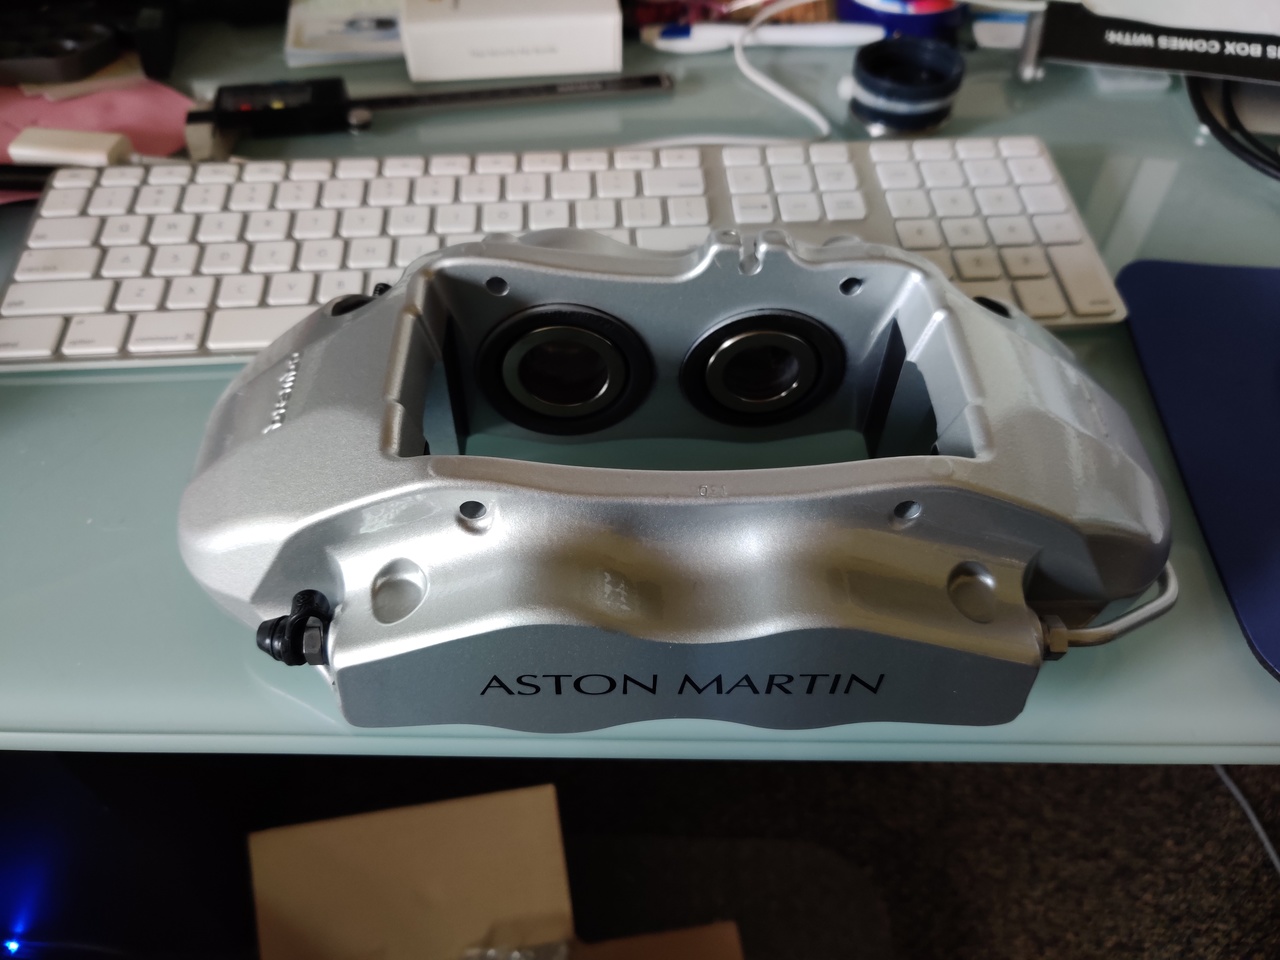
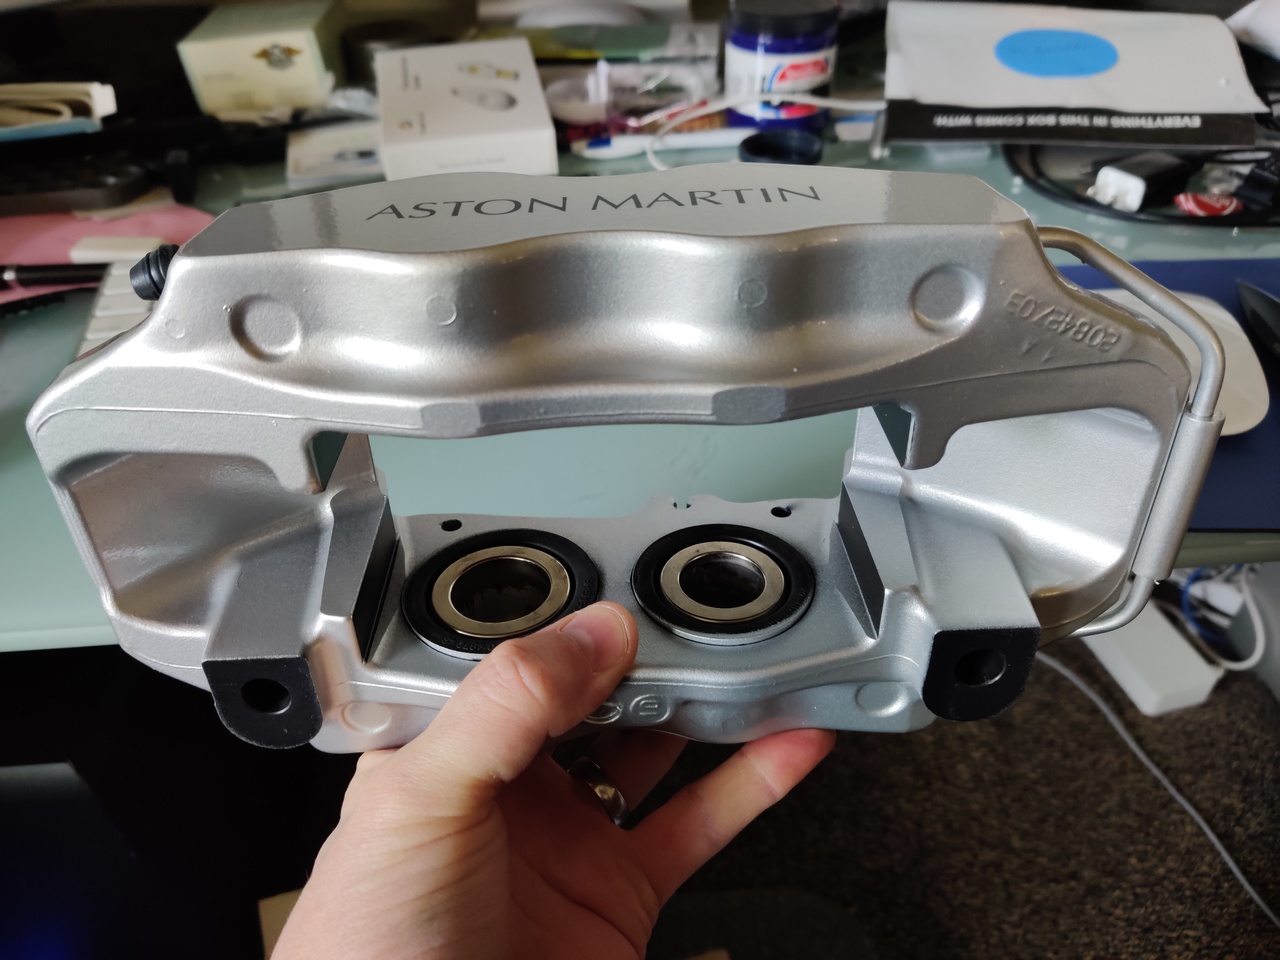
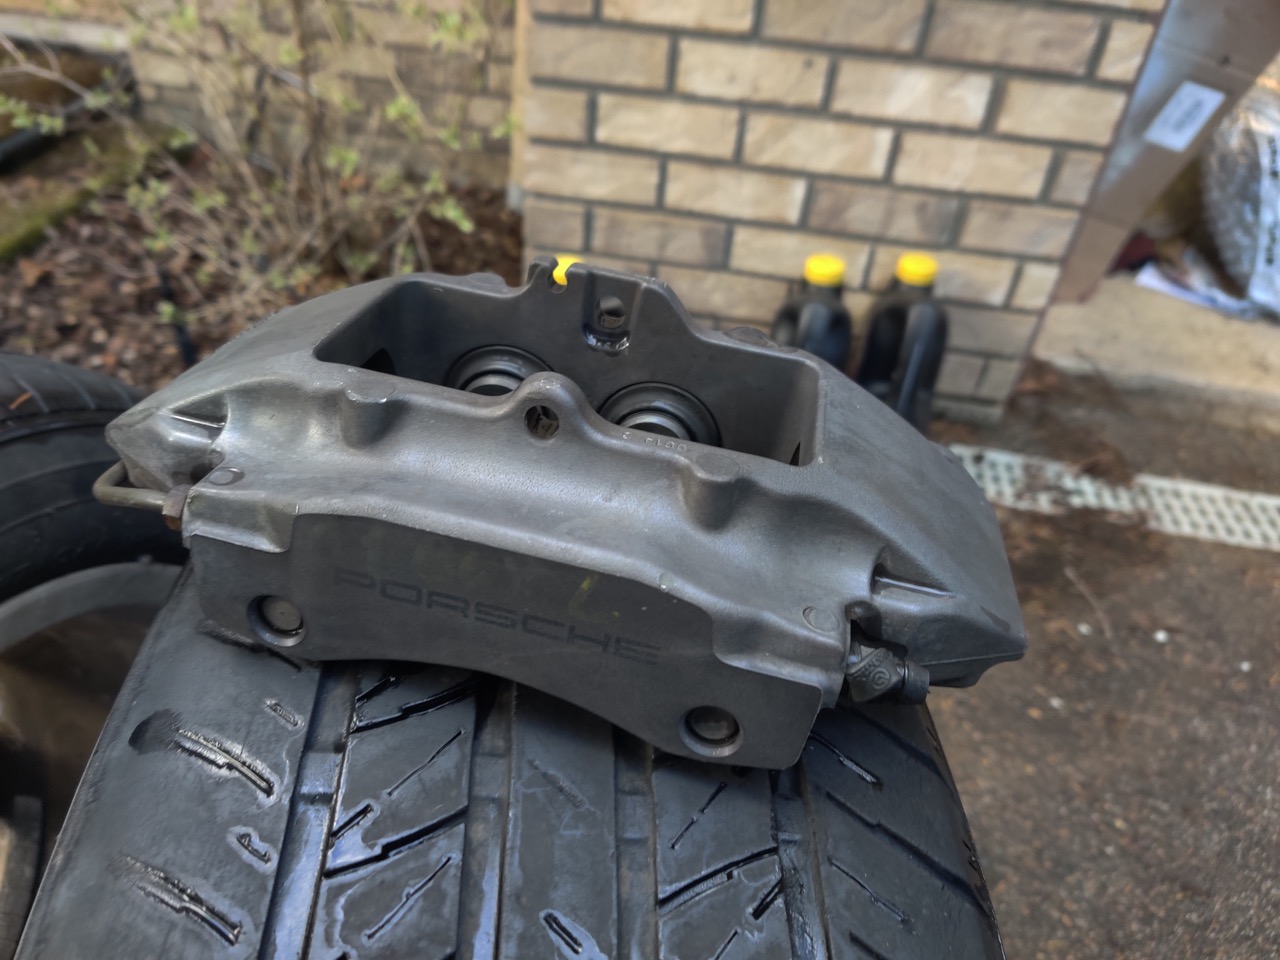
New front brakes finally came in the mail. I'll be using the Aston Martin DB9 front calipers/CSL rotors for the front, and Porsche 911 calipers in the rear. I was looking to buy a used set of Aston calipers and rebuild/paint them, but they're actually only $380/caliper brand new so by the time you find used ones and buy all the seals/paint you're spending more. They're going to stay silver.
Prepped the Porsche 911 rear calipers for paint. They were fairly clean when I got them
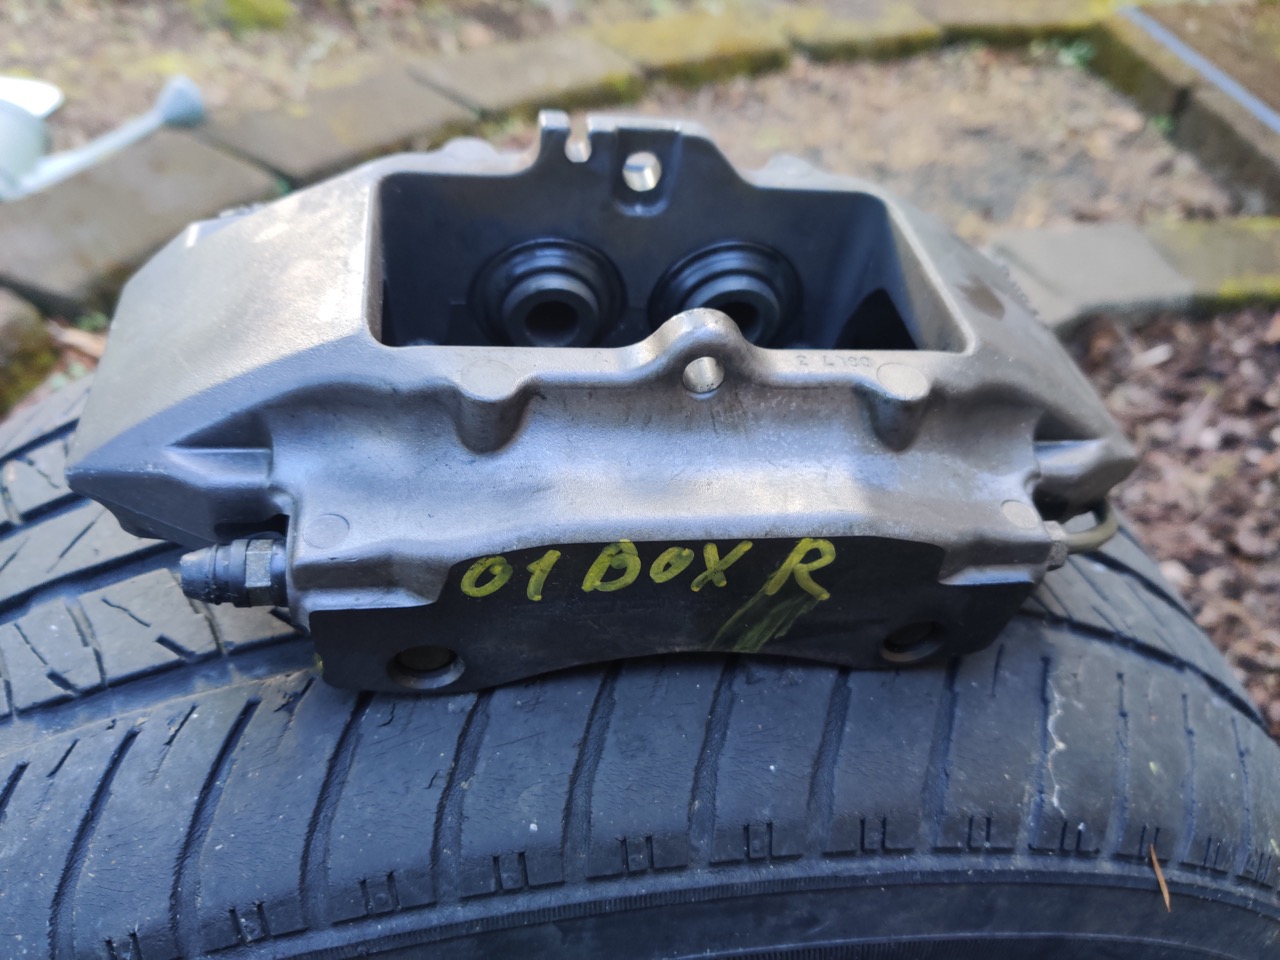
All clean ready for paint. They'll be painted silver to match the front. Hopefully I can find some time to get them painted this week.
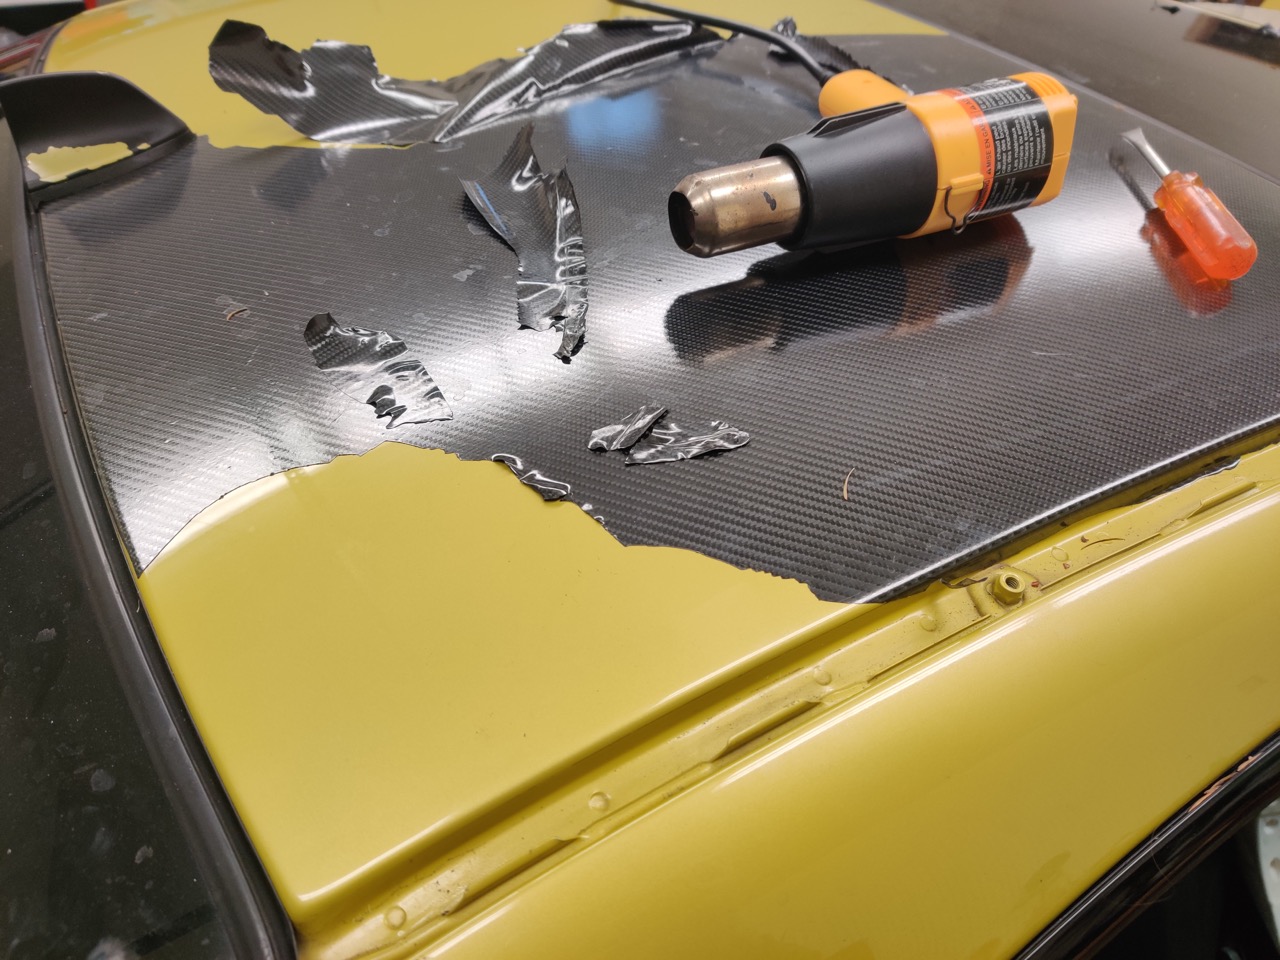
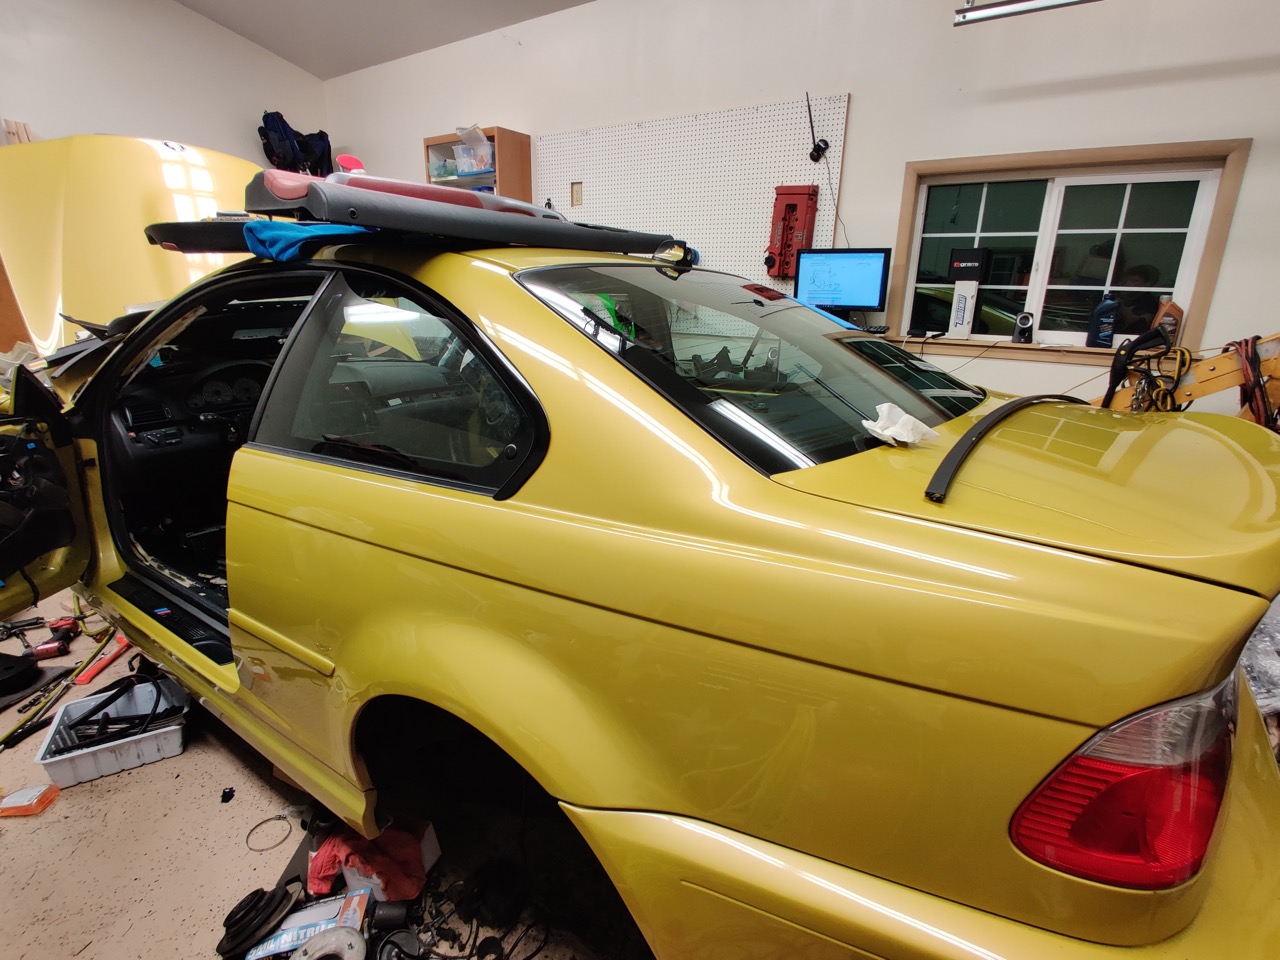
I was not a fan of the carbon wrapped roof, so off it goes

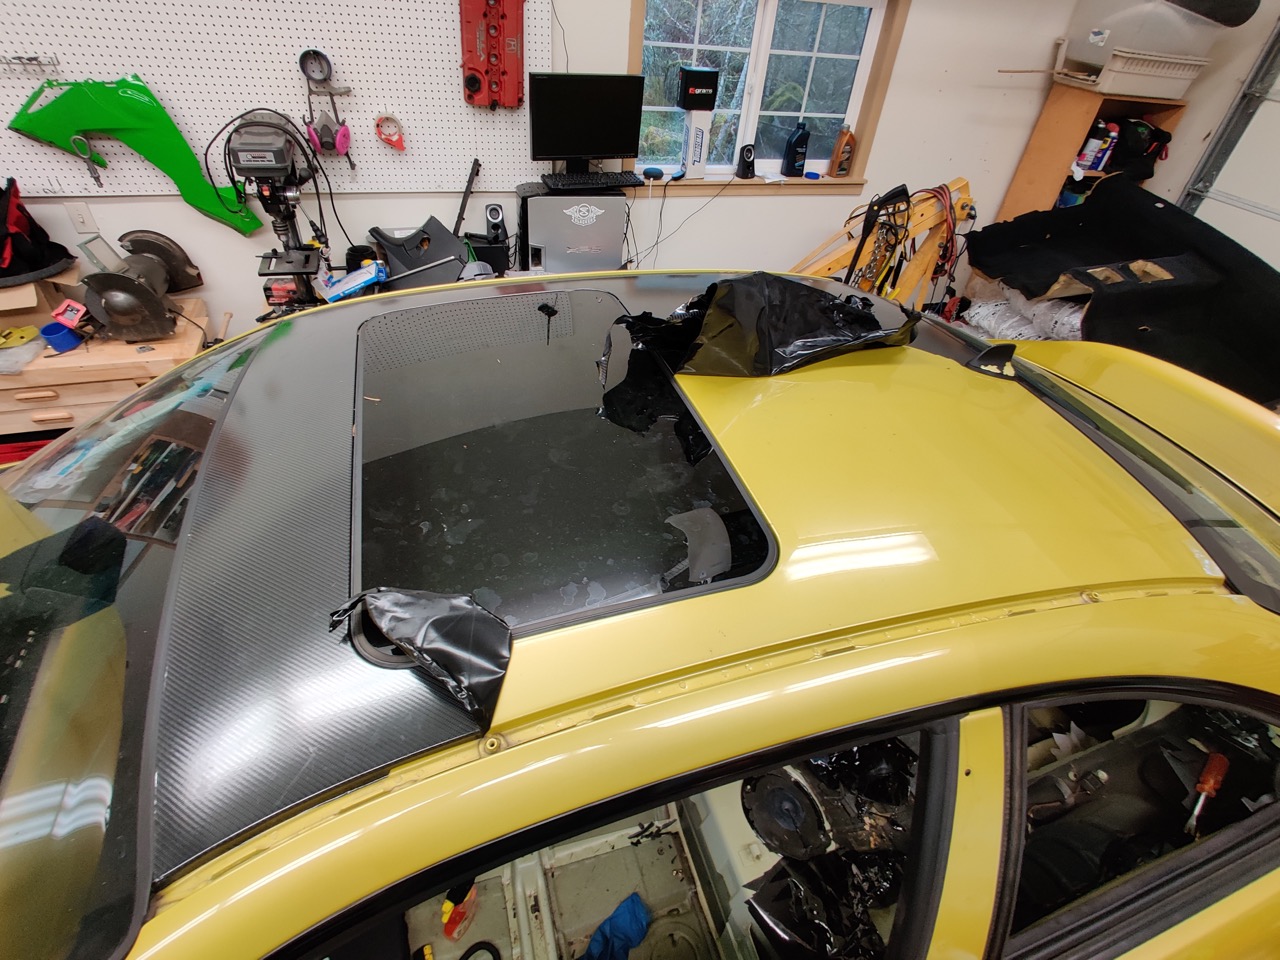
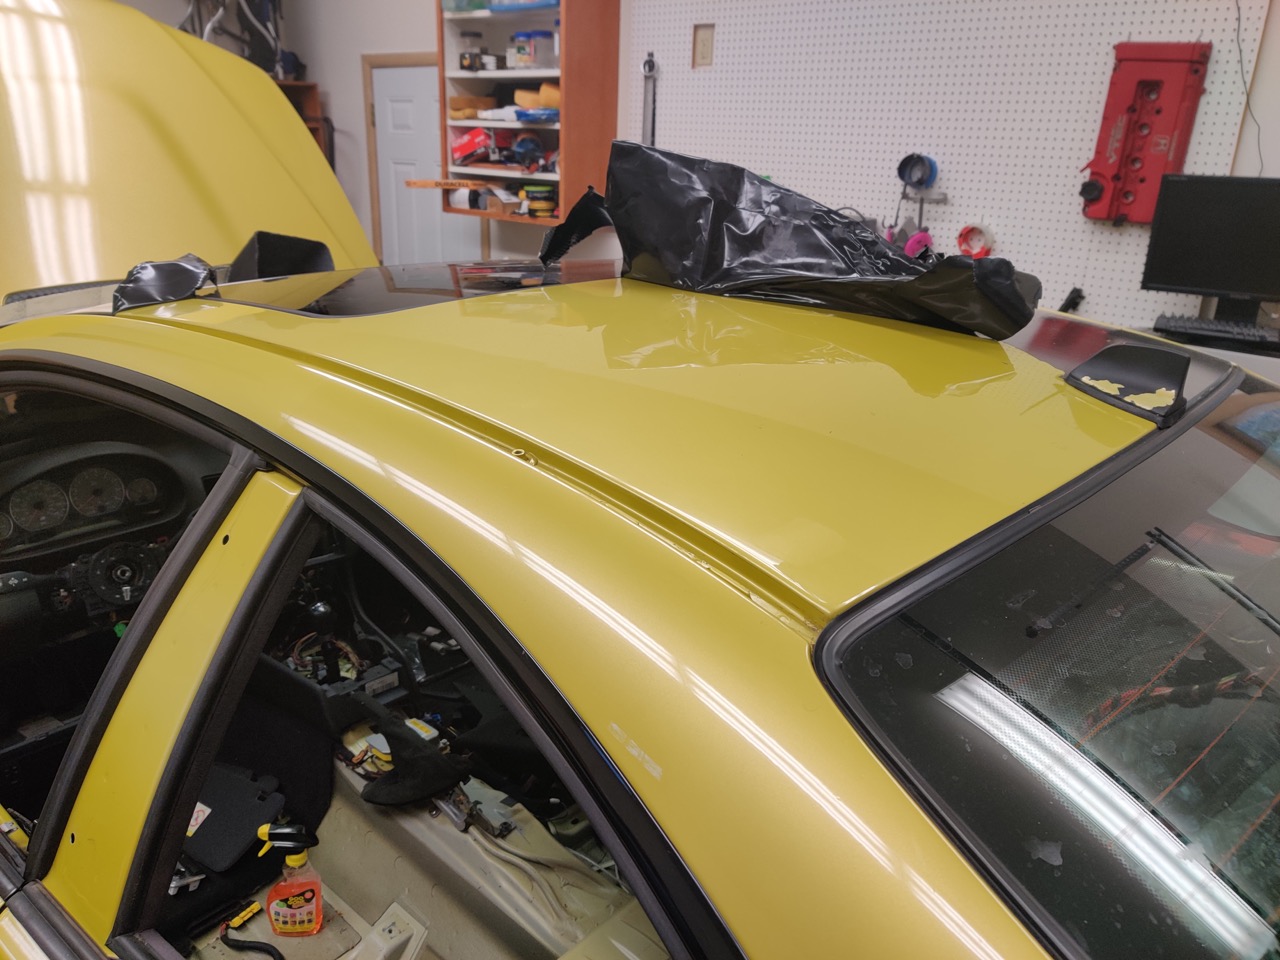
The paint is fairly good under the wrap, thankfully. I was a bit scared as I've never actually seen the paint before
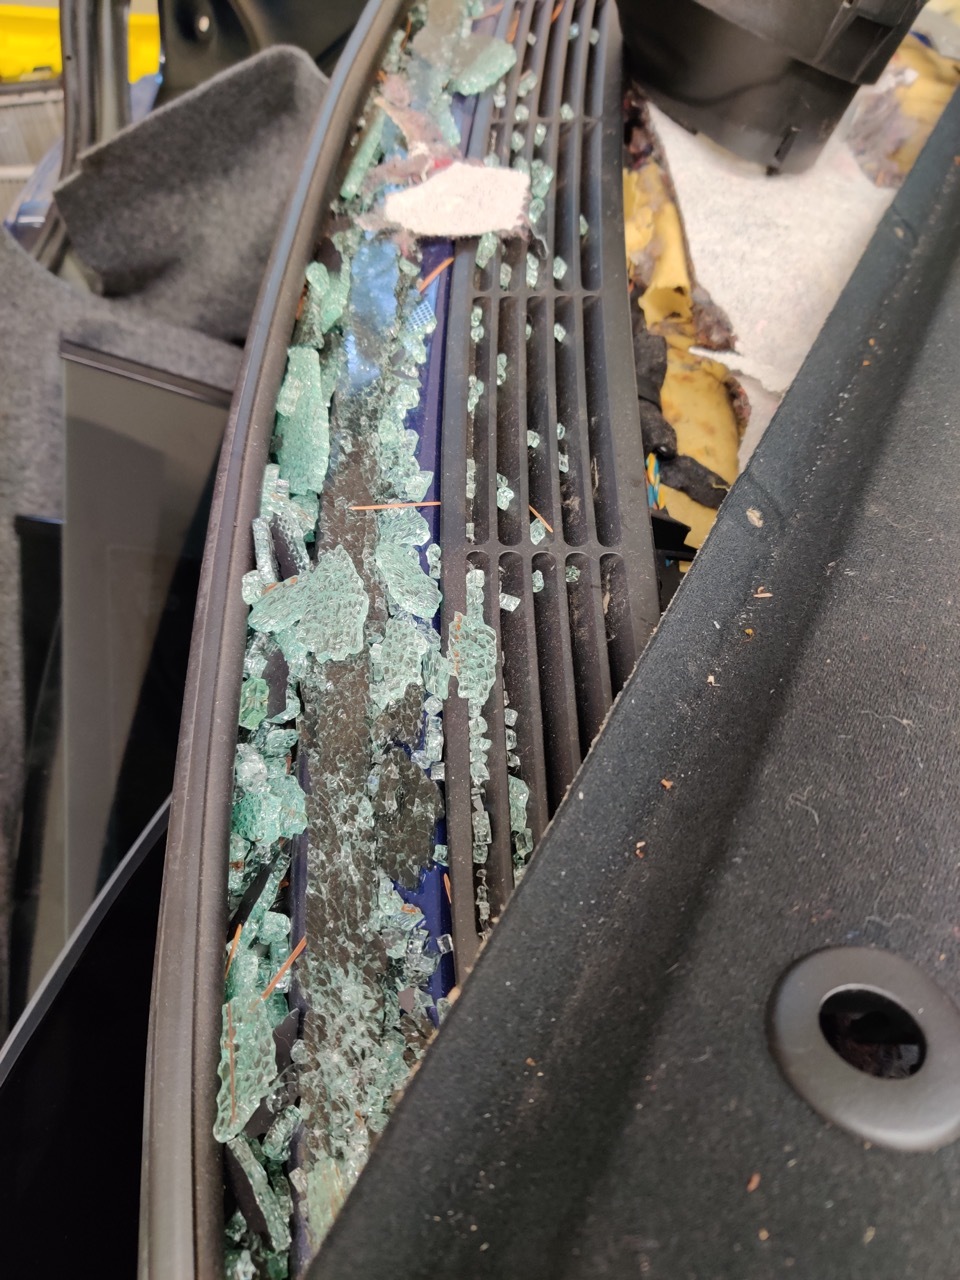
I'm not one for dark tint, and I think the e46m3 looks better without the tint. Instead of pulling all the tint off and cleaning all the windows I just all the windows with my blue car since it was tint-less. The rear window, however, I had to pull the tint off. It left a nasty glue mess. Hard to see, but look at the lights you can see all the streaking.
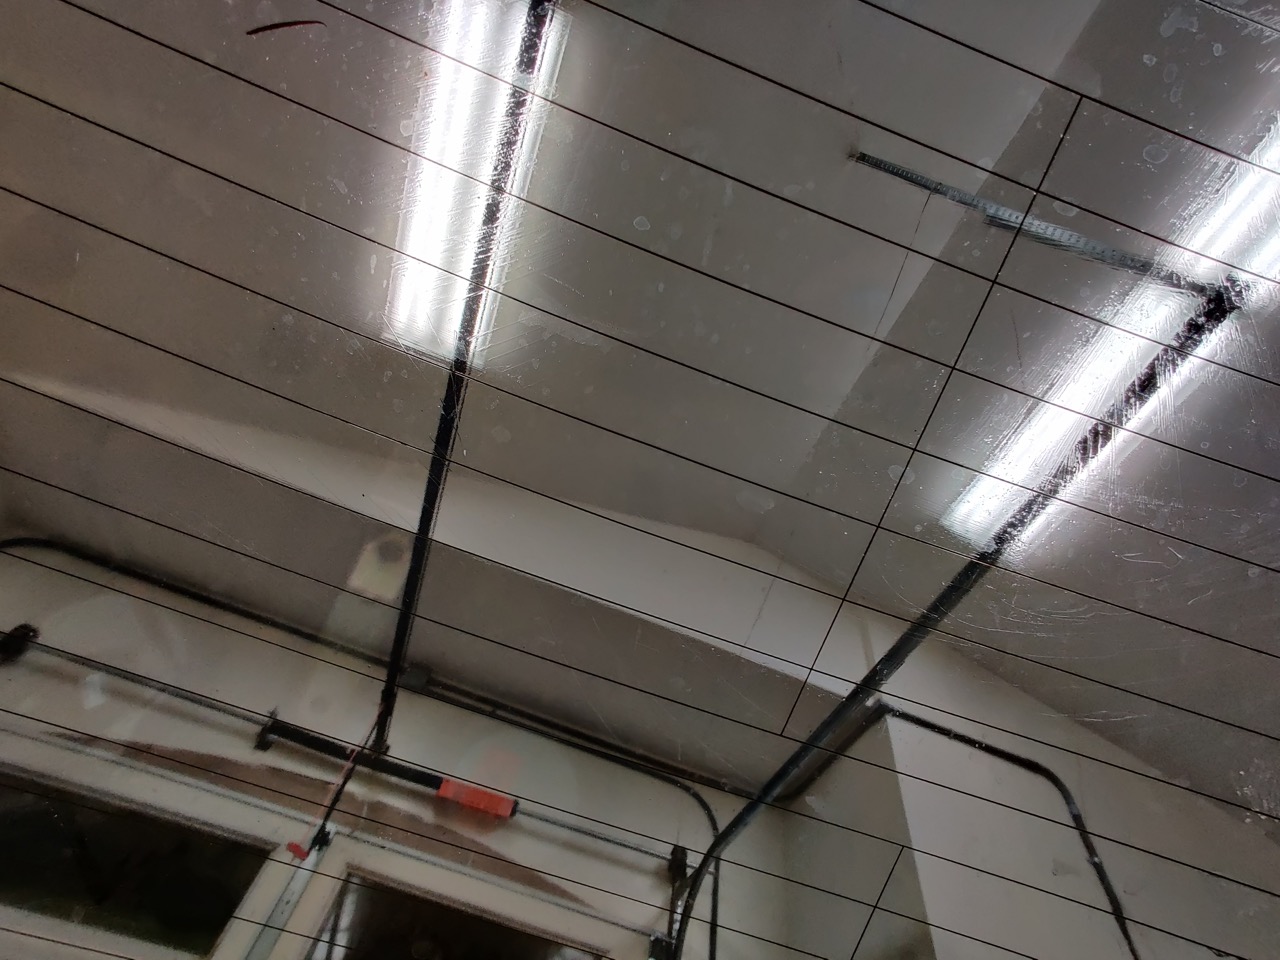
000 steel wool and windex cleaned it right up
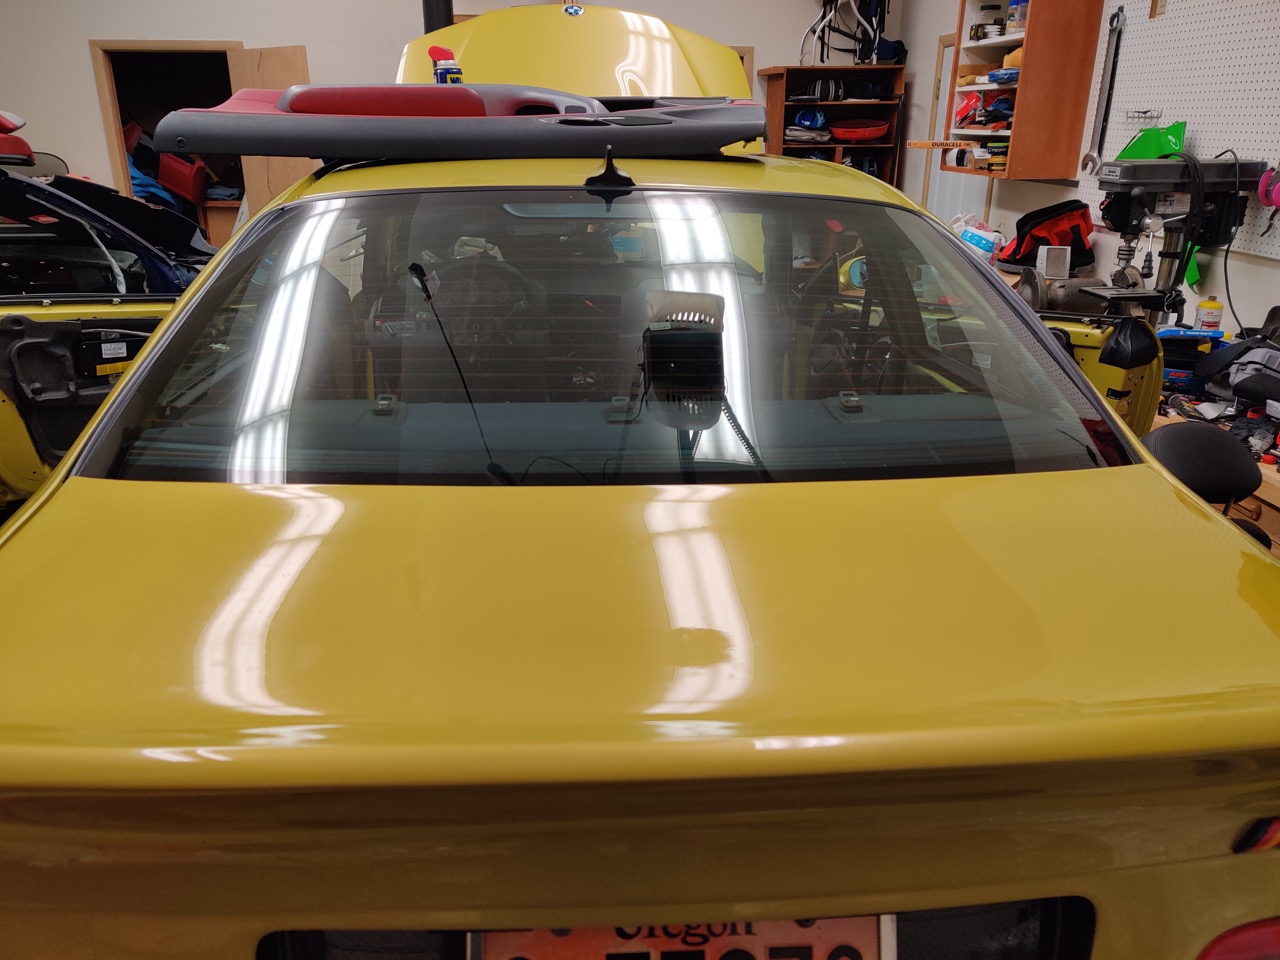
Woo, clear windows again
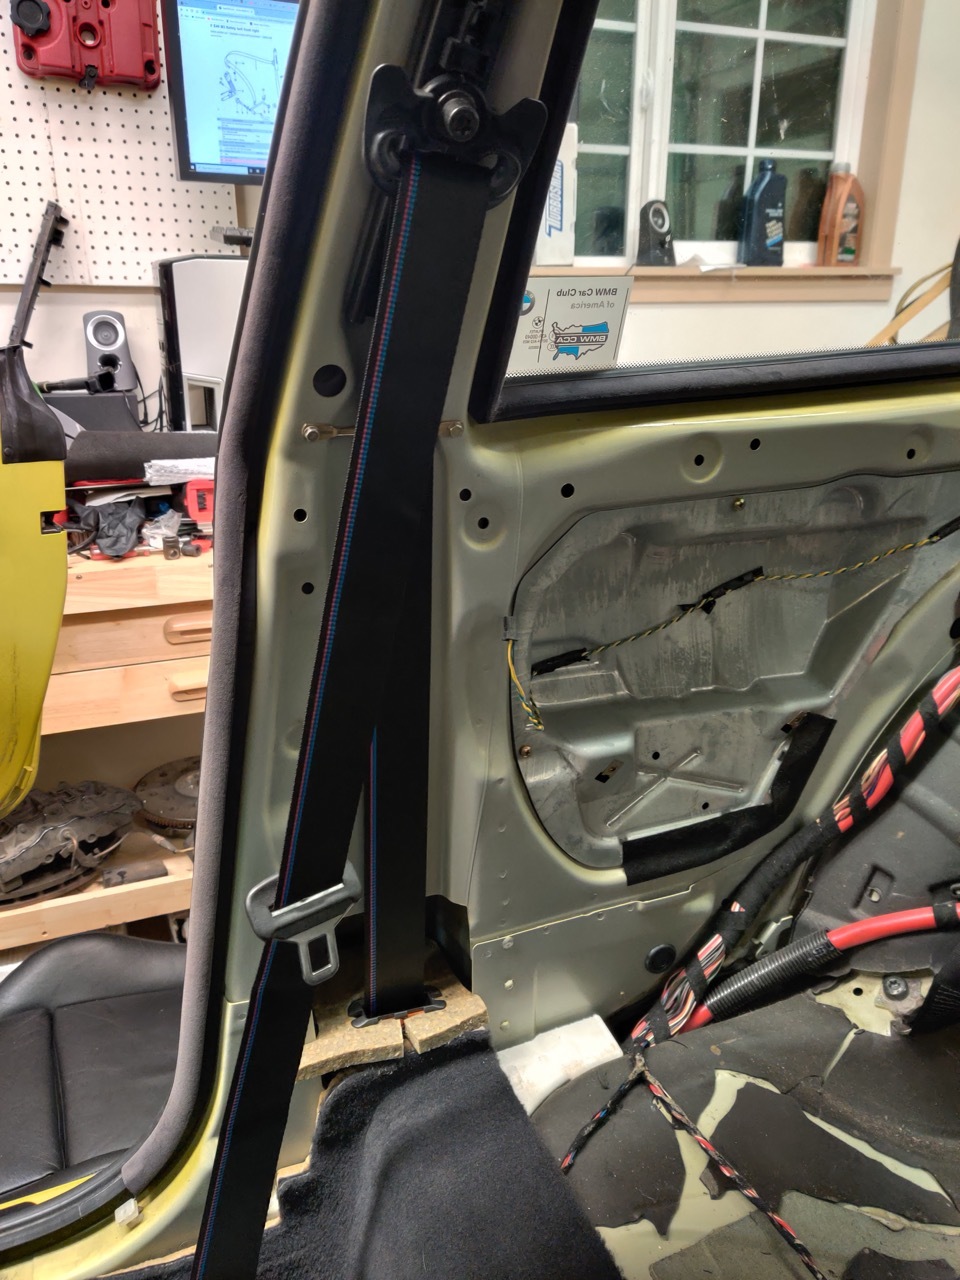
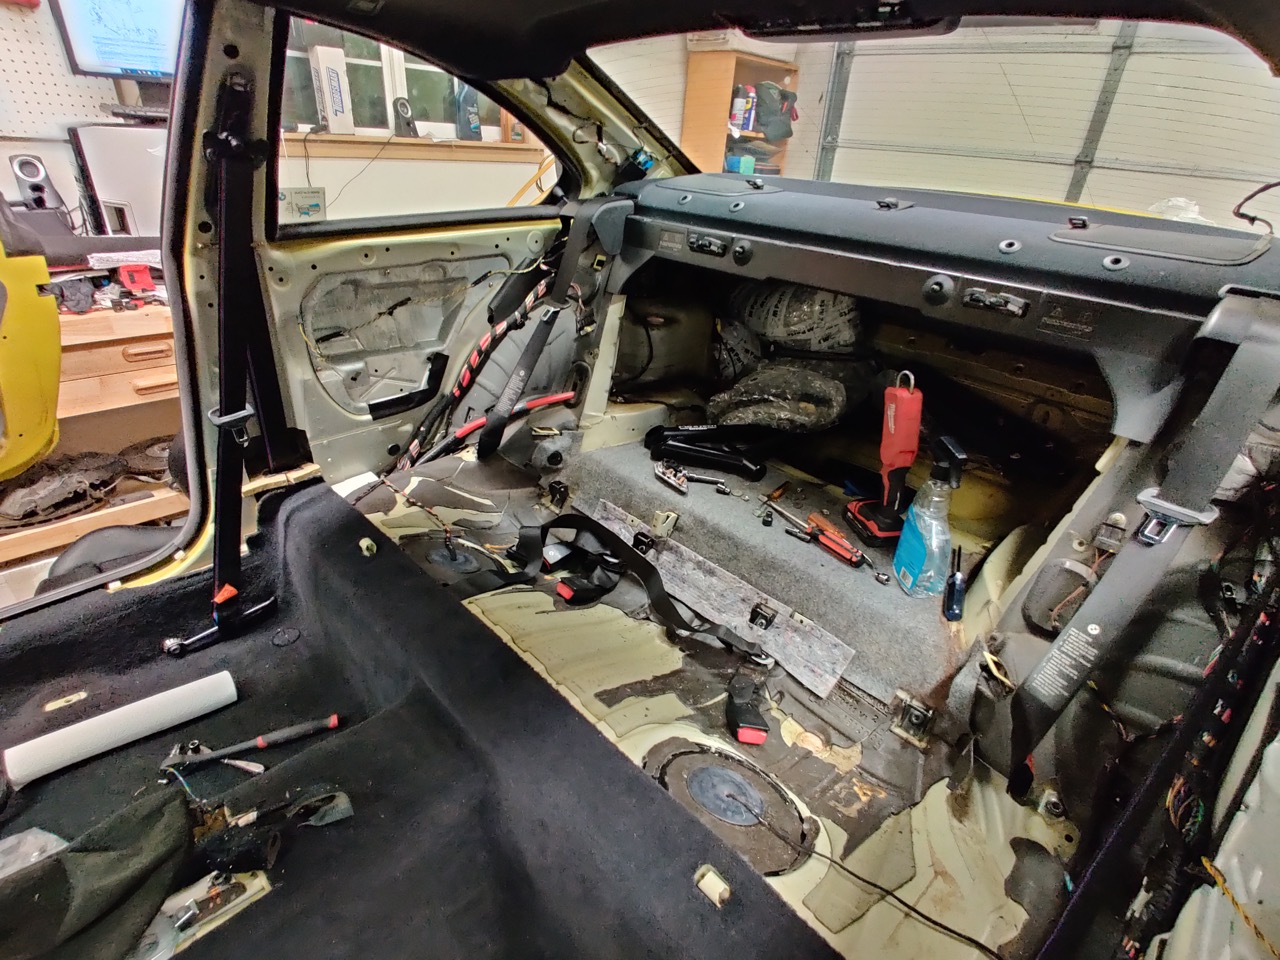
Finally started to put the interior back together. First up is the carpet and seat belts.
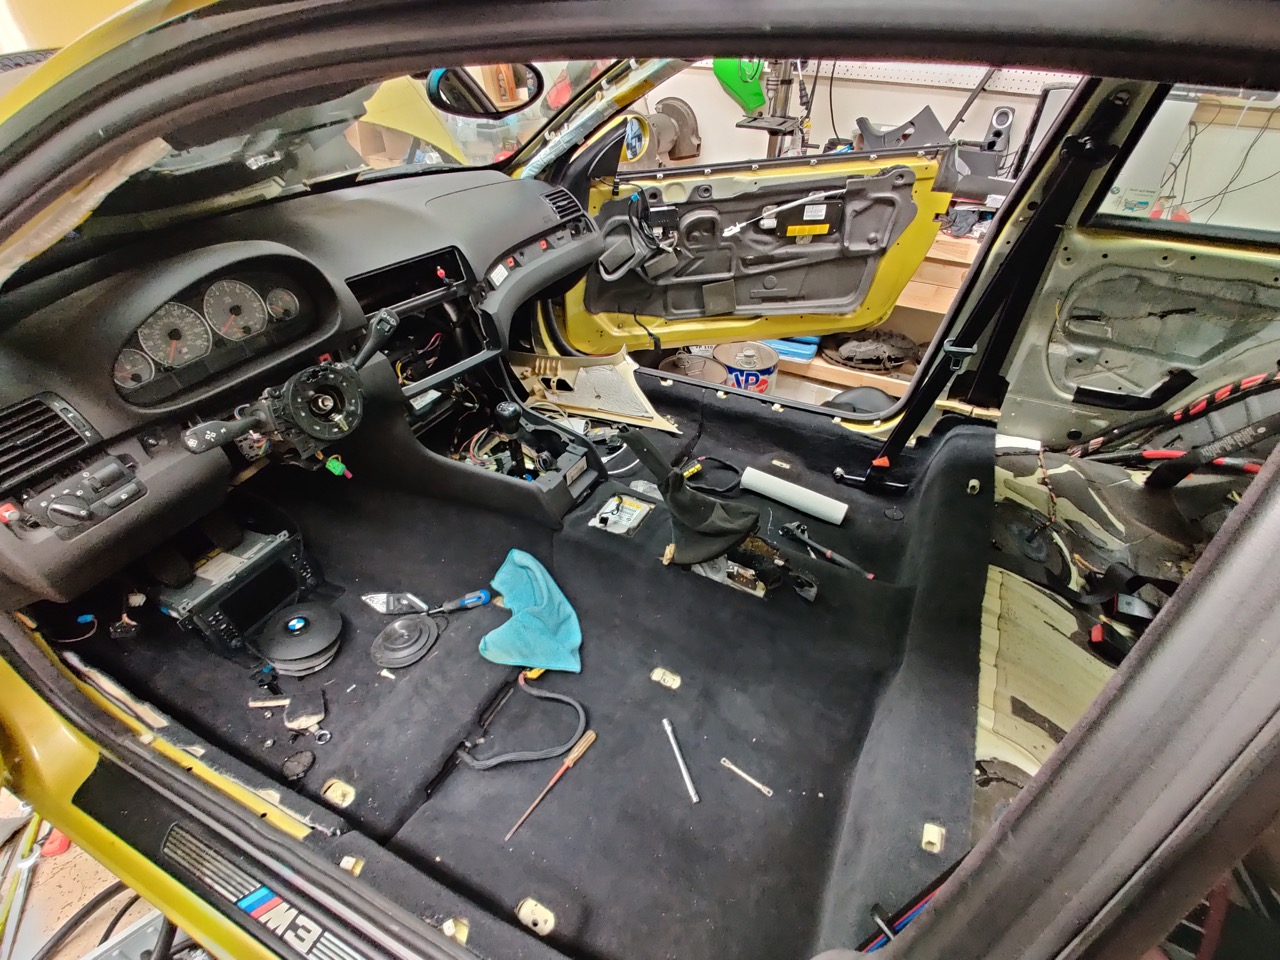
I had to replace the seat belts anyway, so I wanted to add a little something. m-sticking!
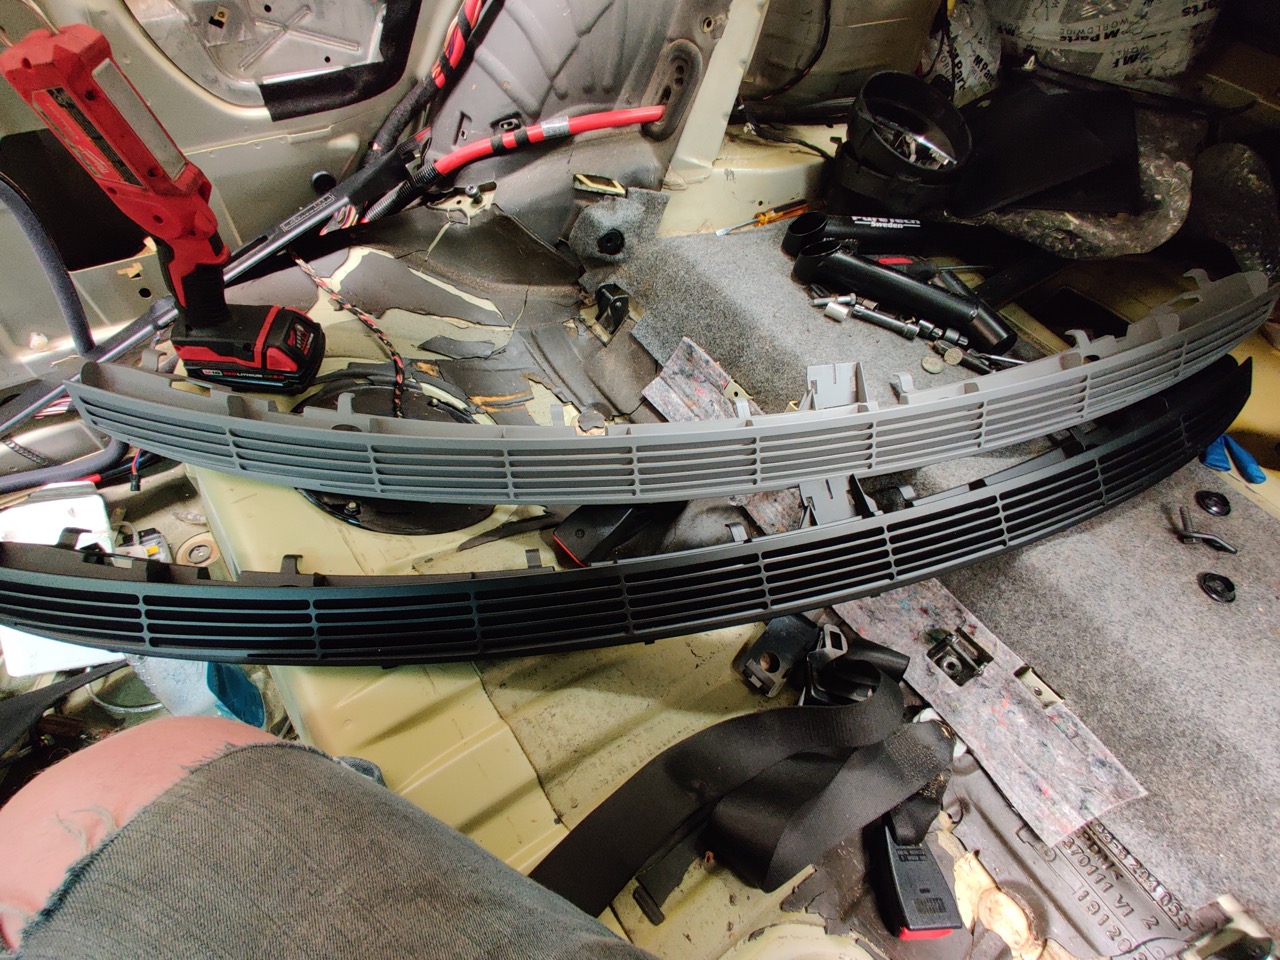
The rear plastic lower window trim thing that the parcel shelf connects to was dove...the last piece leftover from when the car previously had dove interior.

I bet I have a black one from my blue car...oh umm that's gonna take some cleaning...
Cleaned right up though
Rear parcel shelf, new seat belts, and headliner all back in
My car was originally an SMG and had an SMG accelerator pedal. I hated how it had the kick-down to go full-throttle unlike the manual cars, let's fix that.
Undo all the screws
The kick down just slides in (on the right of this picture). Pull that out and put it back together, no more kick-down to go full-throttle.
All for now...Leave a comment:
-
Thank you! That's the goal. I basically just want to make a 3d printable CSL airbox clone - same internal volume/shape etc. I'm hoping to be able to get them printed for under $500 on an industrial printer. We'll see how it goes - once I get a bit closer I'll make a proper thread about it and would love some input from everybody here.Originally posted by Will View PostLeave a comment:
-
Wow, great build thread. And thank you for building this site (as well grabbing over 175k threads from the old m3f archives)!
Are you doing your own airbox design (internal volumes and shapes) or are you thinking along the lines of laser scanning an OE csl box and 3d printing that? If it's comparable in performance and sound, but much cheaper than the aftermarket carbon fiber versions, perhaps there's a market for it.
Edit: 145k threads from old m3f.Last edited by Will; 03-30-2020, 11:53 AM.Leave a comment:
Leave a comment: