If this is your first visit, be sure to
check out the FAQ by clicking the
link above. You may have to register
before you can post: click the register link above to proceed. To start viewing messages,
select the forum that you want to visit from the selection below.
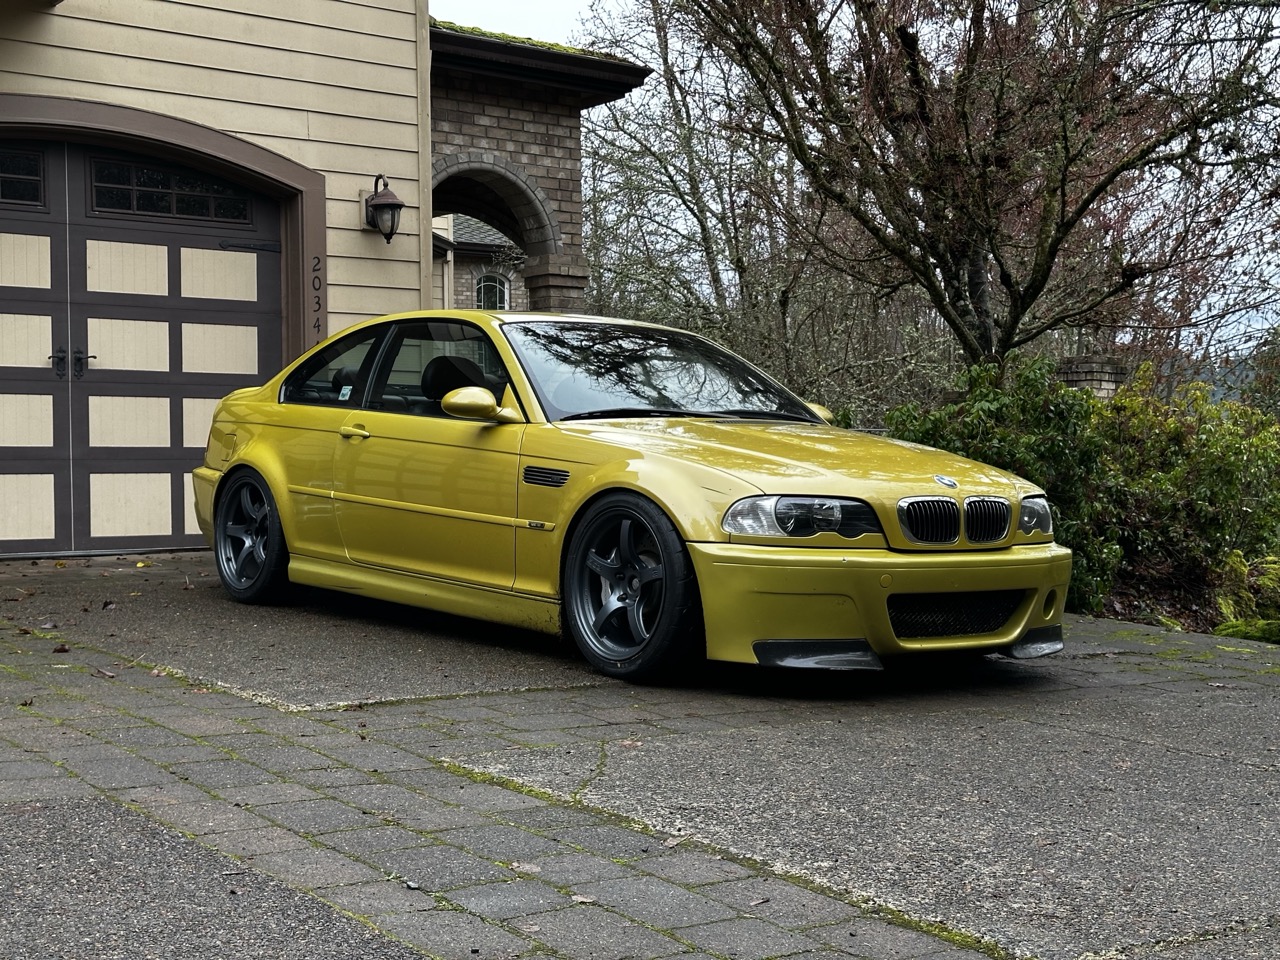
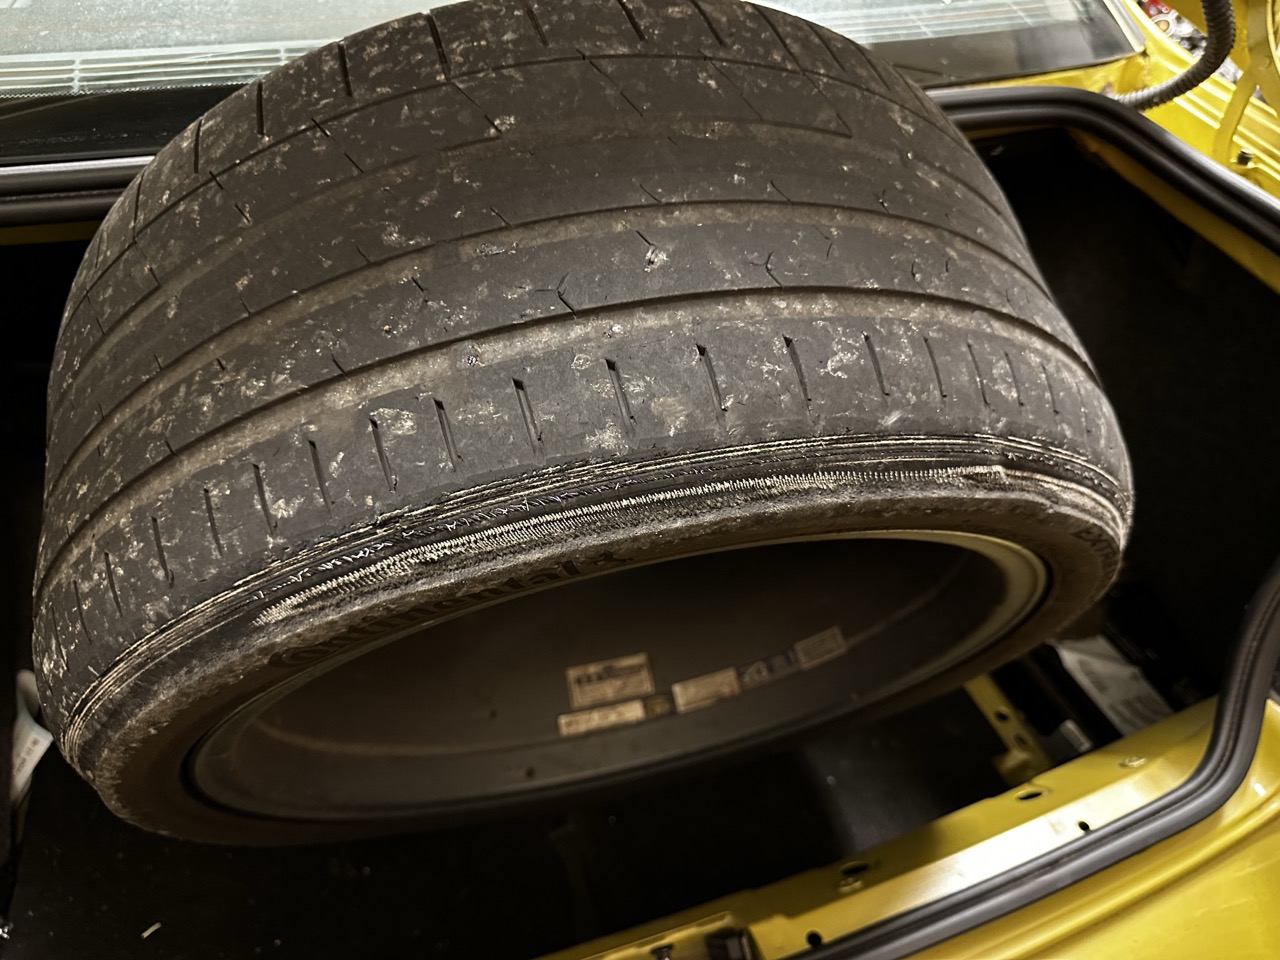
It's been a minute since I've updated this. Not a lot has changed in the car, just been driving and enjoying it. I finally wore out my Continental Extremecontact Sport tires I've wanted to make some changes to the suspension though.
1) Lower the front just slightly to match the rear
2) Less camber for better tire wear
3) Less camber in the rear for better wear
4) Softer spring in the front
I had originally purchased 9kg front and 11kg rear springs with my FA Muller kit which wasn't the right play. The front spring was too stiff. If I had the damper all the way soft it was livable, but oversprung and under dampened. If I stiffened the damper up to control the spring better, it was just way too stiff. The front 9kg spring was 7" tall, which put the lower spring perch right next to the barrel of the wheel so to clear it I needed to run a 12mm spacer, which forced 2.5 degrees of camber.
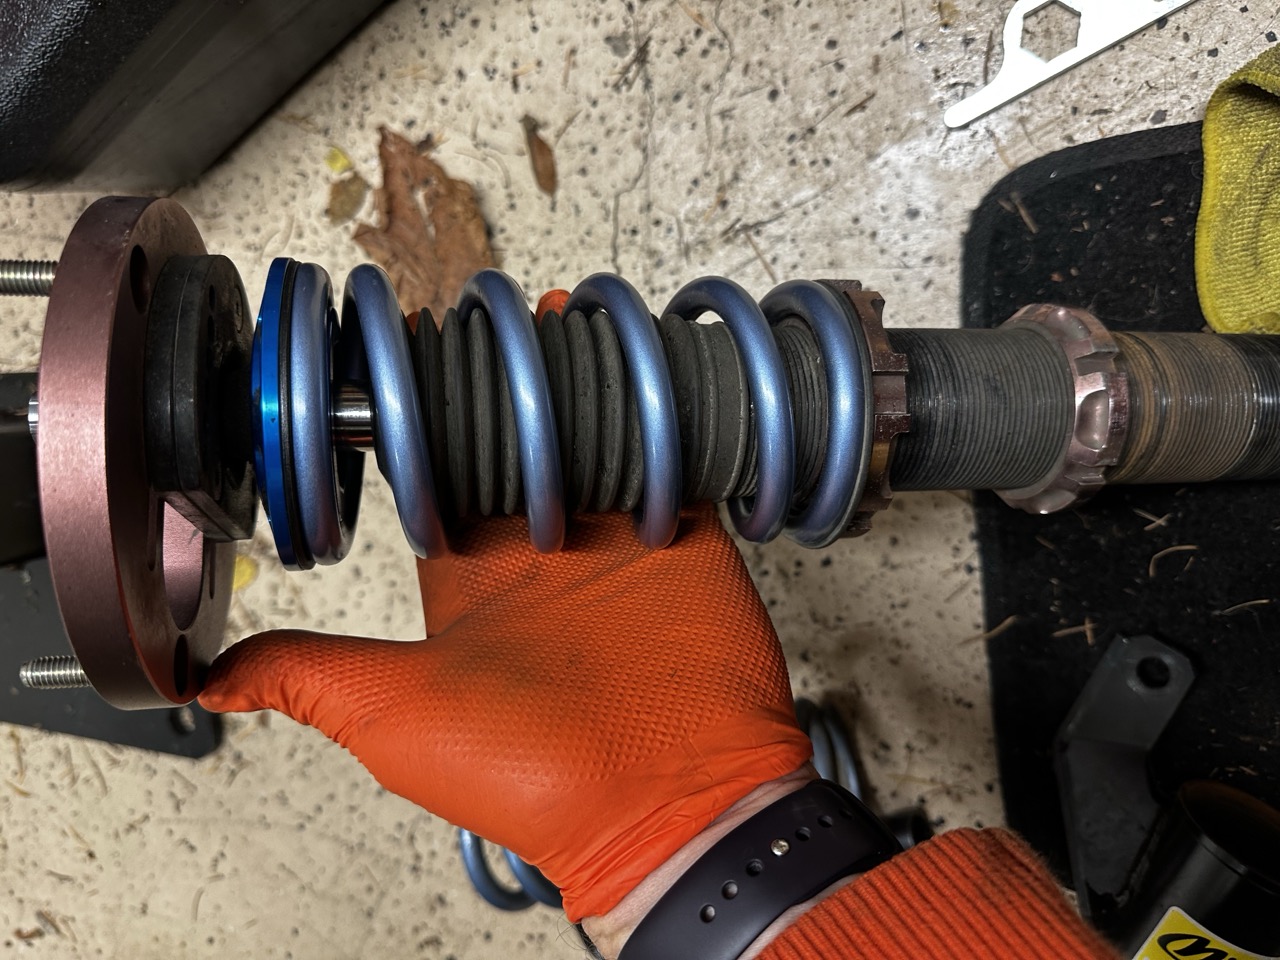
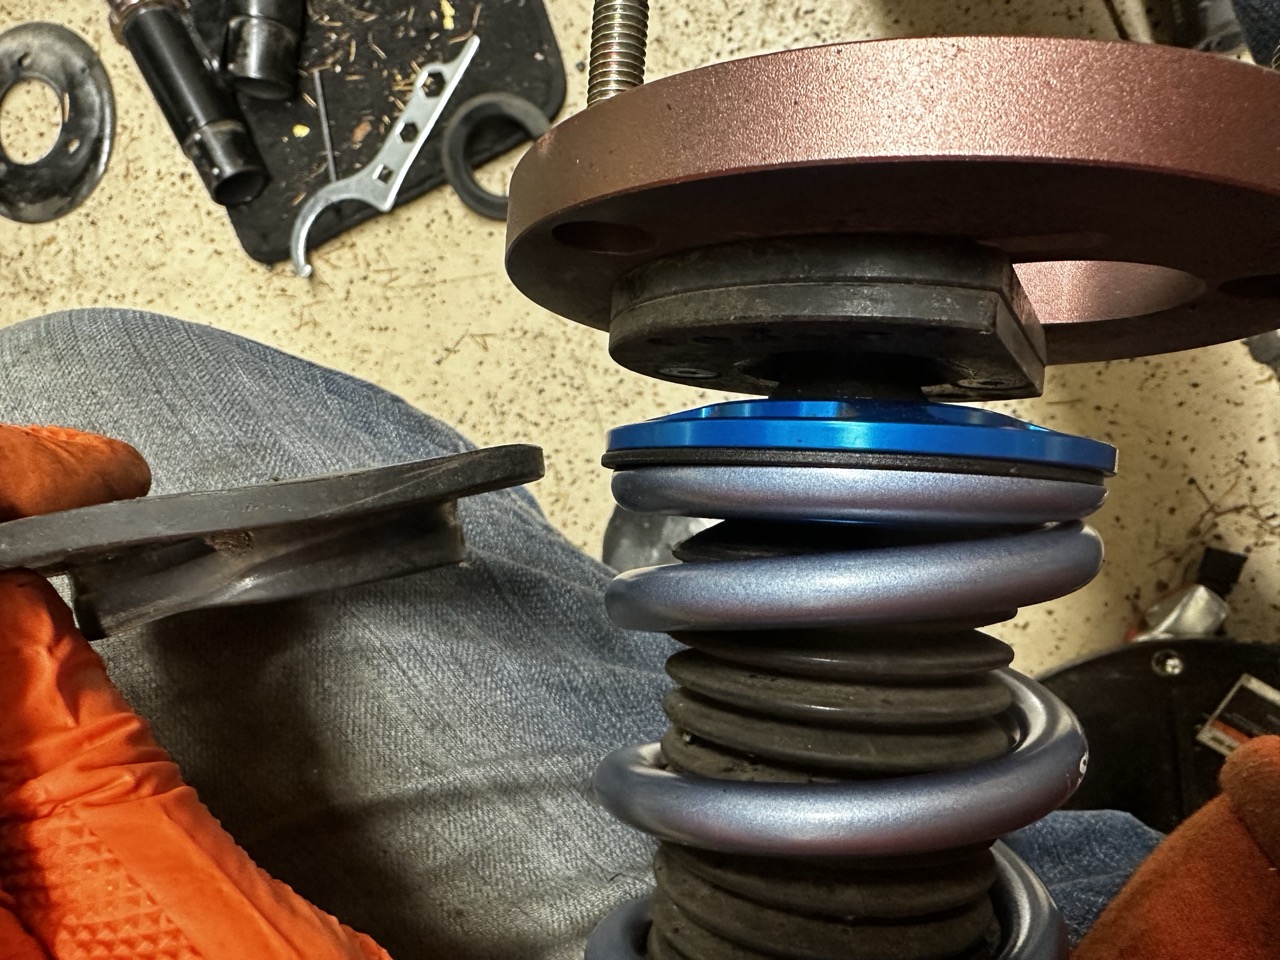
To fix all this I bought a 7kg 6" Swift spring. This moved the spring perch up which gave more room for the wheel, I swapped from a 12mm spacer to a 5mm spacer and changed the front camber from 2.5 degrees to 2 degrees. Pictures of that process below... but the tl;dr; wow what a change! It's so much better. Closer to that "flat ride" all the cool kids have been talking about. Finally, I'm able to turn the front damper up a few clicks and it's just dialed now. It's softer, yet stiffer and more controlled at the same time. Not bouncy. No rubbing and doesn't bottom out on large bumps. It's great.
Pictures incoming...
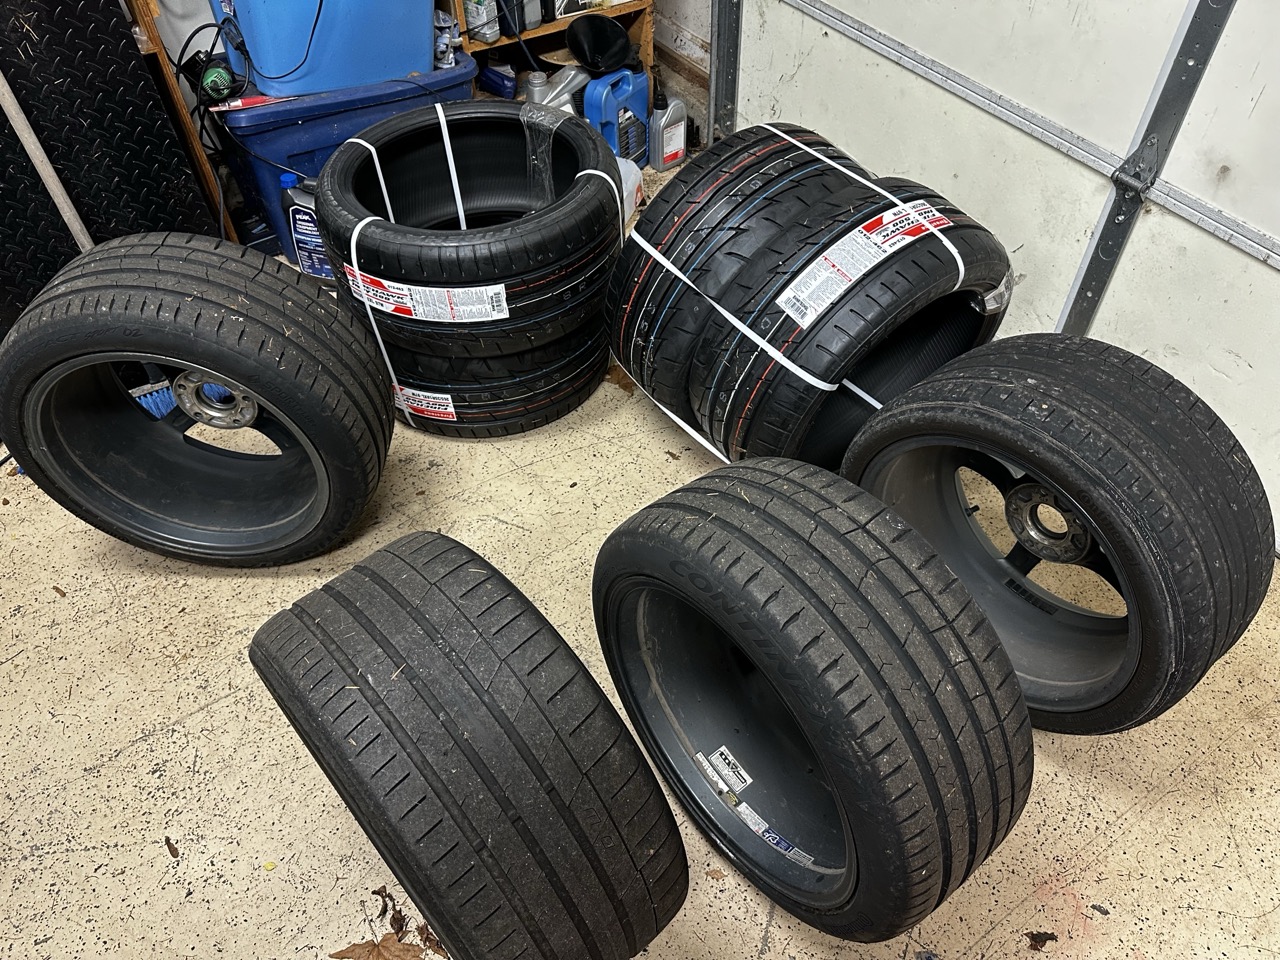
Rear wheels..oops
Got a crazy deal on Firestone Indy 500s that I couldn't pass up
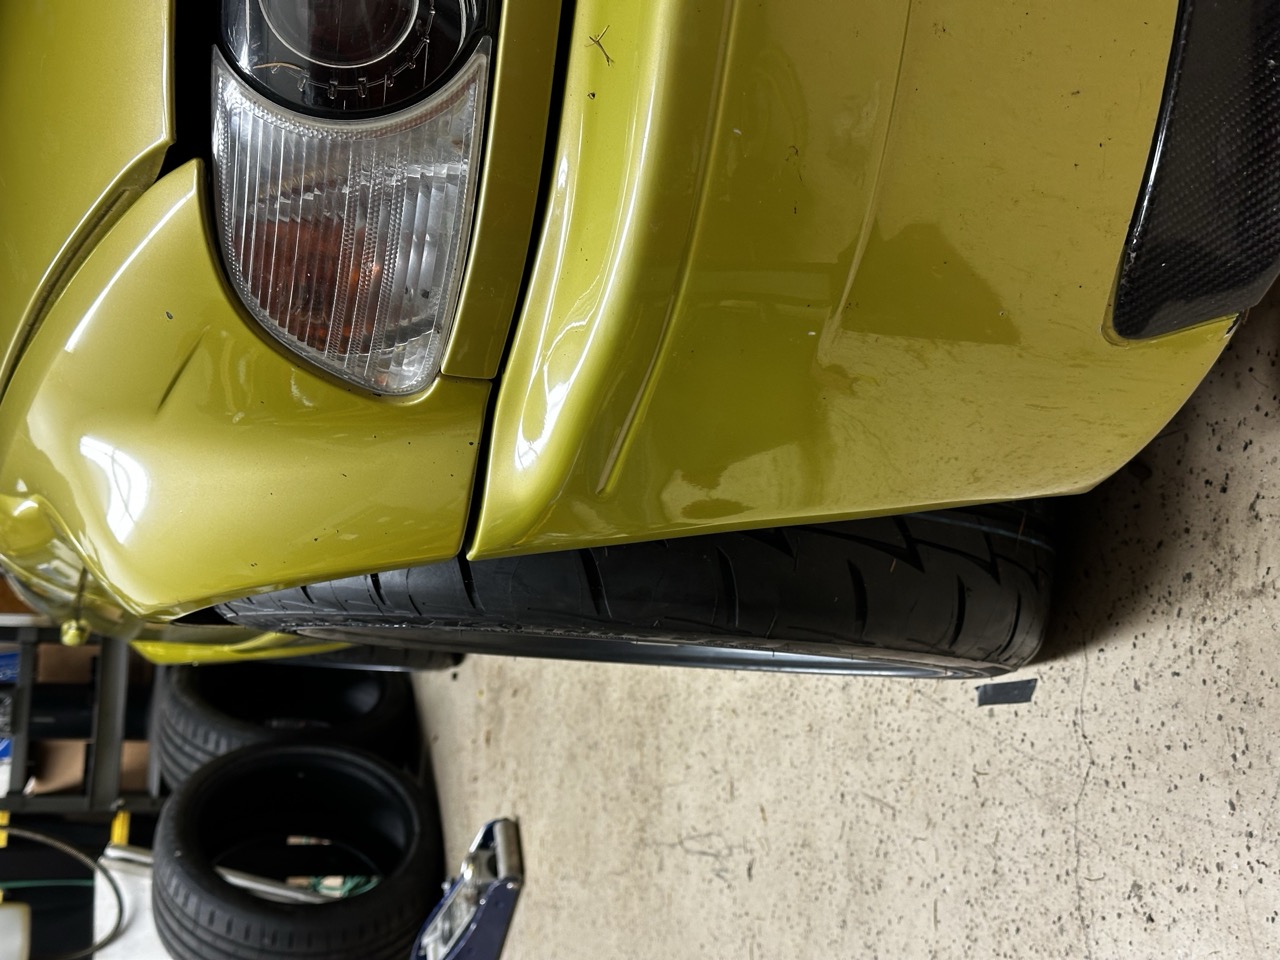
Old ride height and camber
Little dirty...
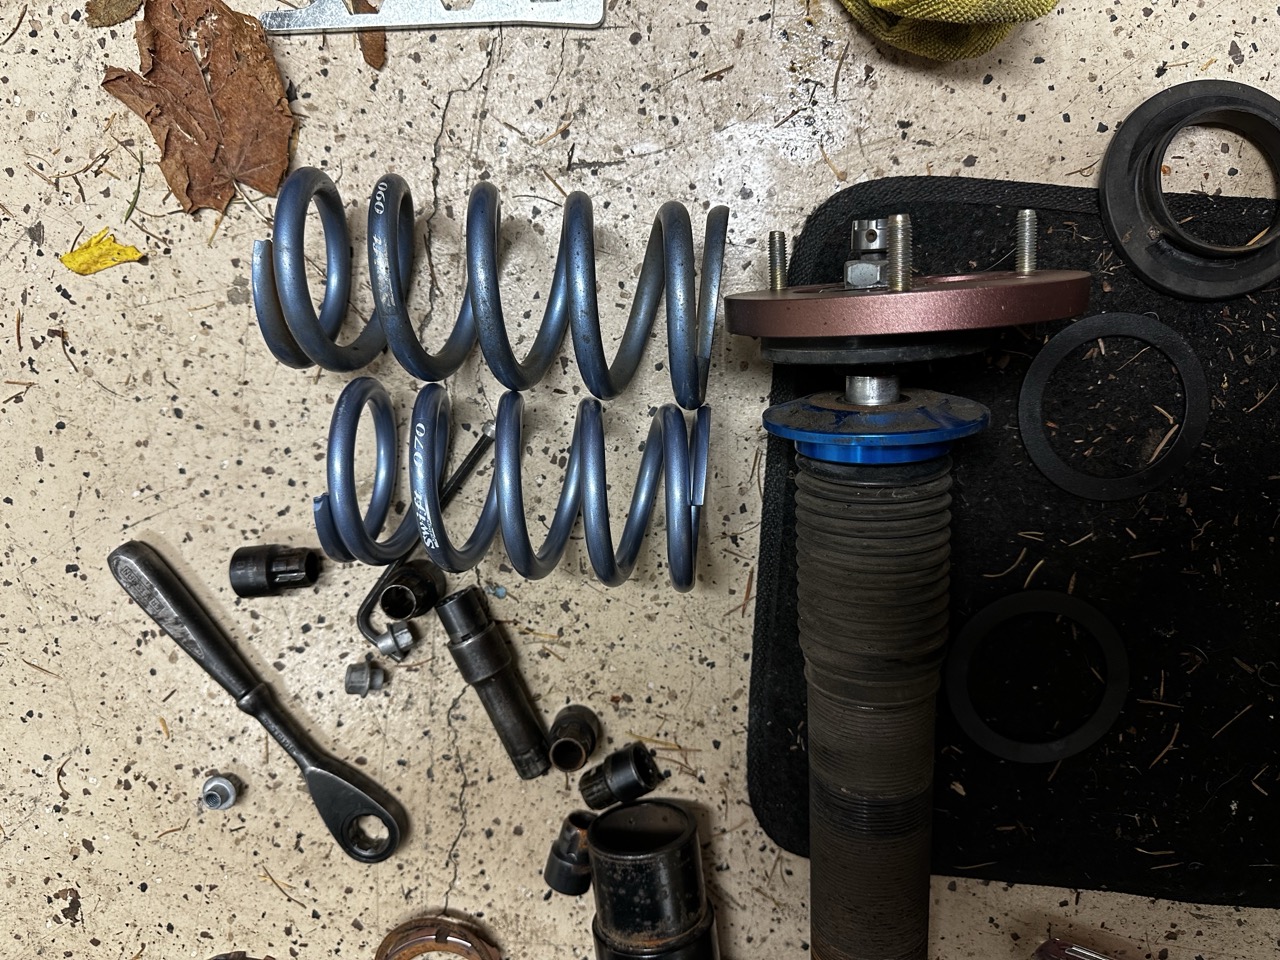
New spring on the left, old on the right
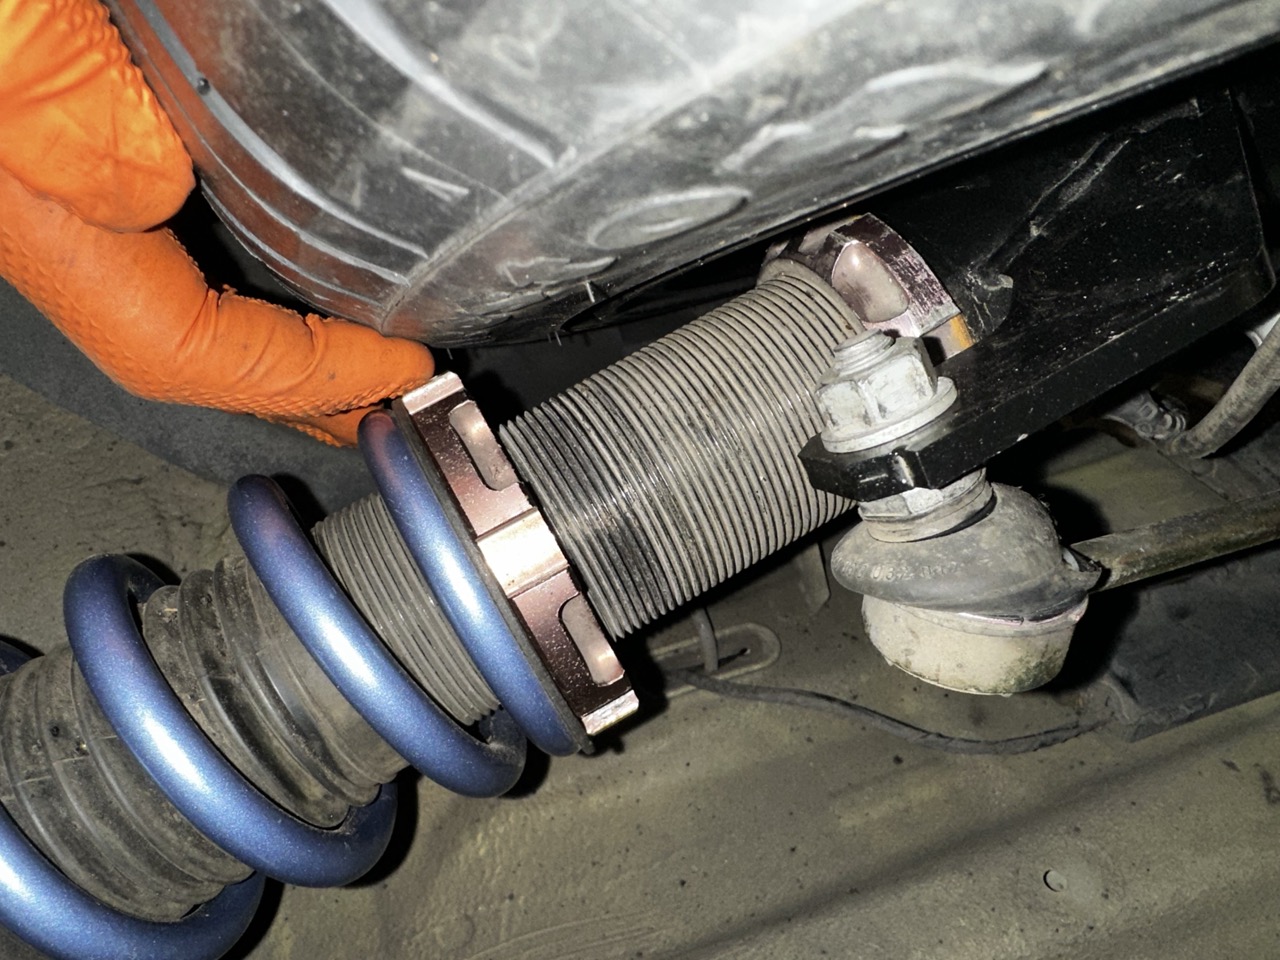
All back together
I removed the Energy suspension bushing I had in there and swapped it back to the stock FA bushing. I had originally had that in there to help with the NVH, but that turned out to be my old swaybar end links.
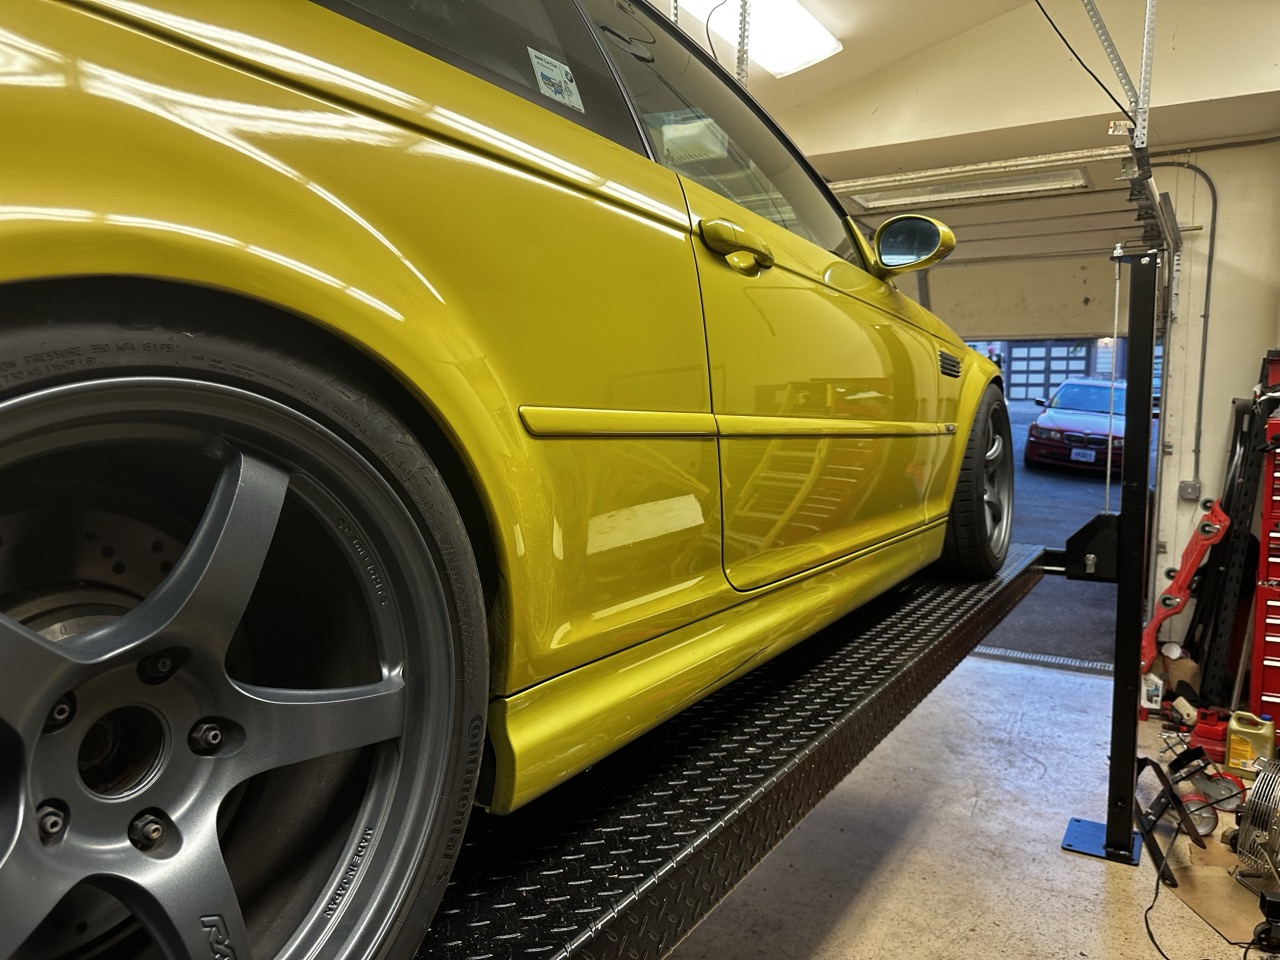
Still tight, but the tire just fits perfectly between the lower spring perch and LCA mount
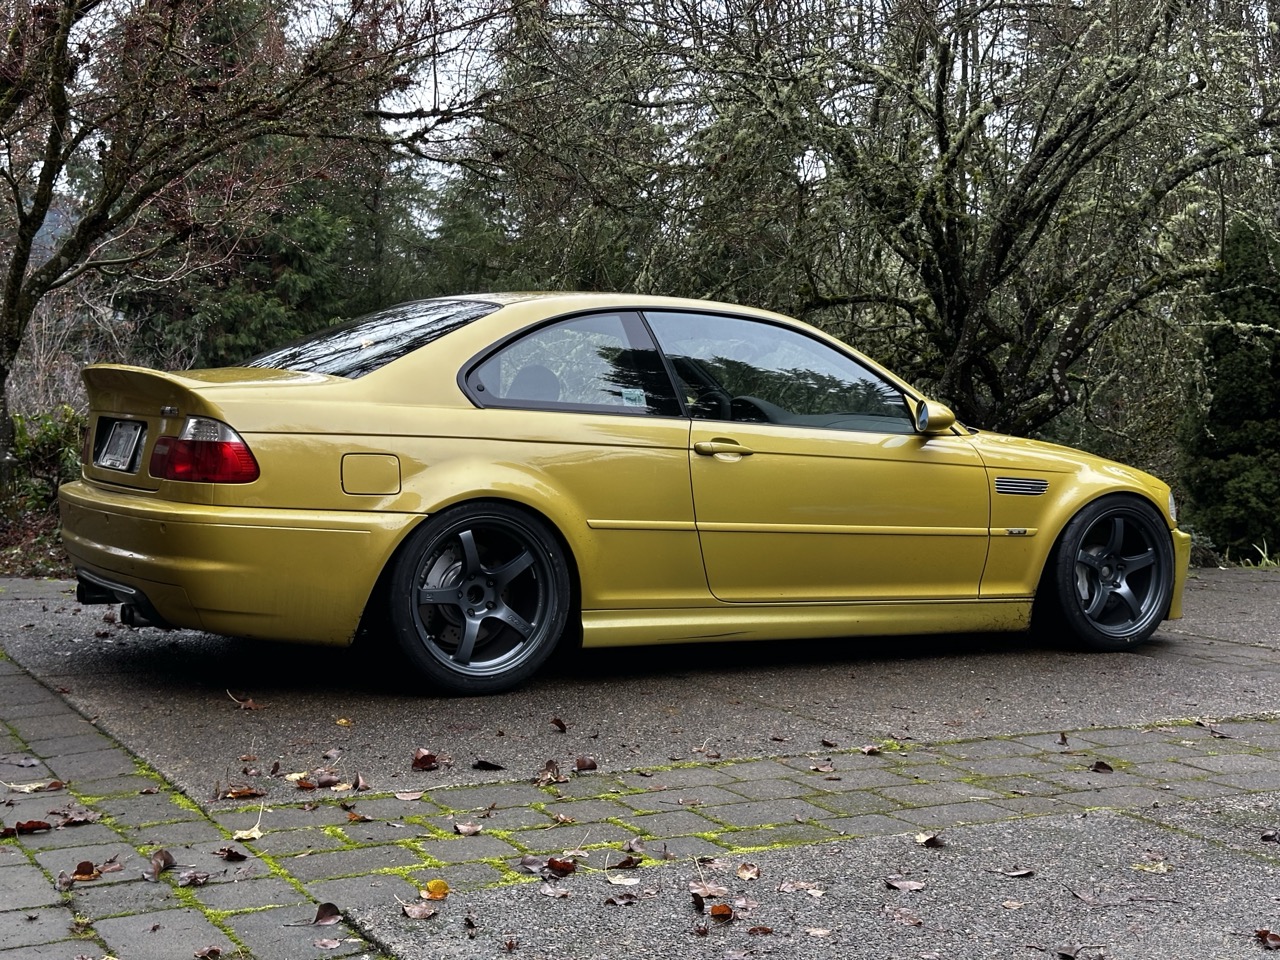
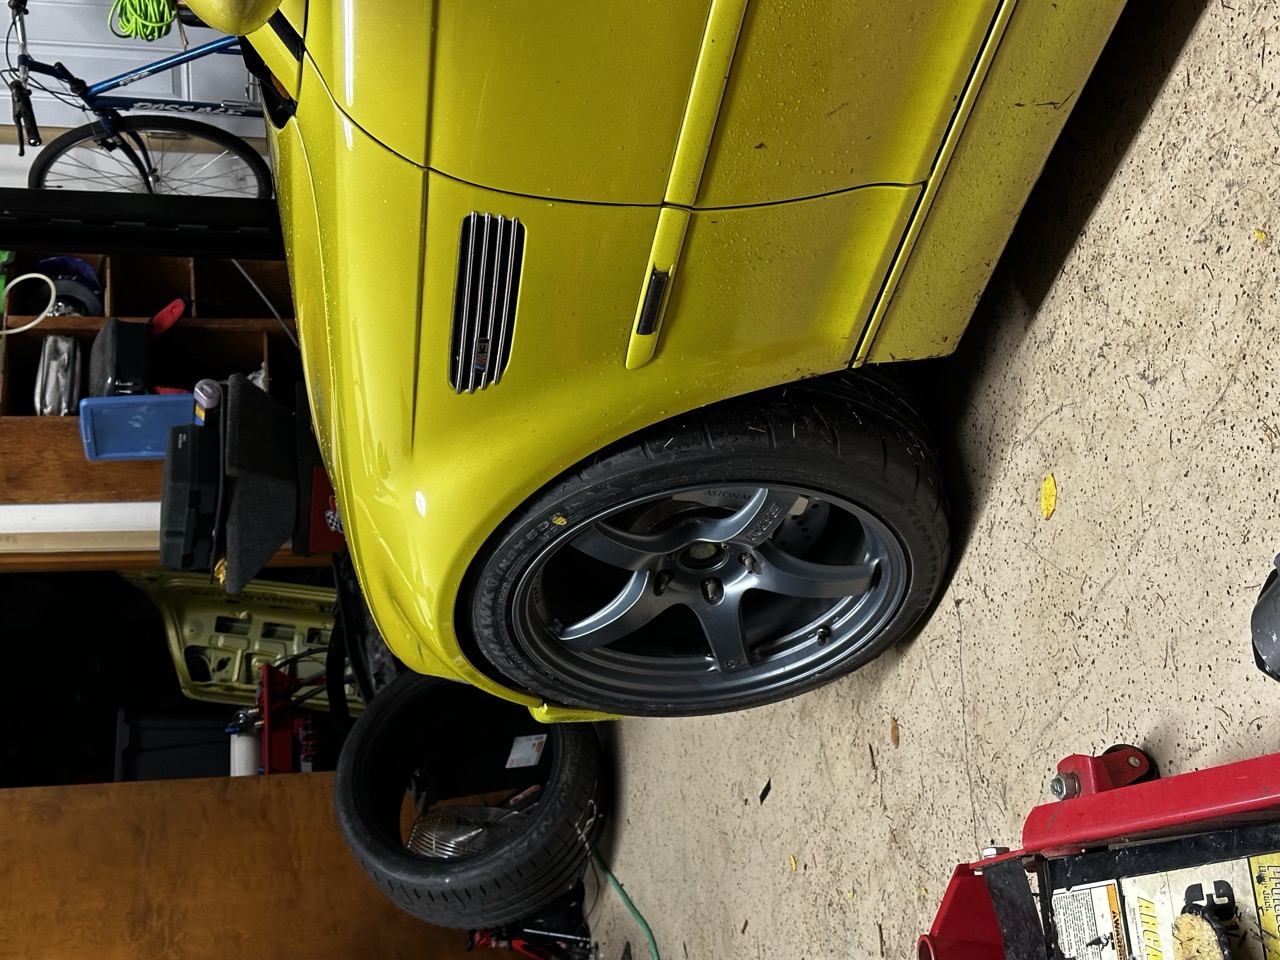
Car all back together! Slightly lower, less camber. Zero rubbing!
I don't have much comment about the tires yet. They're probably not as good as my old Continental Extremecontact 02s but for my tooling around it should be fine. I had two brand new 02s on the front which I saved and will use them on the rear of the 330i.
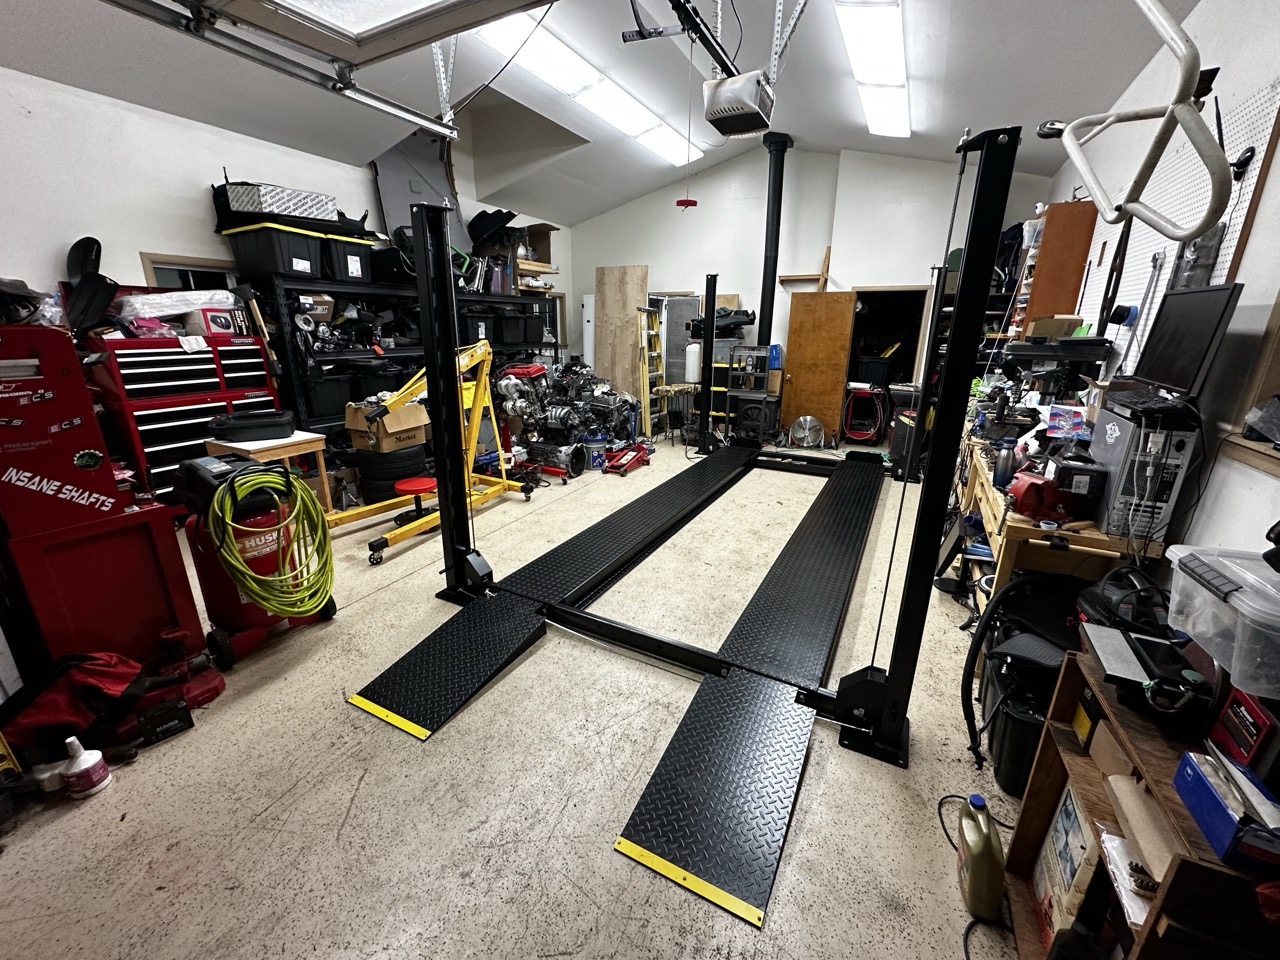
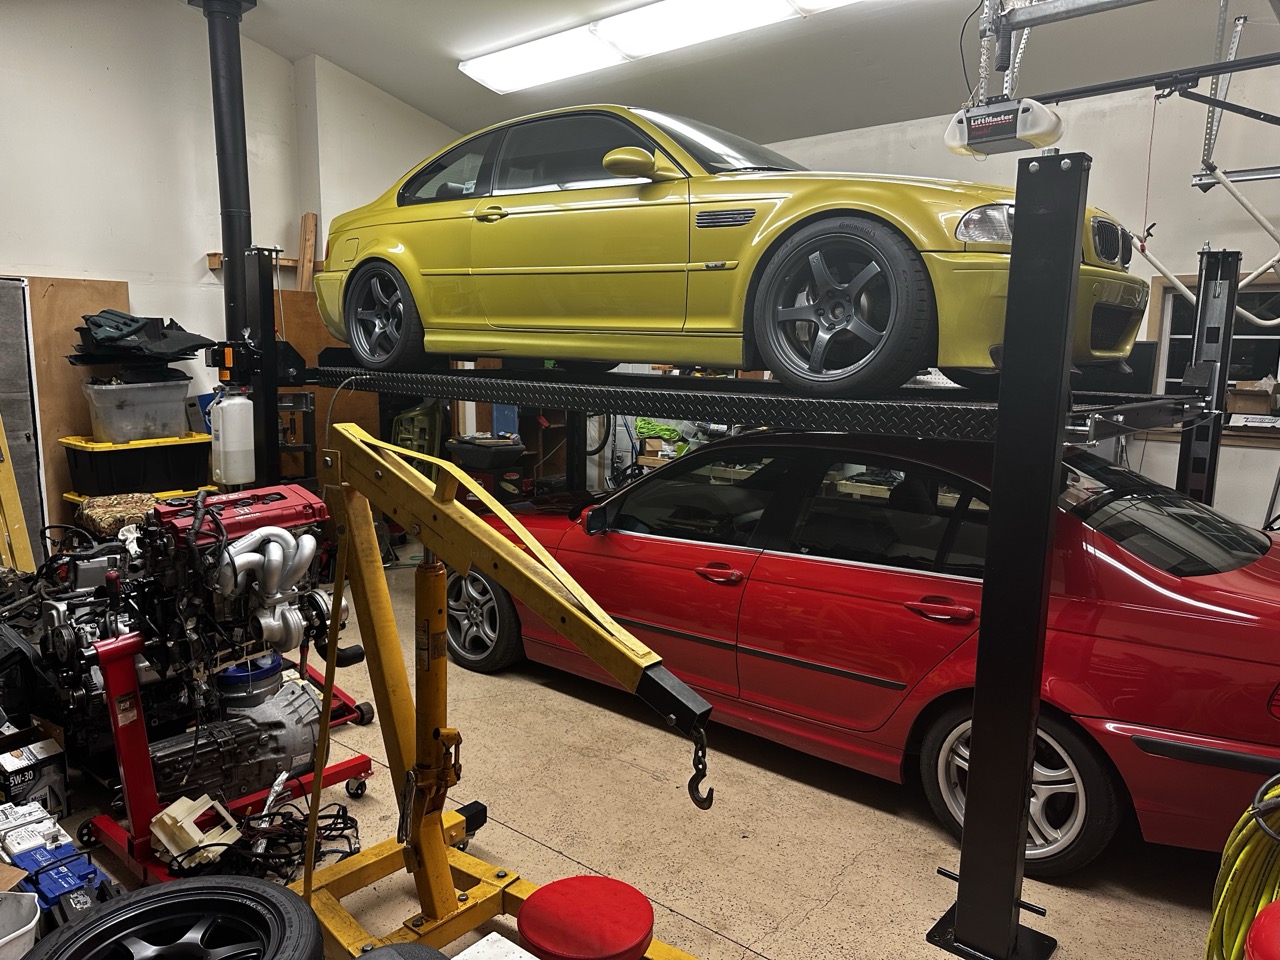
The other big change is I finally installed a lift in my workshop!
I thought about getting a 4-post, but I wanted to use it as car storage at the same time so this worked out better for me. My 330 fits nicely under the PY.
Hi liam821 I've been following your build thread for quite some time and it was actually linked from your ITB trumpet thread.
Your build has inspired me to do the same.
I was able to download the file for the trumpet clamps.. do you happen to also have the file for the catch can or would you be willing to share it?
Thanks!
Eugene
I ended up not using the catch can, it needed a bunch more modification to fit correctly. I now just use an off the shelf metal catch can, and changed the routing of some of the PVC lines. I go from the crank case and fuel breather into a catch can, the output of the catch can goes into a T, with one end of that to a filter and the other goes into the ICV (idle control valve). This method sucks in all the PCV oily air right back into the engine so I don't smell it and still allows the ICV to suck more air if needed.
With all that said, you're welcome to have the STL catch-can file and modify it, but now it needs a bit more work. PM me if you still want it.
Hi liam821 I've been following your build thread for quite some time and it was actually linked from your ITB trumpet thread.
Your build has inspired me to do the same.
I was able to download the file for the trumpet clamps.. do you happen to also have the file for the catch can or would you be willing to share it?
You're welcome. Just in case you don't know, VBT (vagbremtechnic.com) does NOT ship to the US anymore and I'm not sure if you can buy those adapters anywhere else in the US - at least not that I know of. BuildJournal has another option that is very similar here: https://thebuildjournal.com/shop/bmw...it-kit-e46-m3/ although they're out of stock a lot of the time.
Thanks for the update bud. I am In Bahrain so thats ok.
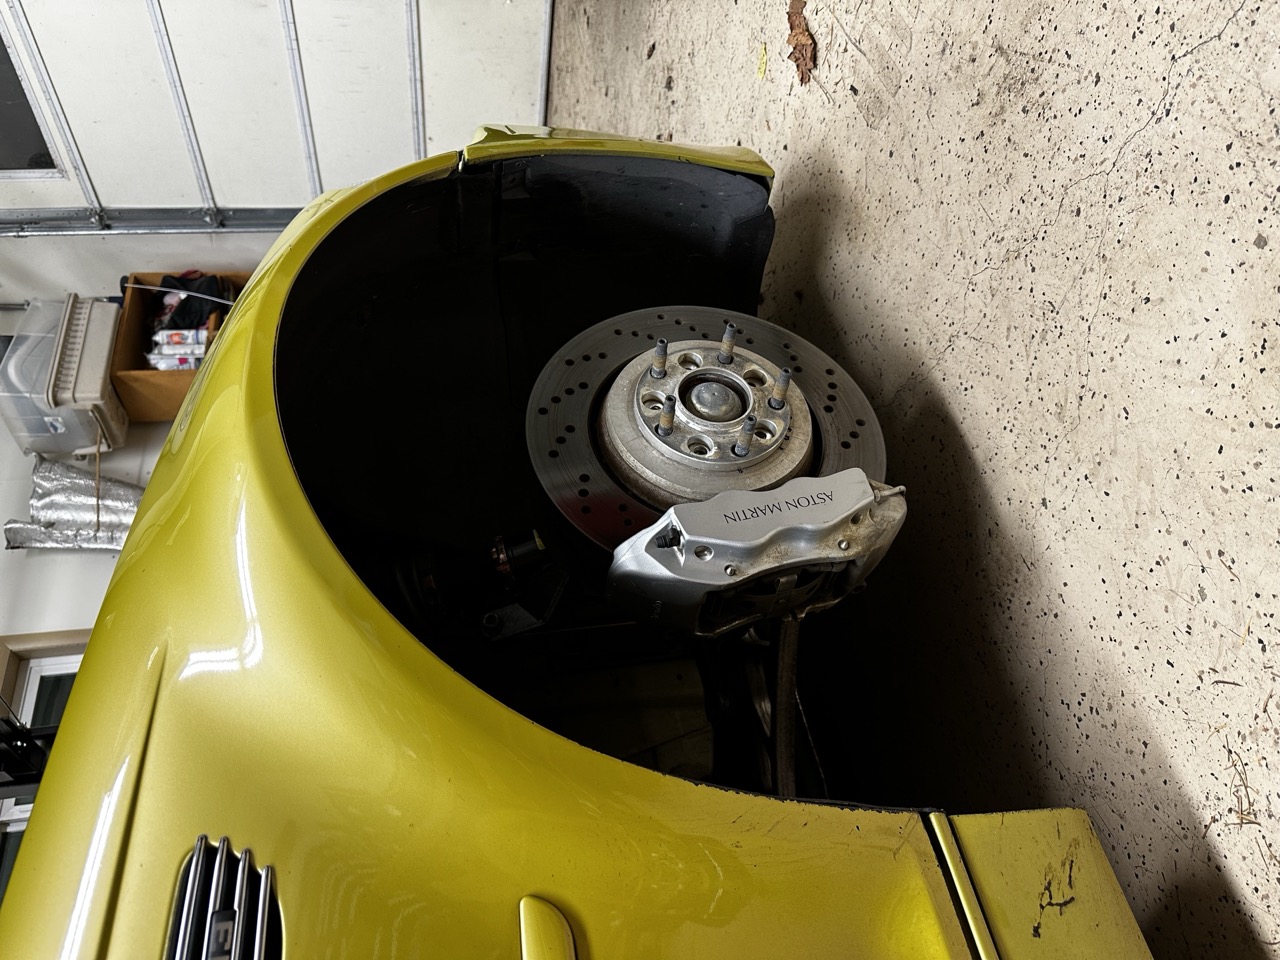
Thats awesome! Thanks for posting this info, in the future i plan to get an M3 vert for the Misses so this brake upgrade will be great!
You're welcome. Just in case you don't know, VBT (vagbremtechnic.com) does NOT ship to the US anymore and I'm not sure if you can buy those adapters anywhere else in the US - at least not that I know of. BuildJournal has another option that is very similar here: https://thebuildjournal.com/shop/bmw...it-kit-e46-m3/ although they're out of stock a lot of the time.
They are brand new. I bought them from Scuderia Car Parts USA which is a US importer of Aston, Ferrari, Lamborghini, etc parts. You can get them, brand new, in yellow, red, black, grey, and silver. Mine are silver. They are direct from Aston and include the two brake pad pinch hardware and spring plate.
Make sure to select a right and left caliper. I paid $394/each plus shipping and duties. Came out to about $975. I was going to get them used, but after shipping, I was looking at $600-800 and then would most likely have to replace all the seals and have them repainted. So it was a wash. I'm not sure keen on the Aston Martin logo...I wanted them to say Brembo, but I'll deal with that at a later date. The calipers are also used on the V8 Vantage as well as the DB9, also the Audi TTRS 8J model or RS3 8P model (but you will have to flip the calipers since they are reversed from Audi).
You can also buy them from Vagbremtechnic (the place you buy the brackets from) and they come out to about the same price, although shipping might be a bit more. But they'll do custom colors and logos if you want.
For the money, I think this kit is hard to beat. With new CSL/ZCP rotors & pads (from FCP with a lifetime warranty), you're looking at under $1500 all in. The Aston calipers have the same piston size as the older $4000 Brembo 355mm 4-pot setup for the e46m3 and you don't have to machine the calipers like you do with the Porsche. They also look better, IMHO.
Just found your build thread after seeing your Aston Martin calipers on another thread, this is incredible - I only finished page 1 but will get into the rest later, what a build! Thanks for sharing!
Just finished reading all 8 pages. Hell of a nice build, Liam! Love the interior work!
Phx Yellow is such a good looking color. I hated it when I first saw it. Now I love it. I guess in this regard it's very similar to beer. 🤠
I'm in the middle of a tear down on my car - only thing left is the carpets and dash. How hard was the dash to get out? Seems like once the steering wheel is out of the way, it's pretty straightforward.
Sorry about the slow reply. Honestly getting the dash out is really easy. Everything is very straightforward and there is only a handful of screws. Looks like you got your answers on the carpet - it comes out easy except for you need to cut out around the hvac system or remove it which sucks since you need to drain the a/c and disconnect the heater coolant lines.
Just finished reading all 8 pages. Hell of a nice build, Liam! Love the interior work!
Phx Yellow is such a good looking color. I hated it when I first saw it. Now I love it. I guess in this regard it's very similar to beer. 🤠
I'm in the middle of a tear down on my car - only thing left is the carpets and dash. How hard was the dash to get out? Seems like once the steering wheel is out of the way, it's pretty straightforward.
 Thanks for letting me know.
Leave a comment: