
Cheers for the comments guys, some more updates coming along within the next few weeks!!
-
-
Great job you're making here Craig, have you a target weight in mind?
can't wait to see it all finished Craig:beer:Originally posted by sailorbaz View PostComment
-
Excellent dedication to the cause
Comment
-
Looking good Craig,get some updated pics up. :thumbs:
Comment
-
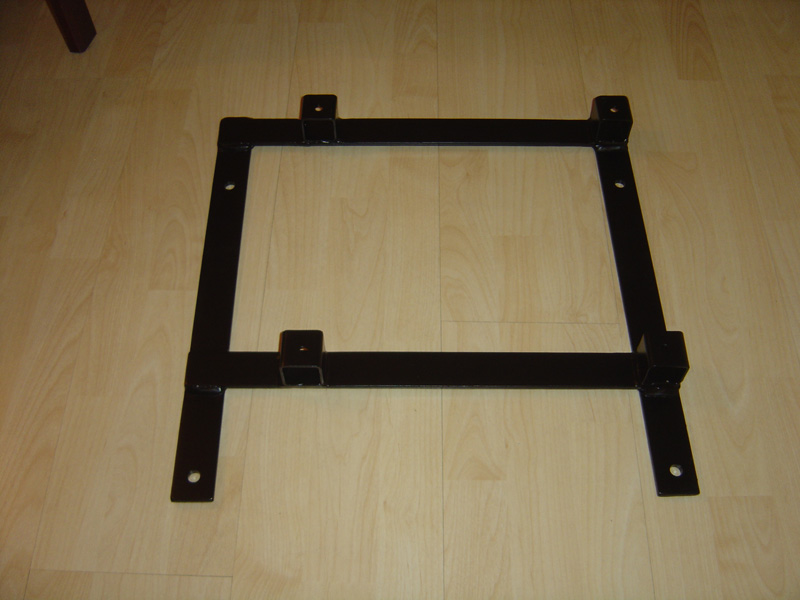
Got my seat frames back fresh from the powder coaters the other day, so wasted no time in getting the seats in the car. I have modified the frames slightly so instead of using 10mm steel packers to get the correct height, it now sites on 40mm box section which reduced the weight a fair bit as well as making the seats easier to fit.
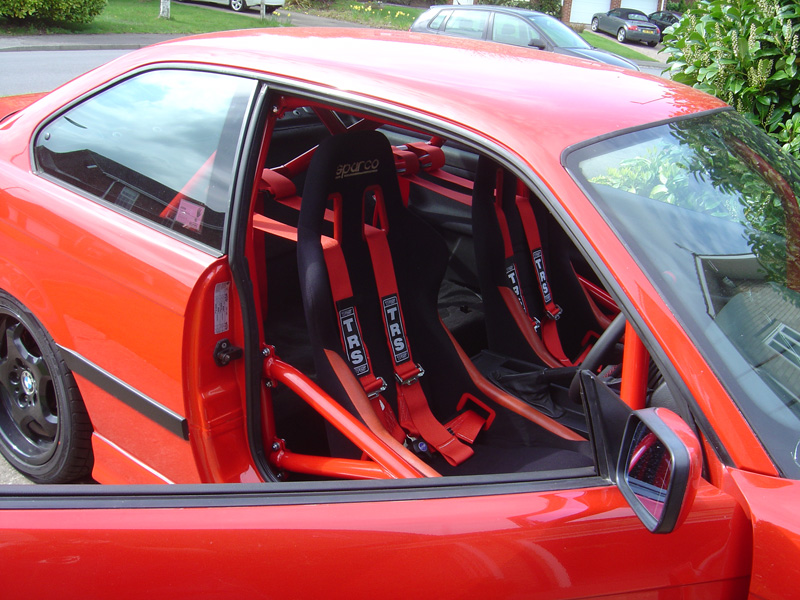
Here’s some pictures of the interior, it’s now 99% complete the only jobs left to carry out are;
- Fit the harness lap strap eye bolts.
- Adjust and correctly wrap the harnesses round the rear cage.
- Fit the ‘piece de resistance’ into the centre of the steering wheel.
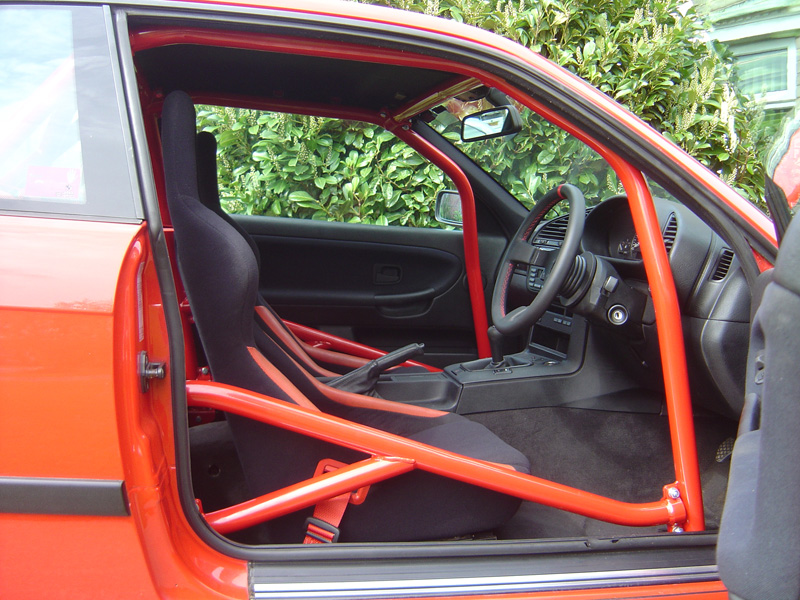

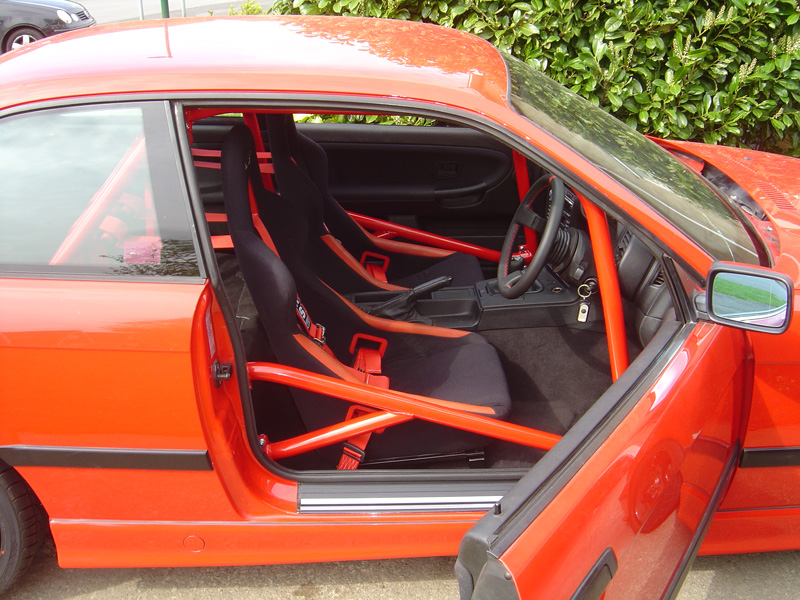
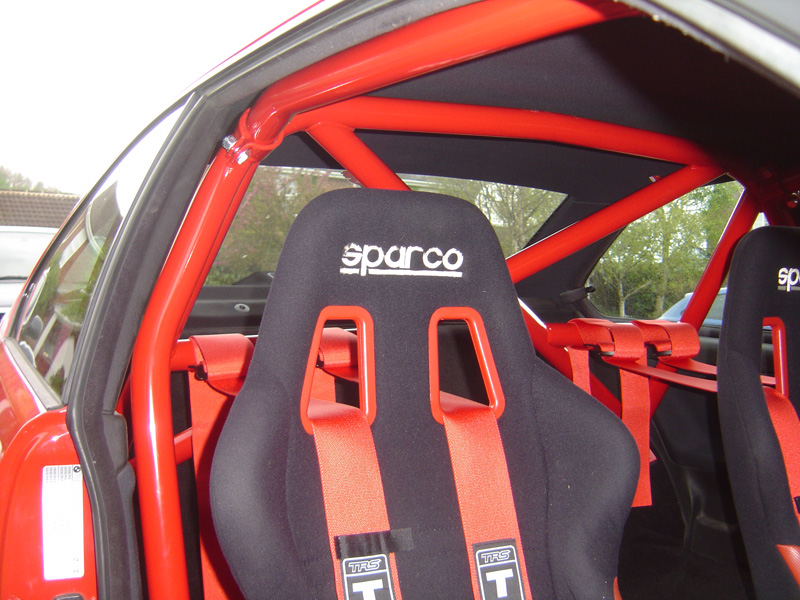
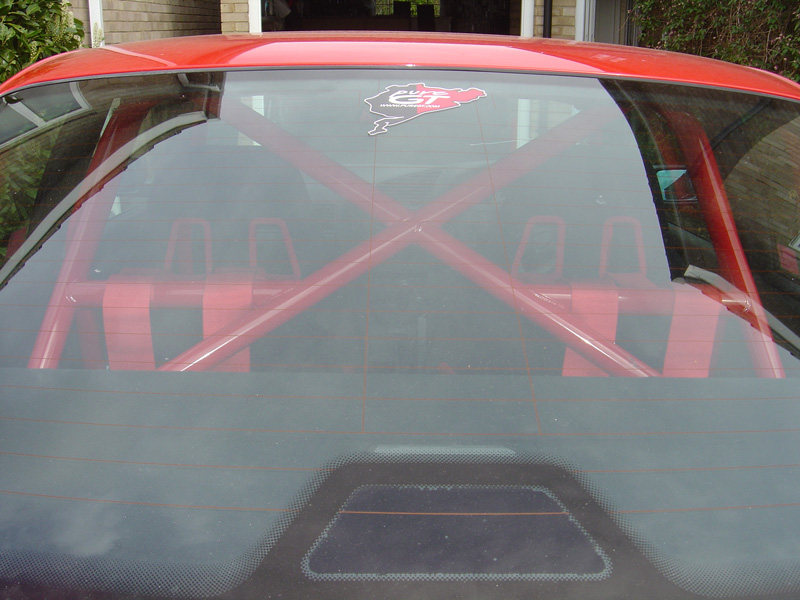
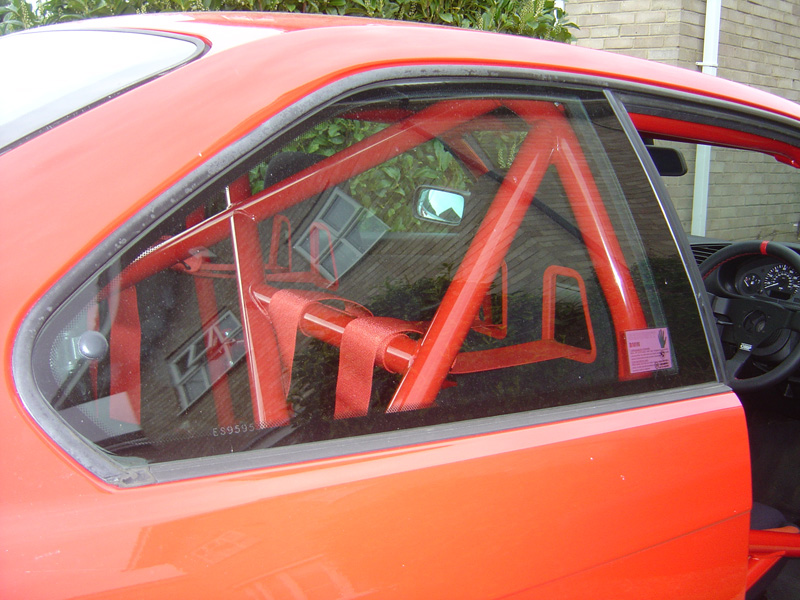
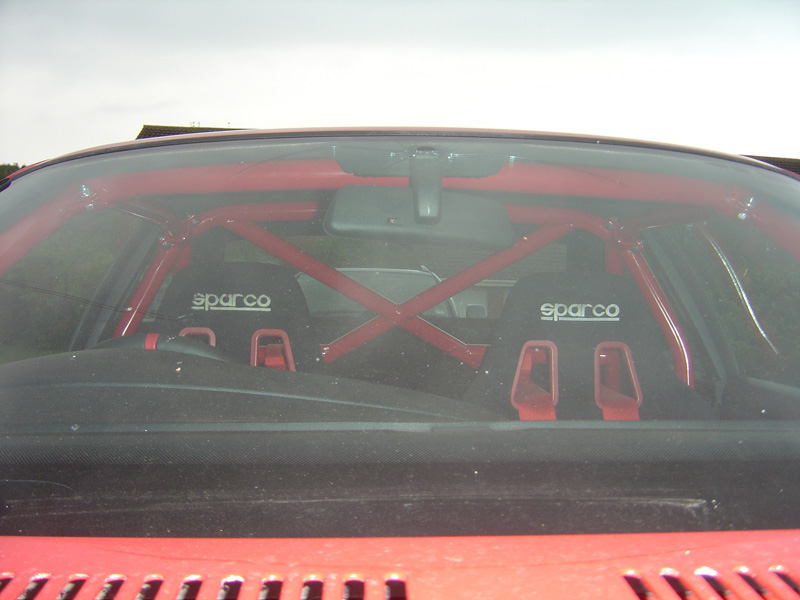
As the boss kit used was for a non-airbag car the slip ring for the horn could not be re-used, so instead I’ve mounted a neat horn button on the side of the steering wheel cowling. For the MOT I’ll obviously label it up, however once through the label will be removed as I like the subtle ‘OEM’ look.
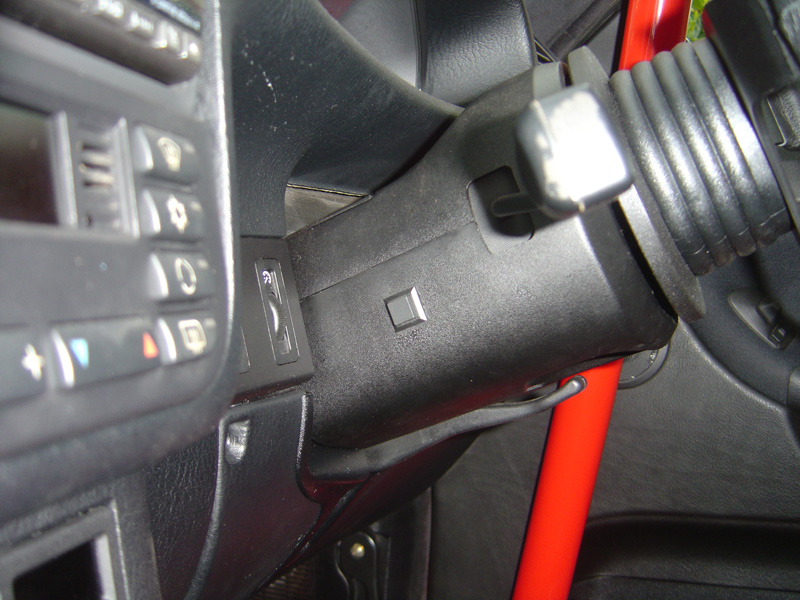
Next up, the car’s going for paint where there will be a mild cosmetic overhaul complete with a bit of overall body protection and of course replacing the nasty corroded front drivers’ side wing. Hoping to have another update within a week or two, then after that it’ll be back onto the final mechanical work before the car is complete.Comment
-
looking good,great job craig.:thumbs::thumbs:Comment
-
Good work Craig, I'm loving this write up.
But you say 'car is complete'... will it ever be complete? :hahaha: I don't mean that in a nasty way but if you're anything like me, you'll find something else to change, adjust, modify in one way or another. :supz:Comment
-
Nope, cause once that stage is complete i'll want to fit the 4.0 V8 and the GTR wider arches!!Comment
-
I think it's a little past the stage of being able to look 'OEM' fella... :hahaha:Originally posted by Craig View Post
Some great work you have done there. My OCD would make me want to paint the obviously 'silver' nuts and bolts that fix the red cage; or replace them with red anodised ones
Comment
-
Great work Craig
:smokin:Comment
-
looking good :smokin:Comment
-
Is red your favourite colour???:whistle:
seriously tho it looks great, I love the red stitching on the wheel too:smokin:Comment
-
Funnily enough, no word of a lie, I hate red... yet the Ducati is red too!!!
My only concern with the interior is the 'chav' seats, its crying out for a nice set of Recaro Pole Positions but I'm also at the point where I look and think how much exactly do you spend on a 328i before you draw the line.Comment
-
Well the tin worm finally chomped though enough of my drivers’ front wing that I decided to bite the bullet and get the car painted. Below is attached a picture of the front wing, it’s amazing how corroded it is compared to the rest of the shell is near on perfect.
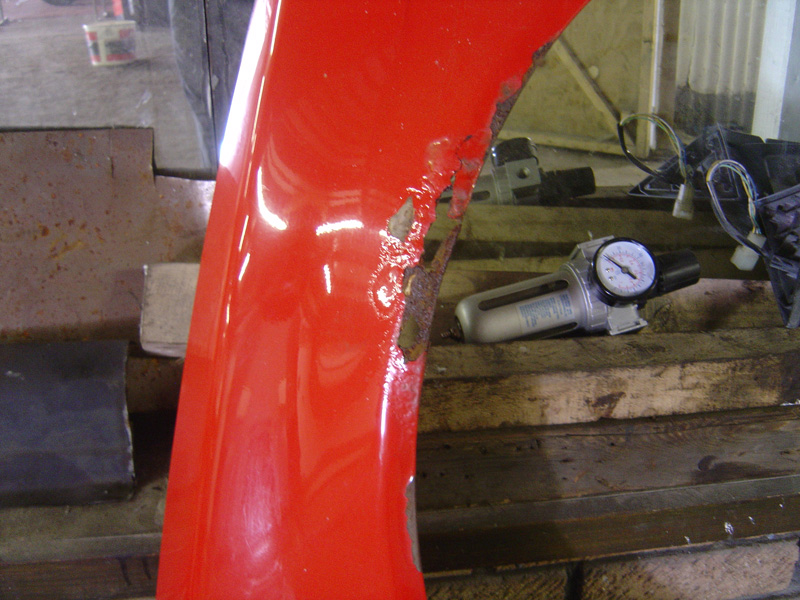
I figured if you’re going to do a job, you might as well do it right so I decided that I’d get all the other body imperfections sorted at the same time. The list of work whilst the car is in the body shop is as follows;
- Replace front drivers’ side wing.
- Paint full front end to eradicate stone chips.
- Paint lower drivers’ side door, two stone chips were slowly bubbling the paint front underneath.
- Remove small dent from underneath the rear light.
- Remove scuff marks from rear bumper.
- Replace plastic wiper panel.
- Replace cracked wind screen.
- Protect rear arches; very small trace of bubbling on the inner arch lip which I may as well nip in the bud now before it spreads.
My only problem was finding a body shop who’d let me strip the car down, and oversee certain aspects of the work. Fortunately a guy who I work with has his own spray shop and came recommended, he was willing to take on the work and let me work alongside him too!
Here’s some pictures of the work so far;
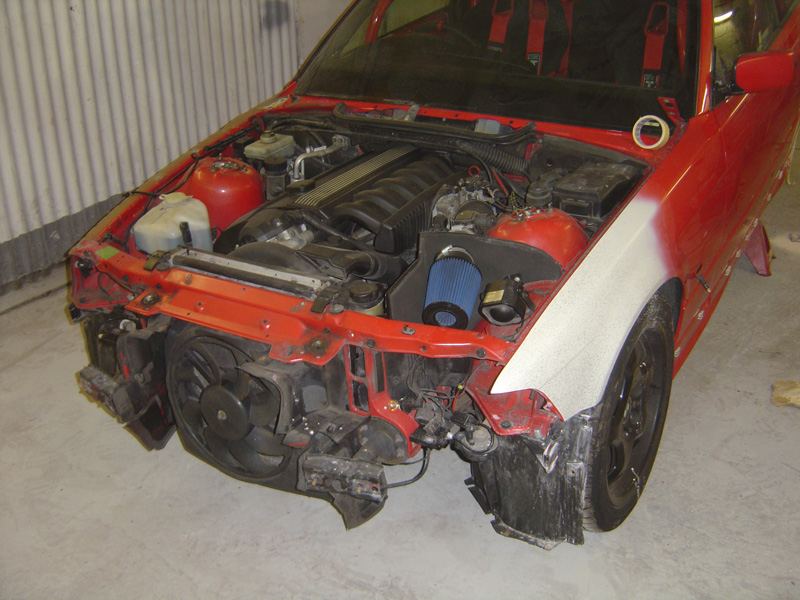
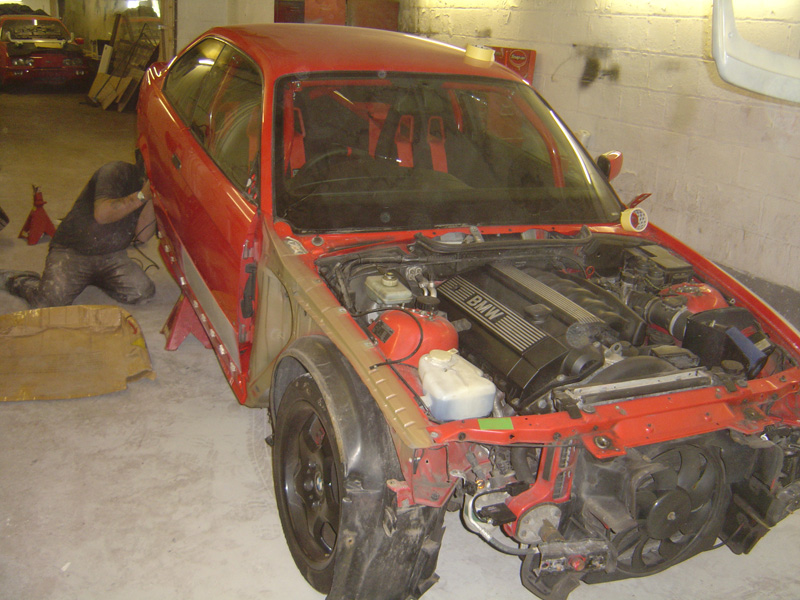
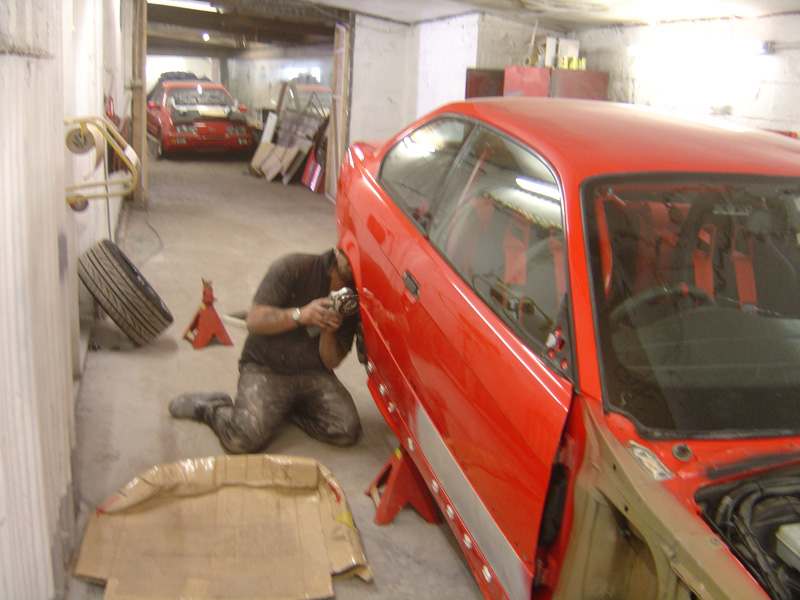
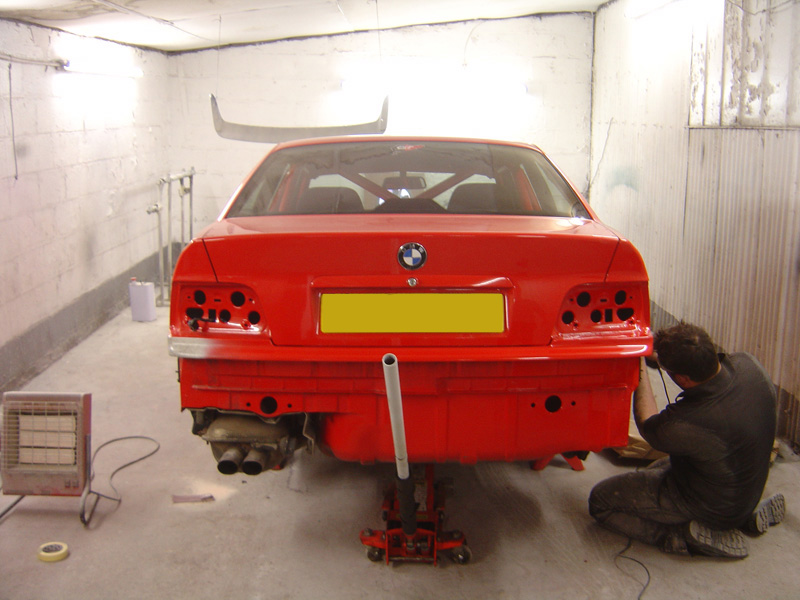
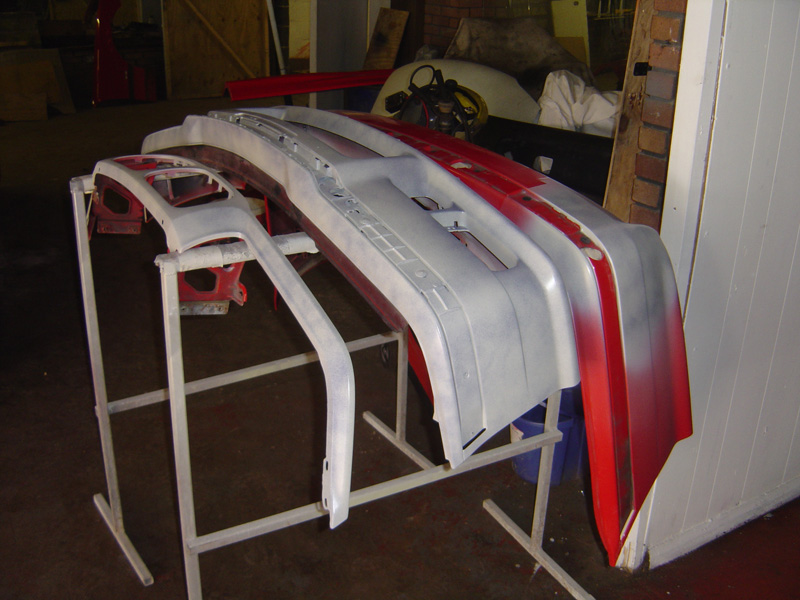
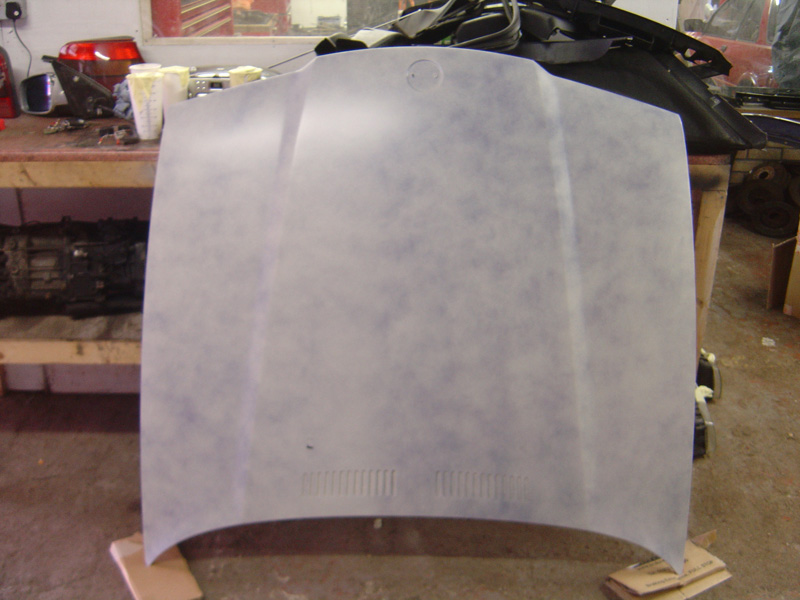
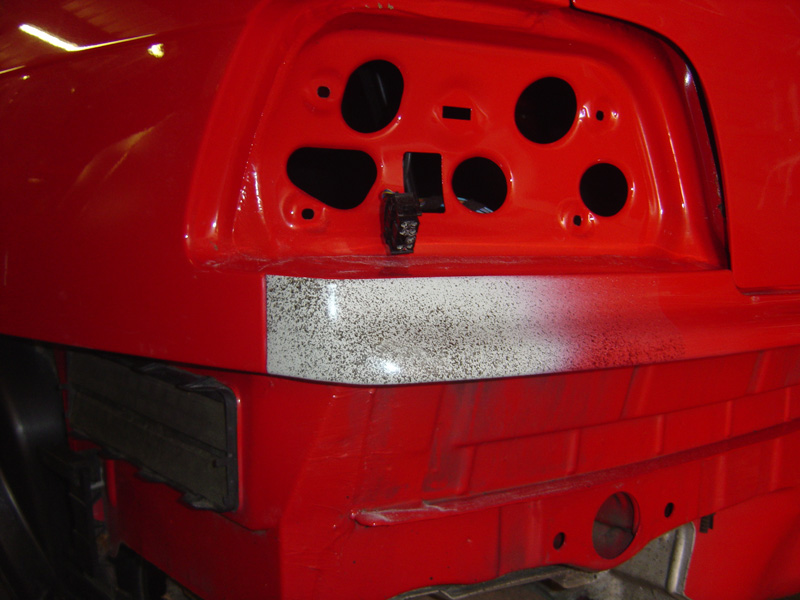
Even Chris, the painter was surprised how strong the shell is; there are no signs of corrosion on the floor pan or behind the wings, even behind the rear bumper and lights was spotless! When we attacked the arches there was barely any corrosion, just light surface corrosion which had started to bubble the paint.
Hopefully will have more of a progress update in a week or two’s time.Comment
-
Another top update mate, good stuff. Coming along nicely. Keep up with the updates.Comment

Comment