
Well I guess it’s time for another update;
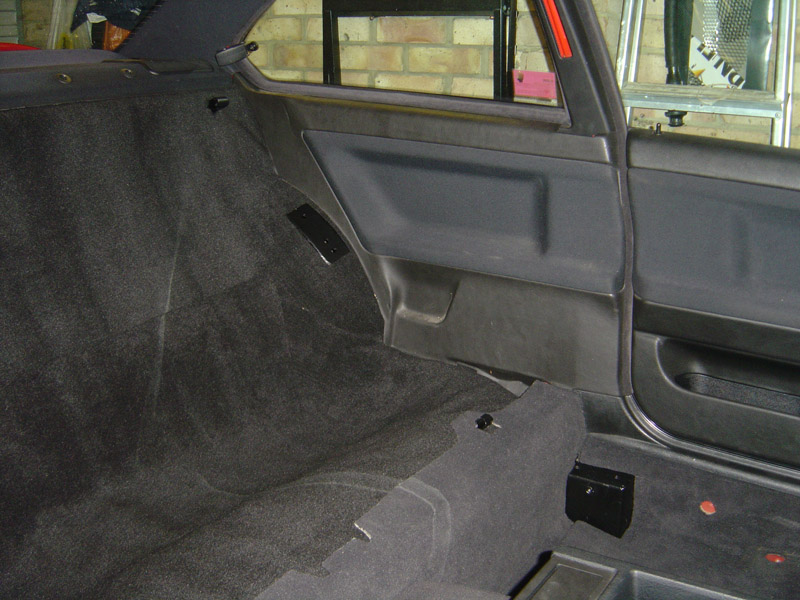
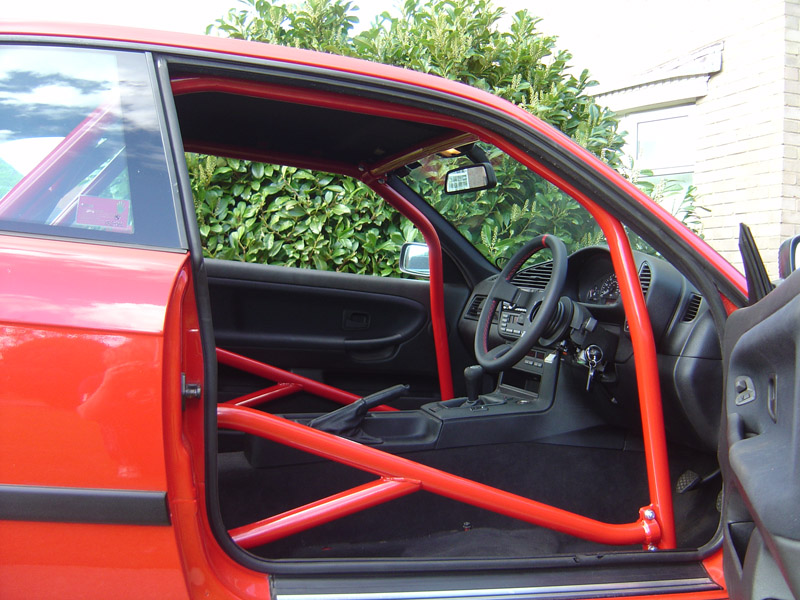
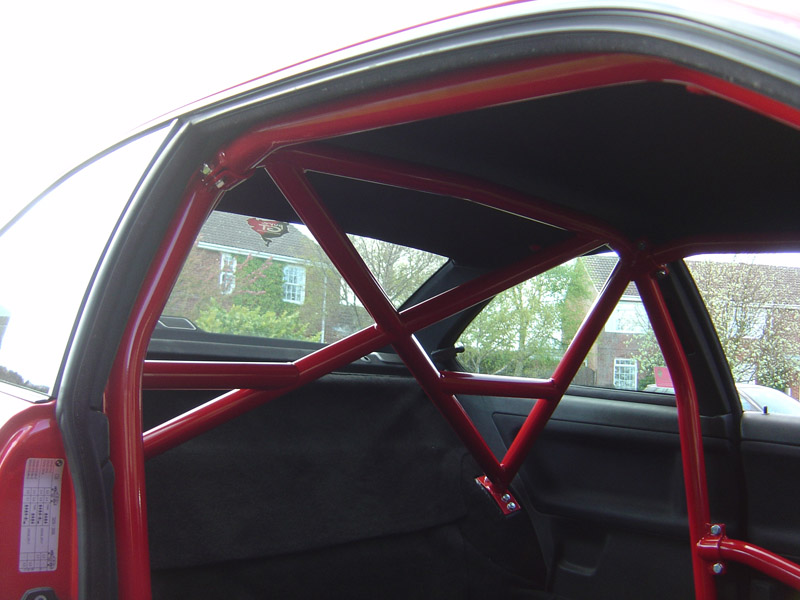
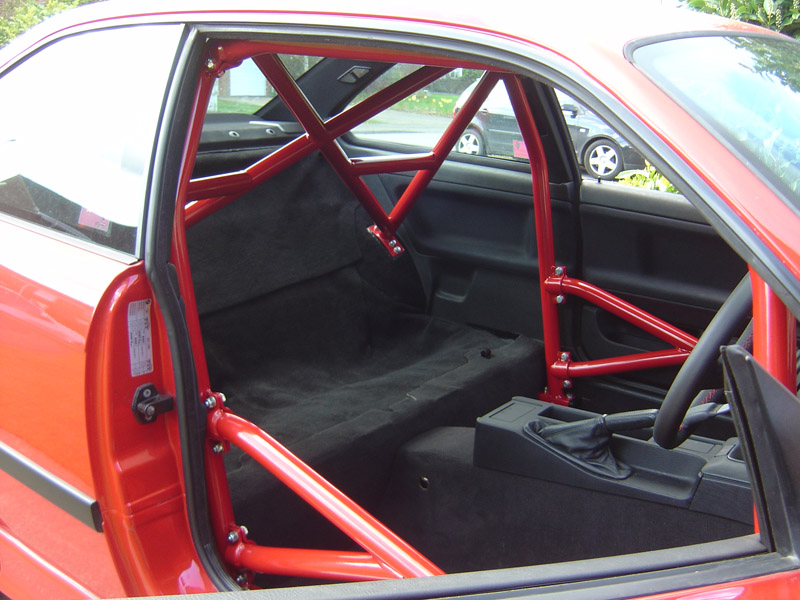
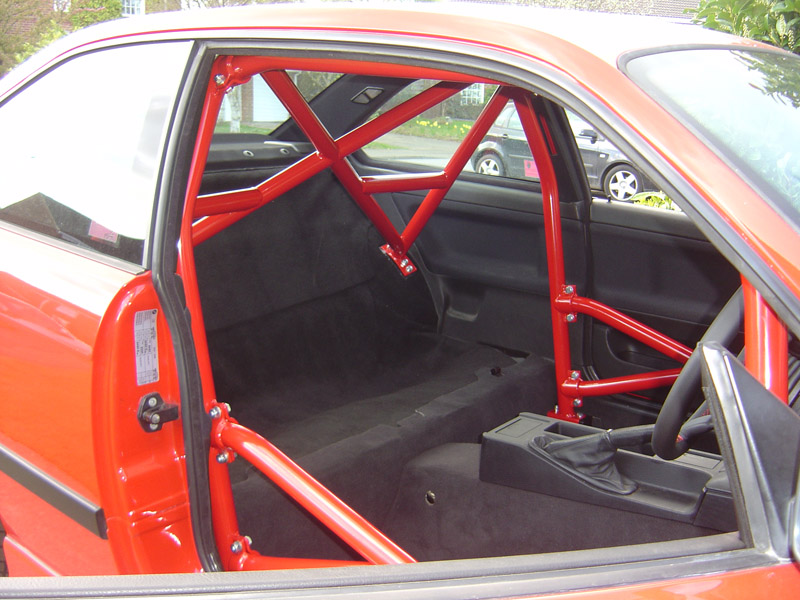
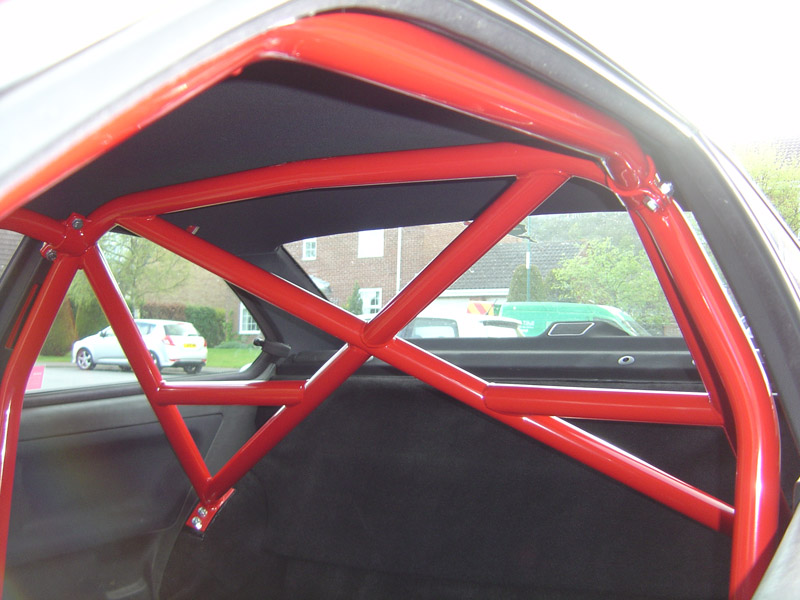
Got bored the other week, decided to go into the garage for a play... I’ve always hated the faded purple rear parcel shelf so decided I would remove it to re-black it, easier said than done with fixed bucket seats and harnesses as the only way to get in was to remove these first. Anyway, got the cabin clear and made my way into the back all that was needed to do was pop the lights out the C-Pillar, remove the covers from either side then the parcel shelf simply lifted (well, more jiggled) out.
It was at this point I noticed a load of fibre sound deadening as well as the usual stick on tar sound proofing, and decided to remove it whilst I had access to it.
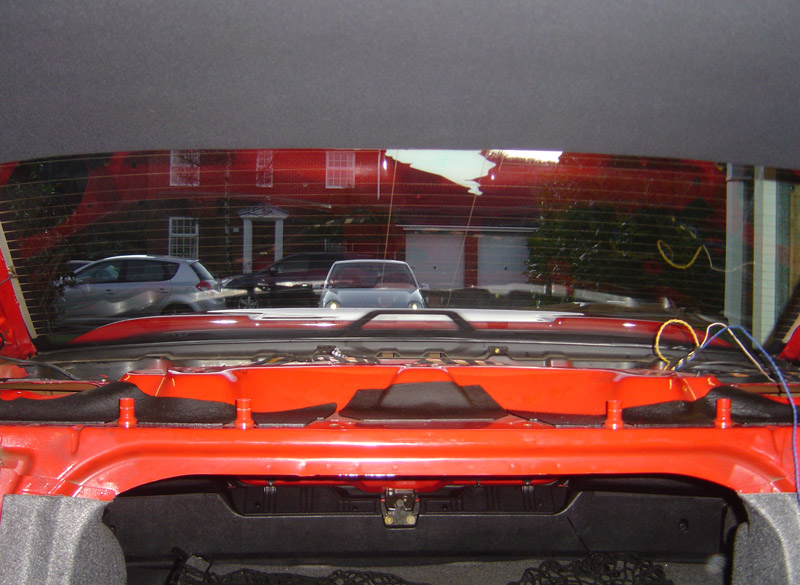
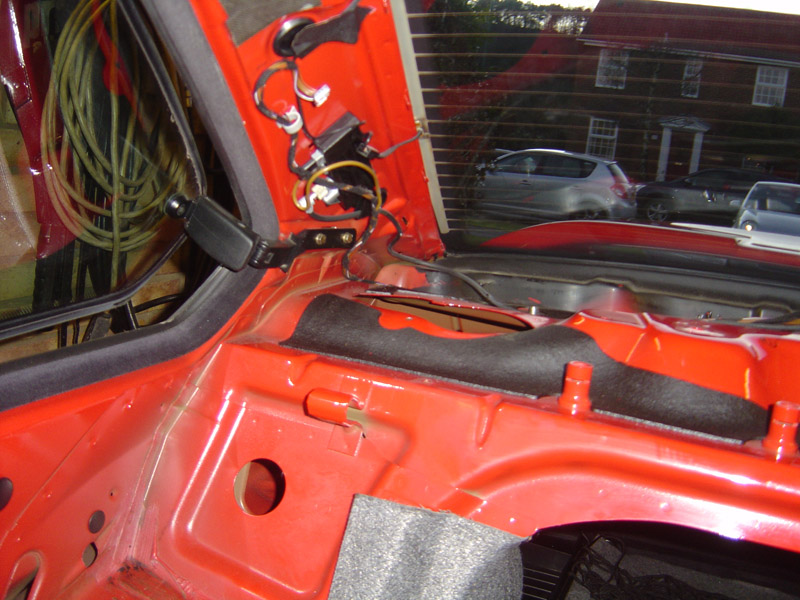
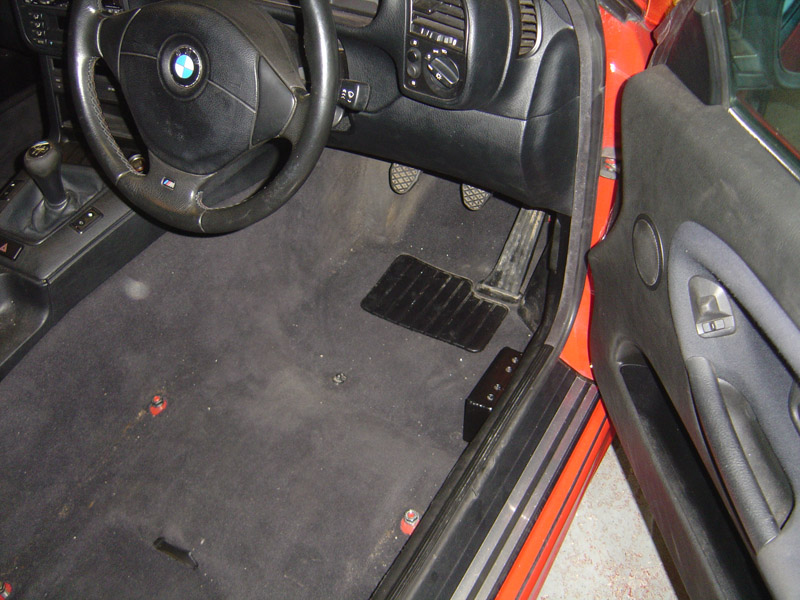
Well, one thing lead to another and I decided since I had the heat gun out I should finally get round to removing all the tar sound deadening underneath the main carpet, after all I’ve been bleating on about doing it since April!!
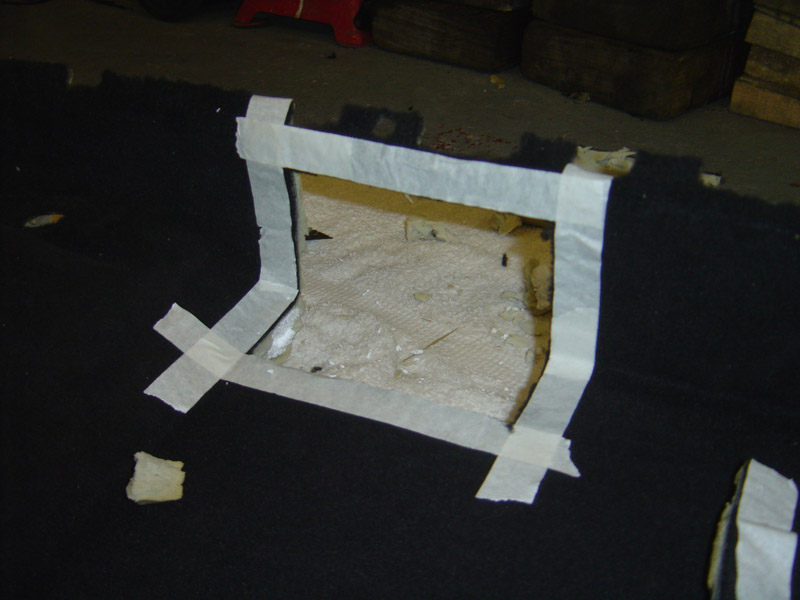
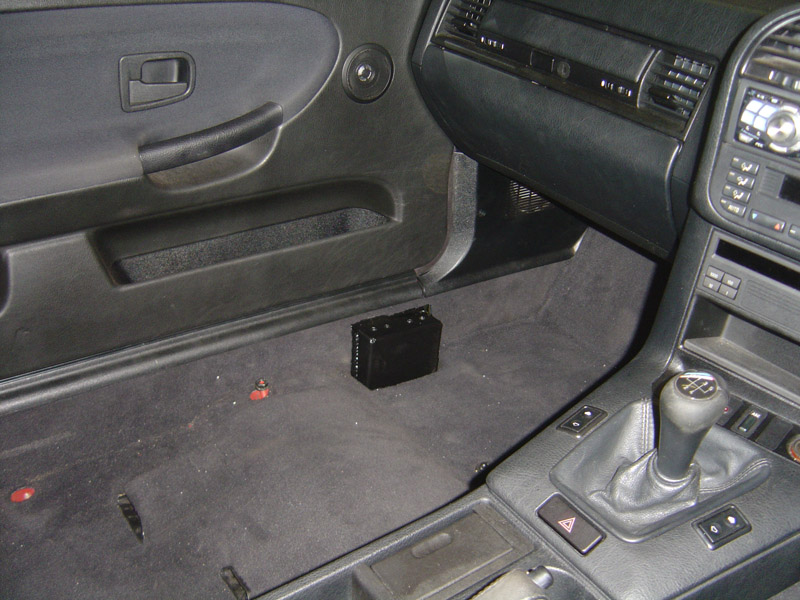
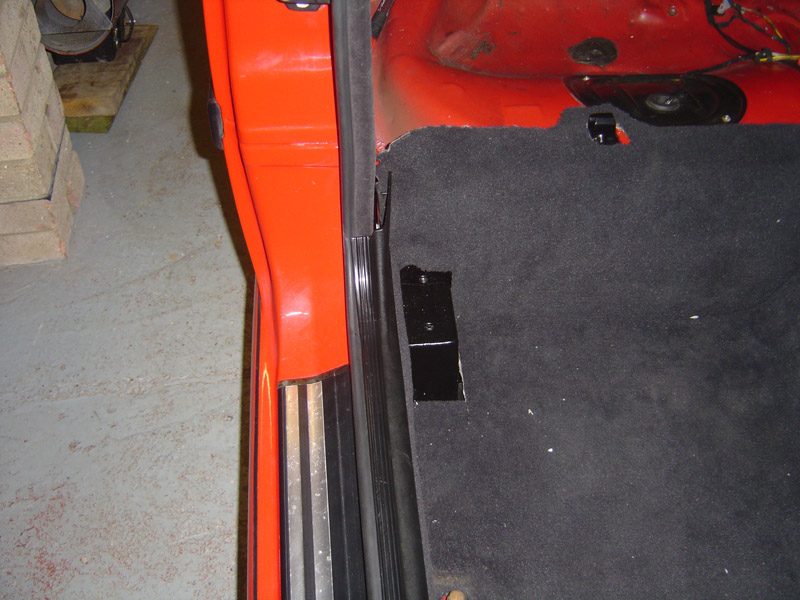
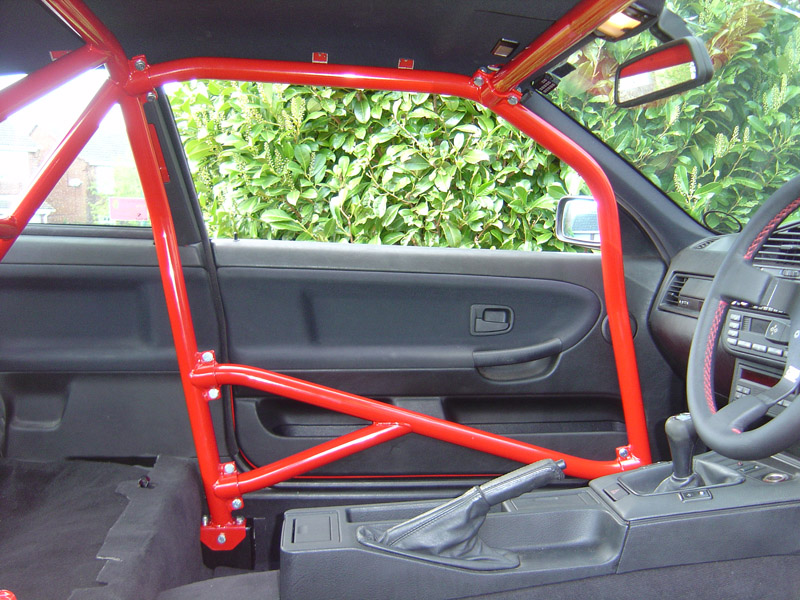
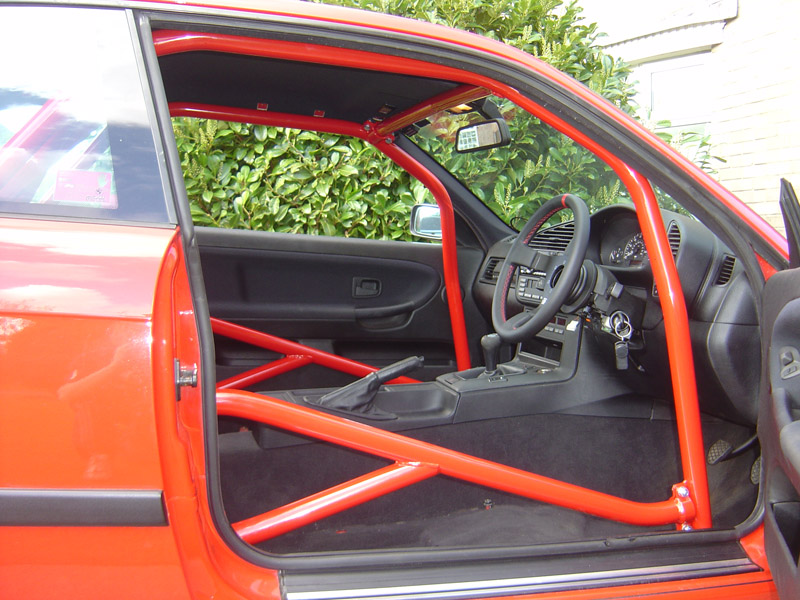
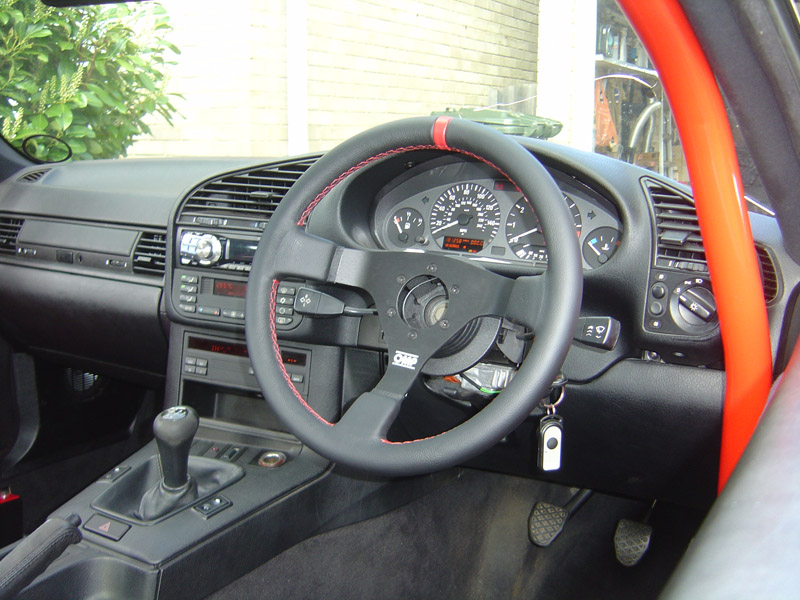
First off was the centre console, shortly followed by the sill covers and front speaker covers. Then the driver’s side lower dash cover was removed along with the glove box and lower cowling, next came the on-board-computer and finally the centre of the lower dash. Once all this was removed the carpet could finally be lifted up, I was not going to take the heater matrix out to removed the front carpet so got some new Stanley and cut as closely and neatly round the heater as possible, this would make re-fitting the carpet easier too, and the centre console completely covers the cut / join lines.
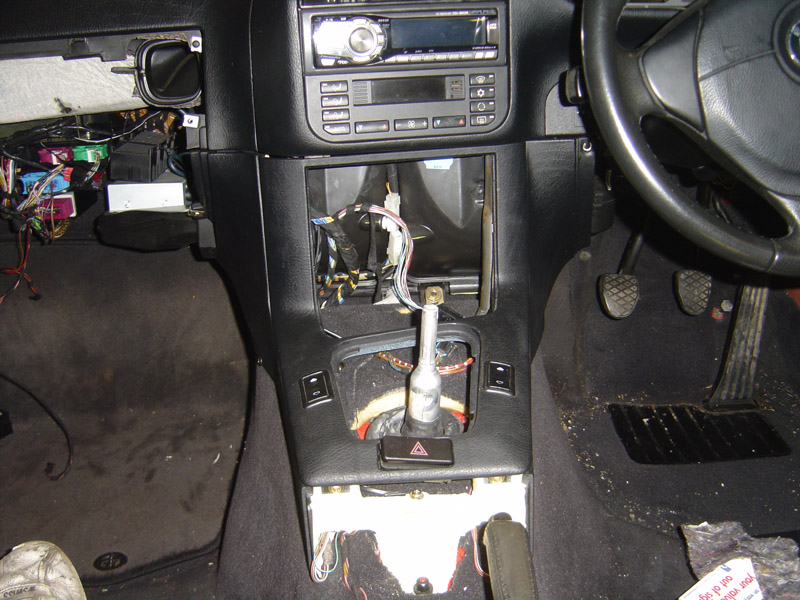
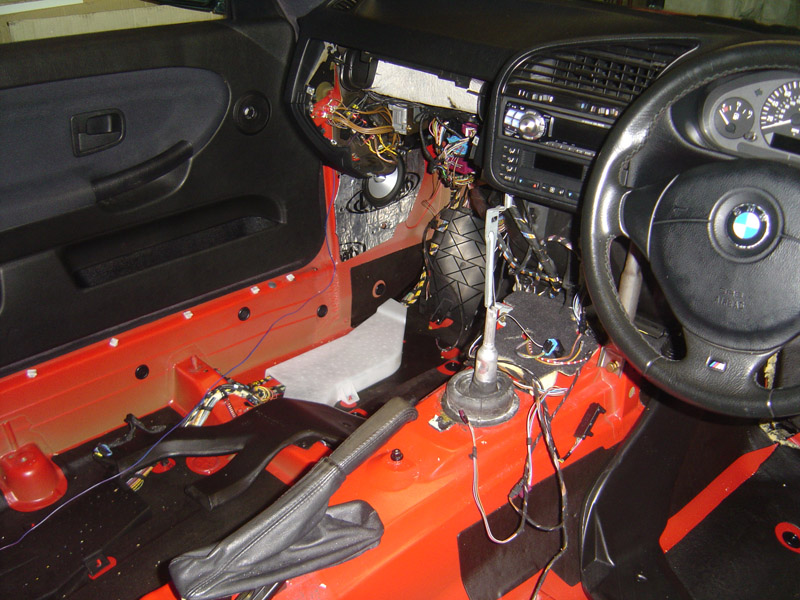
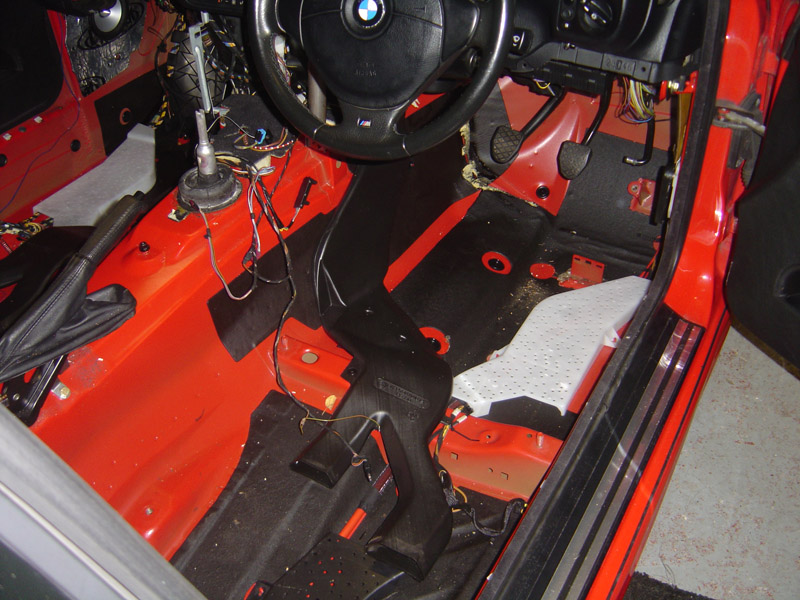
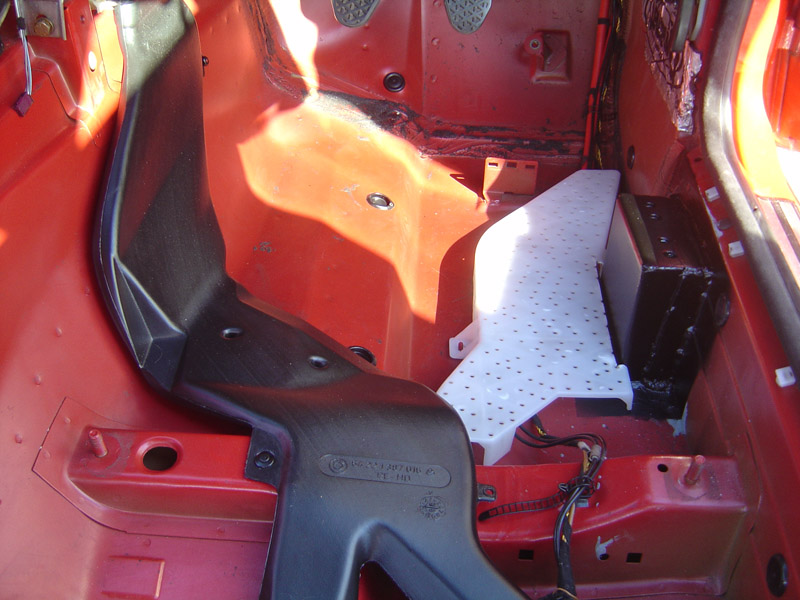
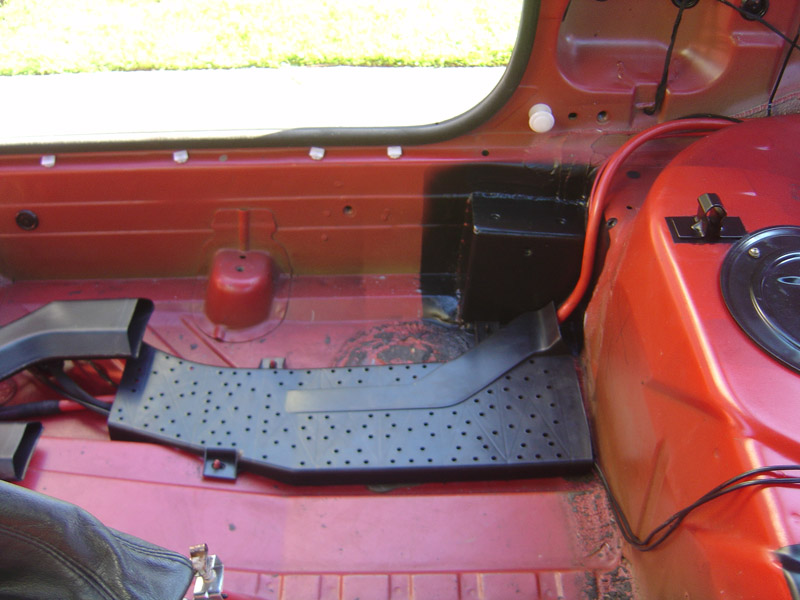
Next up was removing the under floor heating channels, then it was onto the tar. With the promise of beer and pizza I had managed to lure in a few friends to help with the removal, this really did make life a lot less stressful it only took three people and hour or two to complete including larking around. All that was used was a heat gun and some plastic ice scrapers, I chose to use plastic scrapers so that the paint didn’t get damaged underneath.
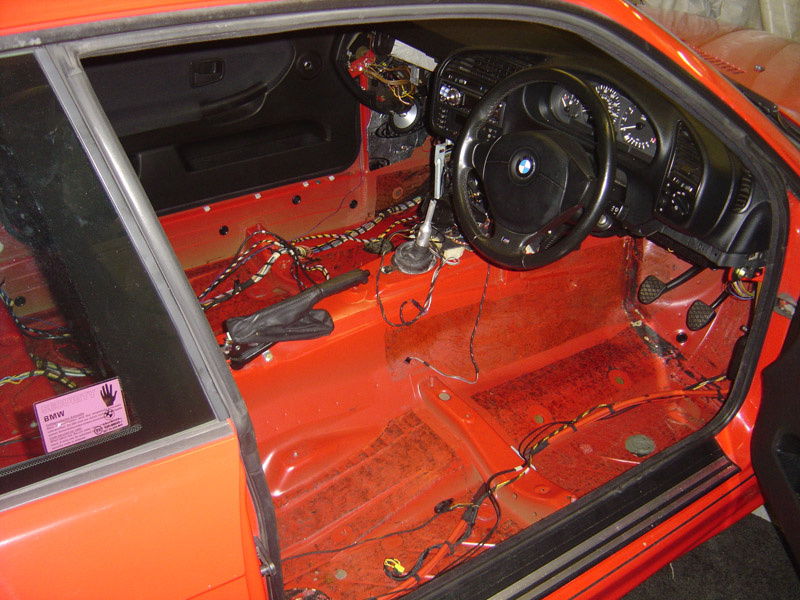
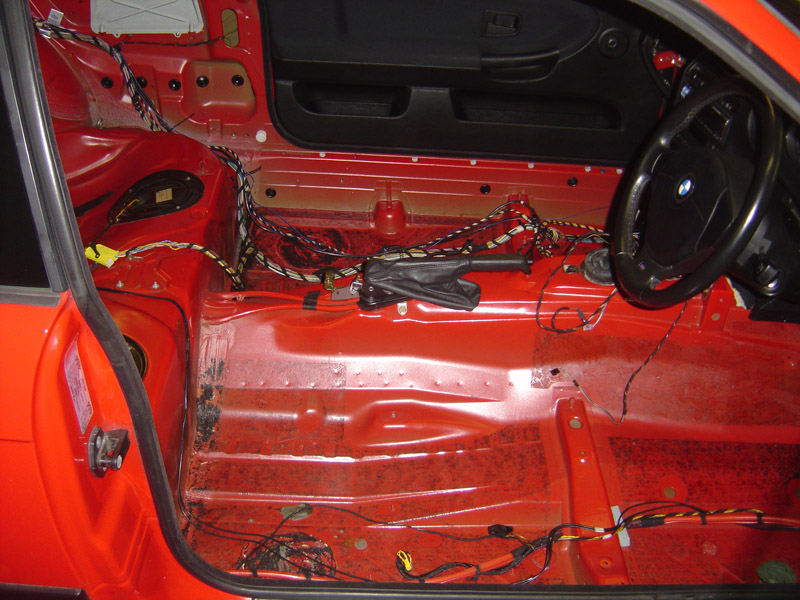
With the tar itself removed, all that was left was to get rid of the sticky residue. After trying all sorts of different techniques over the years, I have found using petrol soaked flannel (Sorry Mam!!) in a well ventilated area the best, a cut towel will suffice too. It would appear that flannel / towels work better than old t-shirts and rags due to the larger surface area caused by the plush bobbly bits, yes that is the correct scientific term for them too, ha!
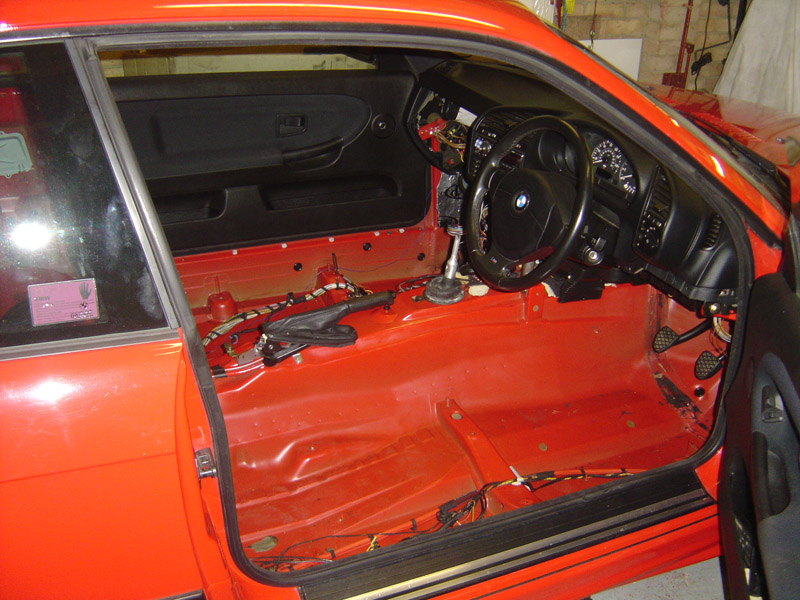
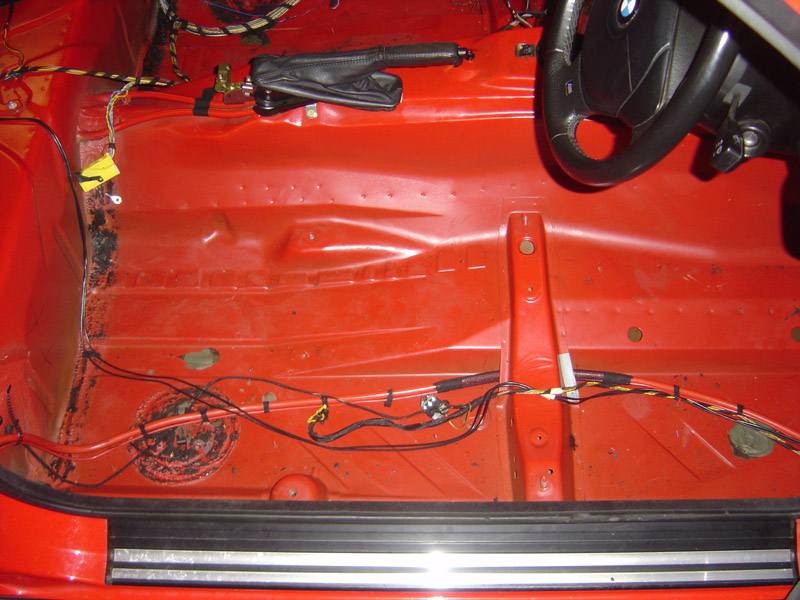
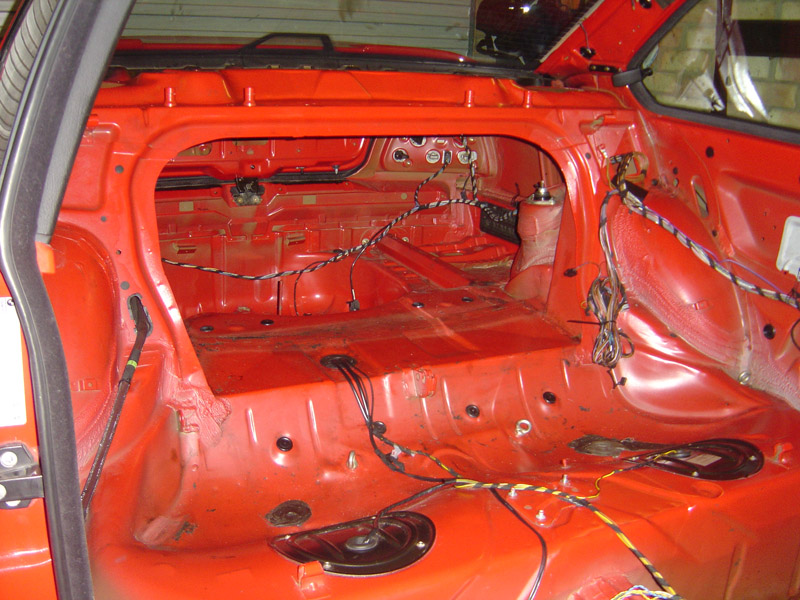
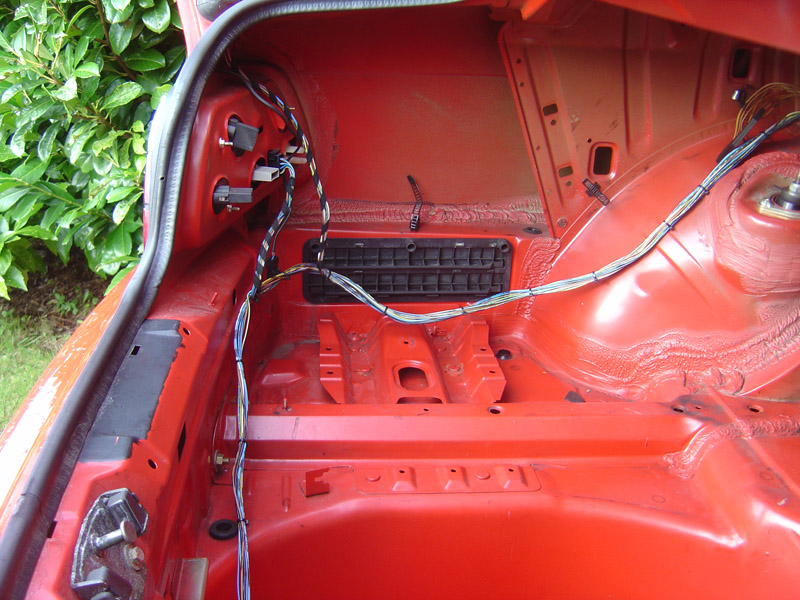
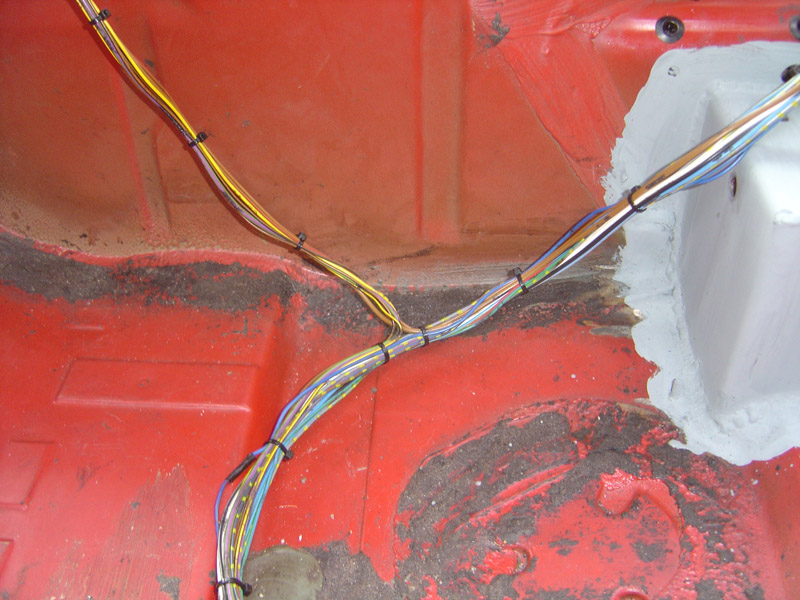
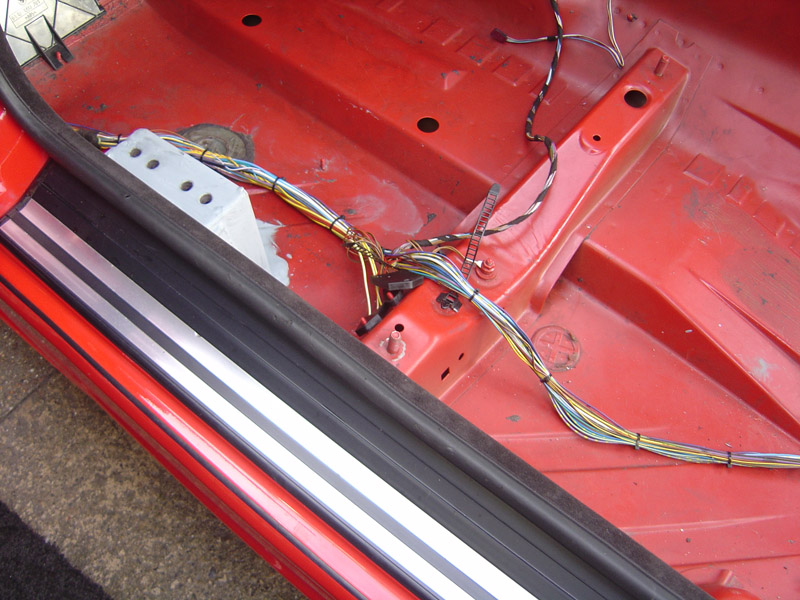
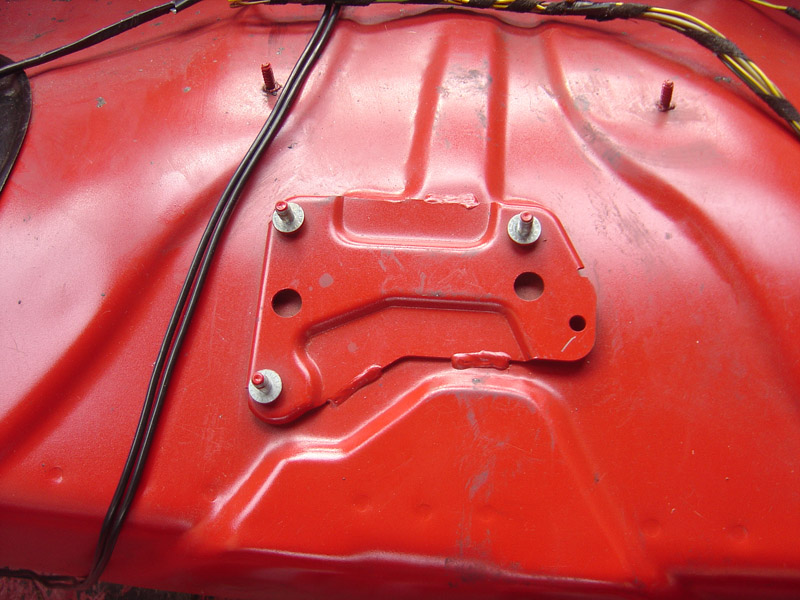
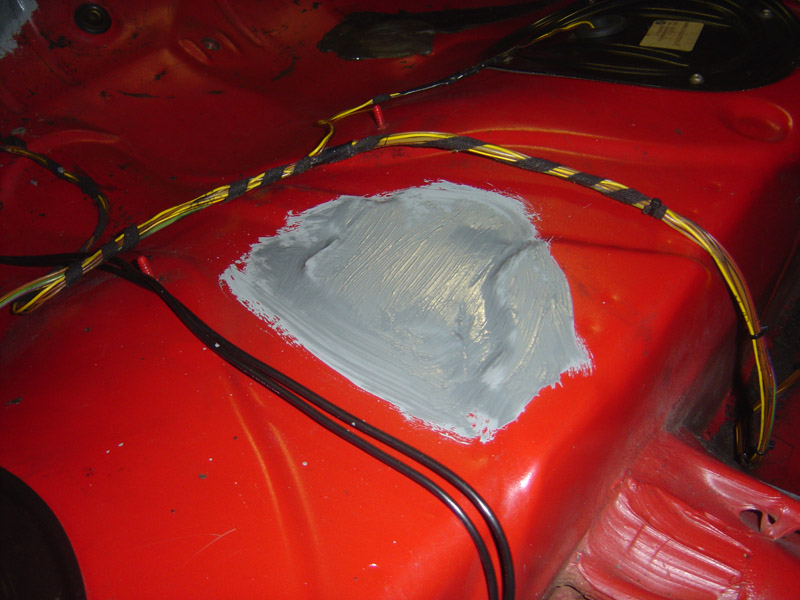
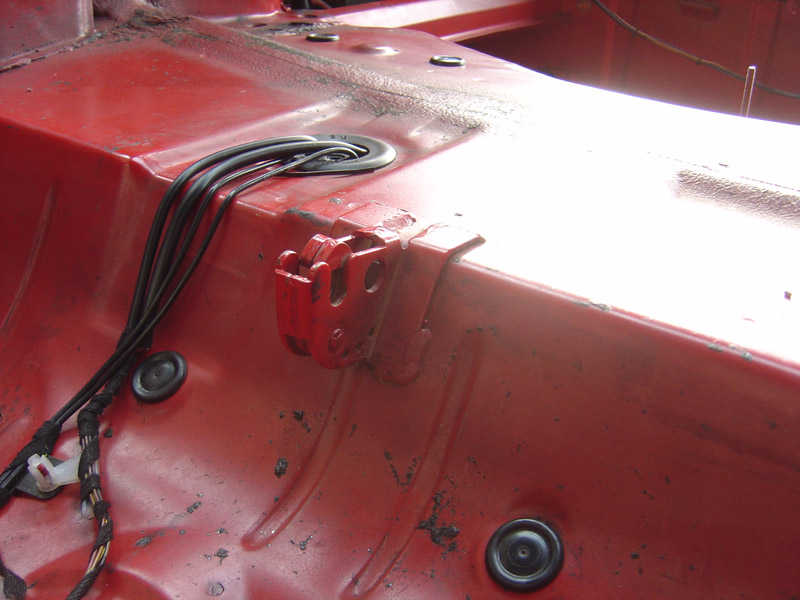
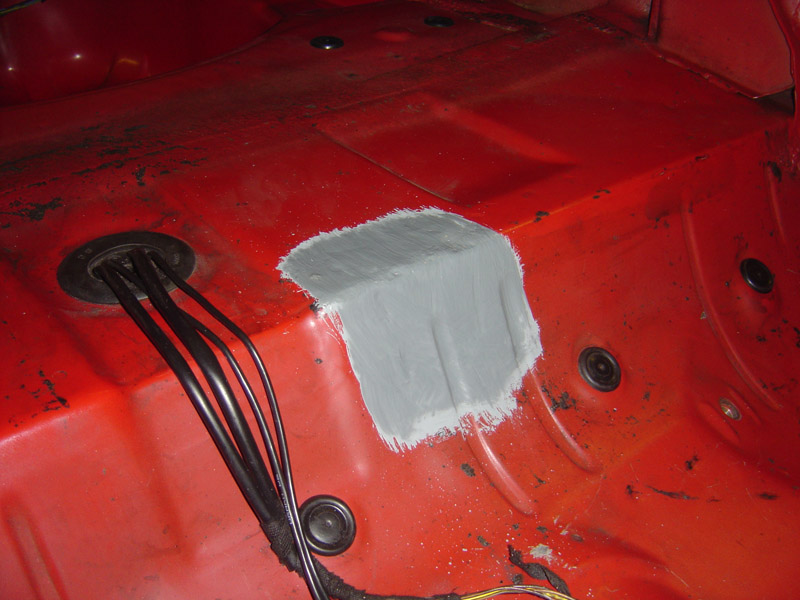
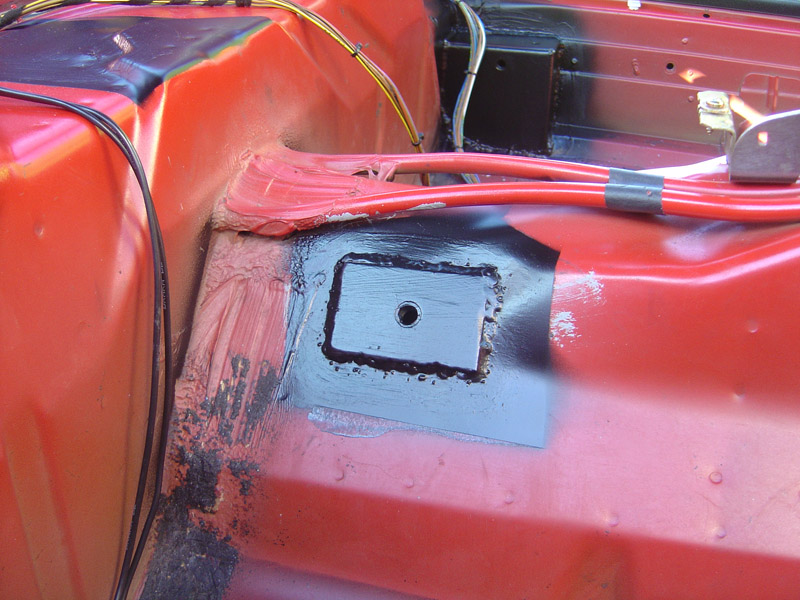
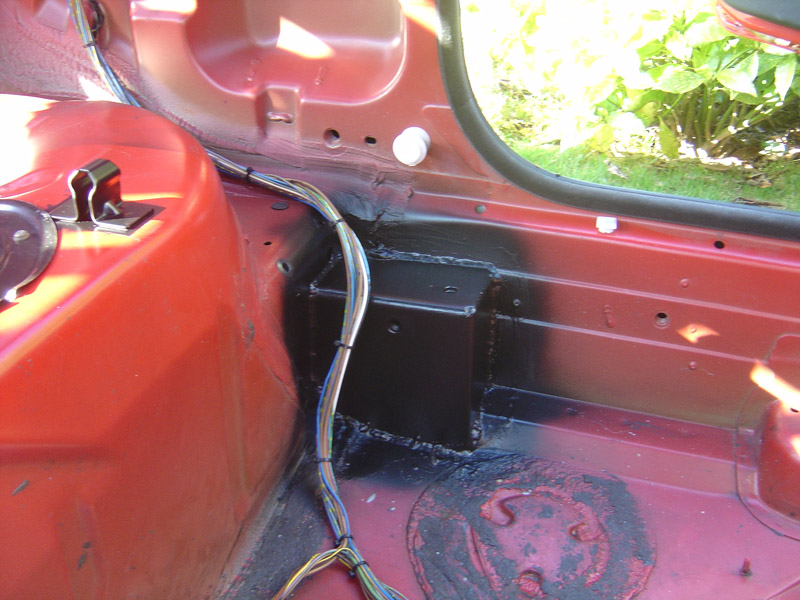
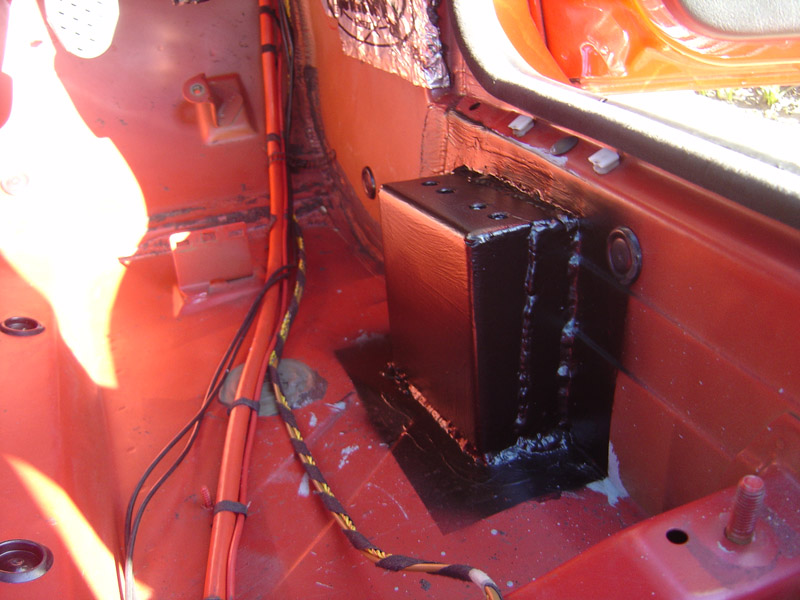
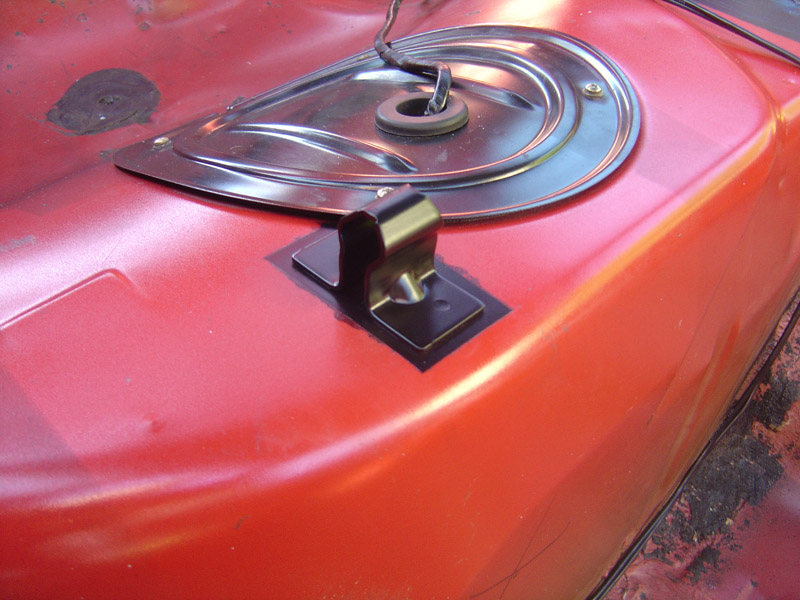
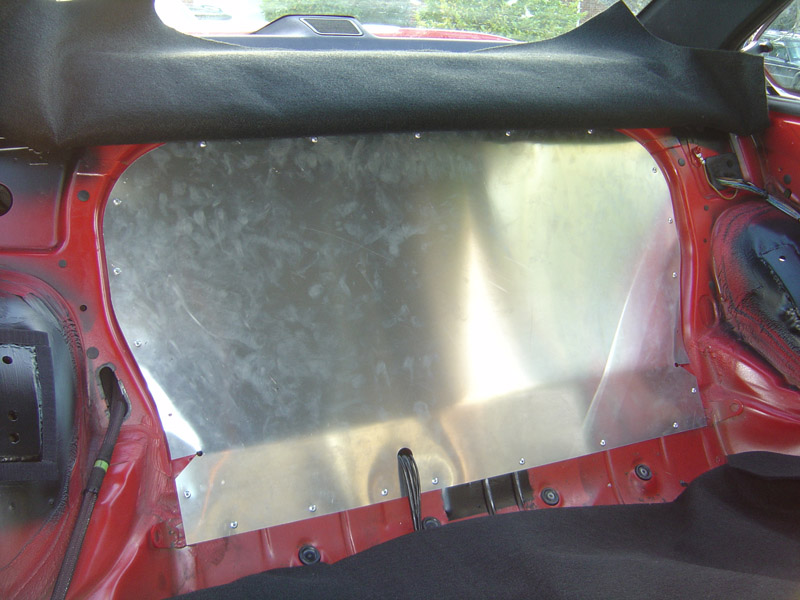
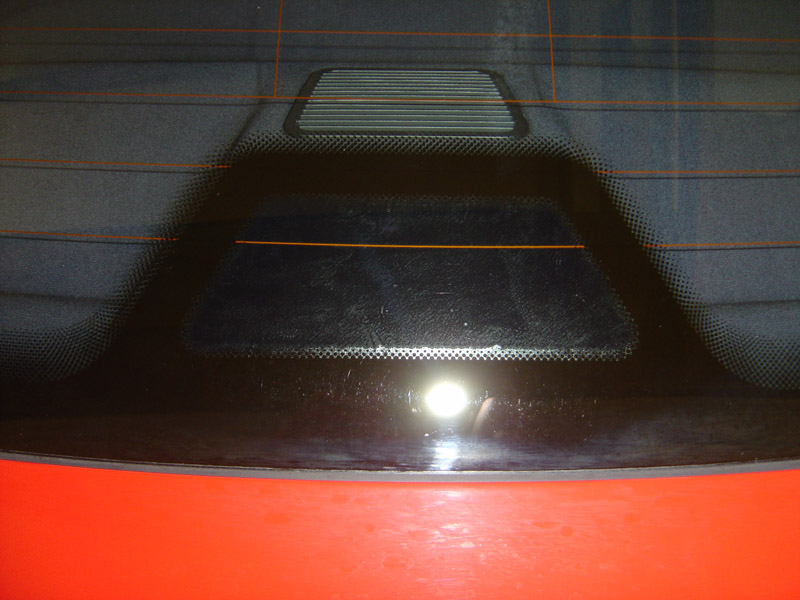
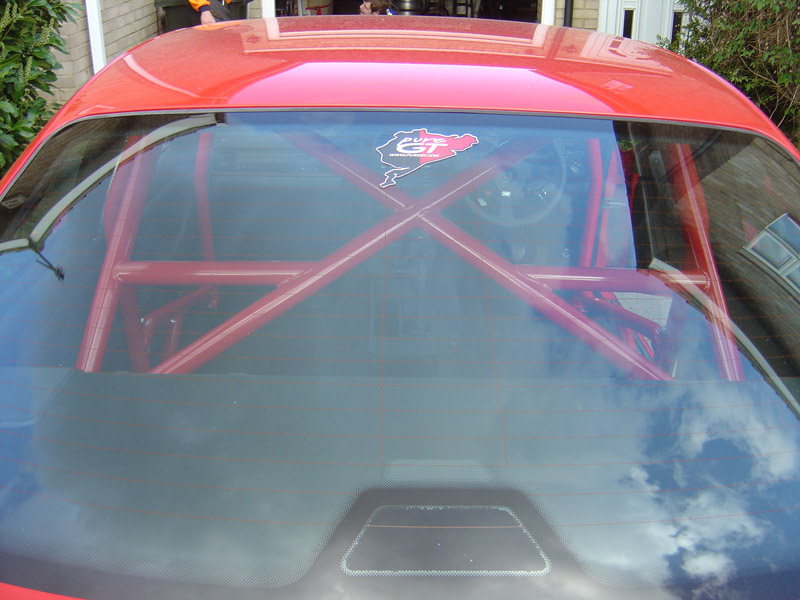
As you can see in the last picture I have pulled back all the un-needed rear wiring, I will eventually removed this, along with the air bag wiring at a later date. The aim is to just have the bare minimum amount of wiring, which is the rear lights, central locking filler cap and boot locking mechanism even the third brake light has been removed due to the spoiler that will eventually be fitted.
Not content with just removing the rear aerial wire, CD changer lead, rear speaker wiring and other optional extra wires that weren’t needed I decided the stereo loom was too cluttered too. So below as you can see is the standard stereo loom, now going the Club Sport route I decided that I would keep the main front speakers and door tweeters for those long road trips where a little music was required, so most of the wiring in the below loom could be hacked out.
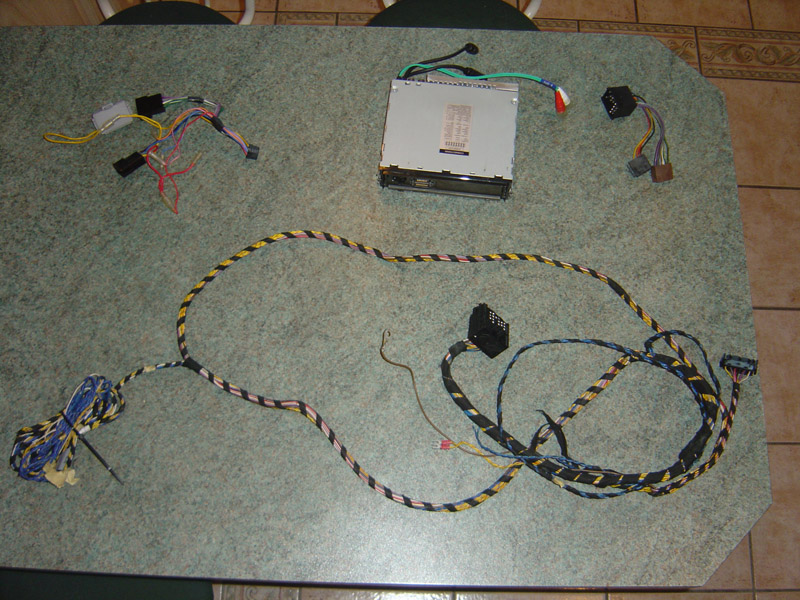
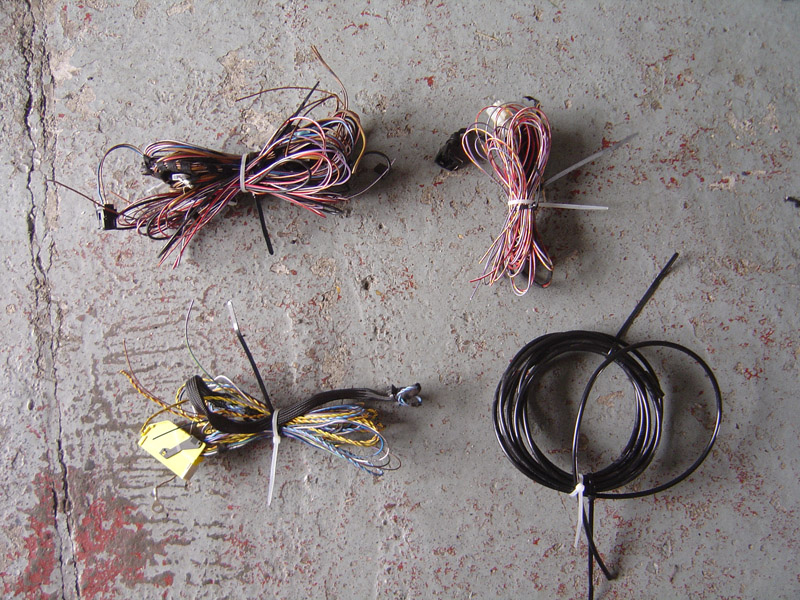
I didn’t like how the OEM loom went into an ISO lead, then into the Alpine power lead so decided to make a loom from scratch using all existing OEM/Alpine connectors. Below is all the wiring that has been removed from just the sound system in the car alone;
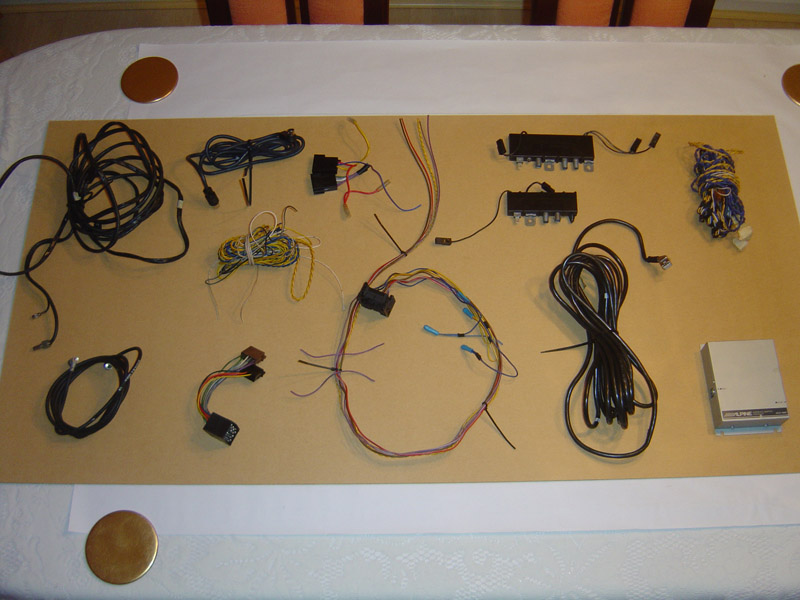
Now my new loom consists of the following;
- Live (Fused)
- Switched Live
- Neutral
- Front Right Speaker (+/-)
- Front Left Speaker (+/-)
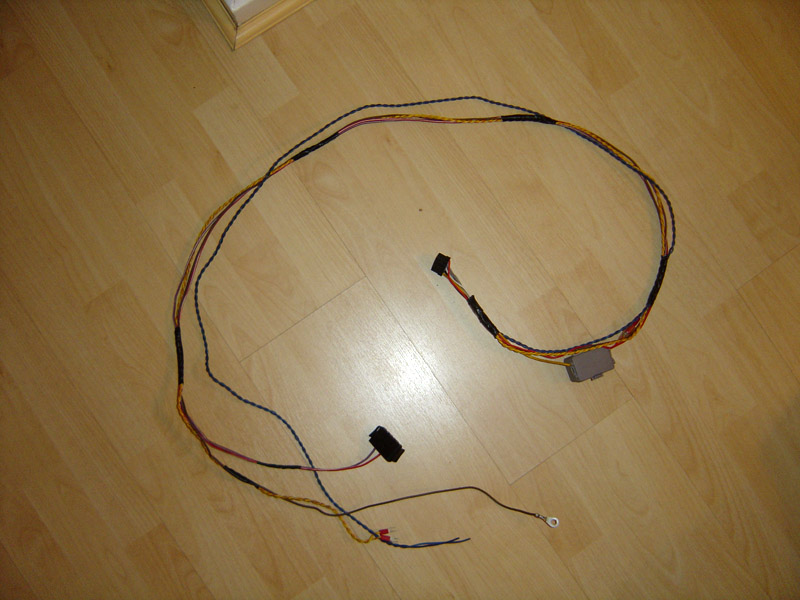
I have utilised the OEM BMW power plug which connects under the carpet in the passenger’s side foot well and the Alpine head unit connector plug. The speaker leads run into some existing aftermarket cross over boxes which power both the door speaker and tweeters, after re-fitting and testing everything worked flawlessly. Here is my new lightweight no-frills loom;
As Porky Pig would say... “That’s all folks!” well for now!
Got bored the other week, decided to go into the garage for a play... I’ve always hated the faded purple rear parcel shelf so decided I would remove it to re-black it, easier said than done with fixed bucket seats and harnesses as the only way to get in was to remove these first. Anyway, got the cabin clear and made my way into the back all that was needed to do was pop the lights out the C-Pillar, remove the covers from either side then the parcel shelf simply lifted (well, more jiggled) out.
It was at this point I noticed a load of fibre sound deadening as well as the usual stick on tar sound proofing, and decided to remove it whilst I had access to it.
Well, one thing lead to another and I decided since I had the heat gun out I should finally get round to removing all the tar sound deadening underneath the main carpet, after all I’ve been bleating on about doing it since April!!
First off was the centre console, shortly followed by the sill covers and front speaker covers. Then the driver’s side lower dash cover was removed along with the glove box and lower cowling, next came the on-board-computer and finally the centre of the lower dash. Once all this was removed the carpet could finally be lifted up, I was not going to take the heater matrix out to removed the front carpet so got some new Stanley and cut as closely and neatly round the heater as possible, this would make re-fitting the carpet easier too, and the centre console completely covers the cut / join lines.
Next up was removing the under floor heating channels, then it was onto the tar. With the promise of beer and pizza I had managed to lure in a few friends to help with the removal, this really did make life a lot less stressful it only took three people and hour or two to complete including larking around. All that was used was a heat gun and some plastic ice scrapers, I chose to use plastic scrapers so that the paint didn’t get damaged underneath.
With the tar itself removed, all that was left was to get rid of the sticky residue. After trying all sorts of different techniques over the years, I have found using petrol soaked flannel (Sorry Mam!!) in a well ventilated area the best, a cut towel will suffice too. It would appear that flannel / towels work better than old t-shirts and rags due to the larger surface area caused by the plush bobbly bits, yes that is the correct scientific term for them too, ha!
As you can see in the last picture I have pulled back all the un-needed rear wiring, I will eventually removed this, along with the air bag wiring at a later date. The aim is to just have the bare minimum amount of wiring, which is the rear lights, central locking filler cap and boot locking mechanism even the third brake light has been removed due to the spoiler that will eventually be fitted.
Not content with just removing the rear aerial wire, CD changer lead, rear speaker wiring and other optional extra wires that weren’t needed I decided the stereo loom was too cluttered too. So below as you can see is the standard stereo loom, now going the Club Sport route I decided that I would keep the main front speakers and door tweeters for those long road trips where a little music was required, so most of the wiring in the below loom could be hacked out.
I didn’t like how the OEM loom went into an ISO lead, then into the Alpine power lead so decided to make a loom from scratch using all existing OEM/Alpine connectors. Below is all the wiring that has been removed from just the sound system in the car alone;
Now my new loom consists of the following;
- Live (Fused)
- Switched Live
- Neutral
- Front Right Speaker (+/-)
- Front Left Speaker (+/-)
I have utilised the OEM BMW power plug which connects under the carpet in the passenger’s side foot well and the Alpine head unit connector plug. The speaker leads run into some existing aftermarket cross over boxes which power both the door speaker and tweeters, after re-fitting and testing everything worked flawlessly. Here is my new lightweight no-frills loom;
As Porky Pig would say... “That’s all folks!” well for now!


Comment