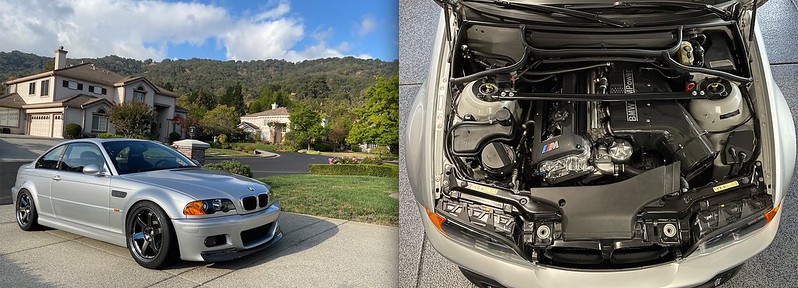
When you buy the Trunk handle, they usually give you a new, primered lip, and for good reason - it's supposed to be impossible to separate. But I was able to do it. It's actually very easy, if you're careful:
If you look at the lip, there are tabs along the top and bottom. There are holes where the top of the lip clips on, and that's where we're going to pry.
Pro tip : take a mini screwdriver, plus some nails:

Pry along the top of the lip, placing a nail in the hole once you pried it open:

Once you undo the top, it's easy - the piece basically falls off in your hand. No broken clips at all! :

New trunk button and my OEM lip. Put it together the same way, first the bottom clips, then the top. After cleaning, of course.

all finished. Now I have a spare lip if anybody needs it

All in all, it took longer to take apart the trunk/remove the handle, than to unclip the two halves - easy if you know what you're doing. The microswitch can be opened as well, once the lip is removed. That is a bit harder, though.
If you look at the lip, there are tabs along the top and bottom. There are holes where the top of the lip clips on, and that's where we're going to pry.
Pro tip : take a mini screwdriver, plus some nails:

Pry along the top of the lip, placing a nail in the hole once you pried it open:

Once you undo the top, it's easy - the piece basically falls off in your hand. No broken clips at all! :

New trunk button and my OEM lip. Put it together the same way, first the bottom clips, then the top. After cleaning, of course.

all finished. Now I have a spare lip if anybody needs it

All in all, it took longer to take apart the trunk/remove the handle, than to unclip the two halves - easy if you know what you're doing. The microswitch can be opened as well, once the lip is removed. That is a bit harder, though.


Comment