Announcement

Collapse
No announcement yet.

My Slow Burn (E46 M3)

Collapse
X
 
  • Filter
  • Time
  • Show
Clear All
new posts

  • eforty6_m3
    replied
    Originally posted by Nick_P View Post
    Great update! Couple of questions since I will be installing my airbox soon.
    1. Did you end up rotating the dipstick or did you have to bend it?
    2. Do you have a link for those ICV hose clamps that you installed after cleaning?
    Thanks, man!

    I bent it up behind the strut bar. Certainly not ideal, but many others seem to have done the same thing with positive results. I didn’t like the idea of getting the CSL dipstick and having to remove part of the intake any time I wanted to check oil level.

    I got them from O’Reilly Auto Parts. Pretty sure these are them: https://www.oreillyauto.com/detail/c...5-bmw-m3?pos=4


    Sent from my iPhone using Tapatalk

    Leave a comment:


  • Nick_P
    replied
    Great update! Couple of questions since I will be installing my airbox soon.
    1. Did you end up rotating the dipstick or did you have to bend it?
    2. Do you have a link for those ICV hose clamps that you installed after cleaning?

    Leave a comment:


  • 0-60motorsports
    replied
    Excellent update and the best intake and tuner choice combo will make you love it even more. Enjoy

    Leave a comment:


  • eforty6_m3
    replied
    Let the install commence (hope you're ready for this photo overload):


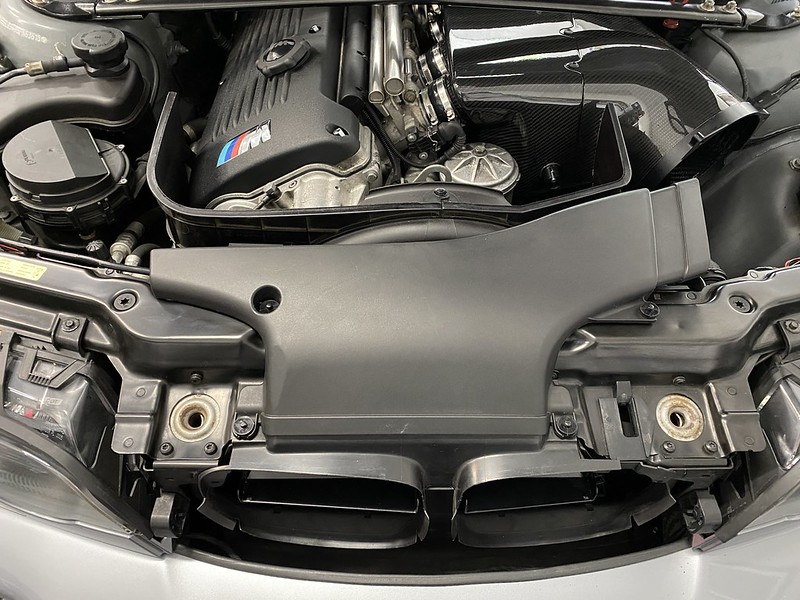
    Stock plenum/airbox removed:


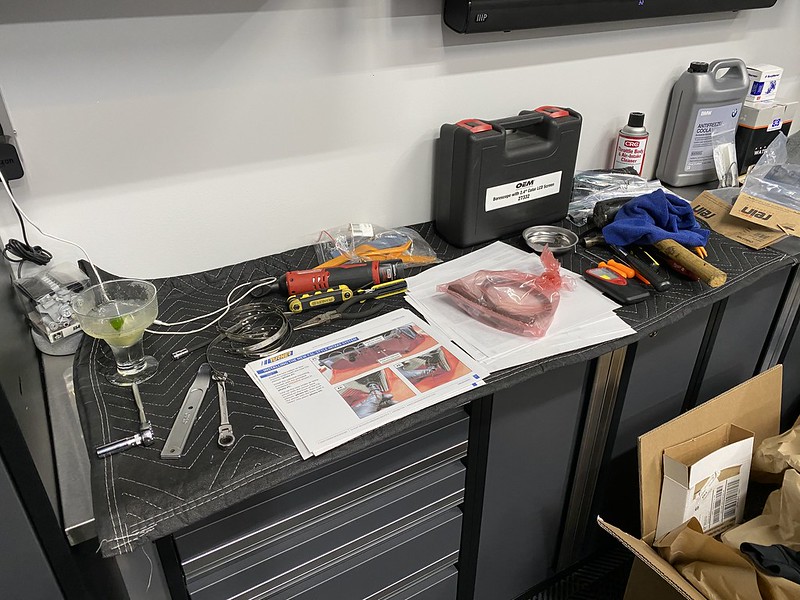
    It was Cinco de Mayo, so a margarita was necessary:


    Blow by, what?!:


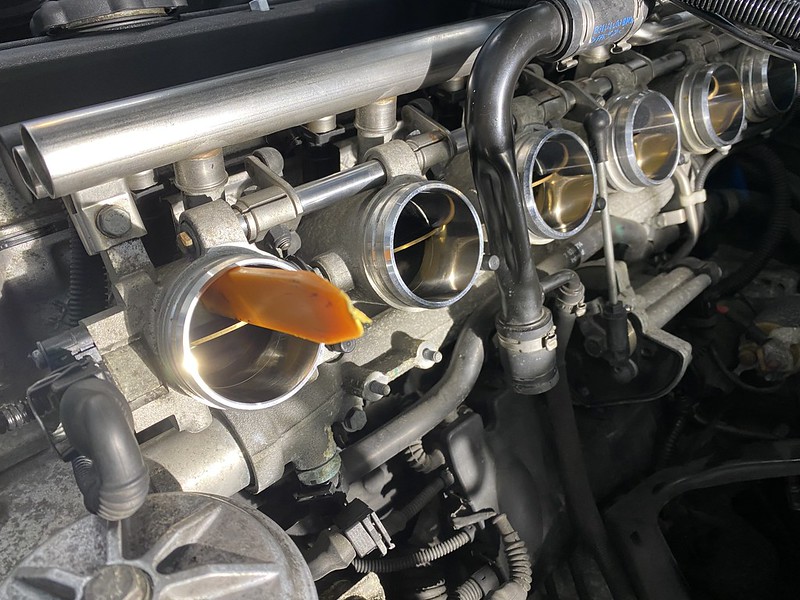
    Dirty throttle bodies:


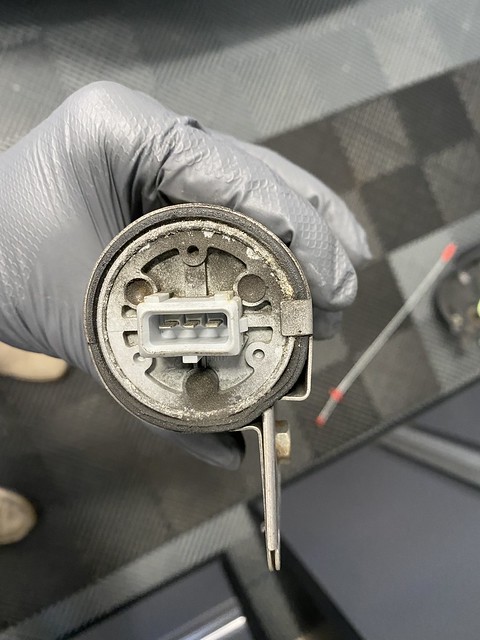
    Removed and cleaned the ICV while it was accessible:


    Clean throttle bodies!:


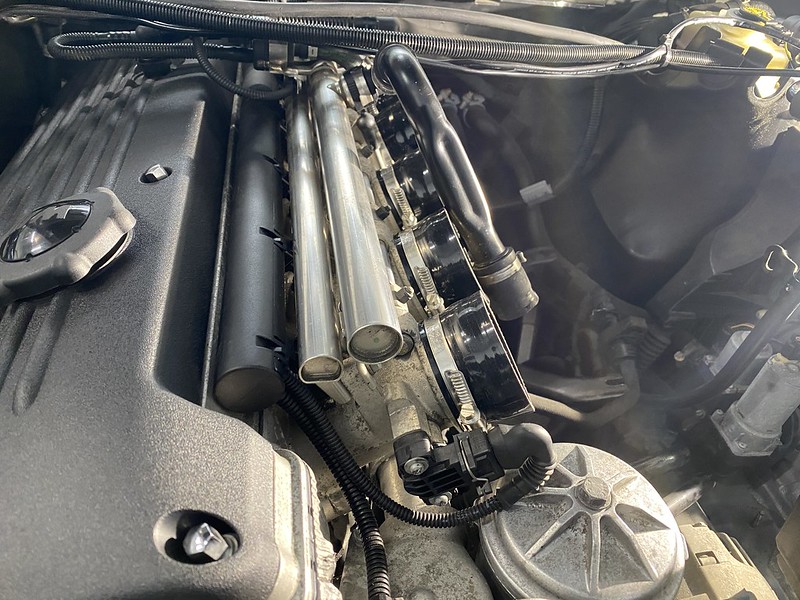
    New Turner Motorsport throttle body boots installed:


    ICV cleaned and reinstalled:


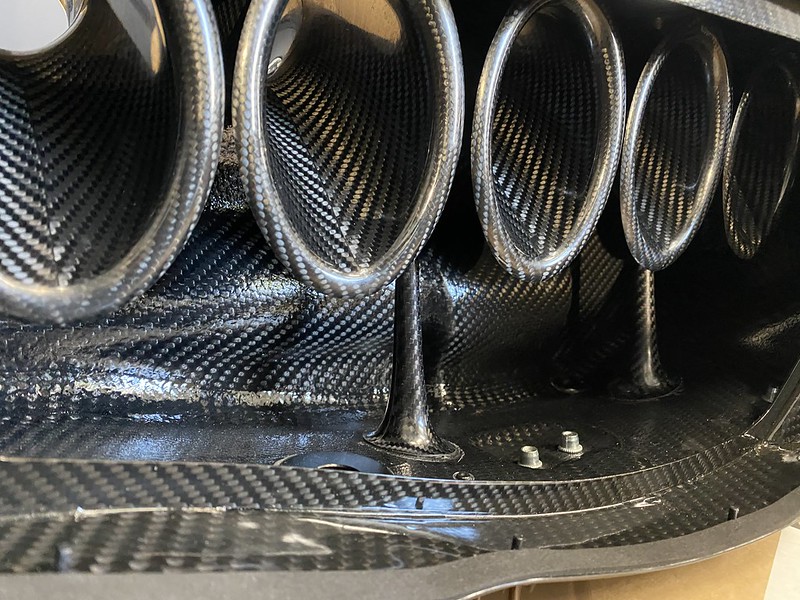
    Swapped rubber mounts from stock box to the new Karb box:


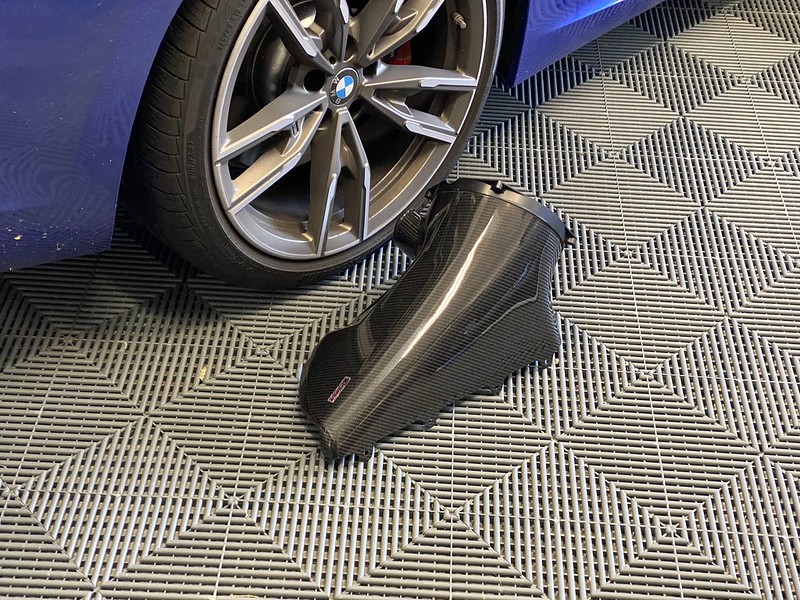
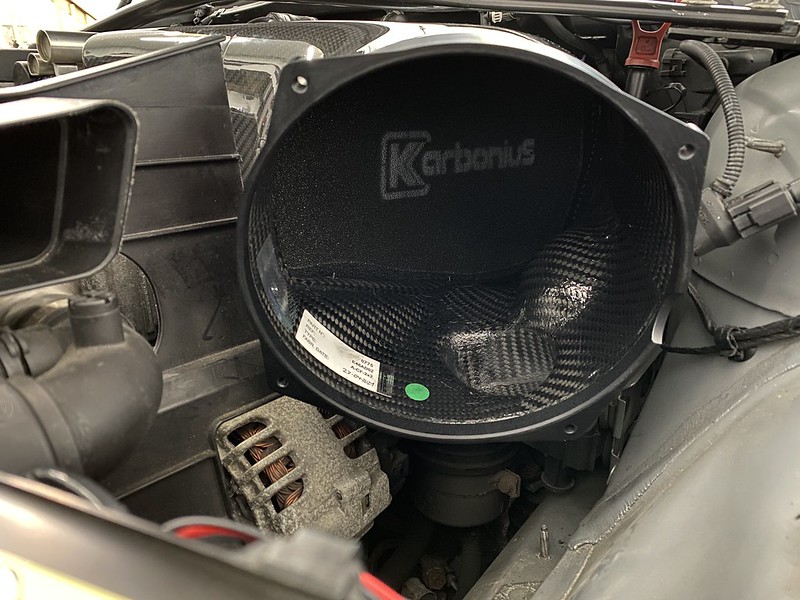
    Carbon Fiber sexiness:


    Turner IAT kit supposedly fits all CSL intakes....EXCEPT the sensor they include 100% does not fit the Karbonius box:


    THIS is the sensor I actually need. Waiting to hear back from Turner on whether or not they'll refund me for the incorrect sensor and swap with this one:


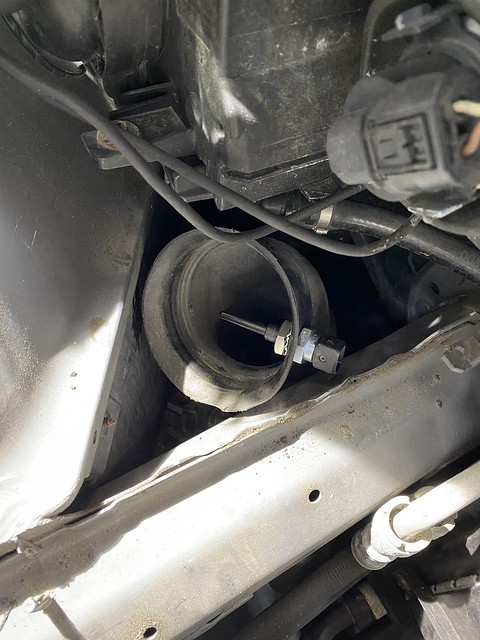
    Needed to temporarily install the sensor somewhere until I get the correct one, so the tuner suggested putting it here for now:


    Some fabrication (lol) work was required for the new intake to fit. Trimmed this plastic piece back about 1/4":


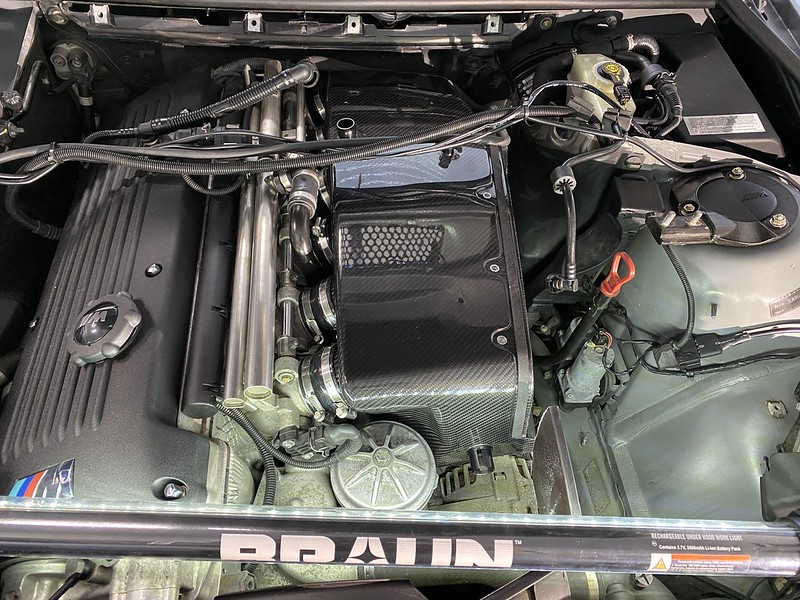
    New CSL box installed:


    Remote tuning time (courtesy of HTE Performance):


    Along with the Alpha-N (CSL) tune (needed because I'm no longer running the factory MAF), I also opted for the cold start delete and a very mild burble (I was a bit skeptical, but he suggested I try it out and I am GLAD I did...it's so subtle, yet so perfect between shifts).


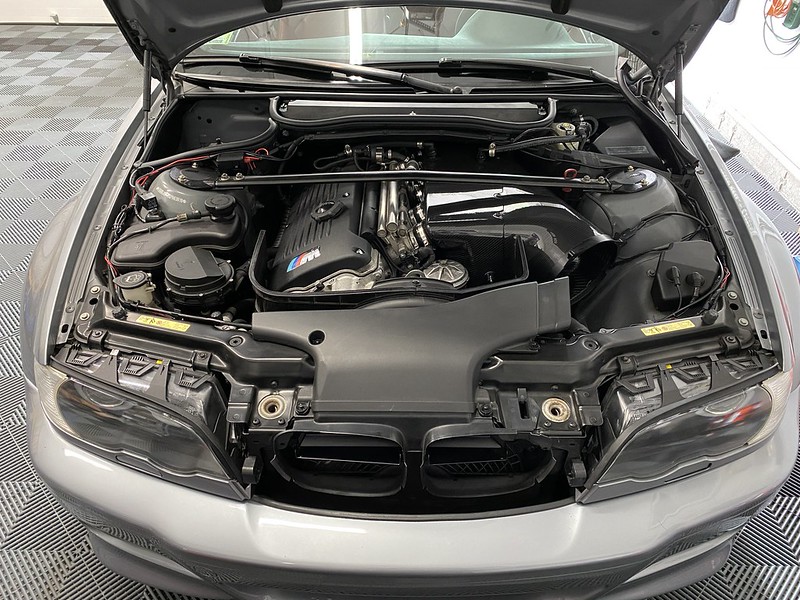
    And tuned and all put back together:


    Leave a comment:


  • 0-60motorsports
    replied
    Originally posted by eforty6_m3 View Post
    It has FINALLY arrived!!!! And it's even more beautiful than I could have ever imagined!


    Excellent choice

    Leave a comment:


  • eforty6_m3
    replied
    It has FINALLY arrived!!!! And it's even more beautiful than I could have ever imagined!


    Leave a comment:


  • 0-60motorsports
    replied
    Originally posted by eforty6_m3 View Post

    Thanks, man! Part #: 41007140848 (20mm)


    Sent from my iPhone using Tapatalk
    Thanks brother. I guess I’ll need two for the battery side

    Leave a comment:


  • eforty6_m3
    replied
    Originally posted by skristedja View Post
    Really nice work. I need to do mine too. Any idea how water/moisture is getting in there?
    Thank you! I’m not entirely sure, but I’m willing to bet it happened before I bought the car. I know people have mentioned that the tail light gaskets can leak. But I’m willing to bet it was probably caused by the battery leaking at some point.


    Sent from my iPhone using Tapatalk

    Leave a comment:


  • eforty6_m3
    replied
    Originally posted by 0-60motorsports View Post
    Looks great. Do you happen to have the plug part numbers? I need some too. Thanks
    Thanks, man! Part #: 41007140848 (20mm)


    Sent from my iPhone using Tapatalk
    Leave a comment:


  • skristedja
    replied
    Really nice work. I need to do mine too. Any idea how water/moisture is getting in there?

    Leave a comment:


  • 0-60motorsports
    replied
    Looks great. Do you happen to have the plug part numbers? I need some too. Thanks

    Leave a comment:


  • eforty6_m3
    replied
    Originally posted by robgill View Post
    Looks fantastic!
    Thank you!

    Leave a comment:


  • robgill
    replied
    Looks fantastic!

    Leave a comment:


  • eforty6_m3
    replied
    Happy to report that the unexpected battery compartment/tray rust project is now complete. Using a combination of wire brushes, wire wheels, roloc abrasive discs, sand paper, dremel grinding bits, POR-15 starter kit, Rust-Oleum Coastal Grey Satin Protective Enamel and patience, I was able to achieve this final result (with brand new OEM battery tray installed):


    I just need to add the 2 plugs (the original ones I ordered were the wrong size, so new ones should be arriving today) and this project will be 100% complete and in the rear-view!

    Pretty pumped that the Coastal Grey Rust-Oleum Satin Protective Enamel topcoat did a fairly good job of matching the existing grey in that area! Again, NOBODY will ever see this, so it was more for me, but I'm happy with how it came out. Here are some progress shots I took (excuse the crappy lighting) along the way:


    After POR-15 Cleaner/Degreaser and Metal Prep:


    After 2 coats of POR-15 Rust Preventive:


    After 2 coats of aforementioned Rust-Oleum Coastal Grey Topcoat:


    A reminder of before/after:


    Leave a comment:


  • eforty6_m3
    replied
    Now that my FCP order arrived, I got to work on the battery compartment. After removing the black tray (but before cleaning), this is how things looked:


    After vacuuming up the area, then following with some all-purpose cleaner and towels, this is how it currently looks:


    I'm debating next steps now. Leave it, as is, or get rid of ALL rust.

    Leave a comment:

Working...
X