Recreating the old M3forums build for my car.
Full build thread XLS Document:
https://docs.google.com/spreadsheet/...EE&usp=sharing
Assistance XLS Document - FULL CSL parts listing for M3 to CSL Conversions:
https://docs.google.com/spreadsheet/...0E&usp=sharing
----------------------------------------------------------------------------
Purchase History and Day 1
I started looking in September 2002 at 330ci’s, as I wanted a sports car to have for weekend drives. I had never owned a BMW or even a sports car for that matter. My car ownership experience at the time I started looking at BMW’s had only been Ford Broncos, so I was definitely a fish out of water. After some research, I changed my mind and ordered an M3 as it had the SMG system. I asked the dealer to order a silver one and let me know when it arrived.
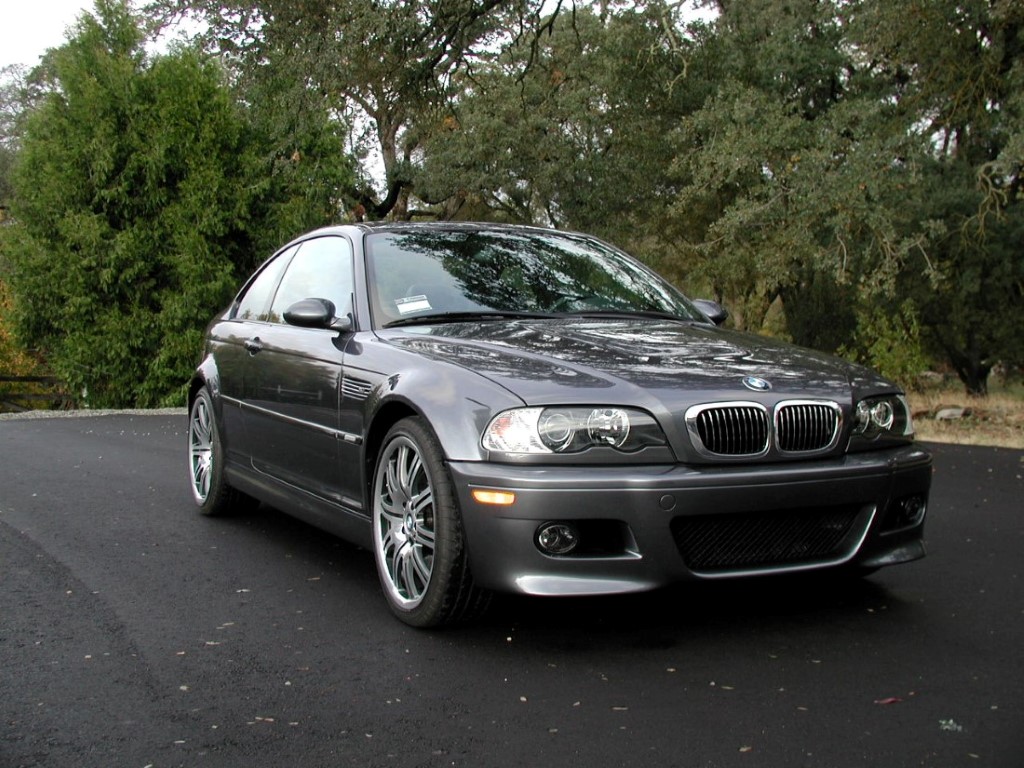
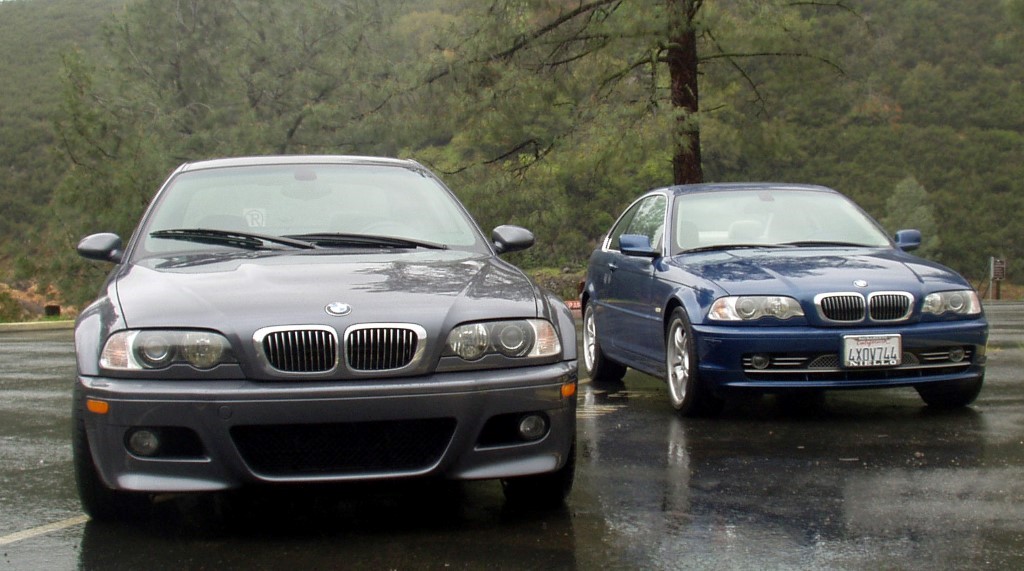
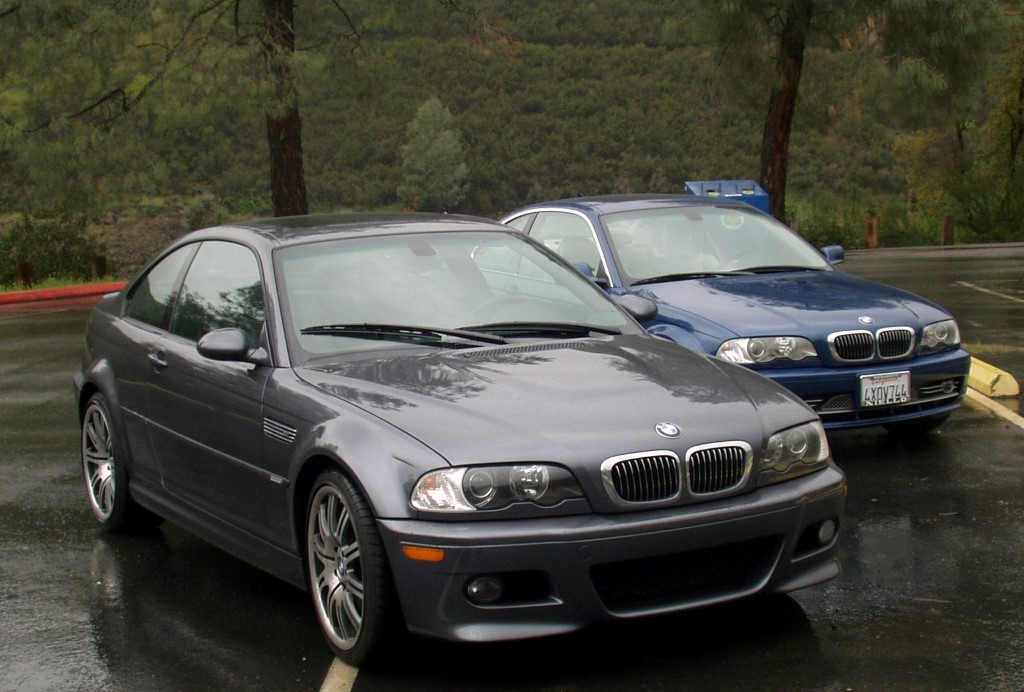
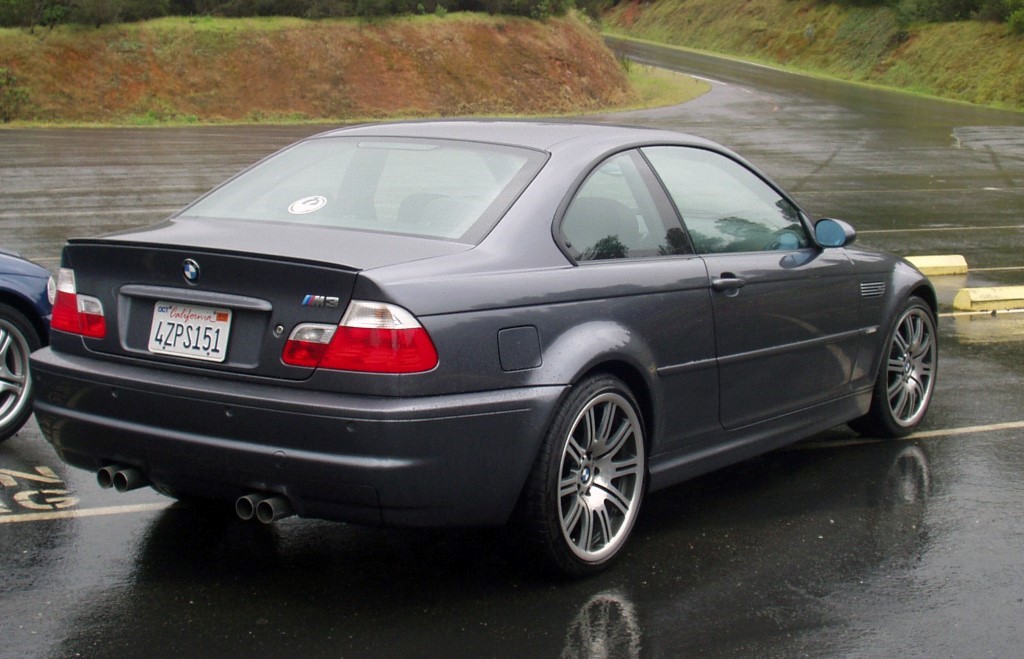
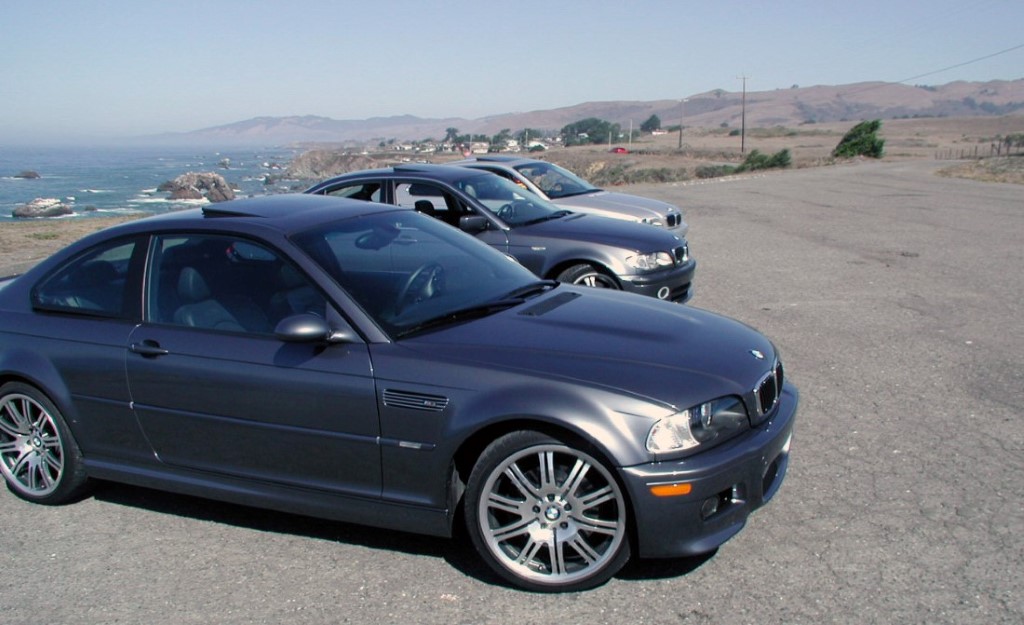
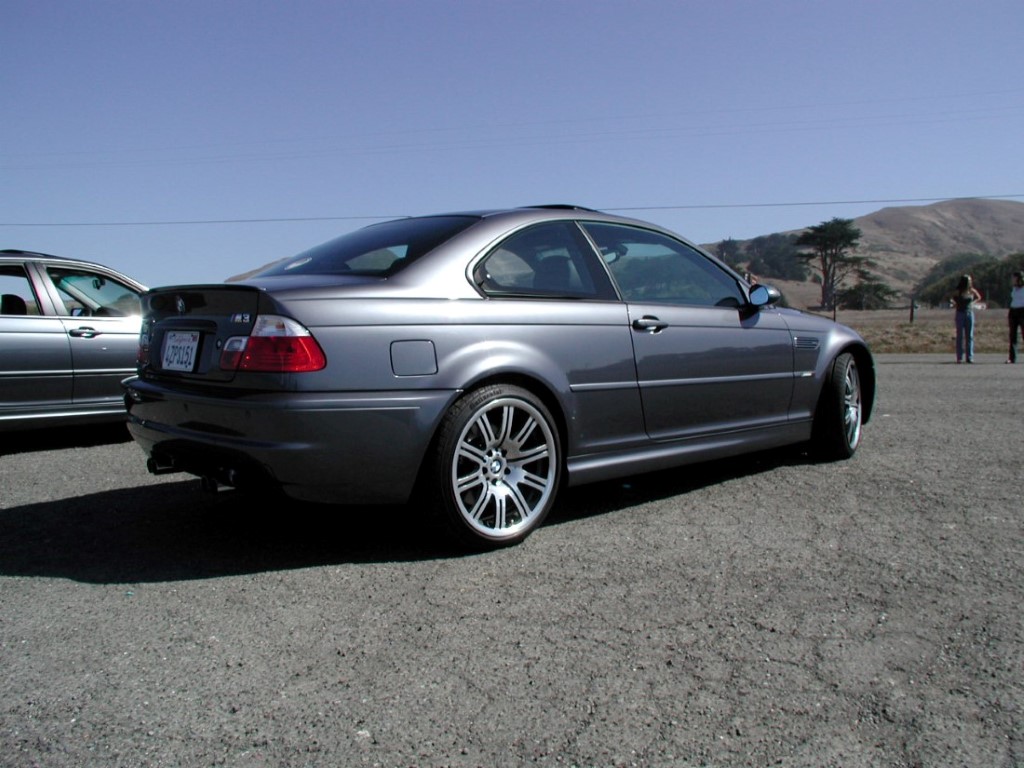
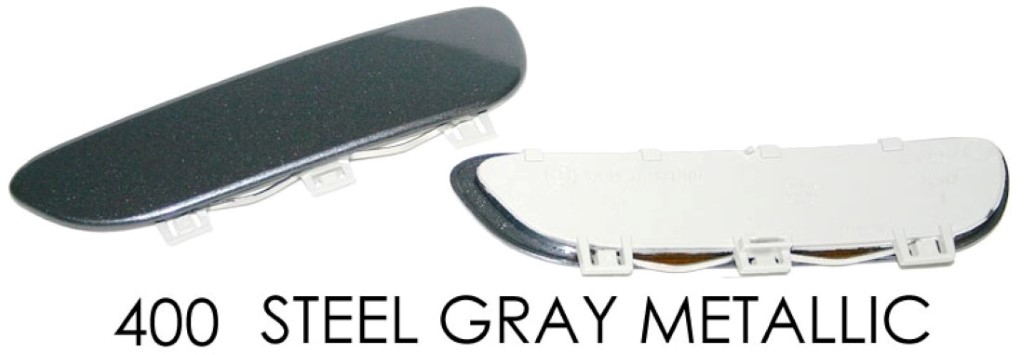
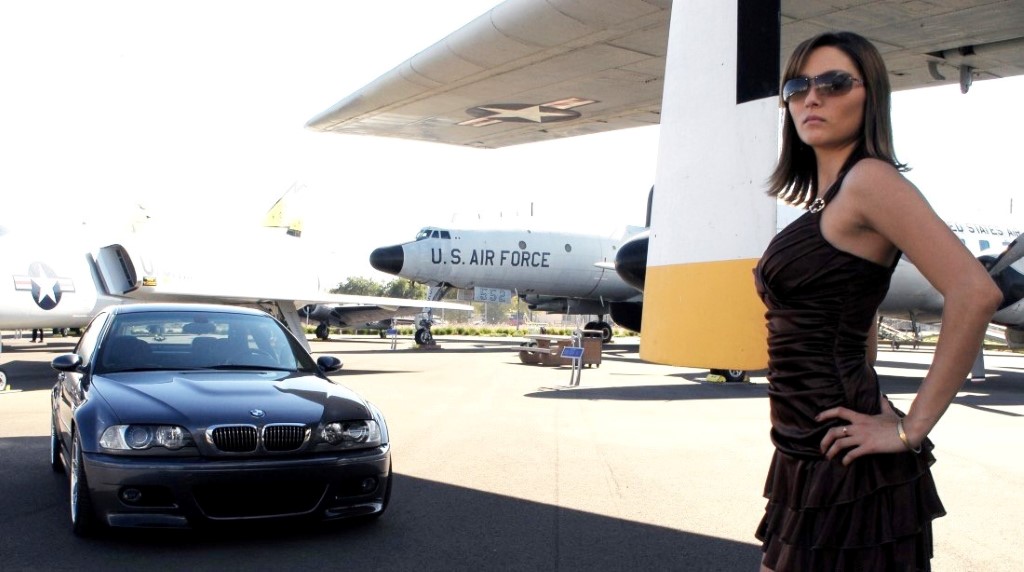
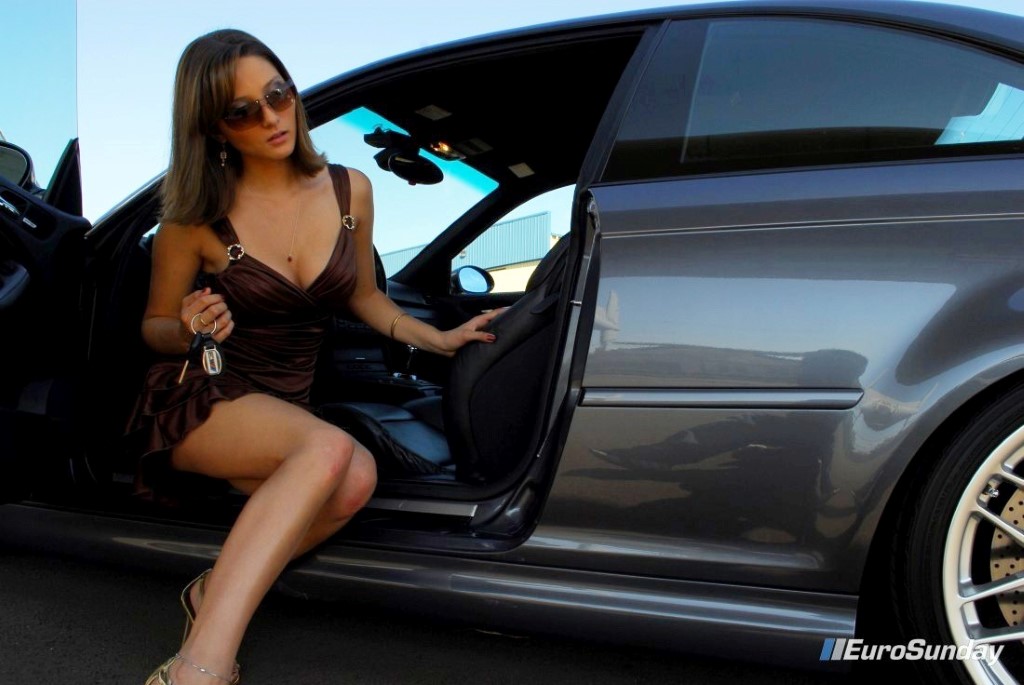
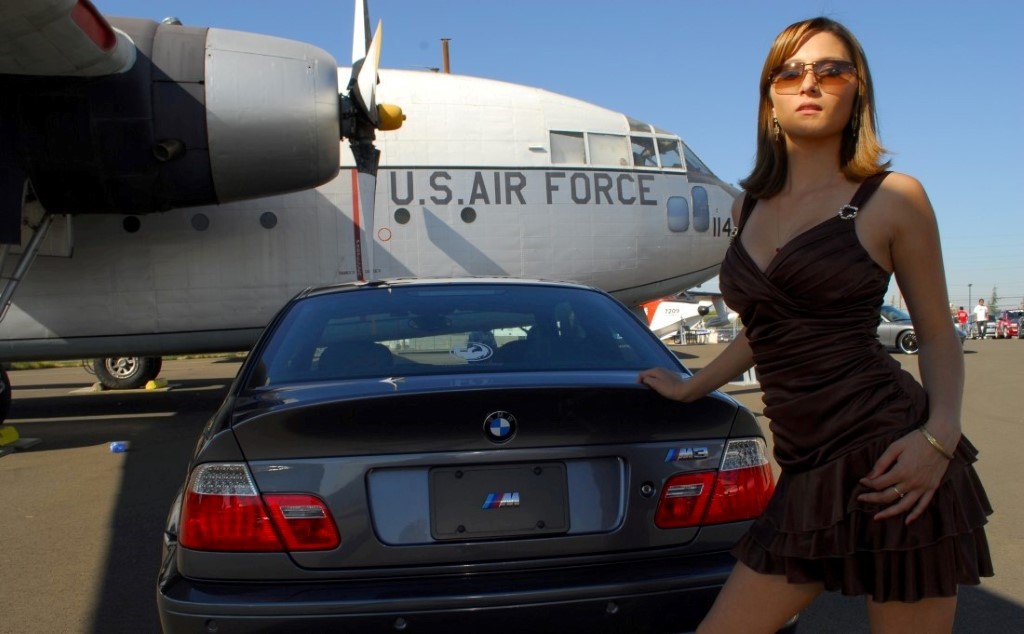
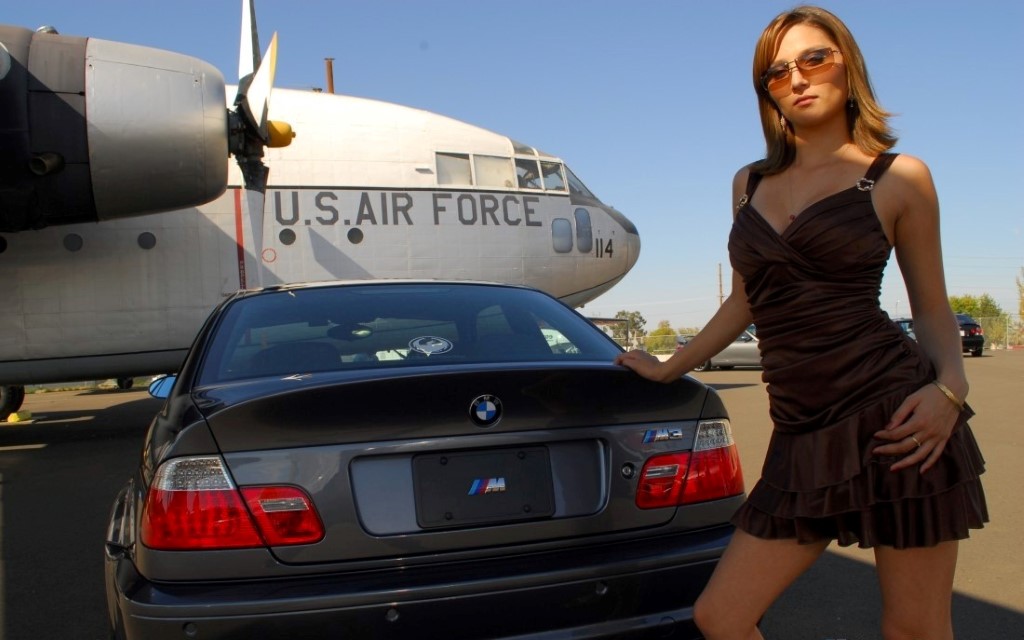
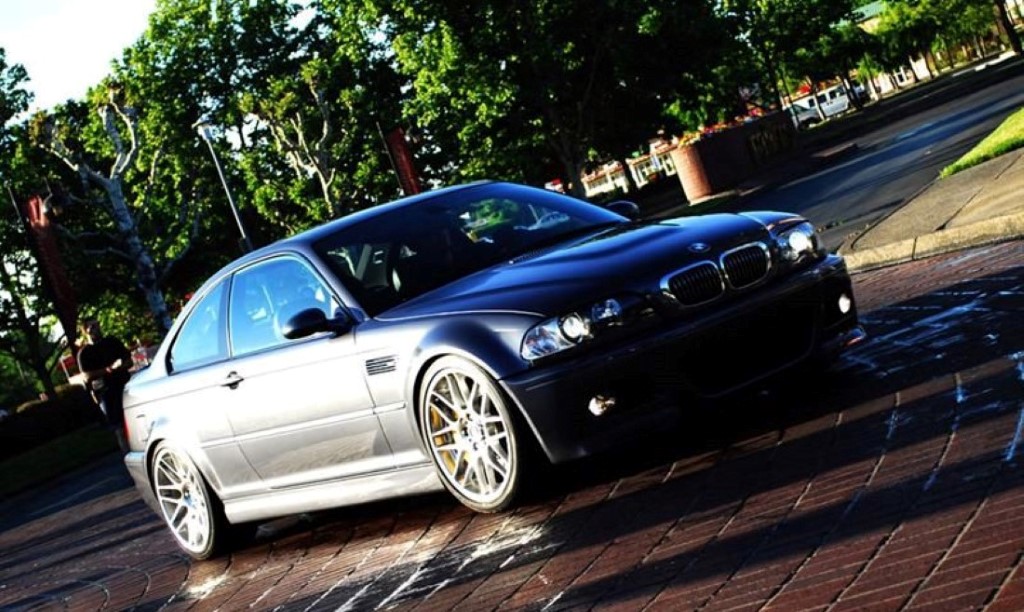
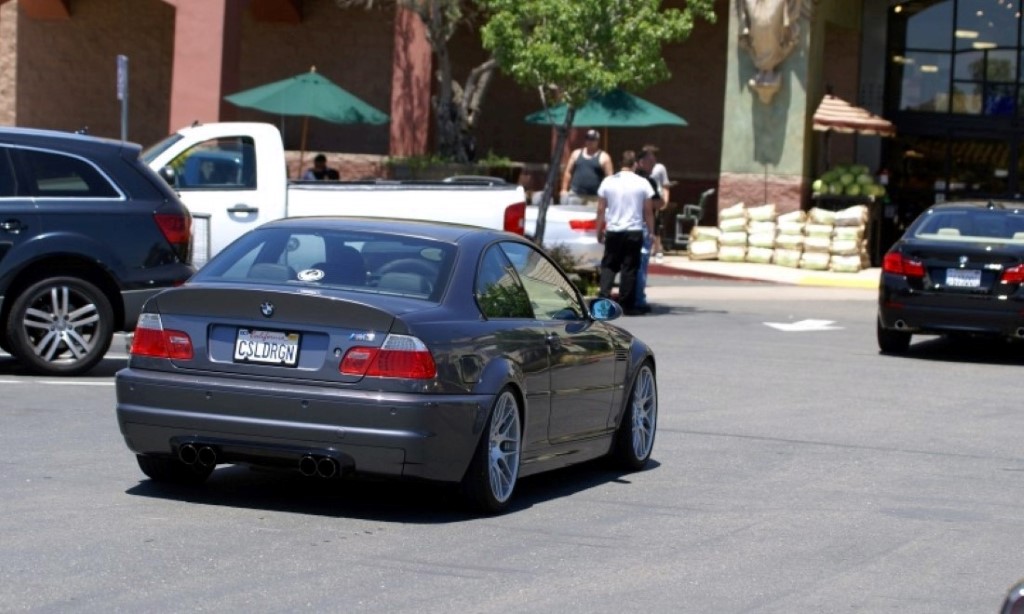
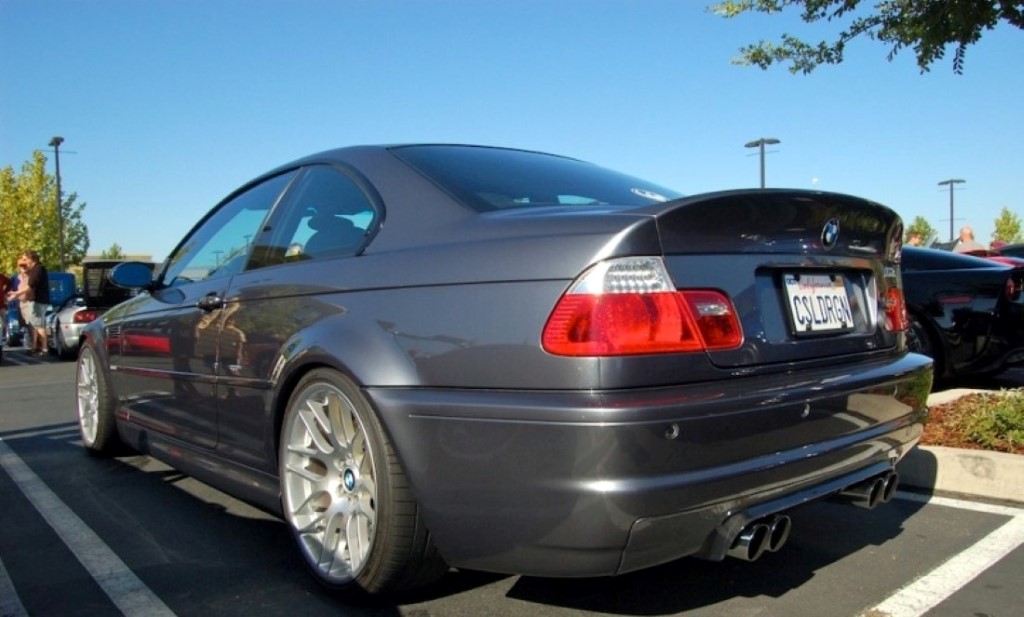
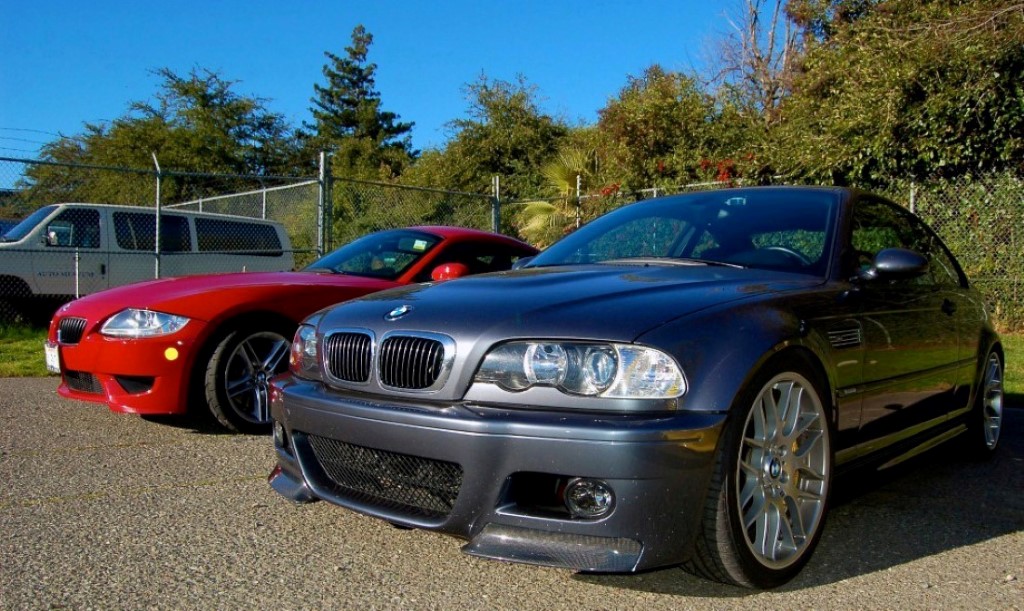
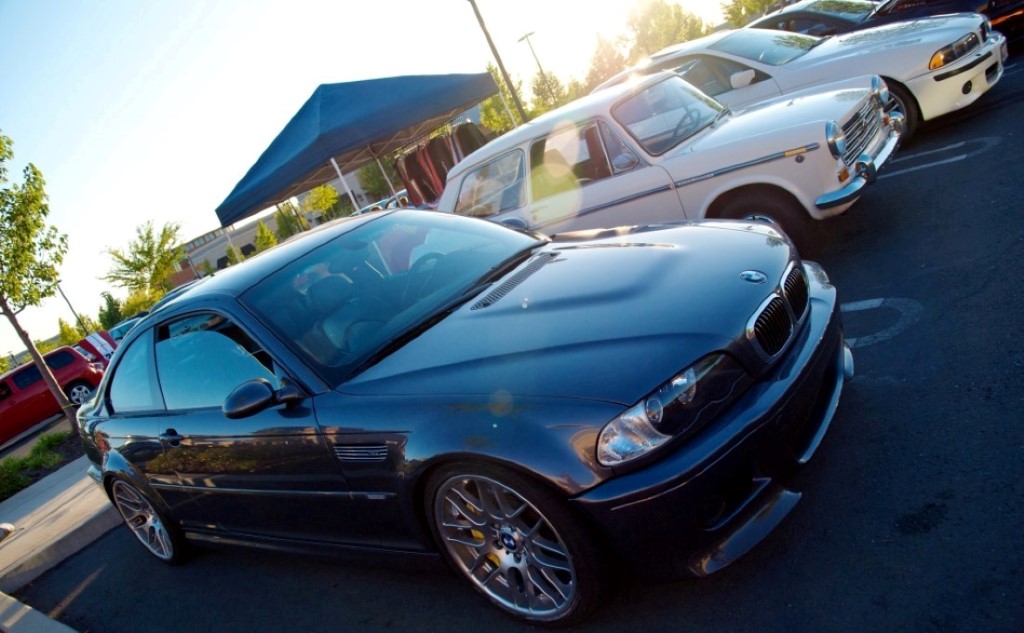
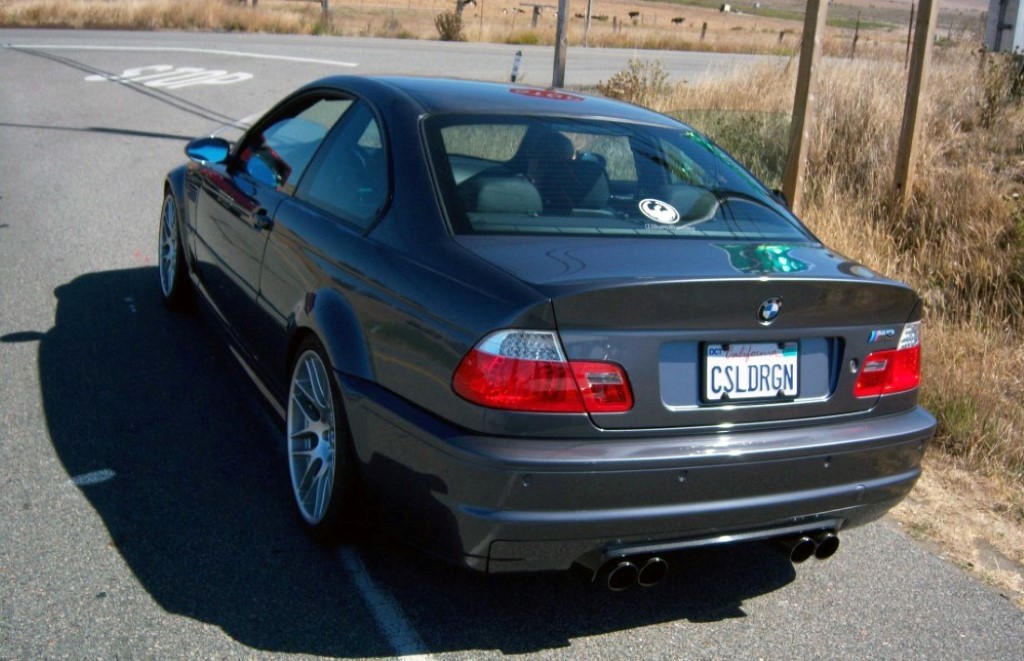
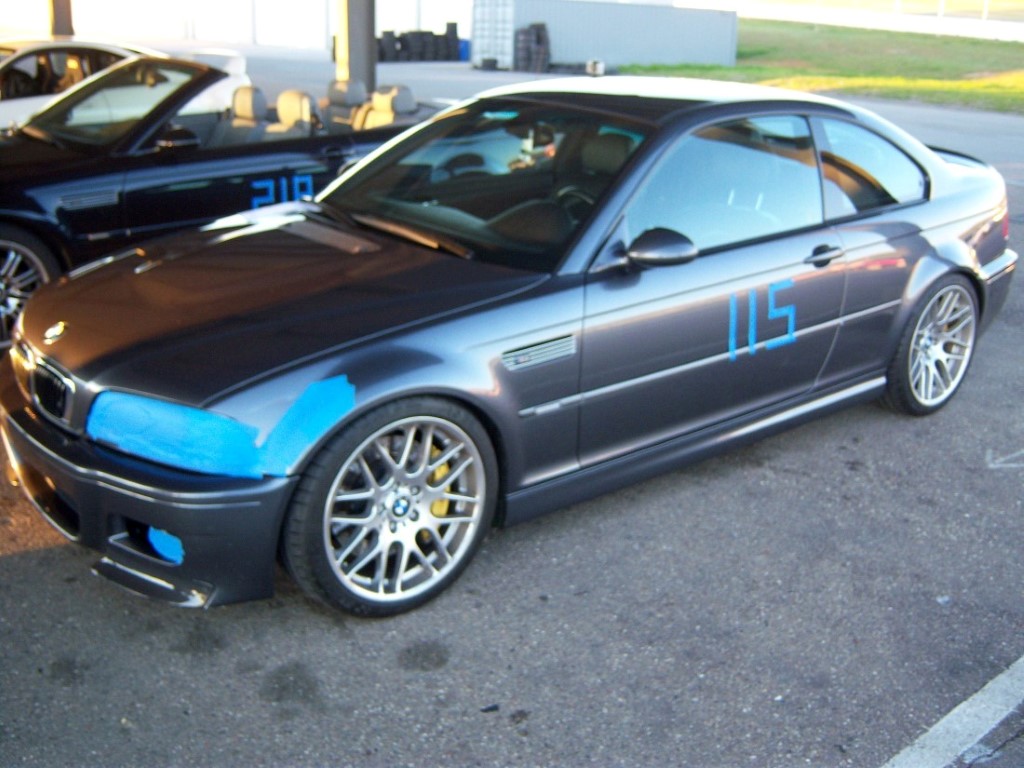
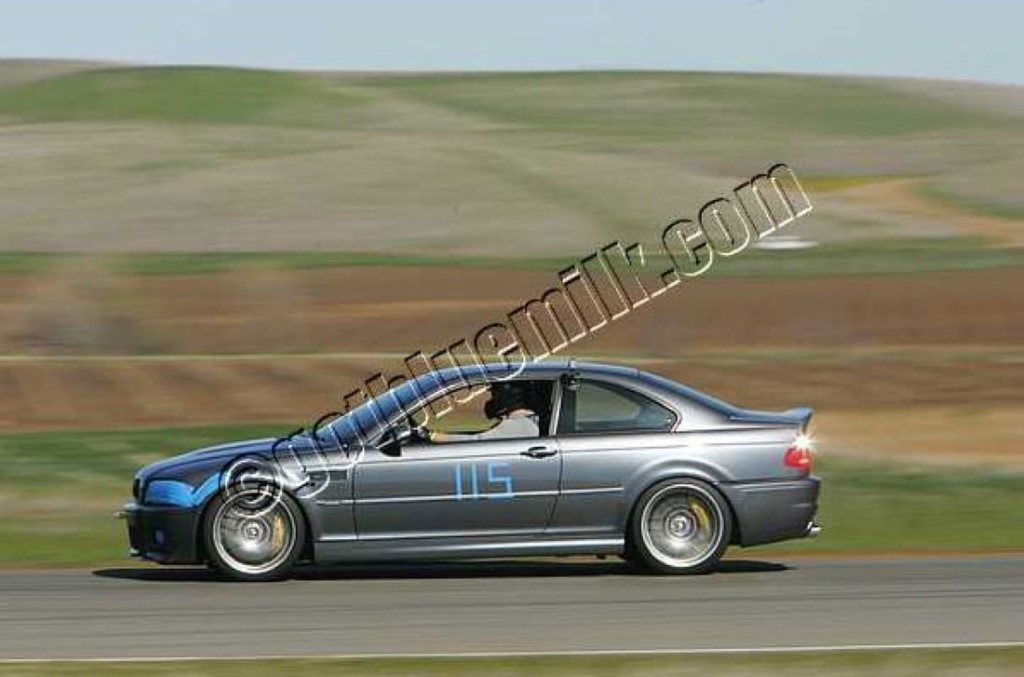
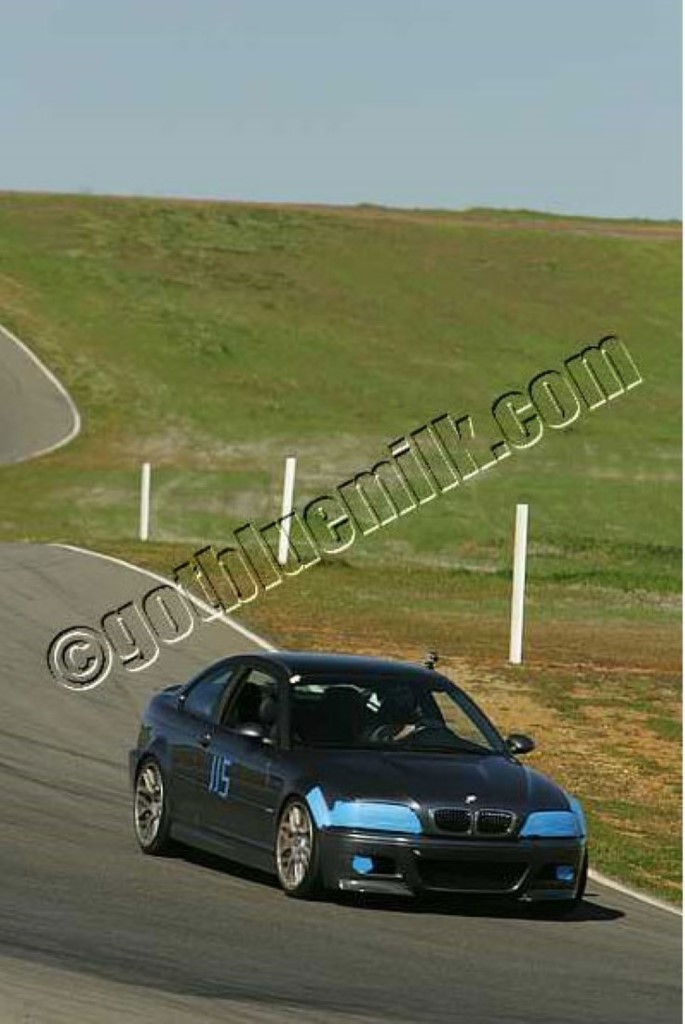
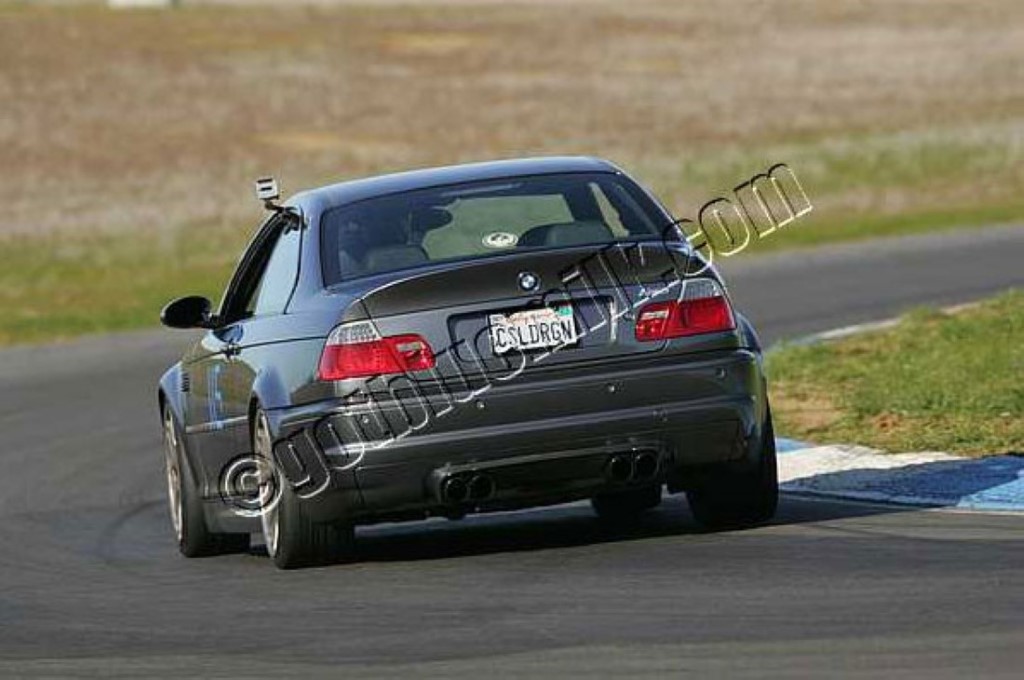
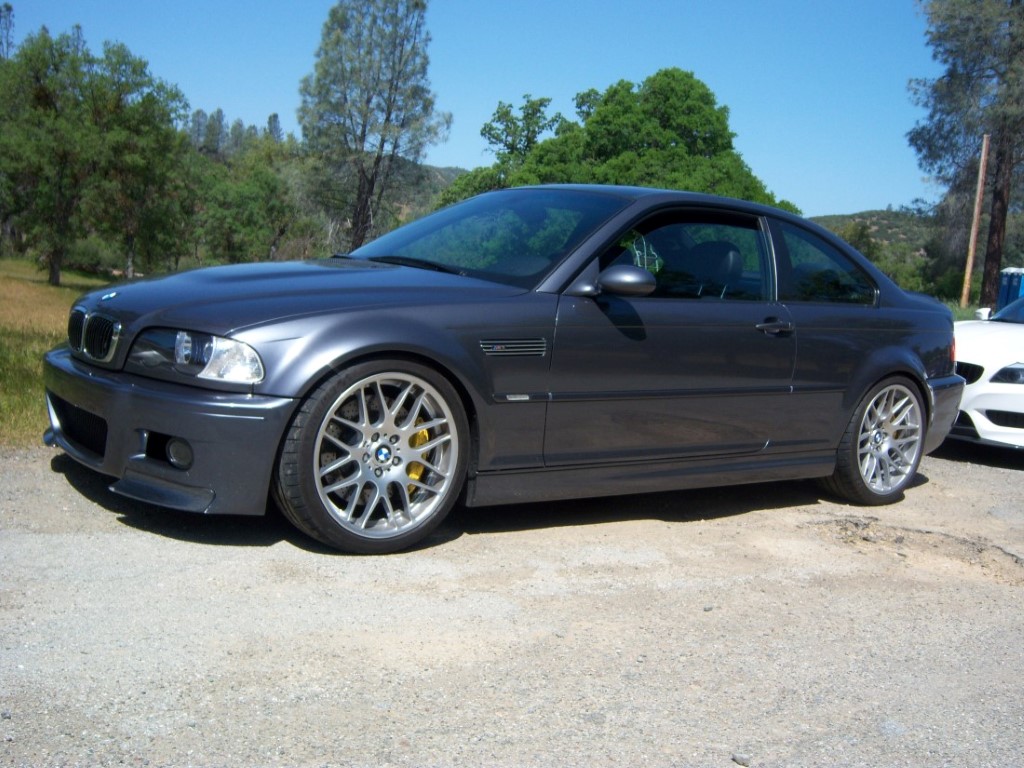
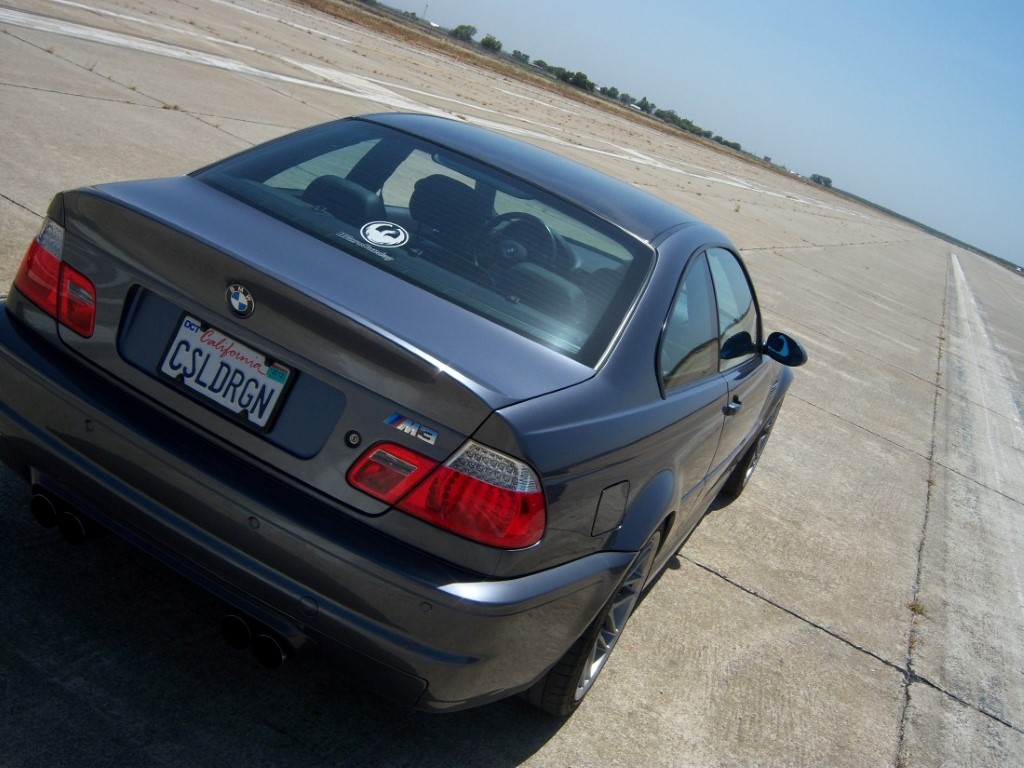
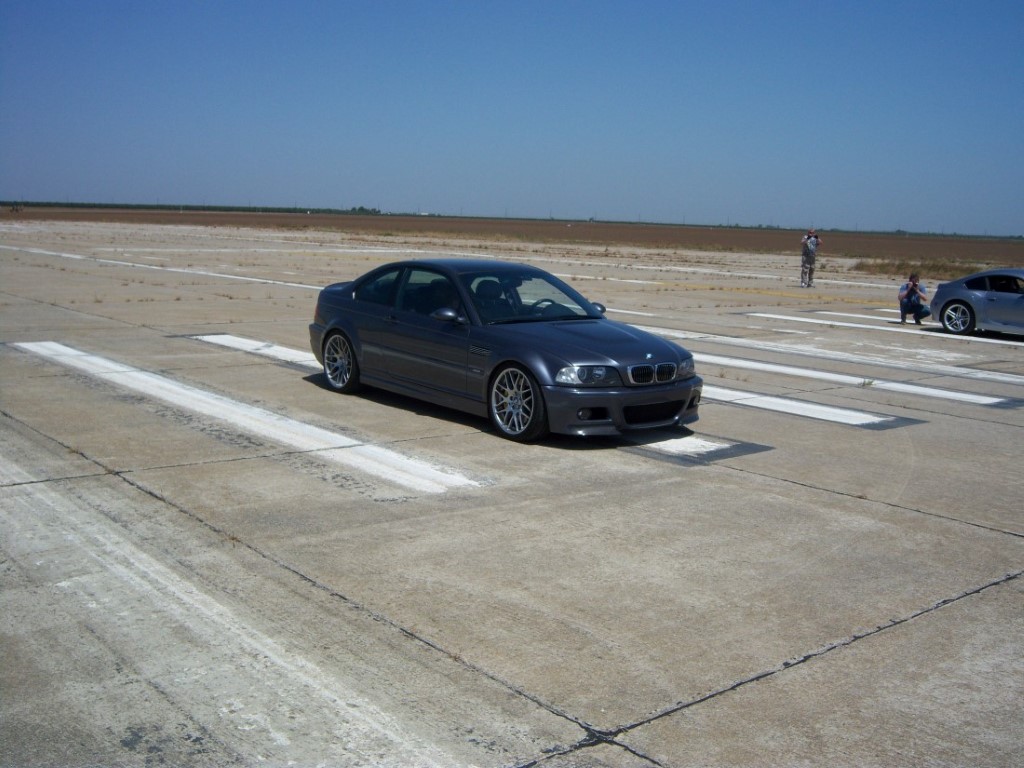
About two weeks later, the dealer called me and said they had a customer back out of an order and asked if I was interested. At first, I was hesitant because I wanted silver but they gave me a discount on several of the ordered options. I agreed to purchase this car as I was saving money and the color was not bad. I am glad they did, as now the Steel Gray Metallic is one of the rarer colors for the M3. October 15th, 2002 I bought my M3 with 88 miles on the clock and the journey began.
Vehicle Specifications:
.jpg)
.jpg)
.jpg)
.jpg)
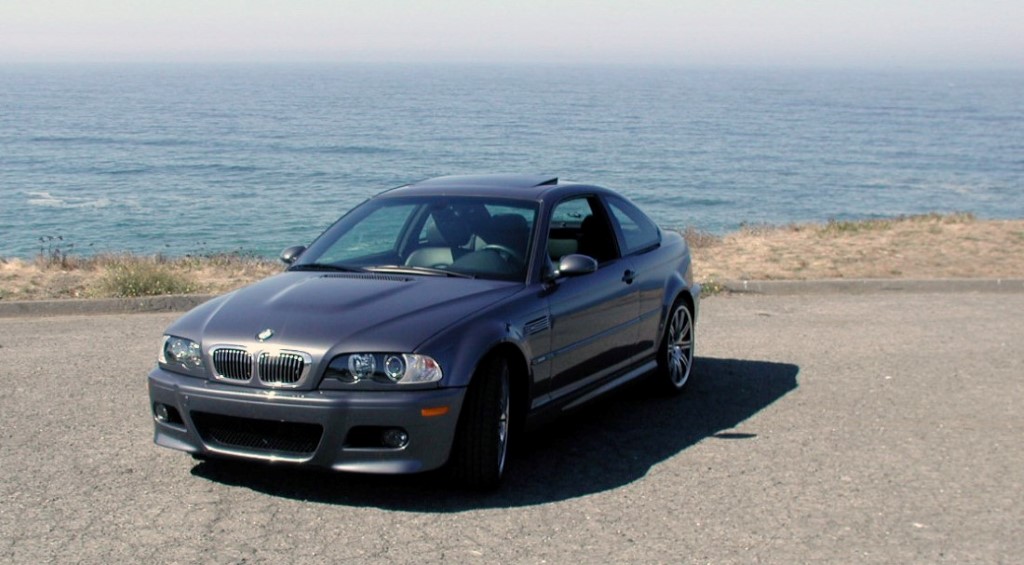
The next morning I could not wait to walk out to the garage to see if the car was actually there or if was it one hell of a realistic dream. Thankfully when I walked into the garage, there she was, sitting all clean and pretty.
Now take this as a coincidence but here are some interesting things I realized after I bought the car. I bought the car on October 15, 2002. My favorite month is October, 15 is my lucky number and the car's vin ends in 15, I was 22 at the time, and the stock horsepower matches the last digits of an item we all need to drive. They say when things are meant to be they will just happen.

Full build thread XLS Document:
https://docs.google.com/spreadsheet/...EE&usp=sharing
Assistance XLS Document - FULL CSL parts listing for M3 to CSL Conversions:
https://docs.google.com/spreadsheet/...0E&usp=sharing
----------------------------------------------------------------------------
Purchase History and Day 1
I started looking in September 2002 at 330ci’s, as I wanted a sports car to have for weekend drives. I had never owned a BMW or even a sports car for that matter. My car ownership experience at the time I started looking at BMW’s had only been Ford Broncos, so I was definitely a fish out of water. After some research, I changed my mind and ordered an M3 as it had the SMG system. I asked the dealer to order a silver one and let me know when it arrived.
About two weeks later, the dealer called me and said they had a customer back out of an order and asked if I was interested. At first, I was hesitant because I wanted silver but they gave me a discount on several of the ordered options. I agreed to purchase this car as I was saving money and the color was not bad. I am glad they did, as now the Steel Gray Metallic is one of the rarer colors for the M3. October 15th, 2002 I bought my M3 with 88 miles on the clock and the journey began.
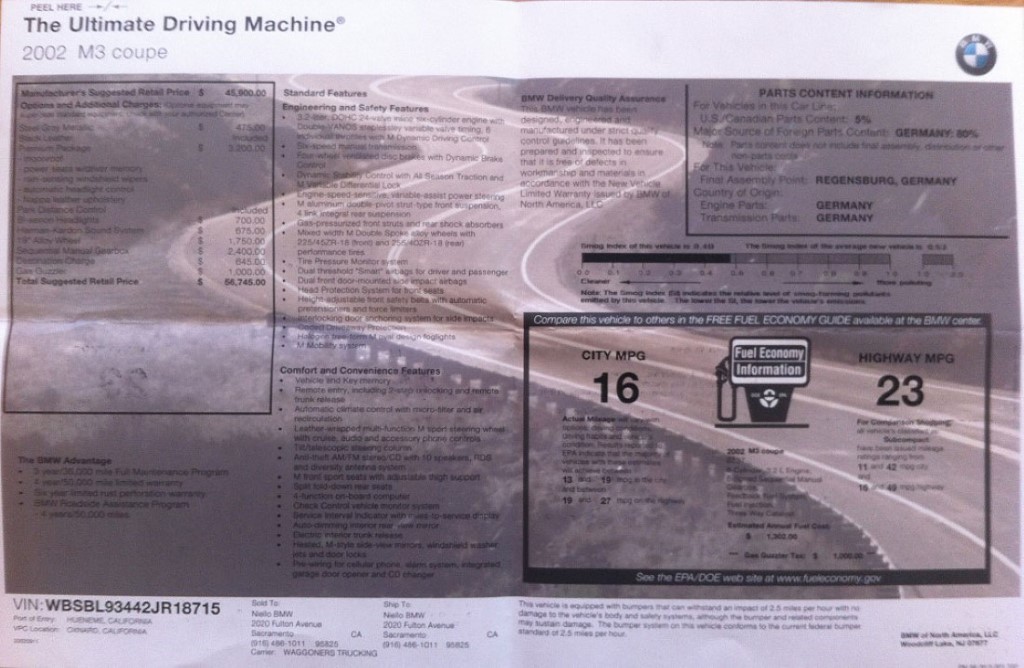
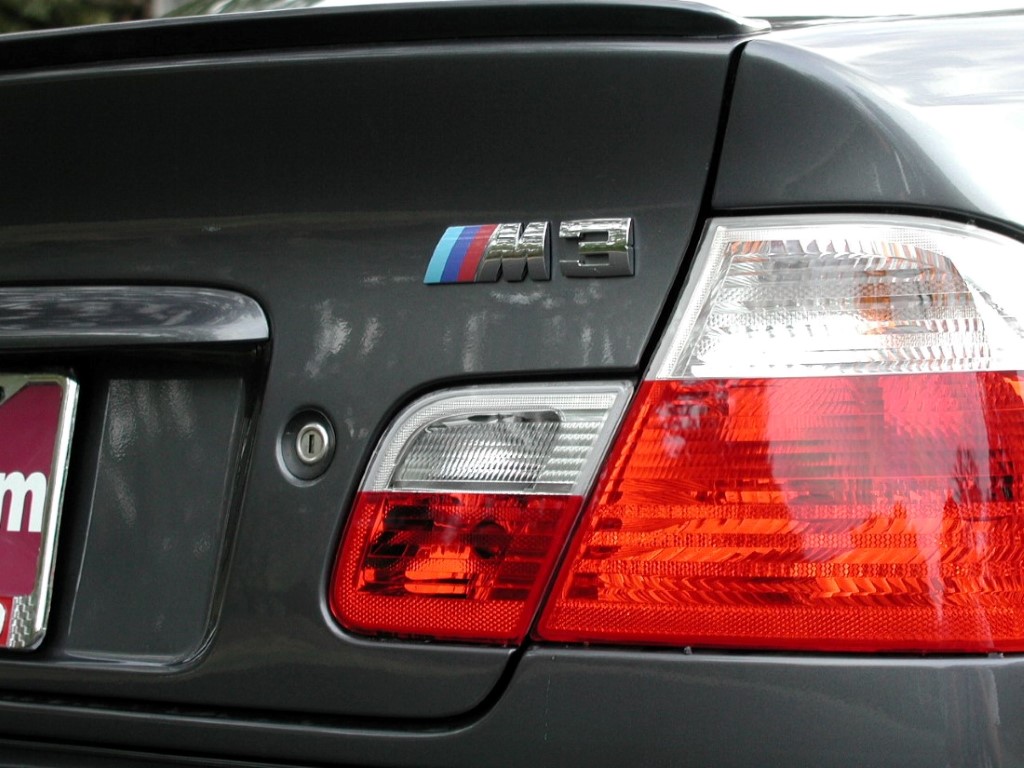
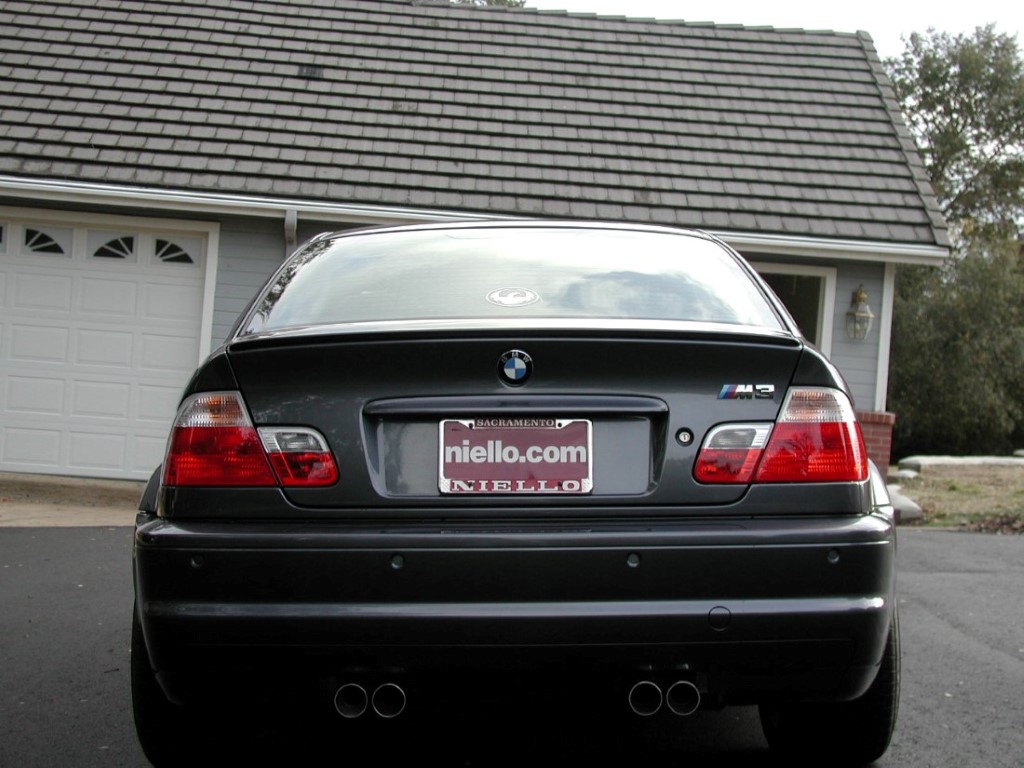
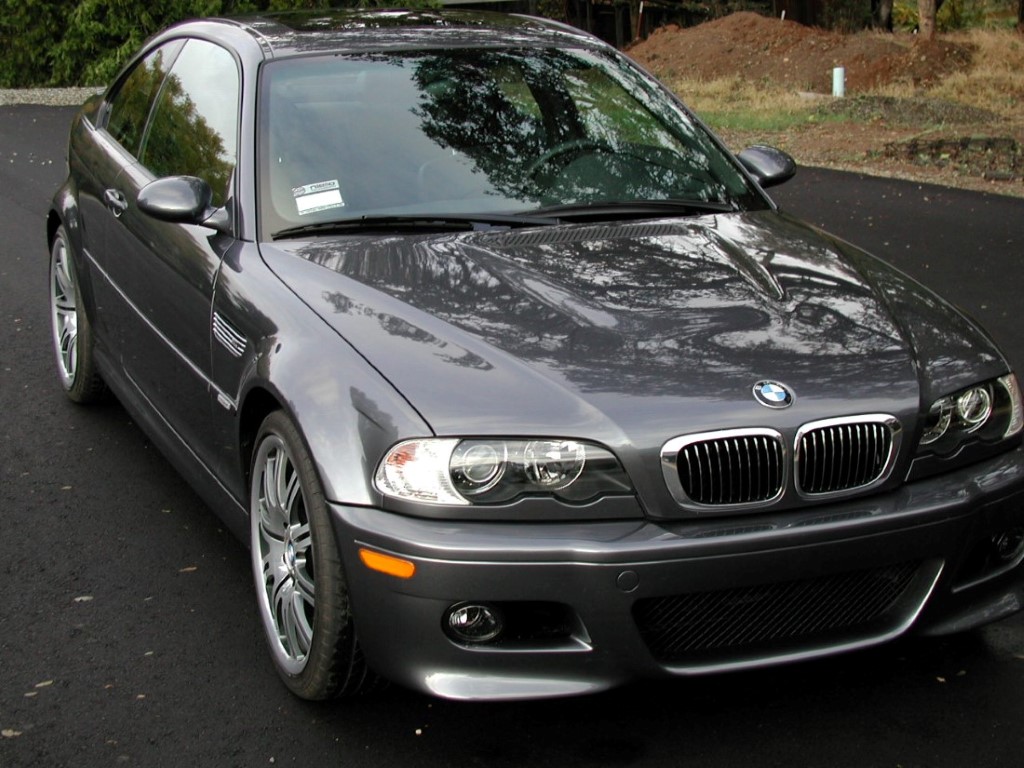
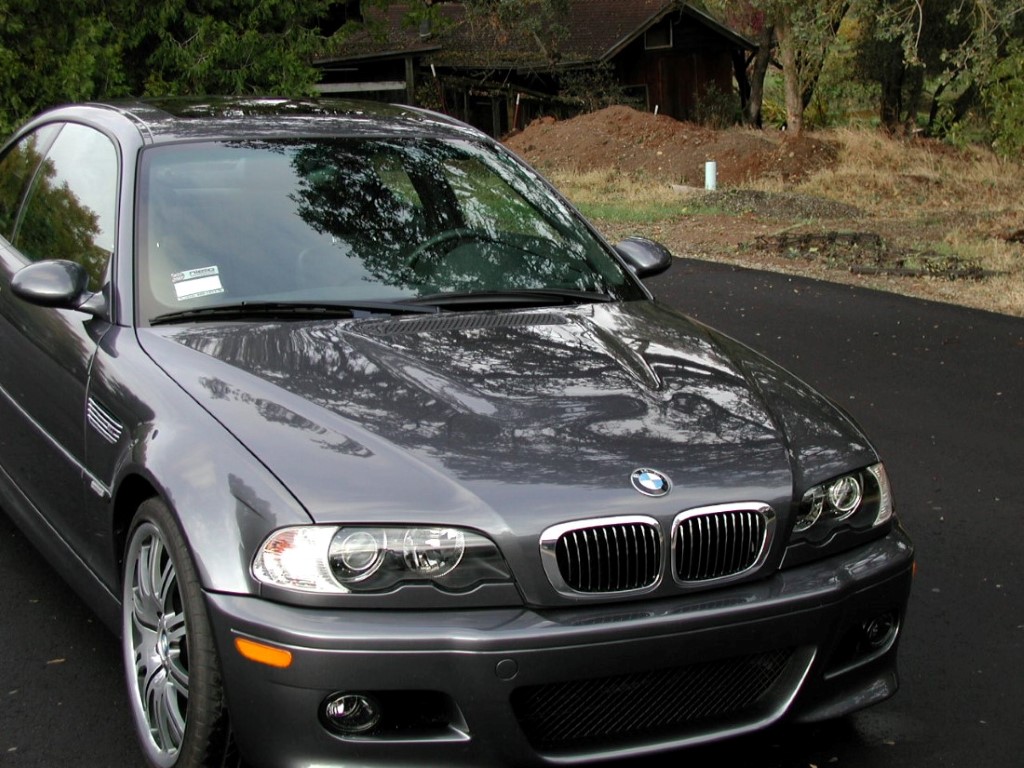
Vehicle Specifications:
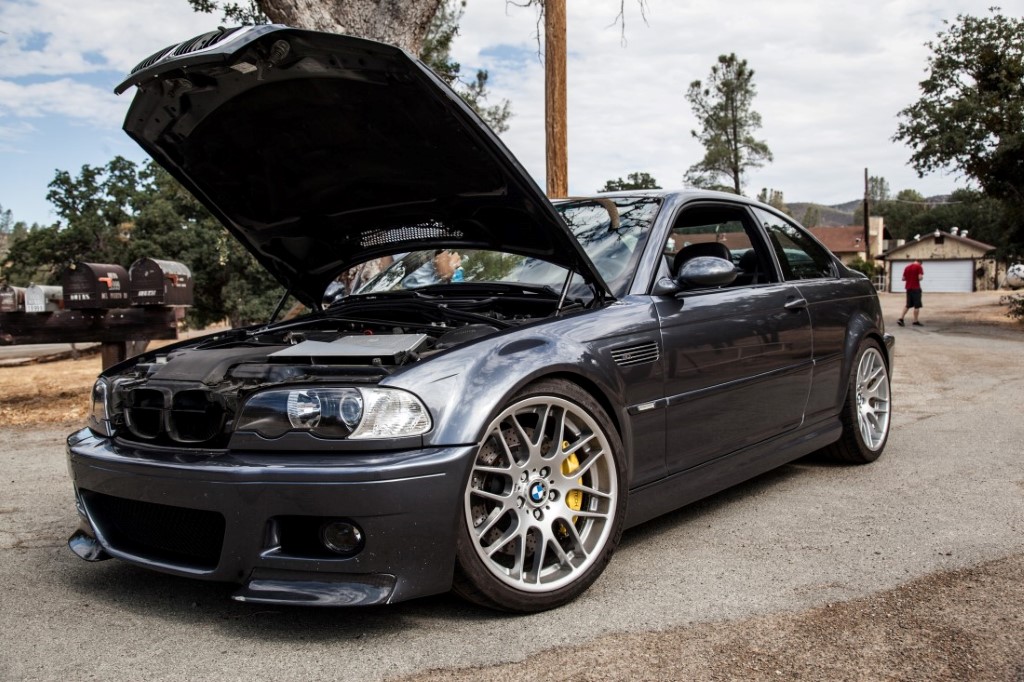
- 2002 BMW E46 M3
- Build Date: XX/2002
- SMG II
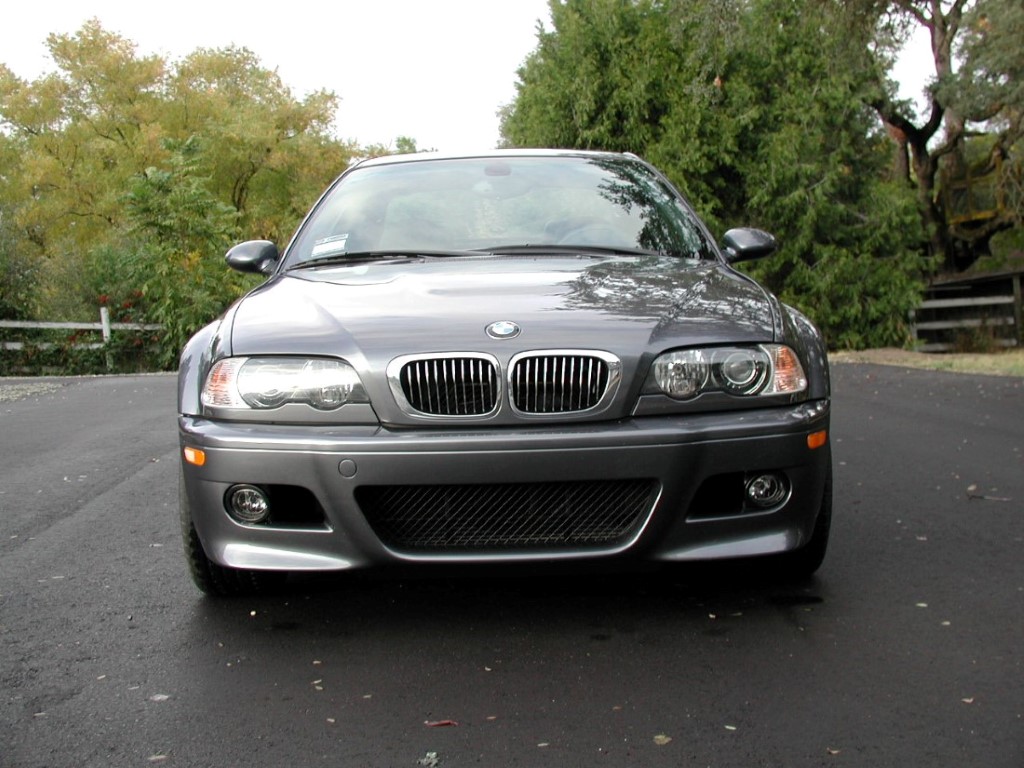
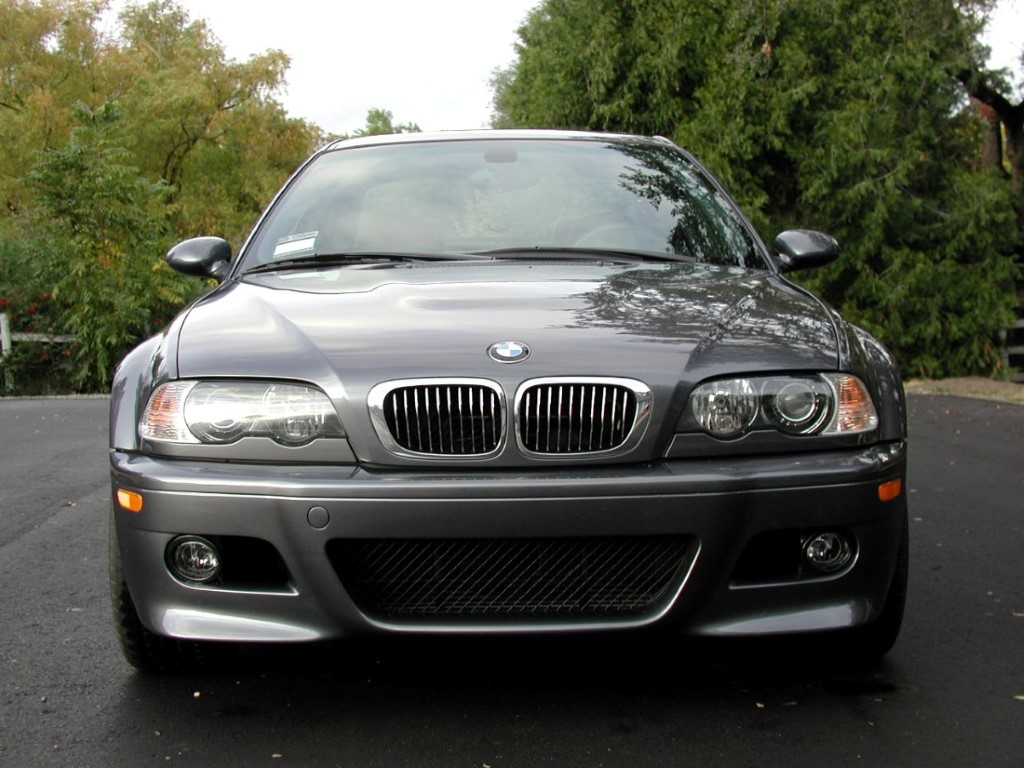
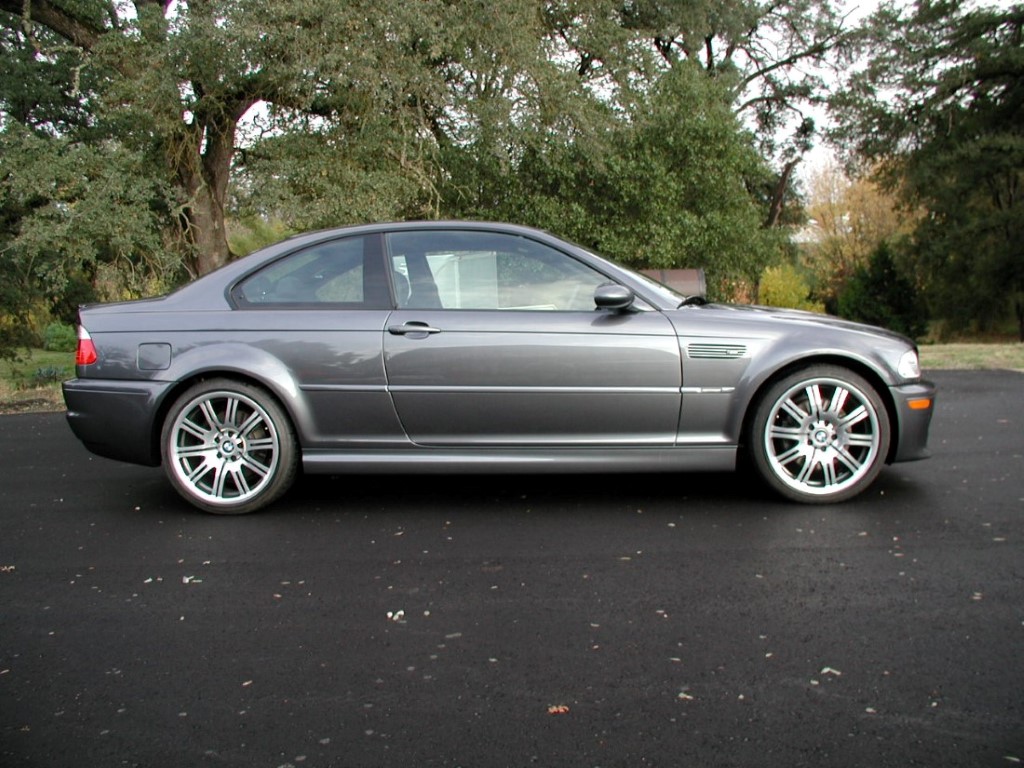
- Steal Gray Metallic.
- Black Nappa Leather
- Premium Package
- Bi-Xenon Headlights
- CD Player
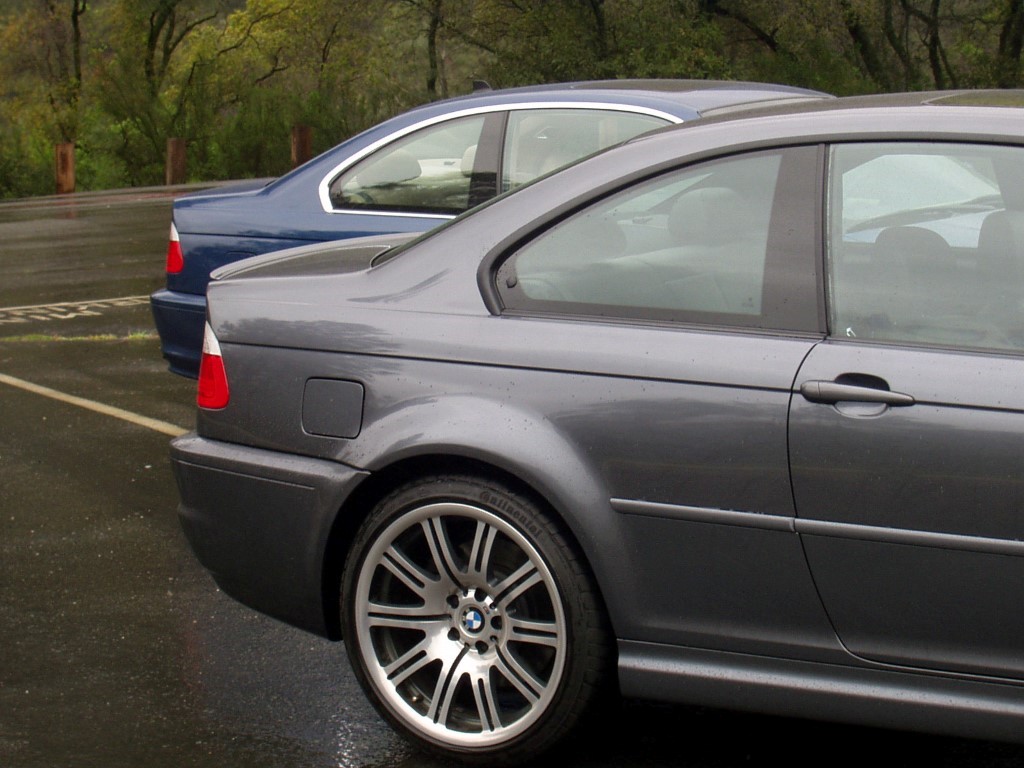
- 19inch wheels
- Harmon Kardon Sound
- BMW Car Cover
- BMW M3 Floor Mats
The next morning I could not wait to walk out to the garage to see if the car was actually there or if was it one hell of a realistic dream. Thankfully when I walked into the garage, there she was, sitting all clean and pretty.
Now take this as a coincidence but here are some interesting things I realized after I bought the car. I bought the car on October 15, 2002. My favorite month is October, 15 is my lucky number and the car's vin ends in 15, I was 22 at the time, and the stock horsepower matches the last digits of an item we all need to drive. They say when things are meant to be they will just happen.


.JPG)
.JPG)
.JPG)
.jpg)
.jpg)
.jpg)
.jpg)
.jpg)
.jpg)
.jpg)
.jpg)
.jpg)
.jpg)
.jpg)
.jpg)
.JPG)
.JPG)
.jpg)
.jpg)
.jpg)
.JPG)
.JPG)
.JPG)
.JPG)
.jpg)
.jpg)

.JPG)
.JPG)
.JPG)
.JPG)
.JPG)
.JPG)
.JPG)
.jpg)
.jpg)
.jpg)
.jpg)
.jpg)

.jpg)
.jpg)
.JPG)
.jpg)
.jpg)
.jpg)
.jpg)
.jpg)
.jpg)
.jpg)
.jpg)
.jpg)
.jpg)
.jpg)
.jpg)
.jpg)
.JPG)
.JPG)
.JPG)
.JPG)
.JPG)
.jpg)
.JPG)
.JPG)
.JPG)
.JPG)
.JPG)
.JPG)
.JPG)
.jpg)
.jpg)
.jpg)
.jpg)
.jpg)
.jpg)
.jpg)
.jpg)
.jpg)
.jpg)
.jpg)
.jpg)
.jpg)
.jpg)
.JPG)
.jpg)
.JPG)
.JPG)
.JPG)
.JPG)
.jpg)
.JPG)
.JPG)
.JPG)
.JPG)
.JPG)
.JPG)
.jpg)
.jpg)
.JPG)
.JPG)
.JPG)
.JPG)
.JPG)
.JPG)
.jpg)
.JPG)
.JPG)
.JPG)
.JPG)

.jpg)
.JPG)
.jpg)
.jpg)

.jpg)
.JPG)

.JPG)
.JPG)
.JPG)
.JPG)
.JPG)
.JPG)
.JPG)
.JPG)
.JPG)
.JPG)
.JPG)
.JPG)
.JPG)
.JPG)
.JPG)
.JPG)

.JPG)
.JPG)
.JPG)
.JPG)
.JPG)
.JPG)
.JPG)
.jpg)
.jpg)
.JPG)
.JPG)
.JPG)
.JPG)
.JPG)
.JPG)
.JPG)
.JPG)
.JPG)
.JPG)
.JPG)
.JPG)
.JPG)
.jpg)
.jpg)
.JPG)
.JPG)
.JPG)
.JPG)
.JPG)
.JPG)
.JPG)
.JPG)
.JPG)
.JPG)
.JPG)
.JPG)
.JPG)
.JPG)
.JPG)
.JPG)
.JPG)
.JPG)
.JPG)
.JPG)
.JPG)
.JPG)
.JPG)
.JPG)
.JPG)
.JPG)
.JPG)
.JPG)
.JPG)
.JPG)
.JPG)
.JPG)
.JPG)
.JPG)
.JPG)
.jpg)
.jpg)
.jpg)
.jpg)
.jpg)

.jpg)
.JPG)
.jpg)
.jpg)
.jpg)
.jpg)
.jpg)
.jpg)
.jpg)
.jpg)
Comment