Announcement

Collapse
No announcement yet.

NorCal M3 - CSL Conversion (Orignial owner car)

Collapse
X
 
  • Filter
  • Time
  • Show
Clear All
new posts

    NorCal M3 - CSL Conversion (Orignial owner car)

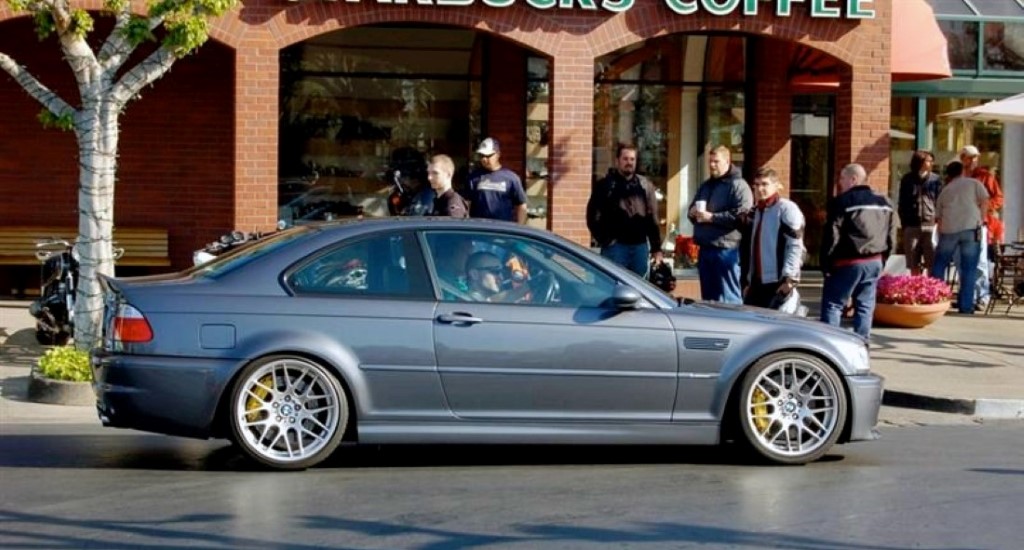
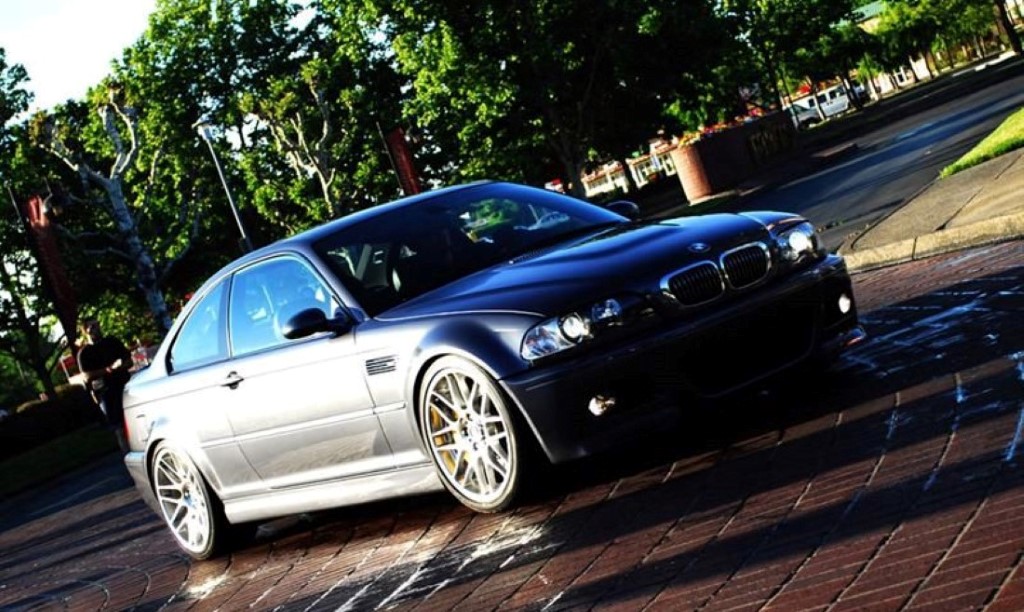
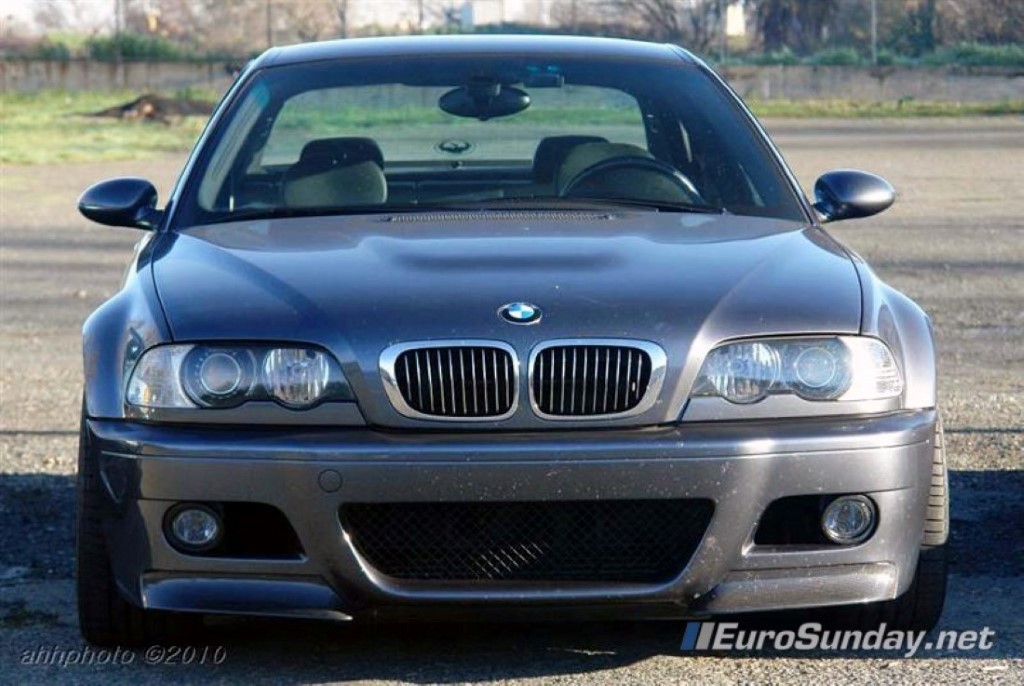
    Recreating the old M3forums build for my car.

    Full build thread XLS Document:
    https://docs.google.com/spreadsheet/...EE&usp=sharing

    Assistance XLS Document - FULL CSL parts listing for M3 to CSL Conversions:
    https://docs.google.com/spreadsheet/...0E&usp=sharing

    ----------------------------------------------------------------------------

    Purchase History and Day 1

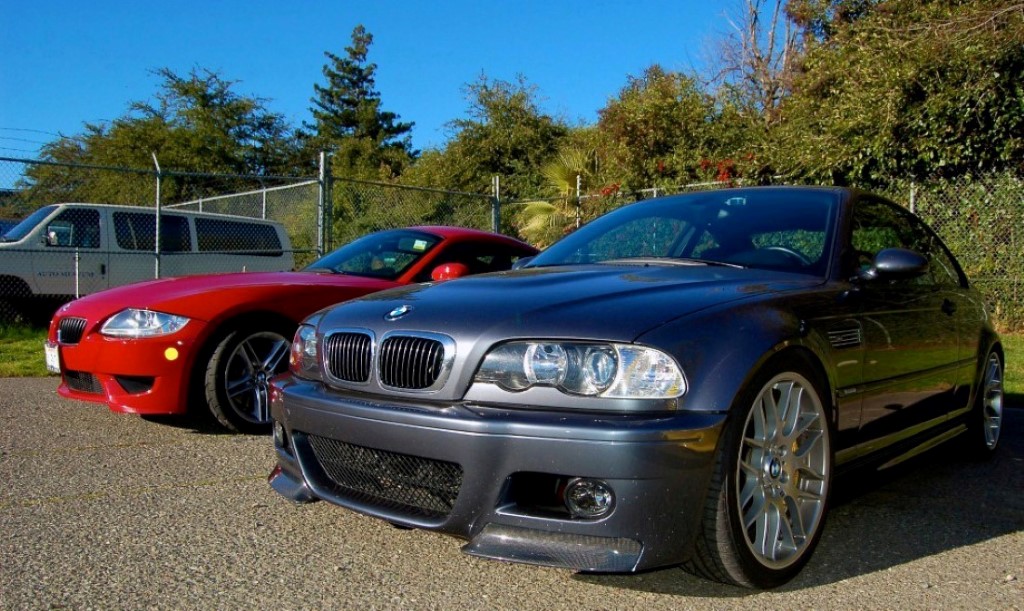
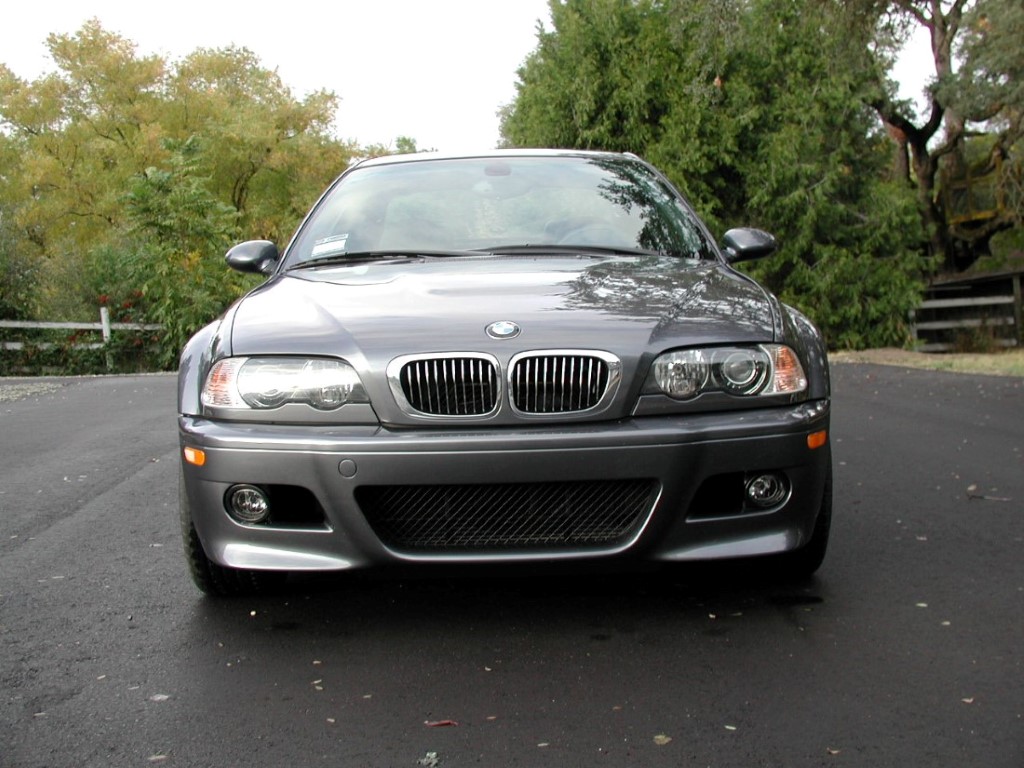
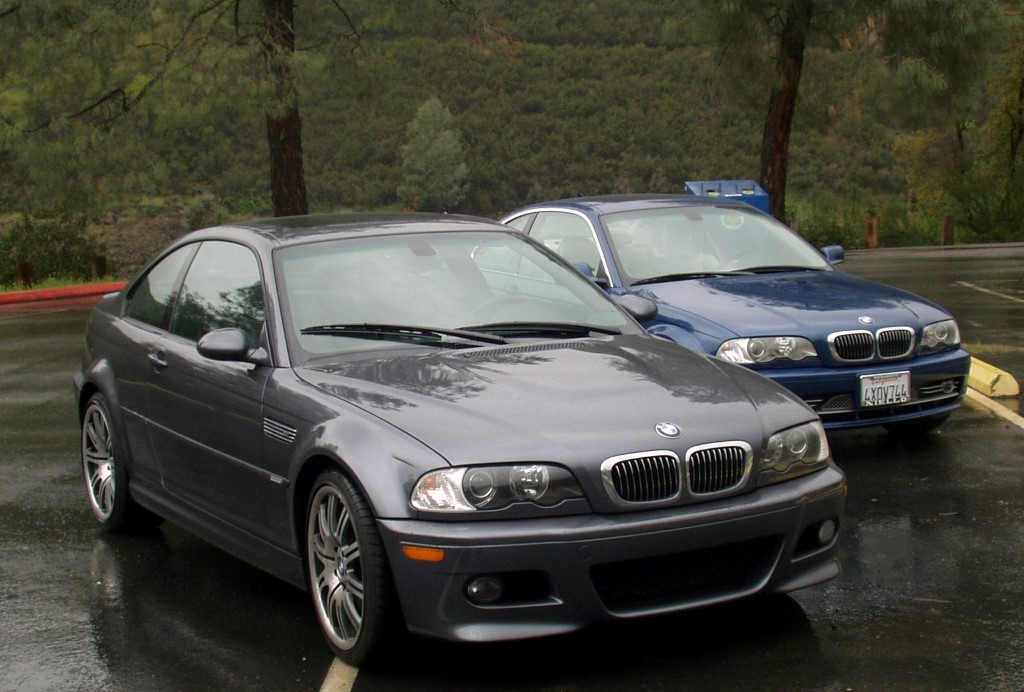
    I started looking in September 2002 at 330ci’s, as I wanted a sports car to have for weekend drives. I had never owned a BMW or even a sports car for that matter. My car ownership experience at the time I started looking at BMW’s had only been Ford Broncos, so I was definitely a fish out of water. After some research, I changed my mind and ordered an M3 as it had the SMG system. I asked the dealer to order a silver one and let me know when it arrived.

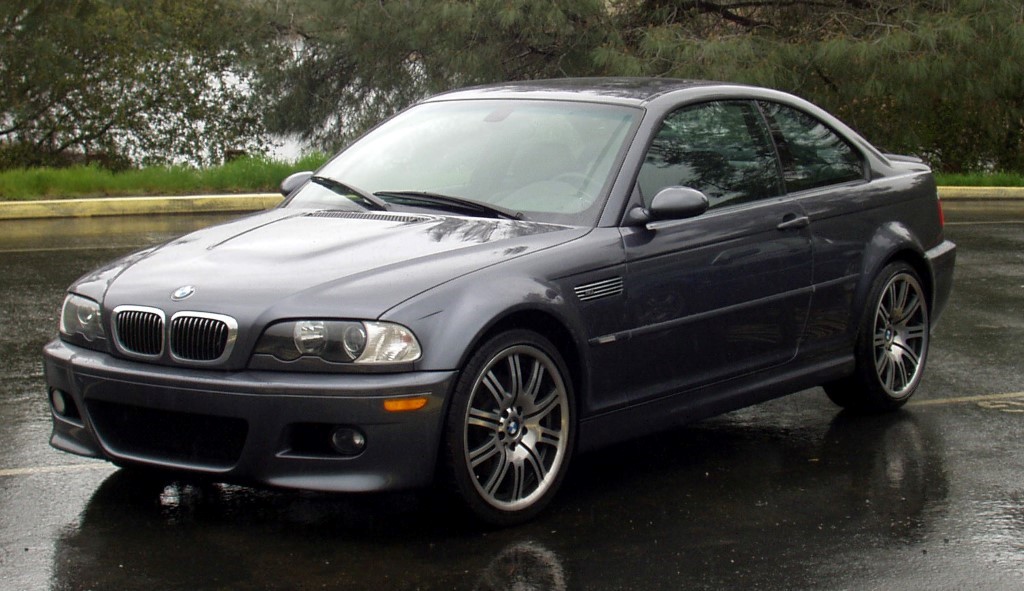
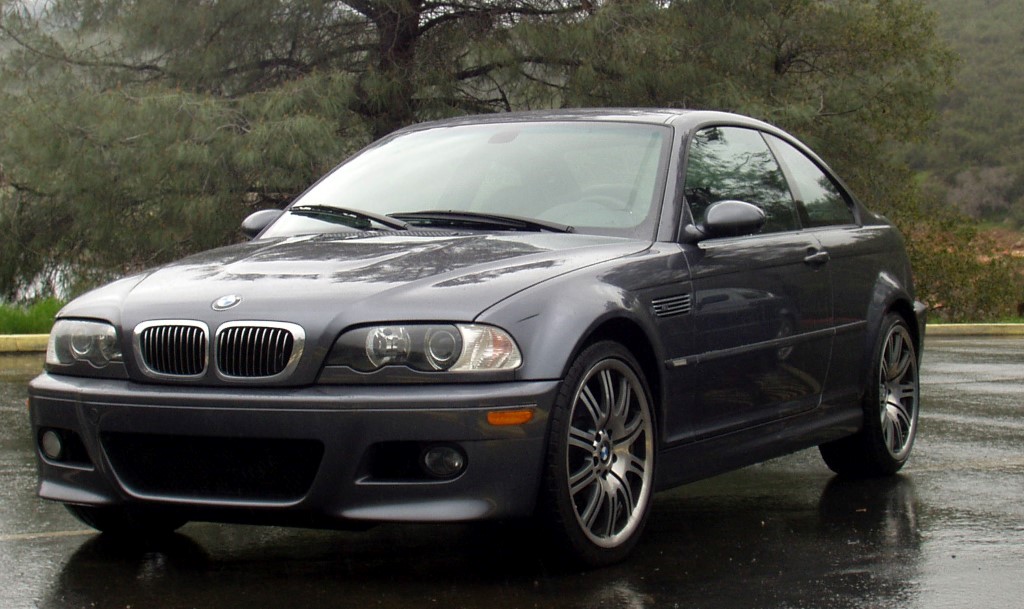
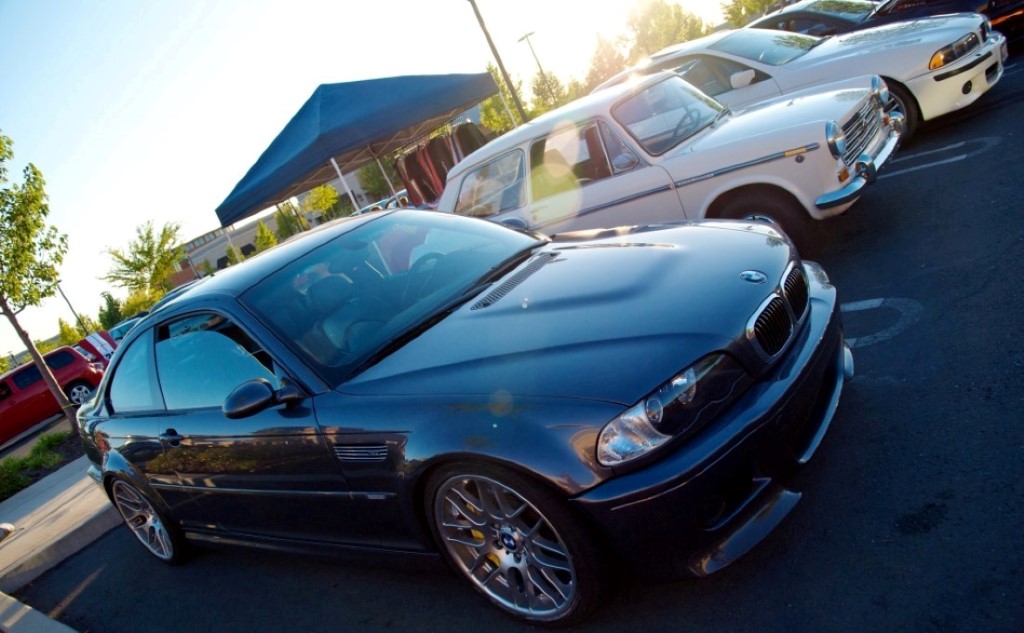
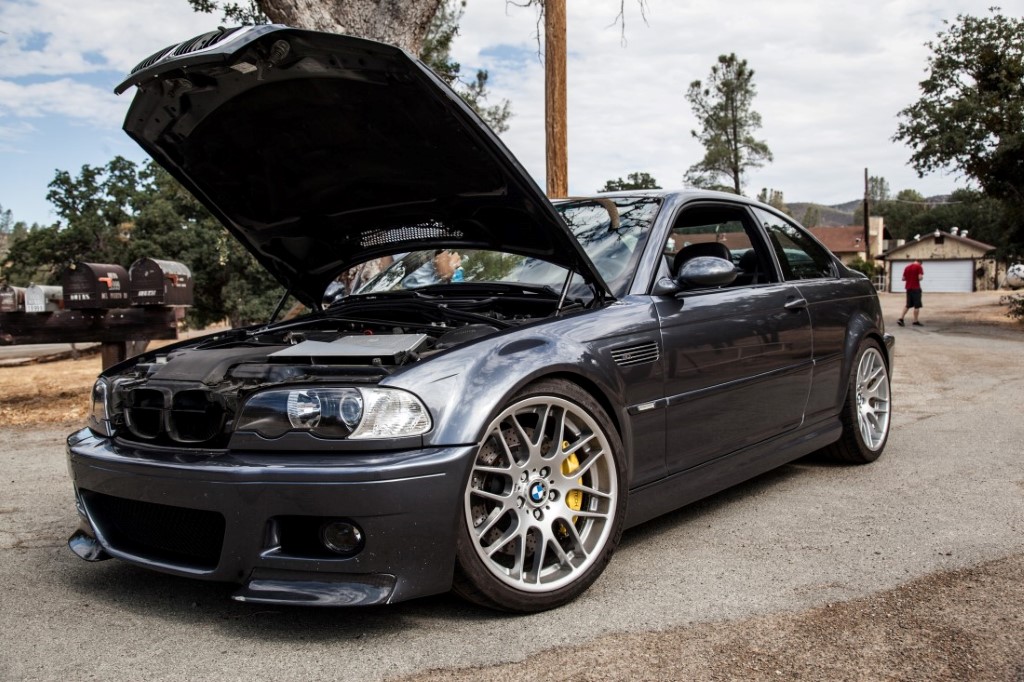
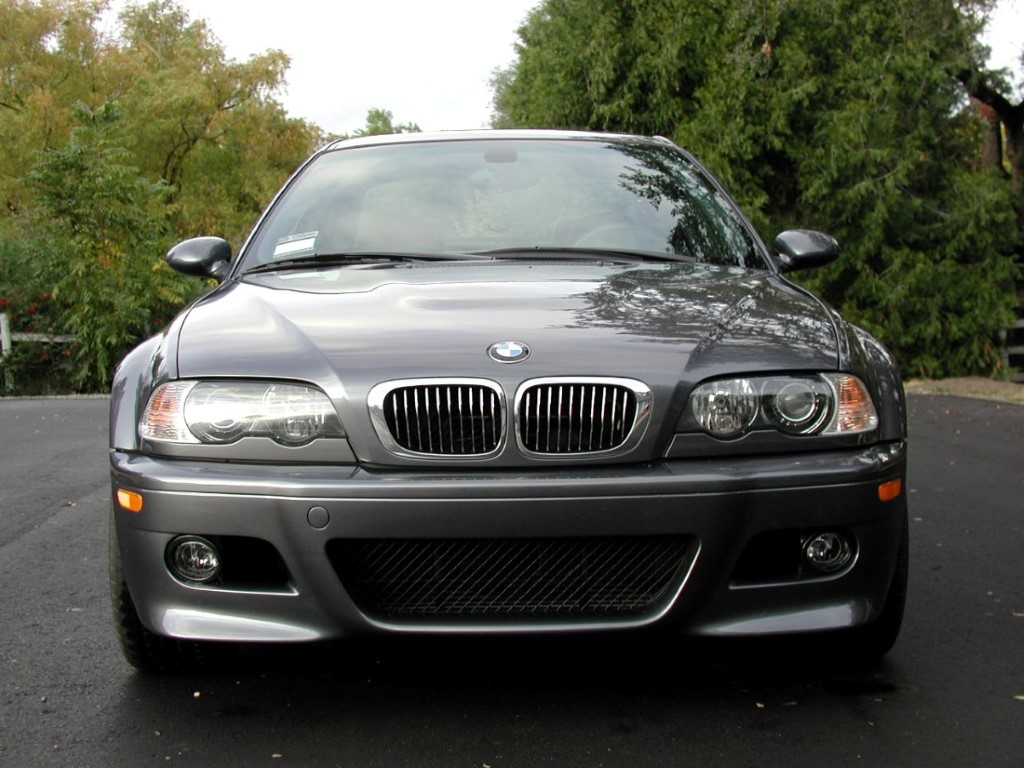
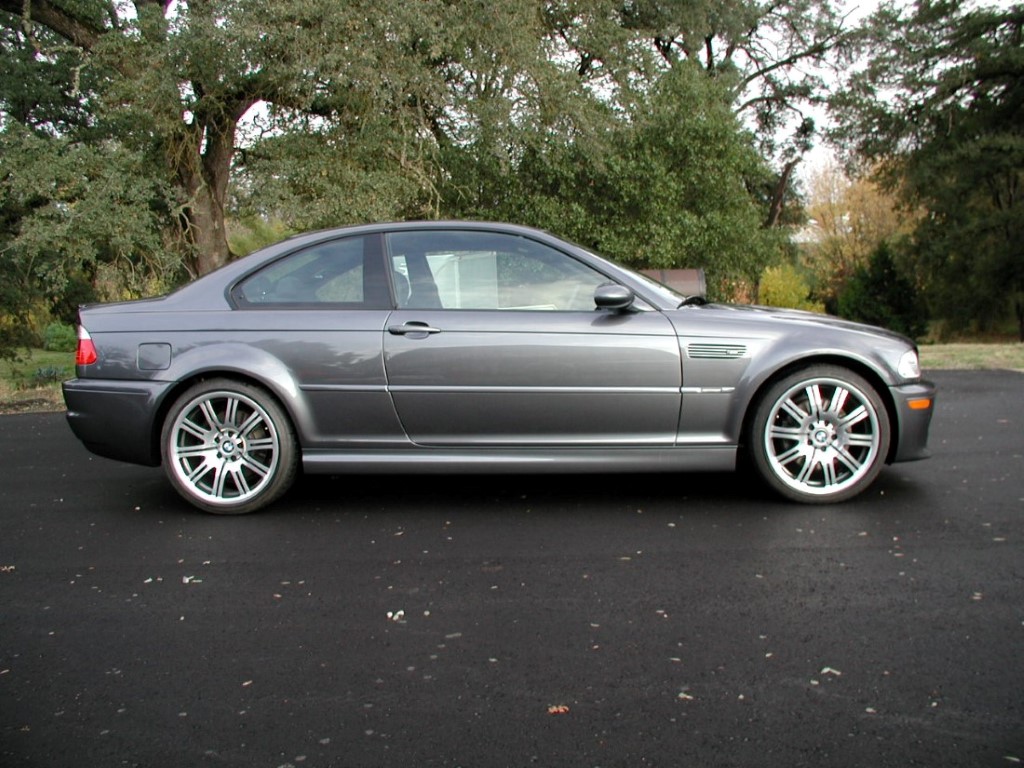
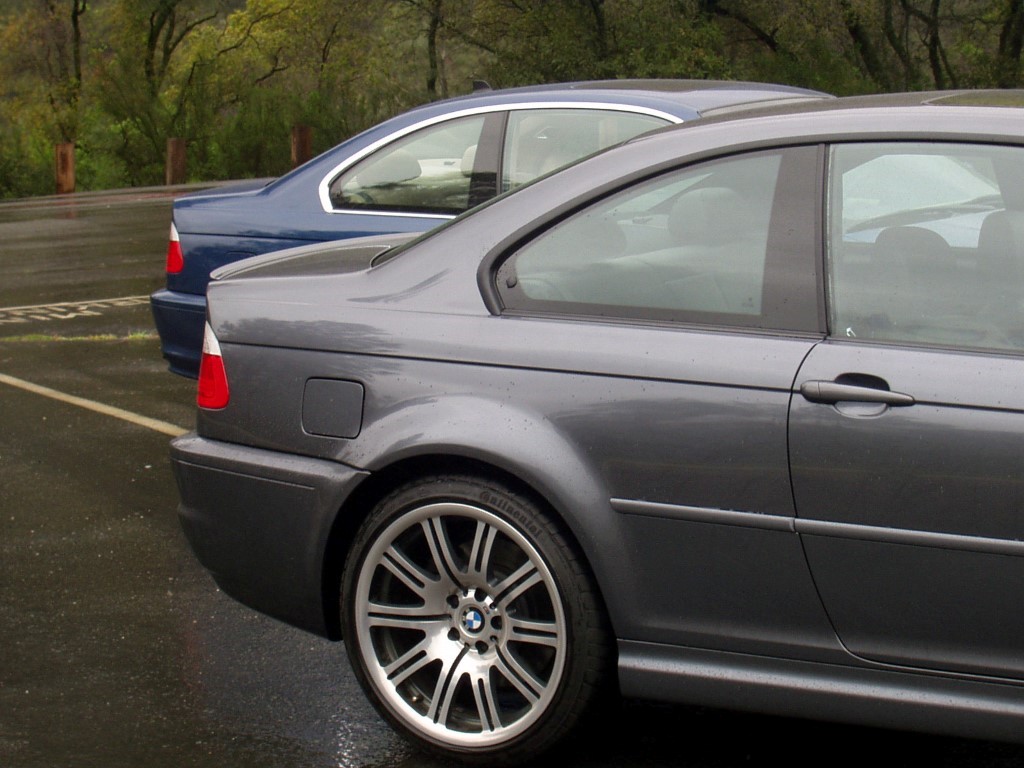
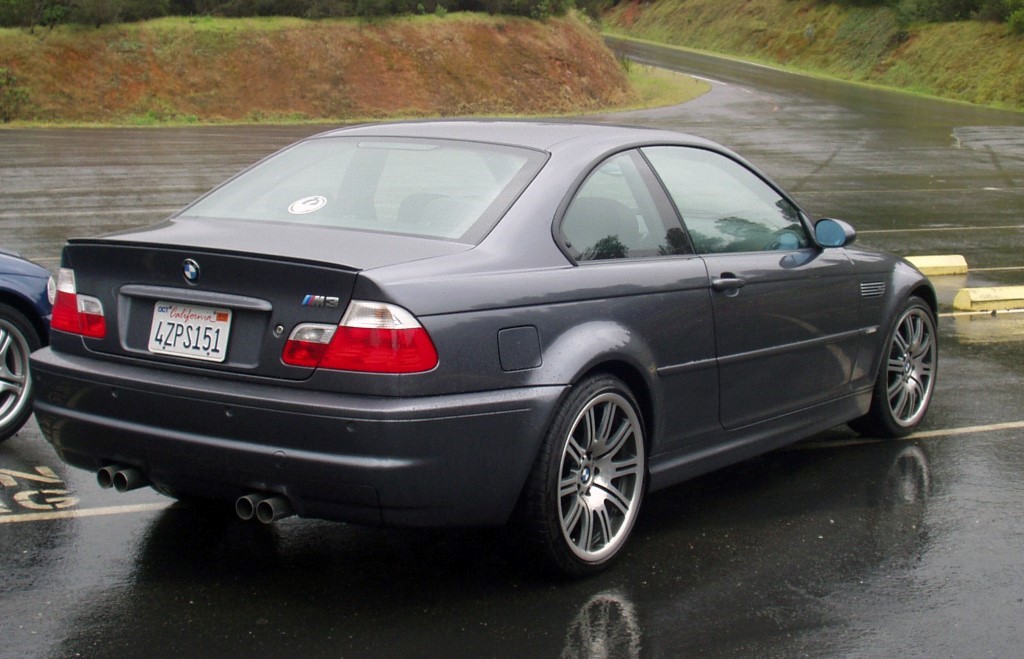
    About two weeks later, the dealer called me and said they had a customer back out of an order and asked if I was interested. At first, I was hesitant because I wanted silver but they gave me a discount on several of the ordered options. I agreed to purchase this car as I was saving money and the color was not bad. I am glad they did, as now the Steel Gray Metallic is one of the rarer colors for the M3. October 15th, 2002 I bought my M3 with 88 miles on the clock and the journey began.

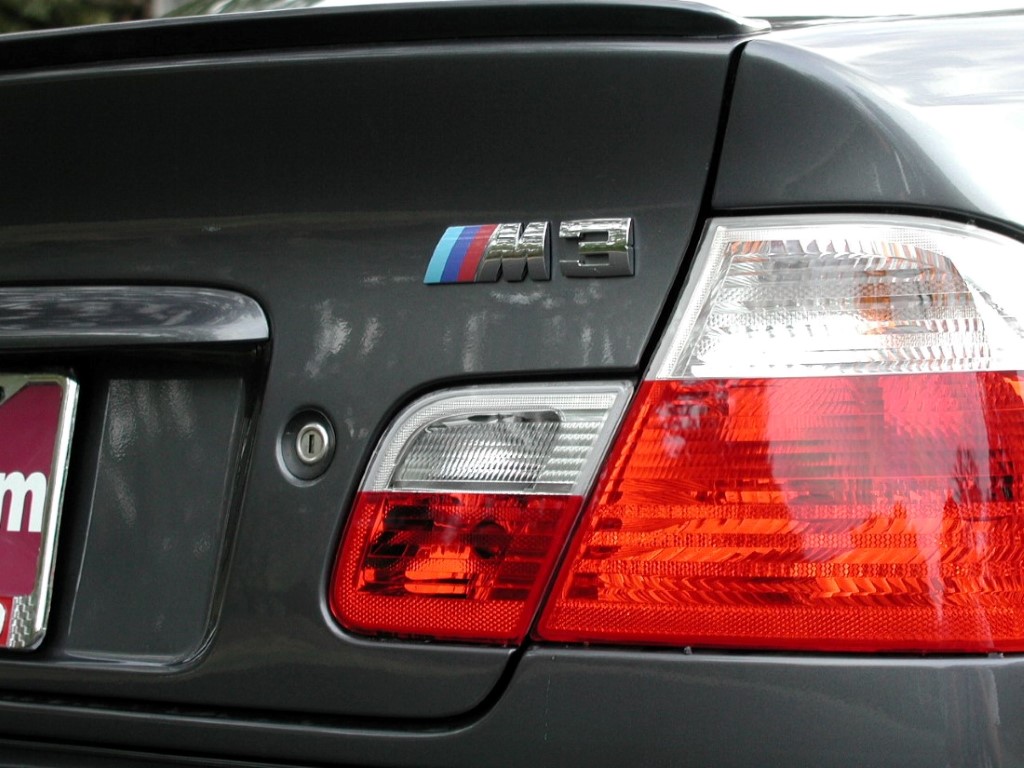
    Vehicle Specifications:
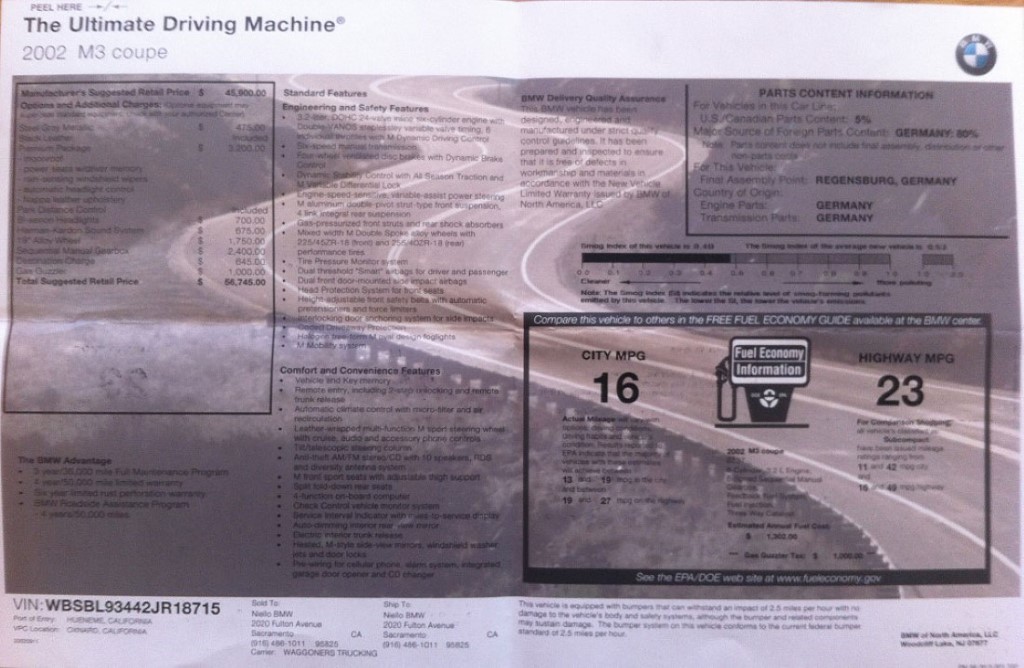
    • 2002 BMW E46 M3
    • Build Date: XX/2002
    • SMG II
    • Steal Gray Metallic.
    • Black Nappa Leather
    • Premium Package
    • Bi-Xenon Headlights
    • CD Player
    • 19inch wheels
    • Harmon Kardon Sound
    • BMW Car Cover
    • BMW M3 Floor Mats​


    The next morning I could not wait to walk out to the garage to see if the car was actually there or if was it one hell of a realistic dream. Thankfully when I walked into the garage, there she was, sitting all clean and pretty.

    Now take this as a coincidence but here are some interesting things I realized after I bought the car. I bought the car on October 15, 2002. My favorite month is October, 15 is my lucky number and the car's vin ends in 15, I was 22 at the time, and the stock horsepower matches the last digits of an item we all need to drive. They say when things are meant to be they will just happen.
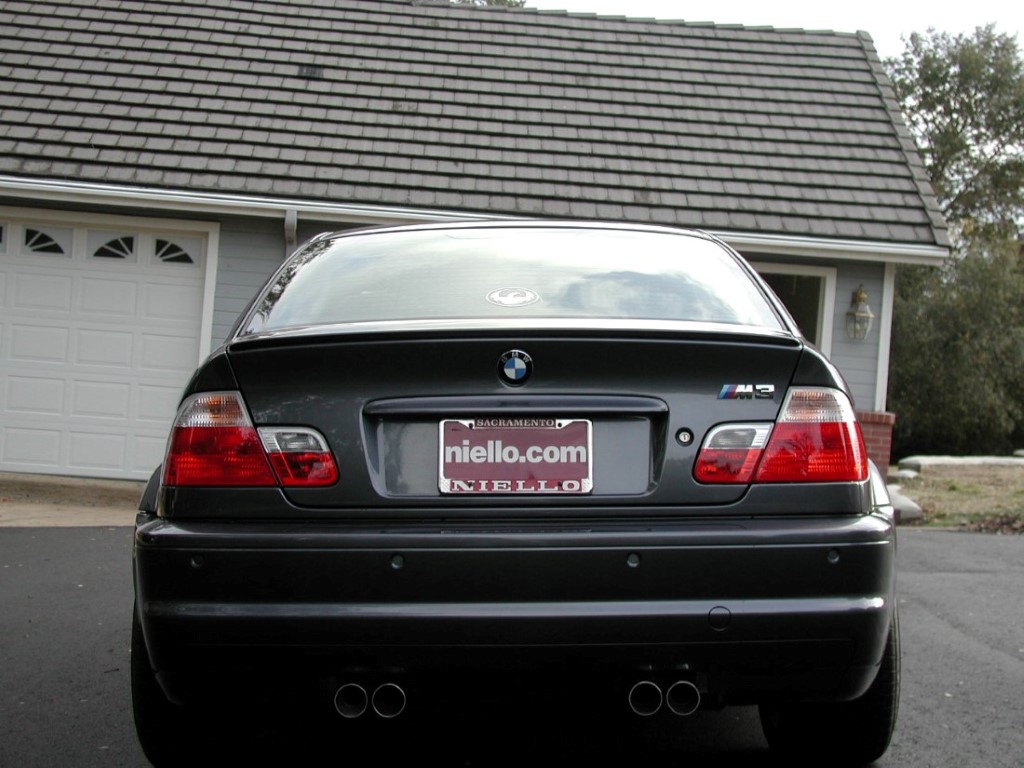
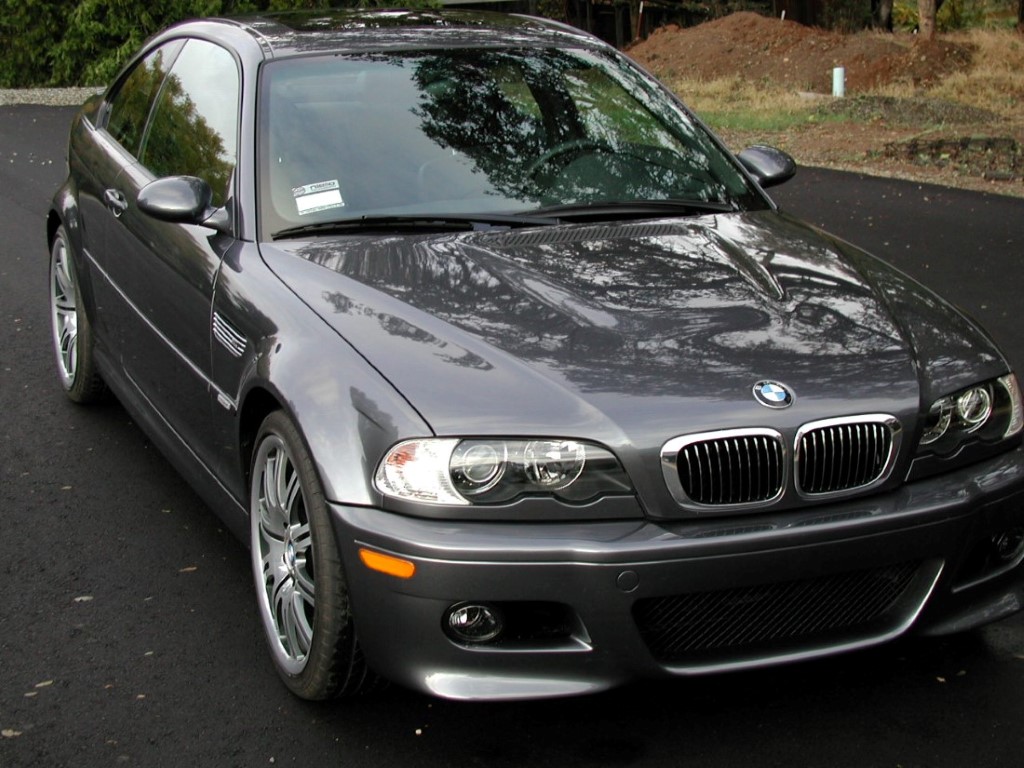
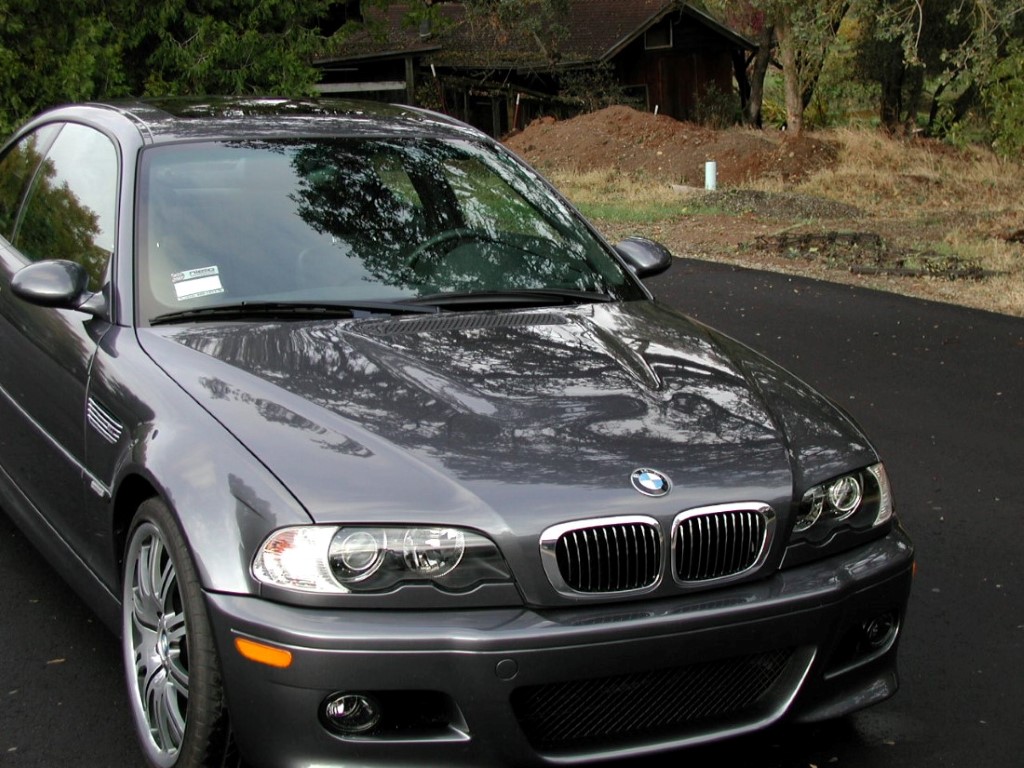
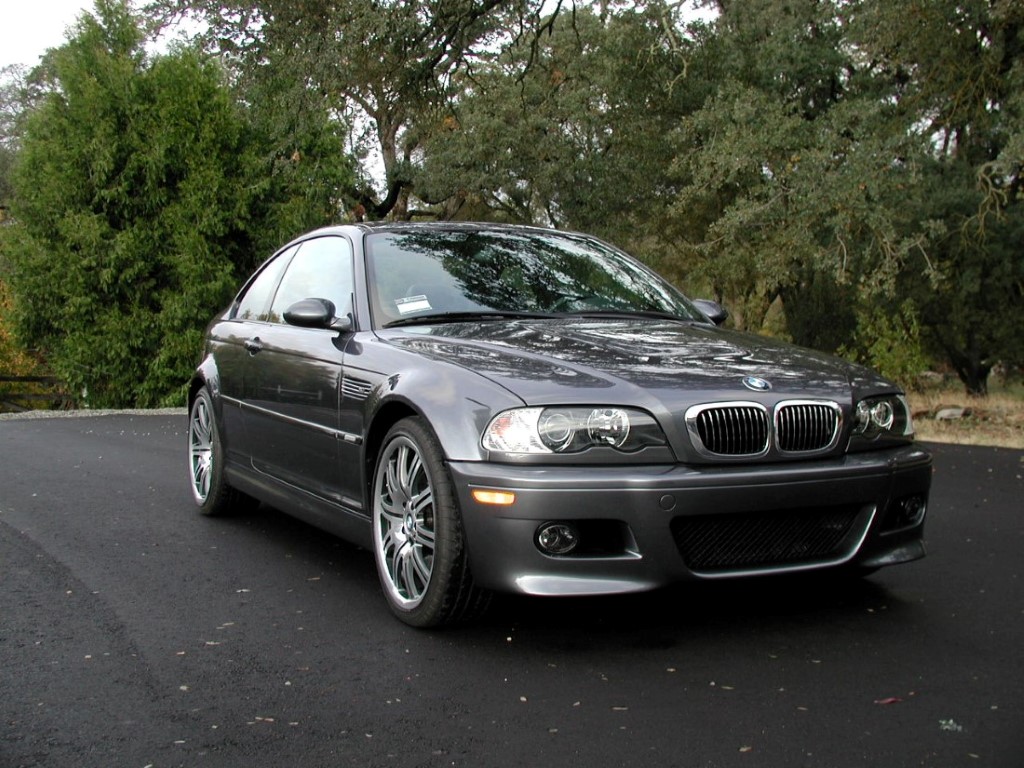



    Build Journal - E46 M3 CSL Conversion

    #2
    The Start of the Journey 2003

    As I was new to the sports car world, I wanted to get out and meet fellow car enthusiasts and go out on drives. In 2003, I was only on the E46fanatics forum which is where I learned all about my M3 before I purchased it. This was also where for the next few years I hung out to learn about upgrades for the car.

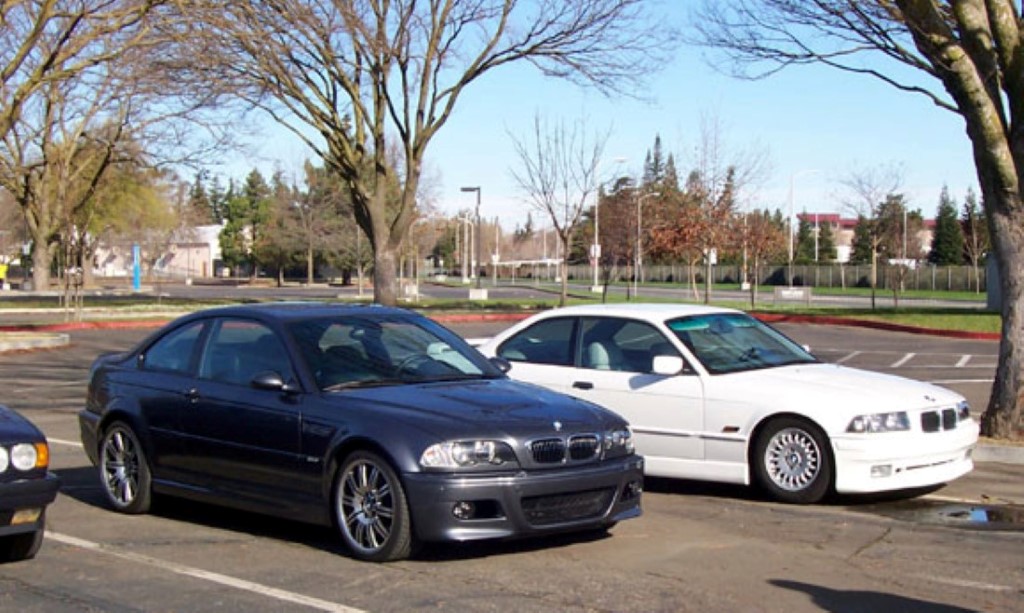
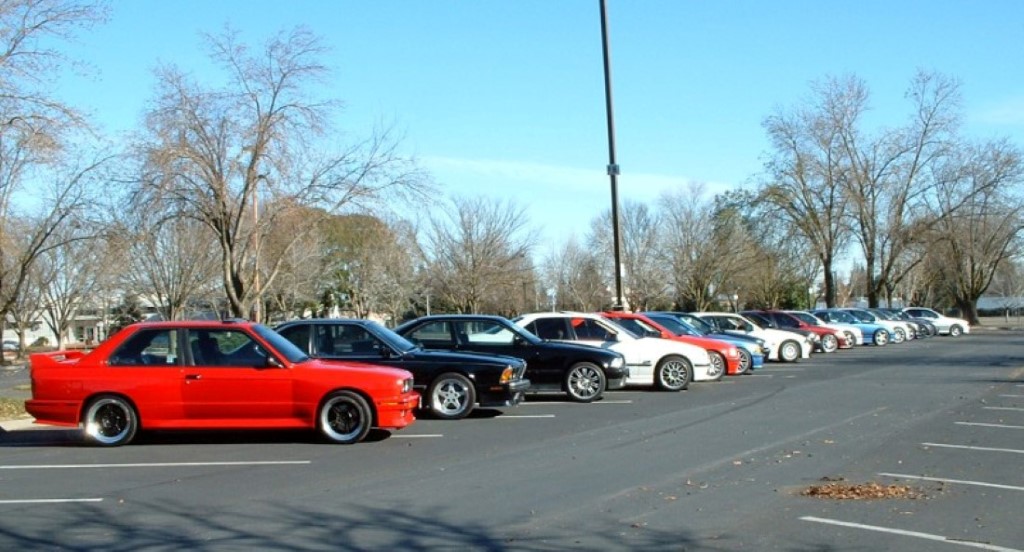
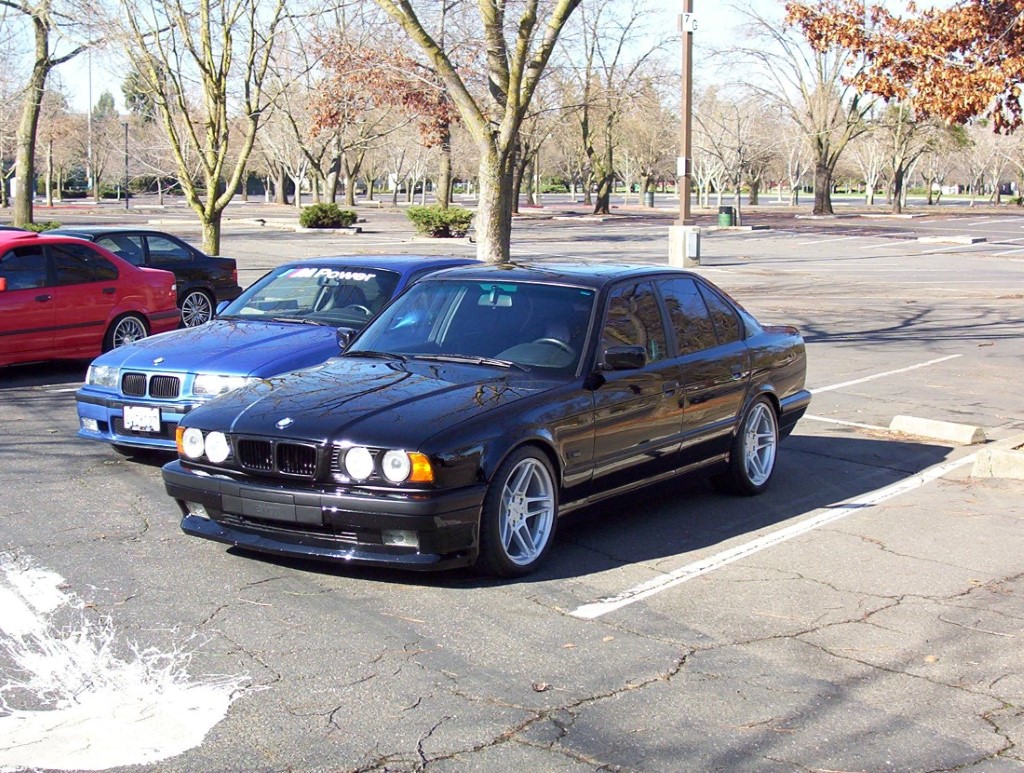
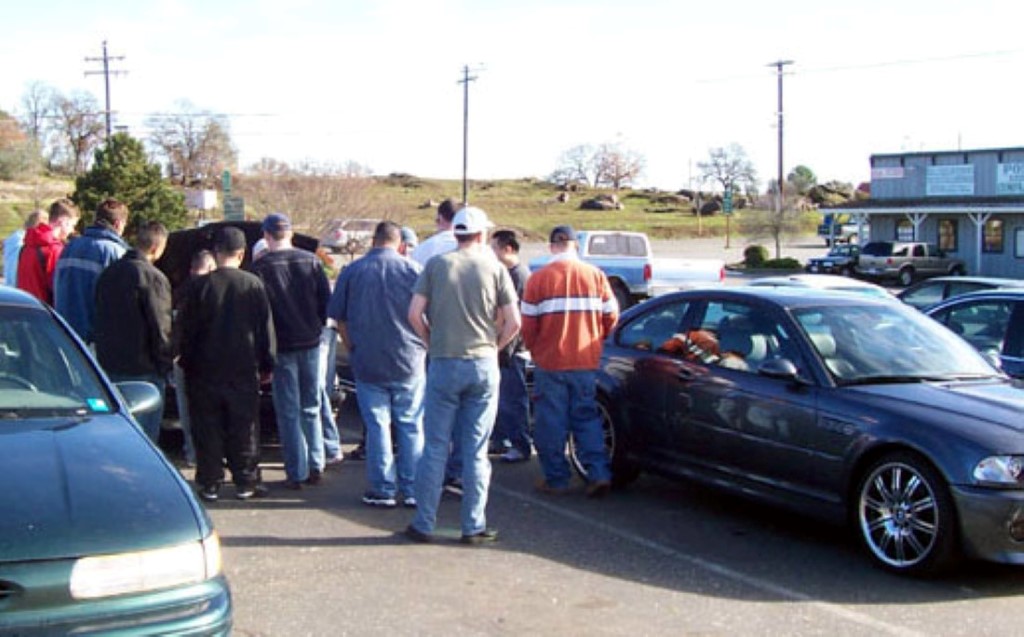
    The very first event I went to was at Sacramento State in February 2003. This was set up by some of the local BMW guys and was my first event ever for any organized car meet. After meeting at Sacramento State and taking a few pictures, we headed out for a drive on some back roads around Folsom Lake.


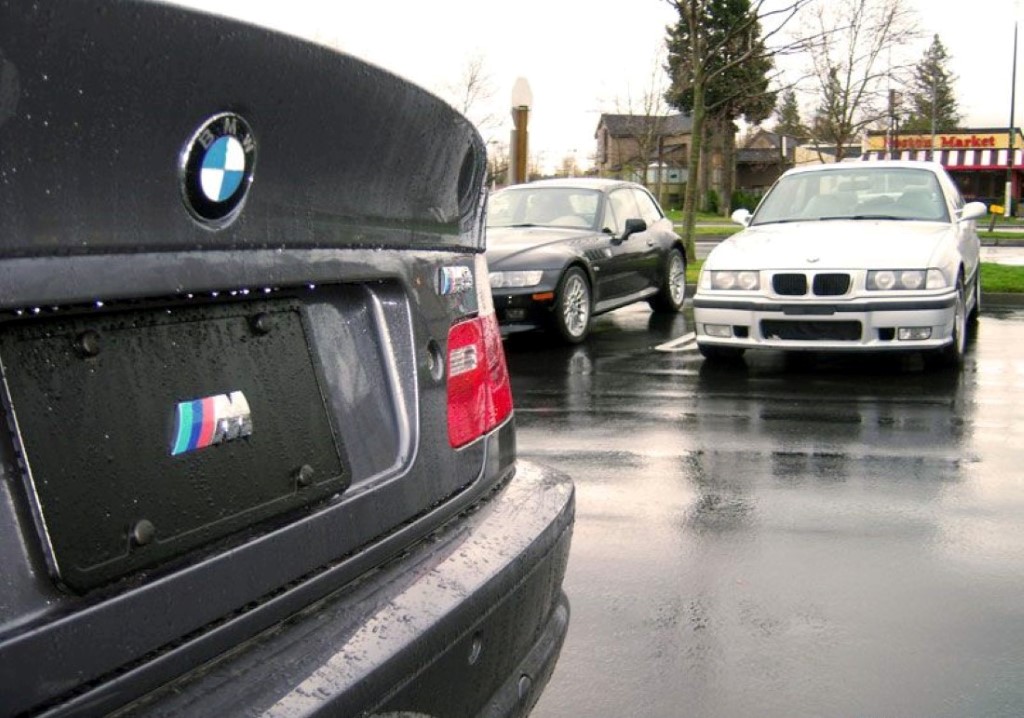
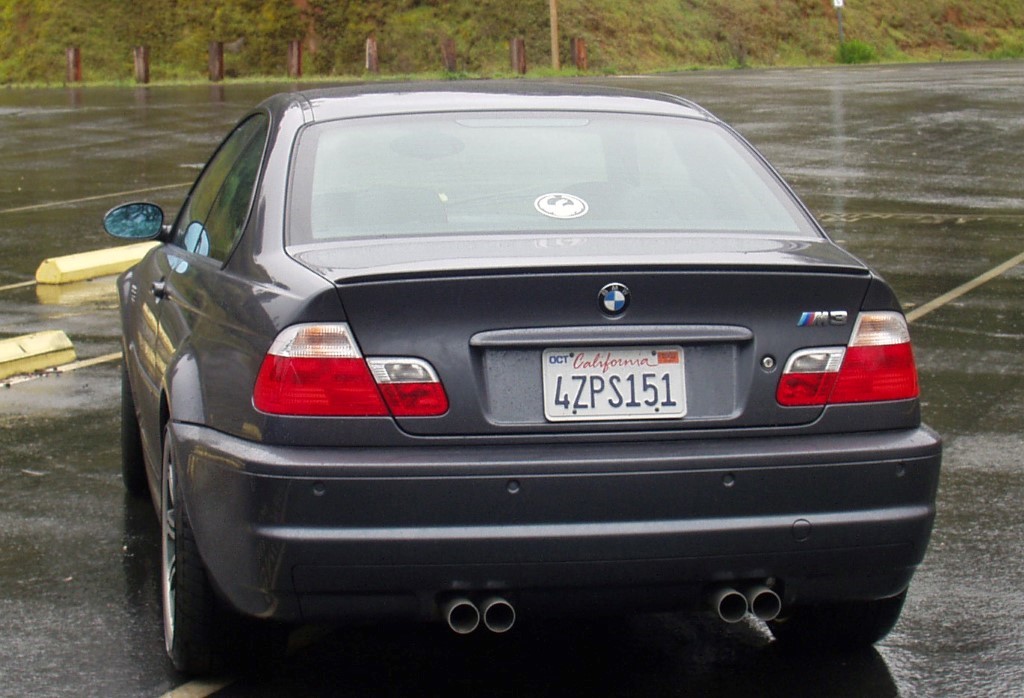
    The next event I went to was in March of 2003. I can’t recall if I tried to set up this meet but my memory says this was my first attempt at organizing a meet. Mother Nature decided to remind me that she dictates when car meets happen as it ended up being a very wet and windy day.

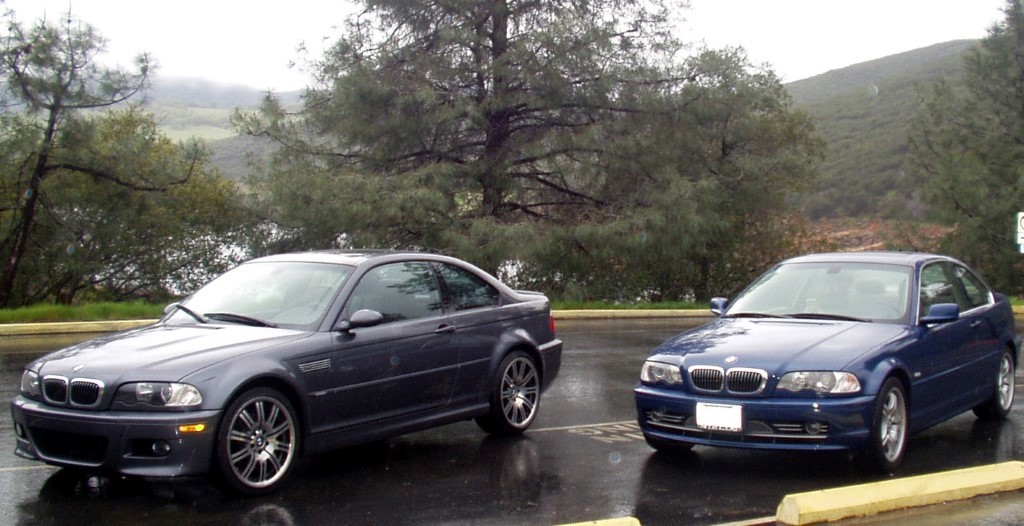
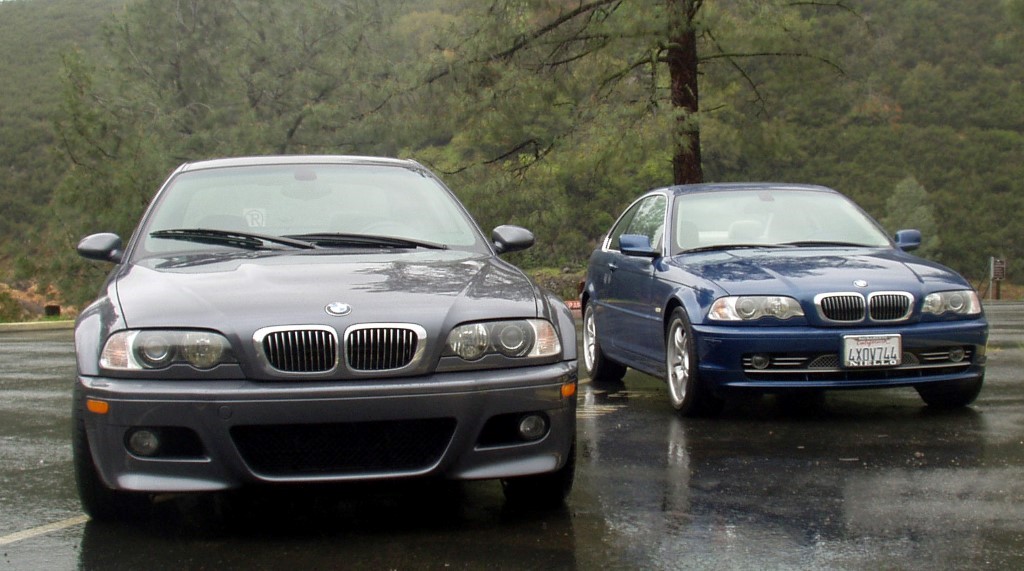
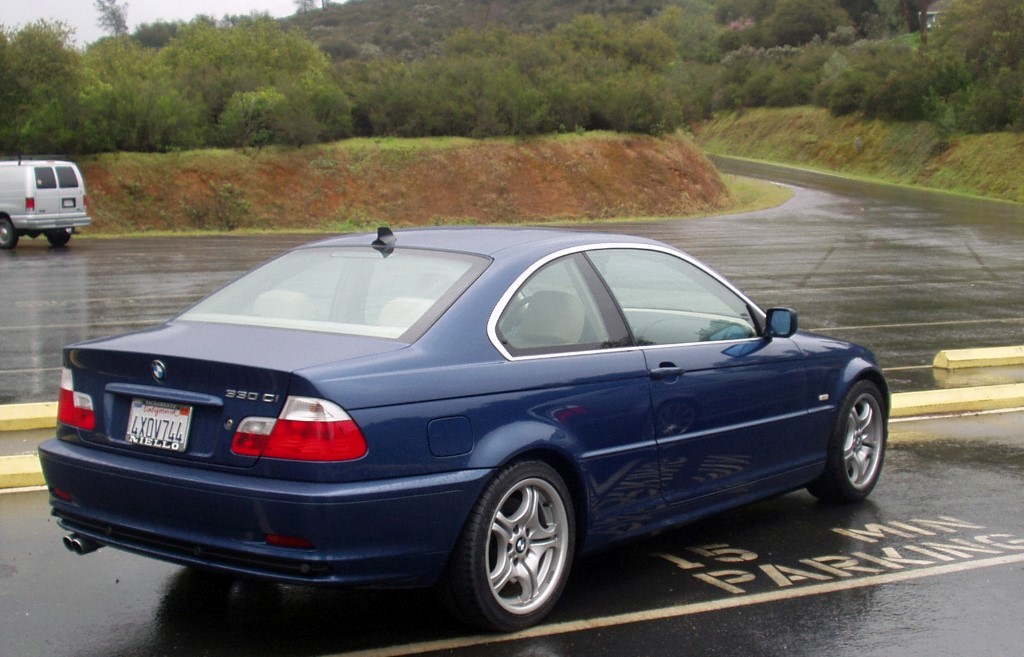
    There was one car that showed up and the two of us did a short drive on the only road I knew at the time. While the drive was short we did pull off and take some pictures to show these cars do not melt in the rain. After pictures, we took a ride in each other’s car as the E46 was still a new car at the time. I have a real respect for the continental tires that were stock on the car at the time as I drove like an idiot in the rain when I look back on that day.


    Build Journal - E46 M3 CSL Conversion

    Comment


      #3
      In June of 2003 I organized another meet and drive with some of the people I meet at the Sacramento State meet and my coworkers. As you will see we stopped at the same turnout for photos and completed the same loop around Folsom Lake. It was the only drive I knew and it was starting to get old driving on the same road over and over again.

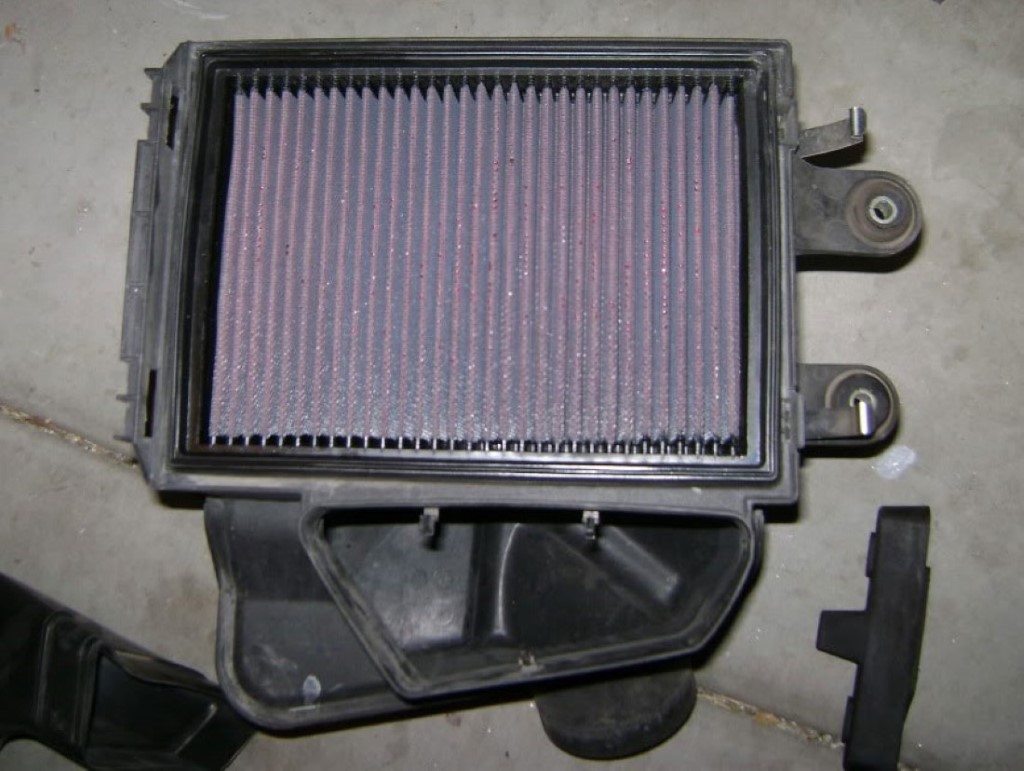
      This drive was also when I test my first modifications. I bought a K&N panel filter which might not seem like much but it was the first step down a very long road. Granted at the time I did not know that the road would have been this long as well as take so many twists and turns if we are staying with the car theme.


      The next performance upgrade I purchased was the UUC Rasp X system in September of 2003. I bought this to get rid of the raspy metallic noise that the E46 M3 seemed to make at higher RPMs. This was the first generation of this system and it does remove the metallic rasp. The one drawback to the system is it does not add any power and but does add weight. So the removal of the rasp sound negates any real performance in retrospect but at the time it was the hottest thing on the block.


      Three days after I installed the UUC RaspX system I went on my first group drive up HWY 1 North of San Francisco. Only three cars went on this drive but that was more than enough to have a good time. The group coved over 330 miles from start to finish which made for a long day and a great shake down run to see how the RaspX system worked on the car.


      The last major activity I did in 2003 was to organize a drive up to Lake Tahoe for the first time. This drive took place on October 15 2003 and is a far cry from the Tahoe Drives I organize now. Like anything, you have to start somewhere and this was where it all began for the Lake Tahoe runs. As this drive was the first time I had been to Lake Tahoe on my own I let one of the other drives lead the group. This was a great day and something I look forward to planning every year.


      Build Journal - E46 M3 CSL Conversion

      Comment


        #4
        2004 The Adventures Continue

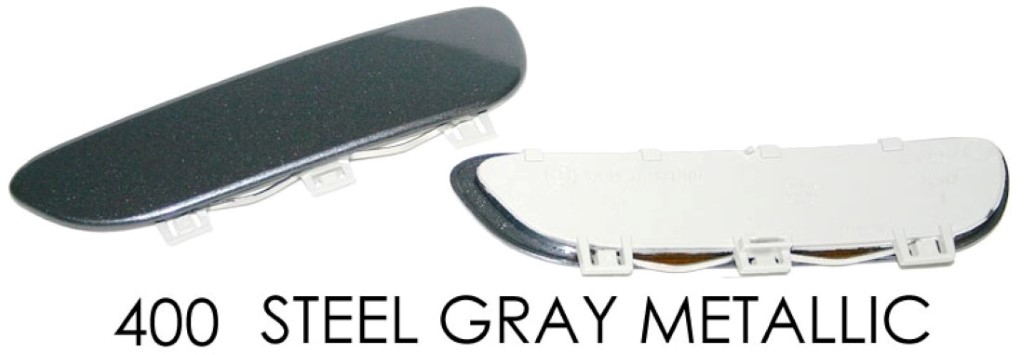
        The start of the New Year brought the start of the real performance purchase for the car. The first item on the list was an Eisenmann Race muffler with 83mm tips. I went with this muffler because I like the tip design and it was one of only three choices at the time. Over the years mufflers have come in and out of favor but this is still the only muffler I can never get enough of its sound. I also ordered the color-match front reflectors as a late Christmas gift to me.

        *In owning this muffler for almost 10 years the only issue I have had with the muffler was one of the side brackets broke on a drive in 2011. It was a quick weld job to re-attach the bracket*


        By this time it was February and I wanted to get out and try out my new upgrades. I organized a weekend of drives to Napa for the first time. This drive was to bring the Bay Area and Sacramento guys together for a fun day of back roads turns. I did the drive twice with the first day only getting one car to turn out and on the second day I got my buddy to go at the start and we met four Bay Area guys in Napa.

        Saturday drive to Napa


        Sunday drive to Napa


        As March 2004 rolled around I was able to order a set of BMW E46 M3 CSL rims. At the time I got these rims they were one of the hottest items on the market for any BMW. I also got my rims before daytonaviolet for those who are keeping track. When I bought the rims I also installed a set of Nitto 555 per the suggestion of the tire shop that did the installation.


        At the end of March, I went down to the Bay Area for the Stanford Mall meet. This was the predecessor meet to the now famous Santana Row meets. Sadly over the years, I seem to have lost the images from the many events I attended down there. Luckily I have the very first meet I was at.


        Build Journal - E46 M3 CSL Conversion

        Comment


          #5
          In April 2004 I decided I wanted to take some pictures of my car. So I pinged the E46 forums and got a few guys together to meet up and take some photos. I only had a point-and-shoot camera so the pictures were not that great but I did get a few that I still love to this day.


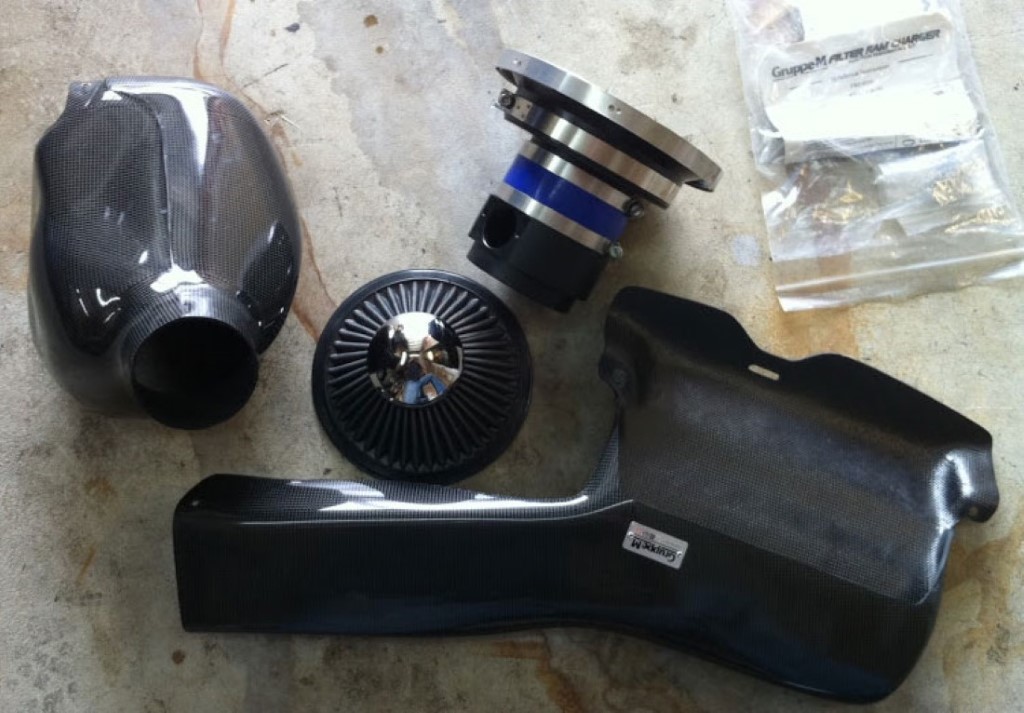
          2004 was my first time going to Bimmerfest at the Santa Monica Fair Grounds. I was there with three of my driving buddies at the time to spend a few days in SoCal. Before the day of Bimmerfest I purchased and install a GrouppeM Air Intake system from one of the big vendors at the time. I can’t find the name of the shop now which is kind of a bummer.


          One thing that I was not able to confirm at Bimmerfest 2004 was if I was the only one there with OE CSL rims. I had six people on the spot ask me if I was willing to sell them the rims. Of course, I declined all of the offers.

          After seeing all the sights of Bimmerfest, we took off early and did the planned drive route the rest of the Bimmerfest was going to do later that day. I heard later from others said the drive was a giant cluster and there were some kids causing trouble. Glad we left early when I heard that. The images I have of that trip are of the drive after Bimmerfest, at the hotel, and me using an old video camera to film down Pacific Coast Highway.


          When I got back from Bimmerfest I ordered the H&R Sports Spring Kit with Koni Yellow Adjustable shocks. I went with this kit at the time because one, there was only one coilover kit option at the time, and two I did not want a slammed look which most people were doing with the coilover kit. This kit is still something I remember how well the car drove and would recommend this kit to anyone with an E46 M3.


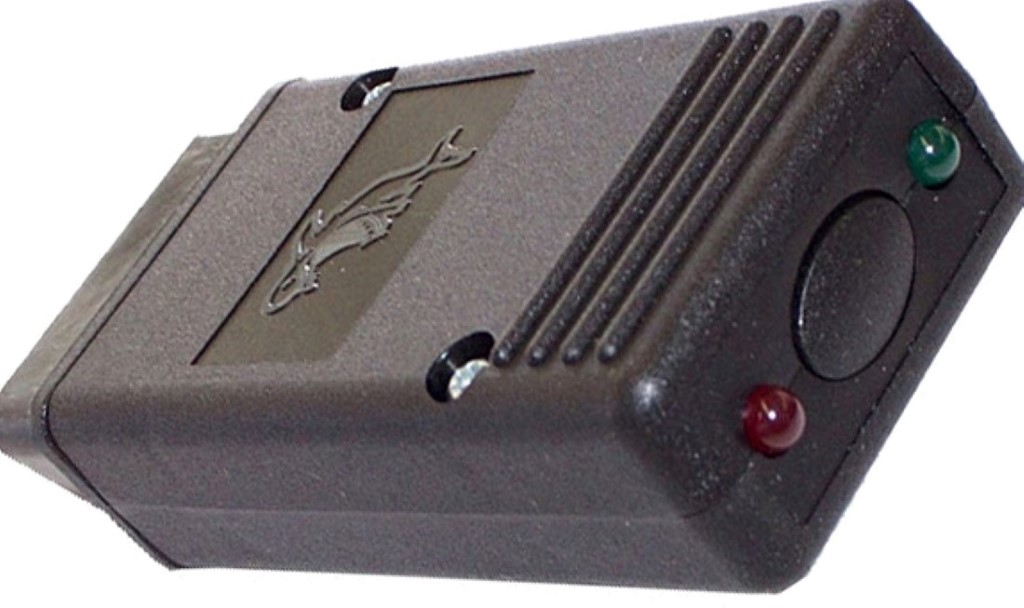
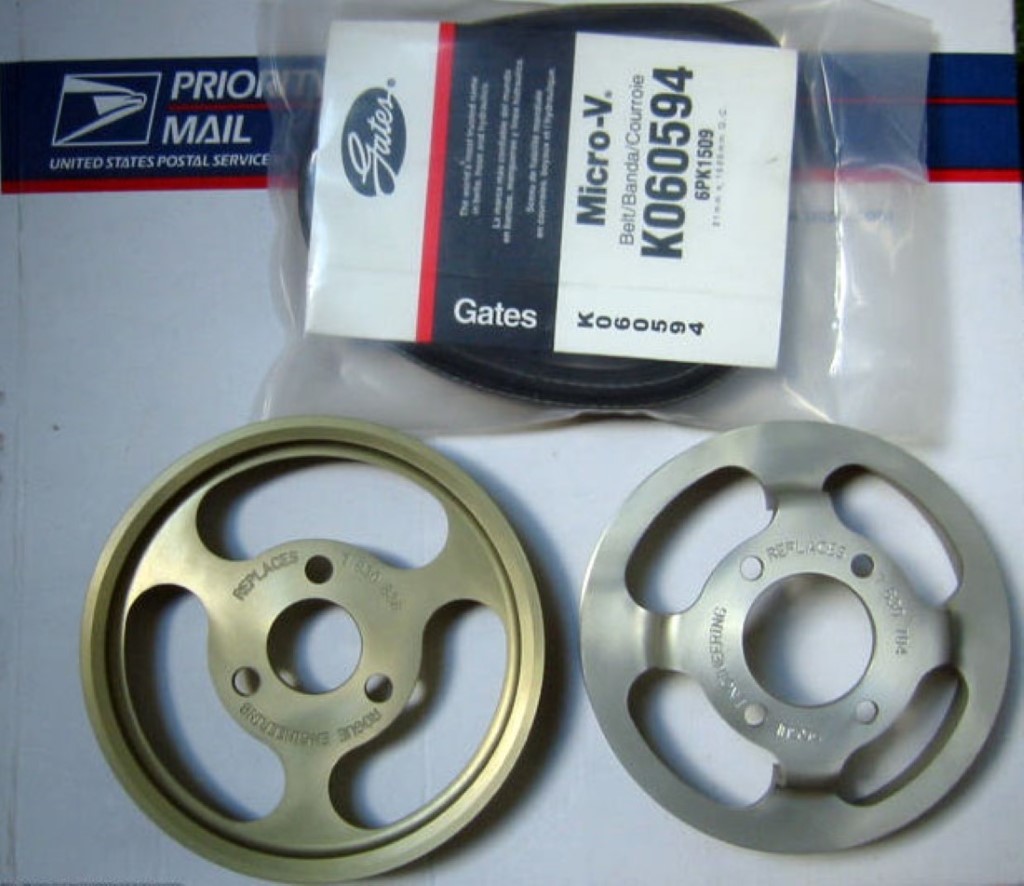
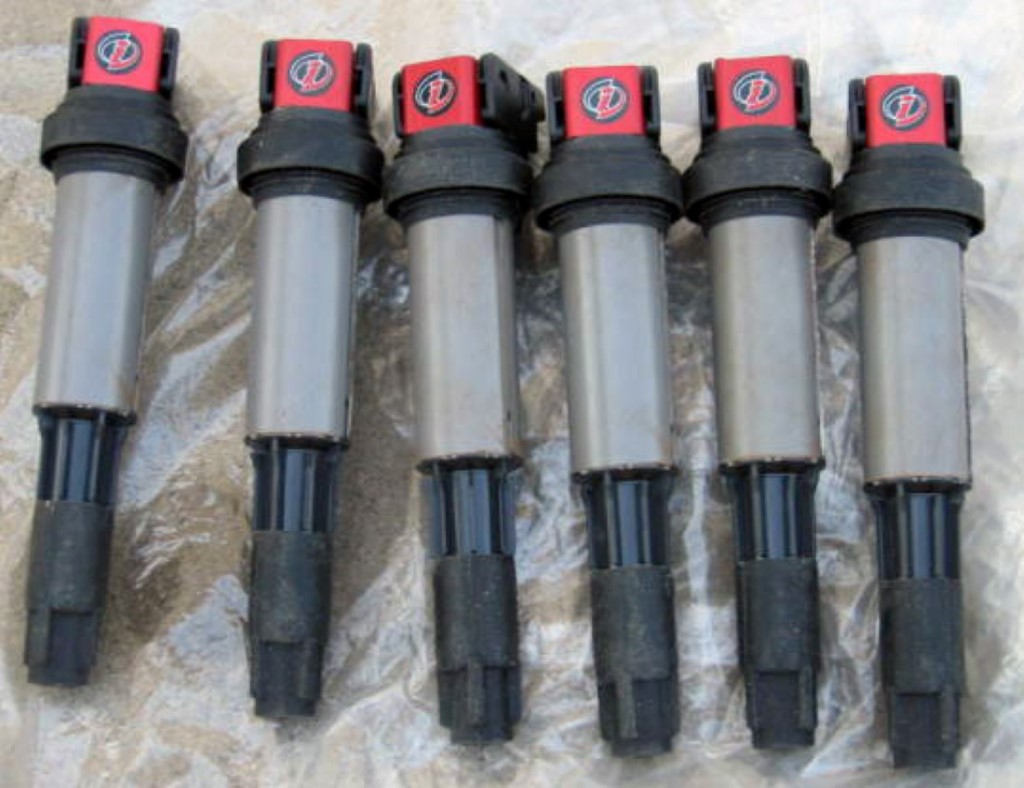
          In June I went ahead and ordered some more power upgrades for the car. I ordered the Confrti Shark Injector from Turner Motorsports, the Rouge Engineering Power Pullies, and ignition solution plasma coils with Denso Iridium spark plugs.


          Build Journal - E46 M3 CSL Conversion

          Comment


            #6
            We are now into the first part of July of 2004 and it is time for Lake Tahoe Drive. This time I lead the entire drive from start to finish. There was a good size group this time and the new performance modifications we definitely help at altitude compared to last year.


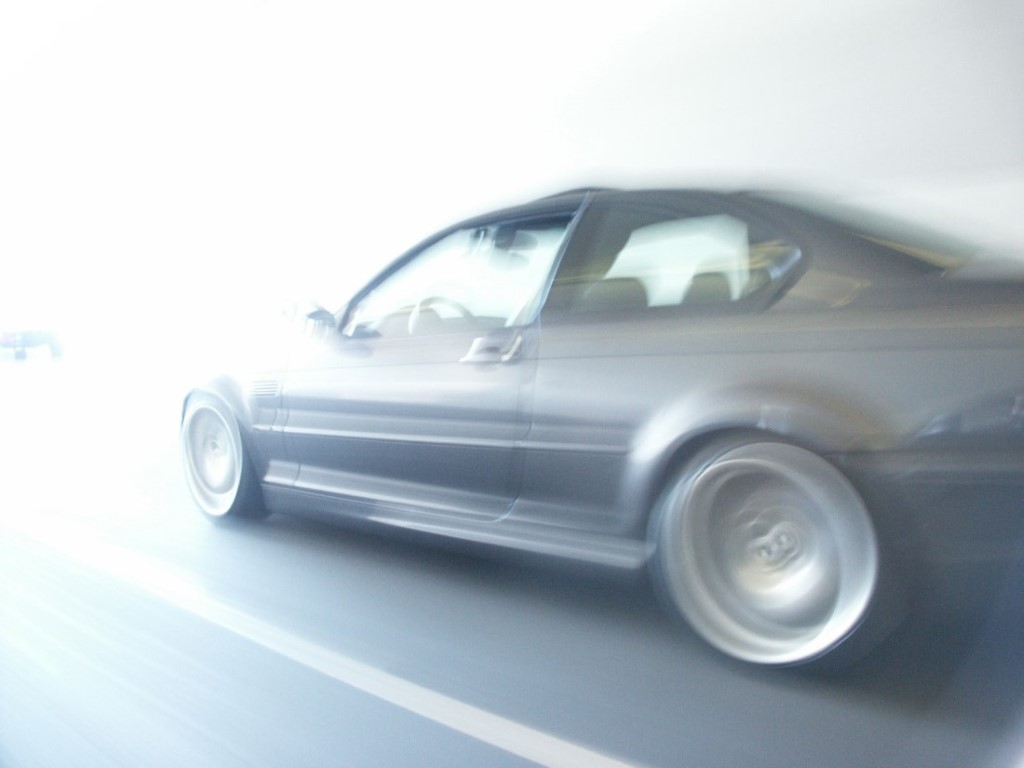
            At the end of July, I headed down to the Bay Area again for another one of the Stanford Mall meets. I finally got a rolling shot of me in my car for once.


            In August 2004 I purchased my CSL trunk from Bekkers. This part seemed to start a trend of me having a story around a parts install. When I was driving to the shop to have the trunk installed I was pulled over and got a no front plate ticket. Not how I wanted my day to go to say the least. I get to the shop and they install the trunk but when they were backing the car out they backed my car into a Z06 corvette that the other tech was backing up. The look on my face must have been I am going to kill you because the guy turned pale white. The car was ok other than the paint in the right light showing some spider marks. I have yet to repaint the rear bumper and will need to do it sometime in the near future.


            In Late August I went down to the Bay Area again for another Stanford mall meet. If I remember correctly I believe this is where I took over the meets to include an after drive activity.


            After organizing the meet and drive I was driving back over the Bay Bridge and hit some debris in the road. I just side swiped it enough to cut the tire and take a chunk off the lip of the rim. I was able to limp across the entire Bay Bridge as it happened right as I entered on the San Francisco side heading east. I have no clue how I survived not getting rear-ended.


            At the time I took a chunk out of my rim, I did not know you could fix them so I ordered a new CSL rim. It was not until recently in the last few years I found out you could repair rims. I have had the damaged rim fixed along with another front rim and a rear rim. Joys of driving on crappy California roads. At any rate now I have a “spare” tire in case I need it.


            In November 2004 I organized the NAPA drive again and was now starting to get the hang of organizing meets and drives.


            In December 2004 I organized another Stanford Mall meet and drive. This event was also combined with a toy run for Toys For Tots. I did this so we could give back to those who were less fortunate than us that year. On the way down someone took one of my favorite rolling shots of my car going through the tunnel on Treasure Island. The first image is the Sacramento meet-up point for the drive down.


            Build Journal - E46 M3 CSL Conversion

            Comment


              #7
              2005 Same old different year

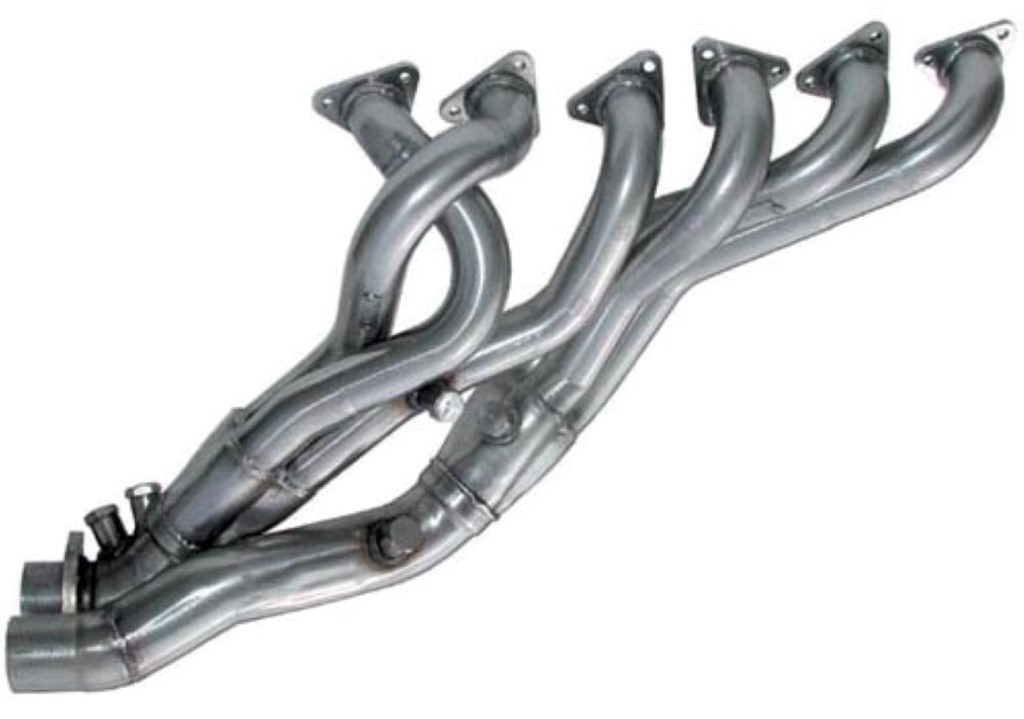
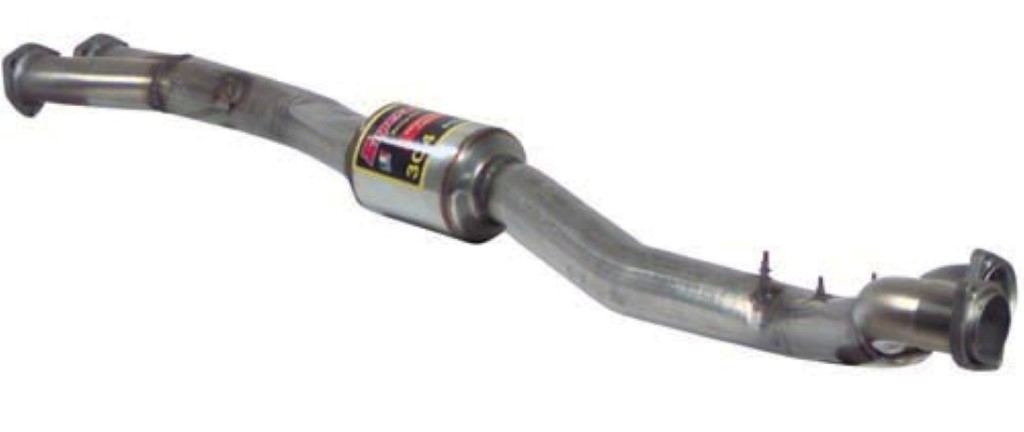
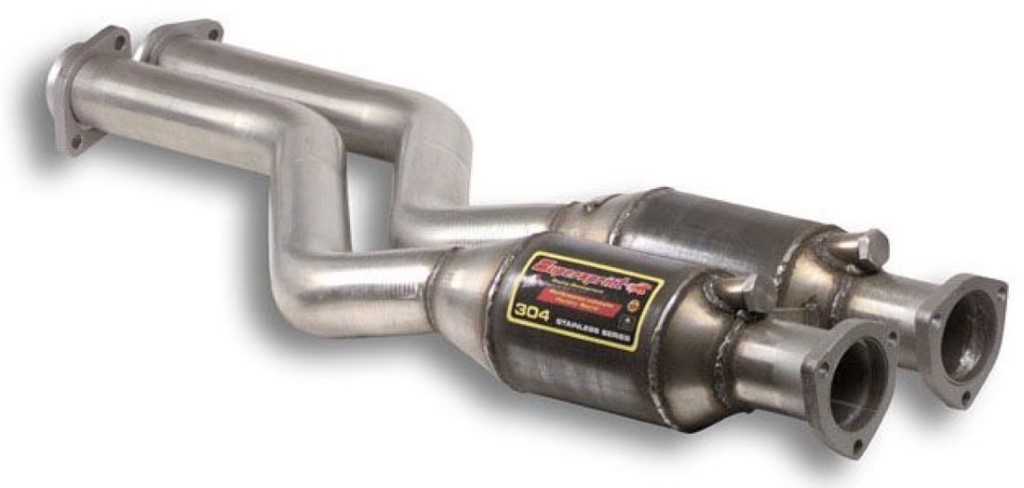
              The next big purchase I did was to order the SuperSprint Headers, SuperSprint Race Cats, and SuperSprint Center section with resonator in February 2005. This was to replace the RaspX system and start the path down a more performance based setup. There of course is a story behind the installation. I had the local dealer do the installation and they did a piss poor job. So bad in fact they use vice pliers to remove all four 02 sensors that needed to be replaced. Needless to say, I had to work through that issue with them but it all worked out in the end.


              Sadly I did not think about making a build journal about the car till more recently. That means a lot of images I have taken have been lost over the years because I did not think of them as being important. By February 2005 I remember I had Discovery Automotive race software installed to take advantage of the new SuperSprint setup. I also decided to do another Sacramento State photo shoot as I had the trunk installed this time around.


              Throughout the year I was organizing meets and drives for the NorCal BMW gang. By this point in time, I had become a seasoned organizer and was continually looking for new roads to drive on for our regional meets. One of the only images I have of the meets of 2005 is a picture of me driving to either the Bay Area or Napa. Not sure which.


              In June of 2005 I ordered some serious stopping power. I spoke with Will Turner no less and ordered the StopTech 355 mm BBK in Yellow. The kit included stainless steel lines and ATB super blue which made for a nice package. I have had no issues with the StopTech brake kit and could not be happier with the purchase. The only thing I wish I did differently was go with the slotted rotors to get a little more bite and braking surface. Even with the cross drilled the car stops on a dime with change to spare.


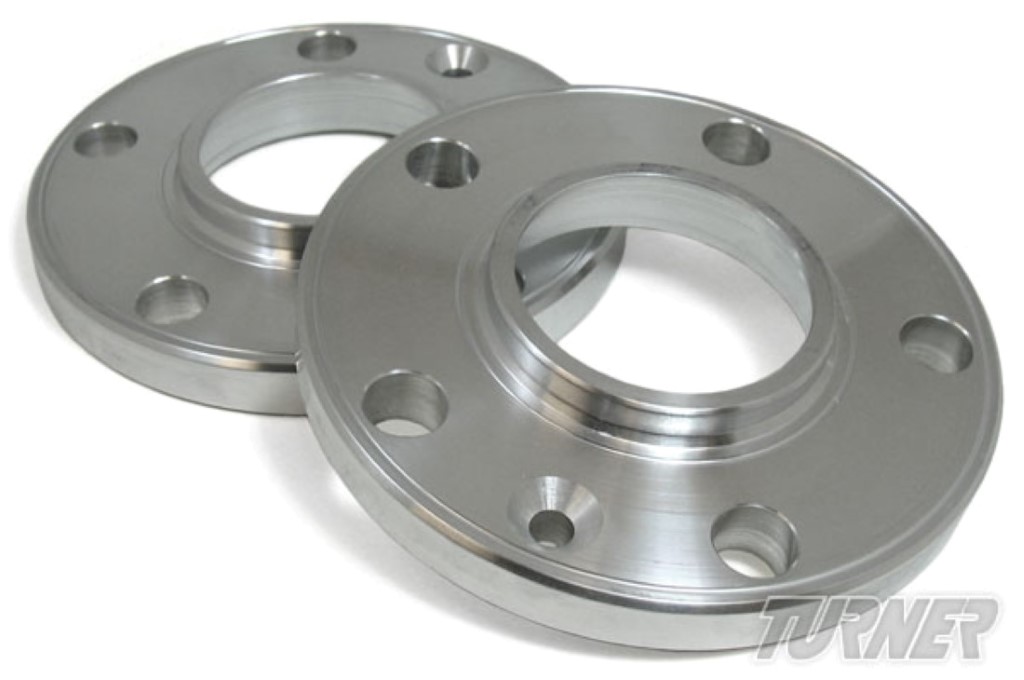
              One thing that I had to order in a pinch was a setup 10MM turner front spacers. The reason for this purchase was I needed them to clear the brake calipers.


              The last images I have from 2005 are of a drive I lead up Ice House Road. We call this road the “don’t F-Up Road” as there one section is a 2500 vertical drop off the cliff and did I mention there are no guard rails. The other half of the road is more of the same cliffs and sheer rock walls on the other side. Sadly there is a story about the rock wall later down the timeline. The road after the zero tolerance areas is smooth and a sheer blast to drive.


              Build Journal - E46 M3 CSL Conversion

              Comment


                #8
                2006 Majors Changes and All Most Lost The Car

                The start of 2006 was the same as the year past. Setting up meet drives and still trying to figure out what I wanted to do with the car. This year was also the year a lot of changes would happen to the car and not all of them were good. But before we get into the good, the bad, and the ugly of the year, let’s start off in January with a nice bath.


                The start of the year of bad and good

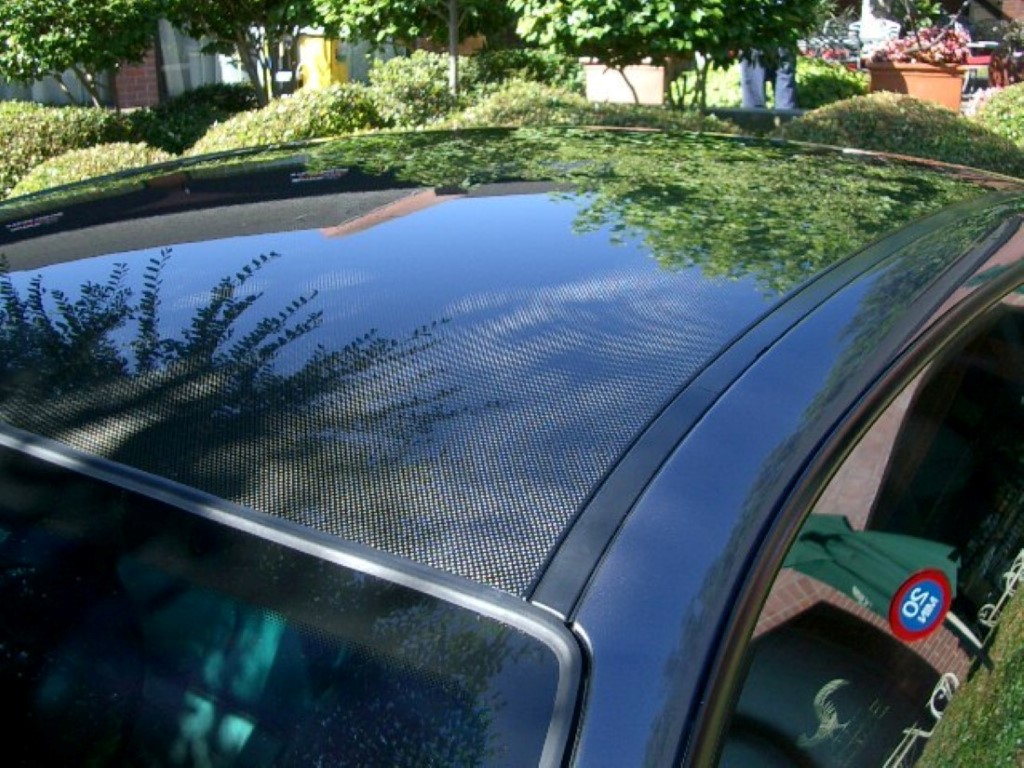
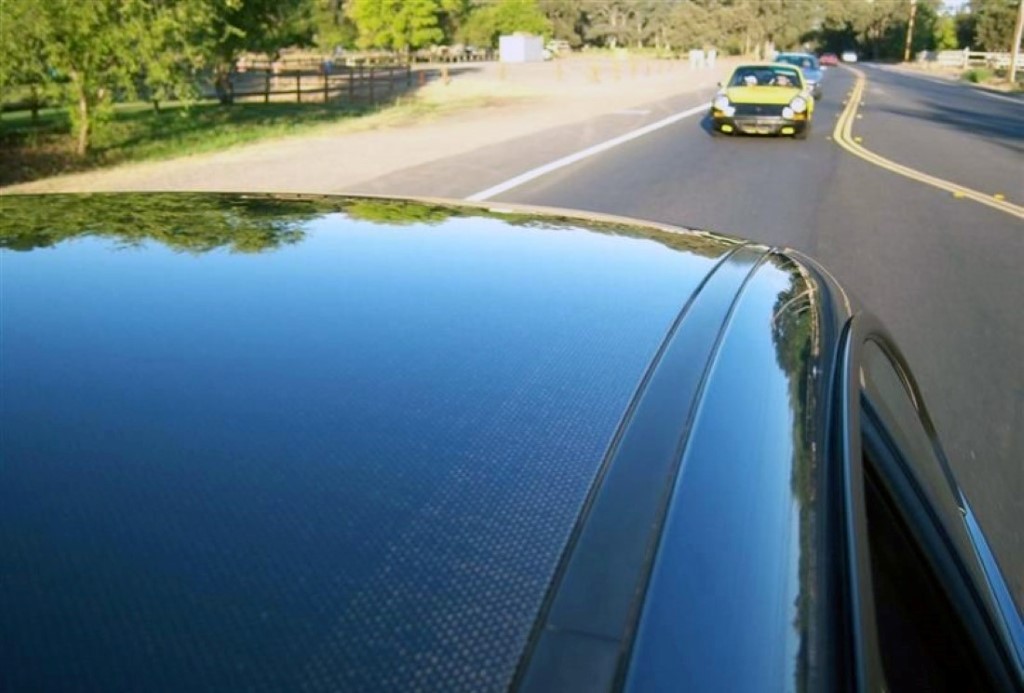
                In March of 2006, I decided I wanted to do some major changes. At the time the hot shop for BMW’s was EvoSport down in Long Beach CA. I contacted them to do an install of a Vorsteiner Carbon Fiber roof with a sunroof insert. I made the choice to do this option in order to be different as there were people already with CSL roofs. Below is the start of the CSL Sunroof installation and the start of many other problems.


                Besides the carbon roof, I had some other changes made to the car under the recommendations of EvoSport. This would turn out to be a big mistake and was a life lesson to always, always do your own research. The first of EvoSport recommendations was to install their headers as they were “supposed” to be similar to CSL headers. These were also supposed to provide better low end torque.


                The last power mods I had them install was an AFE stage 2 intake and Powerchips performance software. The AFE was supposed to be superior to the GrouppeM as it allowed more airflow compared to the smaller GrouppeM filter. Supposedly this was also the setup they ran on their race car which at the time was doing very well on the race circuit. The Powerchips software was the race software tune to take advantage of the new intake, headers and exhaust system.


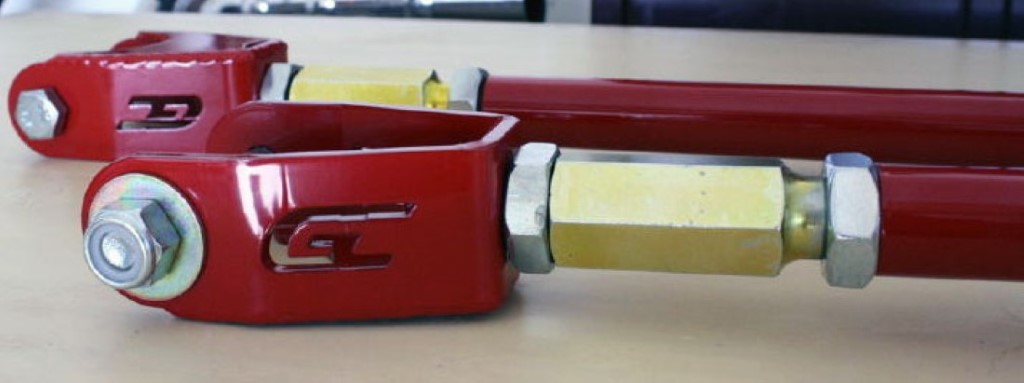
                The last of the work I had done while the car was in Long Beach was to install a set of Ground Control lower control arms and differential shims.


                Before I show the finished install pics, the story associated with this stall was when I drove to LA and started to make the track over the Grape Vine it started to lightly snow over the summit. Now for you folks in snowy areas, you are like ok and this is a special cause? You forget this is California and that white, wet water stuff is a myth unless you live in the Sierras HAHA. And to note it also snowed on me over the summit on the way home as well so I have seen double snow. Images as flows are of the car being picked up at the end of March 2006.


                It is worth to note at the time I thought the parts and work were done correctly. Over the ensuing months, I would find issues with the installs and parts that would eventually end with legal actions being fired at each other. As EvoSport is no longer in business I can now share my stories of the bad work that was performed.

                In April 2006 I ordered the rear CSL diffuser in order to complete the back end CSL look. This is not one of the fanciest mods for a CSL but is a good accent piece.


                When May 2006 rolled around I went down to Long Beach Again to have EvoSport install a Vorsteiner CSL bumper with fog lights. The bumper itself looked good but I could tell the fitment was not that great. I went with the Vorsteiner bumper as I wanted a CSL look but did not want to lose my brake cooling ducts. Sadly I do not have any images of the install images or images from the 2006 Bimmerfest of the bumper. The only Image I have of the new bumper is a photo shoot at Sacramento State in June 2006.


                After May 2006 things went downhill with the car. The first of the downhill things I noticed was the bumper fitment and how it was just not quite right. I know this is minor but it always seems to be the little things that bother you the most. Second was the car felt very sluggish at times with the new headers and intake. Needless to say I was not happy with the “supposed” upgrades and was starting to become very displeased with the work done to my car. The last straw was when I was washing the car and I started to have a leak over the passenger side of the car. That was it and at that point I went to my new local shop and said I want all the EvoSport crap off my car.

                In December 2006 I dropped off the car at my new shop and started the few month legal fight with EvoSport to correct their shoddy installation of the roof. The images below are of the roof prior to the new roof install. Notice the over the drilling of the 96 spot welds and the crapy application of the glue on the areas of the roof.


                Build Journal - E46 M3 CSL Conversion

                Comment


                  #9
                  2007 New Start towards the CSL

                  After several months of dealing with the legal issues of the poor roof installation, I finally got a resolution and began the rebuilding process to fix my car. The first Item was to replace the roof with an OE CSL roof. The shop that did the installation of the new roof did a lot of research on how the factory does the installation. Needless to say, they did a great job as they had to fix the 96 spot welds and re-prep the car for the new roof.

                  Click image for larger version

Name:	3-16-2007%20(1).jpg
Views:	1087
Size:	99.1 KB
ID:	199793

                  Click image for larger version

Name:	3-16-2007%20(2).jpg
Views:	1029
Size:	133.9 KB
ID:	199794


                  Click image for larger version

Name:	3-16-2007%20(4).jpg
Views:	1023
Size:	169.4 KB
ID:	199796


                  Click image for larger version

Name:	4-22-2007%20(1).jpg
Views:	1030
Size:	154.2 KB
ID:	199795

                  Now that the new roof was installed we could start to remove the other EvoSport installed crap. First Item was to install SuperSprint Stepped Header V1, SuperSprint Stepped Race 100 cell cats.


                  At this time I decided that I would upgrade the car's suspension to a coil-over kit. I purchased the TC Kline dual adjustable coil overs, with 500 front and 500 rear springs. I also purchased the TC Kline Camber plates so I could get a better suspension configuration.


                  To help improve engine cooling I had the Turner Motorsports Oil Cooler kit. The size comparison between the stock oil cooler and the Turner Oil Cooler is quite a difference. This is a great system for those looking to protect their investment.


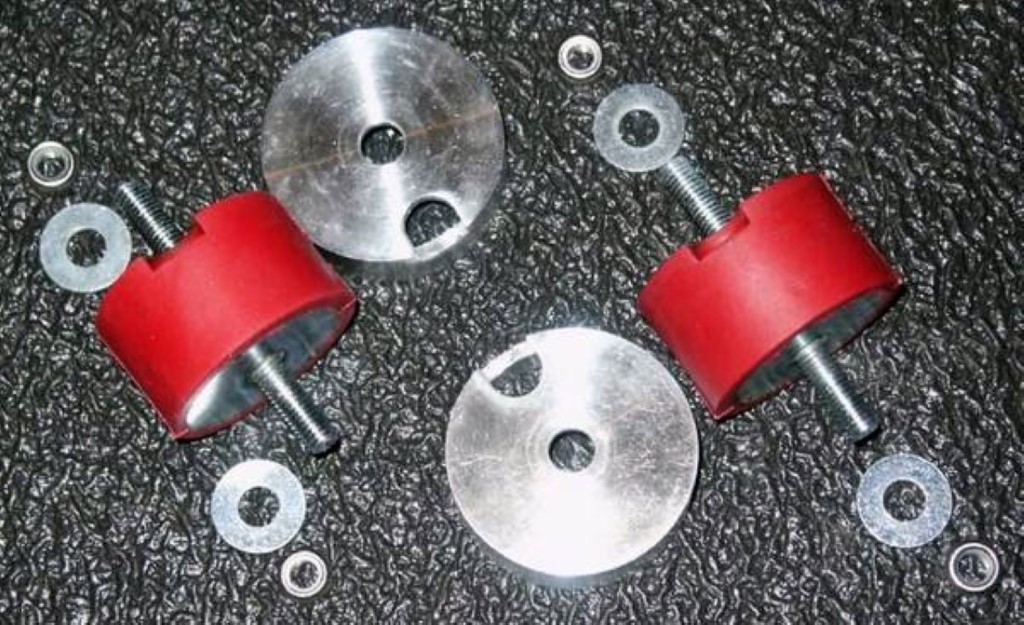
                  For the transmission, I had UUC red transmission mounts installed to keep everything firm and in place.


                  The Last major change at this time was to remove the Vorsteiner bumper and replace it with an OE Euro bumper. I took the CSL splitter off the old bumper and had them custom installed into the Euro bumper so I could get an OE fit and finish but with the Vorsteiner CSL look.


                  After all the upgrades and changes had been completed it was around mid-April 2007. The work was completed in time for me to attend Bimmerfest that year and display my car in the shops booth that did the work. It was my first time being a car on display for a company which was pretty cool.


                  After getting back from Bimmerfest I attend the monthly EuroSunday event where I got to showcase all my new parts and upgrades. I still was running the Powerchips software at this time and still had issues with the car running way too rich.


                  In August of 2007, I did my first indoor photo shoot of the car.


                  At the end of the year I did one more photo shoot for a fall calendar. These are some of the best images I have of the car in its older configuration. 2007 Was also one of the last years I would do any modification to the car for quite some time. This had to do mostly with how life throws curve balls at you and not always helping you achieve your goals.


                  Build Journal - E46 M3 CSL Conversion

                  Comment


                    #10
                    2008 Going Through the Motions

                    2008 would be a year of meets and drives and nothing in the way of upgrades. Other than the right mounting bracket of the muffler breaking and having to be re-welded, it was just a year of life, not cars.

                    The first set of images I have from this year is pictures at the local dealer during the BMW club's annual dinner. These make for some great images when looking back on them now. I need to get back there again for more images.


                    One of the best rolling shots I have of my car was taken at a EuroSunday event in the Bay Area. I do not know when the date was but it still is a great shot of the car.


                    The next set of images I have are of a photo shoot at the Aerospace Museum of California in October of 2008. This combined the two loves I have of flying and sports cars. A bit of trivia for those out there is the F14 Tomcat in the pictures is one of the F14’s used to film the movie Top Gun.


                    Build Journal - E46 M3 CSL Conversion

                    Comment


                      #11
                      2009 Only Events

                      2009 was a sad year in regard to my normal routine of things. I was no longer organizing big meet and drives as well as just doing EuroSunday events. The only drive I was doing at this time was the drive after EuroSunday. This was mostly due to the now ex-wife kind of putting a damper on such activities. All the images I have are from EuroSunday events throughout the year.


                      I did manage to squeak one upgrade in which was to go to Discovery Automotive Race Software. This was to replace the rich running Powerchips software. The “DA” software seemed to work well and I ran with this software for until 2013.


                      2010 Only Events

                      This year was the same as 2009 with no major changes and just events. I have picked some of the best images I have from 2010’s events.


                      Build Journal - E46 M3 CSL Conversion

                      Comment


                        #12
                        2011 Out of the Fog

                        After so many years of not doing meets and drives, I finally came back around and started doing them again. Before we get to the drives, here are some of my favorite images of the EuroSunday events of that year.


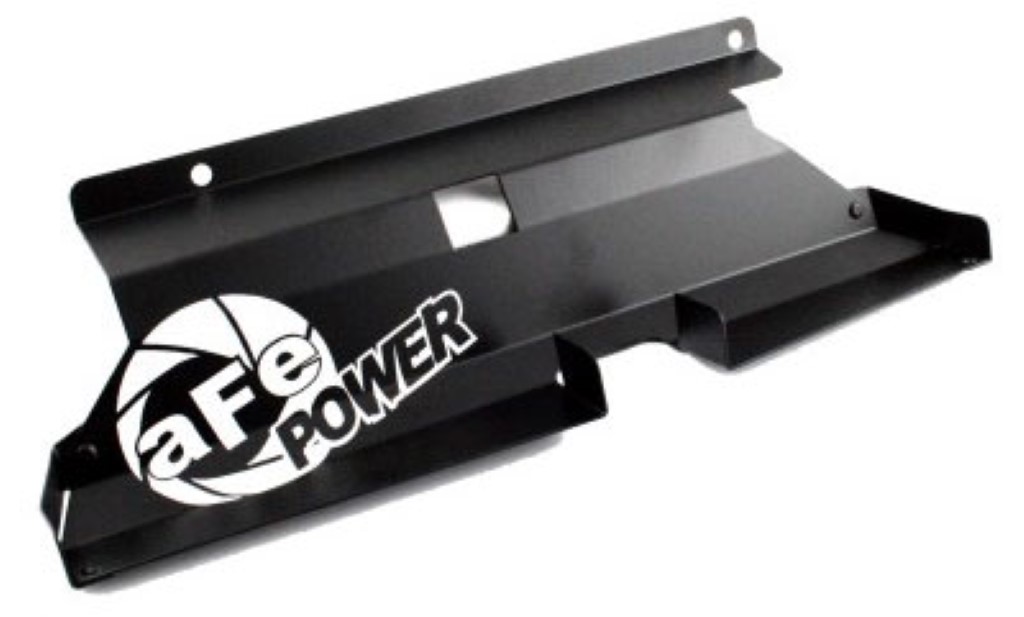
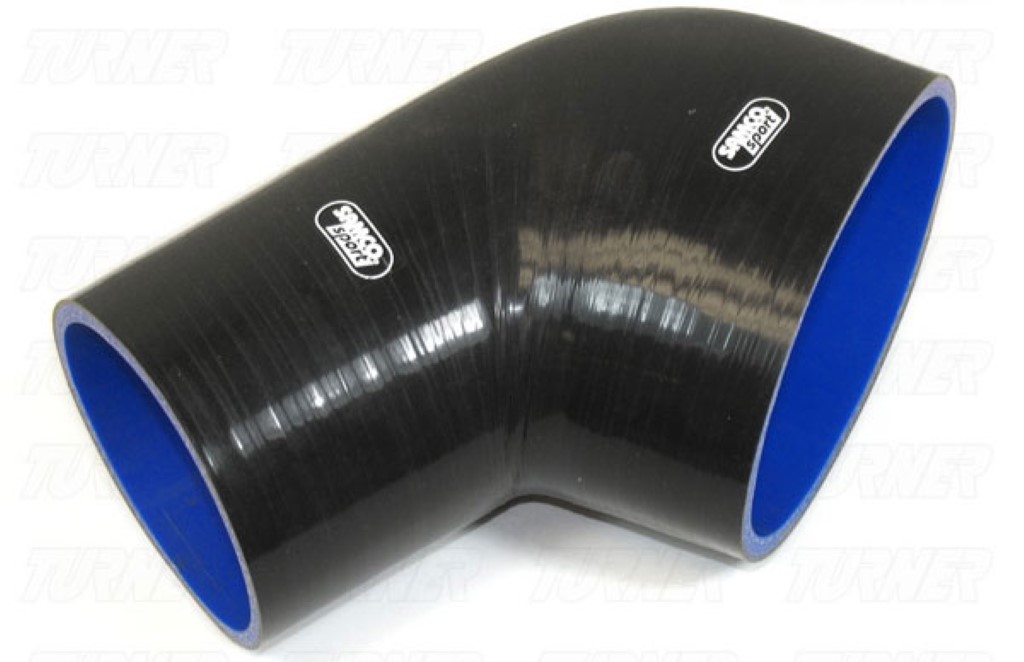
                        In March of 2011 I ordered the Samsco intake elbow and AFE intake scoops. These were the first upgrade to the car in years sadly


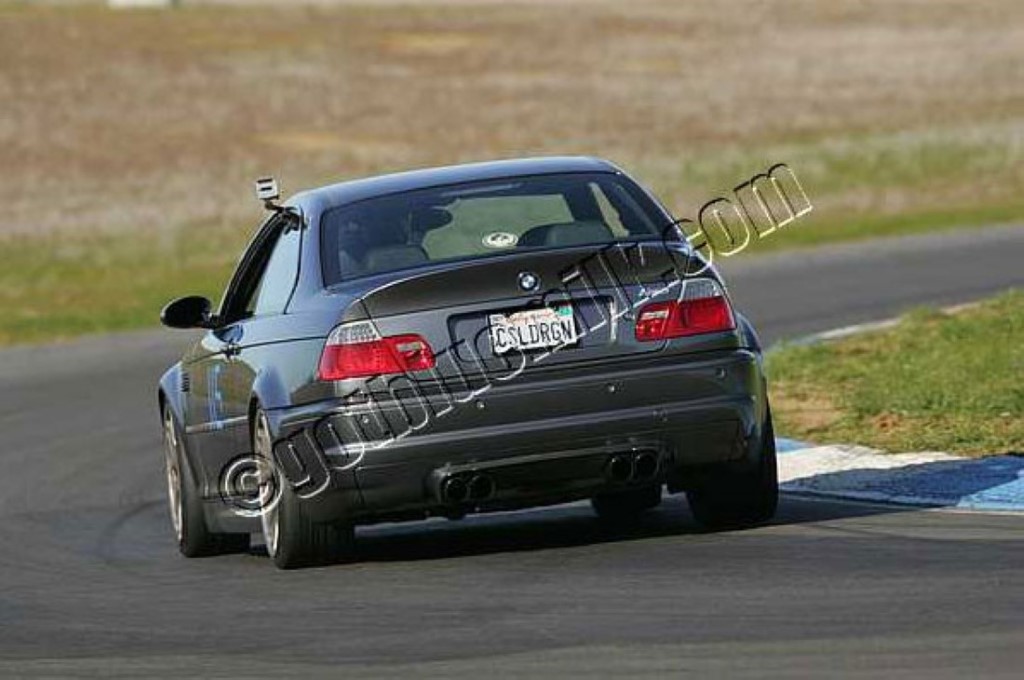
                        On June 1st 2011 I did my first track day at Thunderhill. It was a fun experience but I realized that the track was not my cup of tea. Yes it is fun but I was getting more bored as the day went on. This could be because I drive the track like back roads and trail break in so I am not fast on the track. Oh well.


                        One of the drives I organized in 2011 was a drive to Livermore down mines road. This is one of my favorite drives in Northern CA.


                        In October of 2011, the girlfriend and I decided we wanted to say we have driven down ALL of HWY 1 or PCH. We took a week of work and hit the road. We had no plans, no pre-defined stops, just the open road, and a map. All we knew was we wanted to stop at Disney Land and end up in San Diego. Other than that, it was all up in the air. If you have not done the PCH drive from SF to San Diego then you are missing out. Once you get to Monterey heading south you really hit some amazingly beautiful country. It is well worth the time off to take trip. We did the northern section in April of 2012 to complete the northern and southern sections. Below are the Images of the car on that drive.

                        The images start at the split of HWY 5 to Monterey where the GF drove to the start of HW1. From there the images are shots going down HW1 all the way ending in San Diego.


                        The last image I have for 2011 was a drive I lead up HWY 1 to Biscomb Road. This drive is a full day of driving along the California Coast and some very fun off the beaten path back roads. The images are at a fuel stop and checkpoint for the drive.


                        Build Journal - E46 M3 CSL Conversion

                        Comment


                          #13
                          2012 CSL Path Determined

                          If you have been reading this, build thread I believe I have brought you up all the way to January 2012. I hope that all the scrolling and reading to this point has been interesting and well worth the sore finger. I have included a summary of the car in its current state as of 2012.

                          Engine & Exhaust
                          AFE Stage 1 Intake
                          AFE Air Scoop
                          D/A Race software
                          Samco Intake Elbow
                          Supersprint V1 Stepped Headers
                          Supersprint V1 S Race cats
                          Supersprint Center Sections W/Resonator
                          Eisenmann Race Exhaust 83mm tips
                          Rouge Engineering Under drive Pullies
                          Ignition Solution Plasma Coils
                          Turner Motorsports Oil Cooler Kit

                          Suspension
                          TCK E46SD E46 Smart Design DA Coilover 500/600 springs
                          TC Kline Camber plates
                          OE Strut Tower
                          Eibach Sways with polly bushings
                          Ground Control Lower rear control arms
                          Ground Control hybrid control arm bushings

                          Transmission & Drive line
                          Ground Control Differential Bushing limiting kit / nylon discs
                          Power Flex Tabs
                          UUC Tranny mounts hybrid (red)

                          Brakes
                          STOPTECH Yellow BBK
                          StopTech Stainless Steel Brake Lines
                          Axxis Ultima Break pads
                          Motul RBF600 Gold now / was blue to start

                          Exterior
                          BMW CSL Carbon Fiber Roof
                          BMW CSL Trunk
                          BMW CSL Rear Diffuser
                          BMW Euro bumper with/custom molded in CSL splitters
                          BMW LED Taillight conversion (no led module)

                          Interior
                          Hardwired Valentine V1
                          UUC SMG Peddle set

                          Wheels & Tires
                          BMW CSL 19 Rims
                          Michelin Pilot Super Sport 245/35/19 & 275/30/19 – Filled with nitrogen
                          Turner Motorsports 10mm front spacer (needed to clear the calipers)
                          BMW CSL 19 rim front spare

                          At the start of 2012 I did my second track day at Thunderhill. Like the last track day, I had fun but by the end of the day, I was just not feeling being on the track. Maybe it is because I love my car too much or I want to see a different turn. In either case, I will go back but I am in no hurry to do so.


                          In April of 2012 I went to the Sacramento Delta to take photos of both the M3 and the 1M. The wife drove the 1M and helped me take some cool pictures of both cars. I was hoping to get some better pictures but that just means I just have to go back out there and take more, oh darn.


                          By May of 2012 I had the light bulb moment that said dam the torpedoes and full speed ahead on the CSL conversion. So I placed my orders in May for a LARGE amount of parts. The following list is what the first round of modification entailed.

                          BMW CSL Airbox (kit)
                          11617833496 --- AIR COLLECTOR
                          11617831740 --- BRACKET
                          07119902973 --- HEX BOLT WITH WASHER
                          07119900398 --- HEX NUT X2
                          11617831745 --- MUFFLER CLAMP X6
                          11617833497 --- UNFILTERED AIR HOUSING
                          11617833648 --- INTAKE
                          07129952137 --- HOSE CLAMP
                          11617833646 --- AIR DUCT
                          11617833645 --- SUCTION TUBE
                          07119905016 --- COUNTERSUNK SCREW X4
                          07119901780 --- FILLISTER HEAD WITH WASHER
                          16131176747 --- PLASTIC NUT
                          07119931115 --- FLAT WASHER X2
                          07129952127 --- HOSE CLAMP
                          11617833647 --- AIR SHUT OFF CALVE
                          11157833649 --- VENT HOSE
                          13717896774 --- INTAKE MANIFOLD
                          13621739510 --- TEMPERATURE SENSOR AIR
                          13727838625 --- BMC AIR PANNEL FILTER

                          SMG tank to replace the one on the stock airbox
                          21532282549 --- Expansion tank for SMG fluid

                          BMW Center console
                          51167895578 --- Console-CSL
                          51167896362 --- Frame-CSL
                          51167896361 --- Frame- CSL
                          51167896956 --- Insert-CSL
                          51711904843 --- Blind plugD=23MM X2
                          34417896360 --- e-brake boot
                          51168235570 --- Bracket
                          07129901644 --- Body Nut X2
                          71111180290 --- Sheet Metal Screw X2

                          I am making CSL door panels in alcataera. I got the idea from the interior of my 1M. Also I wanted to be different then everyone.
                          51417896919 --- Door handle front left-CSL
                          51417896920 --- Door handle front right

                          Differential upgrade. This is all the items needed to make a kit.
                          Turner Motorsports - 3.91 Ring and Pinion
                          33121205138 --- securing plate for pinion
                          33121204657 --- crush sleeve
                          33107510289 --- output seals X2
                          Summit TMK-HM803110 --- bearing race
                          Summit TMK-HM803149 --- inner pinion bearing

                          BMW CSL Bumper
                          51117896820 --- PAINTED FRONT BUMPER TRIMSILBERGRAU
                          51117896379 --- Aerodynamic cover, left
                          51117896380 --- Aerodynamic cover, right
                          51117895883 --- GRILLE,AIR INLET LEFT
                          51112695252 --- Flap, towing eye, primedM
                          51118191149 --- Gasket 2125 MM

                          BMW CSL Engine parts (note I already have the exhaust cam)
                          11317835041 --- INLET CAMSHAFT
                          11337833259 --- Rocker Arms X24

                          Chassie
                          Tuner Motorsports Sub frame kit

                          Suspension
                          BMW ZCP/CSL steering rack

                          Software
                          Evolve Stage III alpha N software. Need to match the intake, cams, and exhaust all together
                          ESS SMG Software

                          Engine
                          Zionsville Competition radiator/electric fan kit
                          - 2 speed controller
                          - Shroud
                          - 16 spal fan
                          Samco radiator hose kit

                          Interior
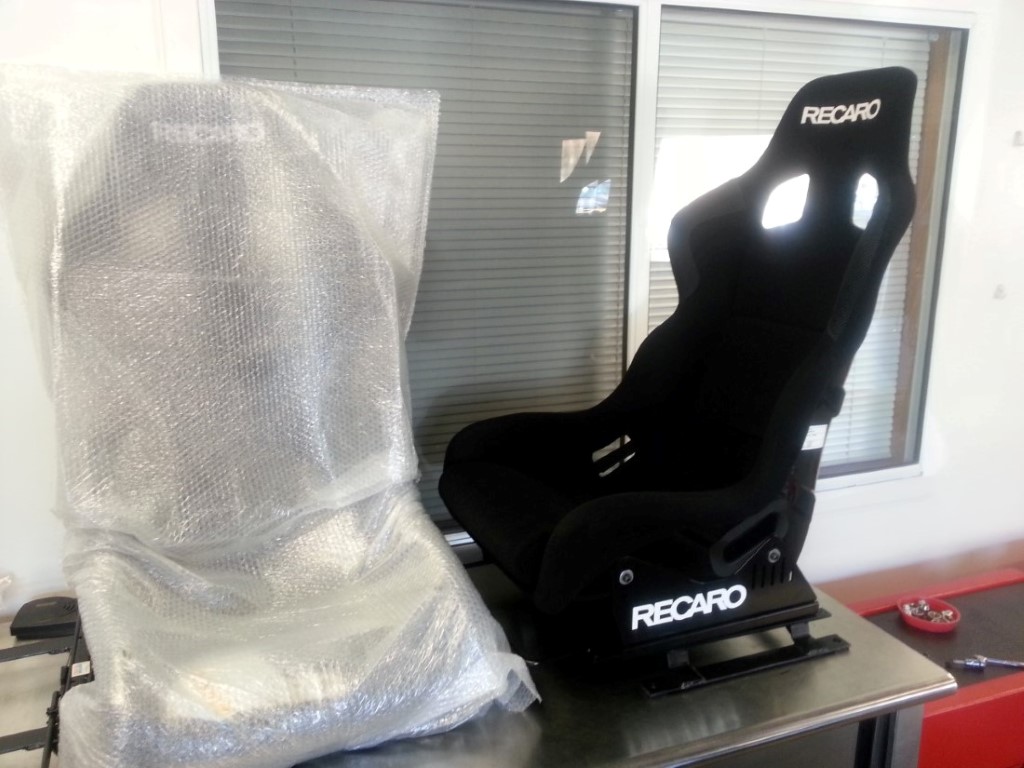
                          Recaro SPG-XL seats - I am 6'5 so need the big boy seats
                          Ebay black aluminum SMG paddles
                          Custom rear seat delete
                          Custom CSL / Interior mod

                          While I was waiting for parts to arrive, I setup a drive to Santa Cruz. This drive if you know the area has some “hidden” back road sections that most people do not drive on. This allows for some great time just blasting around tight corners or parking in the road to take pictures.


                          June 2012 has now rolled around and all the parts I have ordered have slowly started arriving. The first items off the large parts order list where the Turner 3.91 gears and reinforcement kit.


                          The cheapest upgrade I bought was a set of EBay black aluminum SMG paddles. While cheap, I loved the look and the paint
                          will not start to bubble like the OE BMW ones did.


                          After the SMG paddles, I received the CSL Intake cam HOWEVER it was damaged in shipping. I had the Exhaust cam already as it was a wedding gift from the now ex-wife in 2008. At this point in time, I had to return the cam and fight to get a new one.


                          Parts continue to slowly arrive every day. The bearing items from Summit Racing showed up so I could do the differential gear upgrade.


                          Next item to arrive is the Zionsville Competition Radiator and fan kit. The same day as these parts arrived, I got an Email that the CSL steering rack is on its way and the new Intake cam was shipped from Germany to the US supplier.


                          Build Journal - E46 M3 CSL Conversion

                          Comment


                            #14
                            In July 2012 now fiancé and I came back from a two week vacation in Aruba and Curacao to find that Mr. UPS has left me some new items. These parts were the Evolve R Tuner system, 73MM Wheel stud conversion, and the CSL/Completion steering rack.


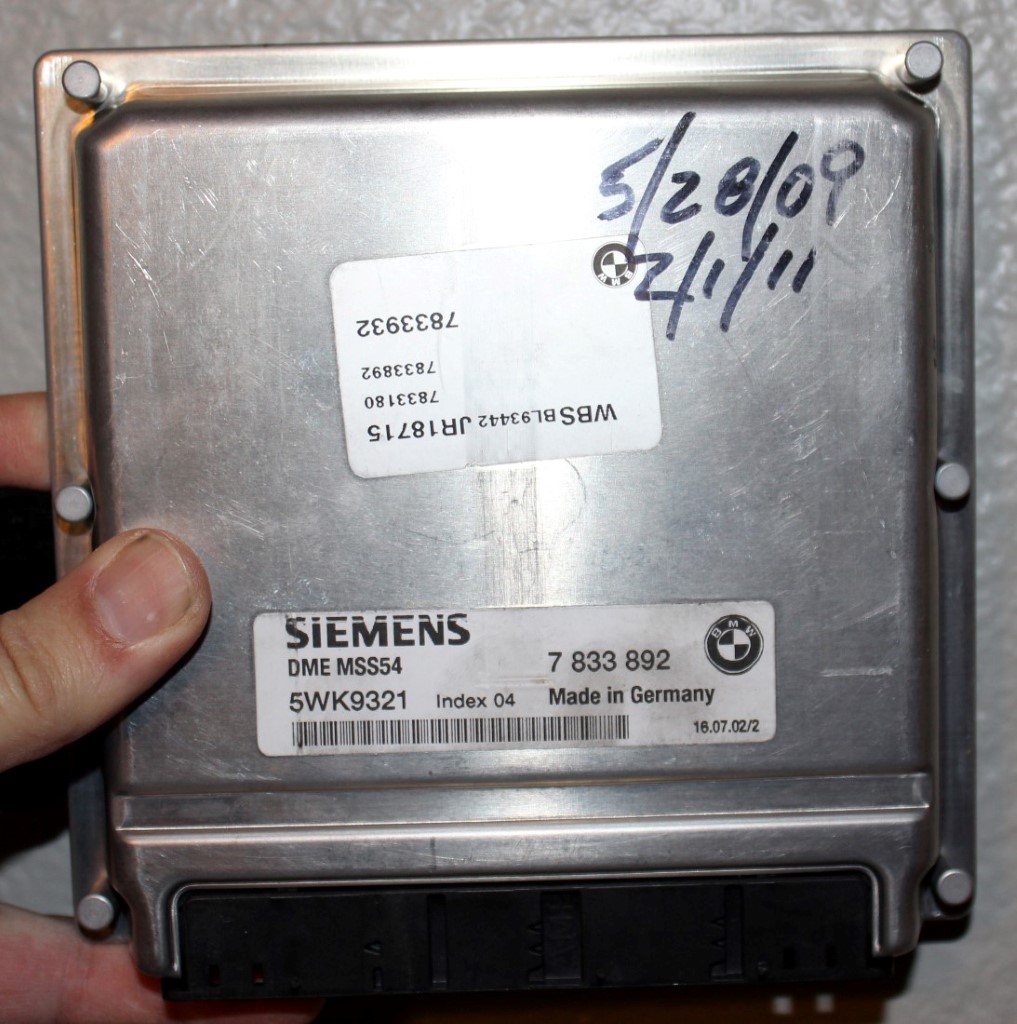
                            The first of the new upgrades required me to pull the SMG control unit and ship it to ESS for their SMG software. I will have more comments on this later on as I found out some interesting info on this later down the road.


                            Big box should up with some of the parts you all have been waiting to see. CSL intake, install hardware, air ducts and less a few parts the supplier missed in the shipping. I contacted the supplier and they are shipping the missing items from this order. So have to wait for the last few parts need to have the complete CSL Intake. Also included in the box where the CSL door handles to make the custom CSL doors.


                            Soon after the big box showed up the miscellaneous box of parts showed up. This contained mostly the parts for the center console. Also included was the OE BMW differential parts and the SMG expansion tank. Basically all the nuts and bolts which means all that is left to arrive is the CSL cam, Bumper, snorkel and center console.


                            Mid-August 2012 I finally got the SMG controller back from ESS. I was disappointed in how they returned the unit to me. The controller was not in a static-free bag as I sent it to them and it was in a USPS flat rate box with only one pass of bubble wrap. After reinstalling the SMG Controller, I went on a 40 miles of driving and could not tell 100% if there is a change. From what I notice, it seems to change up and downshifts are a smidgen faster in feel. I am taking it on a “spirited” drive on August 30 so we will see how it drives.


                            Loaded all the parts up and car is off to the shop to get all the major goodies installed. I will post some more images of the parts later tonight. Never got around to doing detailed images like I wanted to but at least I have images of everything before it goes on the car.


                            The drive I did on August 30th was the Livermore Mines run. This time I was able to arrange a photo shoot at an old airbase. This made for some great images, which I need to go back and do once the car is done.


                            The Monday after the drive, the Samsco hoses arrived. I hope that these will help keep the car running cool for years to come.


                            Saturday 9/1/2012 I was finally was able to install one of the major parts on the M3. My fiancé's father works for a Porsche/Subaru shop so I was able to get access to a lift so I could install the steering rack. I combined it with two oil changes as well. Might as well make the most of having a lift right. My fiancé' drove the 1M to the shop on a nice Saturday AM drive there.


                            The following images are of the installation of the steering rack. Sorry for the crappy image quality as all I had was my Iphone. The installation of the steering was pretty straightforward and took about 2 hours to do the install. I also changed the oil as it was due.


                            On the drive home after the installation I could tell a noticeable change in the steering. I was concerned as some M3 owners said they did not notice a change when they drove their M3 and an M3 with the competition steering rack. The steering feels sharper and I can notice I do not have to turn the wheel as much when making hard overturns. It is not a major change but it enough that makes the steering feel closer to the 1M which was my goal. I believe that if I did try the ZHP rack of a 330 ZHP it probably would feel as tight as the 1M but I did not want to go that extreme.

                            For kick and giggles, I wanted to see what 10 years of ownership looks like in paperwork. It means a whole lot of paperwork in a hanging folder that I will have to split into two eventually.


                            The weekend after installing the steering rack, I lead a drive up HWY 1 with some local NorCal gang on a 189 mile loop. (345 miles total for me). For those who say there is not a major change between the CSL/ZCP steering rack and OE need to take it on a super twisty road. Hitting the back roads and taking hairpin turns is where I really felt a change. Bear with me as I try to explain. Before on a tight hairpin I would have fully crossed my arms over and still would need to turn more to make the turn. IE remove hand(s) and turn the wheel more. Now I do not exceed making a parallel X when having to crank the car over. Sorry best way to explain it. The bottom line is I just got my justification the cost was worth it. ESS software seems to make down and up changes in mode 5 a tad faster but I am still not sold at this point.

                            If you care to see some more images of the group drive I lead you can see them at www.raddrives.com. Hopefully, I will expand this website to the other states for the routes/photo places if anyone ever sends me routes and photo locations…..


                            Build Journal - E46 M3 CSL Conversion

                            Comment


                              #15
                              The long awaited big items arrived. Thank you to the Evolve guys for a great packing job. A thing to point out is that the bumper comes with the gasket, splitters, and tow hook cover. So I have a spare tow cover, 2 extra splitters, and a spare seal. Kind of nice but at the same time could have saved the funds. The last of the interior parts from BMW were in this order as well. Each delivery is one-step closer to getting the car to the shop for the major overhaul. I hope to be able to pick the seats up next week as they are in.

                              The bumper itself comes painted, which is kind of a bummer, as I need to repay it. Does the bumper also seem to be some sort of carbon fiber? First time seeing an OE CSL bumper off a car.


                              I have two pairs of splitters. The splitters are super light and seem to be a thin carbon fiber. I will do a write up OE vs VS splitters.


                              The final piece of the intake puzzle. Only bummer part with this order is you can only order it with the servo. I am going to see what it might take to get it to work. Nice thing about having a mechanical / electrical engineer as a father =)


                              Today’s parts entry was a woohoo and a damit moment. The Recaro Profi XL seats are at the shop along with the installation brackets. We installed the driver side seat and epic fail. The seat with the bracket sits taller than the stock seats so my head was holding the roof up. We are looking into either new brackets or having to make custom ones to drop the seat low enough. So I have seats but not in the car.


                              While at the shop I wanted to get a base dyno before all the big moods. Again another damit moment. We were only able to get to 2nd gear for the dyno test. We were able to at least use all the revs so we got a descent set of numbers. Max power was 317 and the consistent number was 312.4. Not too bad for a starting point.


                              Finally, after almost a year the replacement cam arrived WOOHOO. Took a long time and I started to think I would never get it but at least it showed up.


                              Car hit a milestone in October and reached the 59,000-mile mark. Thought I should take a picture of it for history sake.


                              In order to fit the Recaro seats I had custom seat brackets made so the seats sat low enough. The reason I need them low is I am 6’5 but I also have the Recaro sliders to adjust seat position. I installed these so the wife and other could drive the car. The goal of choosing Recaros was to drop weight and sit lower so I could wear a race helmet and not have to bend my neck. Sadly I only gained a little height drop in doing these seats but it is still a tad more than the power seats.


                              Over to the fabrication shop to have the rear subframe done as well as have the differential upgraded to 3.91 gears. A note on the Subframe is my car had started to show signs of spider cracks on both sides. The frame had not "completely cracked" but if I had not done the reinforce kit it would have eventually done so.


                              Build Journal - E46 M3 CSL Conversion

                              Comment

                              Working...
                              X