I don’t know what’s goin on, but this winter all my long time project goals with hard to acquire parts are coming together all at once. Not sure I’m going to have any more mods I want to do, come spring.
-
I don’t know what’s goin on, but this winter all my long time project goals with hard to acquire parts are coming together all at once. Not sure I’m going to have any more mods I want to do, come spring. -
Something like 385-685 from memory. Progressive. Fronts were like 143lb/in, but linear. Looking at the fronts, I would have guessed progressive as well. In fact, I wouldn't be surprised if the fronts were actually something like 143-300lb, but I have no proof.Leave a comment:
-
Rears can not be 445lb. They might be a progressive 445-700lb or something but not a linear 445. You'd be on bumpstops all the time. Unless he's measuring at the wheel somehow? Which would mean 445 / 2/3rds = 674 which sounds right.
Funny if the fronts are 323lb, I chose 325lb for myself and feel it's really perfect.Leave a comment:
-
Interesting timing on this question. FCM just received my H&R coilover kit and measured the springs for me. Fronts are ~323 lbs/in and rears are ~445 lbs/in. This puts the bounce frequencies at 1.84Hz front and 1.64 Hz rear or as Shaikh put it "pitchville". Sorry H&R, cat's out of the bag...pun intended haha!Originally posted by r4dr View PostLeave a comment:
-
I called H&R just to ask, they confirmed it's progressive. They also refused to disclose their spring rates, but then how did someone get the 360/685 number?...
I fucking hate companies that do that. Makes me want to just forget about their product and go with TCKs – my thought was that the FCM stuff seemed alluring down the road, so I wouldn't have to buy dampers twice.Leave a comment:
-
Springs are progressive though aren’t they?
If you have a moment, what’s the diameter of the front springs at the adjustment collar? Do they taper down to 2.5”?Leave a comment:
-
Yeah, I just need height adjustable bilstein damper bodies. Not using the springs or stock valving, so paying more wouldn’t get me anything more.
... and if I were keeping the springs, the street setup isn’t far from the rates I’ll be running.Leave a comment:
-
Any specific reasons why the Street Performance vs the RSS? Or did you just get the cheaper ones since the spring rates don't matter as you will be tuning those to your liking anyway?Leave a comment:
-
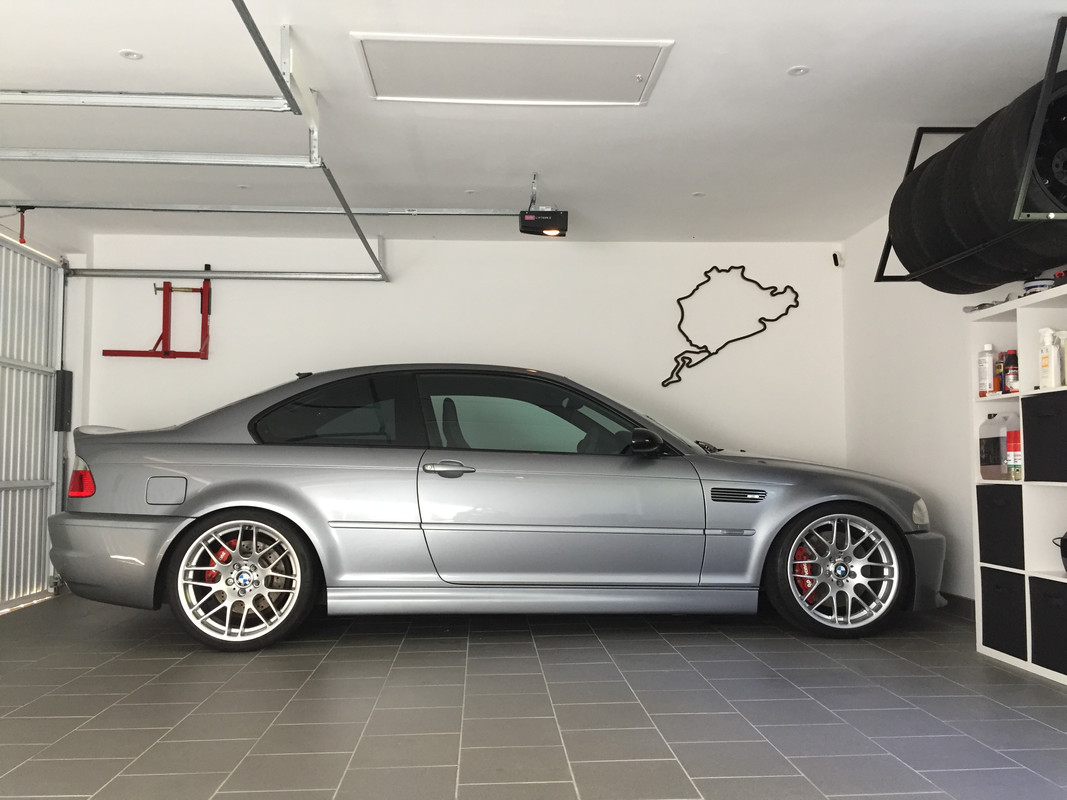
The car was purchased with these on, so I never got to experience the OEM set-up (although I still have these stored). However, they give 1.27 vs the H&R 1.06 flatride. The ride height was set like this (Front: 640mm as measured from ground to centre of arch and Rear 635mm - same measurement) and the front camber was set to a smidge over 2° on standard mounts. It is/was very neutral and balanced with no ill traits. I'm now running different springs and dampers with much more camber thanks to Turner Hybrid top mounts.Originally posted by IamFODI View Post
Leave a comment:
Leave a comment: