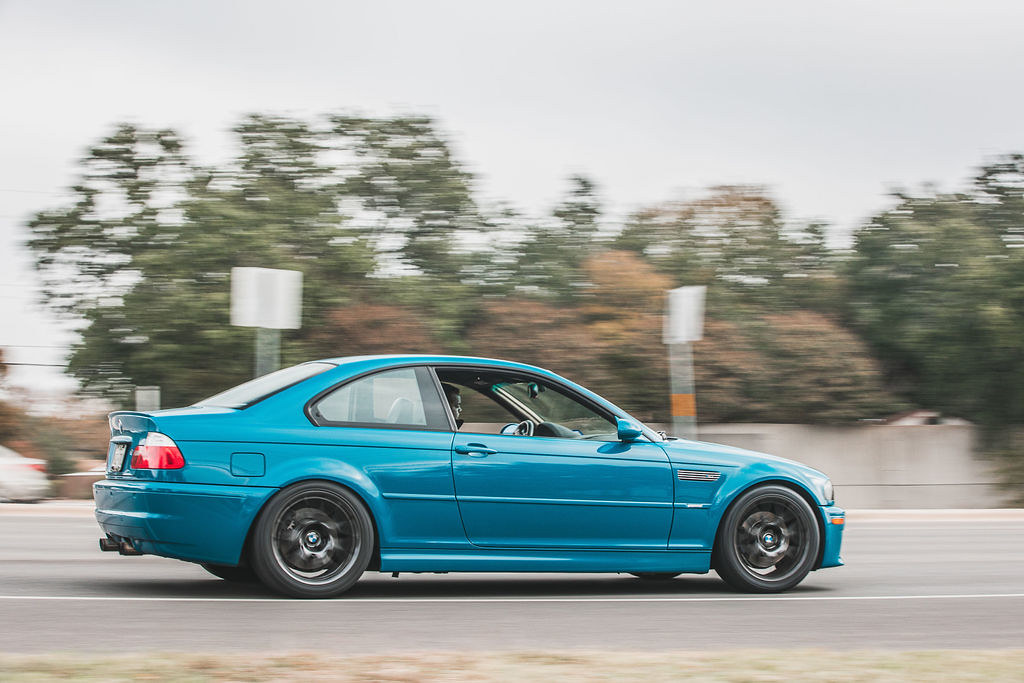
Here we go... again. I unexpectedly purchased this car earlier this year in April. As some of you may have been following I bought a silver E46 M3 before this in need of "some" TLC and was planning to make that the way I wanted. Fast forward a bit and I get a text from the then owner of the LSB asking if I was still interested. He had this car listed on M3F (rip) when I initially inquired several months prior but he decided to keep it. Like any maniac, I had to have it so I told him it's mine. I have wanted an LSB since 2013 after seeing one here and there around town when I lived in College Station and thought it was the coolest thing. I've had several E46 M3s prior to this but I think I finally found "the one". Just days after we agreed on a deal a friend and I were on the road from Austin, TX to St. Louis, MO.
The car is an incredible spec;
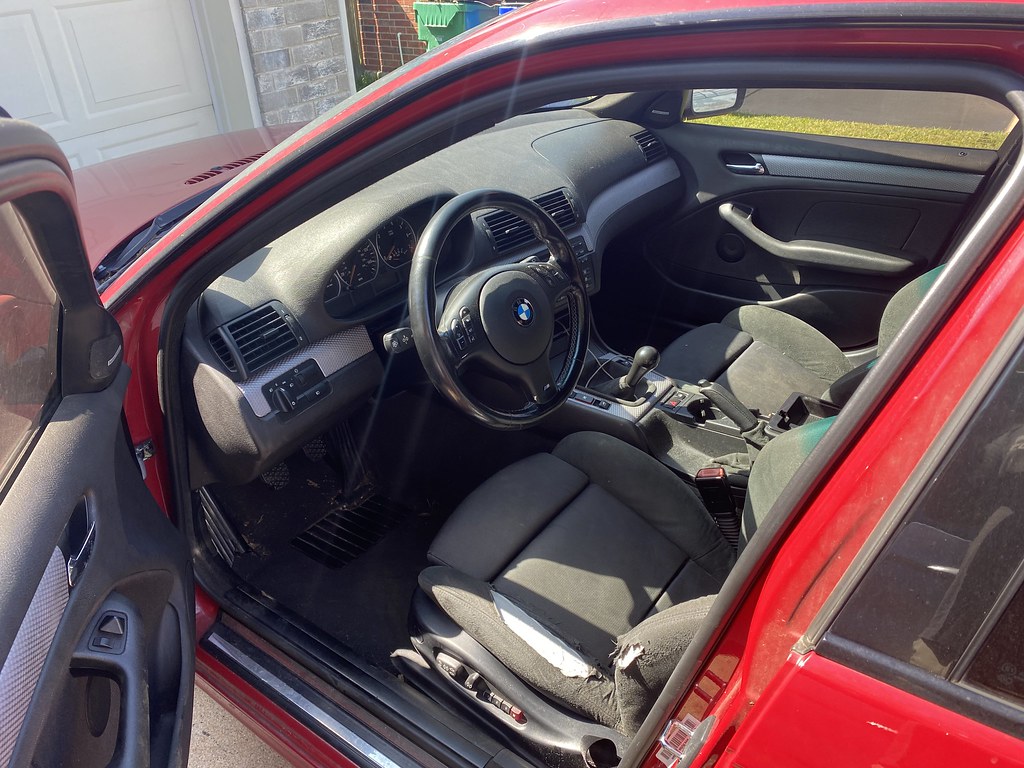
-LSB with black manual non heated seats
-Slick top
-No nav
-Halogen lights
-SMG (I like it)
-148,xxx miles
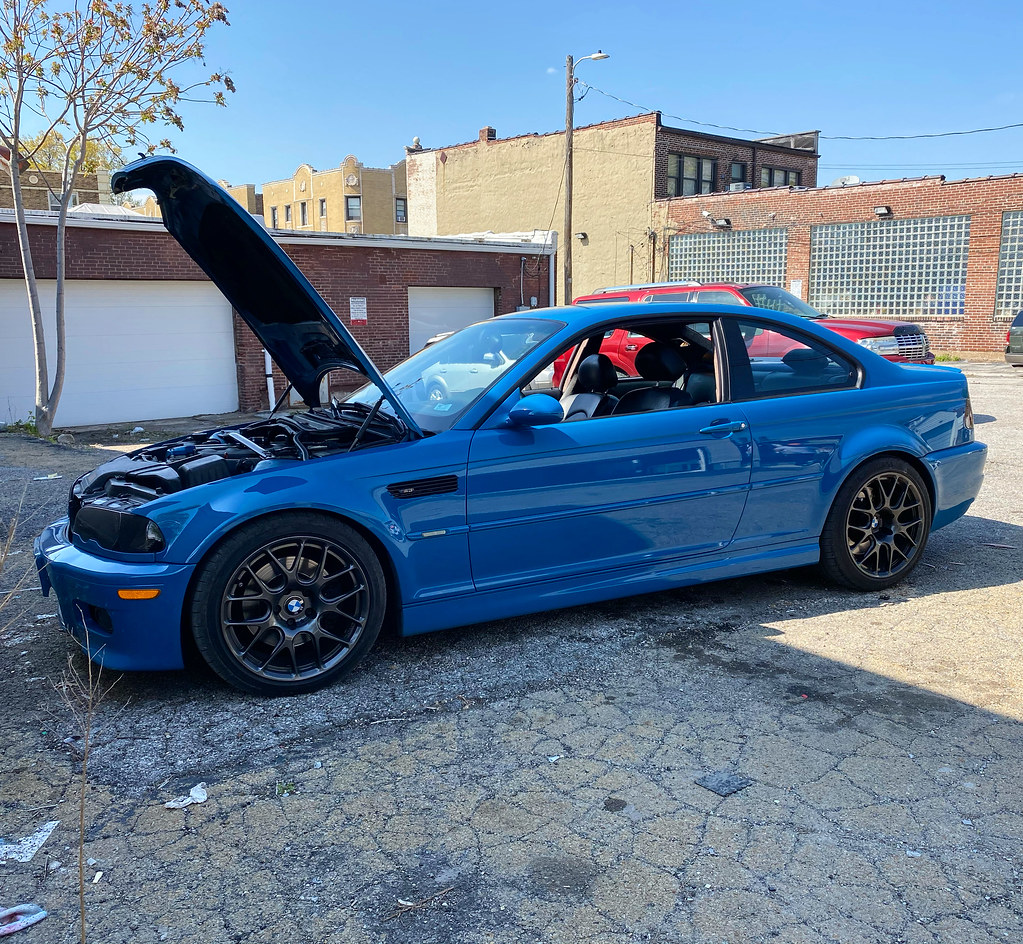
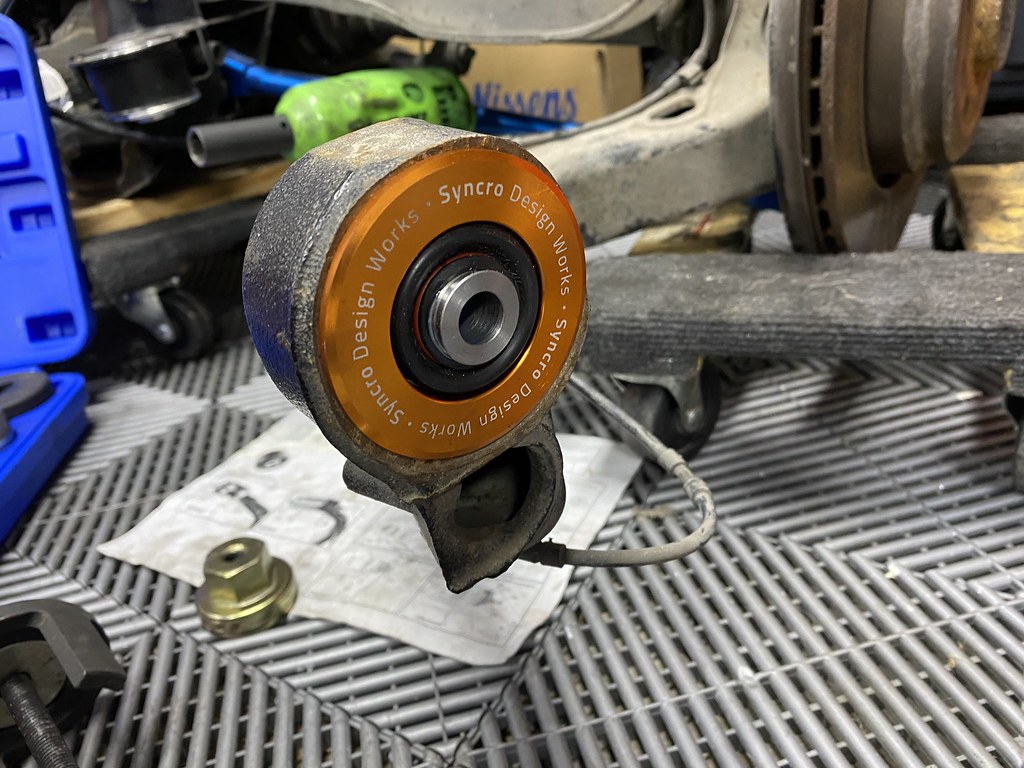
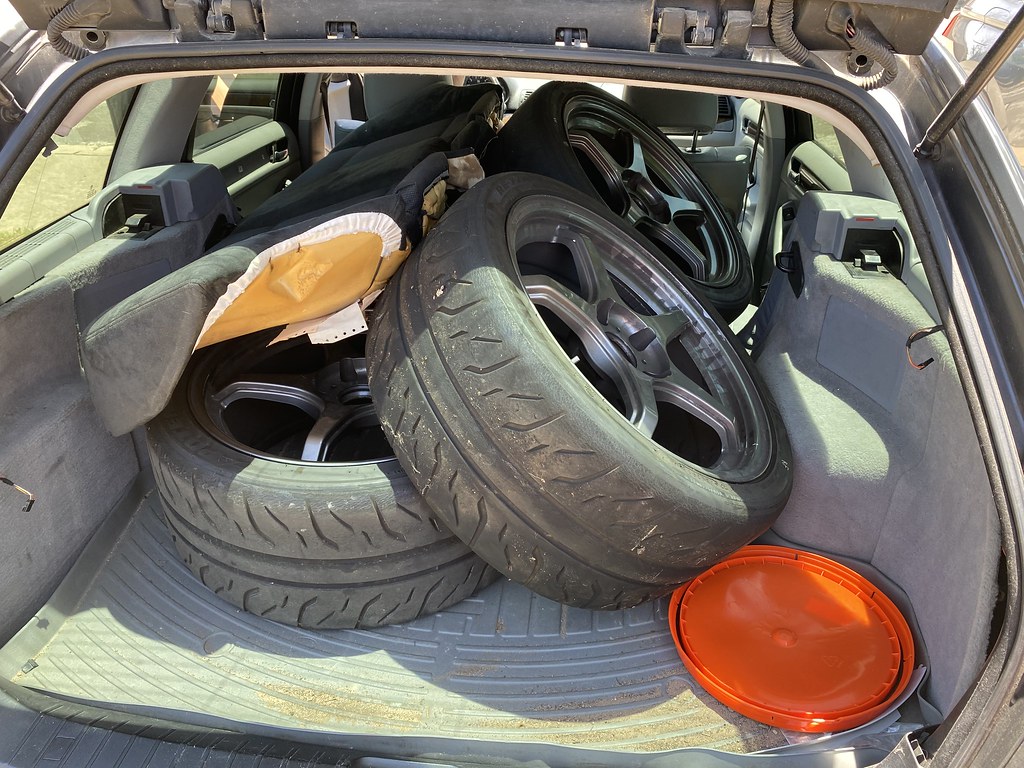
I'm the third owner. The car came with almost all the delivery documents to include a VHS tape that's still shrink wrapped and all of the keys. The only modifications were RAC wheels and Eibach lowering springs so this was a plus for me as I like to start with a blank canvas and prefer untouched cars. My plan for this is to keep it OEM+. I eventually ended up selling my silver one back to the individuals I got it from and we worked out a deal for me to keep pretty much all the parts I hard literally just installed.
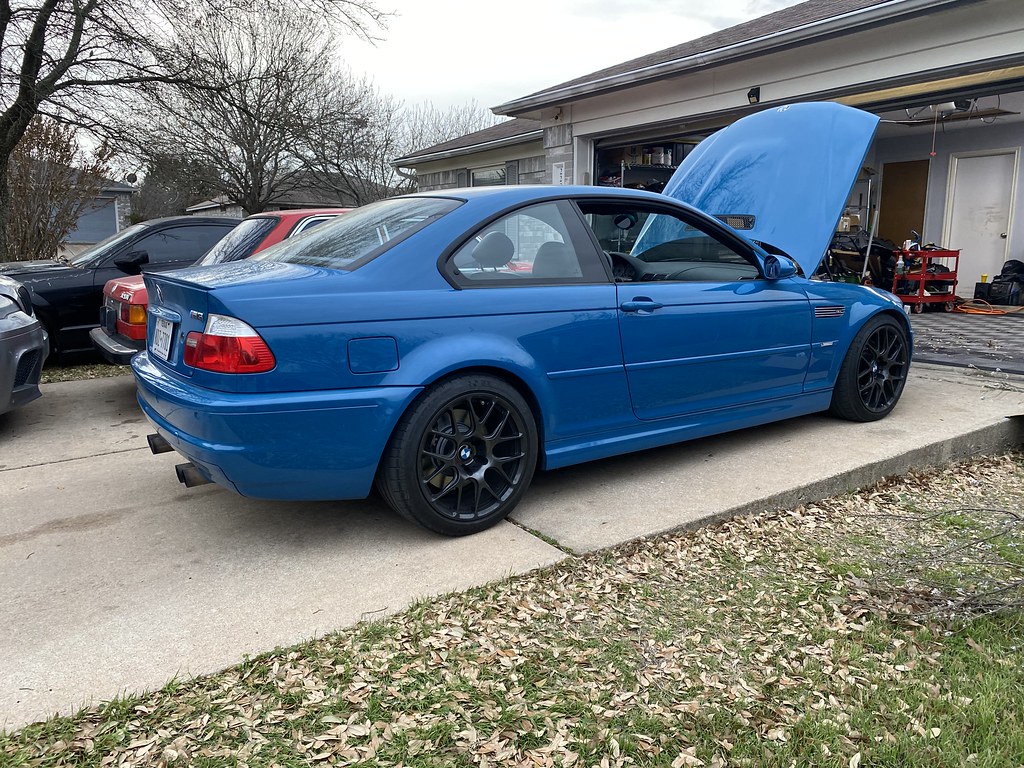
The first time I saw it in person.
 Untitled by jake ellegard, on Flickr
 Untitled by jake ellegard, on Flickr
 Untitled by jake ellegard, on Flickr
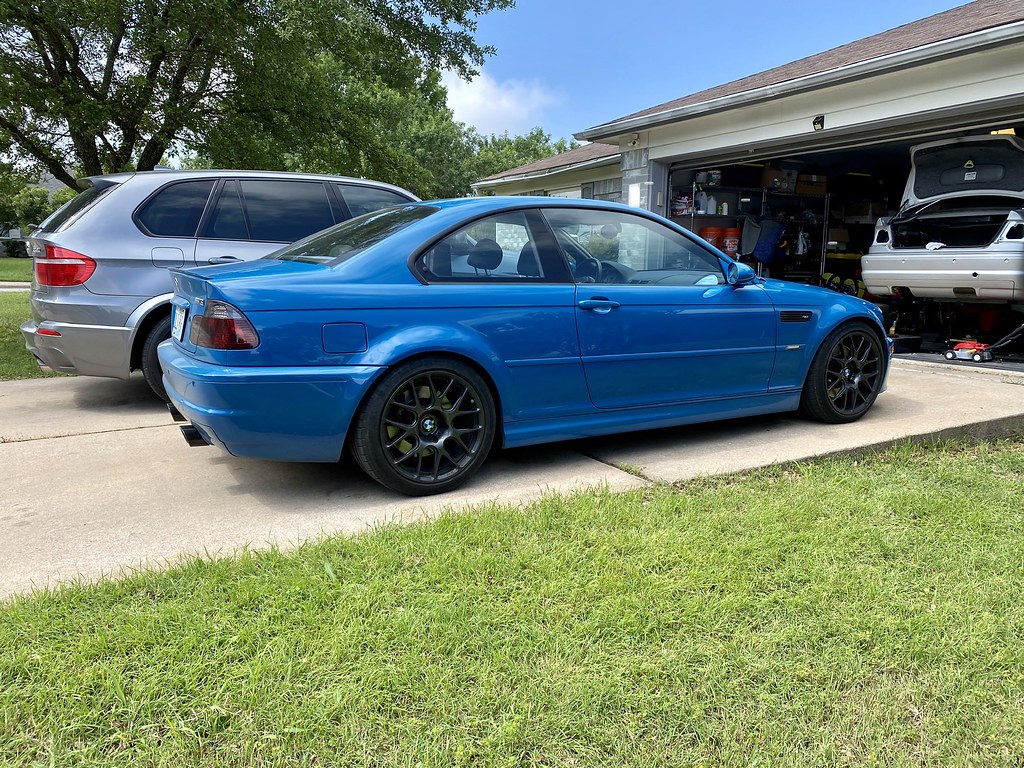
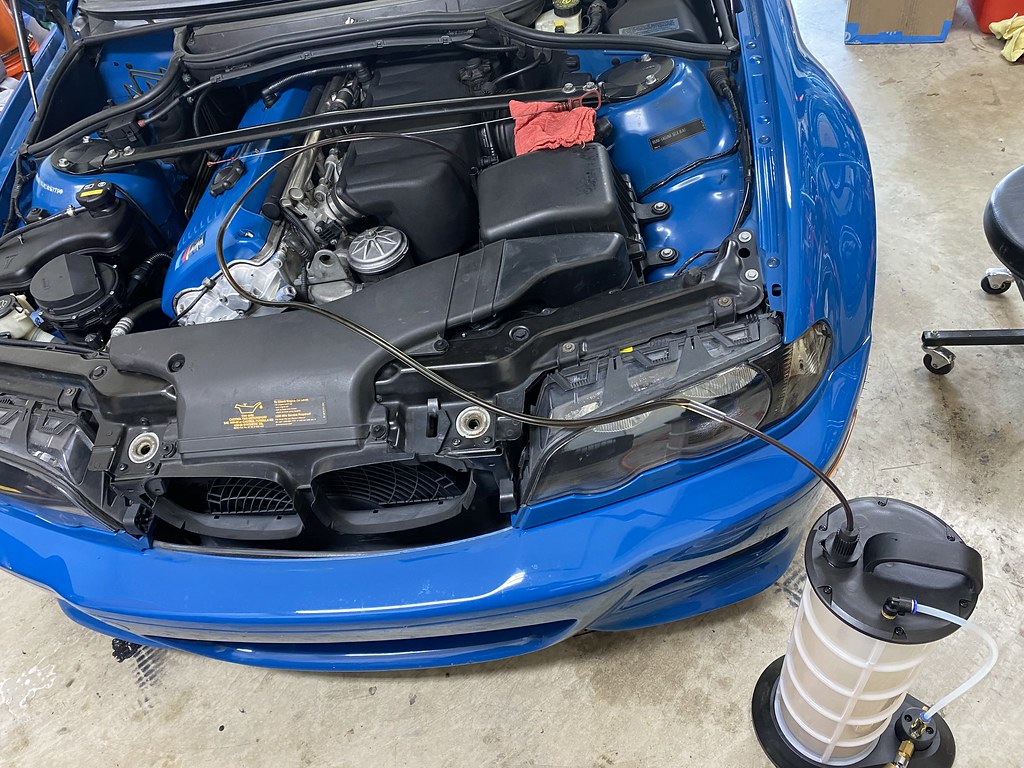
Finally home.
 Untitled by jake ellegard, on Flickr
The car is an incredible spec;
-LSB with black manual non heated seats
-Slick top
-No nav
-Halogen lights
-SMG (I like it)
-148,xxx miles
I'm the third owner. The car came with almost all the delivery documents to include a VHS tape that's still shrink wrapped and all of the keys. The only modifications were RAC wheels and Eibach lowering springs so this was a plus for me as I like to start with a blank canvas and prefer untouched cars. My plan for this is to keep it OEM+. I eventually ended up selling my silver one back to the individuals I got it from and we worked out a deal for me to keep pretty much all the parts I hard literally just installed.
The first time I saw it in person.
Untitled by jake ellegard, on FlickrUntitled by jake ellegard, on FlickrUntitled by jake ellegard, on FlickrFinally home.
Untitled by jake ellegard, on Flickr


Comment