Originally posted by Slideways
View Post
-
Good call, you were right it is cracked right there. I didn't even notice it. Doh! I'll have that fixed. Much appreciated. -
The car is coming together nicely liam821 👍. I really like the black interior swap as it goes really well with the exterior color.
I did notice that there might be a popped spot weld and seam sealer cracking on the rear drivers side arch where it joins the RACP. It looks to be right behind the shock, but the picture is a bit dark. Redish MS usually stitch weld both rear arches when they perform their RACP repairs.Last edited by Slideways; 04-13-2020, 12:14 PM.Leave a comment:
-
Yeah, the rear window is a massive pita. I'm not sure if I destroyed the rear defrost lines or not, I guess we'll see. I'm going to do a slicktop conversation at some point so the window will have to come out, I figure I'll deal with it then.Originally posted by Phoenix///M3 View PostLeave a comment:
-
Excellent call on no tint. I went that route all around but my rear window was a complete disaster. I ended up scratching the defrost lines and window itself in a few spots so had to replace the whole thing. Fresh factory glass is a beautiful sight however.Leave a comment:
-
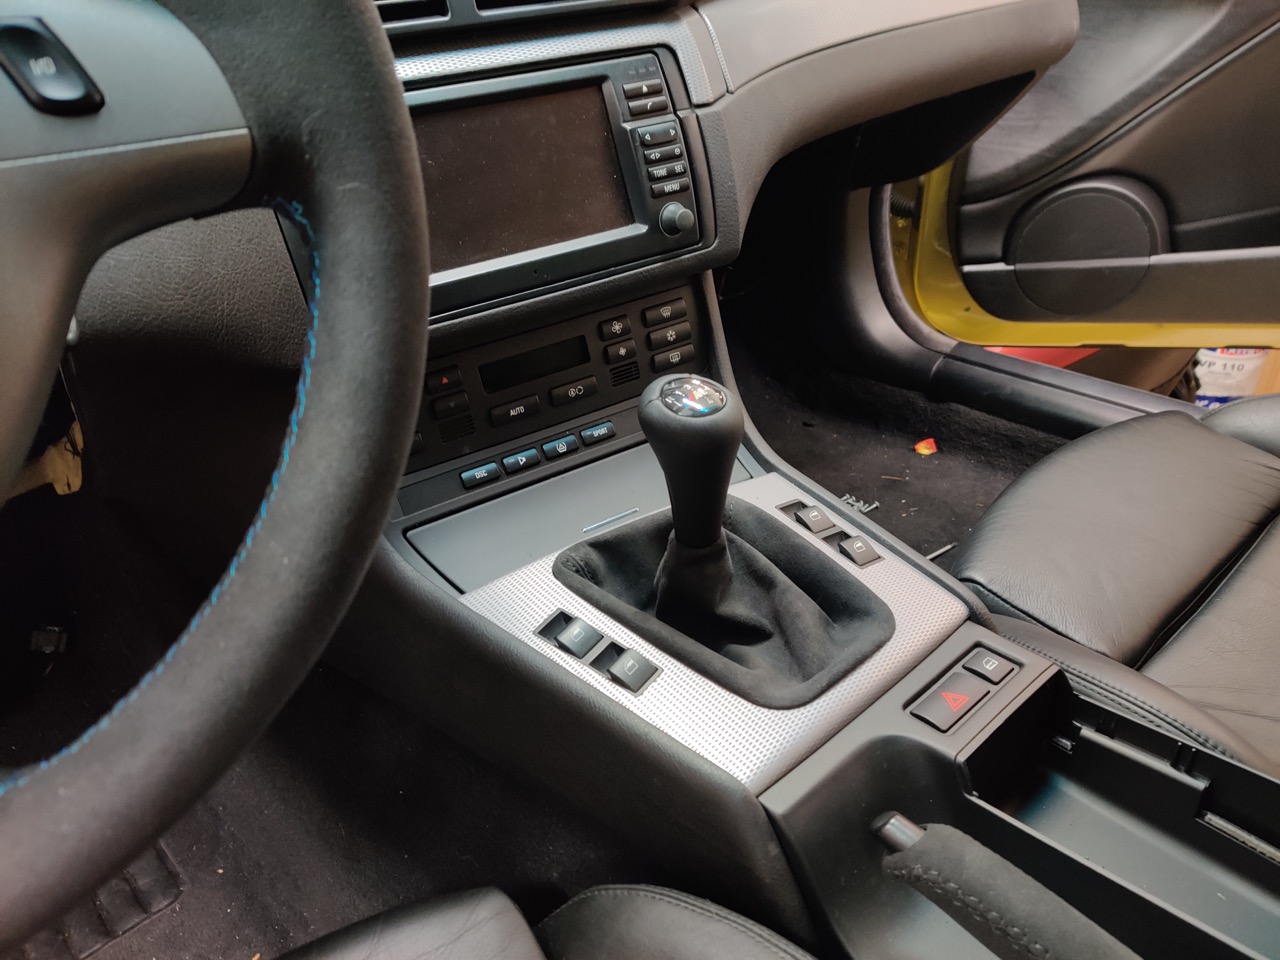
Didn't like the Dinan short shifter, so I pulled it out and bought an e60 shift level from ECS. Perfect size, shifts smooth and isn't notchy like the Dinan. I also installed the Coby Alcantara shifter and ebrake boot.
Great height!

Finally got the subframe in the car!!
First a did oil change in the diff and mounted the diff in the cradle

Up under the car it goes
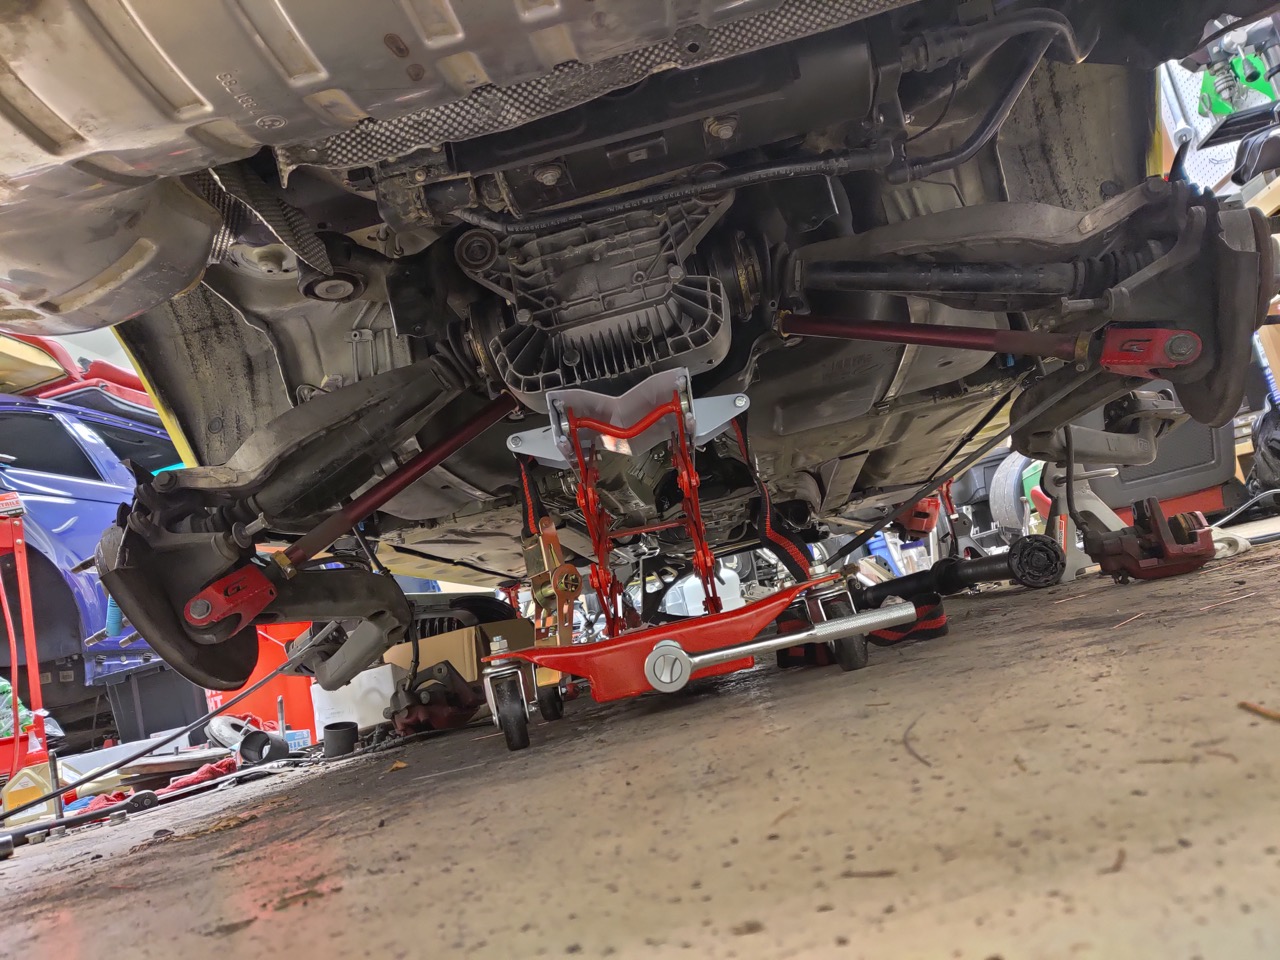
All bolted up!

Next up was the rear suspension
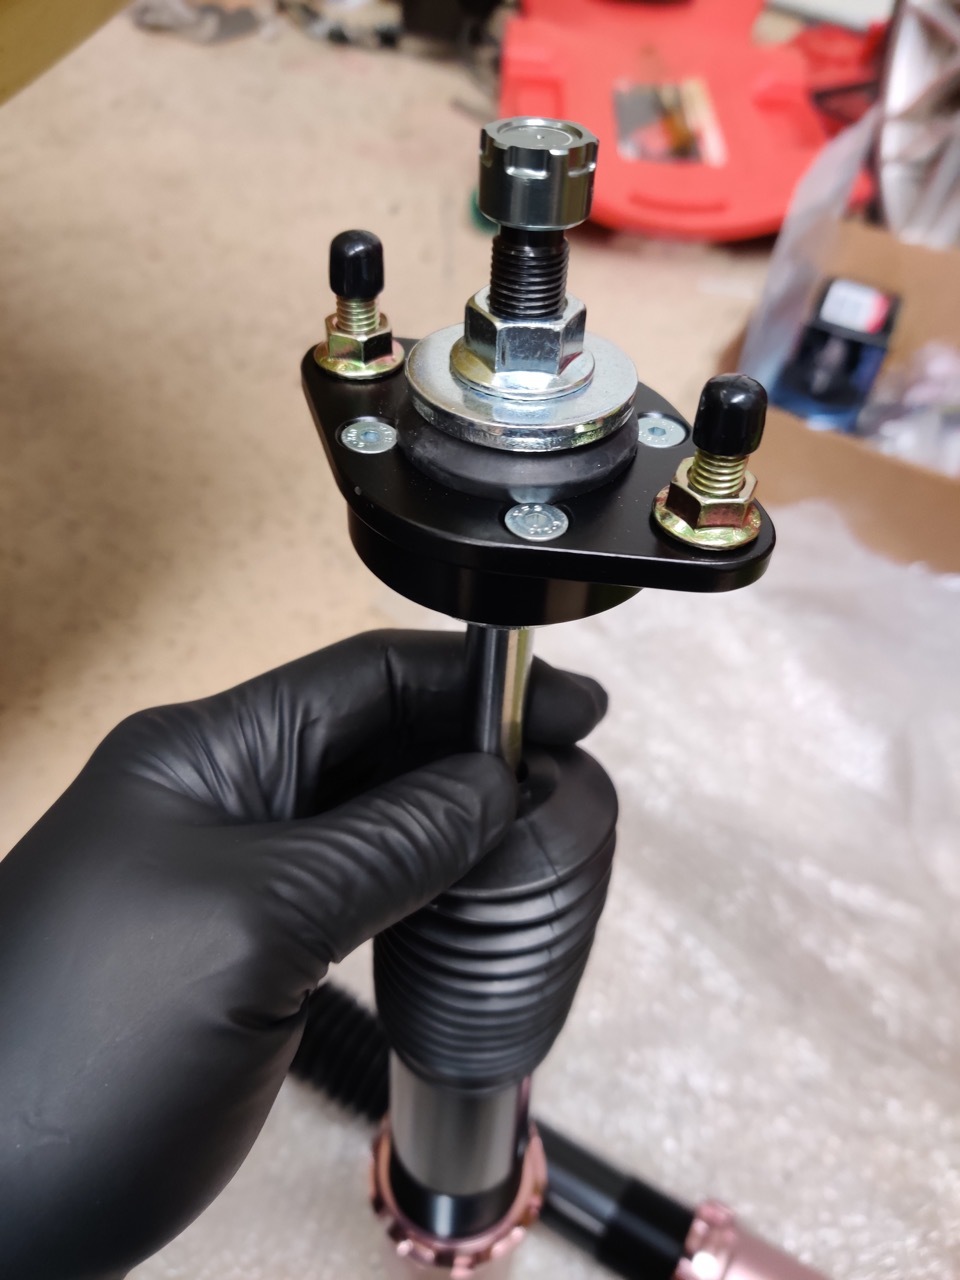

All bolted up with the PureTech coil-over reinforcement plates (primered painted)

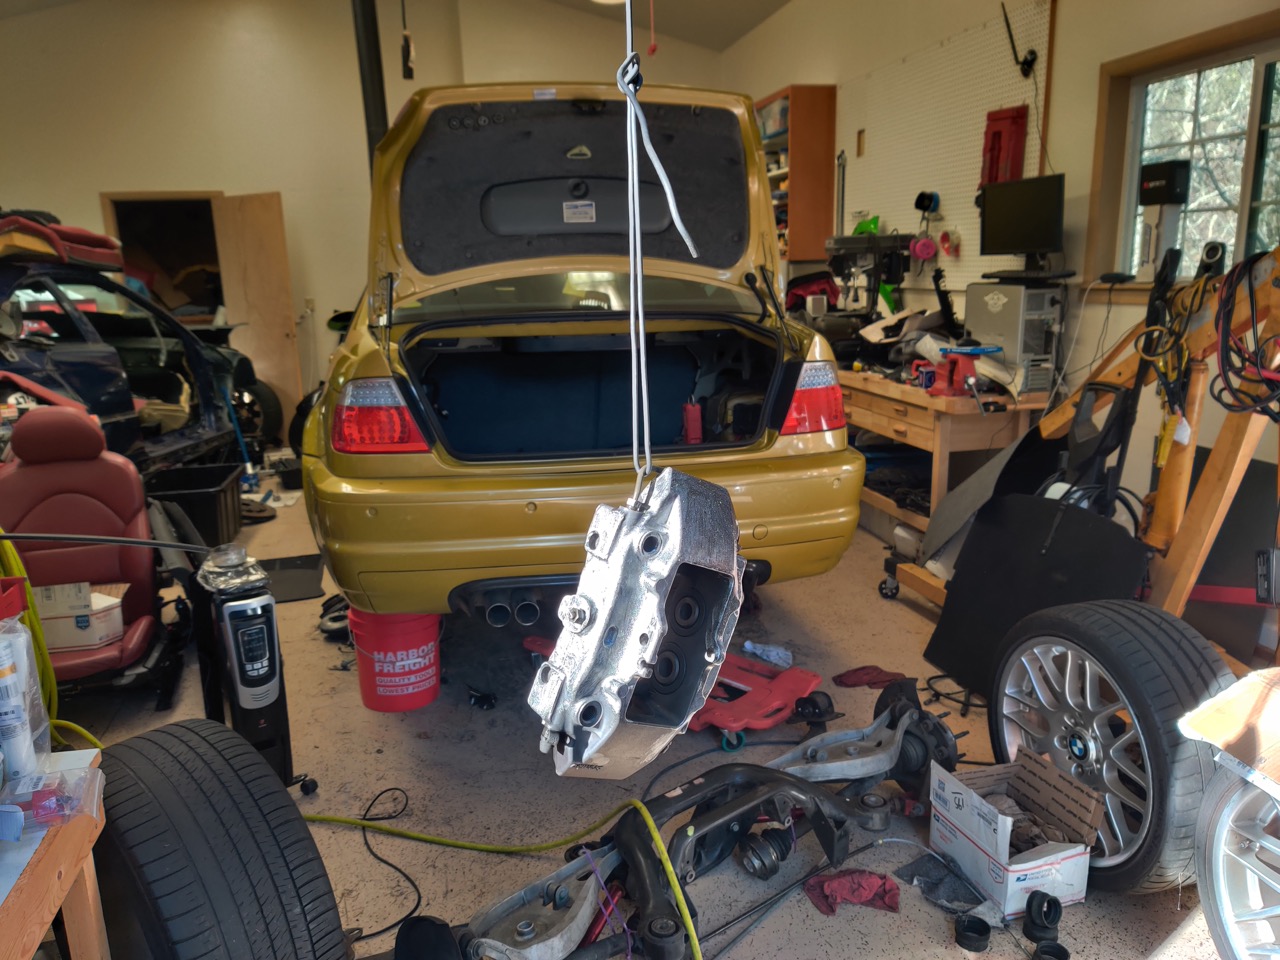
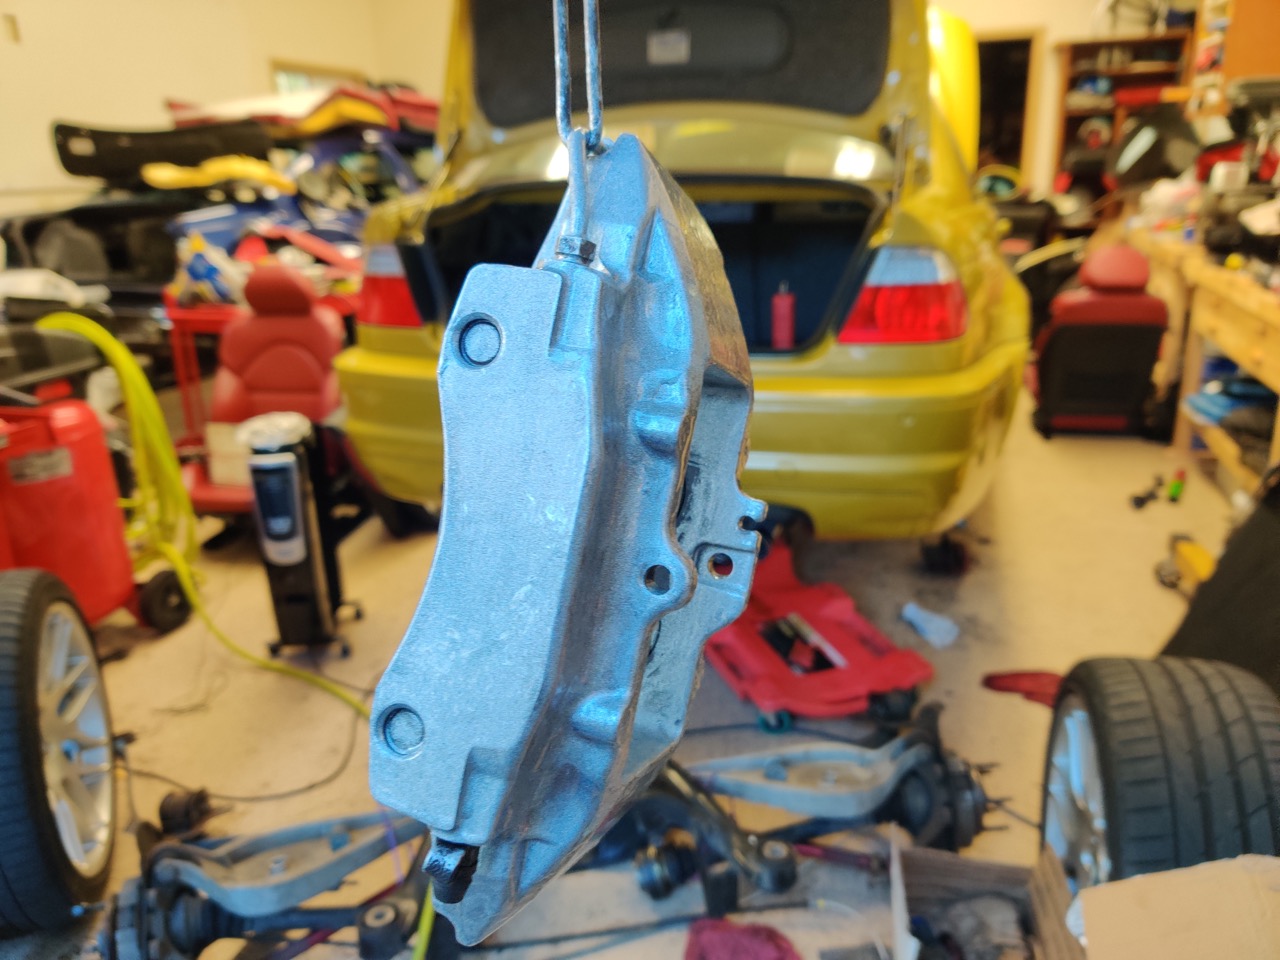
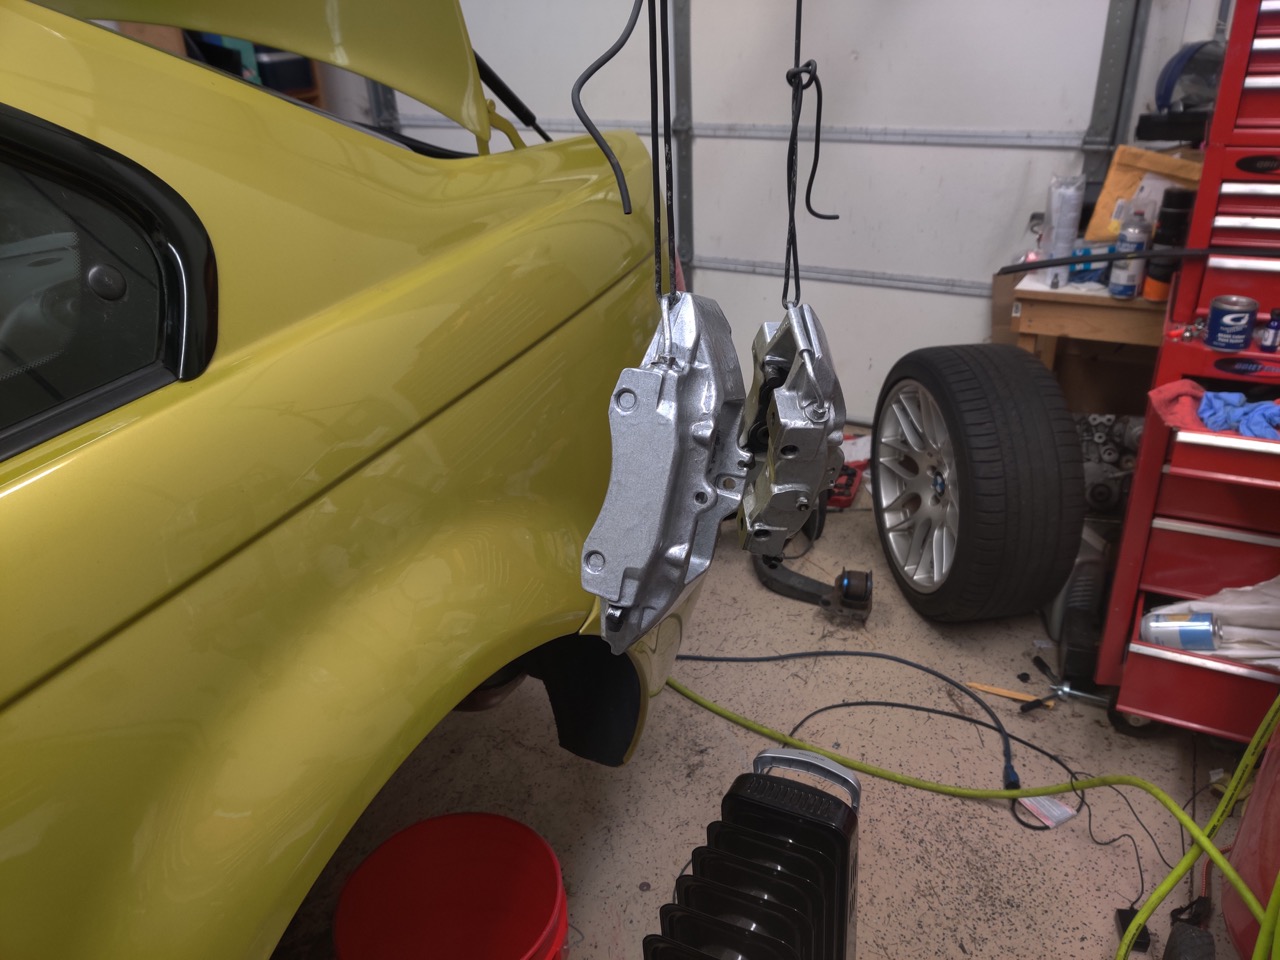
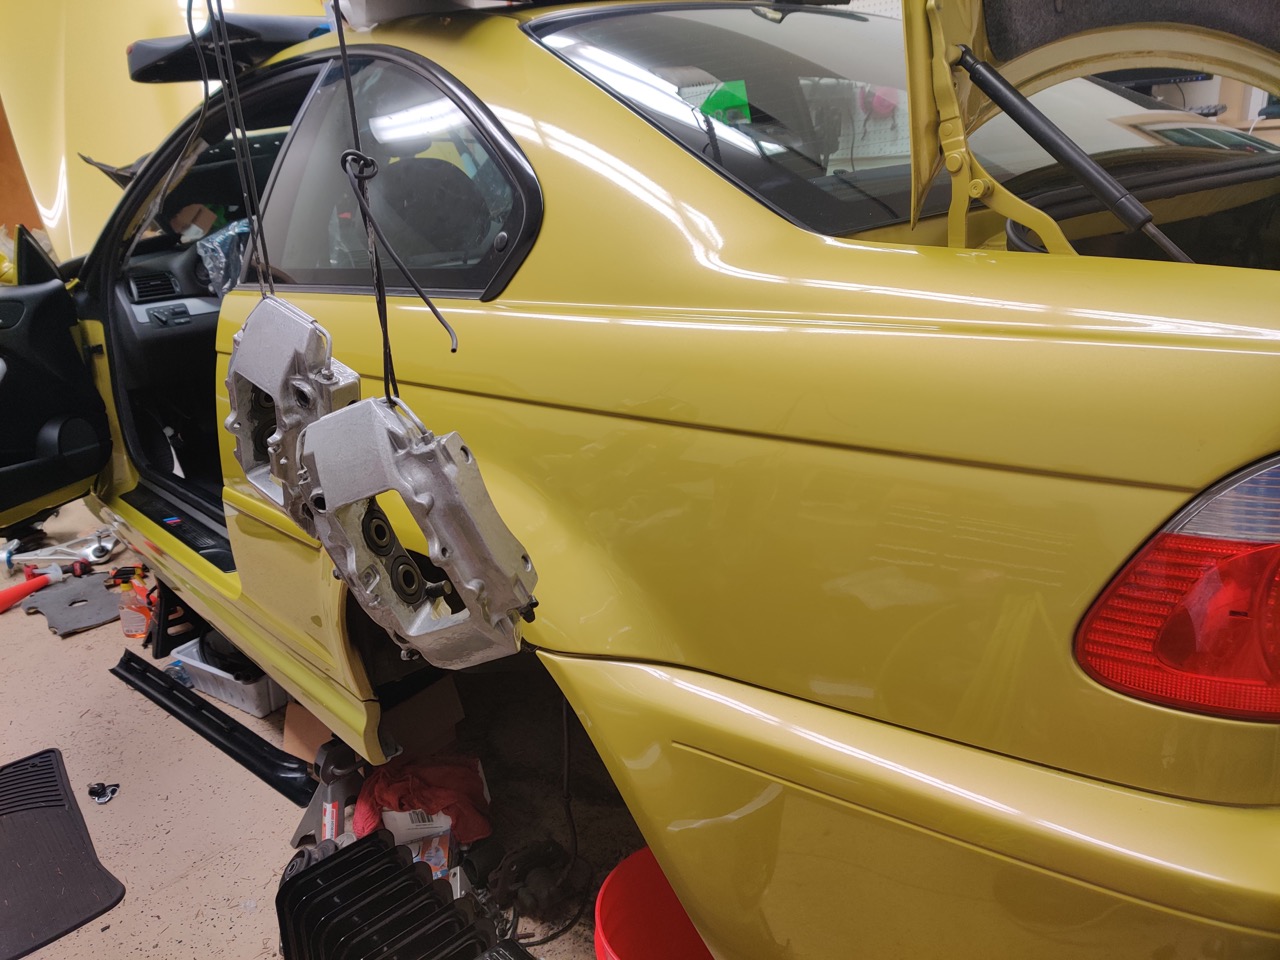
Didn't take many pictures of the suspension going on and just rolled straight into doing the rear brakes.
Thanks Tbonem3 for the suggestions and help with the calipers. I got them all finished, I'm not totally sure what I'm going to do in regards to the paint on them yet but for now I'm just going to roll with them.
First problem was the dowel pins on the calipers were so long that they were basically rubbing up against the rotors. I used an angle grinder and got that fixed up real quick.
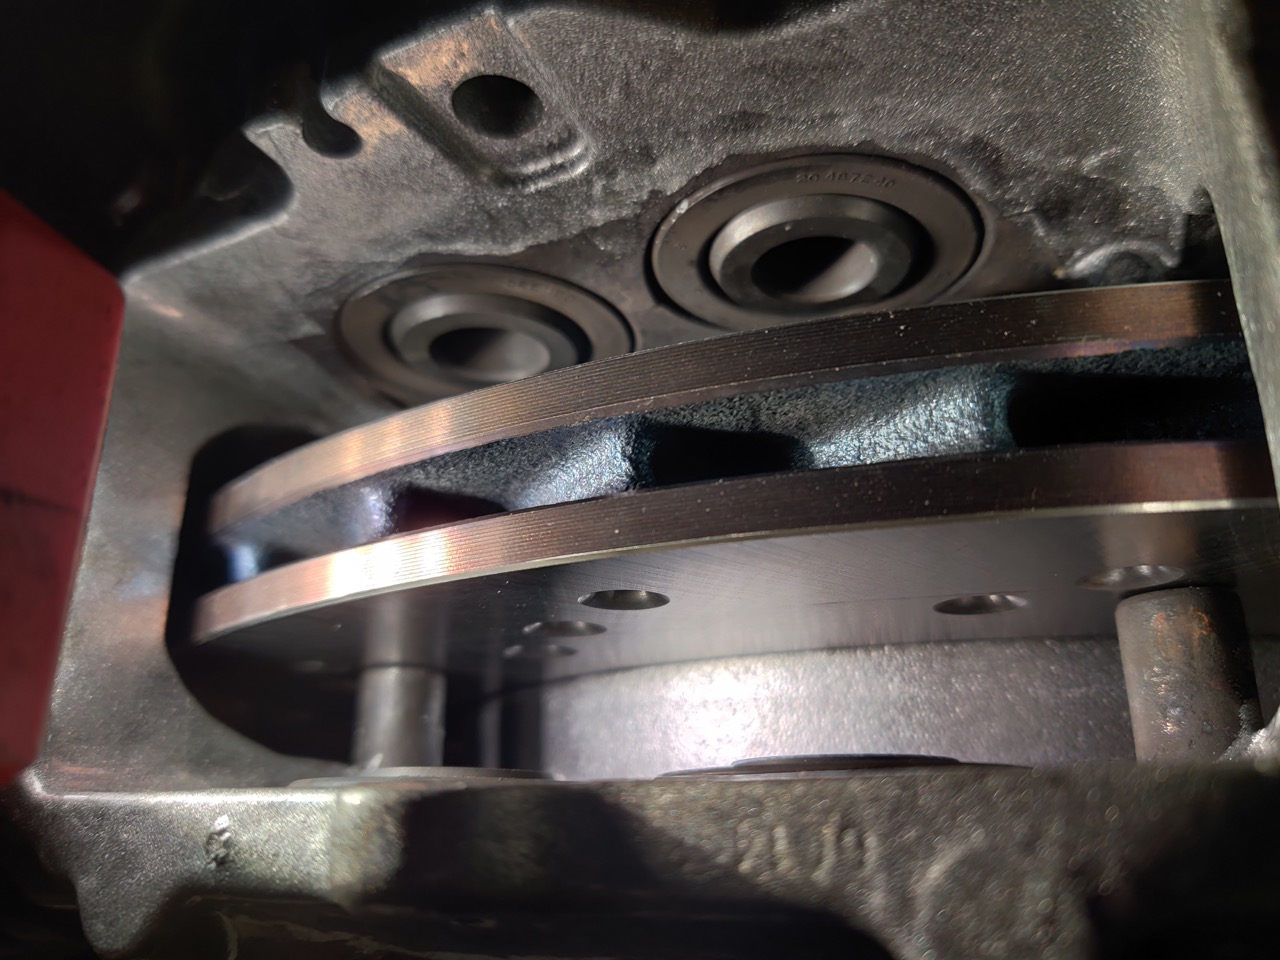
All finished

Up next, the front suspension, front brakes, driveshaft and the exhaust and we'll be on the road againLeave a comment:
-
If you don't have an oven to fully cure them, I wouldn't bother with the clear. Even if you have an oven and cure them properly, I don't think you're going to be too happy with how the vht caliper clear yellows and takes away the sparkle of the silver paint. Vht engine clear will be better, but again, only if you can bake them. At the very least, do light coats and not many.Last edited by Tbonem3; 04-10-2020, 09:44 PM.Leave a comment:
-
Ok I see. I would advise to let these fully dry/cure, then sand down smooth and re attempt with spray can. As above, I suggest VHT silver caliper paint or VHT aluminum engine enamel. Then your decal. Then I would do VHT engine enamel clear, as VHT caliper clear will not look good in the end with metallic base coats. VHT caliper clear is fine with solid colors like yellow, red, black.
I'm confident of this advice because I've been doing this (caliper painting) pretty non-stop for over a year now.Last edited by Tbonem3; 04-09-2020, 06:18 PM.Leave a comment:
-
I used G2 caliper paint, so it wasn't a spray-on but paint on with a brush. That was probably half my problem... I do have a bottle of VHT clear which I was going to use over a decal but since it turned out so poorly I'm not really sure what to do now.Originally posted by Tbonem3 View PostLeave a comment:
-
What paint did you use? I find that sanding down, once fully dry, with a red or green scotch pad, results in a really nice, smooth template for new paint. I wouldn't clean the calipers again unless the paint were really bad like bubbling or gumming up.
The VHT silver is very nice and sparkly. HOWEVER, as soon as you put the VHT caliper clear over it, it gets a little yellowish and you lose a lot of sparkle, though you get the glossiness of the clear (once baked).
I would either not clear them (if no decal) or try the VHT engine enamel clear as it's much more translucent and should allow the silver to still sparkle well.
I just went through this on a pair and scrapped it because of how lifeless they looked after clearing them, despite them looking so good with no clear
The other nice silver is VHT engine enamel nu-cast aluminum. Very sparkly. They have a cast iron as well that's a little darker. You can find pics on google search (images).
I would not bother with dupli-color silver. Not any better than VHT and lower temp rating anyway.Last edited by Tbonem3; 04-09-2020, 01:03 PM.Leave a comment:
-
Try the VHT caliper paint. It comes in silver and goes on super smooth. I'm terrible at painting too and was pleasantly surprised at the results I got with it.Leave a comment:
-
I attempted to paint the rear Porsche calipers silver. Perhaps I'm just not good at painting (I'm not) but I think I put on too much paint each layer so it came out really uneven. But we'll see what it looks like in the morning. Worst comes to worst I've wasted $50 on paint and a few hours of my time.
First coat
2nd coat
3rd coat
Doesn't really much different that the above picture, but bolted down all the seats and put the door trim back in on both sides. I also finished the dash trim and got that all back together

All that's left of the interior is the steering column plastic covers & bolting the wheel down/installing the airbag, the shifter and ebrake boots, installing the accelerator pedal, and the A & C pillars. And perhaps a good vacuum.Leave a comment:
Leave a comment: