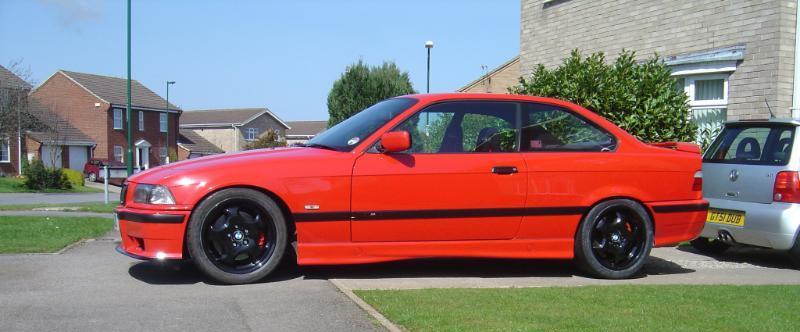
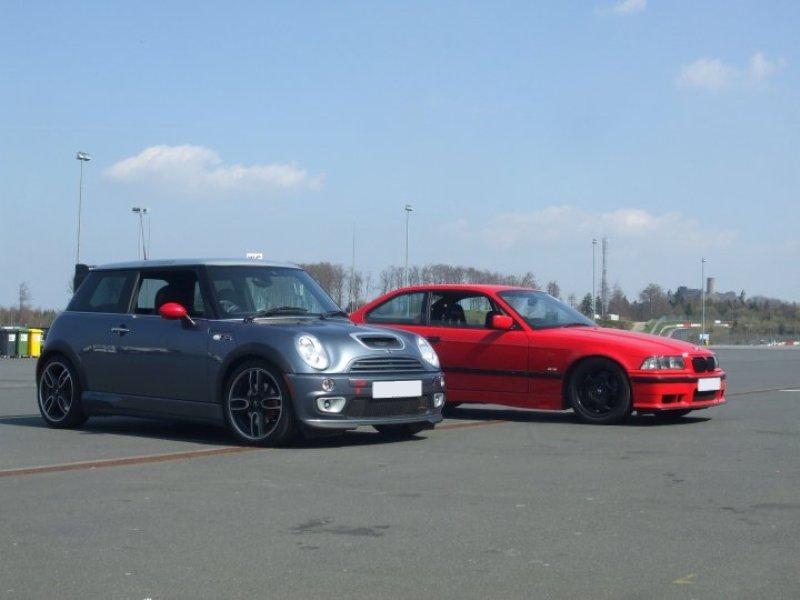
Yeh, dropped the fog lights earlier and it now looks a lot more aggressive.
The drivers wing really, really needs urgent attention and lets the car down but i'll wait till after Germany to fix that, and whilst I'm at it will get some other areas painted... could also do with a good polish, but just havent had the time.
With my limited time I figured I'd rather get the suspension / brakes / geometery right than making it look perfect.
Yeh, dropped the fog lights earlier and it now looks a lot more aggressive.
The drivers wing really, really needs urgent attention and lets the car down but i'll wait till after Germany to fix that, and whilst I'm at it will get some other areas painted... could also do with a good polish, but just havent had the time.
With my limited time I figured I'd rather get the suspension / brakes / geometery right than making it look perfect.
Looking good Craig, nice when you do a job start to finish and stop/look and think I done that. Only real way to know the Jobs done right. :thumbs:
Glad you have a focus after your csl misadventure. :beer:
Well I made the deadline, only just mind and with quite a few minor incidents along the way. However there is a few shock instalments to this update that I bet no one (me included) was expecting.
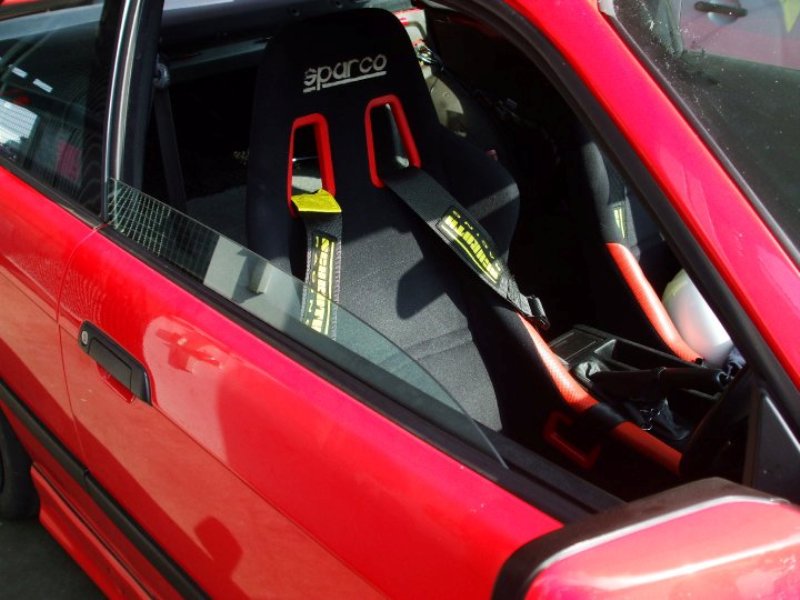
First shock update is the interior, although this is a temporary measure I really didn’t expect to have the time to make the seat sub-frames let alone get it all fitted and functional. It started a few days before departure for Rotterdam, a friend and I were sat staring at his current project; a Pegueot 306 Rally track car, which he’d just bought some new seats for. So surplus to his requirements were these seats;
They are Sparco Sprint seats, not the world’s most elusive set of sports seats but they’d certainly do a better job of holding me in than the current OEM 328i Sport seats. One thing that was noted is that they have a strung base and are not hard backed. This actually made them really comfortable for long journeys and was a huge relief from the normal pain and discomfort endured for hundreds of miles.
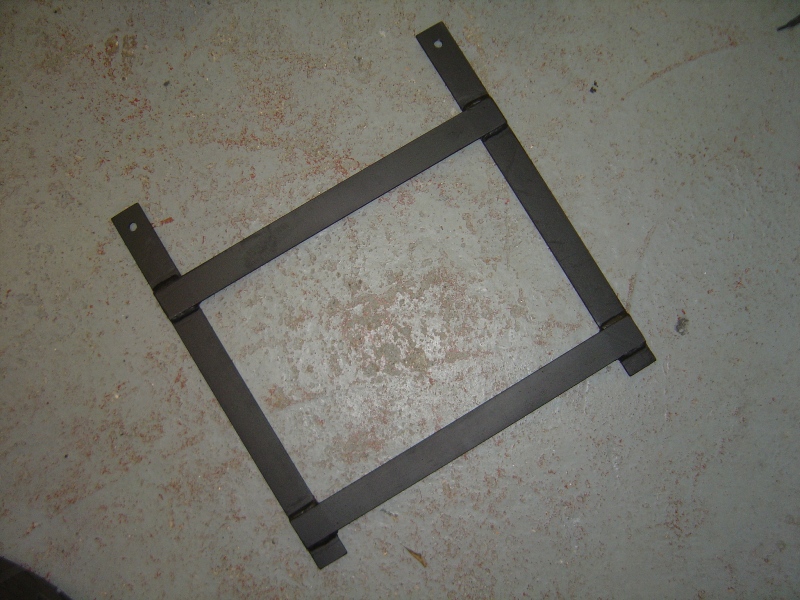
First up once the standard seats was removed was to work out how we were going to make the seat sub-frames. We decided to stick to a basic 5mm flat bar steel square frame which would incorporate the factory mounting points, and we would later space the seat to the correct height.
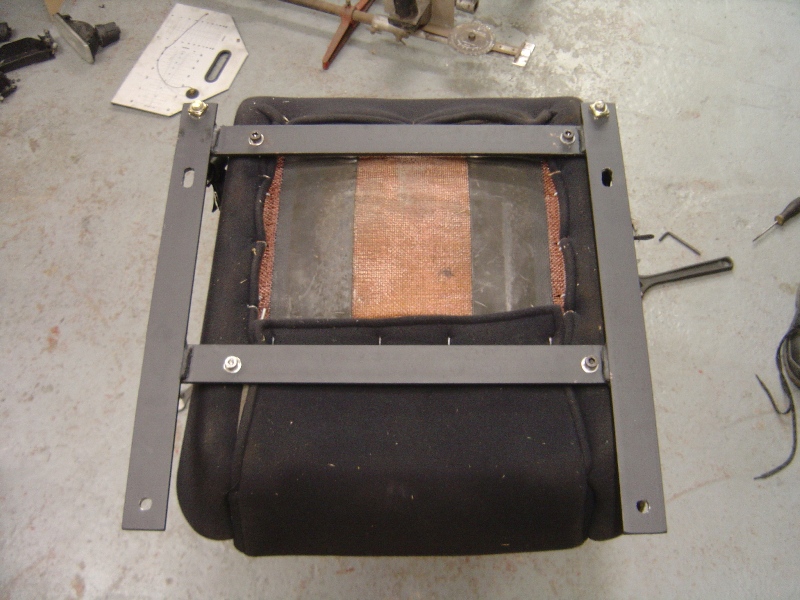
Once the frame shape was made and welded up the holes were drilled and the frames painted satin black. The above frame as you can see is not quiet finished, there was four holes drilled from the frame to floor mounting, and a further four for the frame to seat mounting points.
It’s worth noting that the seats are off set and should sit as near to the centre tunnel as physically possible, with the passengers frame (above) this wasn’t too essential however on the drivers frame due to the centre position of the steering wheel it is. On the drivers frame (not pictured) the near side seat holes were actually drilled into the flat bar that run from the front to back of the car, due to the lack of space between the frame and carpet to fit nuts and bolts underneath, the welded bar that was now 10mm thick was threaded with an M8 thread.
The drivers seat has a sliding runner fitted which was 12mm thick, and it also required a further 25mm of spacing to get the correct height. The passengers seat sits really low, I need to raise this at a later date.
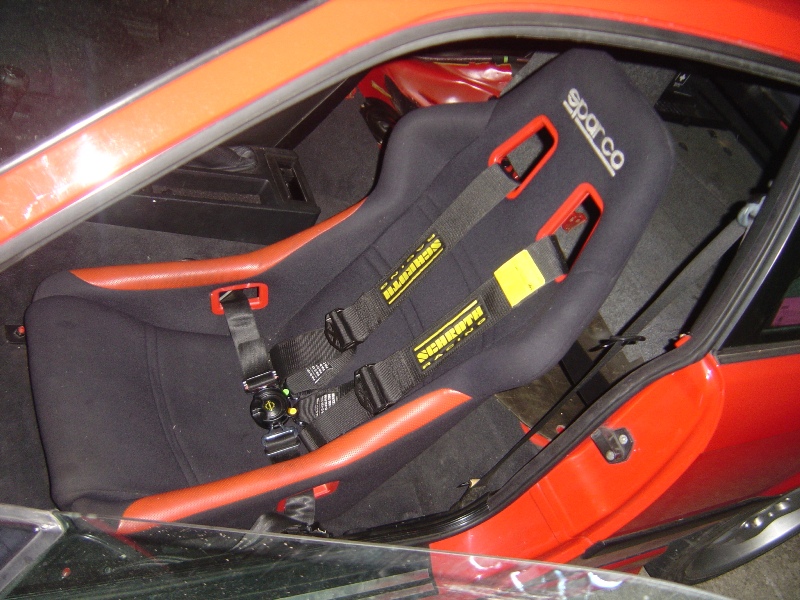
Here is the two seats mounted in situ complete with some Schroth Profi-II ASM 4-Point harnesses.
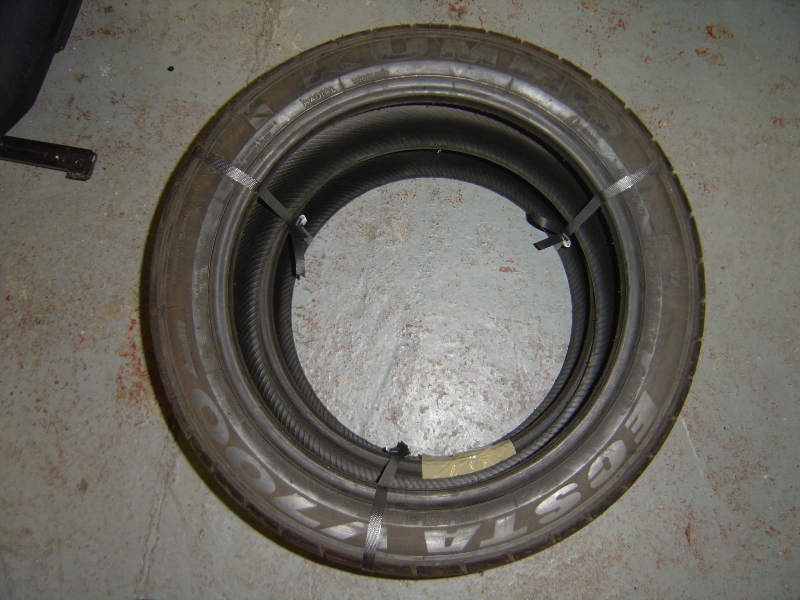
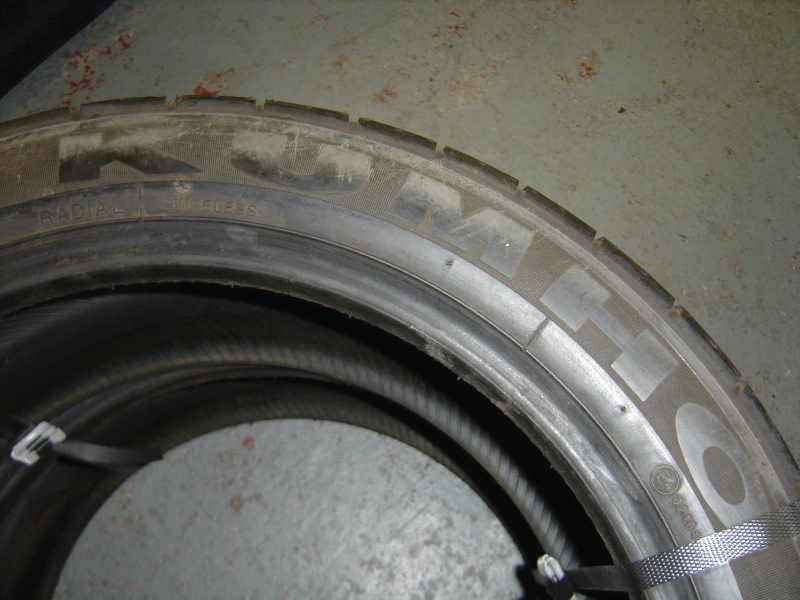
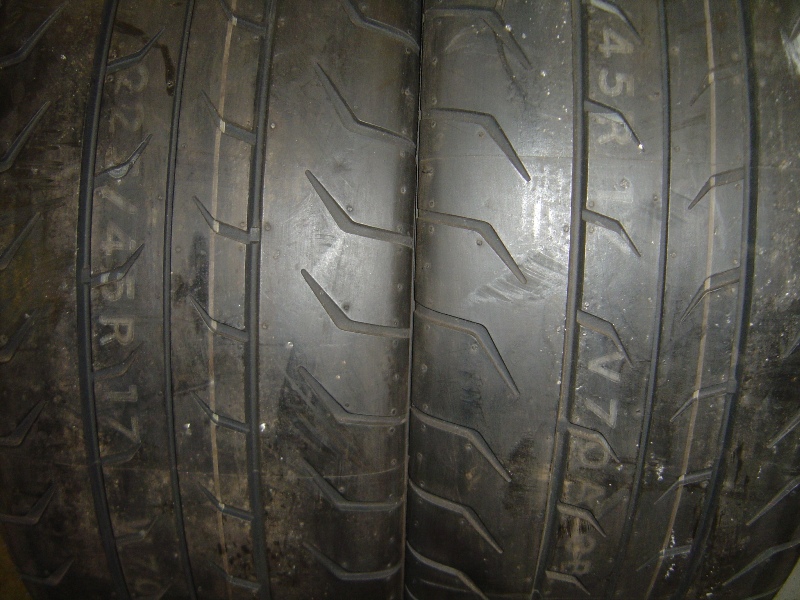
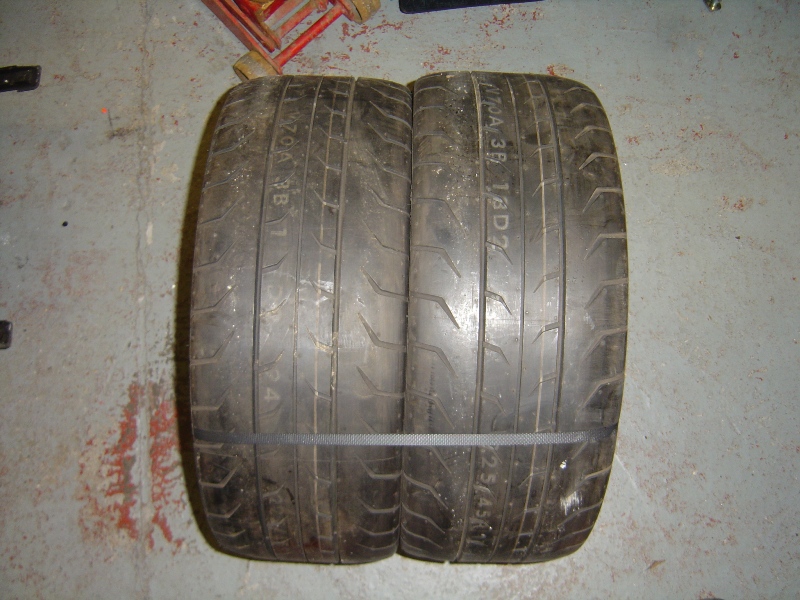
Next up was the tyres, the current Hankook RS2’s were running a little low so decided to fit a fresh set of rubber all round, I couldn’t quite decide what to run but eventually settled on a set of Kumho V70a semi-slick tyres, they are in the same league as R888’s however I had never tried them before so didn’t know what to expect.
I went for the usually 225/45/17 and 245/40/17 staggered fitment sizes.
This is where the problems started it was 36 hours before I was due to leave for Germany and I only had 2 front tyres, the rears still hadn’t arrived. I also decided that if I was paying for the tyres to be fitted, I might as well offset the cost and get the wheels re-furbished at the same time, a risky chance that would hopefully pay off.
Thursday morning arrived and the rear’s were no where to be seen so I dropped off all 4 wheels and tyres at a local refurb company that is just in the process of setting themselves up. They said they would refurb the wheels and fit and balance my new tyres all within the previously set price, which was great if I had 4 tyres to fit!!!!
Stress levels went through the roof during the course of the day, however a phone call at 16:15 to say the rear tyres have arrived brought them back to normal. At 17:30 the car was ready to be collected, I was at work so a friend offered to collect it and bring it home. Looking good if I do say so myself...
Got home from work and was really happy with how the car had transformed in the space of a month, give the car the final once over ready for the morning, I say morning, I was giving the car the once over at 3am so it already was morning.
All was fine until I checked the front wheels, one spacer had been fitted arse over tit (refer to above spacer problems) they has fitted the 10mm first and then the 2mm spacer and proceeded to tighten it right down to the point the hub-centric lug sheared off the spacer. Balls, I had all but a few hours to get this problem sorted, it wasn’t going to happen, or was it....
I placed an urgent plea out for anyone who may know of a set of hub-centric spacers kicking about either in the UK or Germany, or anywhere on route. Fortunately for me Darren Langeveld who was organising the Nurburgring track day (www.destination-nurburgring.com) knew of a place in Coventry who would have some on the shelf, he offered to pick them up on route to the ferry and give them to me on board, so I would have them in time for the track day. Perfect, this was the news that I was waiting for and I could finally relax and enjoy the holiday.
Finally boarded the ferry Friday and was on the continent by the morning, stopped by Spa in Belgium to have a nosey round the Porsche Club Francorchamps track day on the Saturday morning and was in Nurburg by later afternoon. I won’t turn this topic into a trip report, there will be a separate topic for this another day.
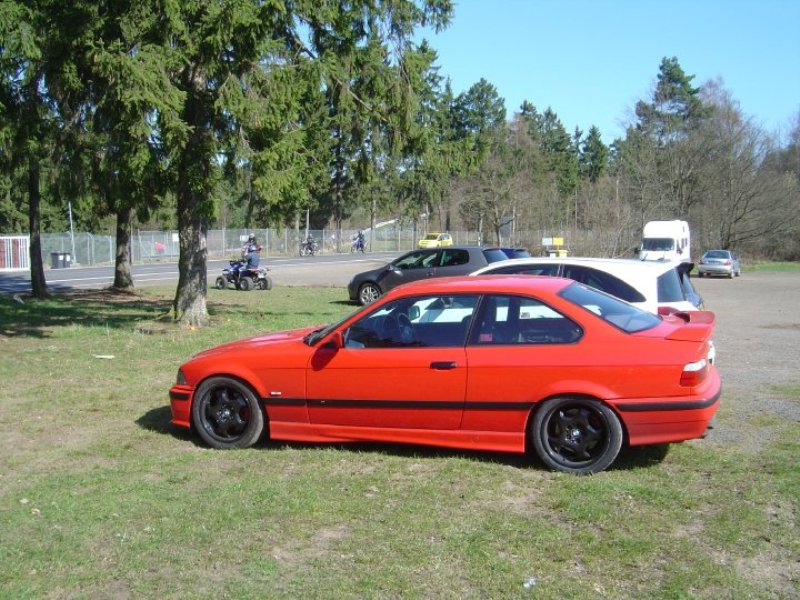
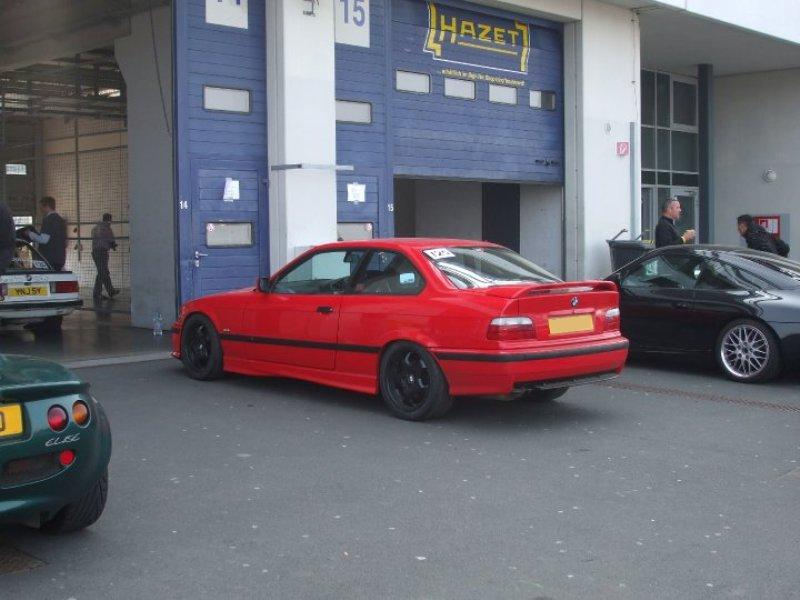
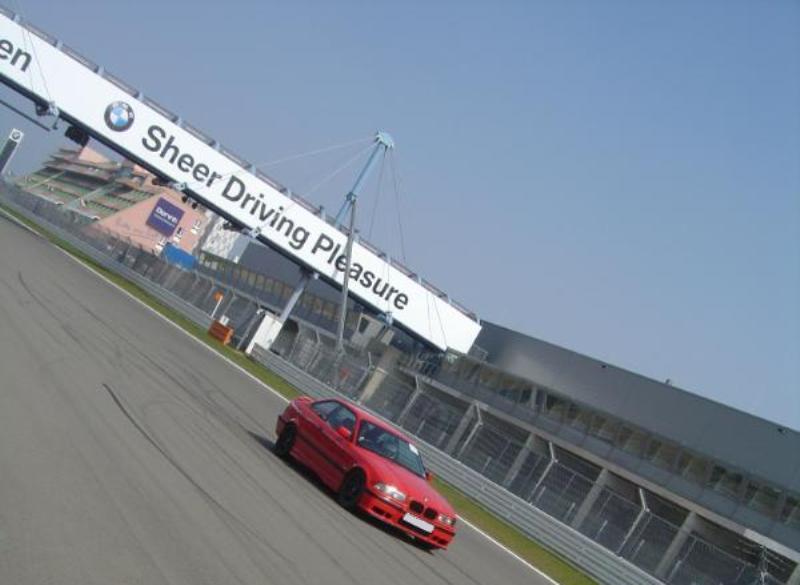
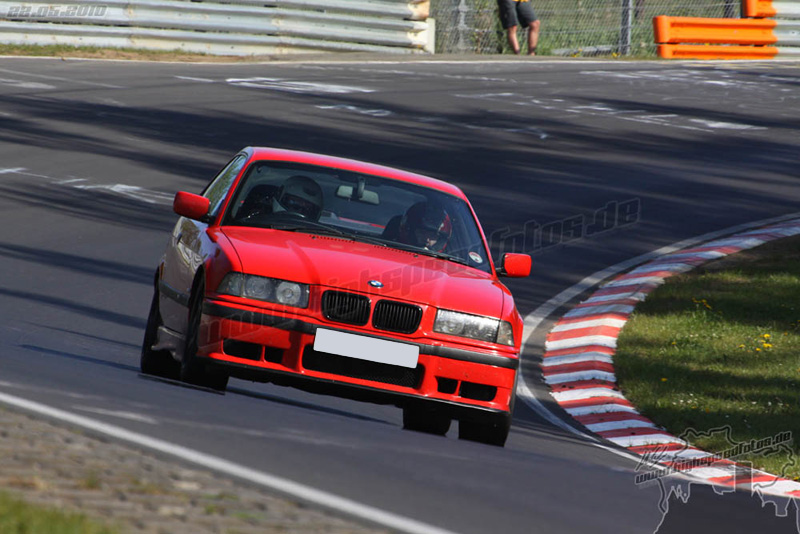
Monday came and the weather was perfect, the car was ready and so was I. The track day was on the full Nordschleife + GP Circuit so it was going to be a good day, here’s a few select pictures from the trip, I do apologise for the quality of some pictures my brothers laptop broke after the trip so all pictures had to be downloaded off the likes of Facebook & Photobucket.
Really am impressed with the car and its set up, after 15 laps at 17.5 miles a lap all was still running fine. The tyres I can really say are worth considering over the R888’s especially with the price difference these days, and the brakes pads which are Mintex 1155 at the front and 1144 at the rear really do work well with the M3 Evo callipers and discs.
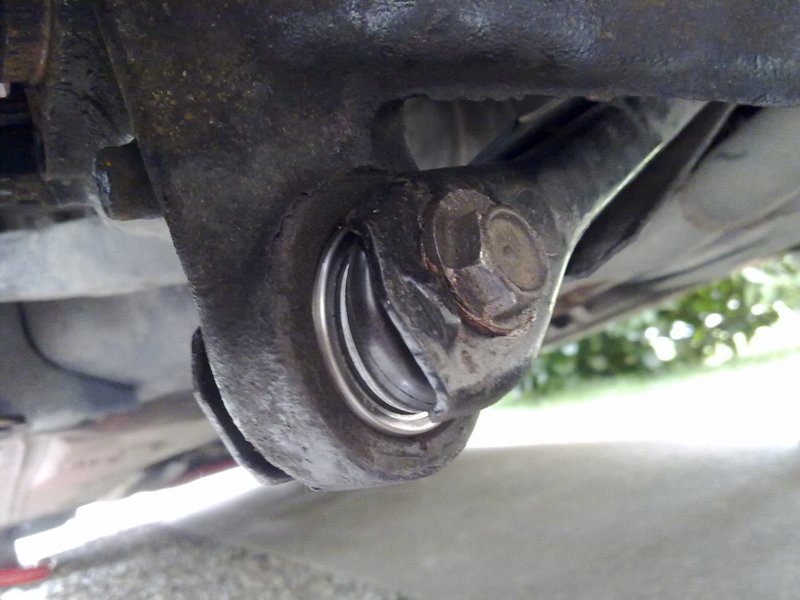
Since getting back I’ve give the car a once over and the only problem to report is one of the lower rear trailing arm ball joints has a small bit of play in it, this is the same joint I was suspected of it having a minute bit of play before I left for Germany anyway, so there’s no shocks there. I’m going to replace the ball joint and use the car for the next few months as it is, will concentrate on taking a bit of weight out of the car and also decide what the final plans will be.
Hope you’re still awake after reading all the above! :P
Ohh yeh forgot to add that bit, yes flushed it through with ATE Super Blue and found 3 small bubbles of air in the rear nearside brake line. So all was good after that!! :supz:
Sorry I never managed to collect that stuff off you, I had to sprint off to ROT as I couldn't get through to P&O to change the ferry to Tuesday due to the carry on with Icelands' ash!
Nice bumping into you too Dunc, sorry to hear you're trip down the shops ended in disaster!!!
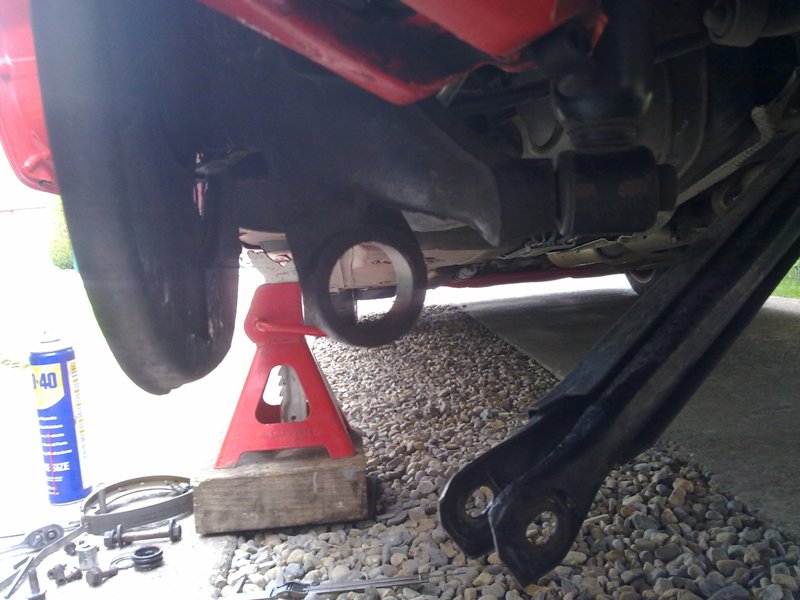
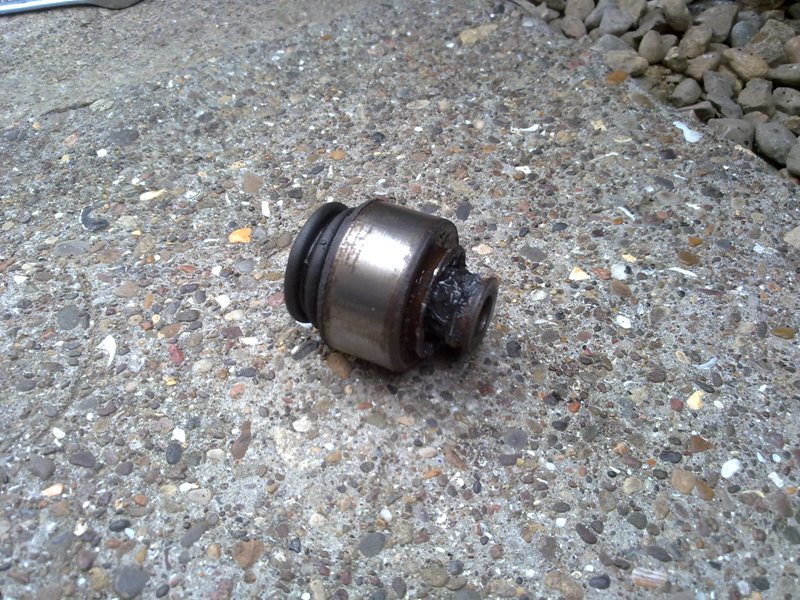
Well as I mentioned in my last update; the passenger’s side rear trailing arm lower ball joint was showing signs of wear and I thought it was best to replace it. Although it probably would never have caused an issue on the road, with me going back to the Nurburgring on the 20th of May I wasn’t going to risk it.
I’ll be honest I wasn’t looking forward to attempting the task, and had visions of me having to drop the rear trailing arm to be able to remove the bush with a press. I did a bit of research and there was mixed responses, some people had managed it with the arm in situ, some had not. Anyway I set aside this weekend to complete the job giving myself time to get the arm to a hydraulic press should I require the use of one.
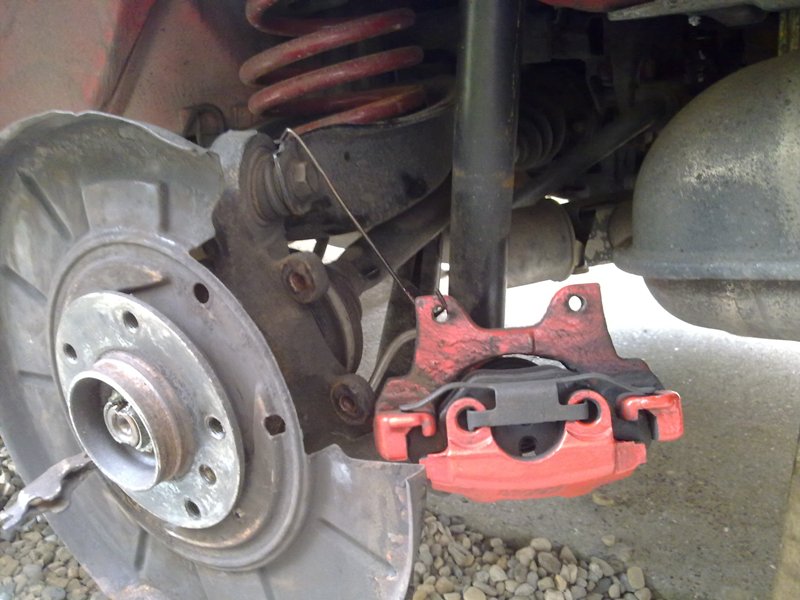
Started the day by removing the rear camber arm and dropping that out the way, once that was out the way I also removed the rear calliper, rear disc, rear handbrake shoes and then removed the bolts holding the heat shield on to allow a bit more clearance underneath. With all the above items out of the way I then gave the ball joint a few quick squirts of WD40 in the hope it would free things up.
I then set about finding a suitable sized socket to aid the removal of the ball joint, I found with the rubber boot of the joint removed a 1 1/4” socket would fit fine, tapped the socket into place and gave the ball joint a few swift hammer blows. To my surprise the bush was moving so I continued to bash at it until it was free, failing this the tool I made to fit the new ball joint (more on this below) would also double up as an extraction tool.
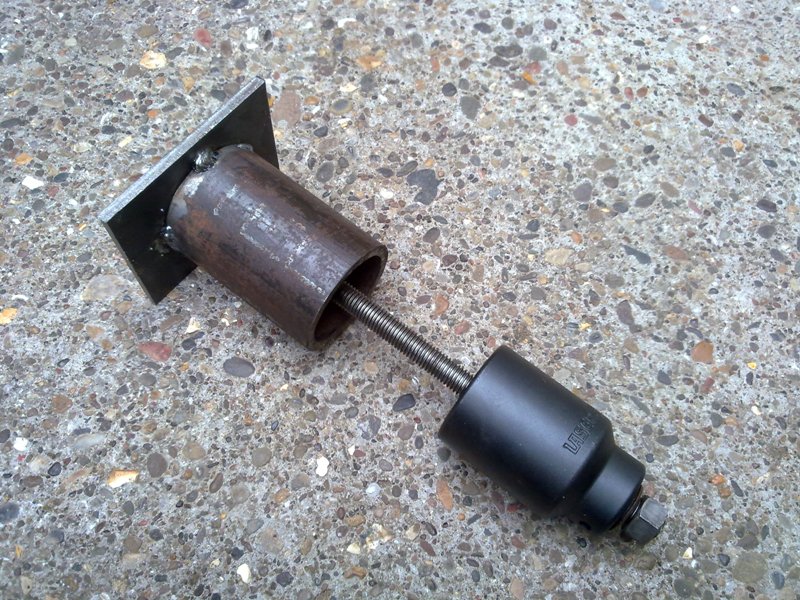
Next step was to fit the new ball joint, I constructed a tool consisting of a bit of tubing, some 5mm steel plate, 10mm threaded bar a 36mm socket and a few 18mm nuts and washers. I drilled a 10mm hole into the steel plate and mounted a length of threaded bar to it with nuts and washers either side to hold it in place, then I welded the steel tube centre of the threaded bar. This would allow the ball joint to be extracted into the tube, if you were removing the ball joint you’d use this with a 1 1/4” socket, but to fit the new ball joint I used a 36mm socket.
Fitment was simple, place the tool to the back of the hole on the trailing arm, slide the bush along the threaded bar and offer it up to the front of the arm, fit the 36mm socket and then a washer and an 18mm nut. Then simply tighten the nut down until the ball joint is in place.
Job done... even had time to pick myself up a new set of NGK spark plugs and fit those too, I went for the bog standard BKR6EK as at the end of the day they’ll get replaced often enough so ‘enhanced’ platinum plugs were not required.
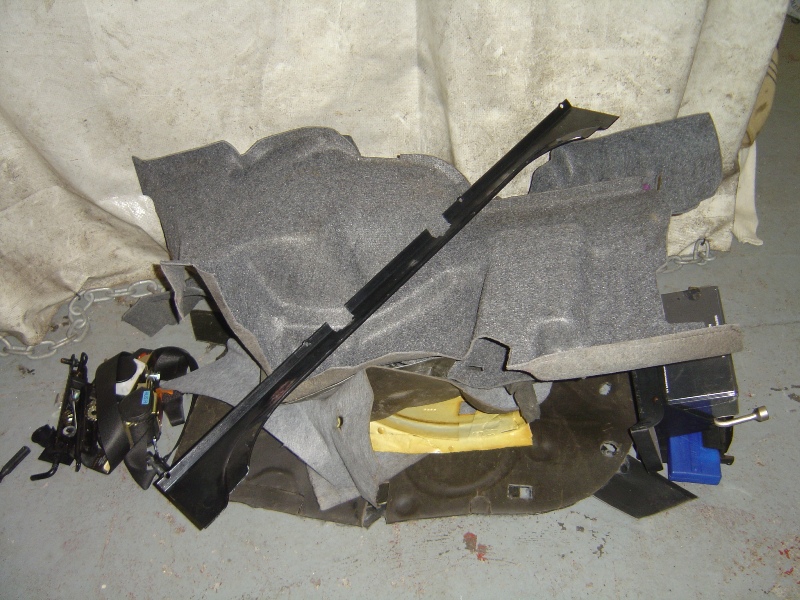
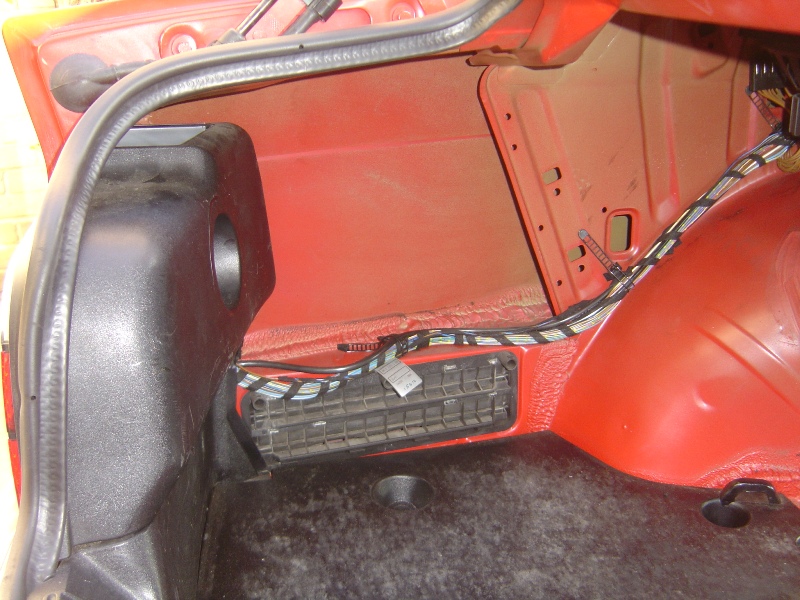
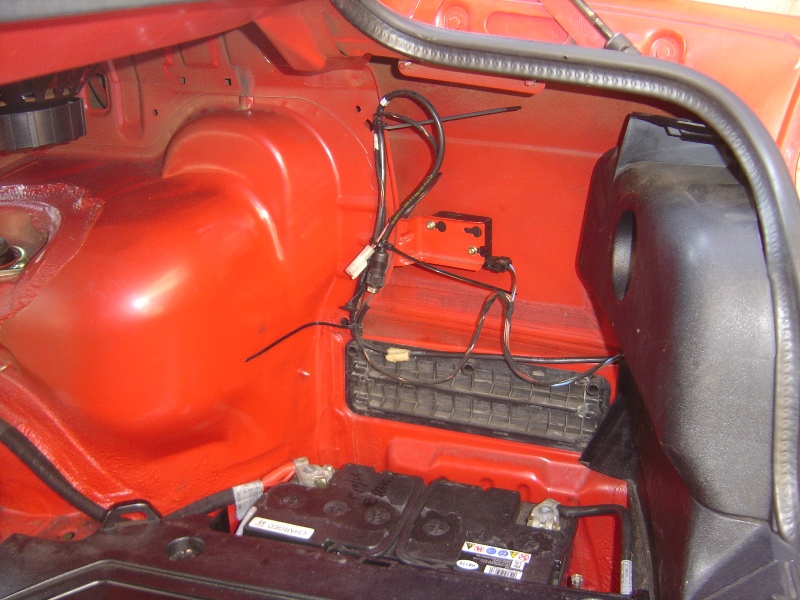
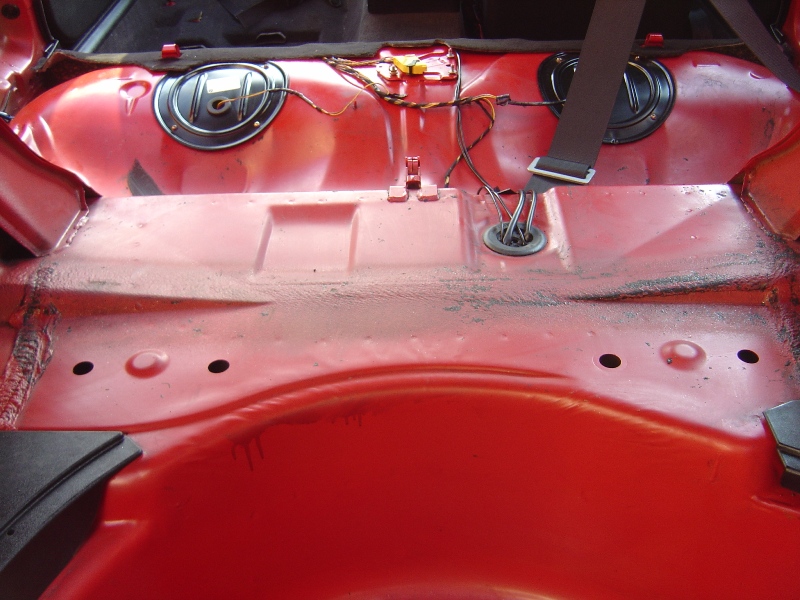
Well today the car was finally committed to the realms of the track car, the weight loss started. I’ll let the pictures do most the talking...
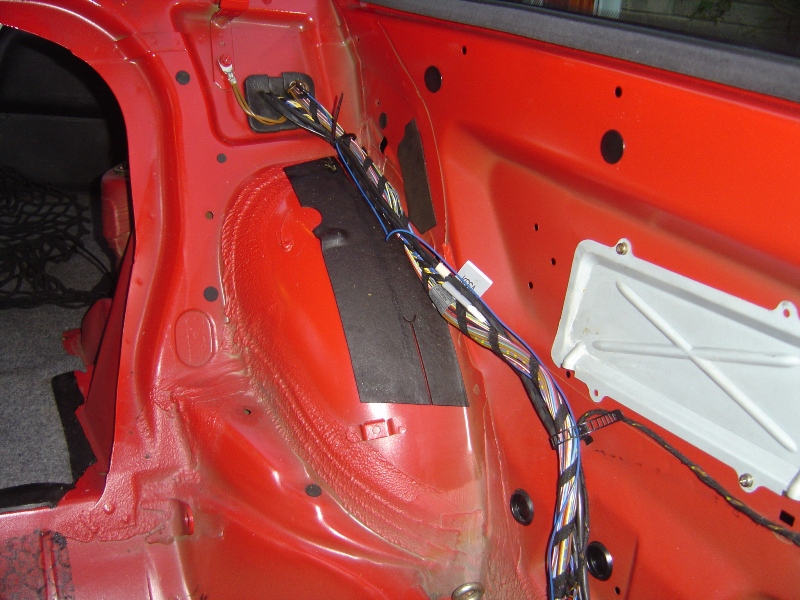
I decided to remove all the carpets from the back, also all the carpet underlay and any other un-needed items in the cabin. The front seat belts were removed including the B-Pillar slide adjuster however I did keep the B-Pillar cover.
The plans are; whilst the car is still used as a daily driver the interior is to be finished in a ‘Club Sport’ spec. I’ve removed the bulk of the weight, and will continue to remove un-needed items including the tar sound deadening (more on that below) but I will be keeping the thin boot carpets just without any of the additional sound proofing under layers. I will remove un-needed brackets however I am going to keep the head lining and A/B/C pillar covers, then once the roll cage has been fitted I’ll trim the rear bench and fire wall with a thin black carpet.
The idea is to remove as much weight as possible whilst keeping the car within reasonable comfort for travelling in, at this moment in time the car will not be racing so there is no need for drastic weight loss and the few hill climbs and sprints the car will compete in will purely be for enjoyment at the moment.
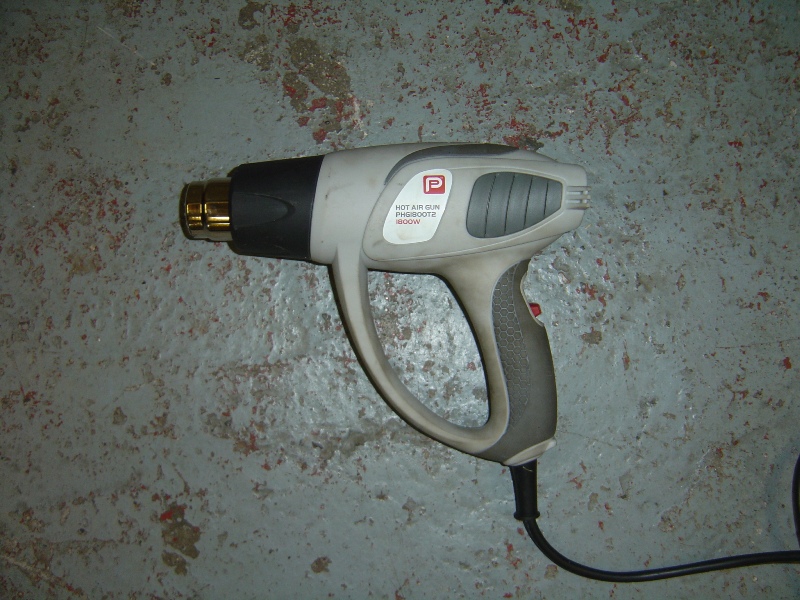
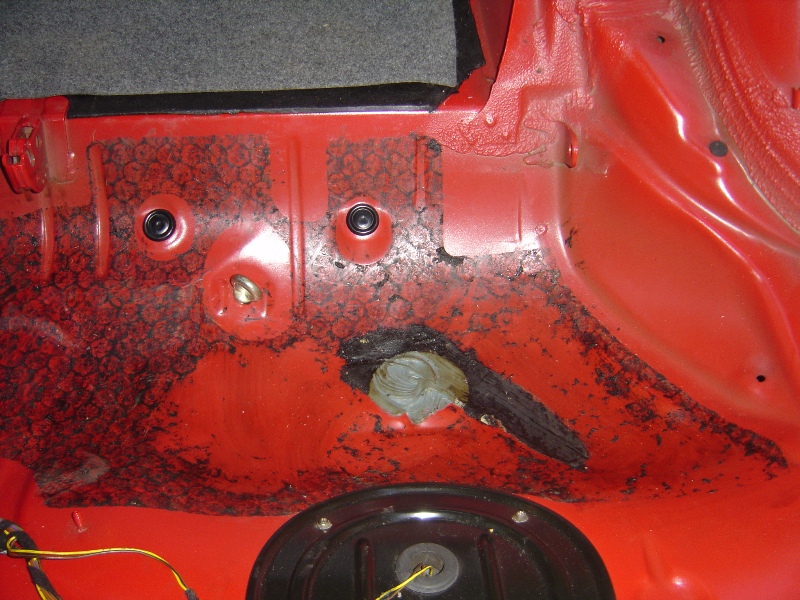
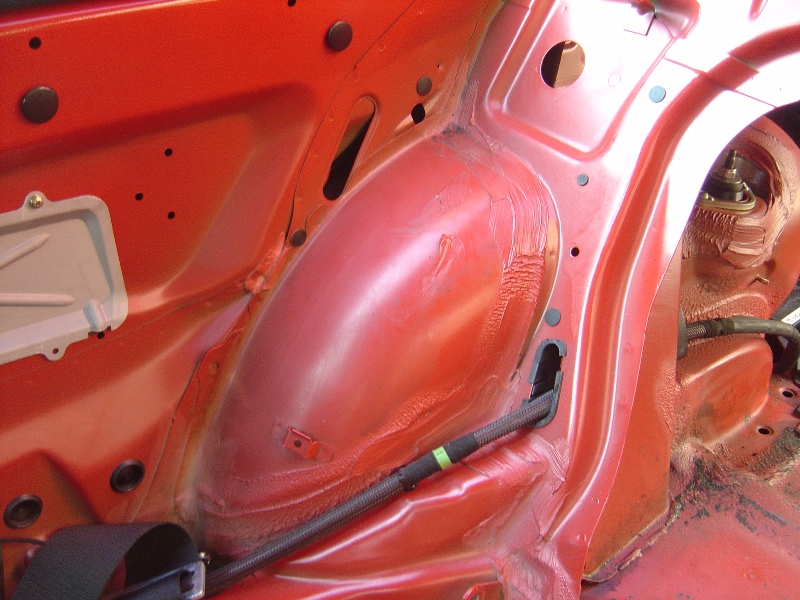
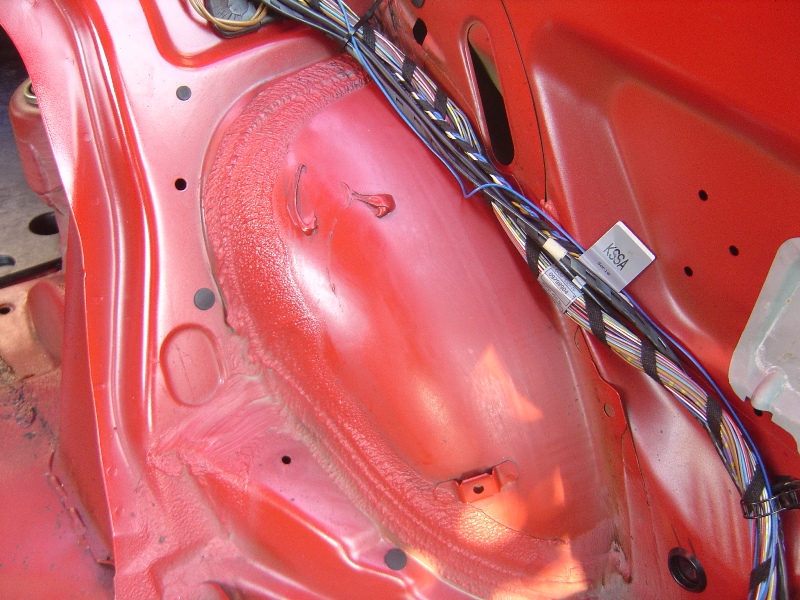
Now onto the tar sound deadening, this stuff is easily removed with a bit of heat and then solvents can be used to clear up the mess left by the glue. I turned to my, well my friends, trusty heat gun to help with the tar removal.
More on this at a later date, sometime in the summer I’ll also remove the main carpet and remove all the tar from under there too.
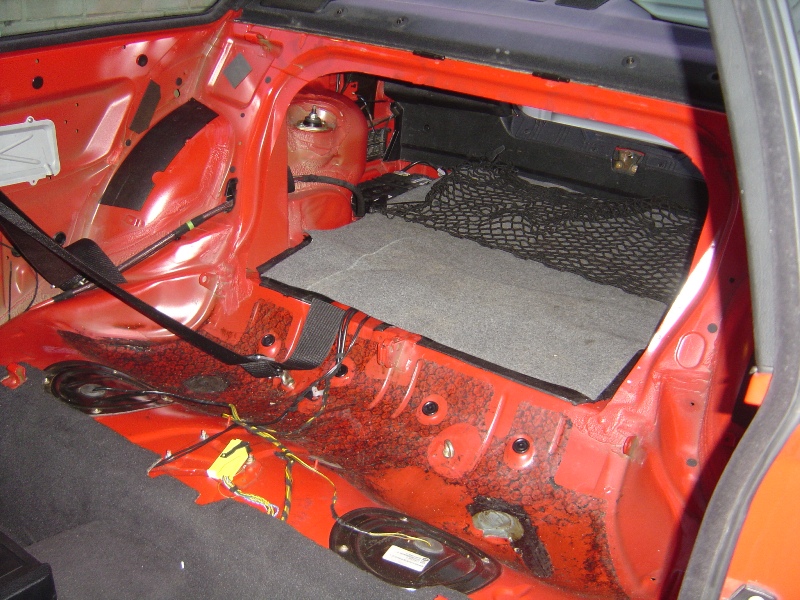
All the junk removed, only the thin grey boot carpeting and the plastic boot trays will be re-fitted. Going to carry on with more work tomorrow, I’m thinking of just using hair dryer heat on the tar that is affixed to the inside of the body panels such as the doors and rear quarters.
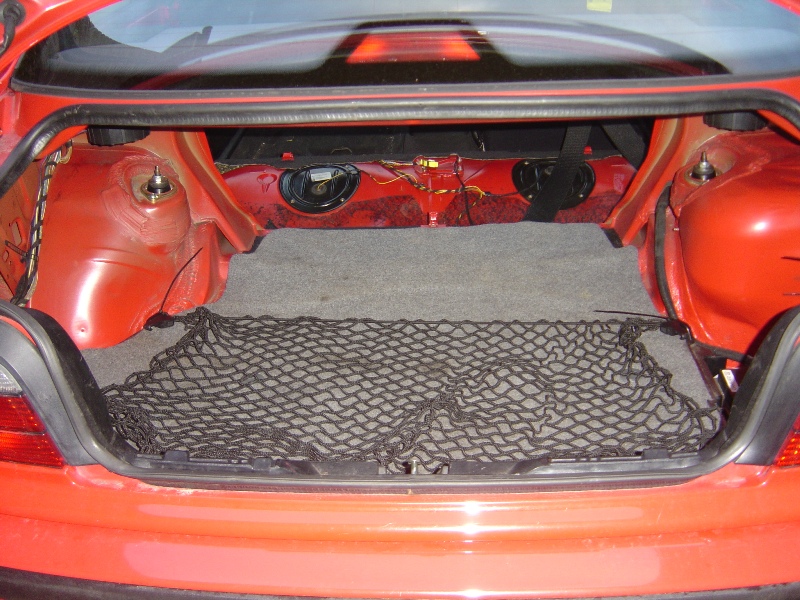
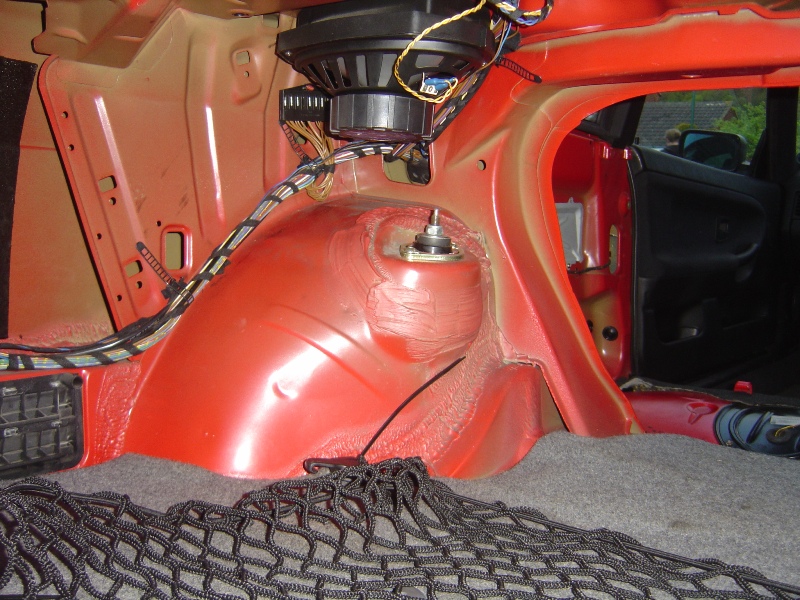
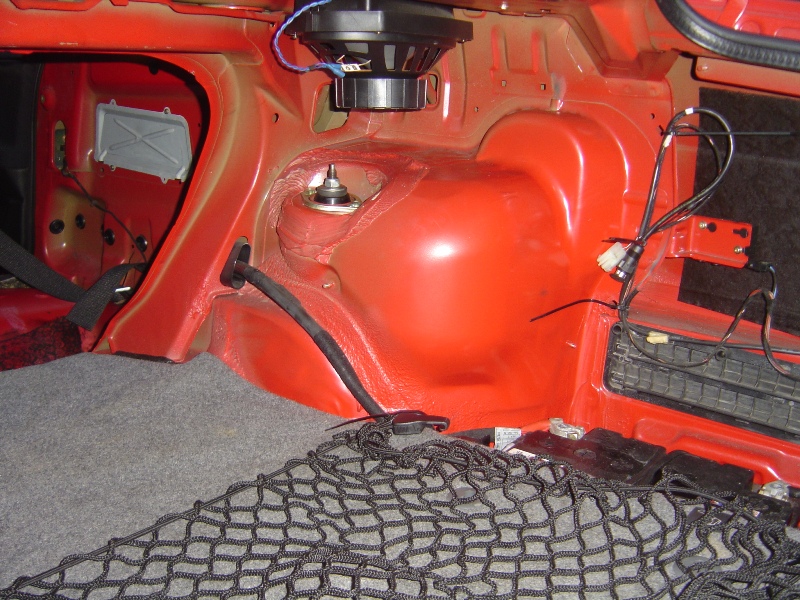
Well the tar removal carried on and the following pieces were removed; Spare Wheel Well, Rear Quarters, Rear Bench, Rear Boot Panel and Inner Arches. I also re-fitted the grey rear boot carpeting and my cargo net which secures down anything in the boot as with the seats removed there is no form of rear bulkhead.
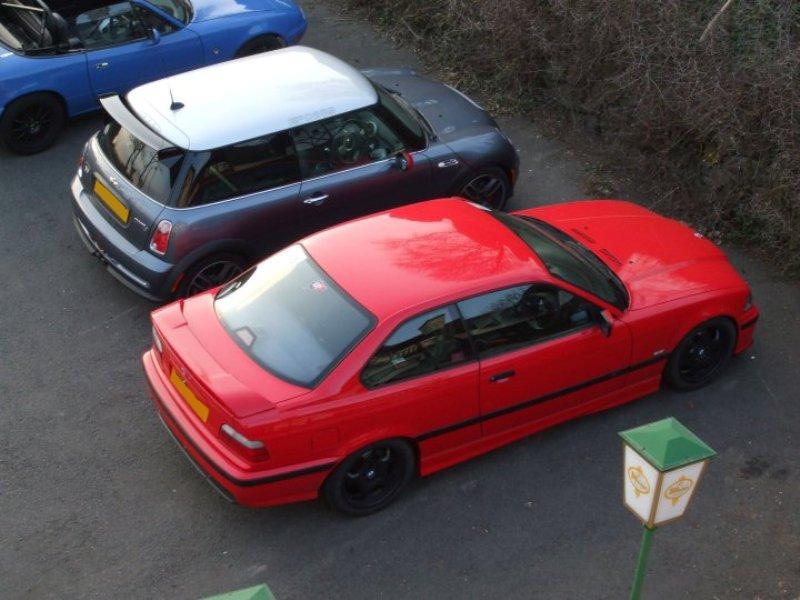
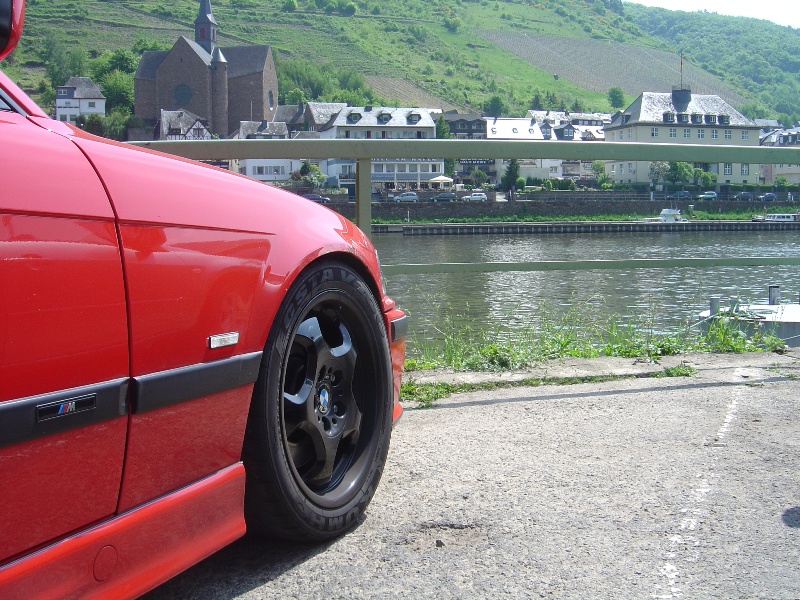
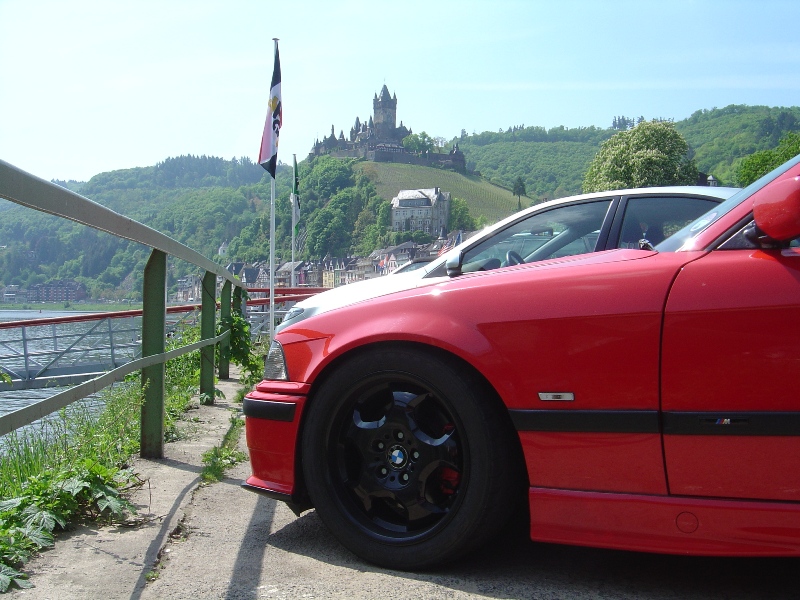
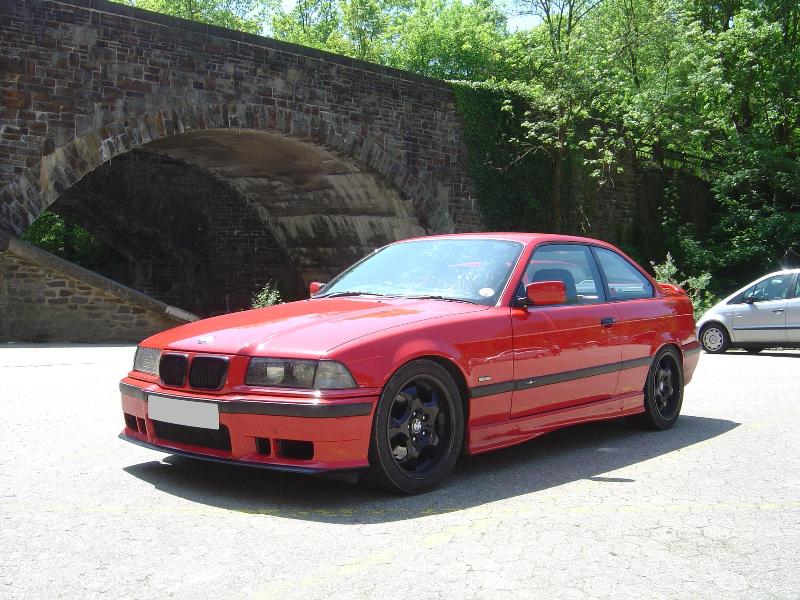
I then decided to treat the car to a nice holiday in Germany, here’s some pictures from a few of the small towns around Nurburg where we stopped for lunch. The first two pictures are of the car in Cochem the next two were taken in Altenahr, both places are worth visiting if you are in the area!!
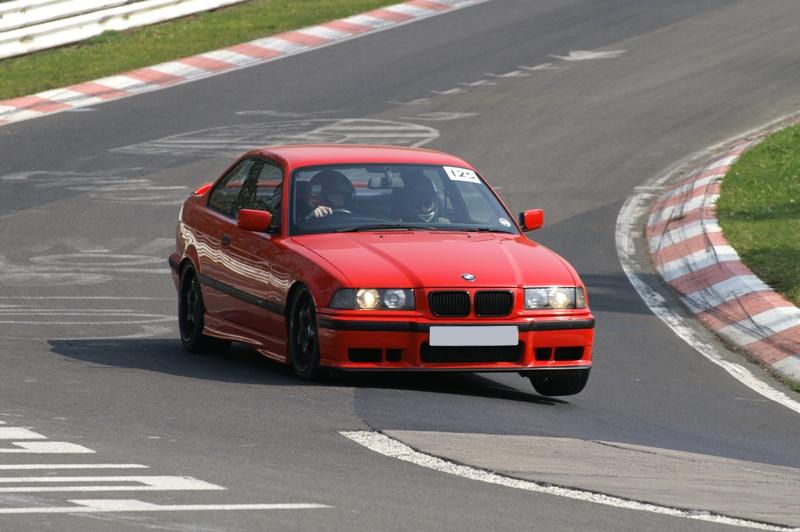
The car was performing near faultlessly all weekend, and it really is punching above its own weight considering it’s meant to be the underdog compared to the M3. The turn in is very sharp, very little feel of under steer and phenomenal levels of mechanical grip. Of course the extra 100bhp would be nice when it comes to the fast uphill sections, but apart from that I am taken back by the capability of this car.
I’m not into timing, however one passenger I took out timed me doing an 8:59 in traffic, the same person also followed the 328i out for a lap in manic Sunday traffic and got a 9:11 with plenty of hold ups. The big surprise came when it turned out a Subaru behind me on a quiet lap had a camera sneakily mounted to a motor, he was behind me the whole lap and his video shows him completing an 8:38 with me crossing the gantry a few seconds before him.
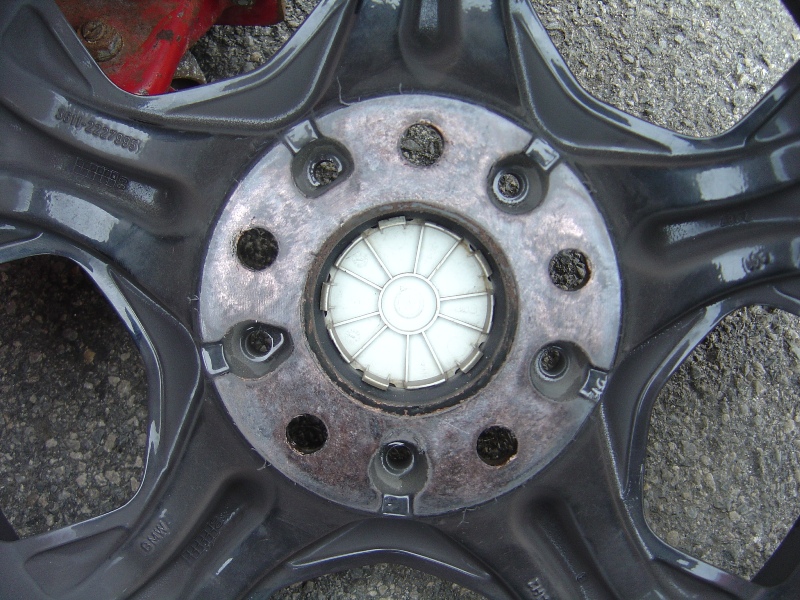
The one small niggle I did have was a minor one, but it could have lead to a major problem if it wasn’t spotted in its early stages. On one outing, after coming out of Schwalbenschwanz it sounded like a rear bearing had collapsed, coasted off and noticed that below 60mph the noise wasn’t there. Upon further inspection you could see that when the wheels had been refurbished the backs of the wheels which touch the hub had also been painted. Now in April this did not prove to be a problem, however in May with the temperatures a little higher you could see where the paint had gone soft and ‘squeezed’ itself from the back of the bur causing in effect the wheel to come loose. A quick tighten and all was fine, this is one to keep on top of and if need be the paint will be removed. The picture below shows the little strands of paint that have been forced out between the gap.
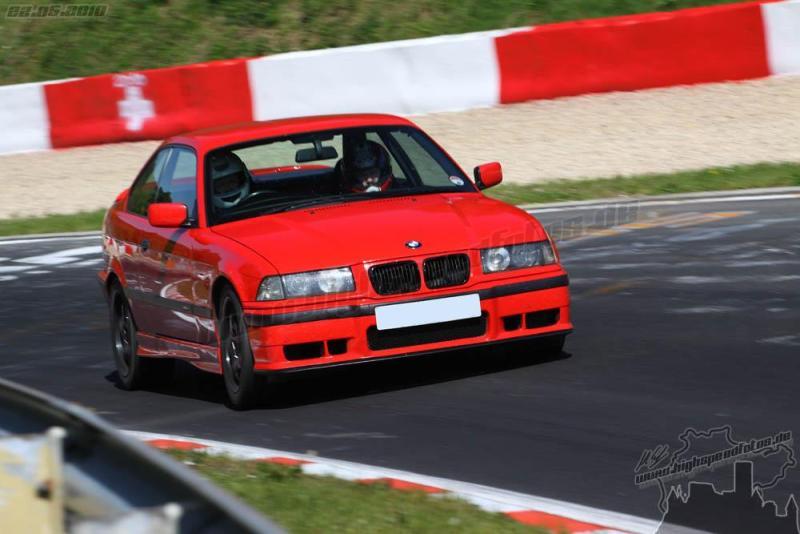
Below, some all important action shots.
The car has since made it home and been given the once over, all bushes and bearings have been checked plus the brakes have been stripped down and inspected; the front pads have around 25% wear and the rears around 50%. The BMW seems to wear pads at the rate of roughly two rears to every one set of fronts, the pads are wearing well given they have completed over 600 track miles.
The only problem of concern which came to light during the trip home is the from passengers side wheel bearing rumbles a little, upon further inspection it sounds dry however there is no play... this will be replaced within the next few weeks as a matter of course.


 :thumbs: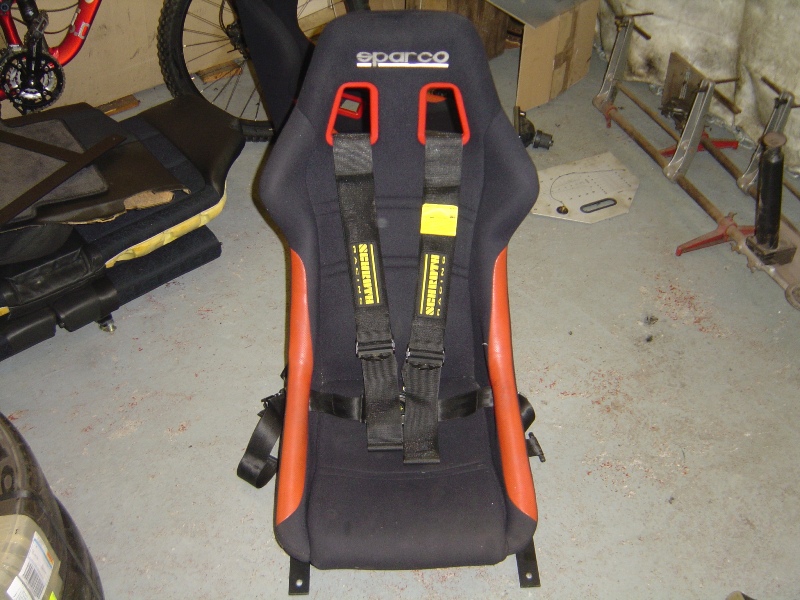



Comment