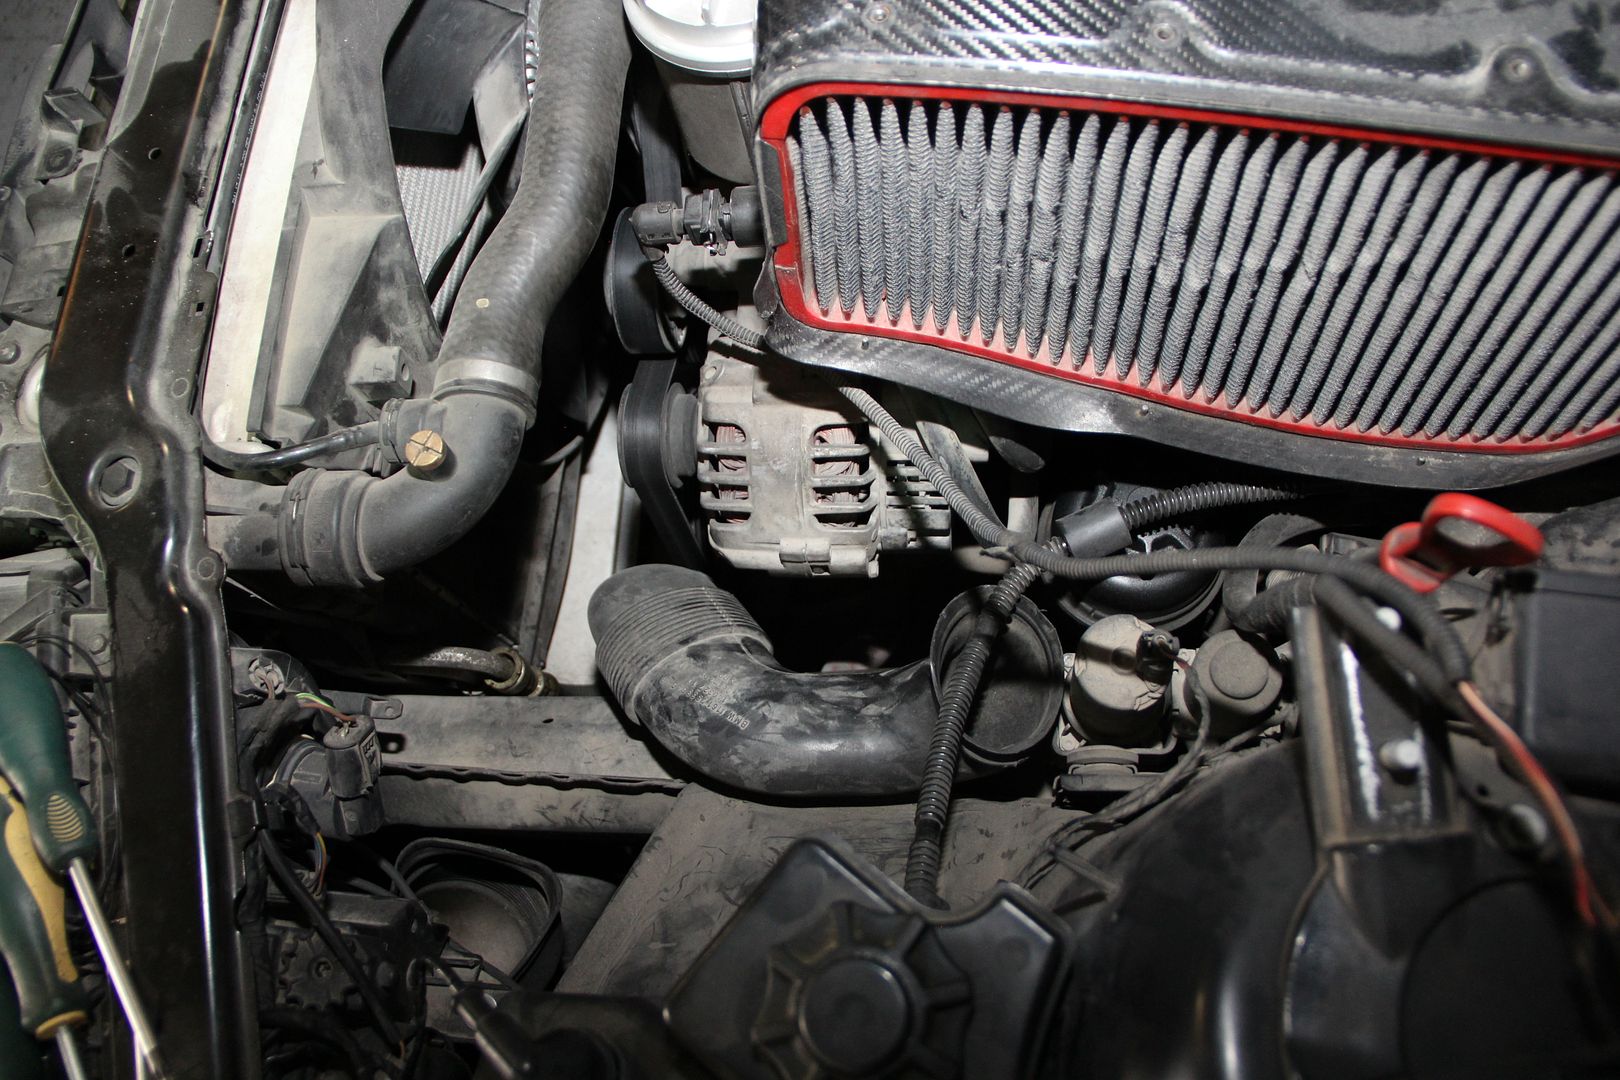
Well here is my DIY attempt at converting my wiring to OEM CSL after replacing my MSS54 with a Terra Modified MSS54HP. I have an OEM CSL Airbox with Flap and all OEM ducting etc..
Starting to untangle the mess LOL.....
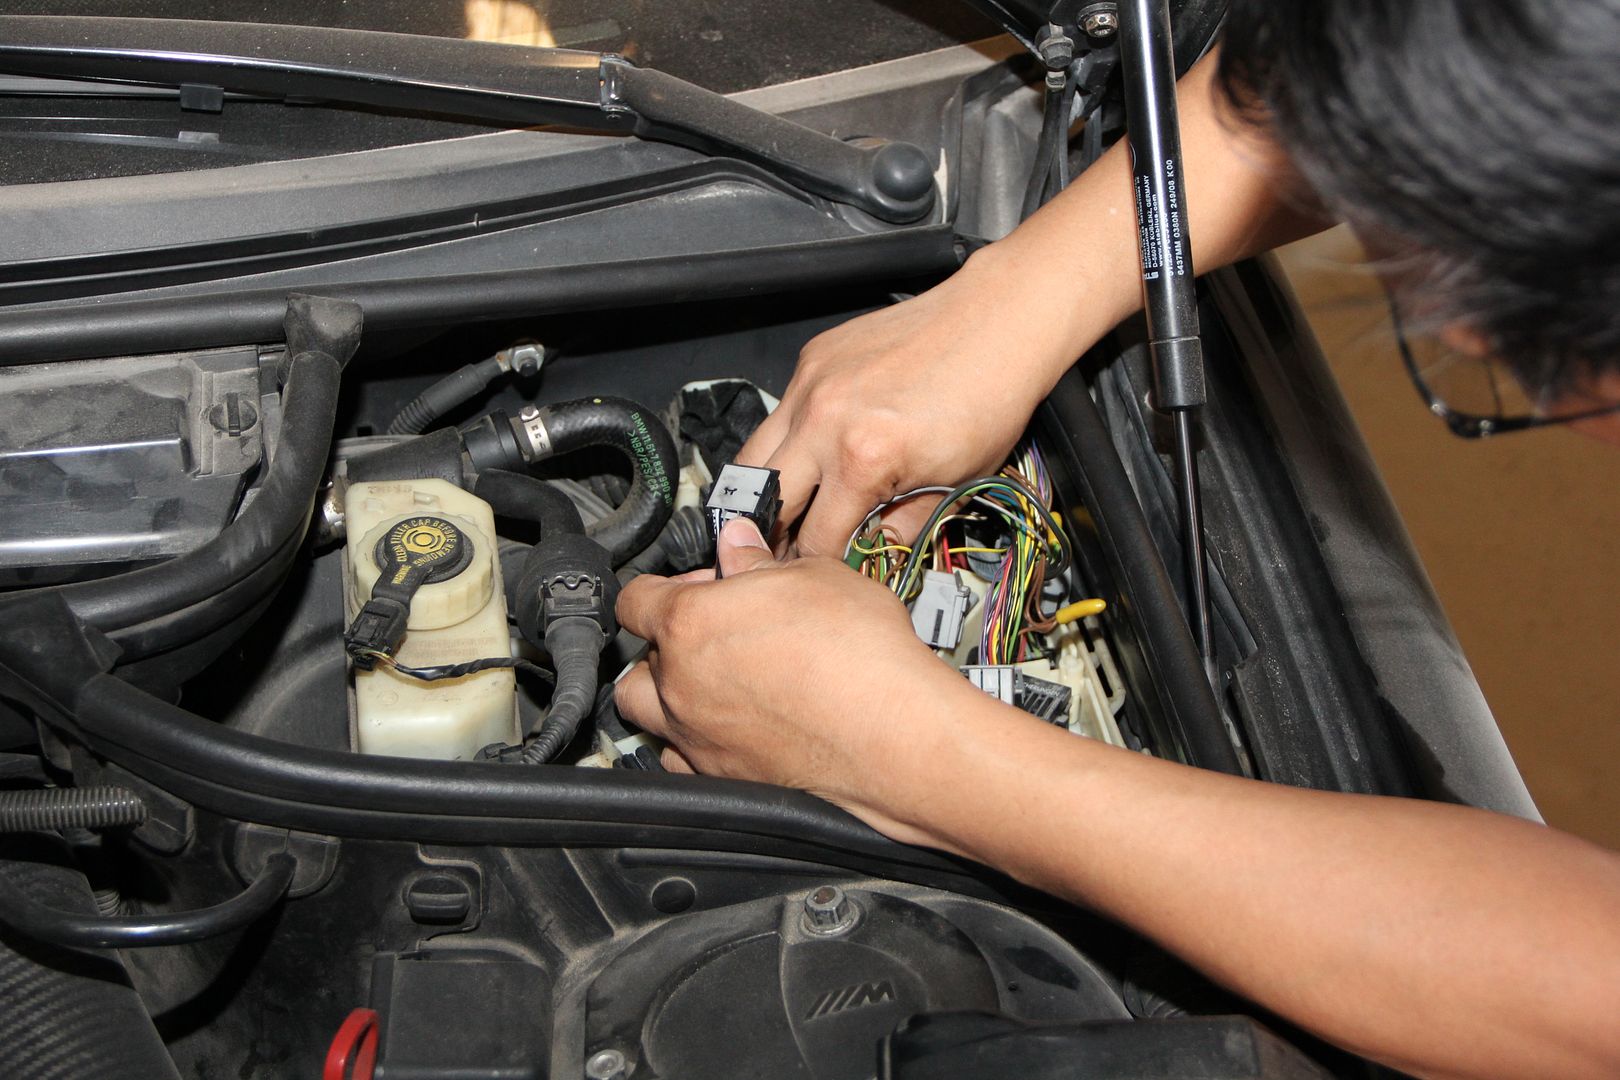
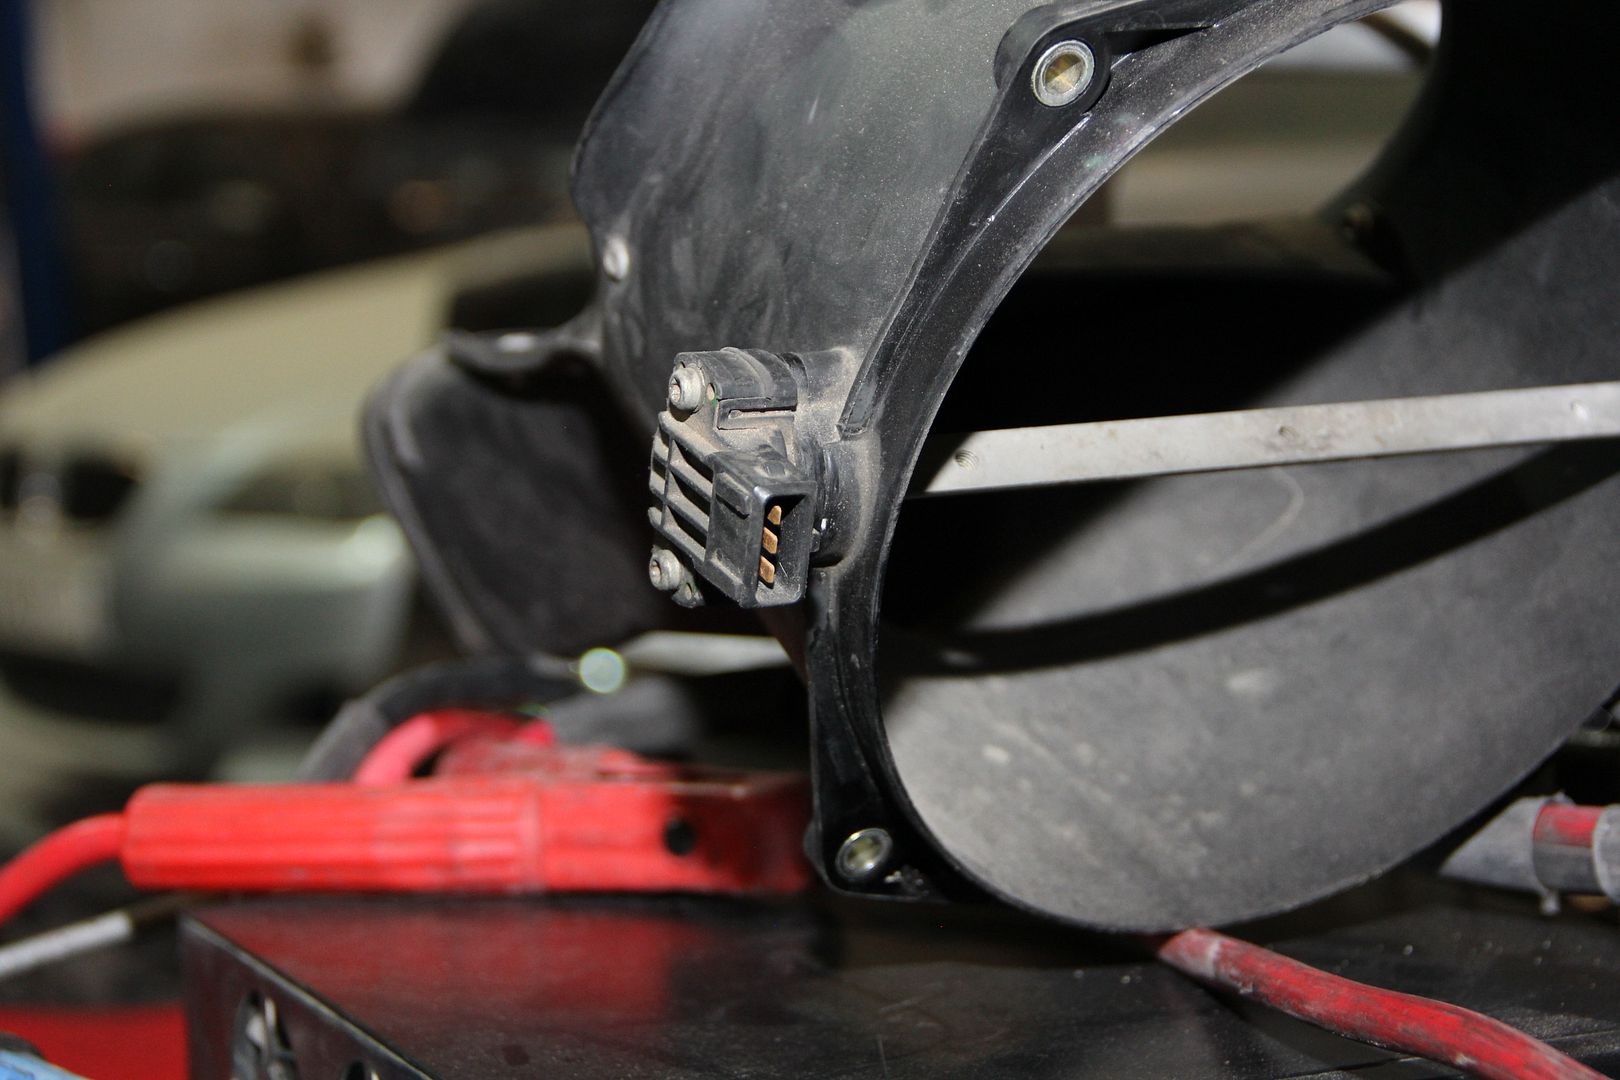
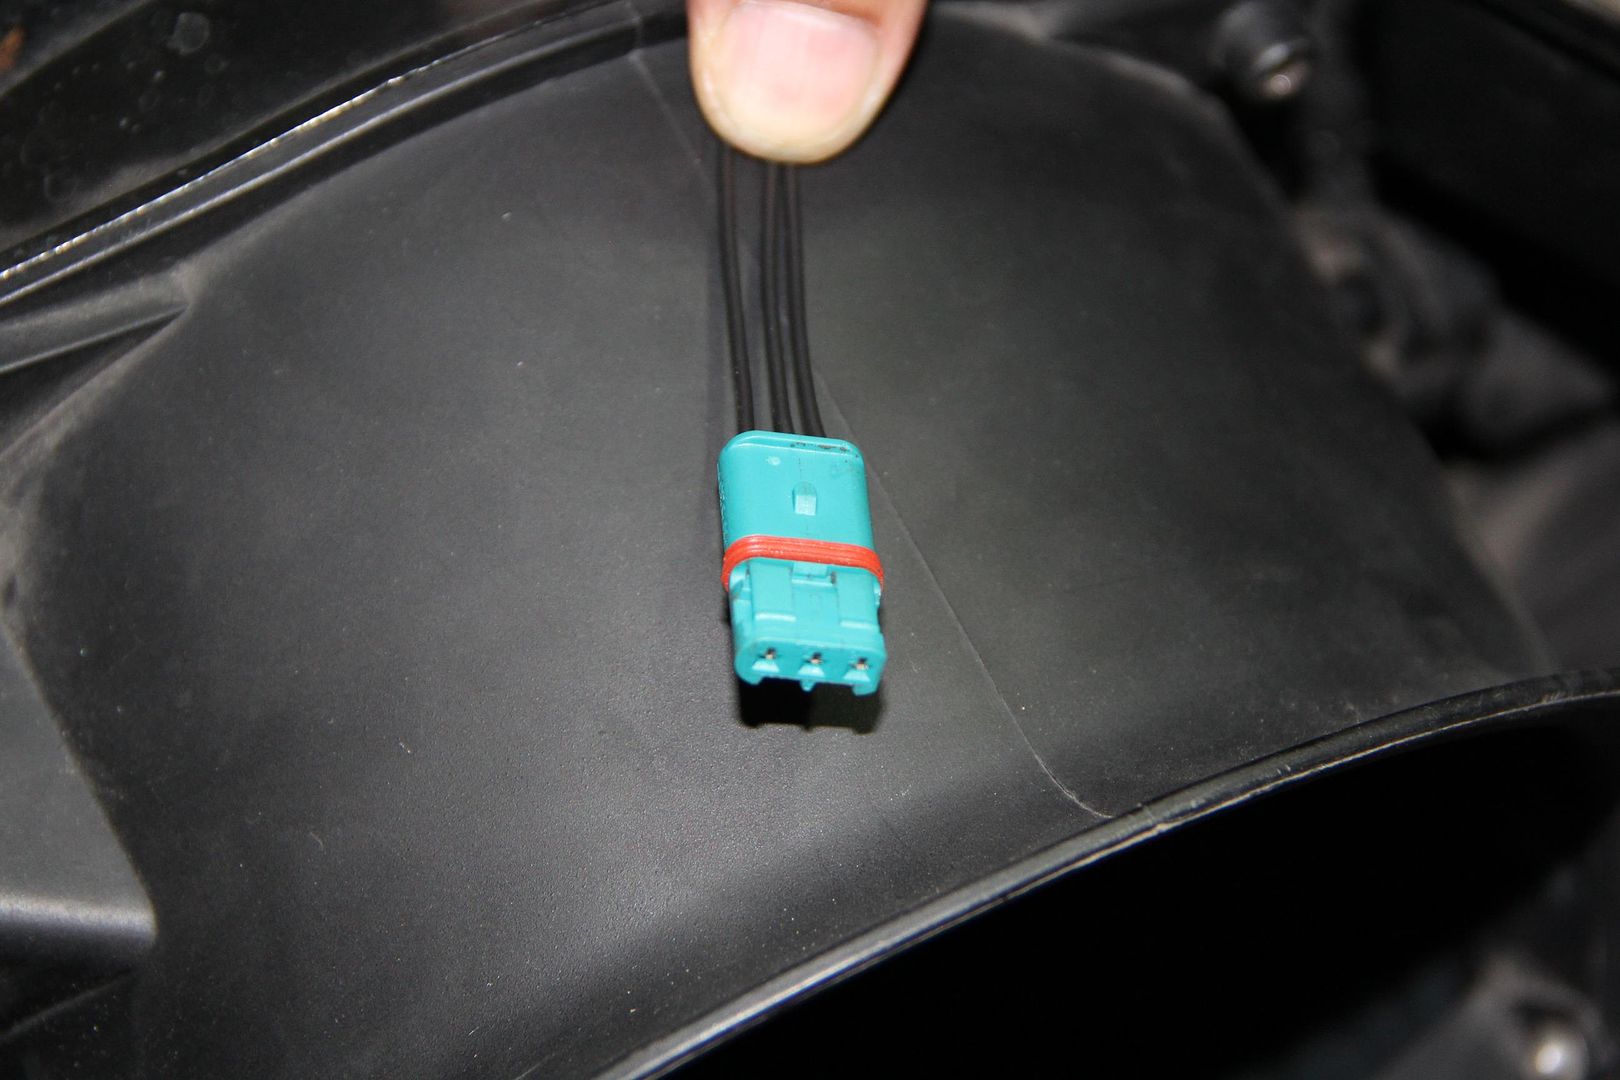
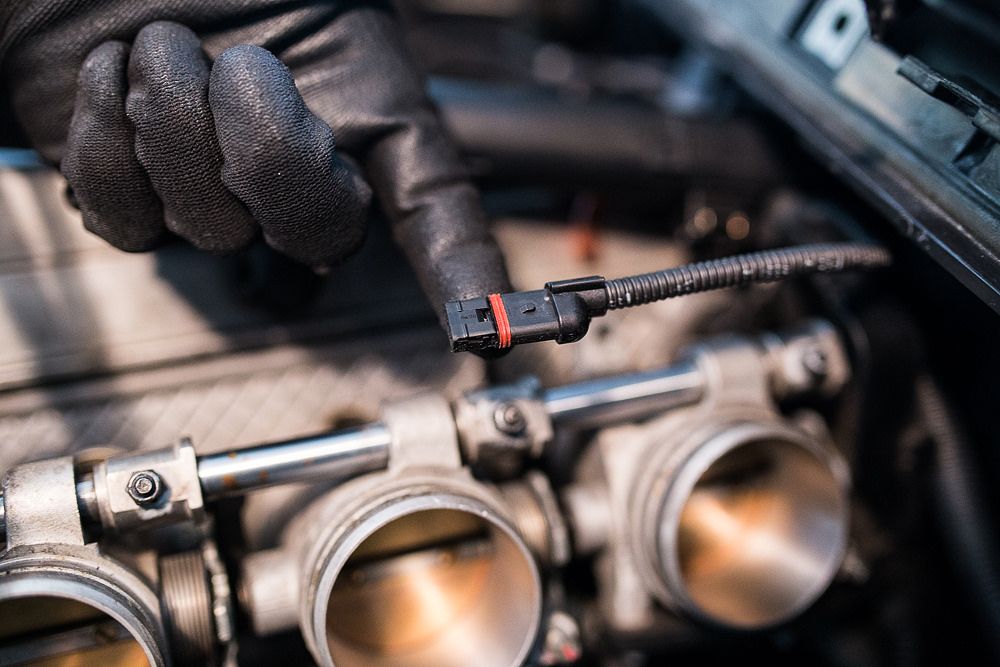
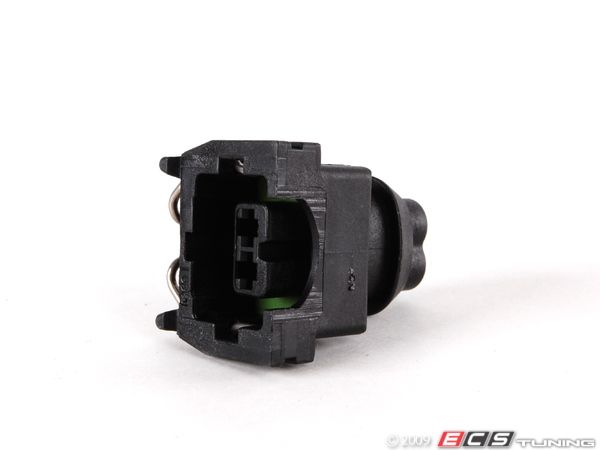
2 Prong cnnector for Flap Motor...
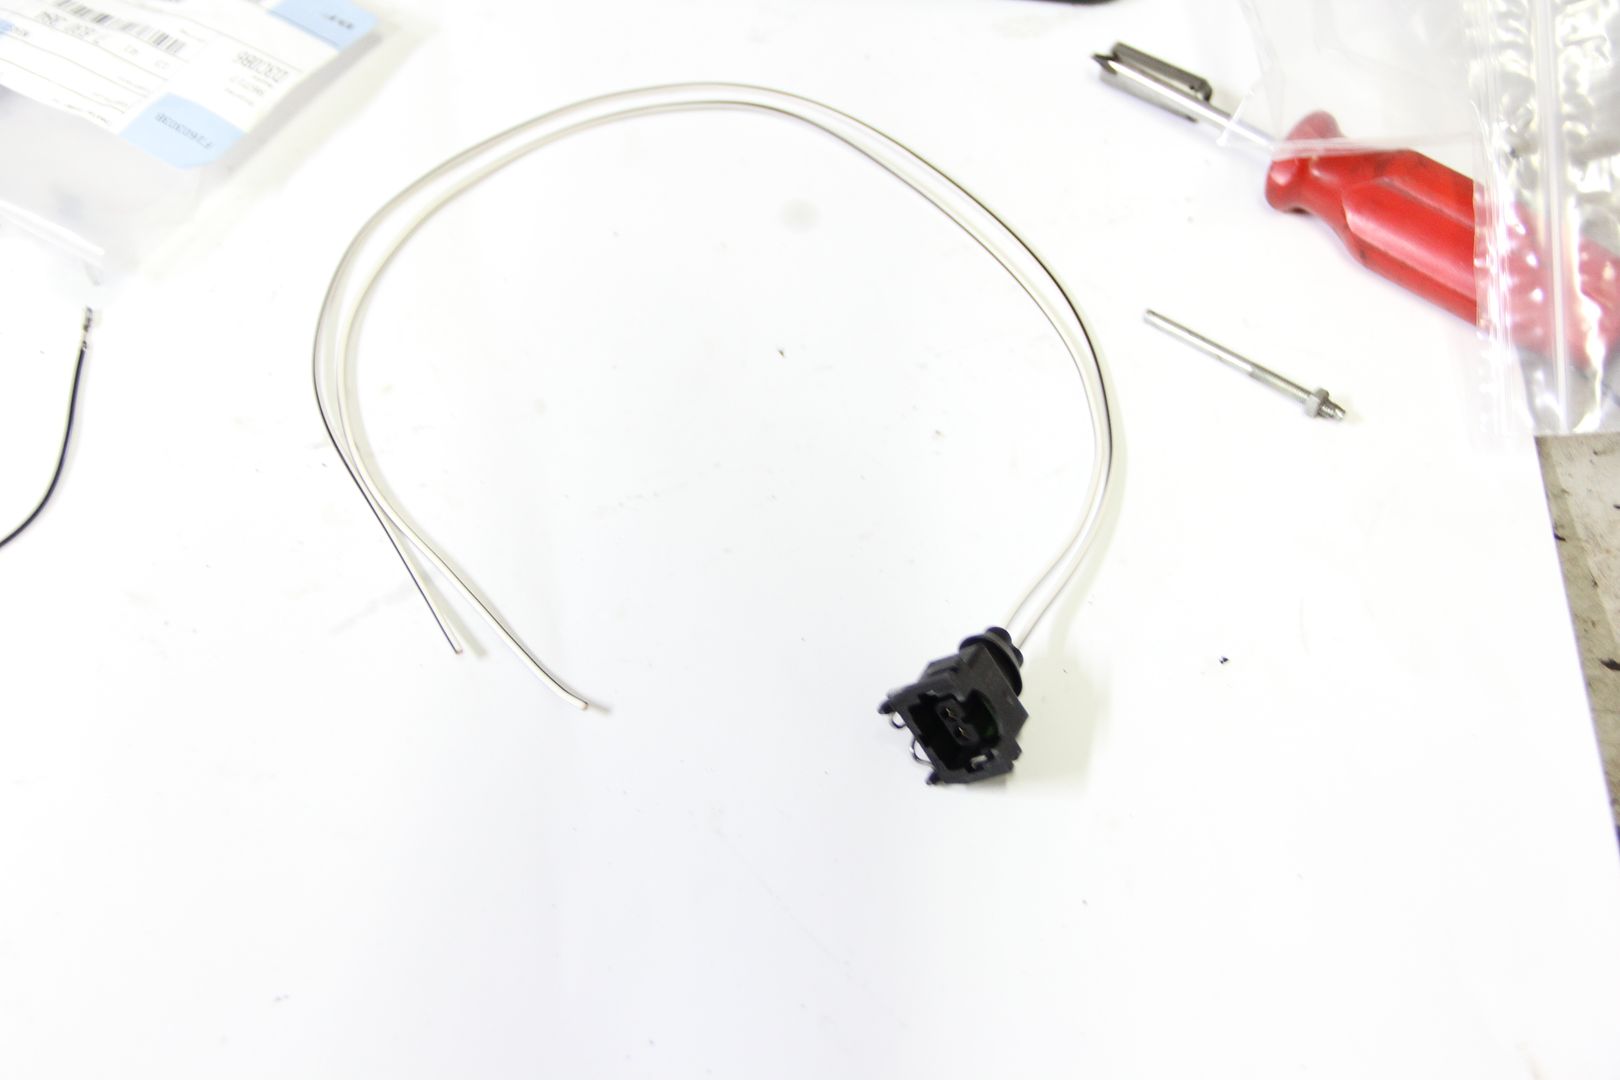
The flap motor pins are blank in the DME connector....
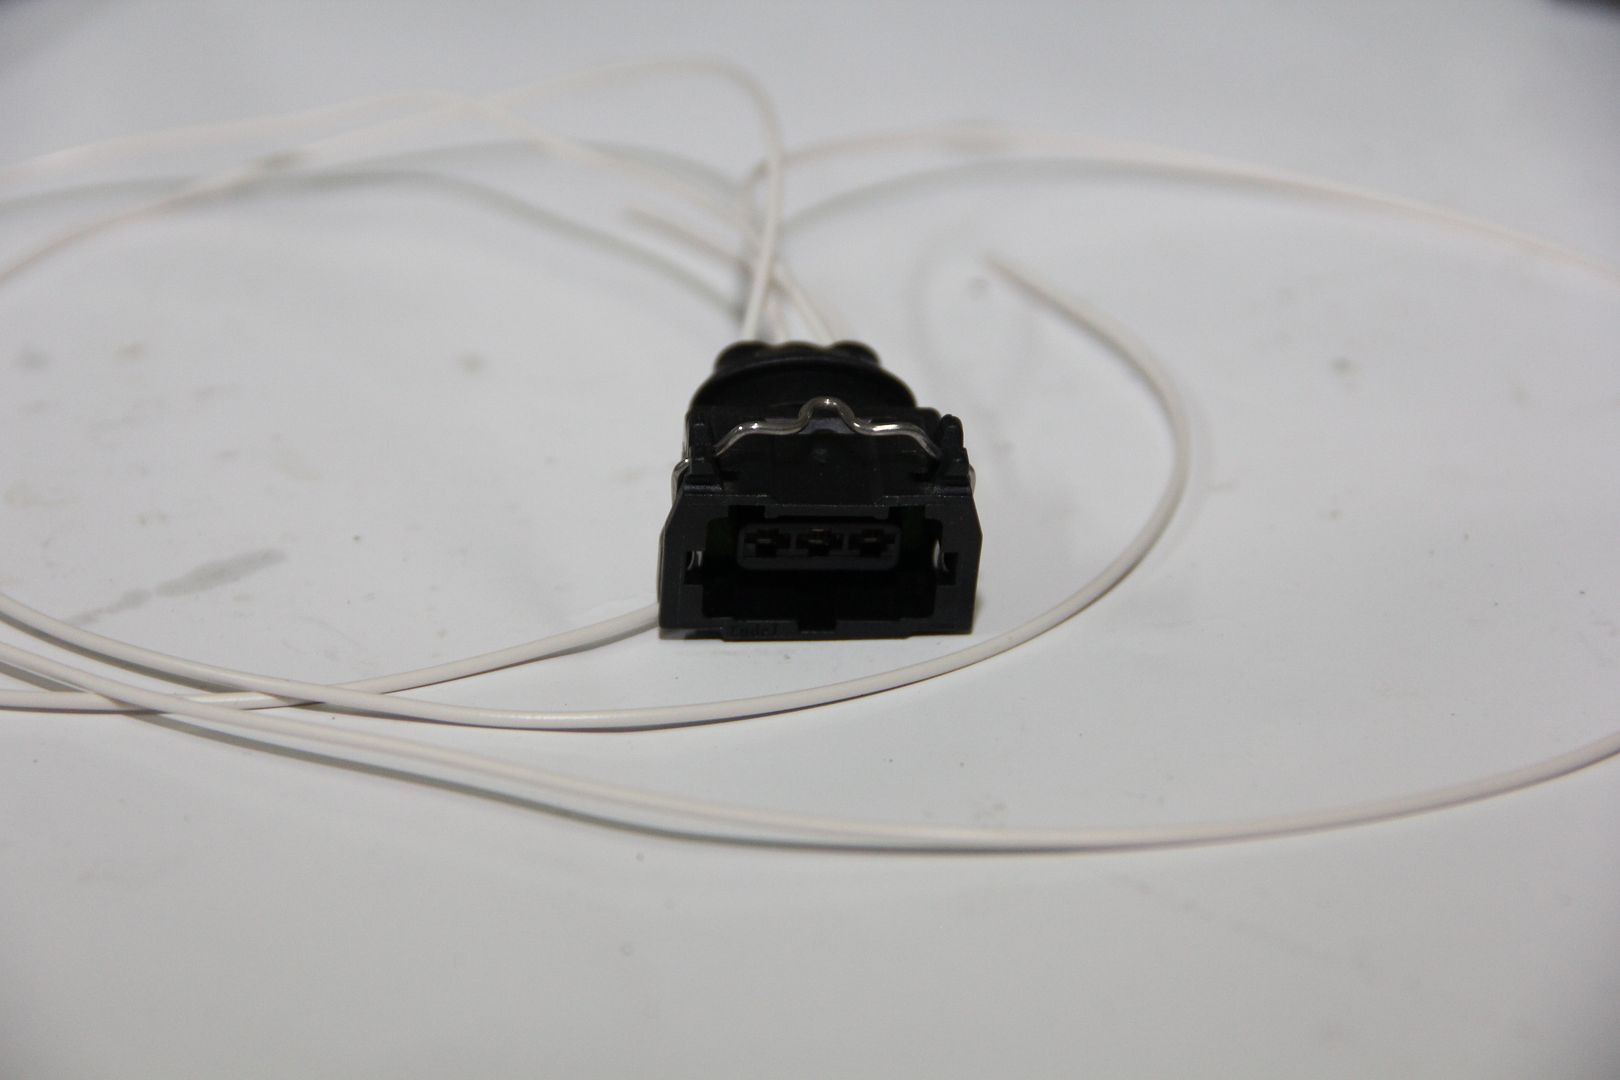
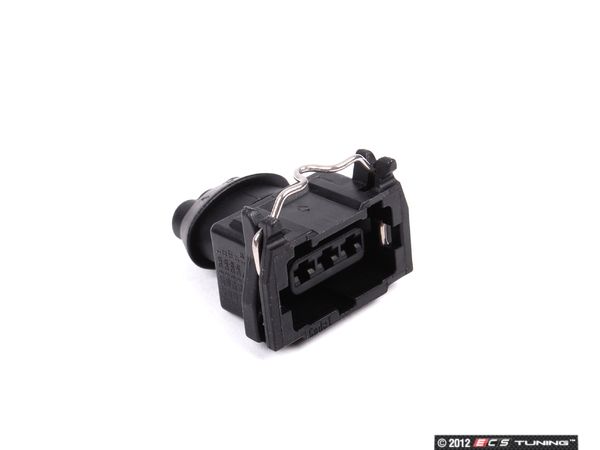
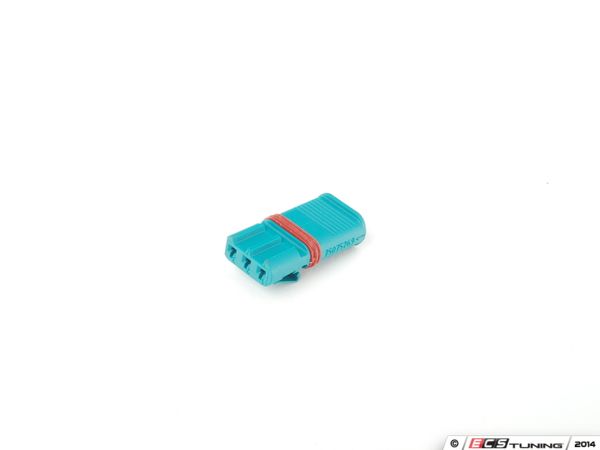
The three prong connector is for the Flap potentiometer or position sensor....
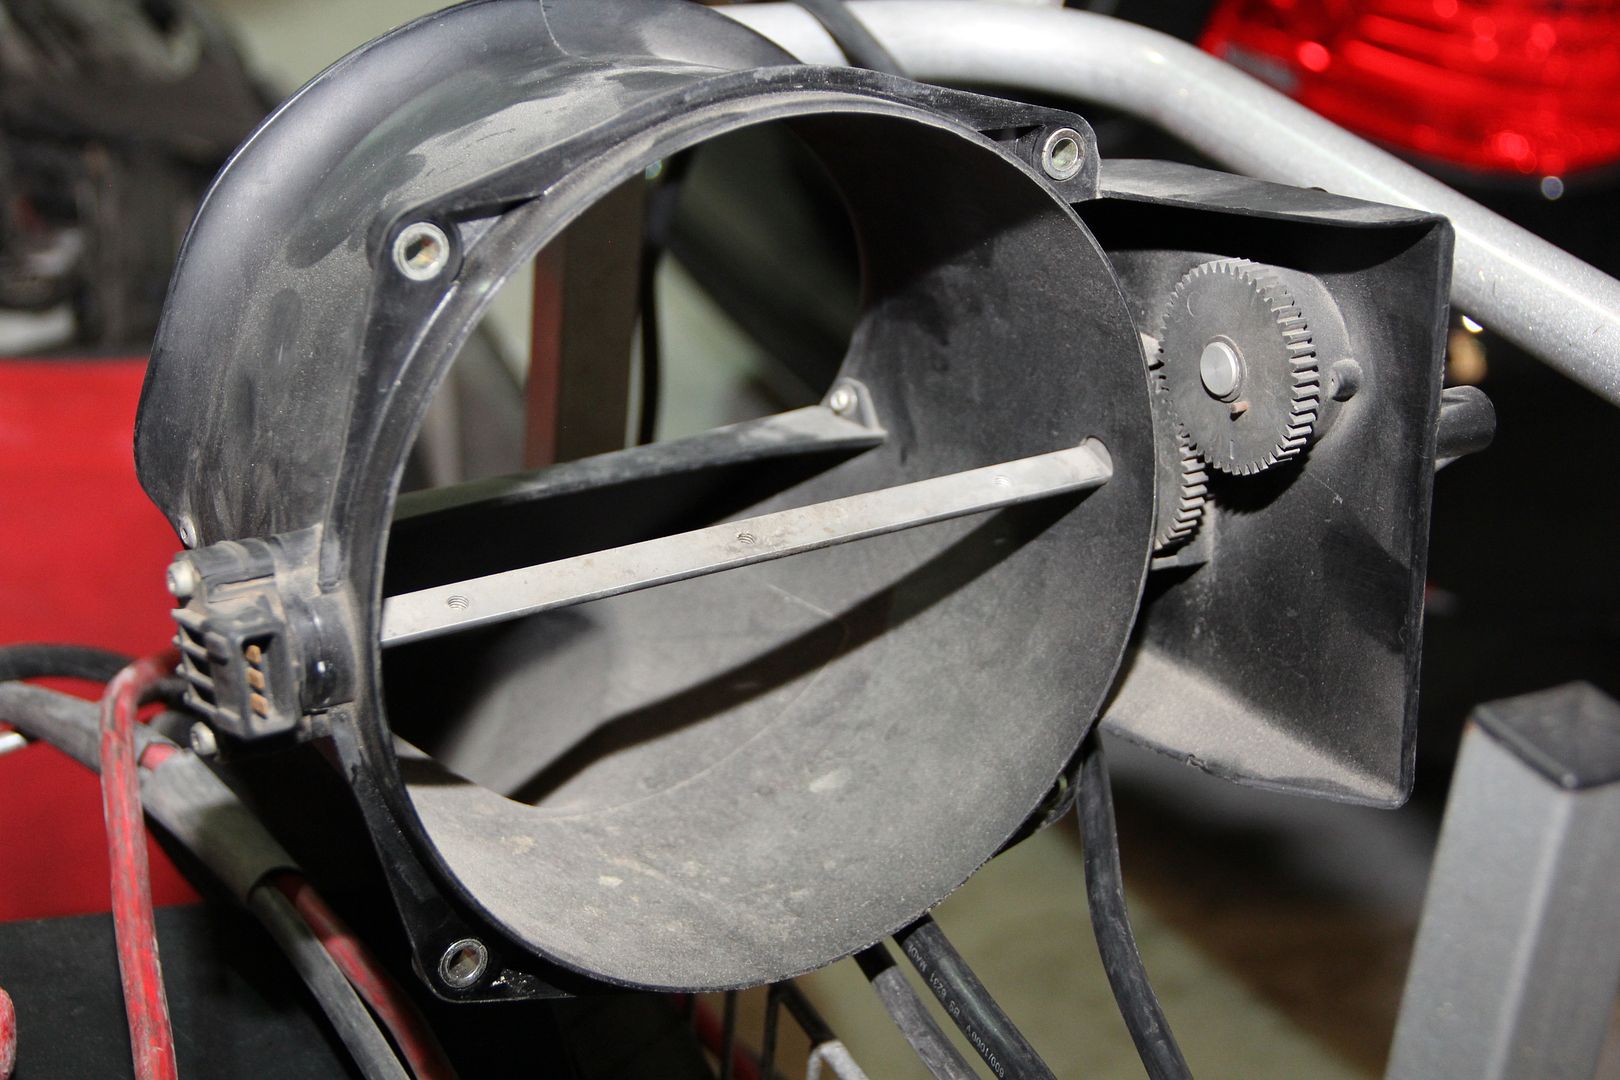
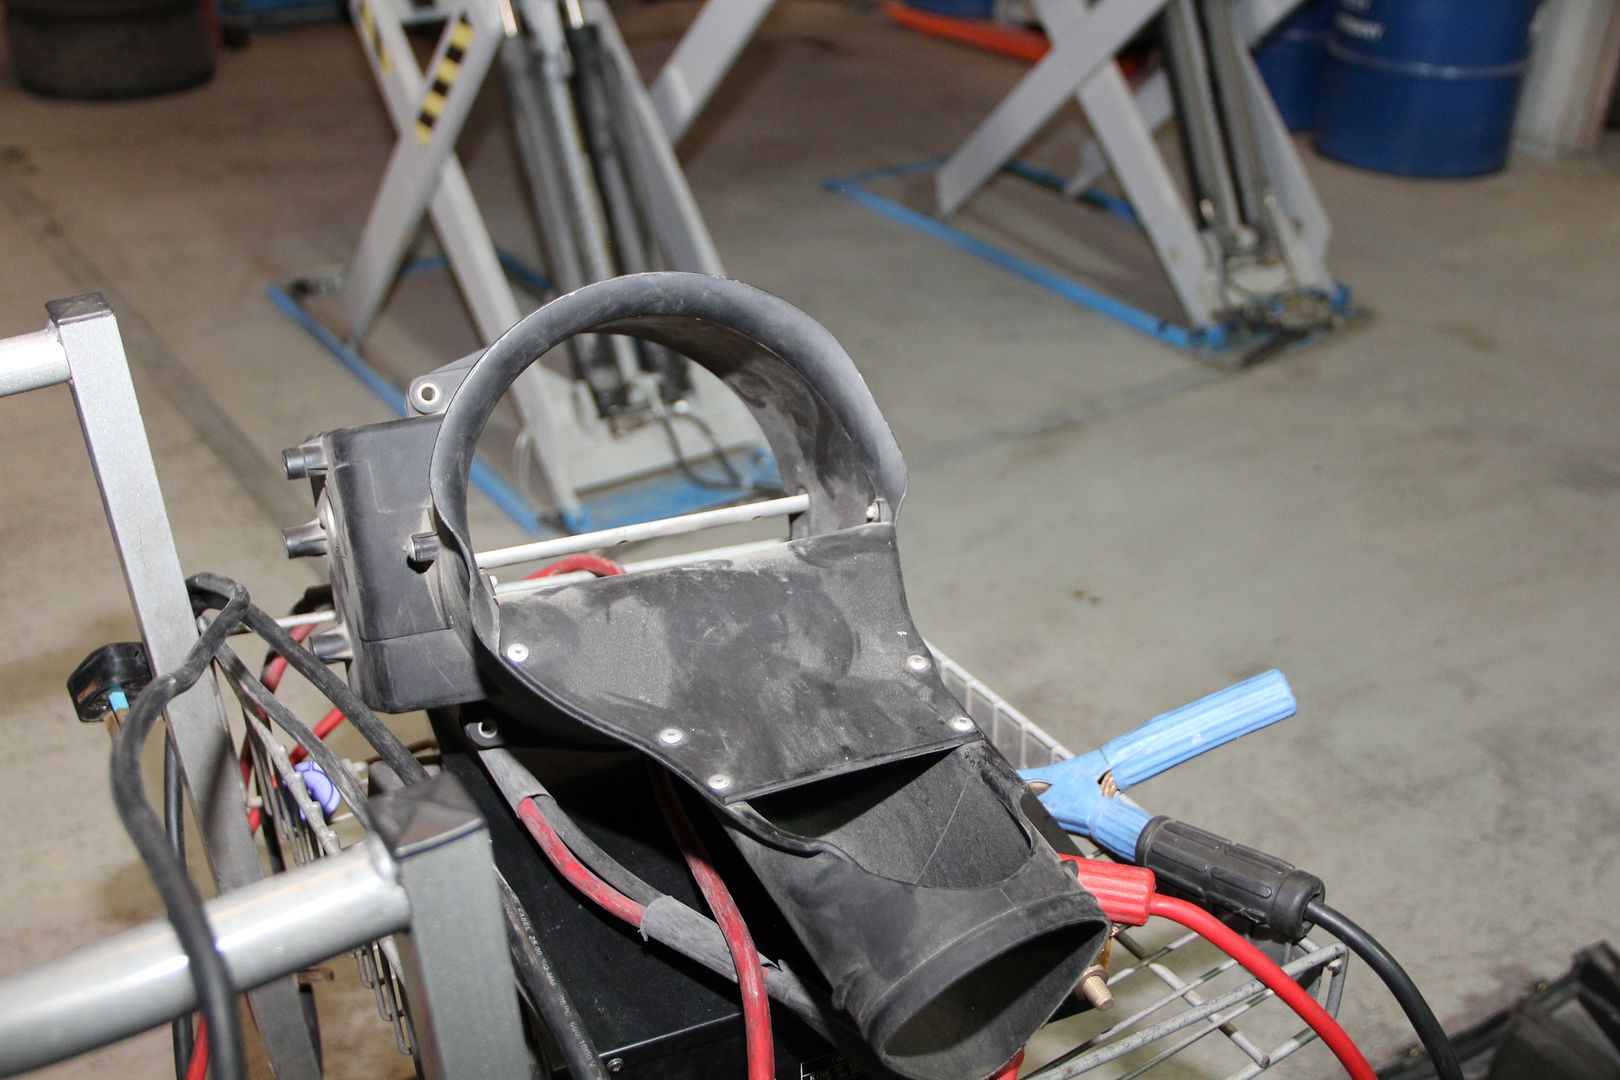
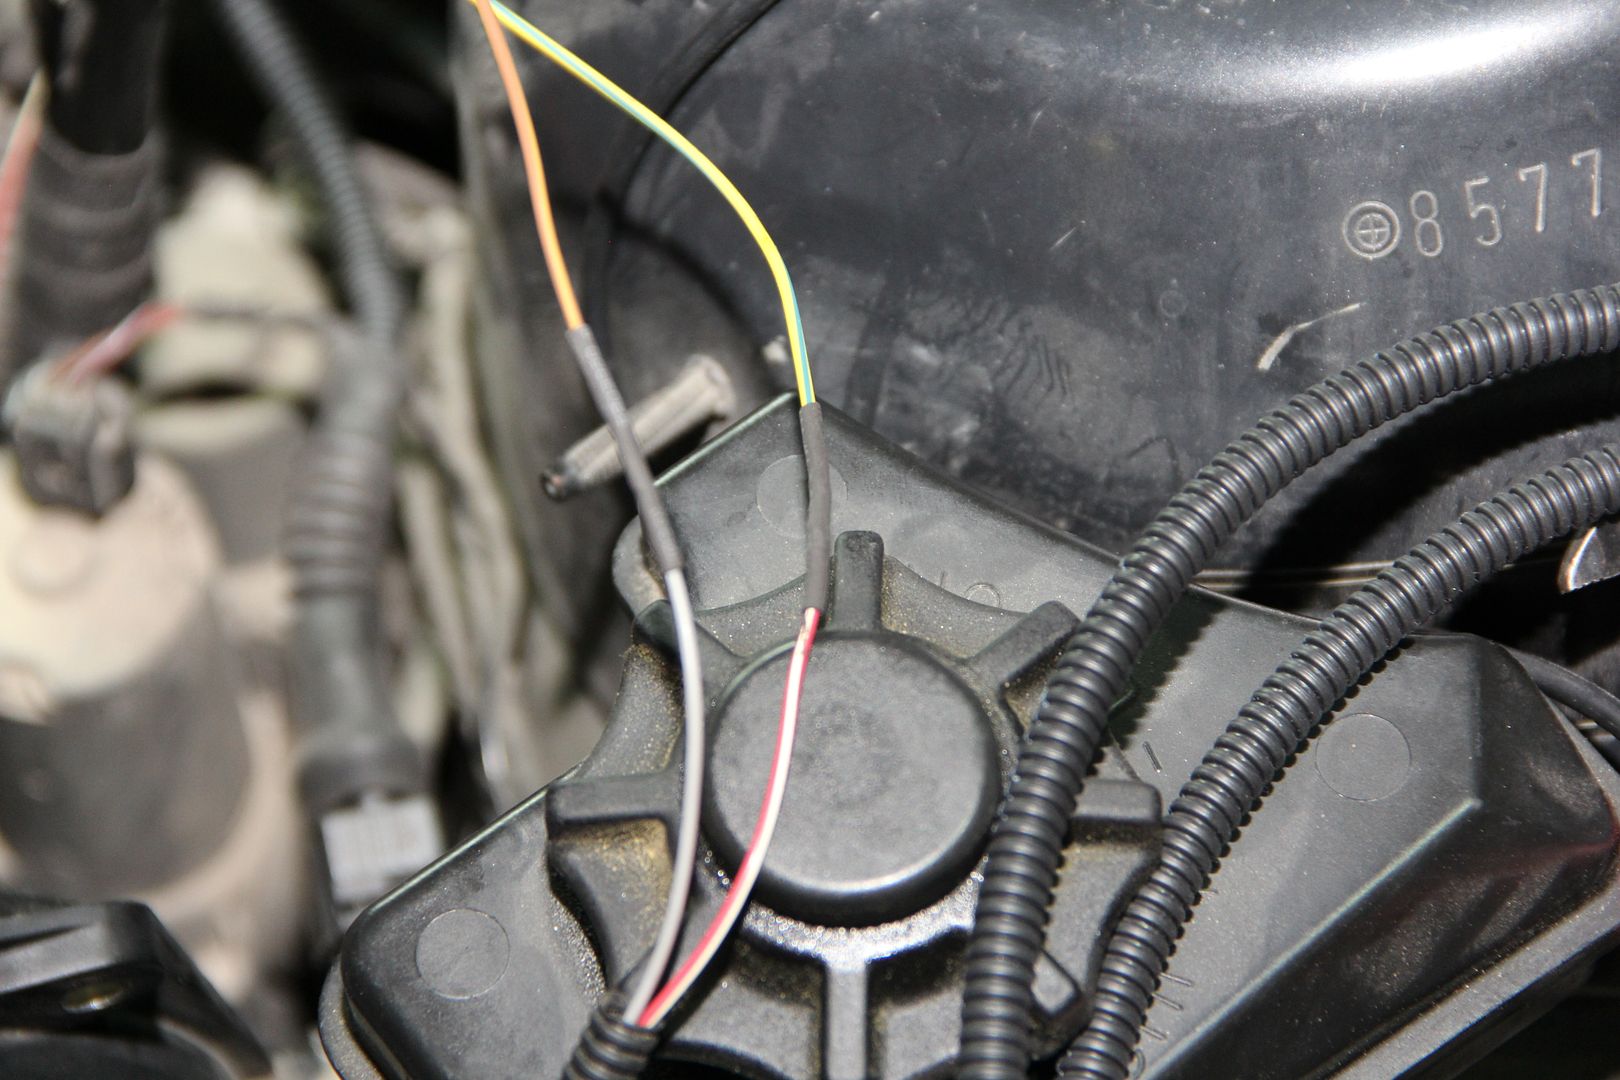
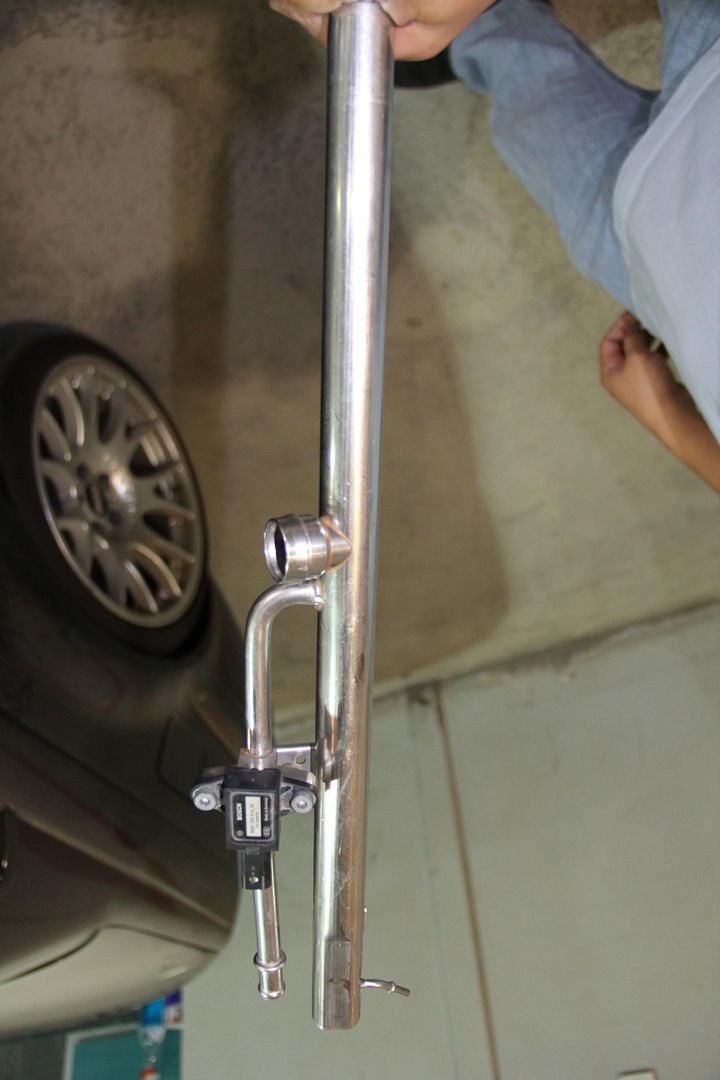
The naked flap snorkal intake thingy.....Getting ready to re-install the flap and motor....
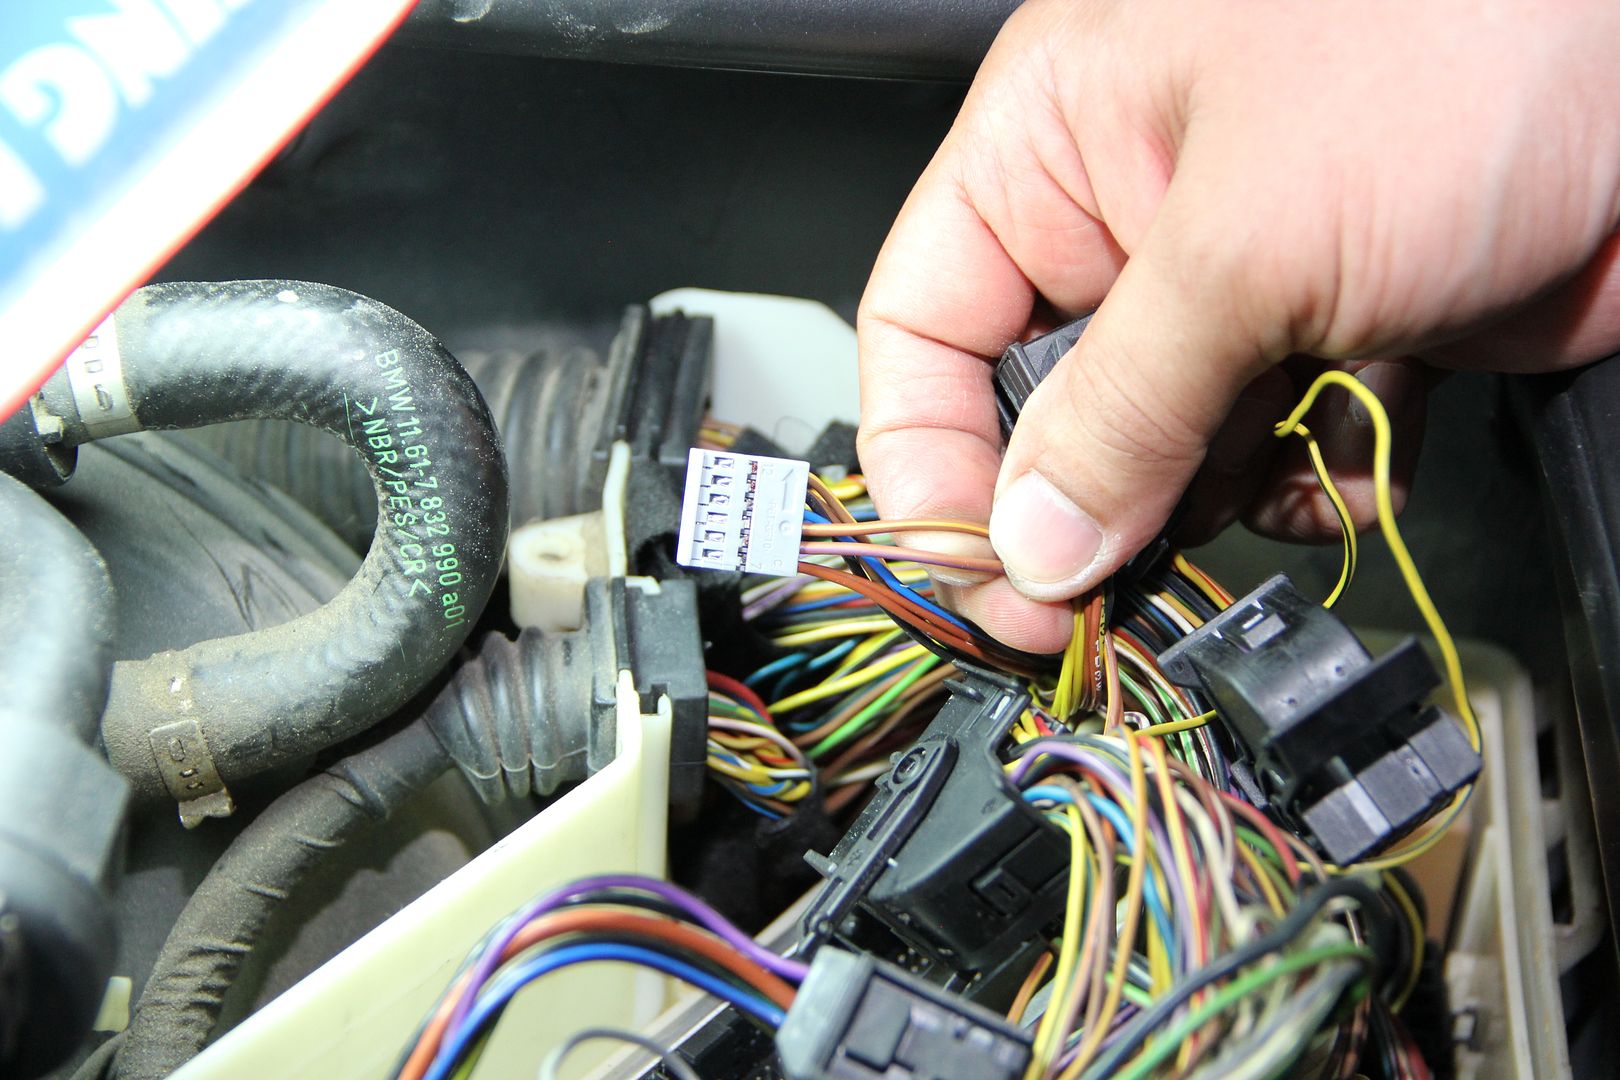
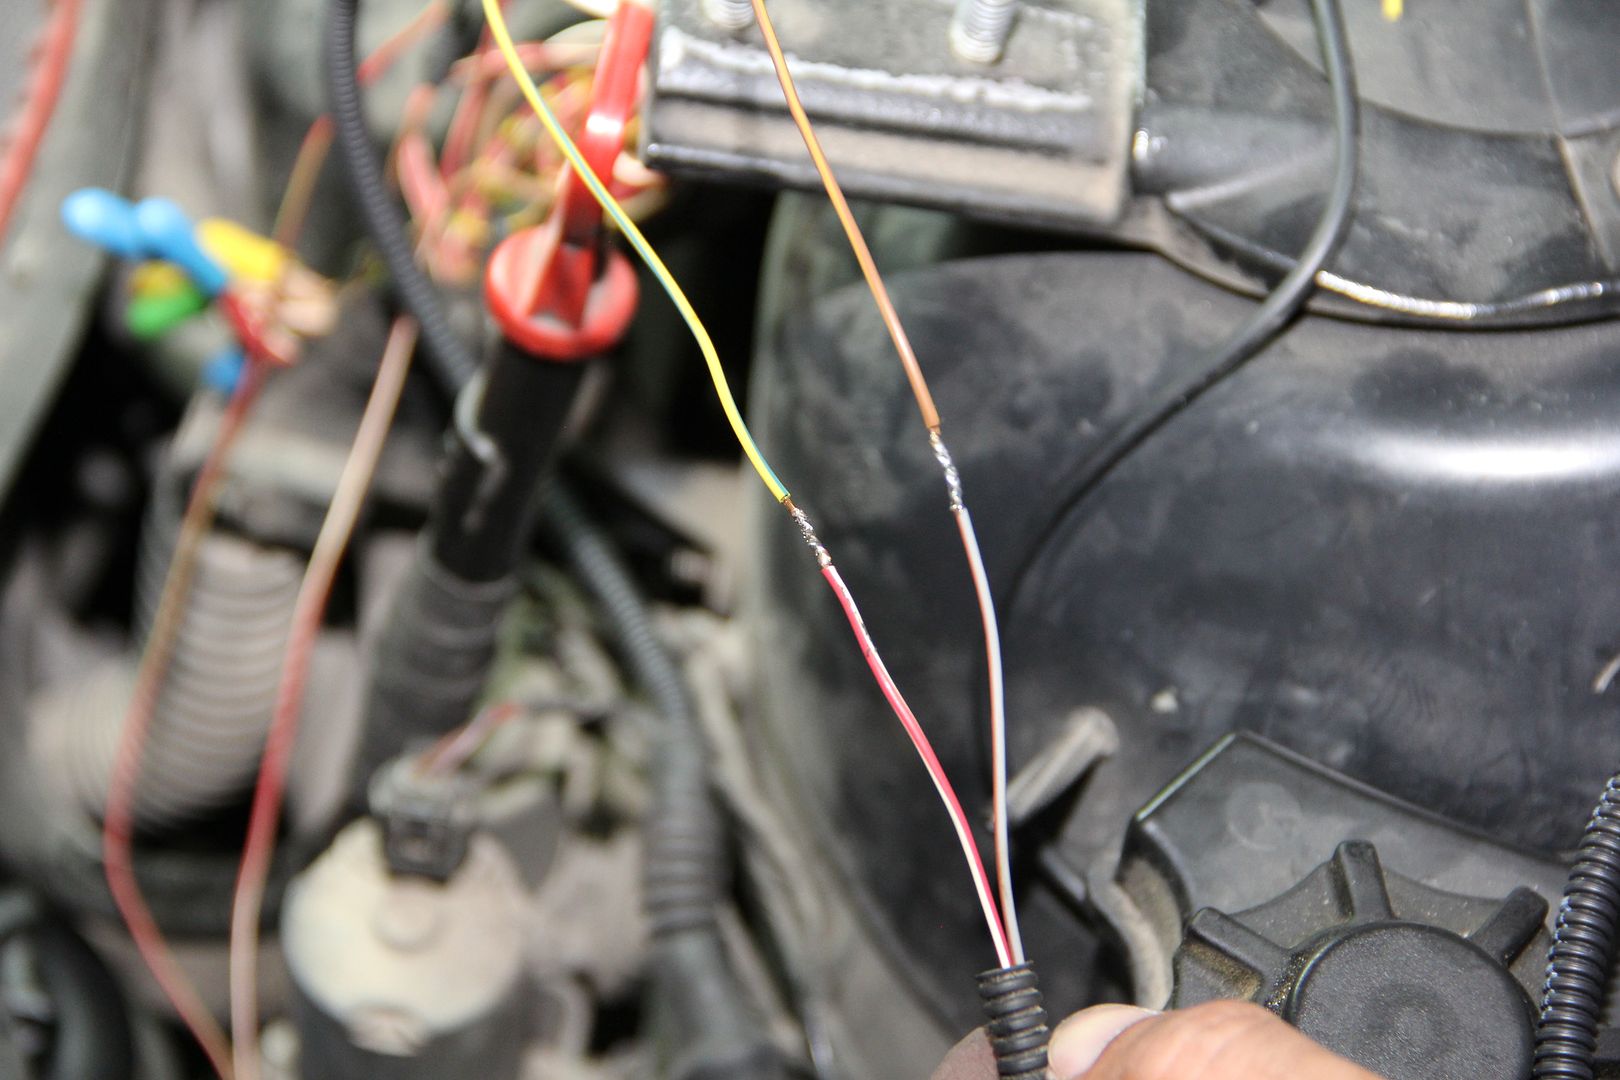
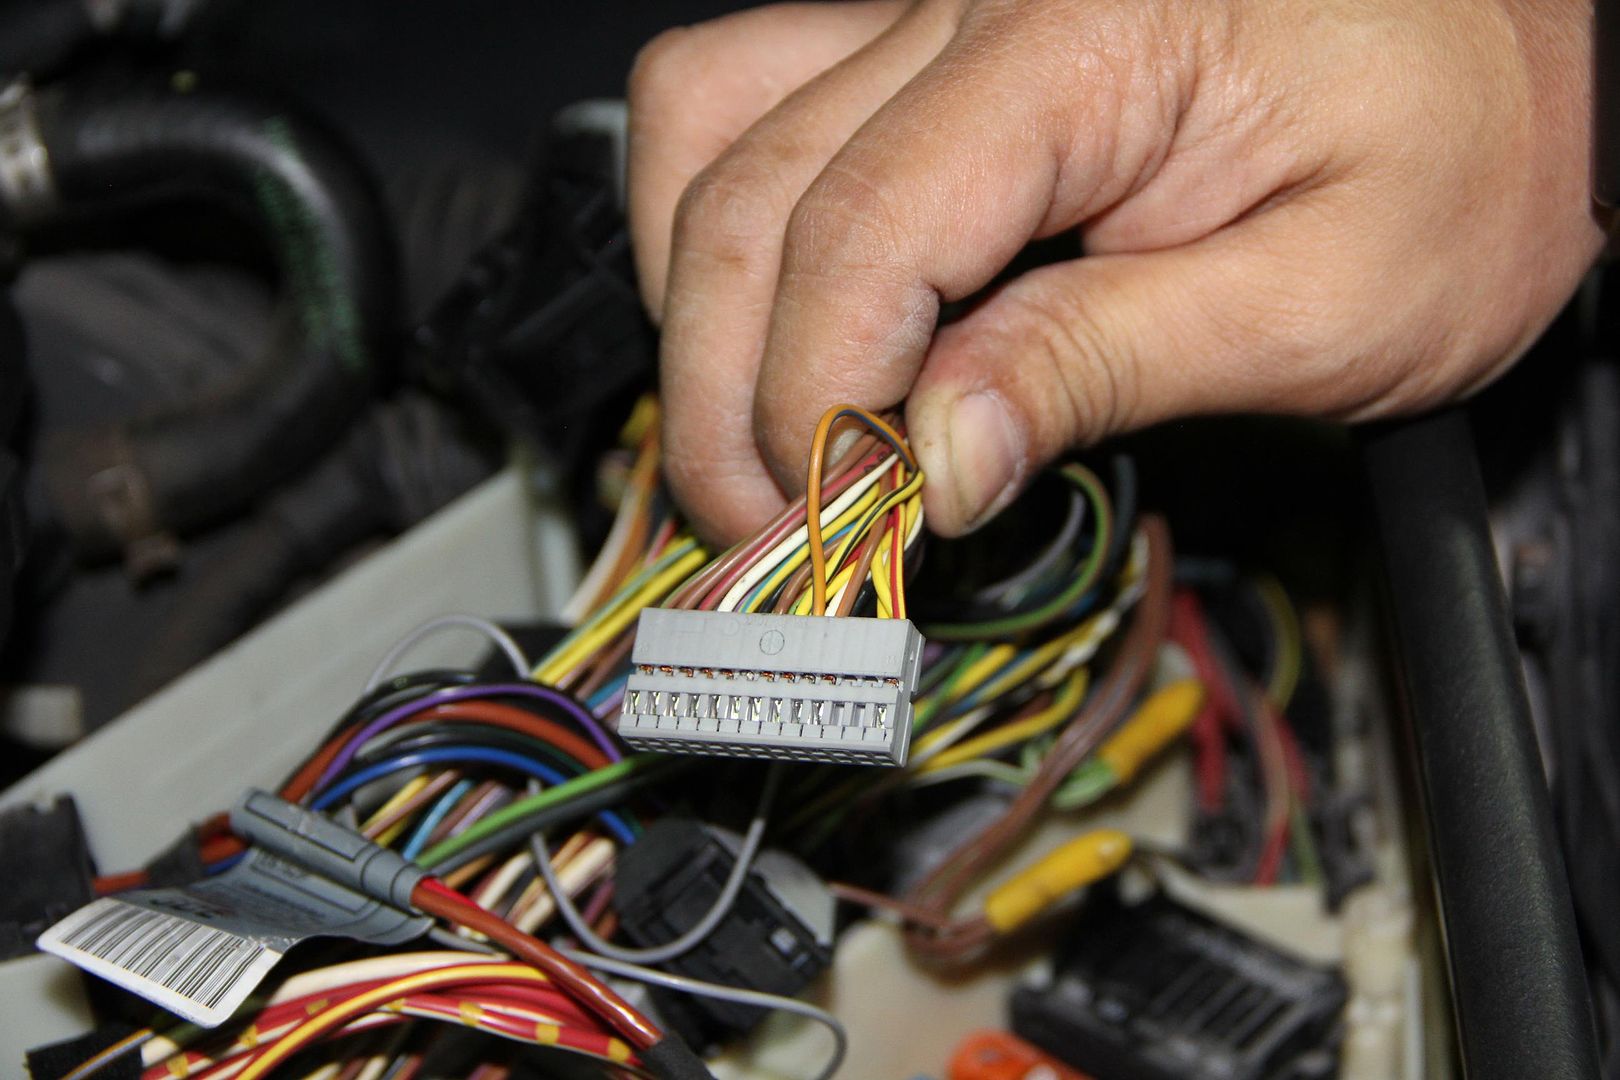
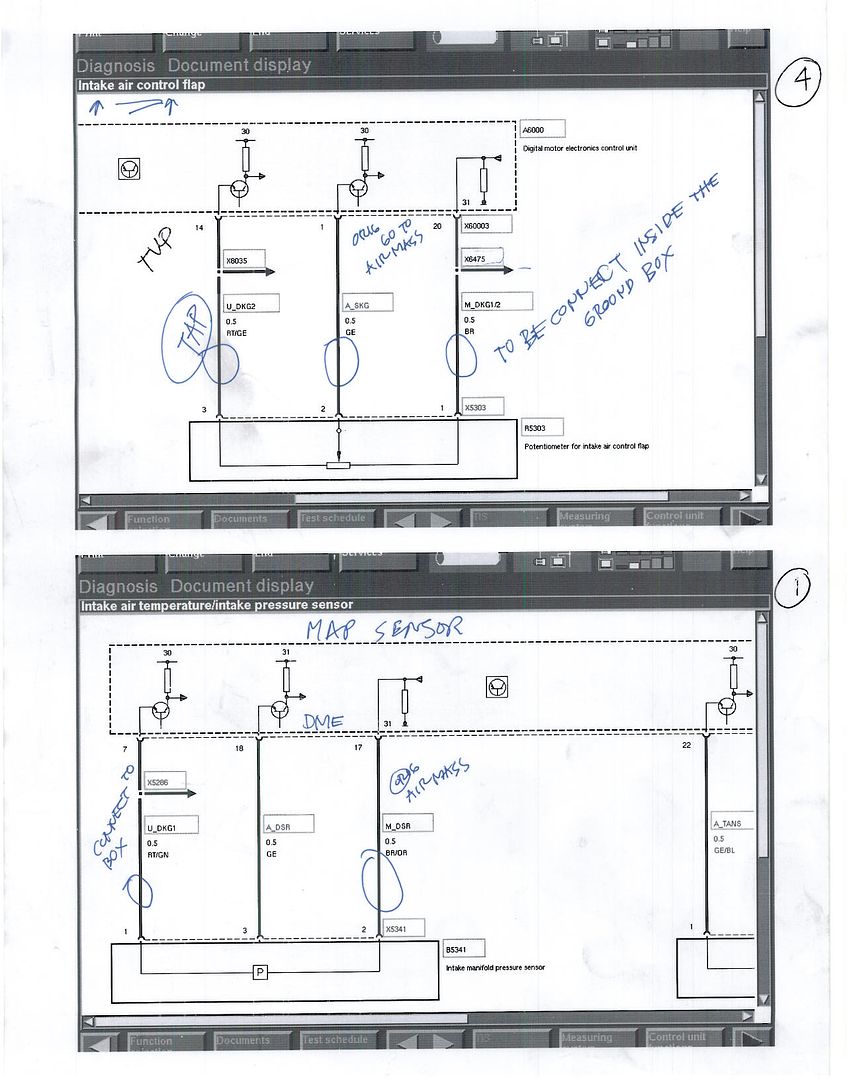
Make sure you use the wire positions on the connectors to tap/solder to the correct wires in the DME...
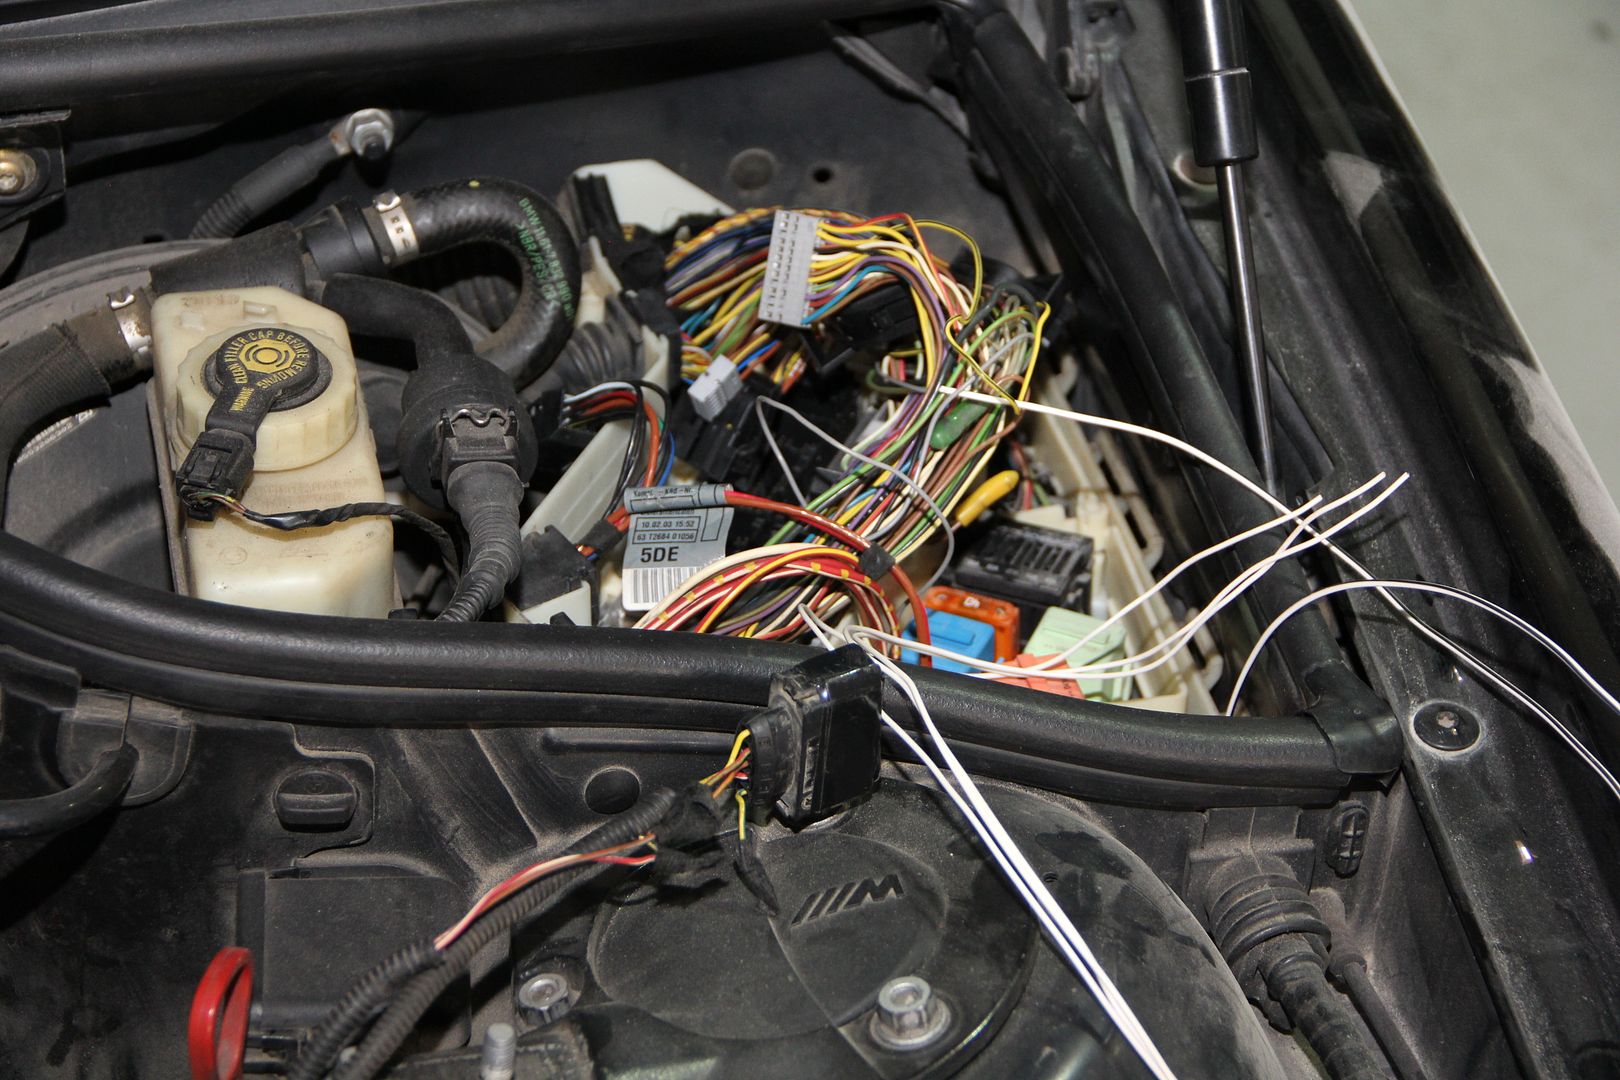
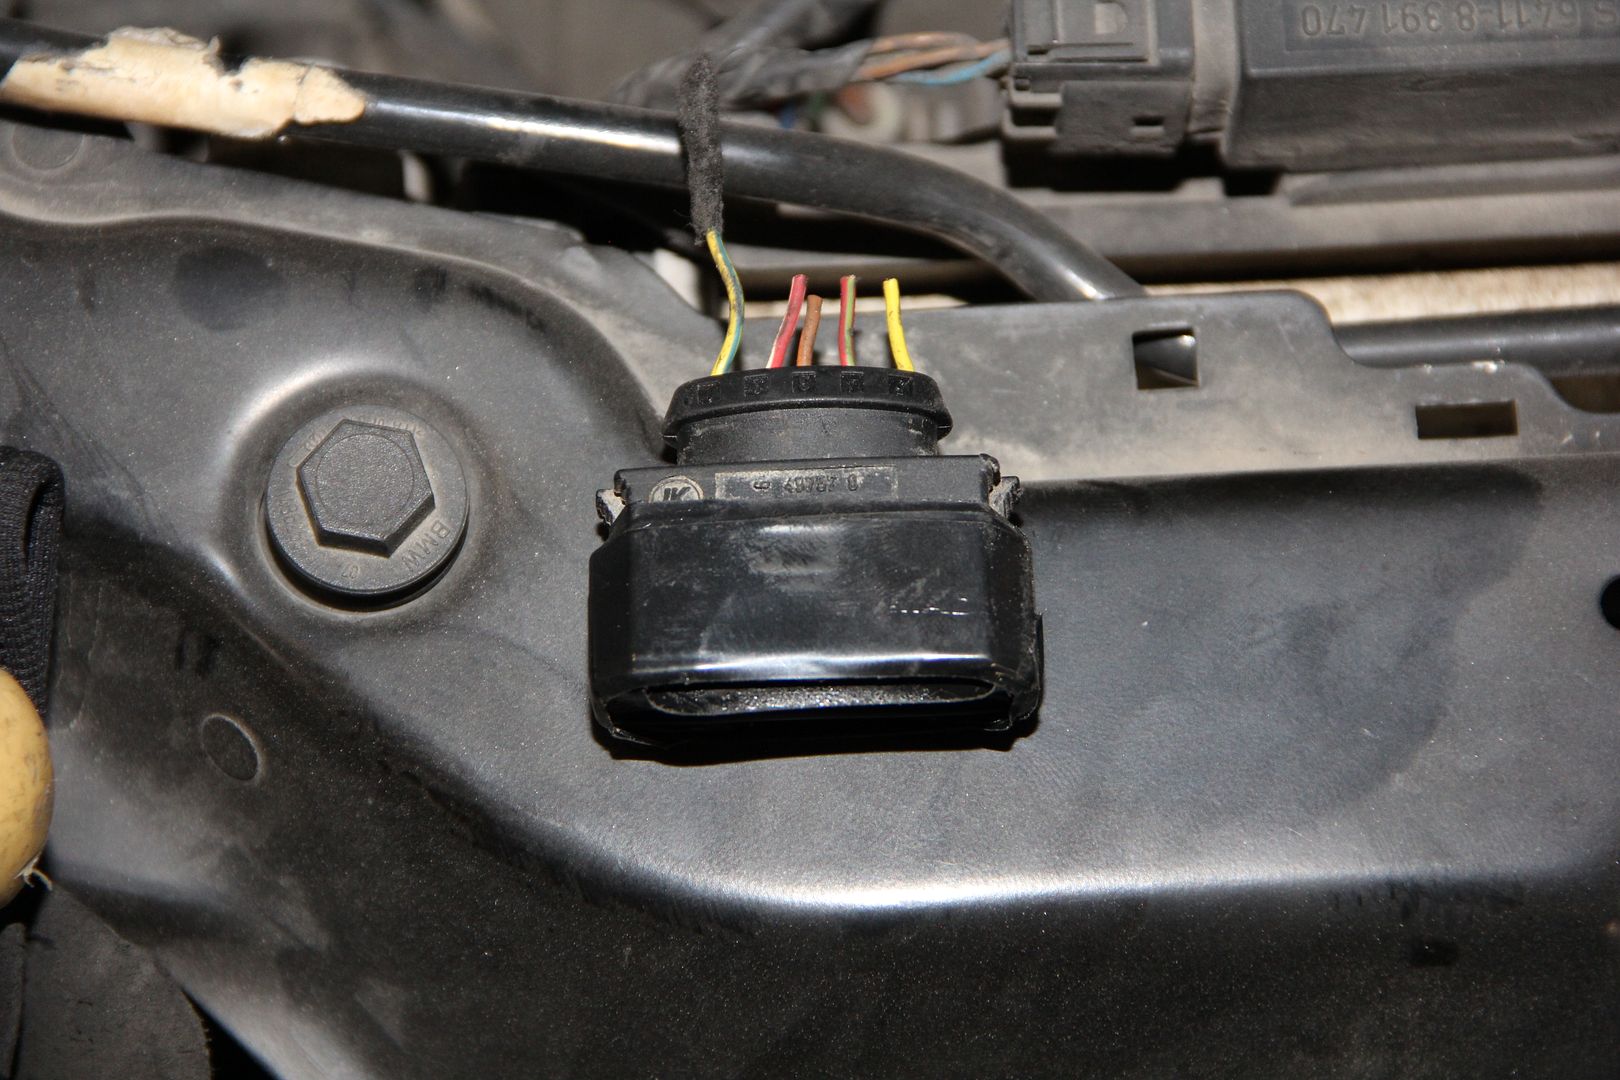
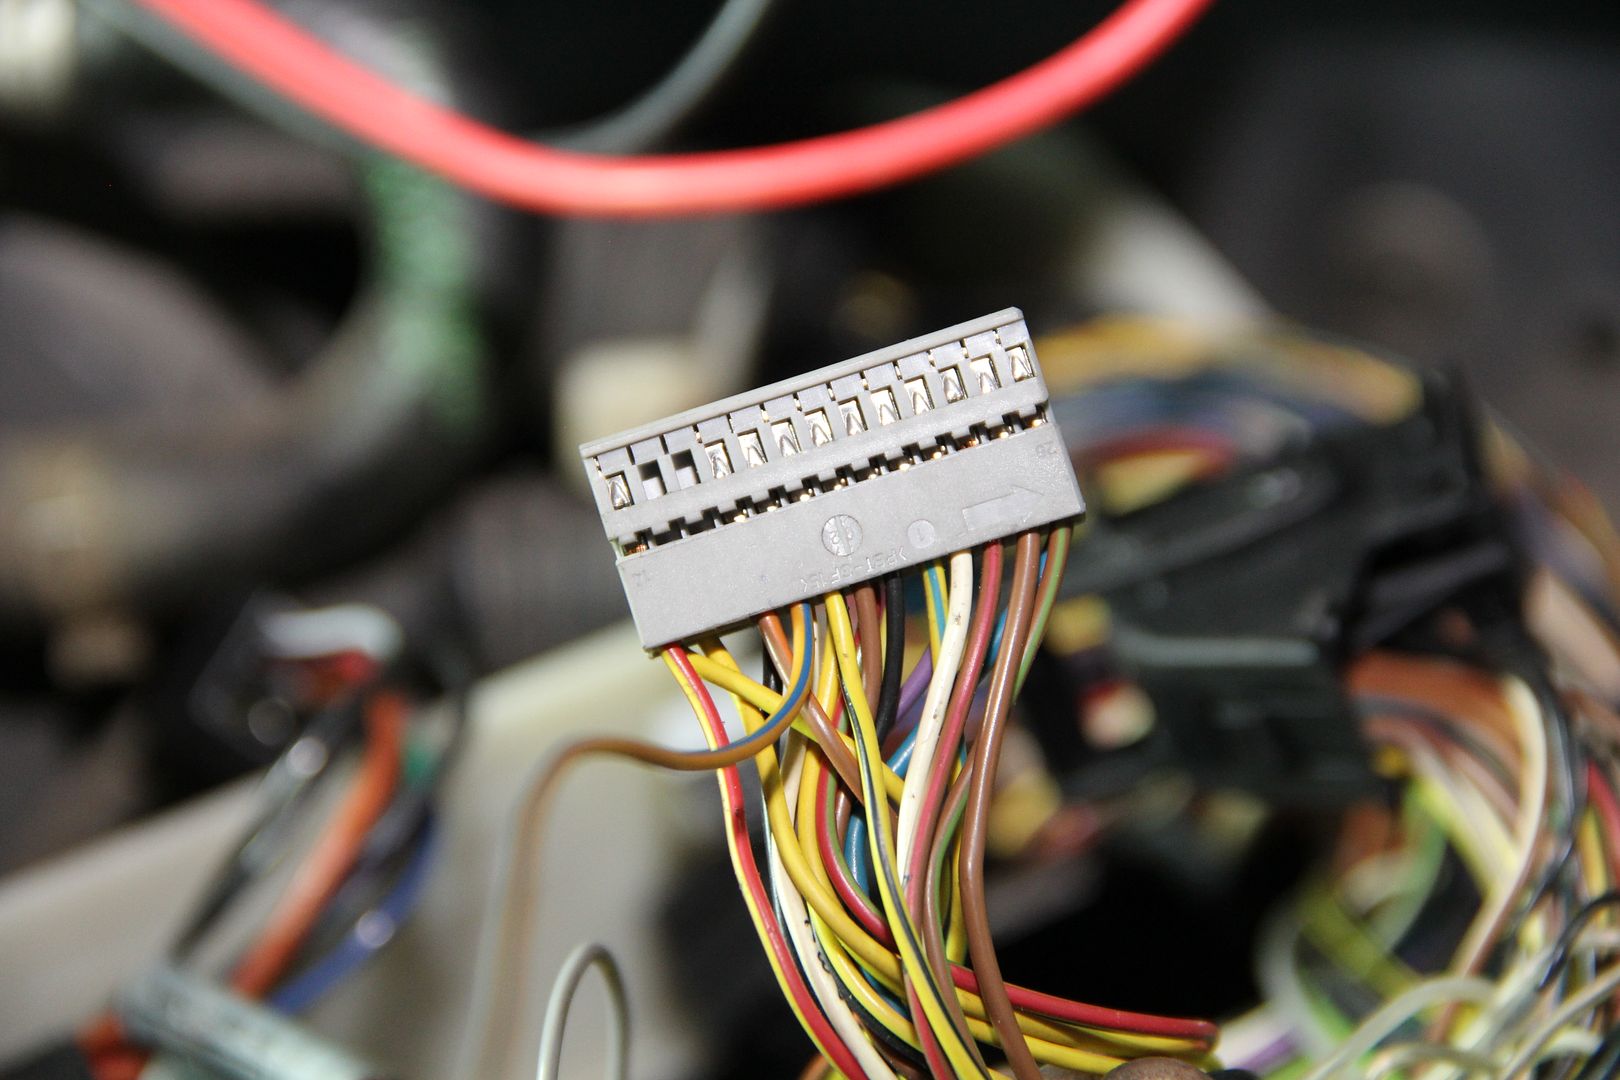
Bye Bye MAF connector....
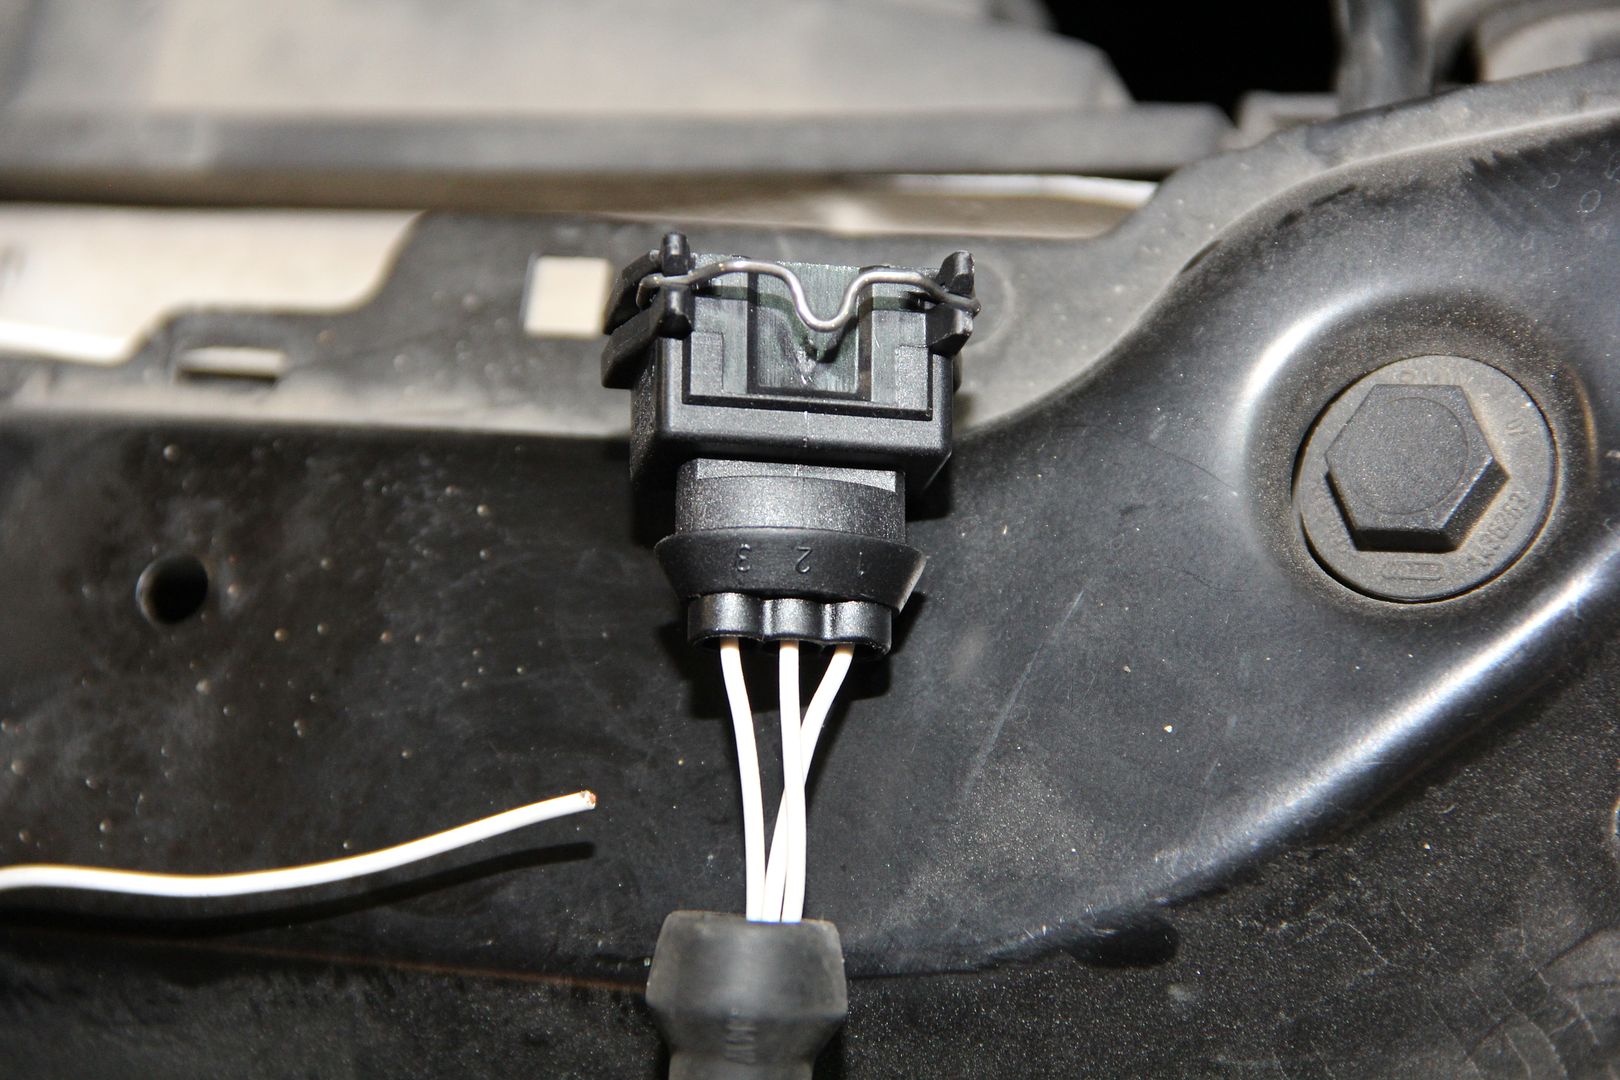
Map sensor Connector. Wires numbered 1-3 left to right....
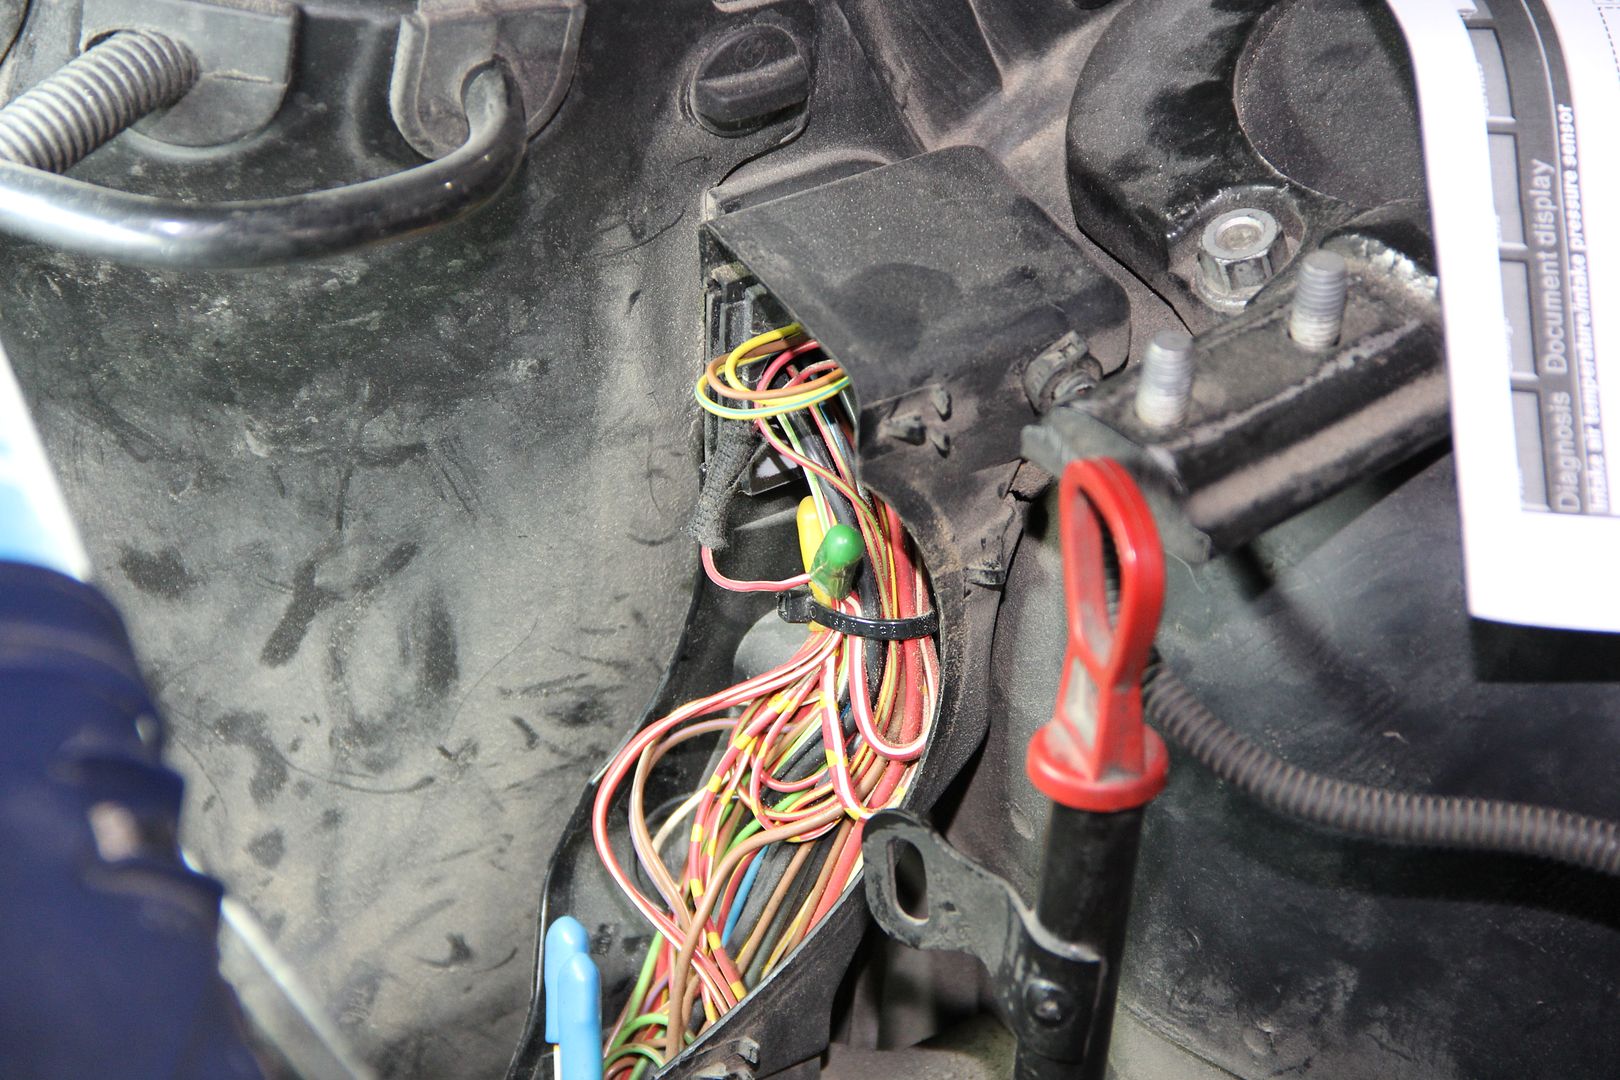
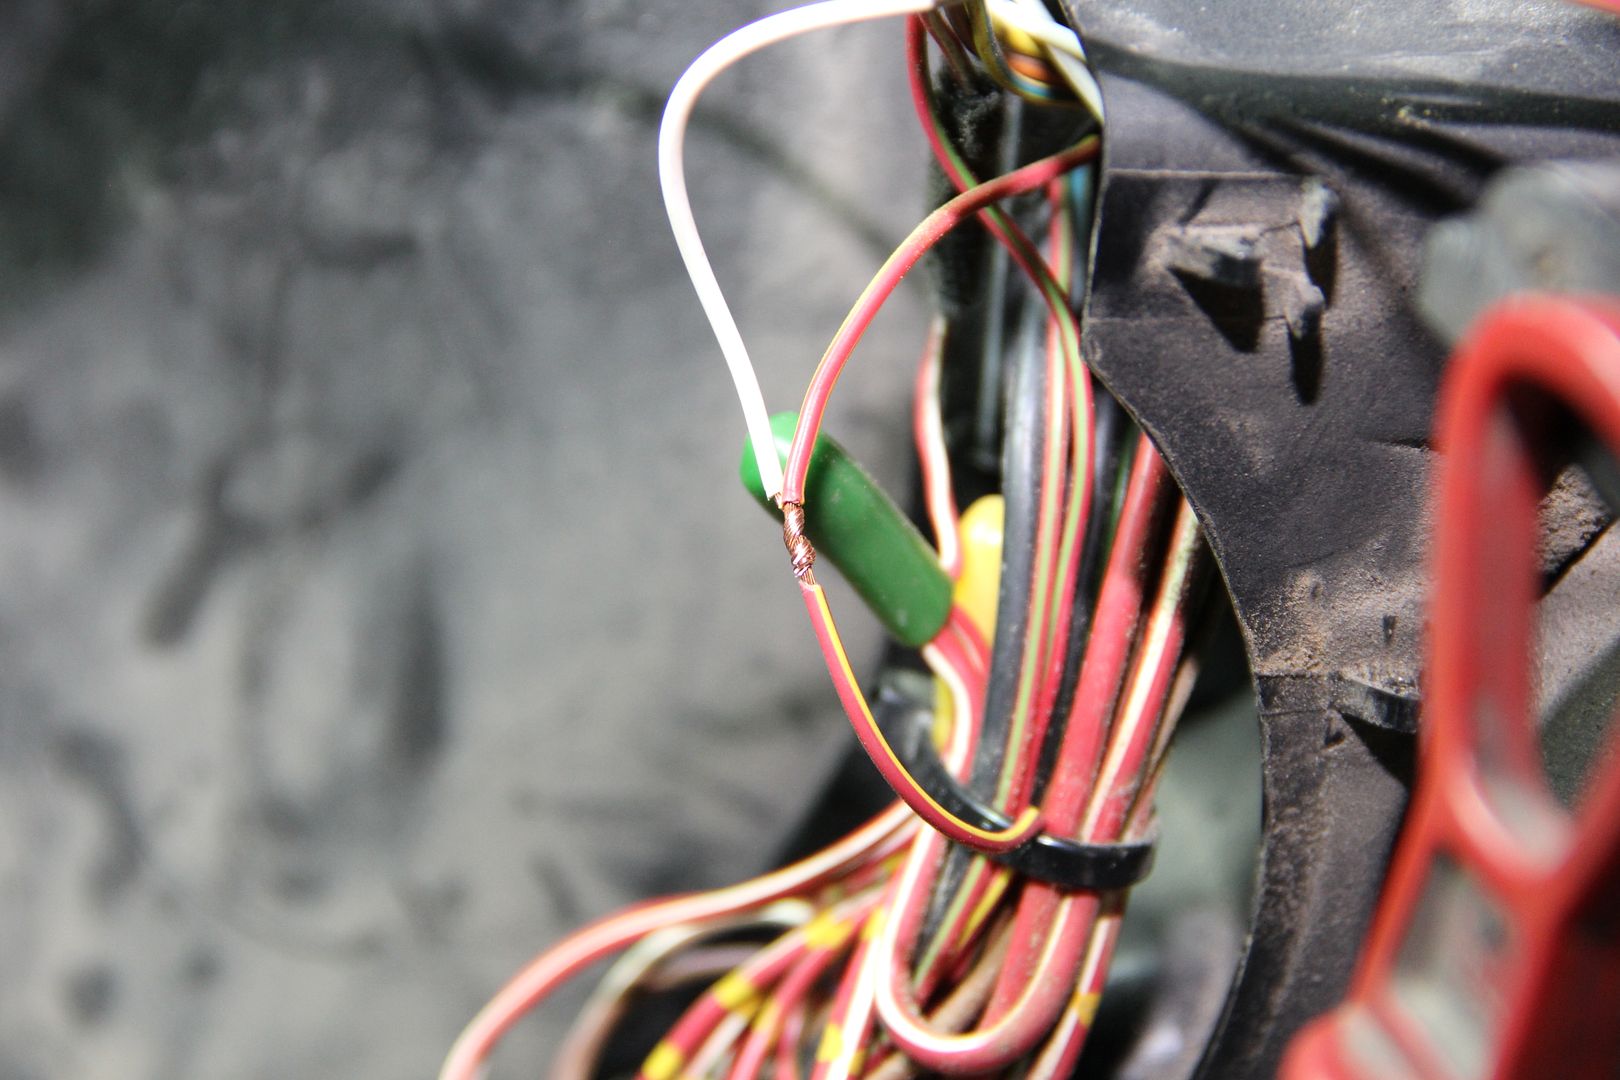
Map Connector Wire 1 goes to red green wire in the connector box (box which has a lot of ground wires in it next to the strut tower)....
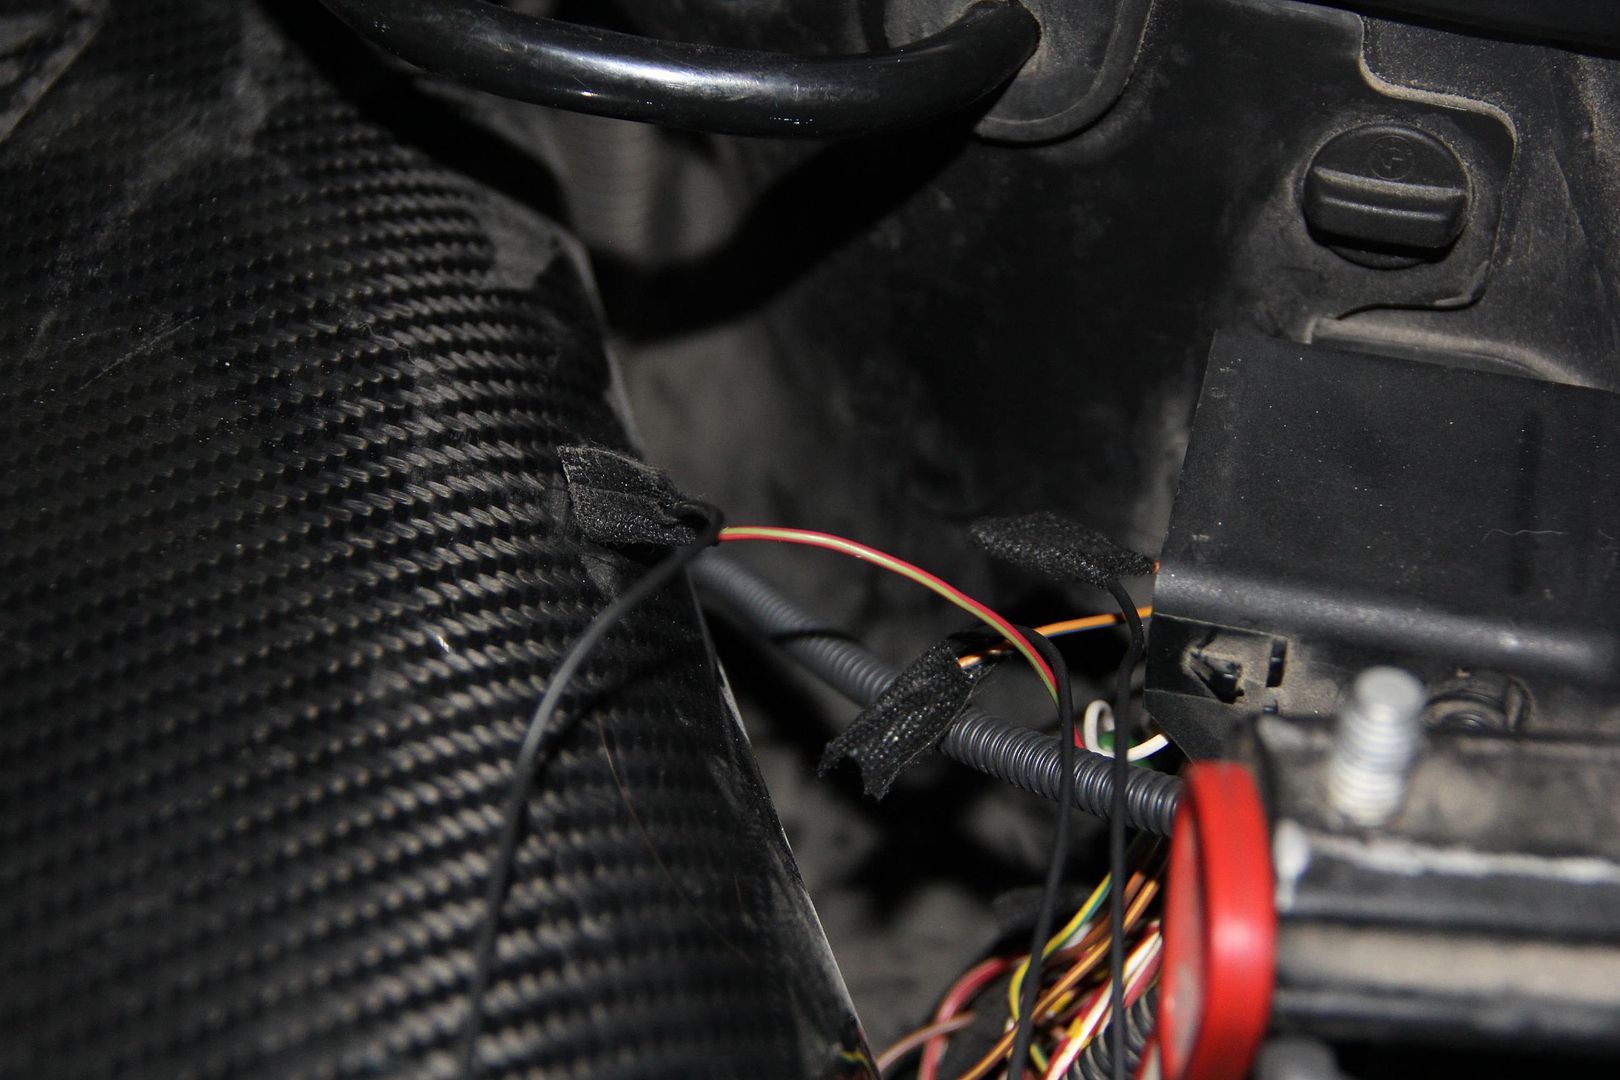
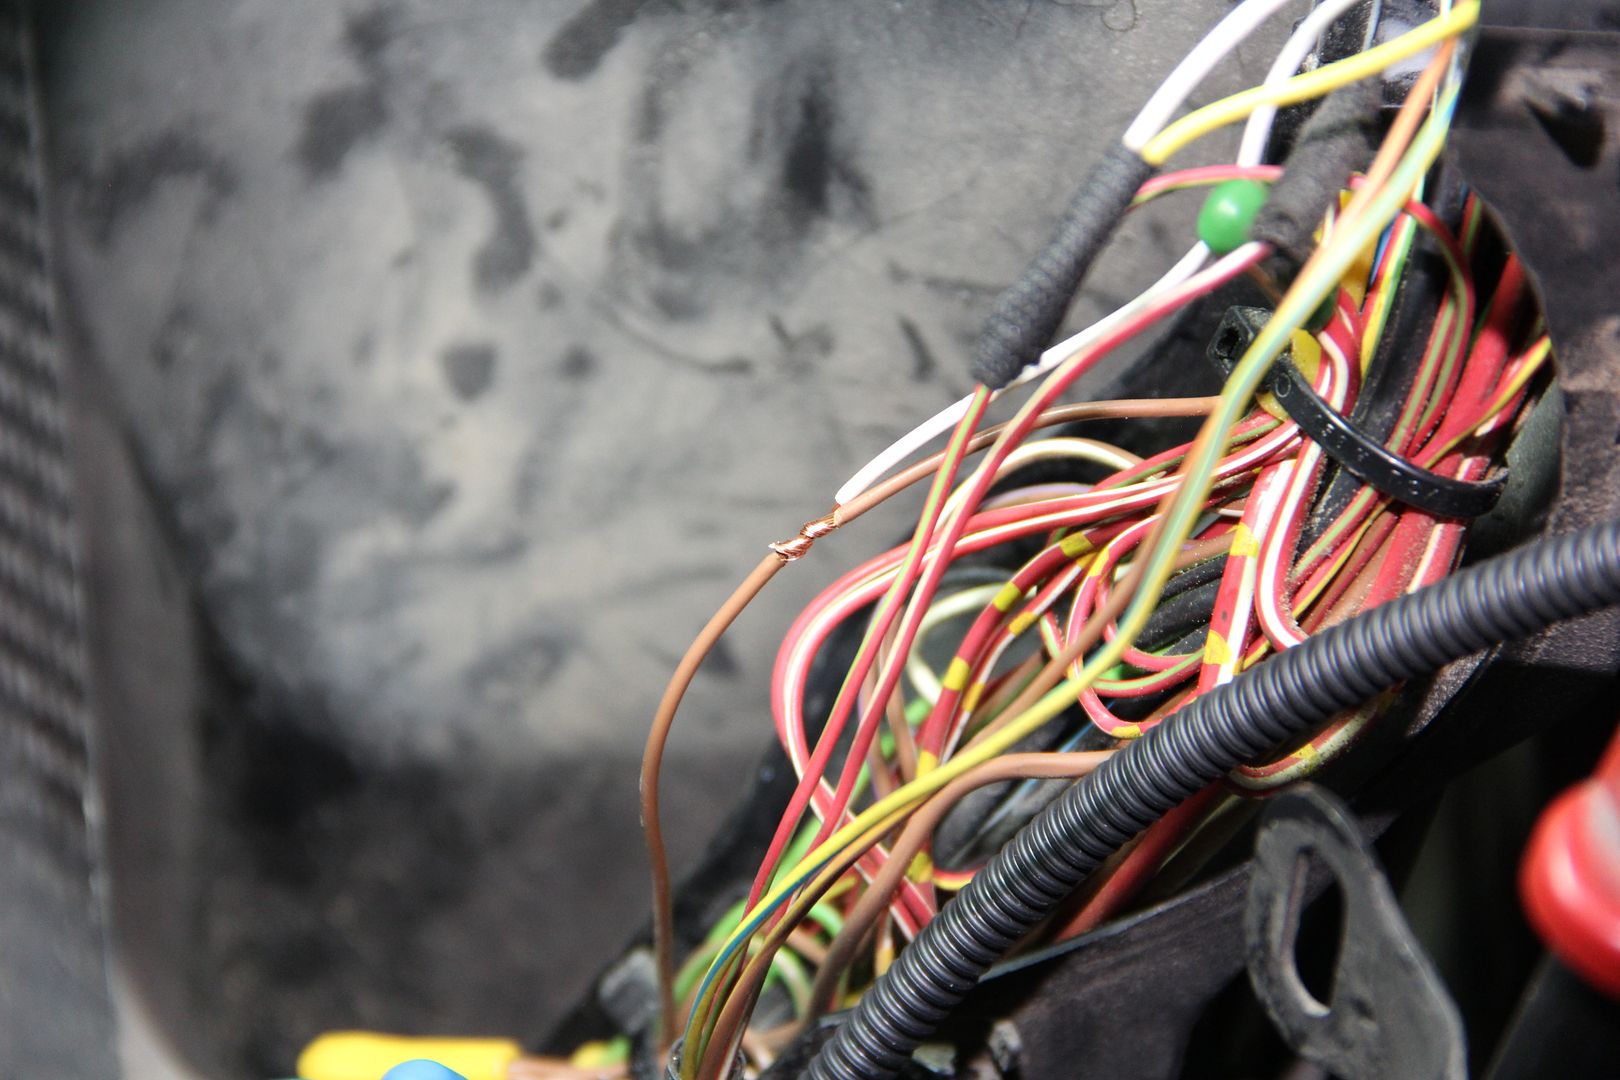
Map connector Wire 2 goes to brown Orange wire from MAF Plug (seen here top right)....

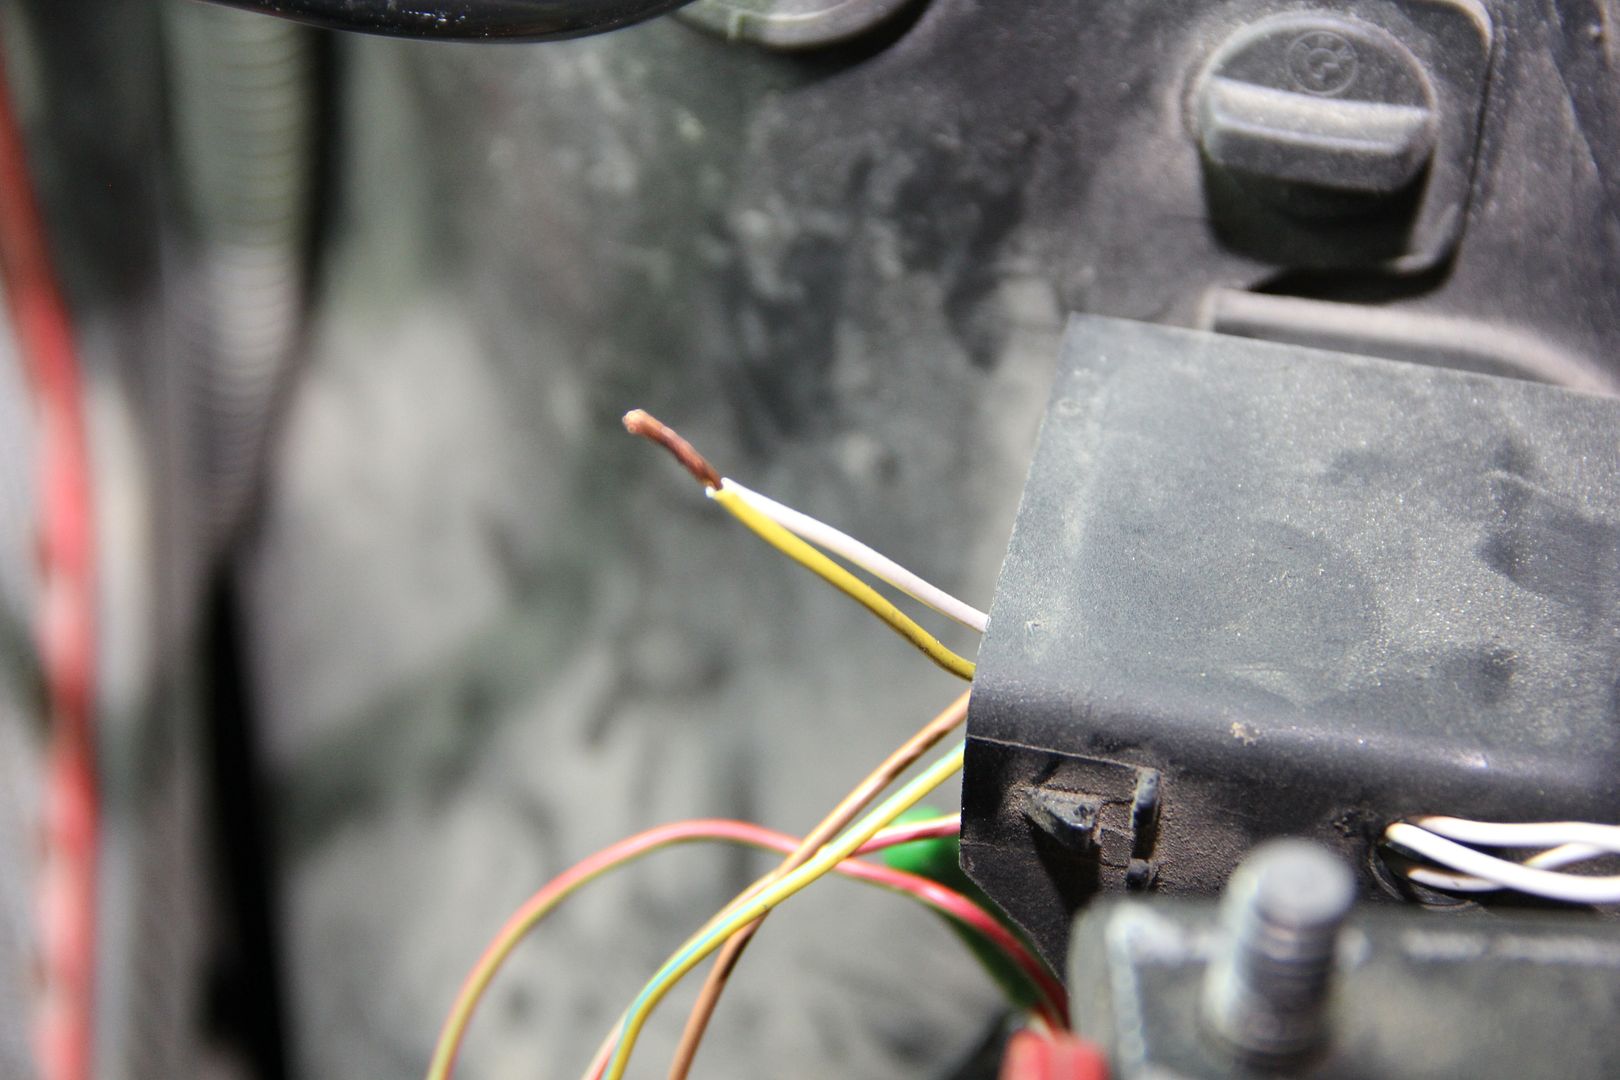
Map Connector Wire 3 goes to empty slot in DME connector Slot #18 which is empty....
Borrowed Map Rail from my friends CSL while it undergoes a full engine rebuild....
Wiring Diagrams I used to do the wiring...

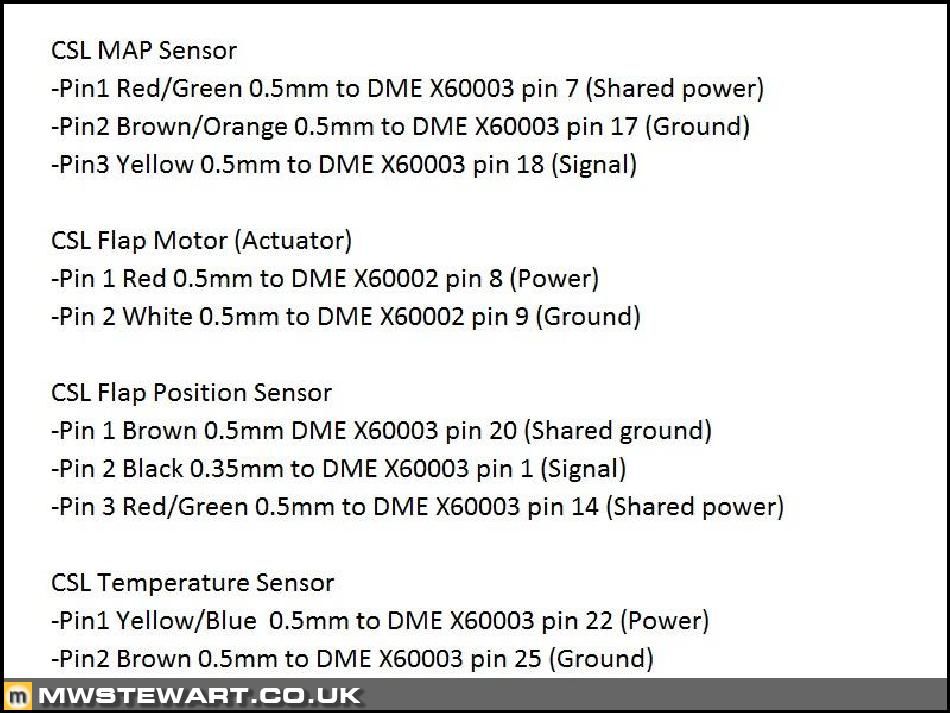
Another version of the wiring guide thanks to member mwstewart:
I will add descriptions to the wiring pics above showing what and where its going etc.... LOL. Sorry Guys it was very very hot and it was very difficult taking pics and doing the work at the same time.
Most of you are going to be focusing on the MAP wiring and i'll go and take proper pics of that for you gents today.Well here is my DIY attempt at converting my wiring to OEM CSL after replacing my MSS54 with a Terra Modified MSS54HP. I have an OEM CSL Airbox with Flap and all OEM ducting etc..
Starting to untangle the mess LOL.....
2 Prong cnnector for Flap Motor...
The flap motor pins are blank in the DME connector....
The three prong connector is for the Flap potentiometer or position sensor....
The naked flap snorkal intake thingy.....Getting ready to re-install the flap and motor....
Make sure you use the wire positions on the connectors to tap/solder to the correct wires in the DME...
Bye Bye MAF connector....
Map sensor Connector. Wires numbered 1-3 left to right....
Map Connector Wire 1 goes to red green wire in the connector box (box which has a lot of ground wires in it next to the strut tower)....
Map connector Wire 2 goes to brown Orange wire from MAF Plug (seen here top right)....
Map Connector Wire 3 goes to empty slot in DME connector Slot #18 which is empty....
Borrowed Map Rail from my friends CSL while it undergoes a full engine rebuild....
Wiring Diagrams I used to do the wiring...
Another version of the wiring guide thanks to member mwstewart:
I will add descriptions to the wiring pics above showing what and where its going etc.... LOL. Sorry Guys it was very very hot and it was very difficult taking pics and doing the work at the same time.
Most of you are going to be focusing on the MAP wiring and i'll go and take proper pics of that.
Here is some more info posted by my friend terra....
The part number is in M3Dragons list.....12517508831
Awesome. Now I just need to hunt down the various boots.
I found the one for the flap position sensor
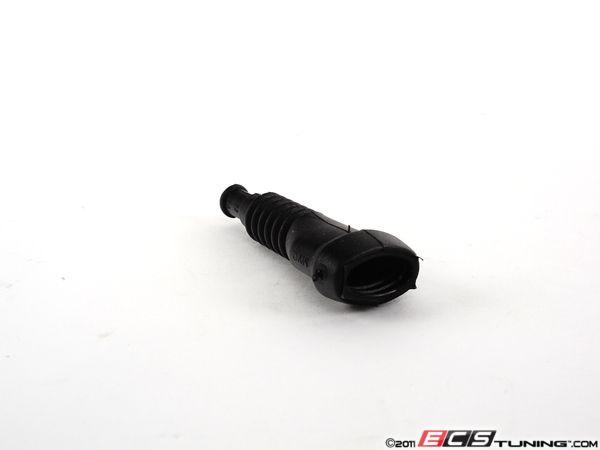
12521732634
I found one that will work okay for the IAT and Actuator, but I'd prefer a 90-degree cap -- not able to hunt that down yet.
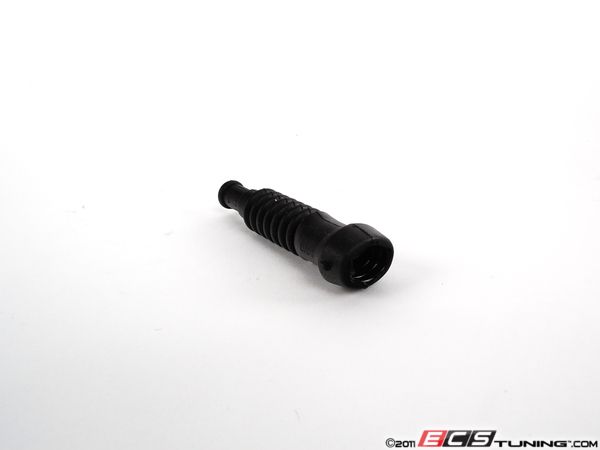
12521732694
Also having trouble finding the covering cap for the MAP connector
Oh and just so we have it on one page, here are the connector part number:
Flap Position Sensor - 12521427222
IAT and Flap Actuator Connector - 12521427615
MAP Sensor Connector - 12527507526
__________________
Starting to untangle the mess LOL.....

2 Prong cnnector for Flap Motor...

The flap motor pins are blank in the DME connector....

The three prong connector is for the Flap potentiometer or position sensor....


The naked flap snorkal intake thingy.....Getting ready to re-install the flap and motor....


Make sure you use the wire positions on the connectors to tap/solder to the correct wires in the DME...


Bye Bye MAF connector....


Map sensor Connector. Wires numbered 1-3 left to right....

Map Connector Wire 1 goes to red green wire in the connector box (box which has a lot of ground wires in it next to the strut tower)....

Map connector Wire 2 goes to brown Orange wire from MAF Plug (seen here top right)....

Map Connector Wire 3 goes to empty slot in DME connector Slot #18 which is empty....


Borrowed Map Rail from my friends CSL while it undergoes a full engine rebuild....

Wiring Diagrams I used to do the wiring...


Another version of the wiring guide thanks to member mwstewart:

I will add descriptions to the wiring pics above showing what and where its going etc.... LOL. Sorry Guys it was very very hot and it was very difficult taking pics and doing the work at the same time.
Most of you are going to be focusing on the MAP wiring and i'll go and take proper pics of that for you gents today.Well here is my DIY attempt at converting my wiring to OEM CSL after replacing my MSS54 with a Terra Modified MSS54HP. I have an OEM CSL Airbox with Flap and all OEM ducting etc..
Starting to untangle the mess LOL.....
2 Prong cnnector for Flap Motor...
The flap motor pins are blank in the DME connector....
The three prong connector is for the Flap potentiometer or position sensor....
The naked flap snorkal intake thingy.....Getting ready to re-install the flap and motor....
Make sure you use the wire positions on the connectors to tap/solder to the correct wires in the DME...
Bye Bye MAF connector....
Map sensor Connector. Wires numbered 1-3 left to right....
Map Connector Wire 1 goes to red green wire in the connector box (box which has a lot of ground wires in it next to the strut tower)....
Map connector Wire 2 goes to brown Orange wire from MAF Plug (seen here top right)....
Map Connector Wire 3 goes to empty slot in DME connector Slot #18 which is empty....
Borrowed Map Rail from my friends CSL while it undergoes a full engine rebuild....
Wiring Diagrams I used to do the wiring...
Another version of the wiring guide thanks to member mwstewart:
I will add descriptions to the wiring pics above showing what and where its going etc.... LOL. Sorry Guys it was very very hot and it was very difficult taking pics and doing the work at the same time.
Most of you are going to be focusing on the MAP wiring and i'll go and take proper pics of that.
Here is some more info posted by my friend terra....

The part number is in M3Dragons list.....12517508831
Awesome. Now I just need to hunt down the various boots.
I found the one for the flap position sensor

12521732634
I found one that will work okay for the IAT and Actuator, but I'd prefer a 90-degree cap -- not able to hunt that down yet.

12521732694
Also having trouble finding the covering cap for the MAP connector

Oh and just so we have it on one page, here are the connector part number:
Flap Position Sensor - 12521427222

IAT and Flap Actuator Connector - 12521427615

MAP Sensor Connector - 12527507526

__________________

Comment