A couple of days ago I acquired this 2003 TiAg/black SMG M3 with about 175k miles and a clean title with no accidents/damage reported. Overall, its extremely rough around the edges and has several items that need to be addressed but it runs/drives (kinda, SMG) and has good potential with a little bit of time/effort.
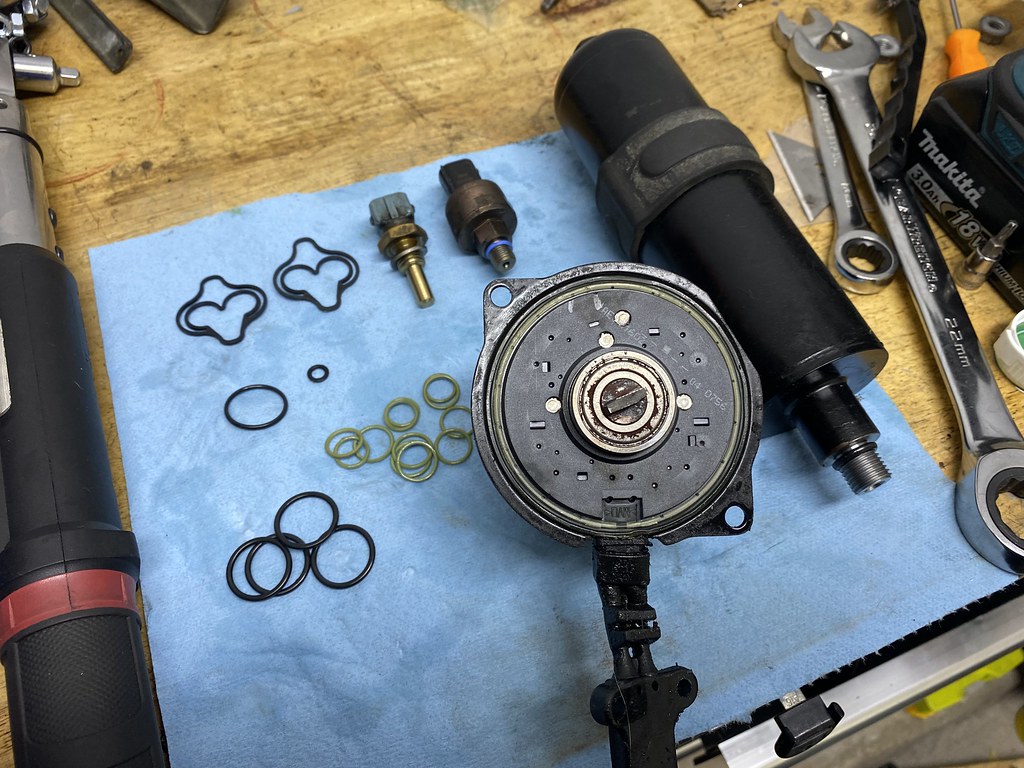
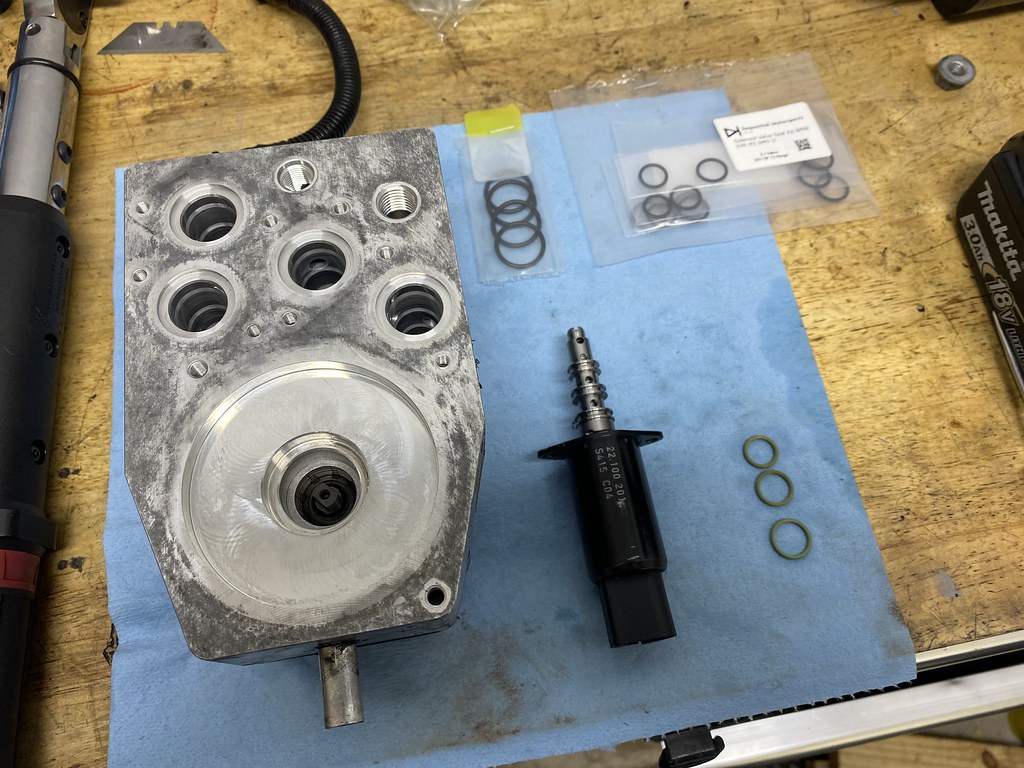
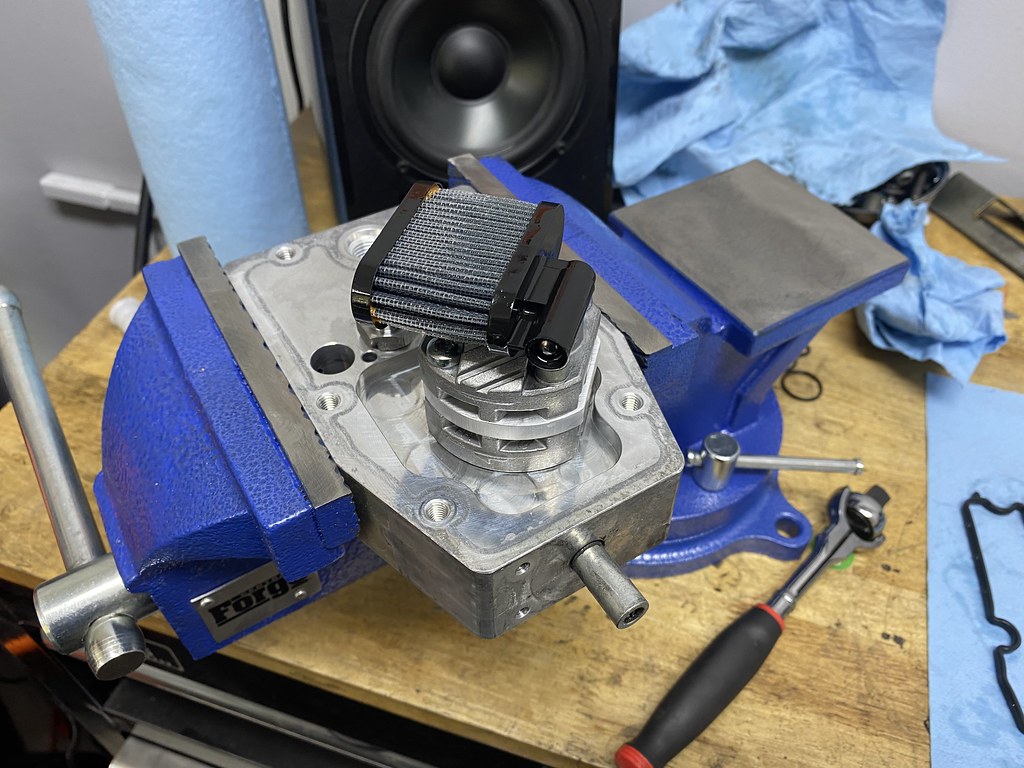
This car was originally bought by the previous owner to be a parts car and was never used as such so it sat for a little over a year before I ended up buying it. It was experiencing some SMG issues (go figure) which point at a bad gear position sensor. I'll be replacing this sensor and keeping the SMG as I'm one of the few who enjoy it. After its up and running ok I plan to go through and rebuild the pump with new o rings, motor, sensors, accumulator etc. It holds pressure and primes as it sits but the motor has to run too often to maintain pressure so its coming sooner than later.
The goal here is to build something semi reliable that I can track and drive wherever without really worrying about it too much. Similar to what I did with my E92 M3 only this platform is less to maintain.
So far I've ordered/already have from previous E46s;
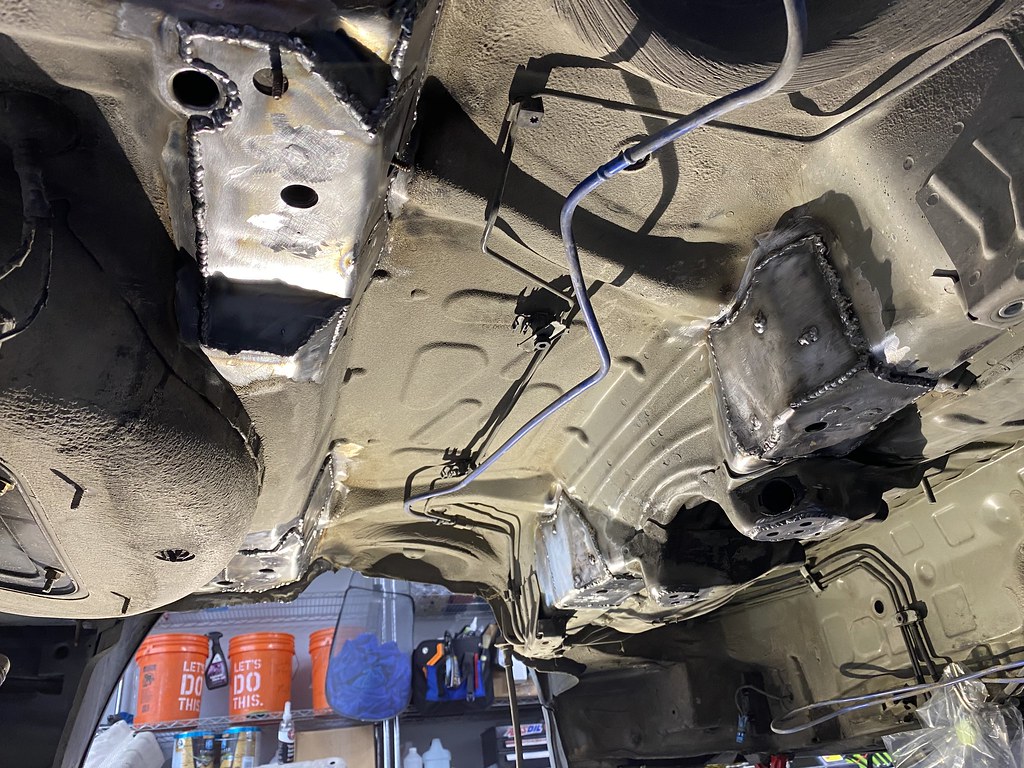
-Redish RACP plates
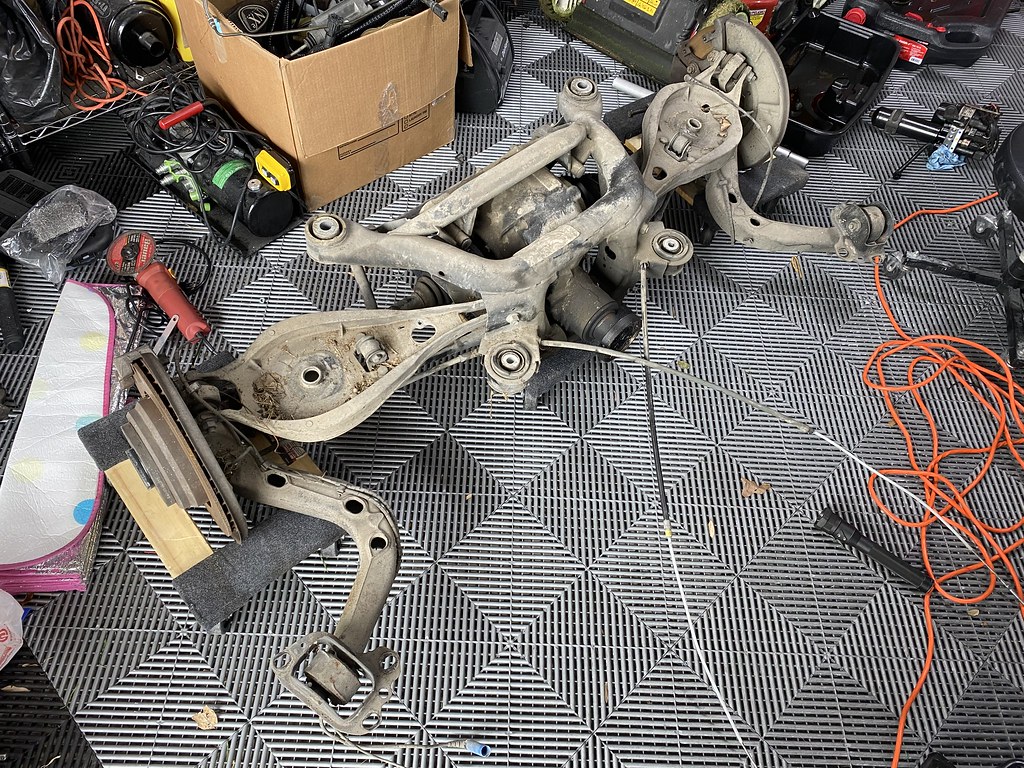
-TMS solid subframe bushings
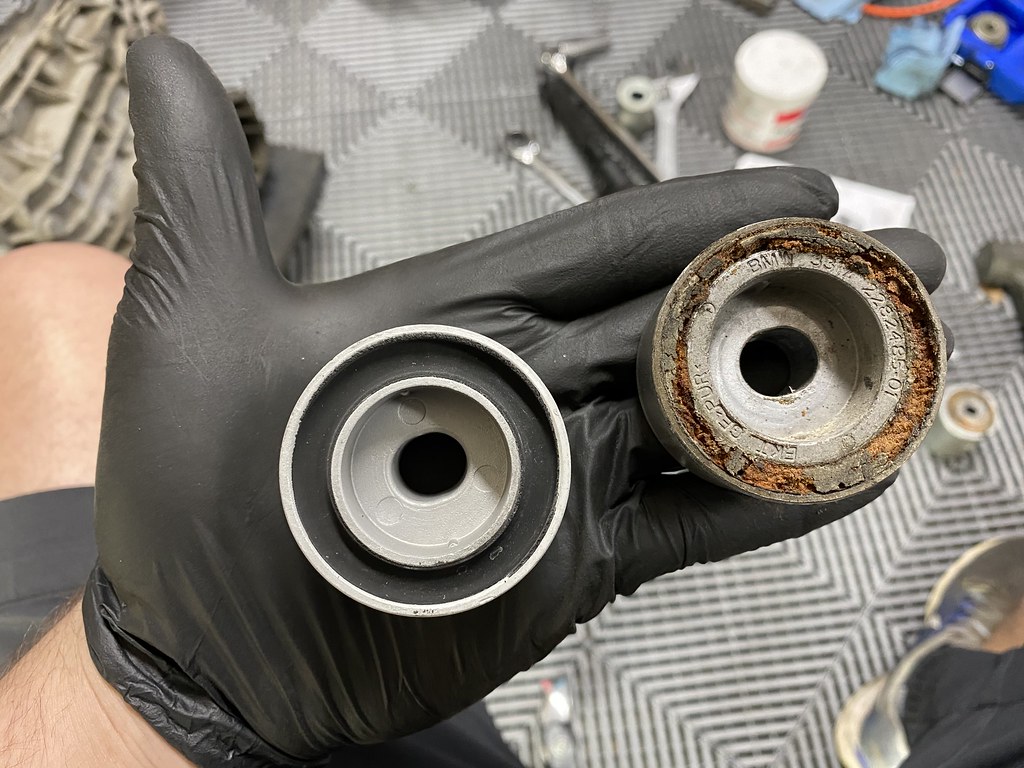
-E36 M3 OEM rear diff bushings, OEM E46 front diff bushing and new bolts
-OEM RTABs with limiters
-cabin/engine filter
-OEM fuel pump/filter
-windshield cowl
-E21 transmission mounts
-belt/pulley/tensioner kit
-liqui moly oil change kit
-WPC coated rod bearings with OEM bolts and associated gaskets
-OEM motor mounts
-OEM front control arms with OEM FCABs
That's it as of now with much more to come maintenance/mods wise. Enjoy the cringe and please excuse my horribly cluttered garage.
 Untitled by jake ellegard, on Flickr
 Untitled by jake ellegard, on Flickr
 Untitled by jake ellegard, on Flickr
 Untitled by jake ellegard, on Flickr
 Untitled by jake ellegard, on Flickr
 Untitled by jake ellegard, on Flickr
Yes, these are non M grey sport seats.
 Untitled by jake ellegard, on Flickr
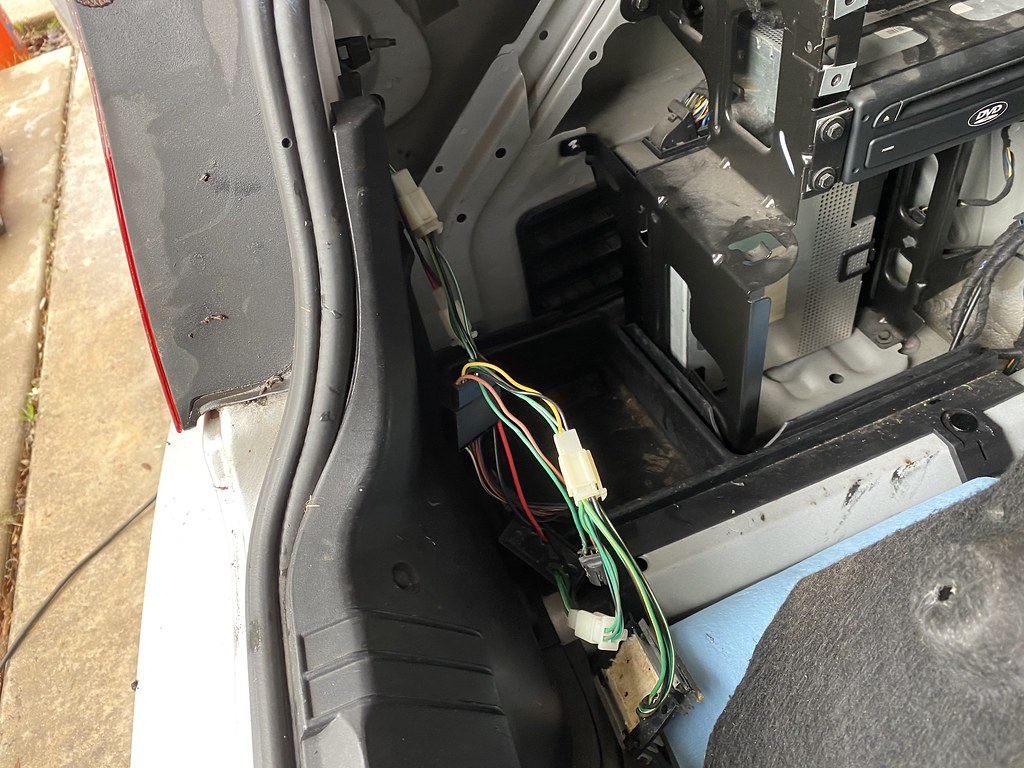
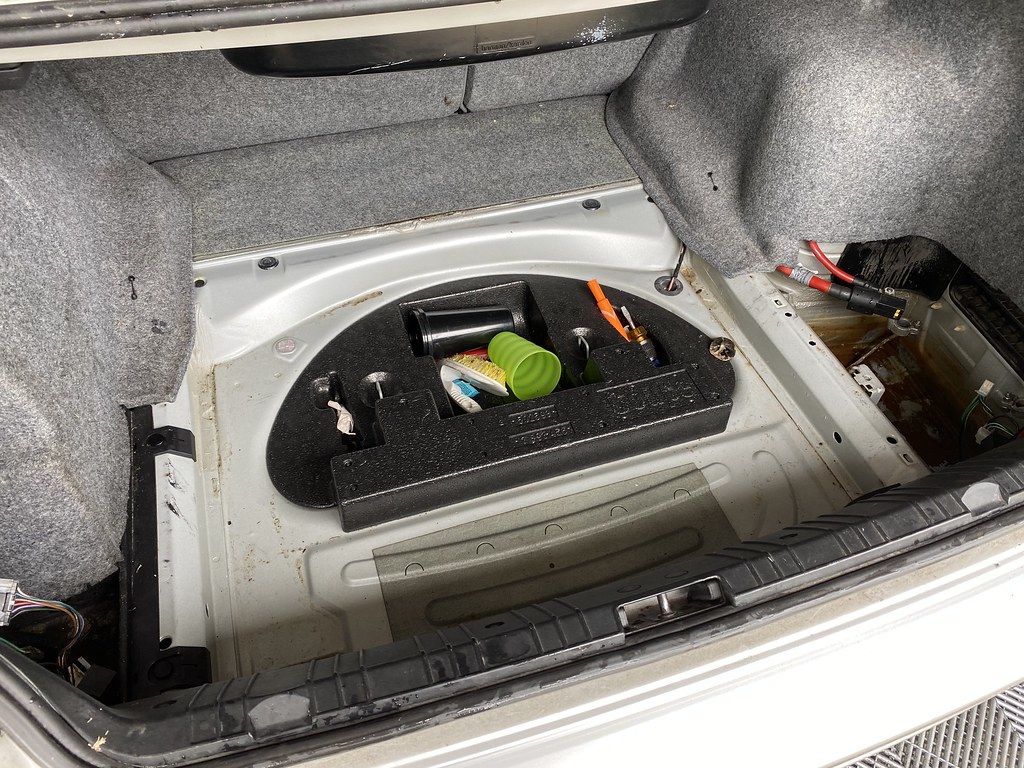
First thing I did was clean out the trunk to rid the excess clutter and clean it up a bit. There was some not so great aftermarket tail lights installed and subsequently the gasket on the passenger side failed and filled the battery box with water. It cleaned up pretty well for what it started as. Needless to say these lights will not be re used.
 Untitled by jake ellegard, on Flickr
 Untitled by jake ellegard, on Flickr
 Untitled by jake ellegard, on Flickr
 Untitled by jake ellegard, on Flickr
 Untitled by jake ellegard, on Flickr
 Untitled by jake ellegard, on Flickr
 Untitled by jake ellegard, on Flickr
 Untitled by jake ellegard, on Flickr
Water sucked up.
 Untitled by jake ellegard, on Flickr
 Untitled by jake ellegard, on Flickr
 Untitled by jake ellegard, on Flickr
 Untitled by jake ellegard, on Flickr
 Untitled by jake ellegard, on Flickr
This car was originally bought by the previous owner to be a parts car and was never used as such so it sat for a little over a year before I ended up buying it. It was experiencing some SMG issues (go figure) which point at a bad gear position sensor. I'll be replacing this sensor and keeping the SMG as I'm one of the few who enjoy it.
After its up and running ok I plan to go through and rebuild the pump with new o rings, motor, sensors, accumulator etc. It holds pressure and primes as it sits but the motor has to run too often to maintain pressure so its coming sooner than later.The goal here is to build something semi reliable that I can track and drive wherever without really worrying about it too much. Similar to what I did with my E92 M3 only this platform is less to maintain.
So far I've ordered/already have from previous E46s;
-Redish RACP plates
-TMS solid subframe bushings
-E36 M3 OEM rear diff bushings, OEM E46 front diff bushing and new bolts
-OEM RTABs with limiters
-cabin/engine filter
-OEM fuel pump/filter
-windshield cowl
-E21 transmission mounts
-belt/pulley/tensioner kit
-liqui moly oil change kit
-WPC coated rod bearings with OEM bolts and associated gaskets
-OEM motor mounts
-OEM front control arms with OEM FCABs
That's it as of now with much more to come maintenance/mods wise. Enjoy the cringe and please excuse my horribly cluttered garage.
Untitled by jake ellegard, on FlickrUntitled by jake ellegard, on FlickrUntitled by jake ellegard, on FlickrUntitled by jake ellegard, on FlickrUntitled by jake ellegard, on FlickrUntitled by jake ellegard, on FlickrYes, these are non M grey sport seats.
Untitled by jake ellegard, on FlickrFirst thing I did was clean out the trunk to rid the excess clutter and clean it up a bit. There was some not so great aftermarket tail lights installed and subsequently the gasket on the passenger side failed and filled the battery box with water. It cleaned up pretty well for what it started as. Needless to say these lights will not be re used.
Untitled by jake ellegard, on FlickrUntitled by jake ellegard, on FlickrUntitled by jake ellegard, on FlickrUntitled by jake ellegard, on FlickrUntitled by jake ellegard, on FlickrUntitled by jake ellegard, on FlickrUntitled by jake ellegard, on FlickrUntitled by jake ellegard, on FlickrWater sucked up.
Untitled by jake ellegard, on FlickrUntitled by jake ellegard, on FlickrUntitled by jake ellegard, on FlickrUntitled by jake ellegard, on FlickrUntitled by jake ellegard, on Flickr
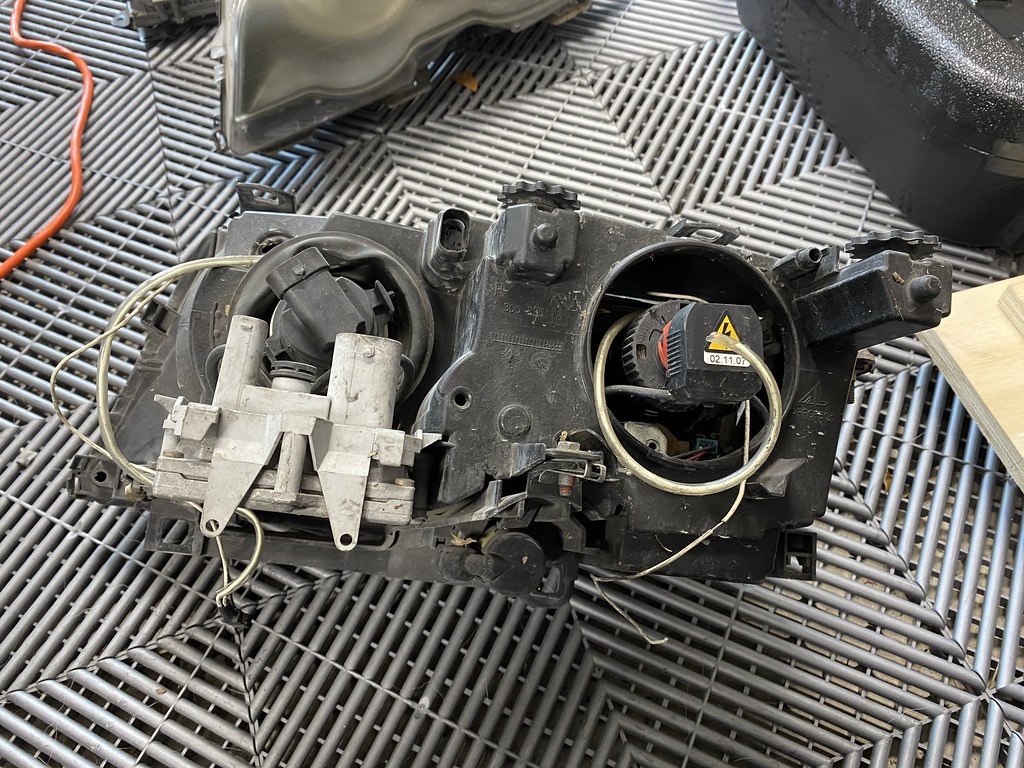
 Lenses, gaskets and upper trim will be replaced at a minimum.


Comment