Update # 15
Had a great day today - we made heaps of progress! :thumbsup2:
During the week Dad had refilled the power steering system, and done the tie rod ends, so we were ready to install the front hubs and the rebuilt struts.
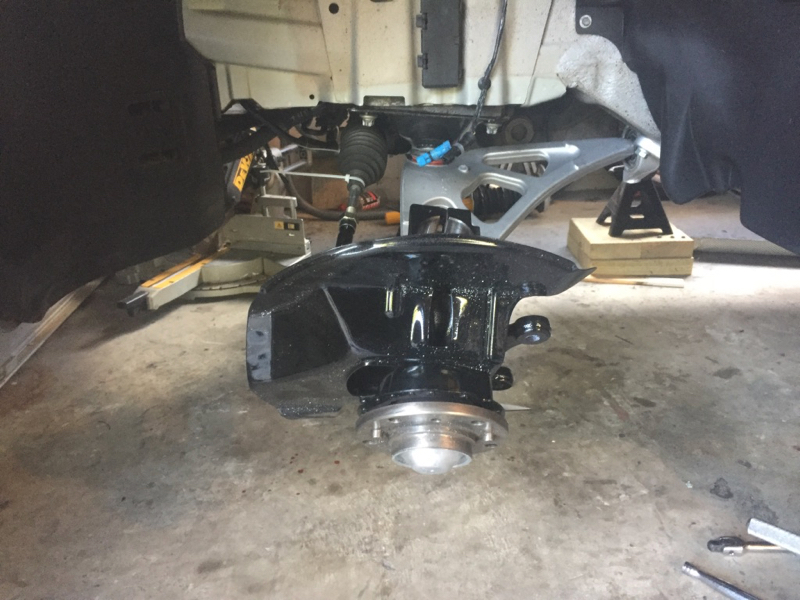
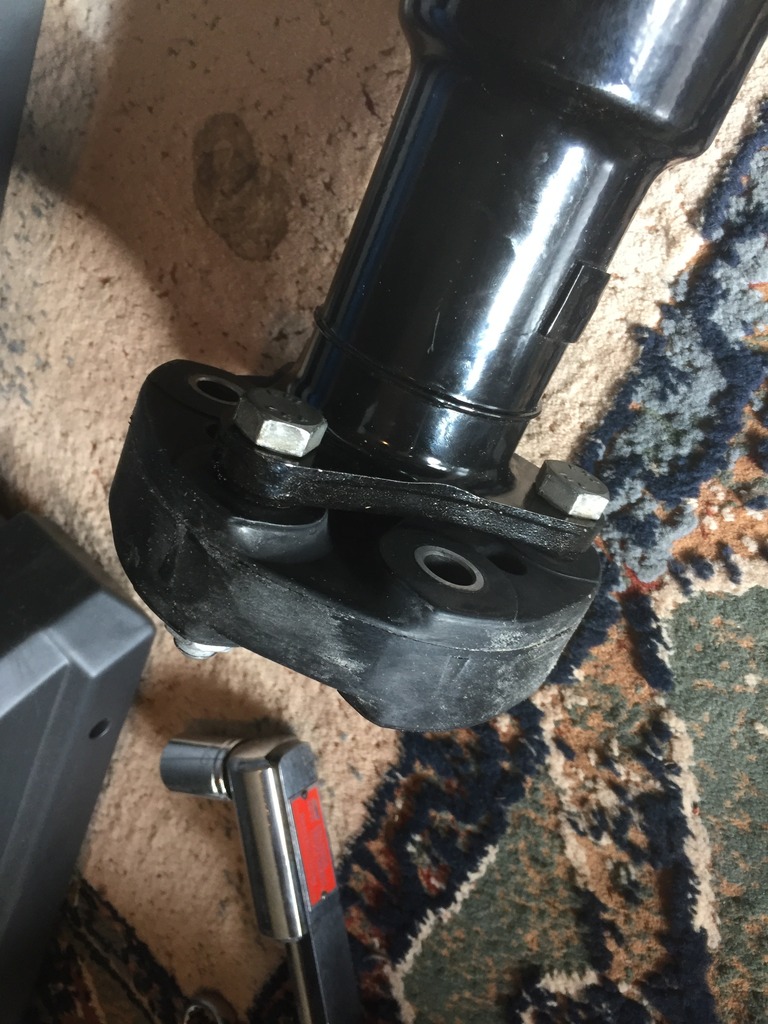
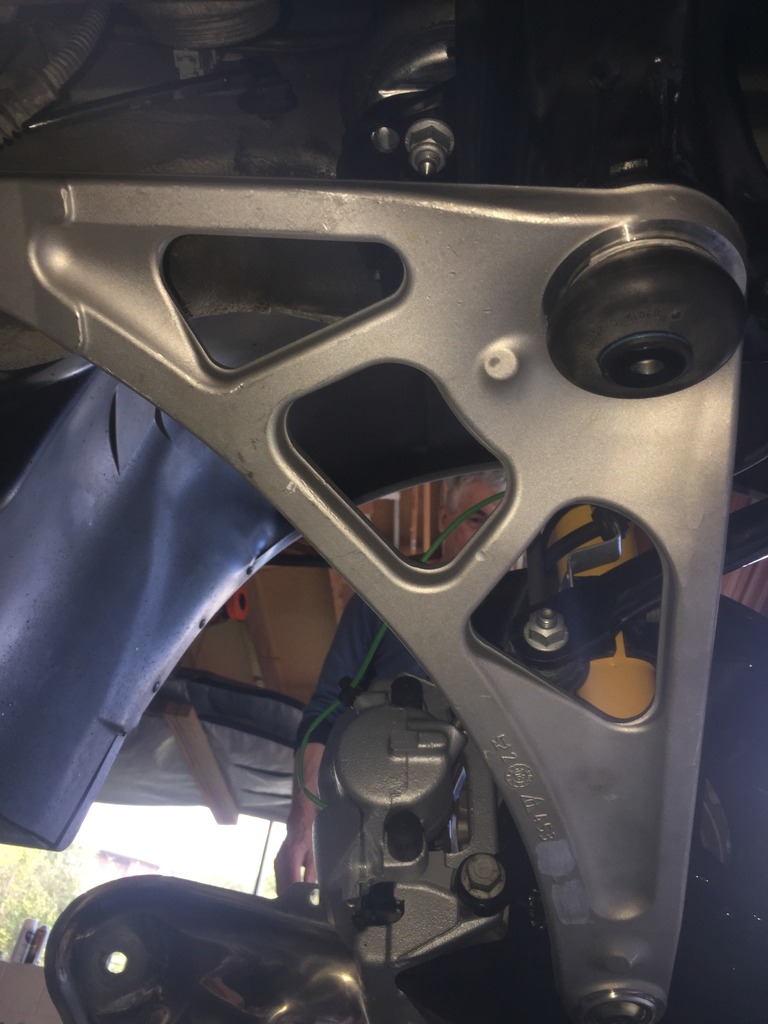
Hub sitting on the control arm, until we realised that the strut has to sit in the hub first :facepalm:
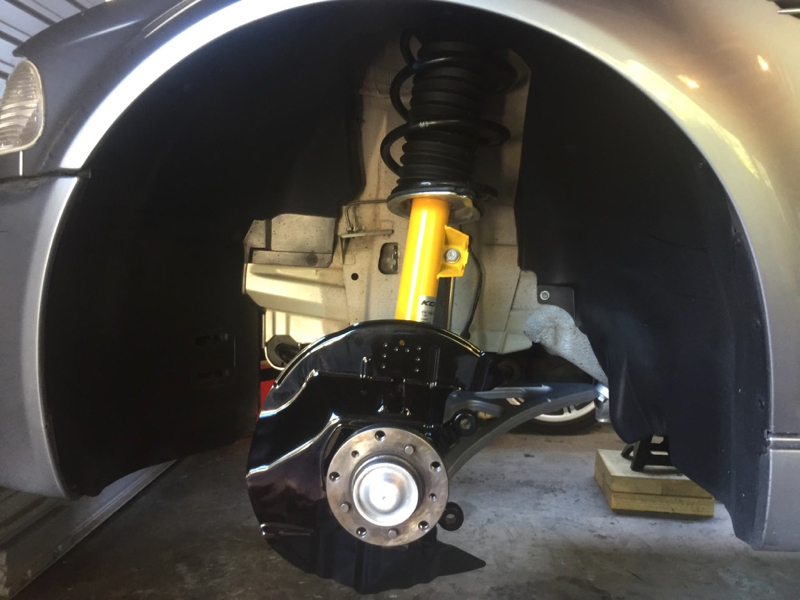
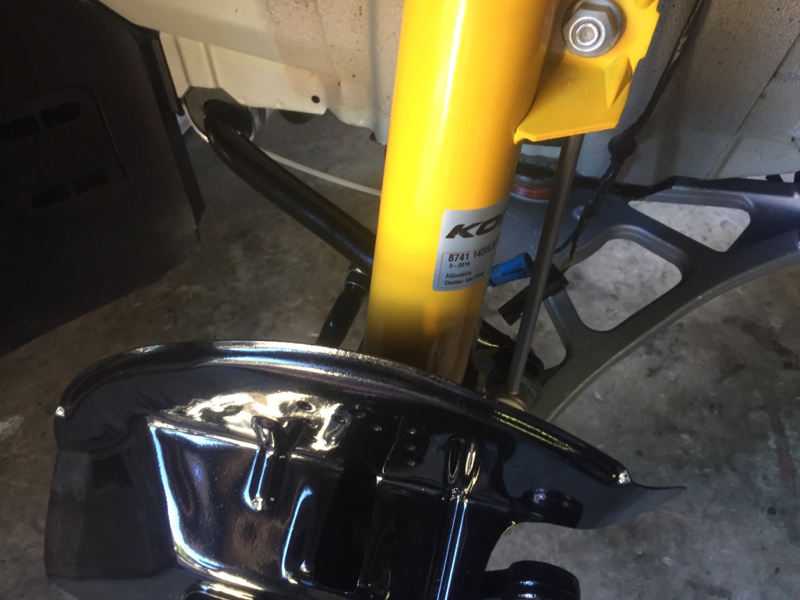
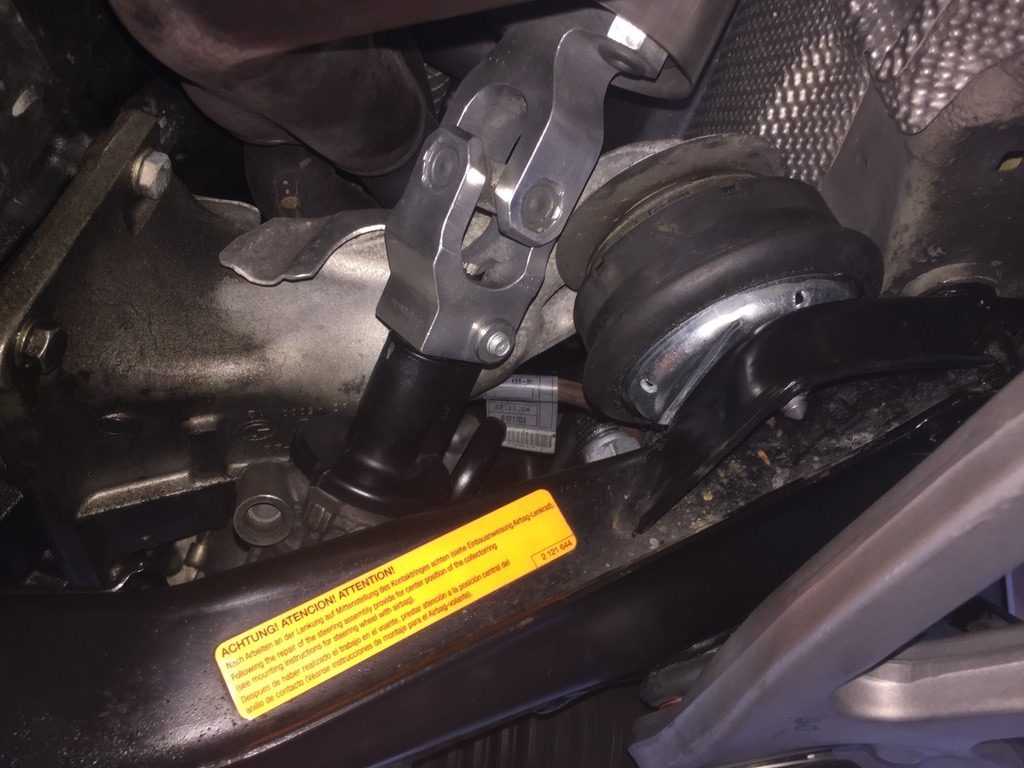
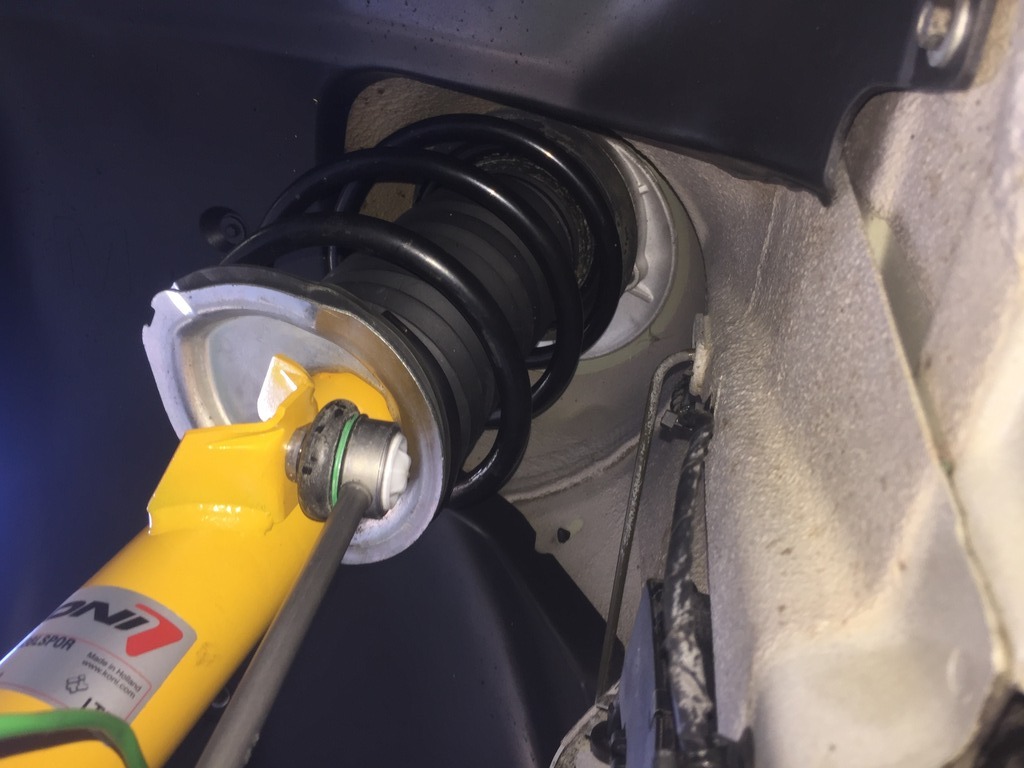
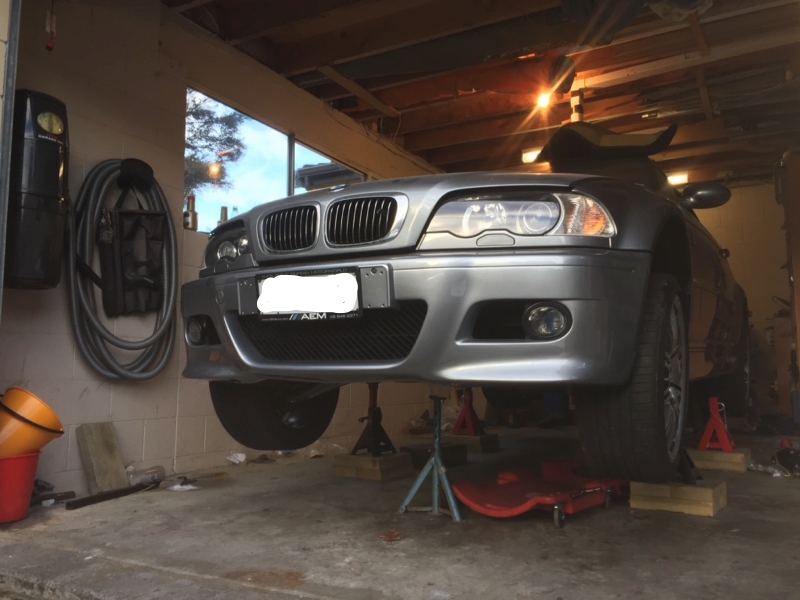
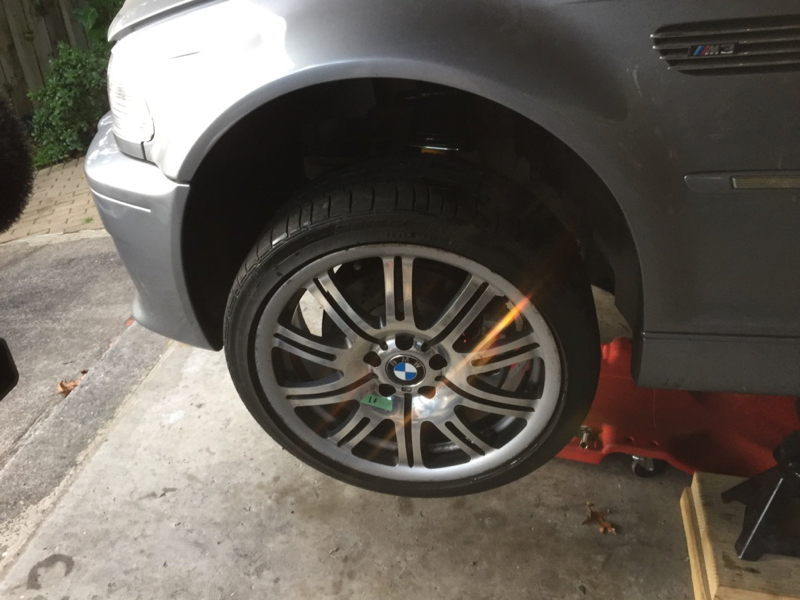
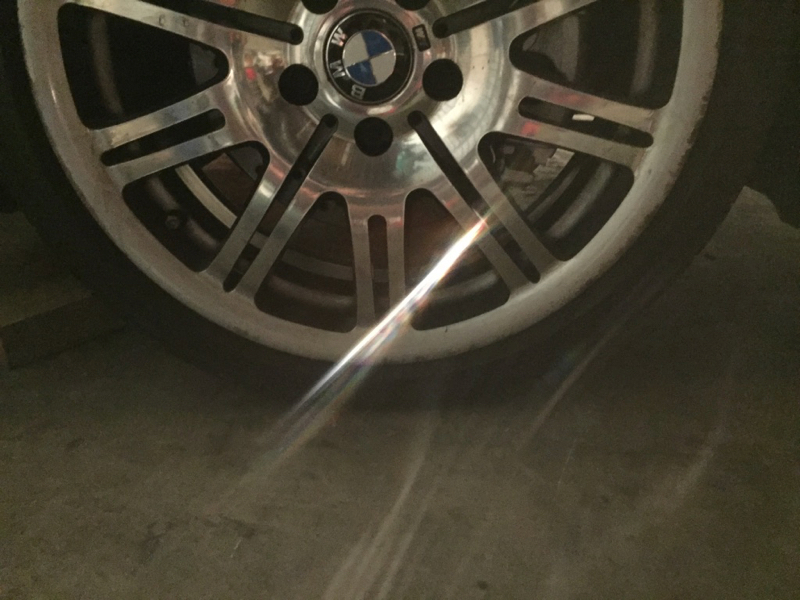
The (repainted) hubs and struts went in no problem at all and were soon looking like this:

Then it was in with the front sway bar (also repainted) with new end links and rubber and polished brackets:
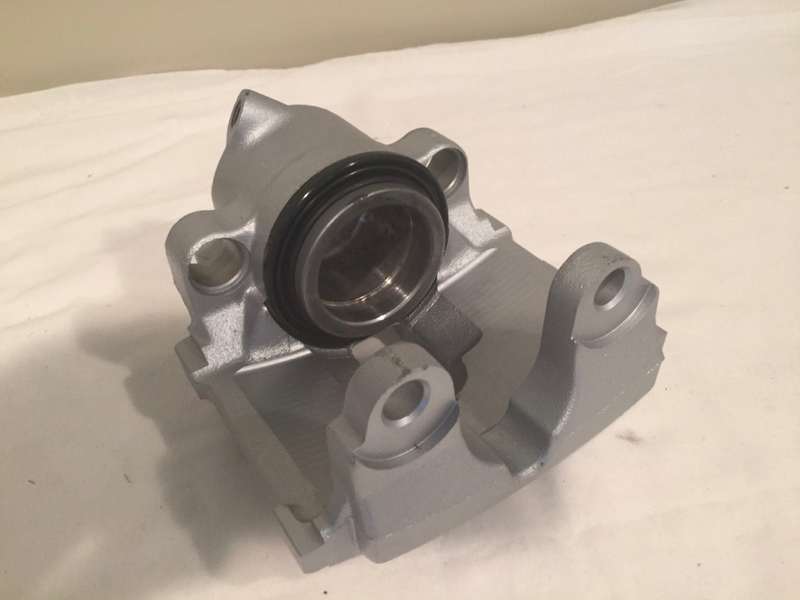
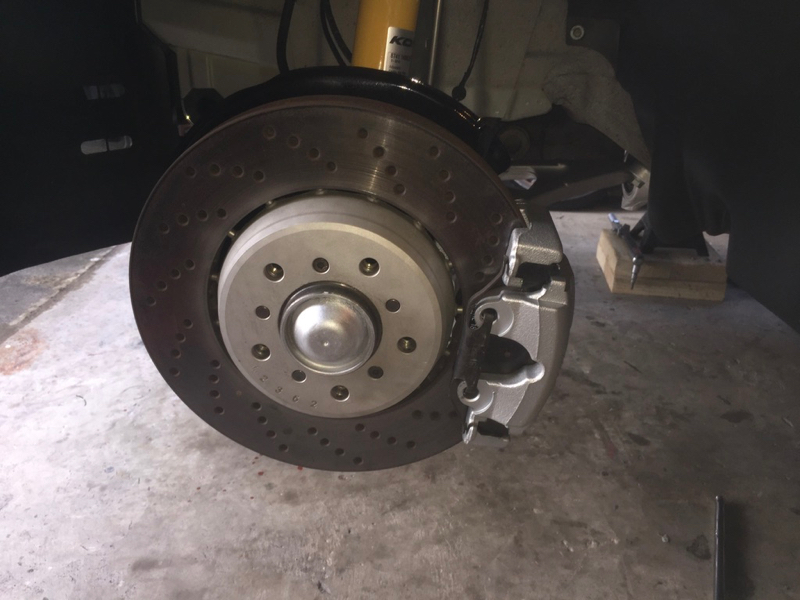
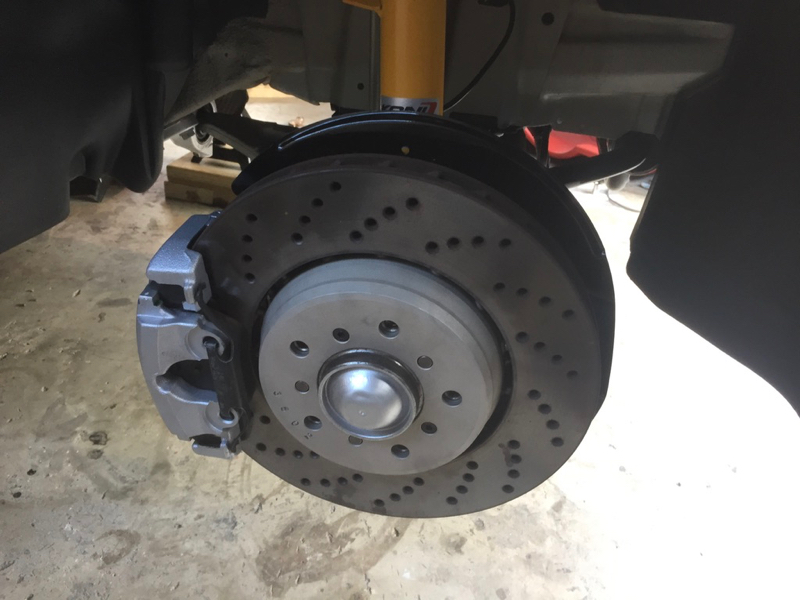
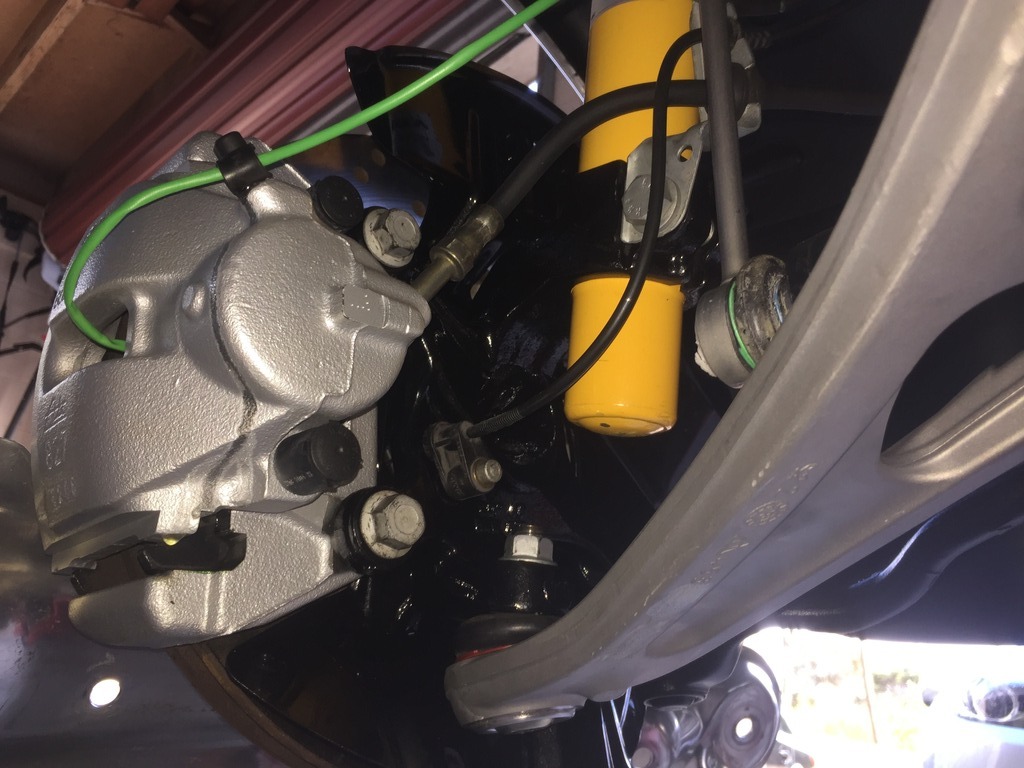
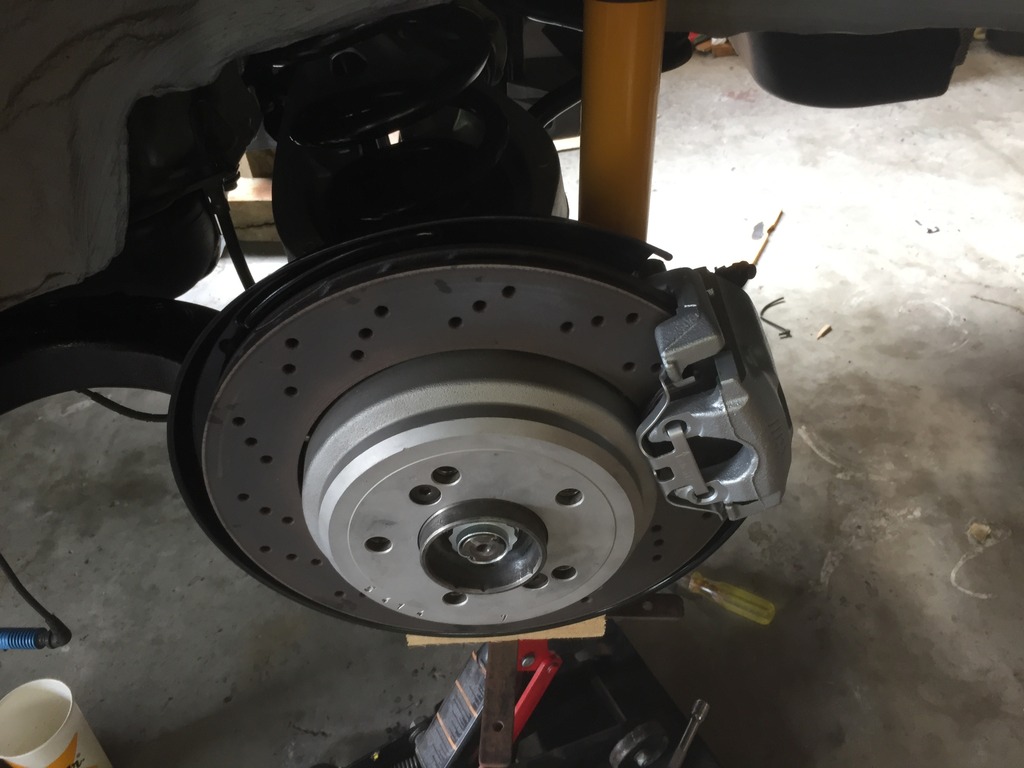
Brakes were obviously the next logical step, so we installed the new seals into the freshly painted calipers:
And then installed the rotors, carriers and calipers:
At this point we also did a bunch of minor tasks:
The whole process went really smoothly and without any real drama.
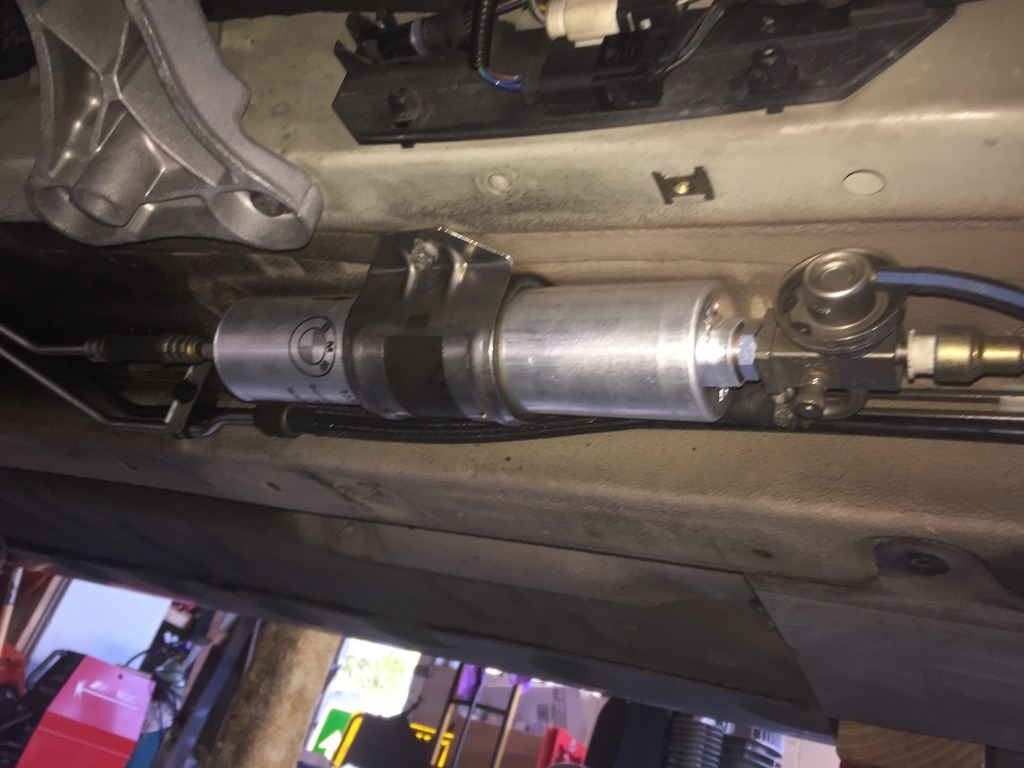
Last project for the day was to put some fuel into the fuel tank, check that there were no leaks, and then hook up the battery and run the fuel pump, etc. to confirm there weren't any leaks anyway (fortunately there aren't).
We then turned the engine over with the starter motor (and no ignition) to get some oil distributed around the place. We initially tried the procedure listed here (http://www.m3forum.net/m3forum/showthread.php?t=300689) but pulling the relay resulted in a car that was in no way keen on engaging the starter motor. We reinstalled the relay, and everything worked as expected.
So that marks a couple of significant milestones:
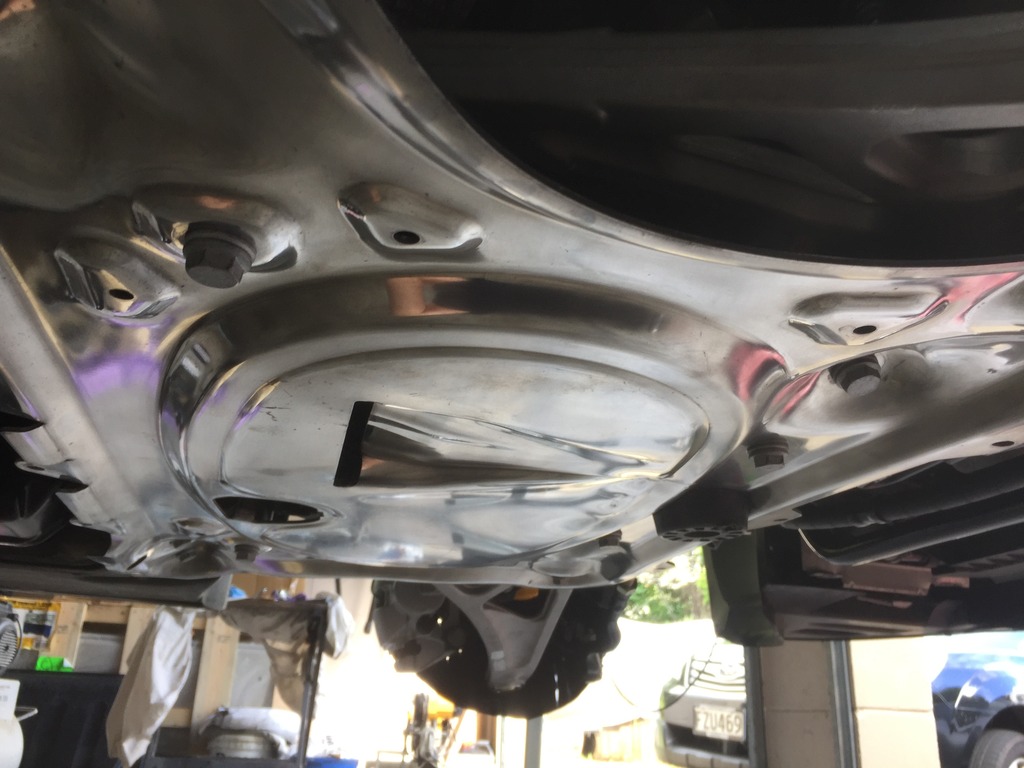
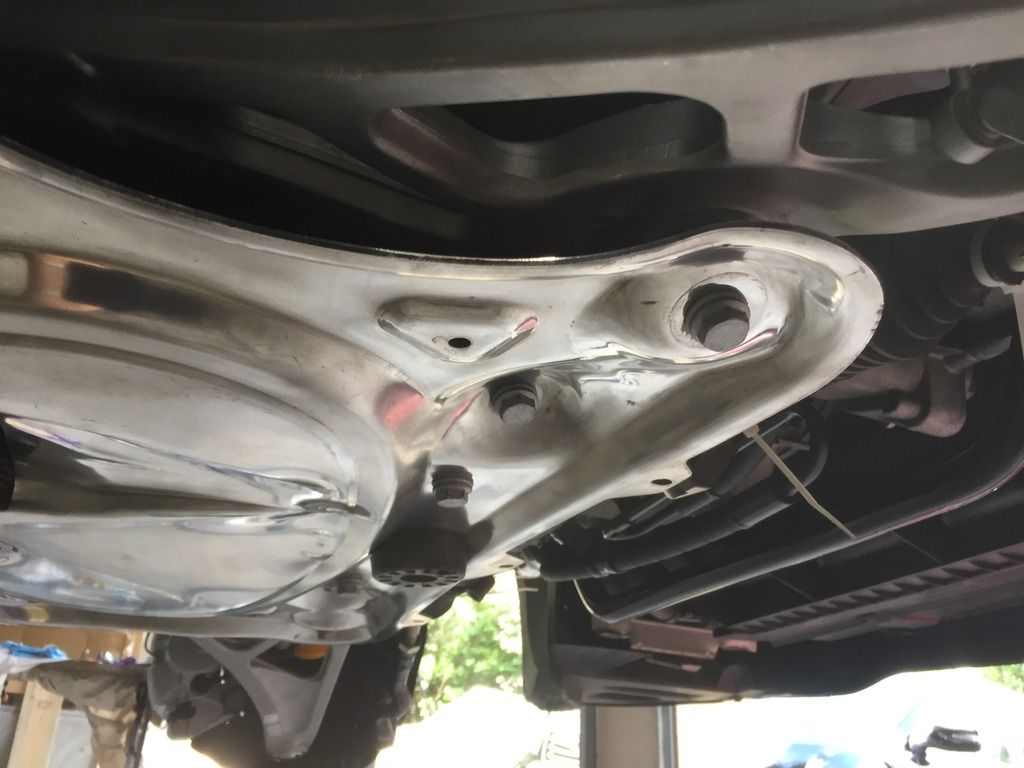
- Front end reassembly is largely completed. Only minor stuff to go now (reinforcement plate, faring, air intake to go back in, and mechanical fan, etc.).
- Engine turn over and test of fuel system, etc.
Key things to do next will be:
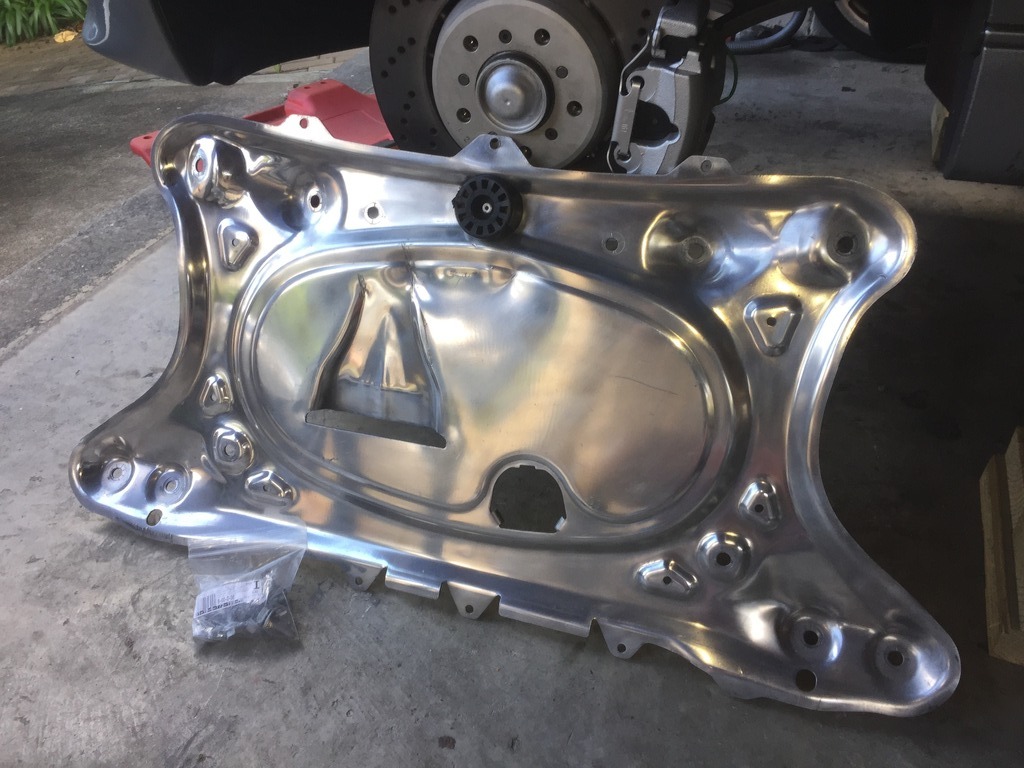
- Reinstall the front reinforcement plate.
- Rear brakes back on.
- Bleed brakes.
- Engine back stuff back in.
- Drive shaft in.
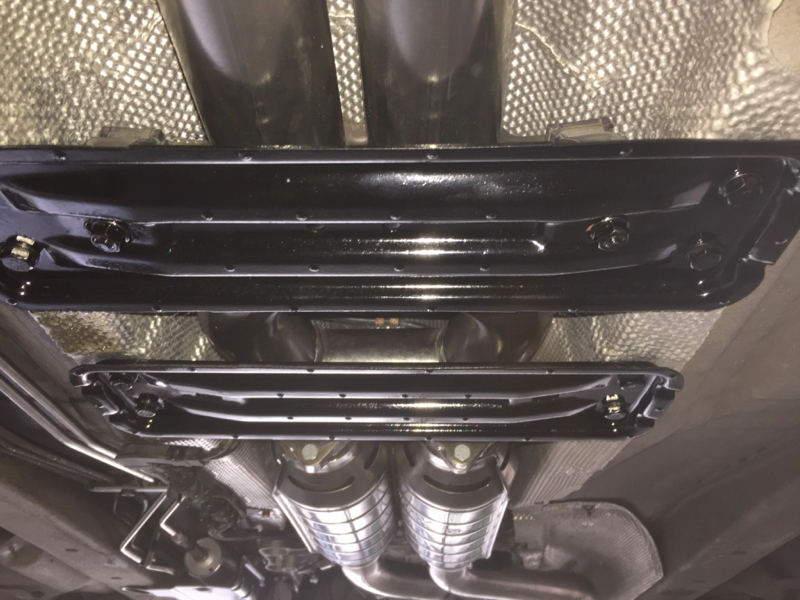
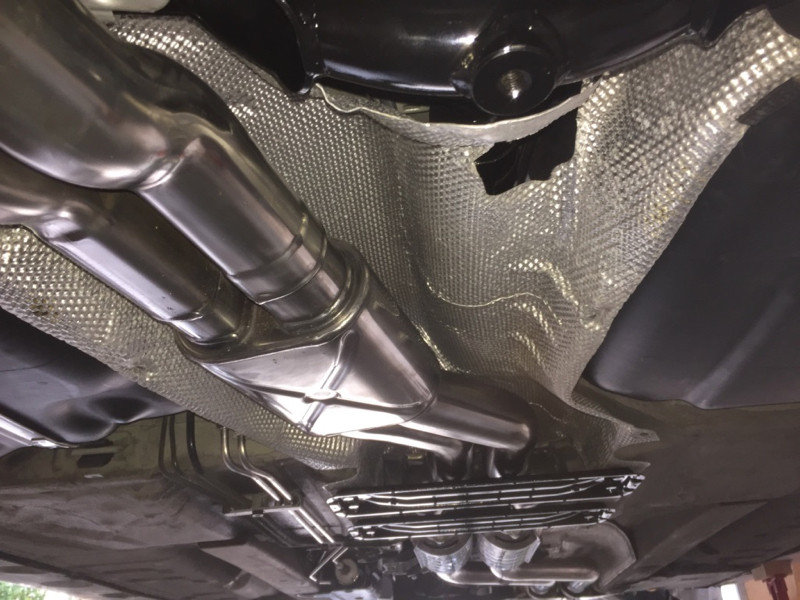
- Heat shielding in.
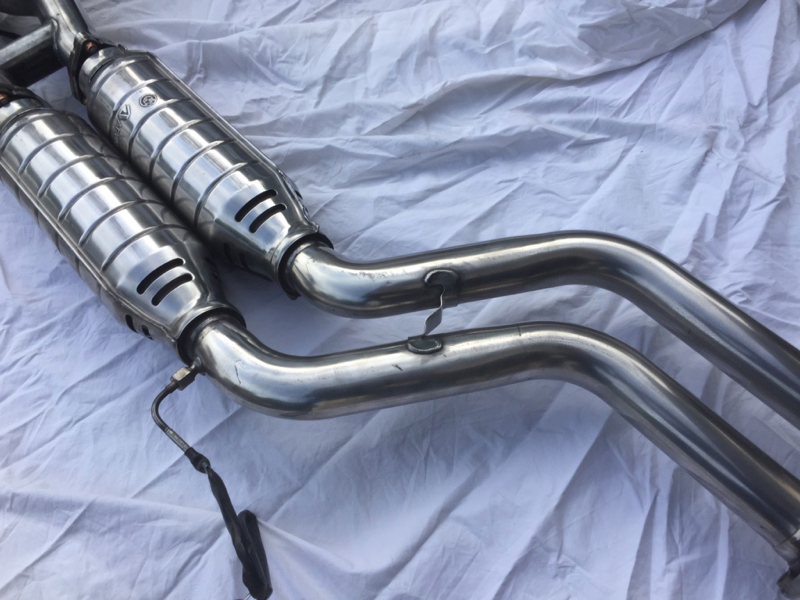
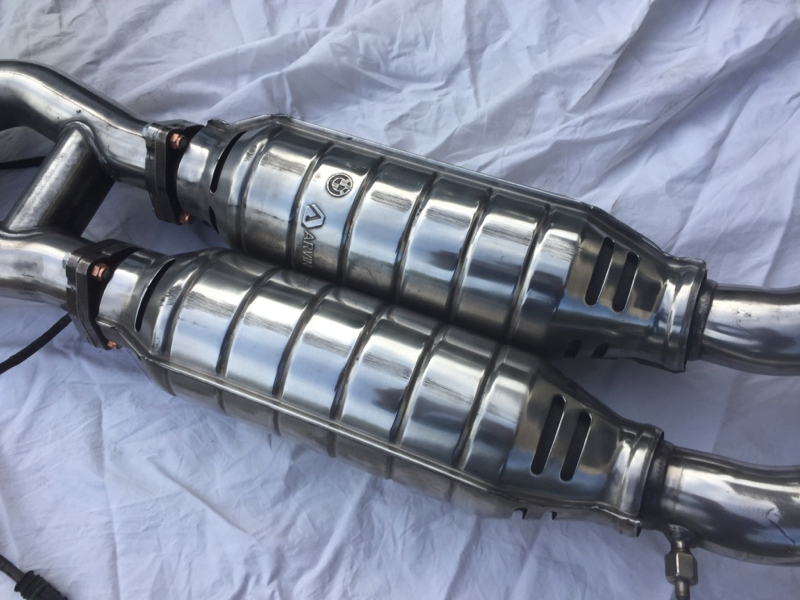
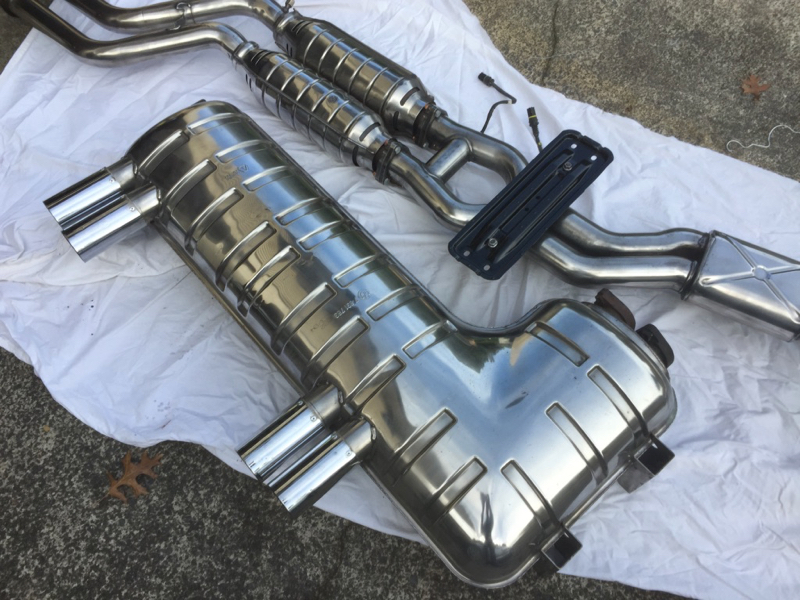
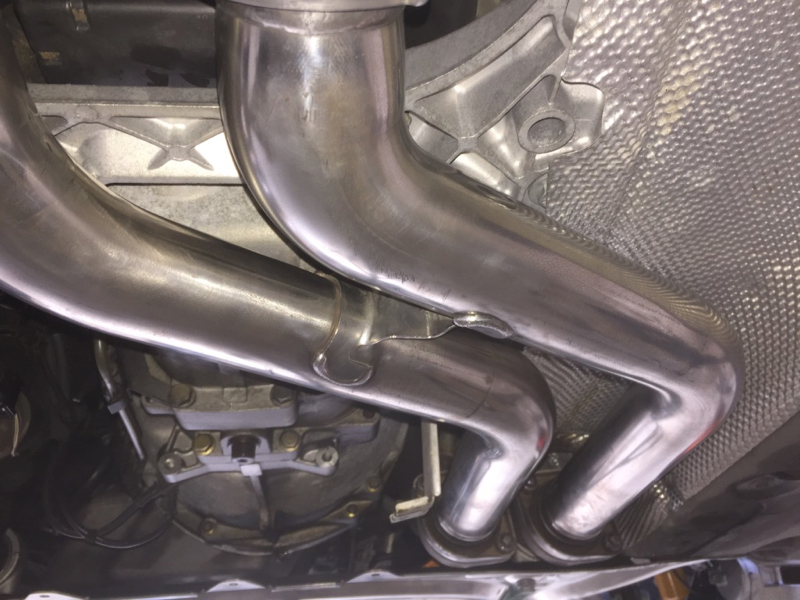
- Exhaust back in.
- Brace & faring back in.
- Anything else we've forgotten.
- Car off of stands.
The list is short enough now to write down!
Till next time. :hattip:
Had a great day today - we made heaps of progress! :thumbsup2:
During the week Dad had refilled the power steering system, and done the tie rod ends, so we were ready to install the front hubs and the rebuilt struts.
Hub sitting on the control arm, until we realised that the strut has to sit in the hub first :facepalm:
The (repainted) hubs and struts went in no problem at all and were soon looking like this:
Then it was in with the front sway bar (also repainted) with new end links and rubber and polished brackets:
Brakes were obviously the next logical step, so we installed the new seals into the freshly painted calipers:
And then installed the rotors, carriers and calipers:
At this point we also did a bunch of minor tasks:
- Reattach the front xenon level sensor
- Front wheel speed sensors
- Brake wear sensor
- Brake lines
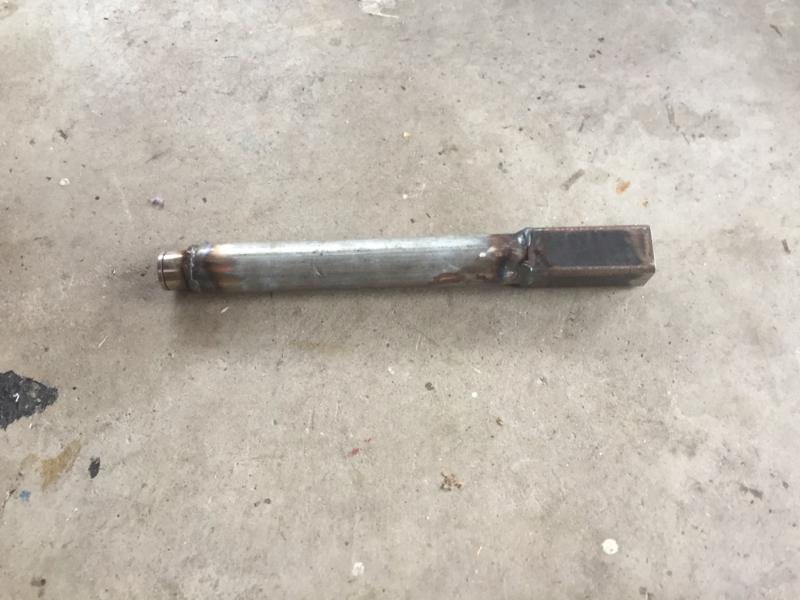
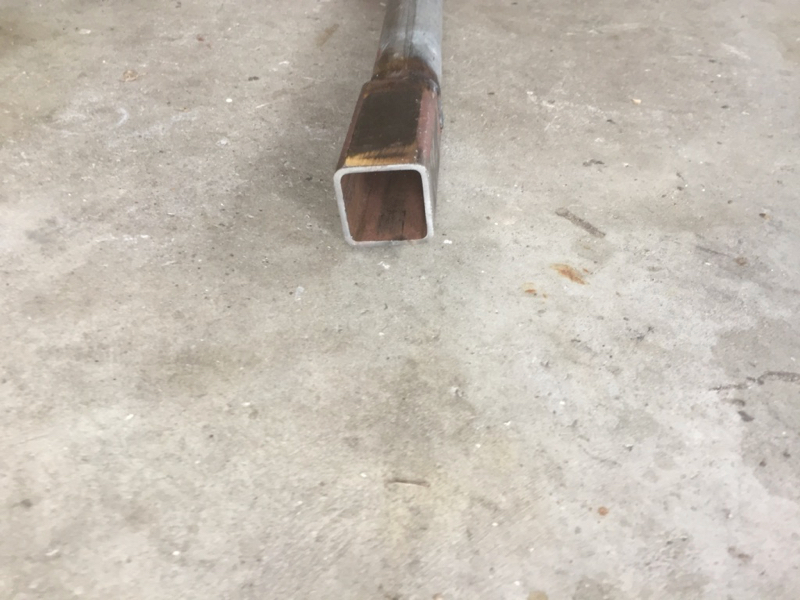
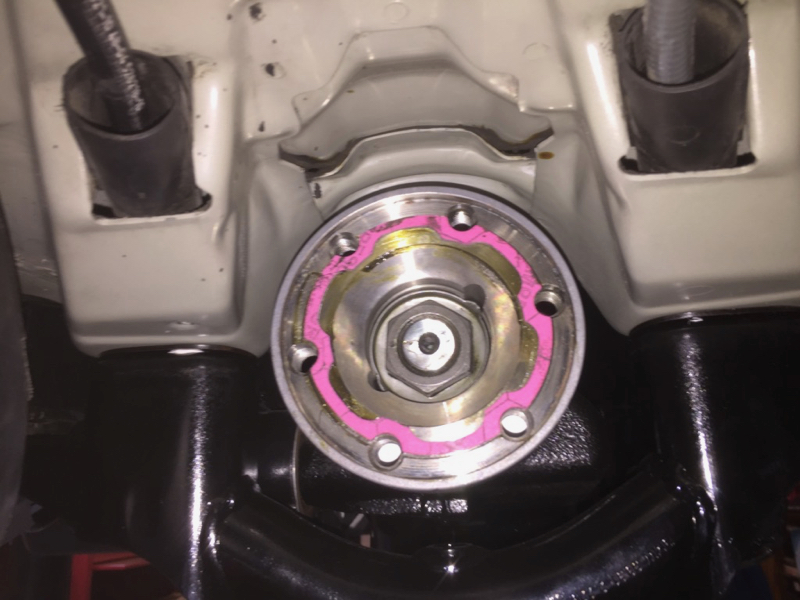
- Rear hub collar nuts. (Which necessitated a dad-manufactured torque wrench extension to hit 250nm!)
The whole process went really smoothly and without any real drama.
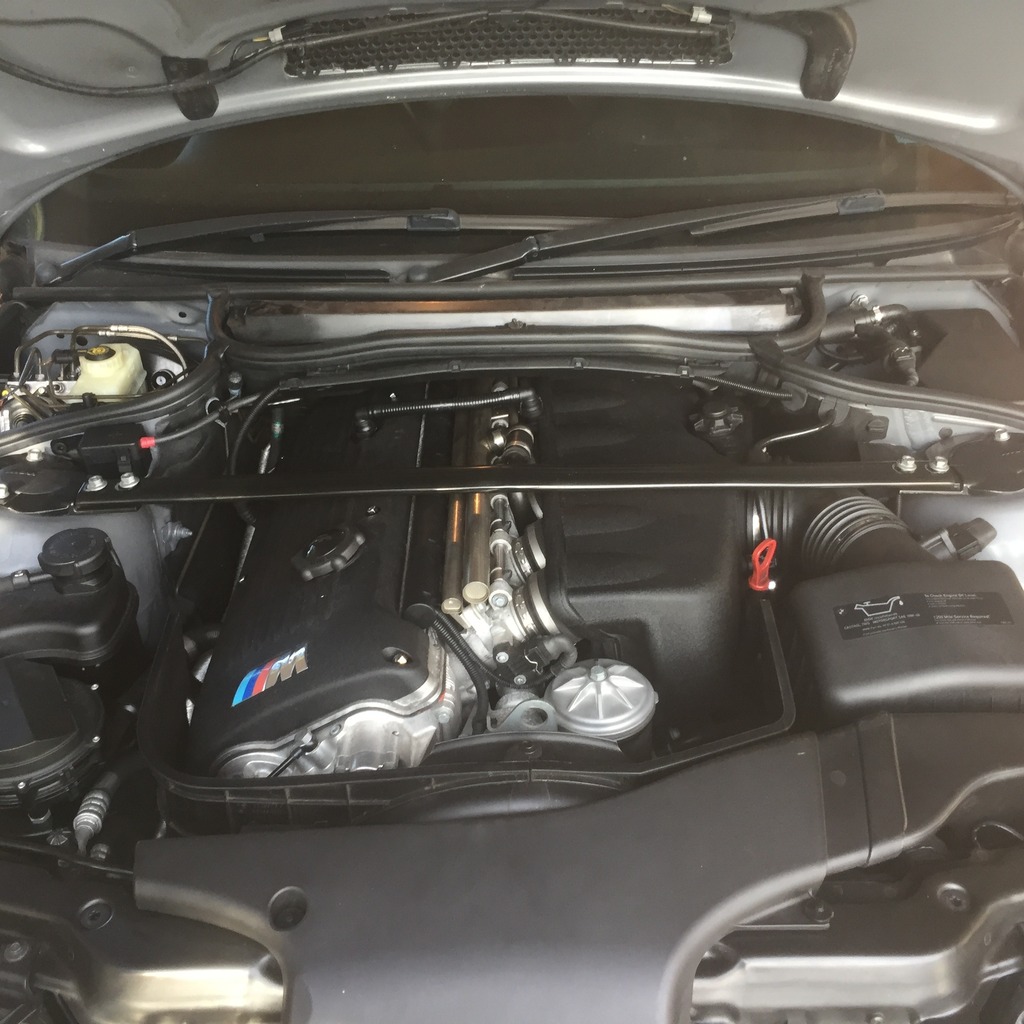
Last project for the day was to put some fuel into the fuel tank, check that there were no leaks, and then hook up the battery and run the fuel pump, etc. to confirm there weren't any leaks anyway (fortunately there aren't).
We then turned the engine over with the starter motor (and no ignition) to get some oil distributed around the place. We initially tried the procedure listed here (http://www.m3forum.net/m3forum/showthread.php?t=300689) but pulling the relay resulted in a car that was in no way keen on engaging the starter motor. We reinstalled the relay, and everything worked as expected.
So that marks a couple of significant milestones:
- Front end reassembly is largely completed. Only minor stuff to go now (reinforcement plate, faring, air intake to go back in, and mechanical fan, etc.).
- Engine turn over and test of fuel system, etc.
Key things to do next will be:
- Reinstall the front reinforcement plate.
- Rear brakes back on.
- Bleed brakes.
- Engine back stuff back in.
- Drive shaft in.
- Heat shielding in.
- Exhaust back in.
- Brace & faring back in.
- Anything else we've forgotten.
- Car off of stands.
The list is short enough now to write down!
Till next time. :hattip:


 .
.
 arrot:
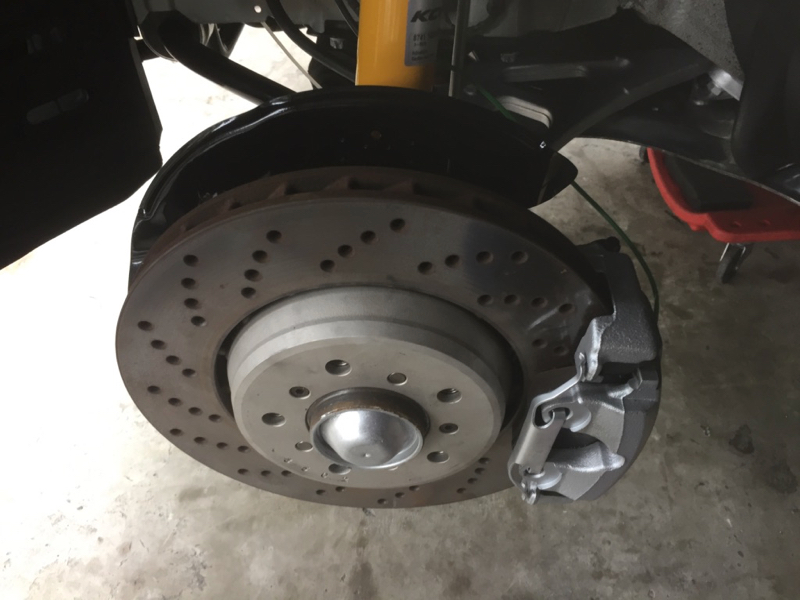


 but good to be back in the car and running in the bearings.

 . More steam, and lifting up the remaining sheet and it all came off beautifully. No damage to the heater/aerial strips and no residue left behind 👍
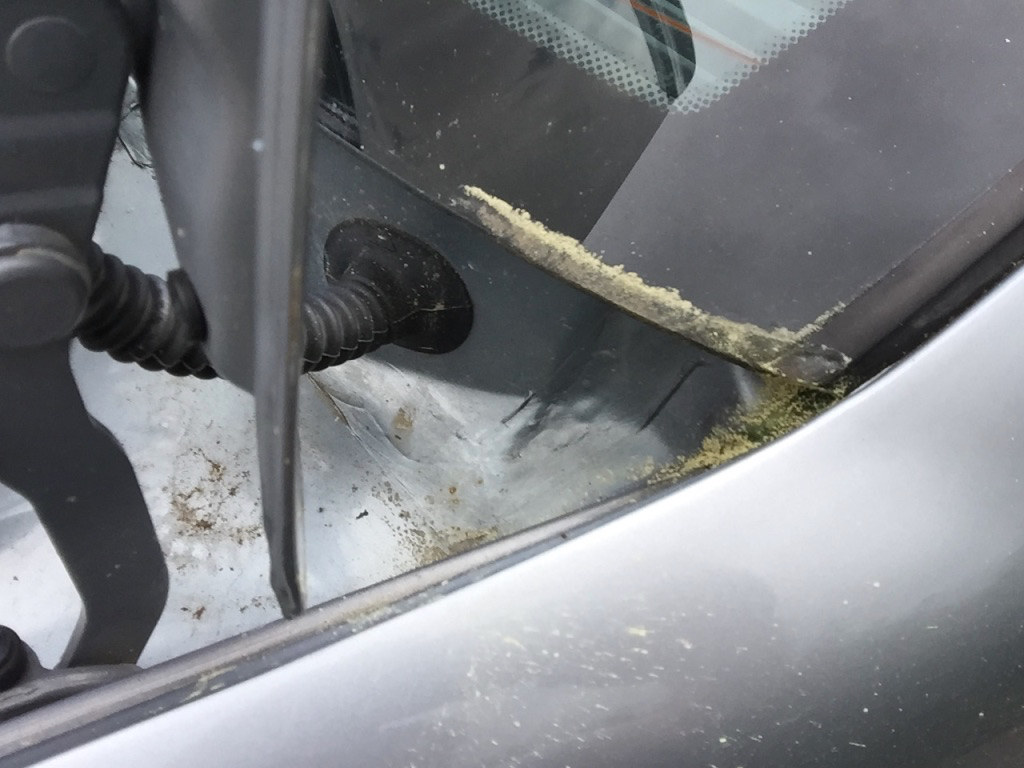


Comment