Announcement

Collapse
No announcement yet.

Karter16's Silbergrau E46 M3 Journal

Collapse
X
 
  • Filter
  • Time
  • Show
Clear All
new posts

  • karter16
    replied
    Update #25

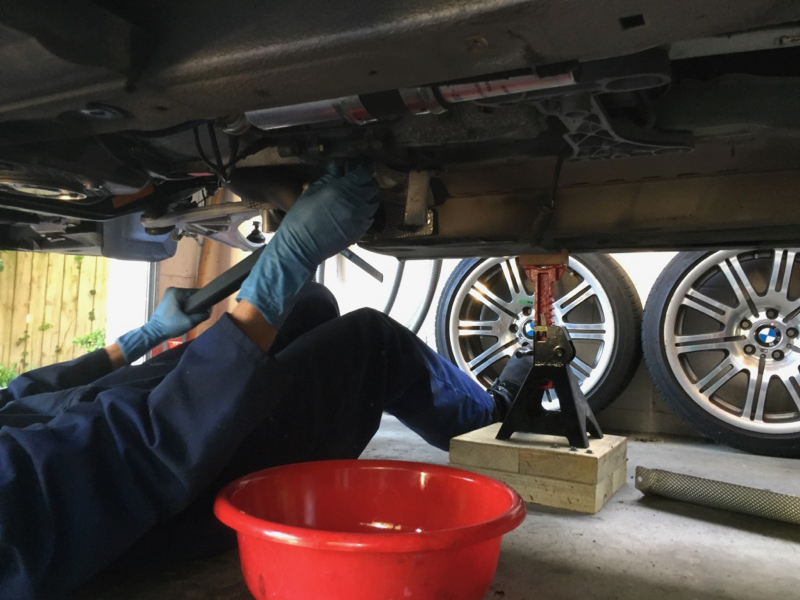
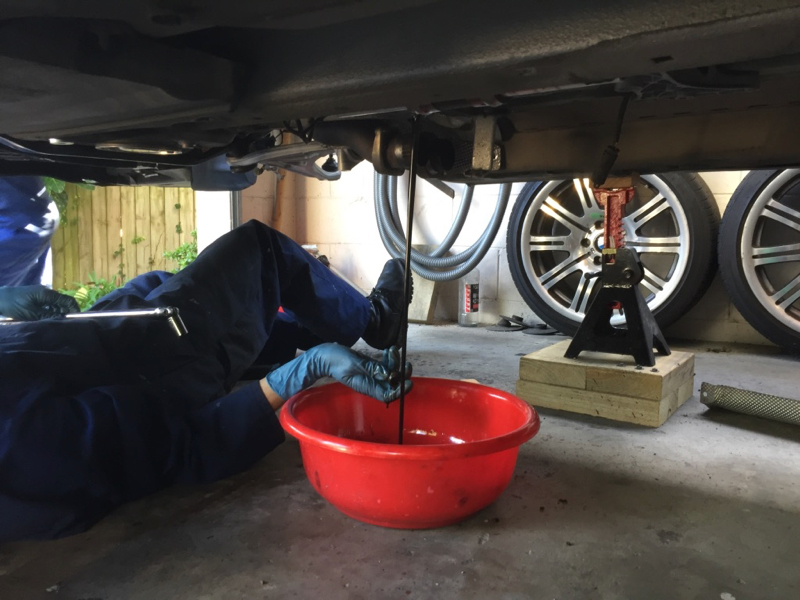
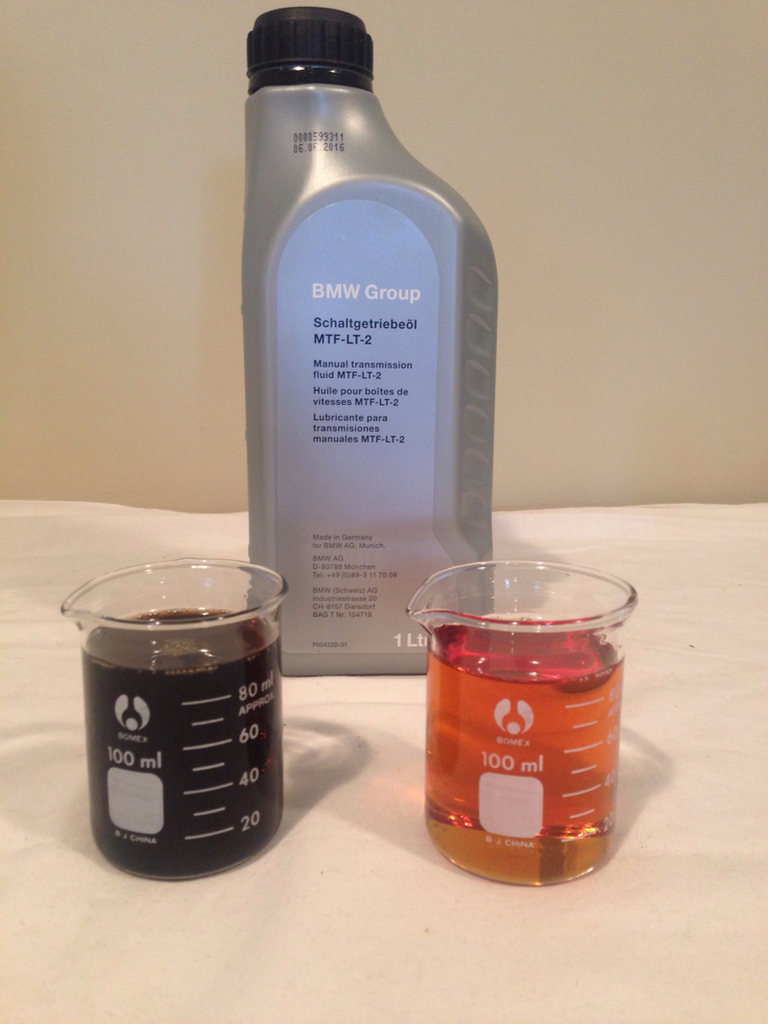
    The last week I've found an hour here and there to get a bit more done on cleaning the car up.

    I've removed the wipers, windshield cowling and side repeaters, and done a preliminary clean up.

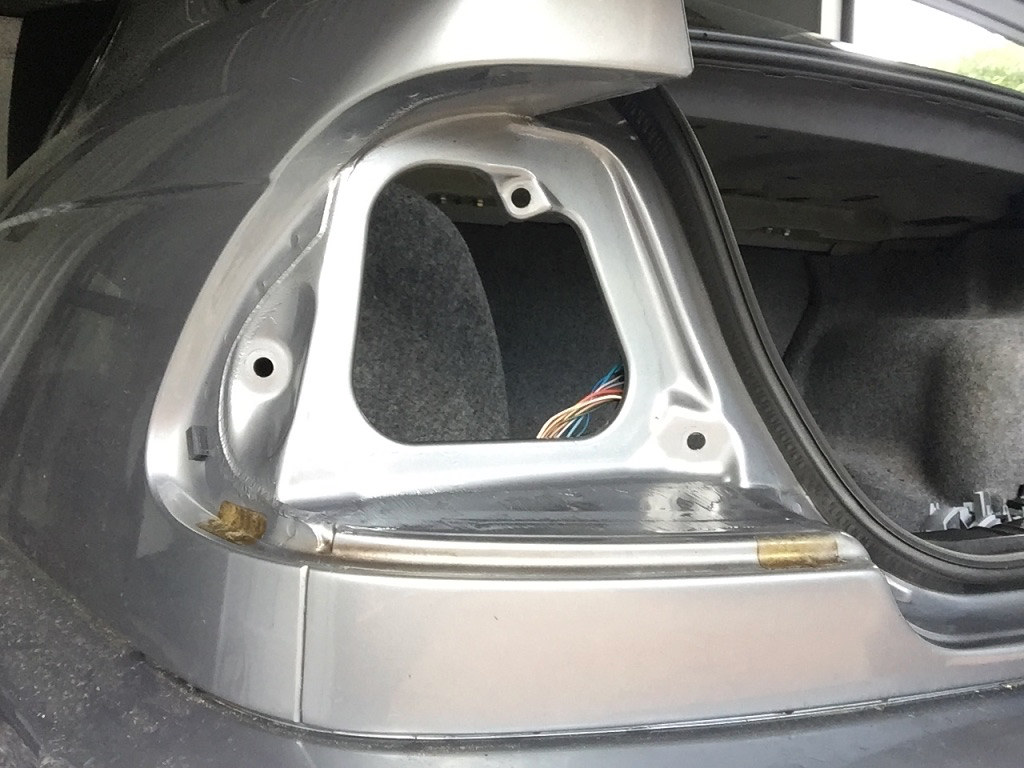
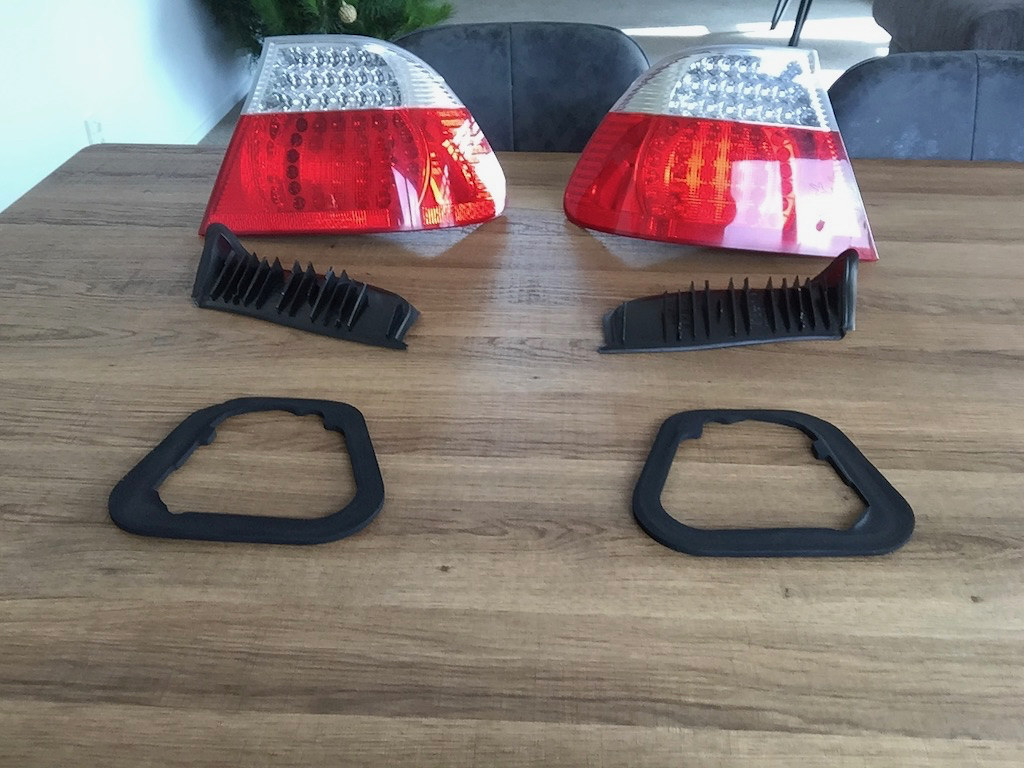
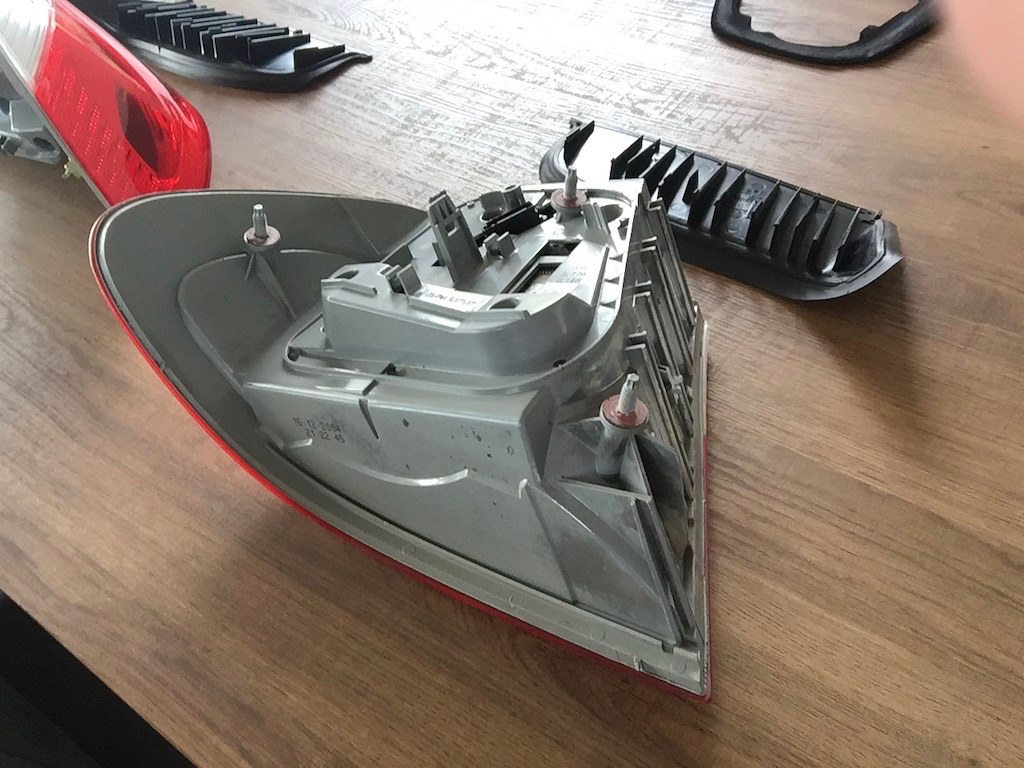
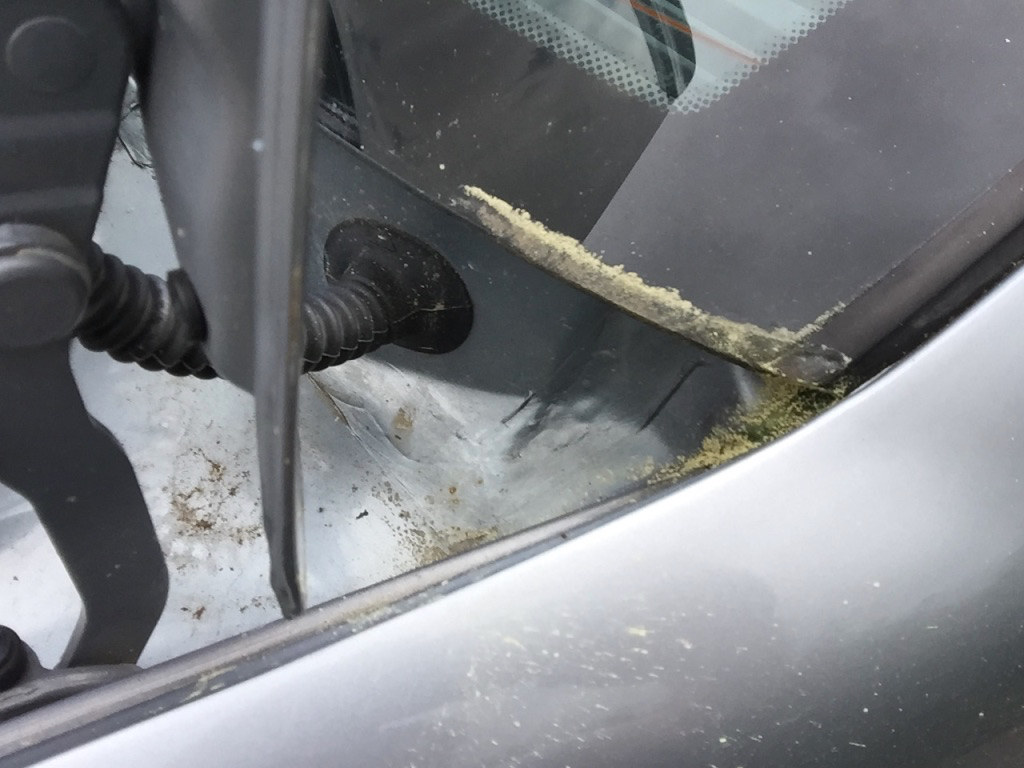
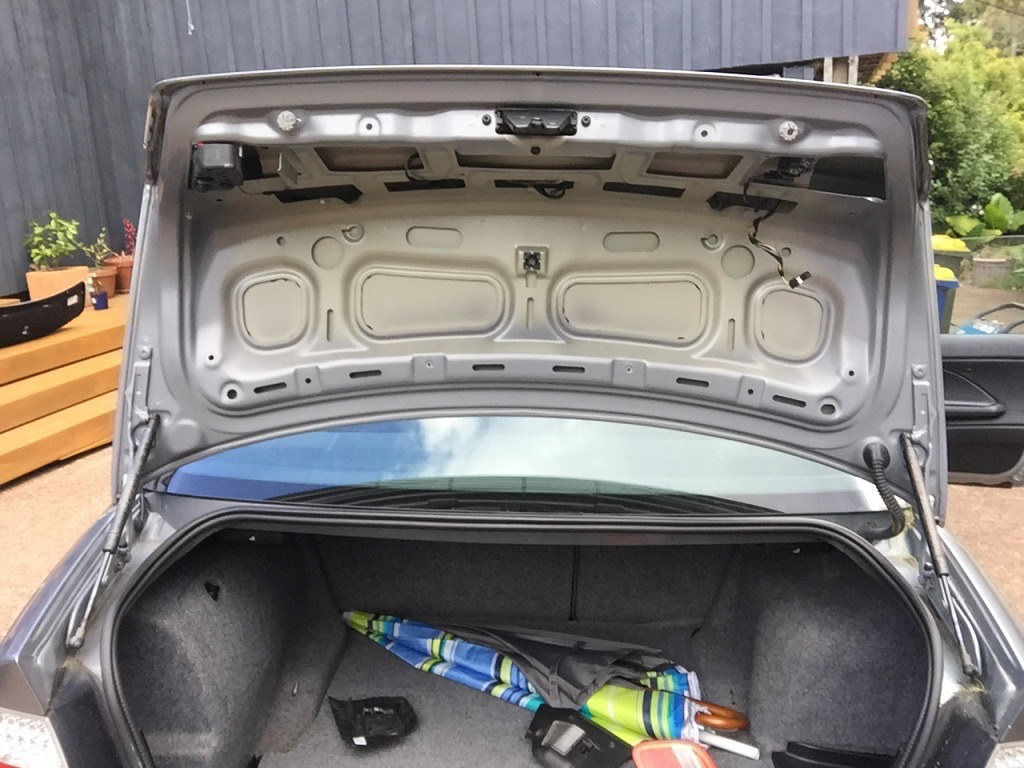
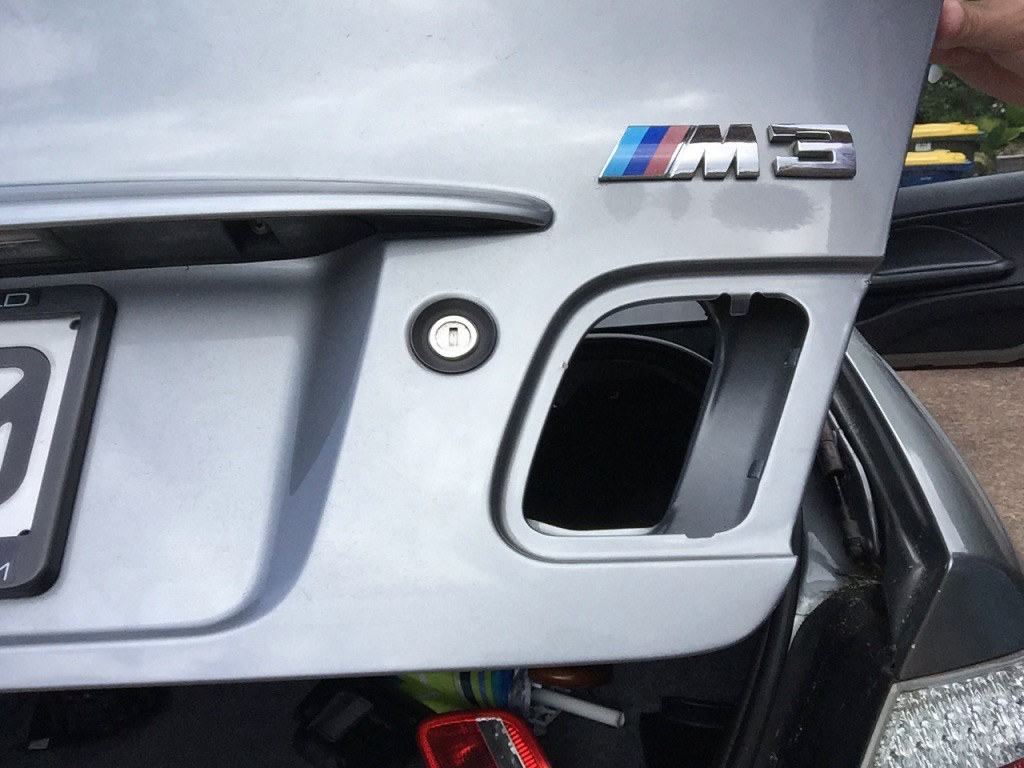
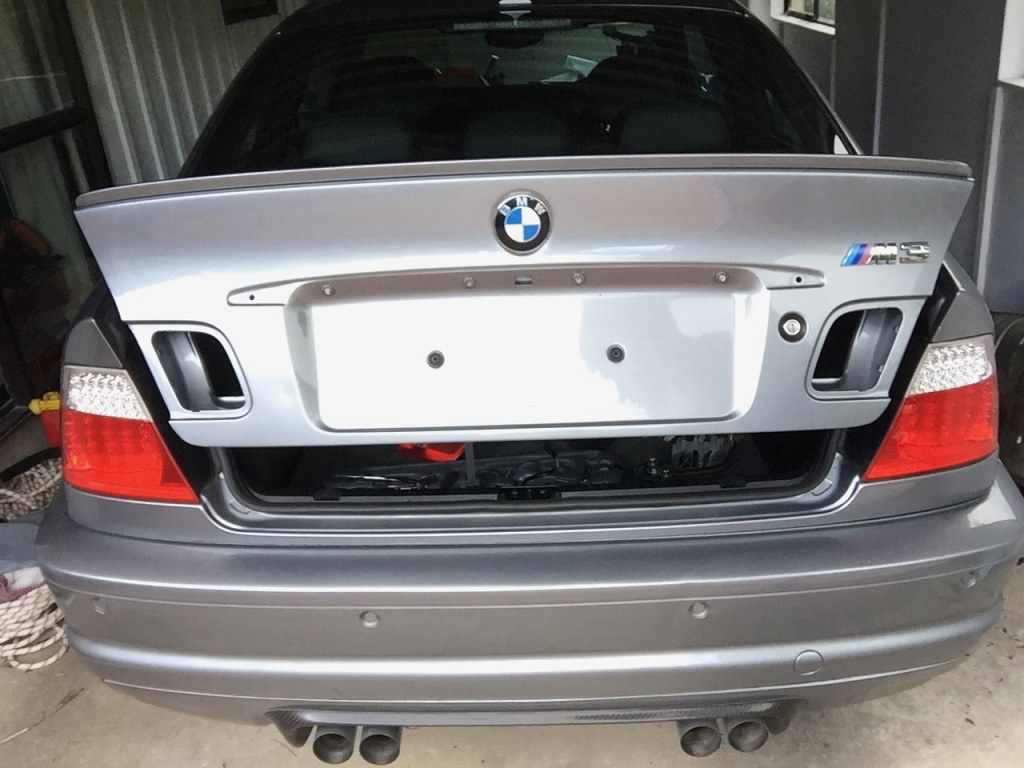
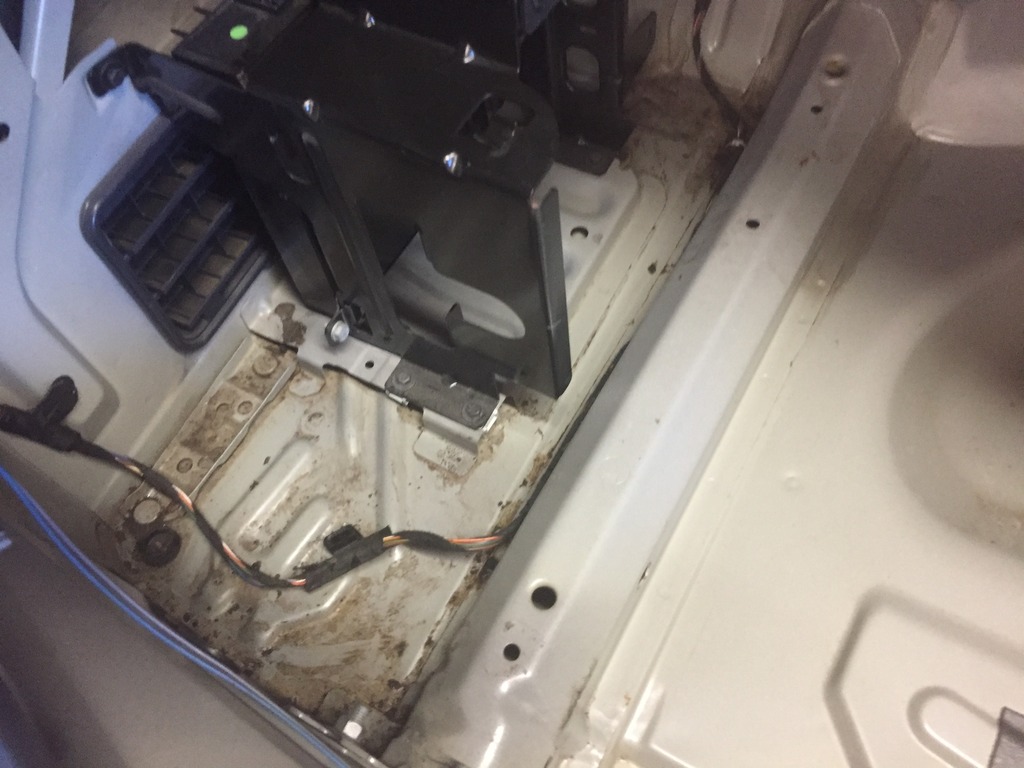
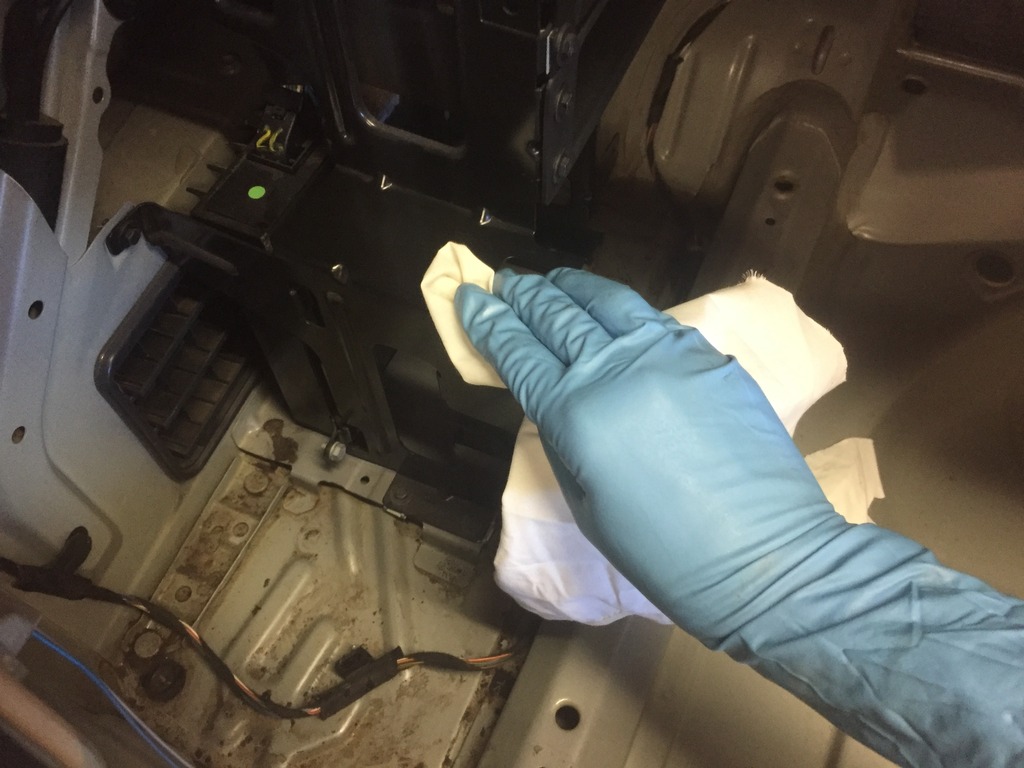
    Today I had a couple of hours and removed the rear lights to clean them up.

    Everything was super filthy from all the pine pollen that's accumulated on the car.


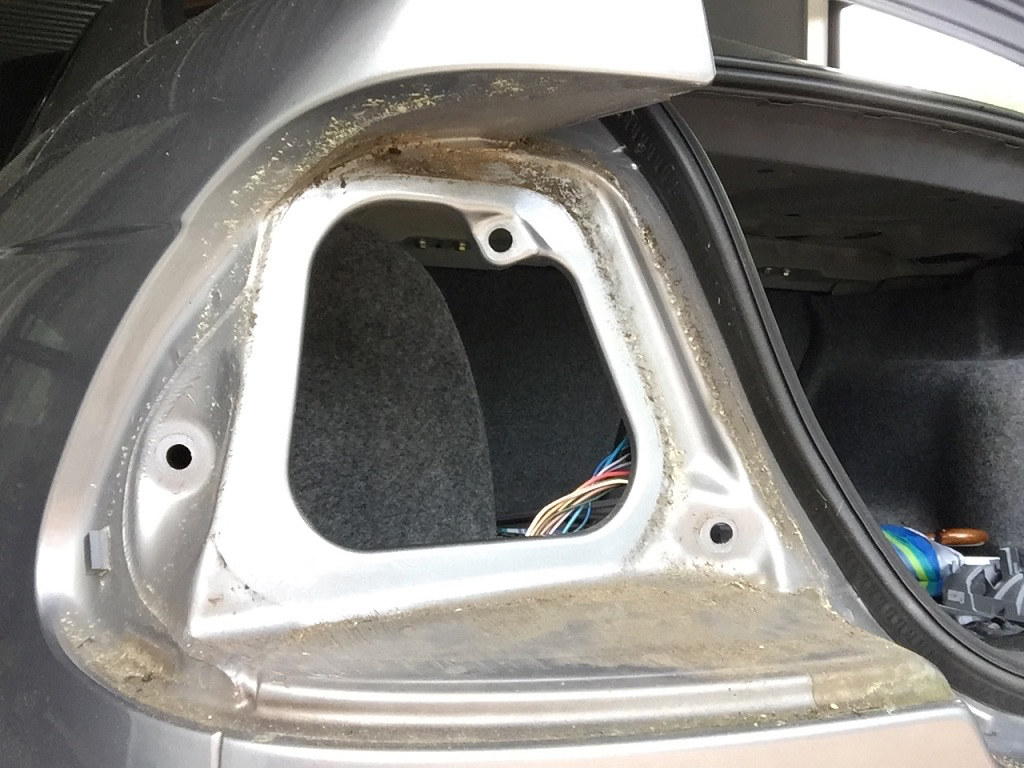
    I've done a preliminary clean on the shell around where the lights mount. They'll get a second deep clean in a little while.


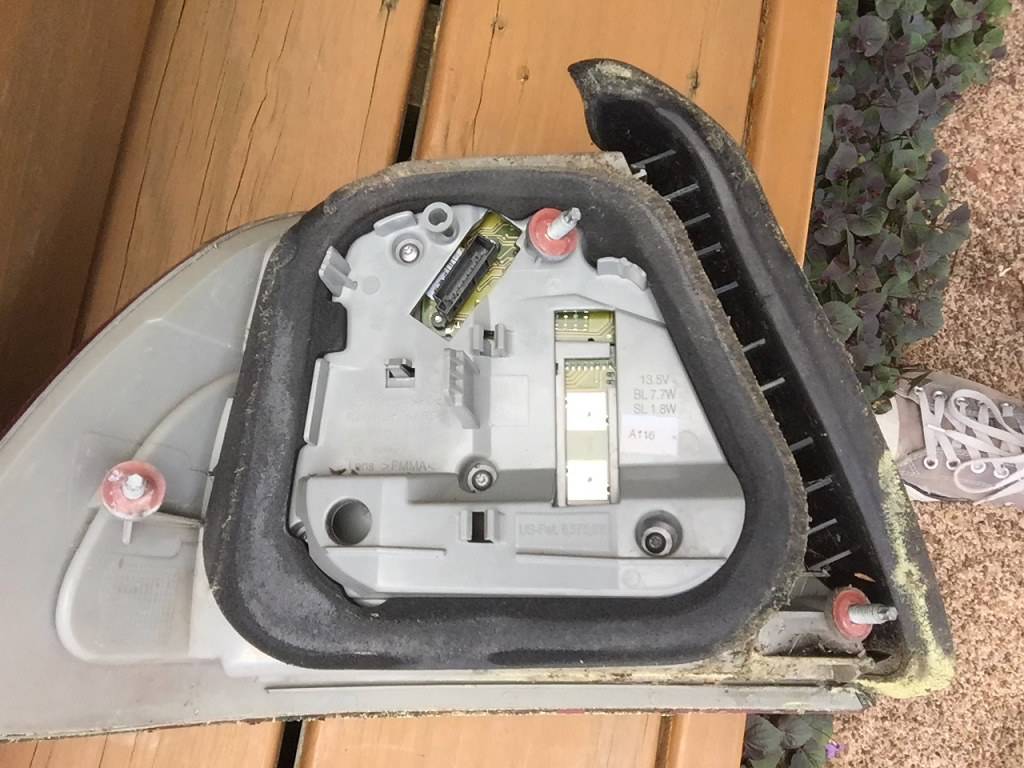
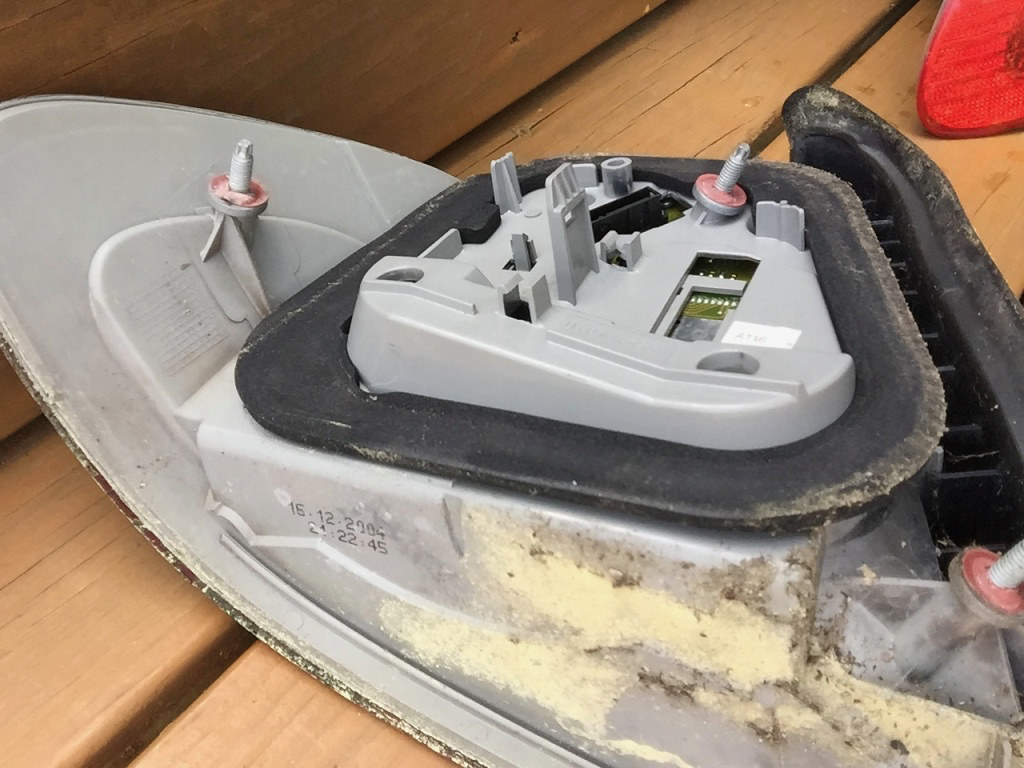
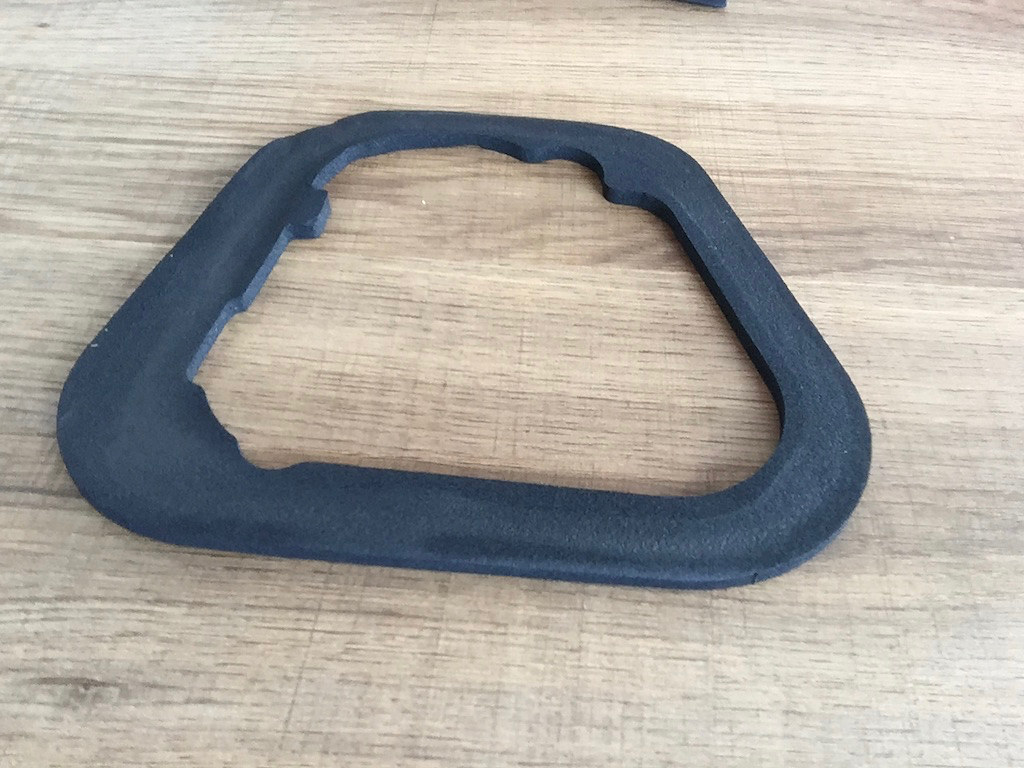
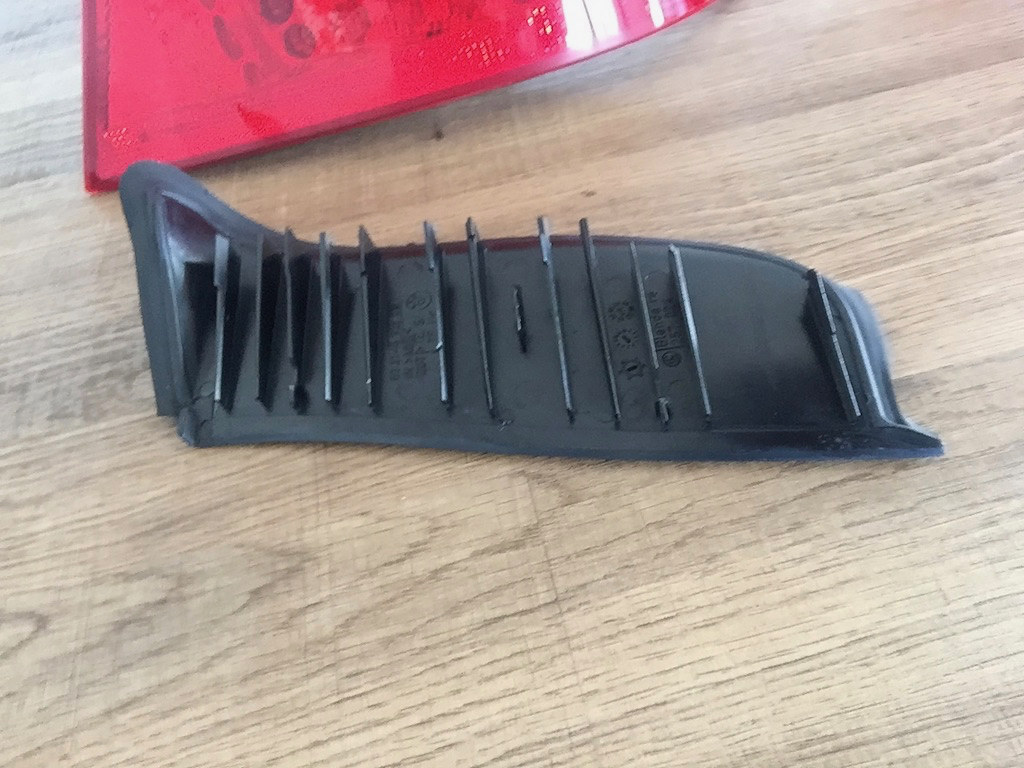
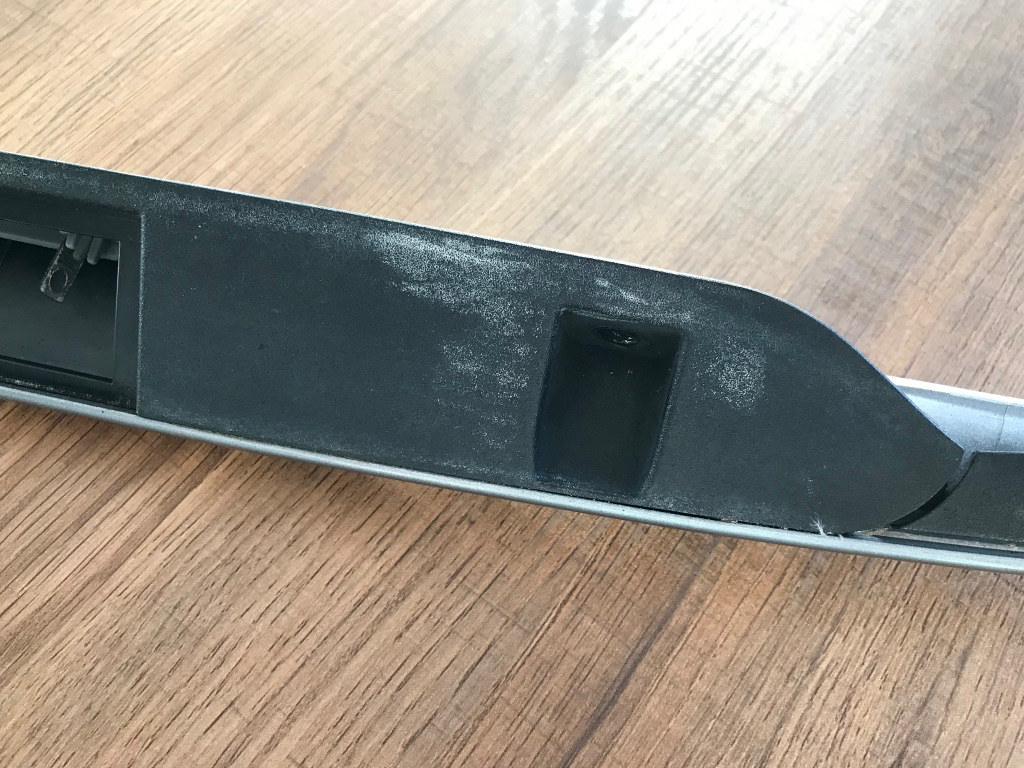
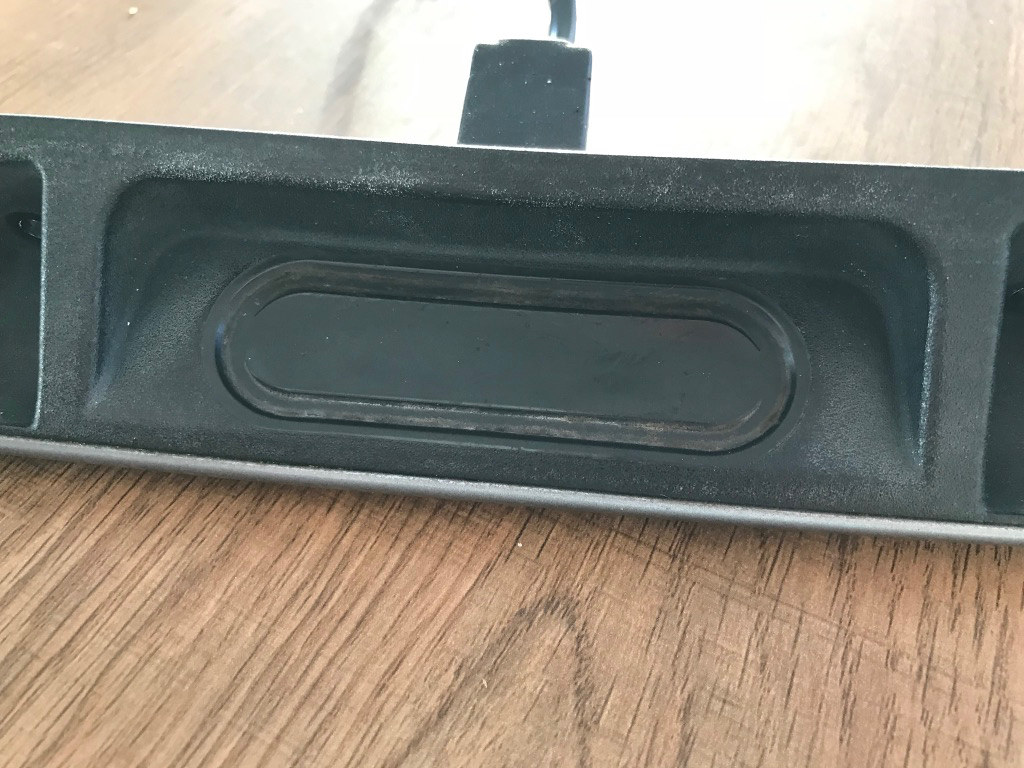
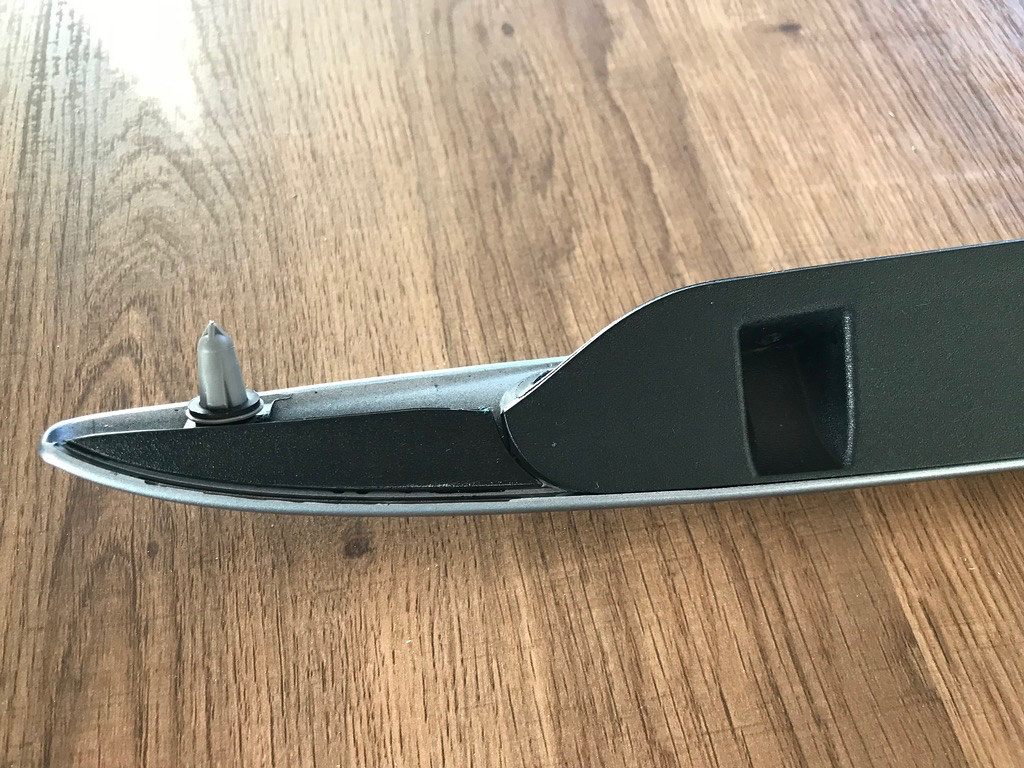
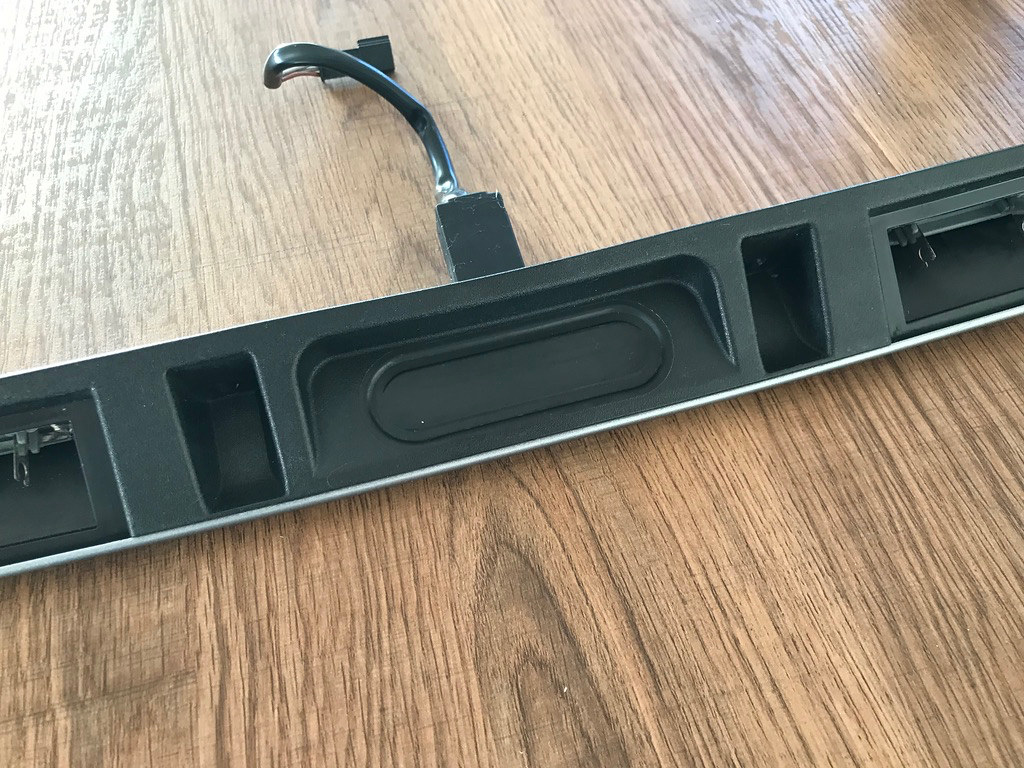
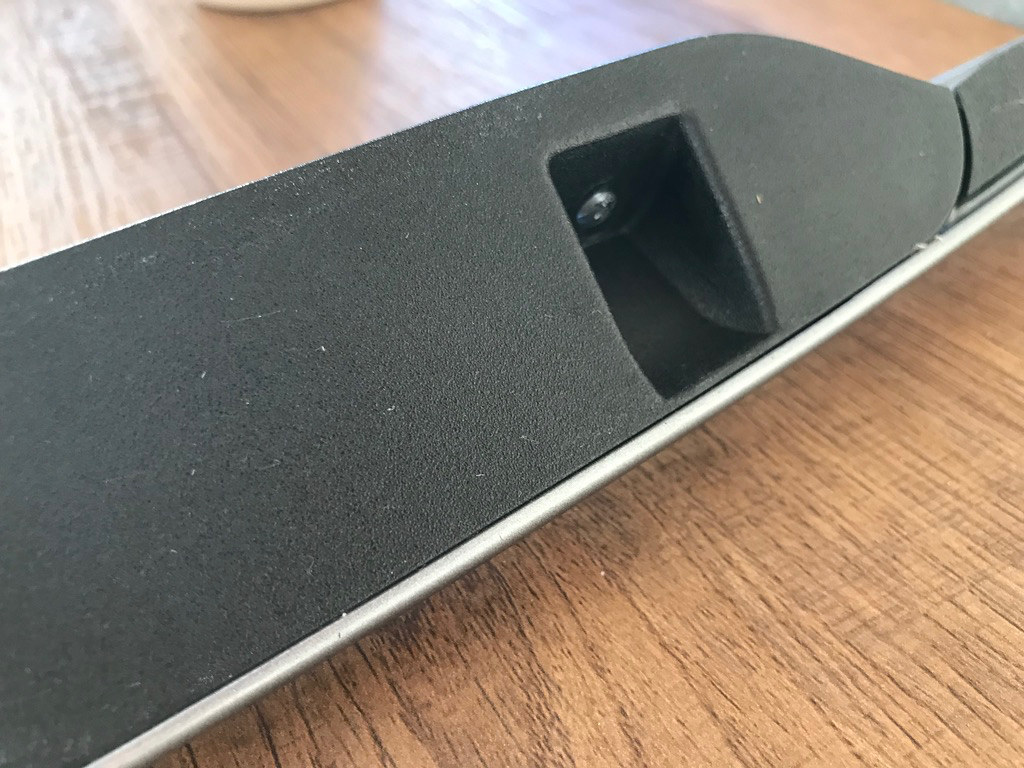
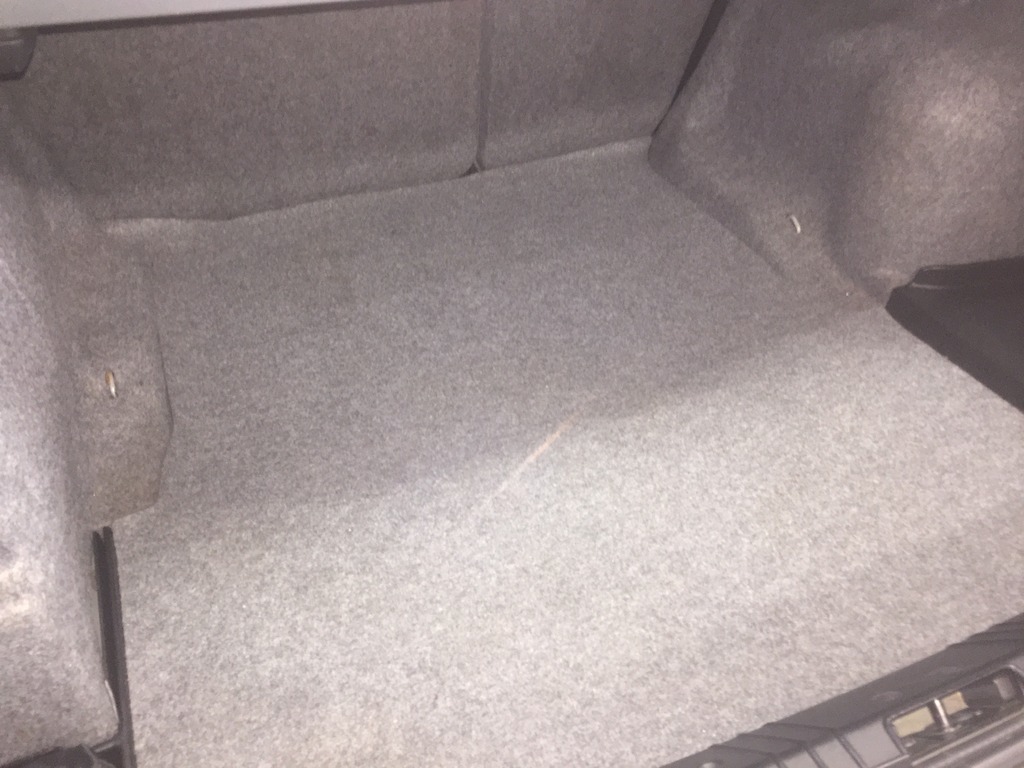
    I then got stuck into cleaning the tail light enclosures up. I removed the foam rubber seals and the black trim pieces so I could clean everything up properly. Some time spent with soap and warm water, a toothbrush and a cloth and they cleaned up very nicely. The foam rubber seals are still soft and in great condition - they've lasted well considering they're 13 years old.


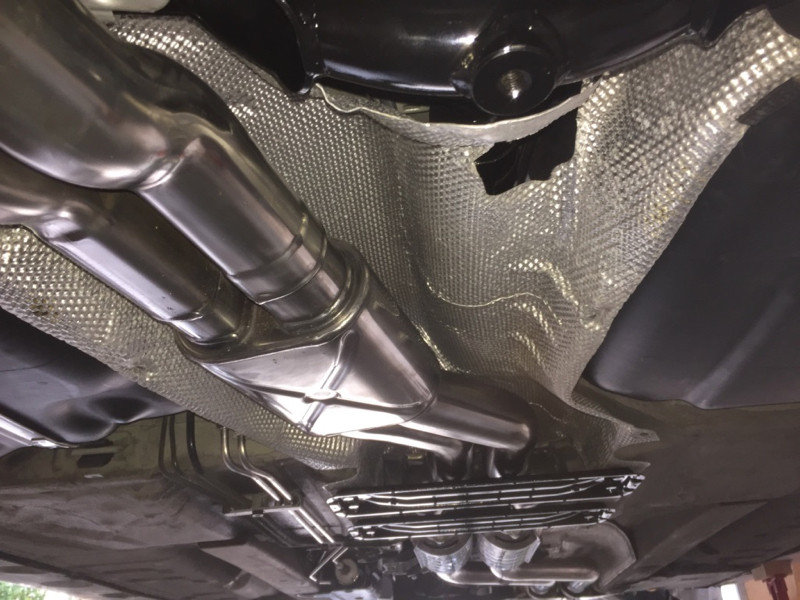
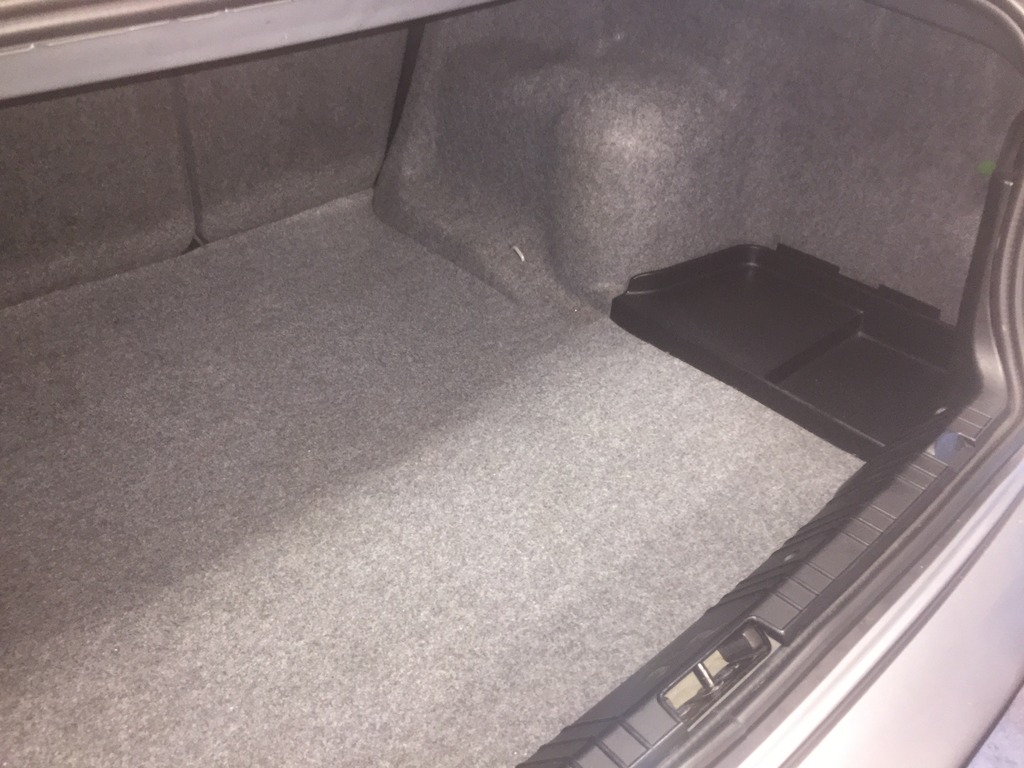
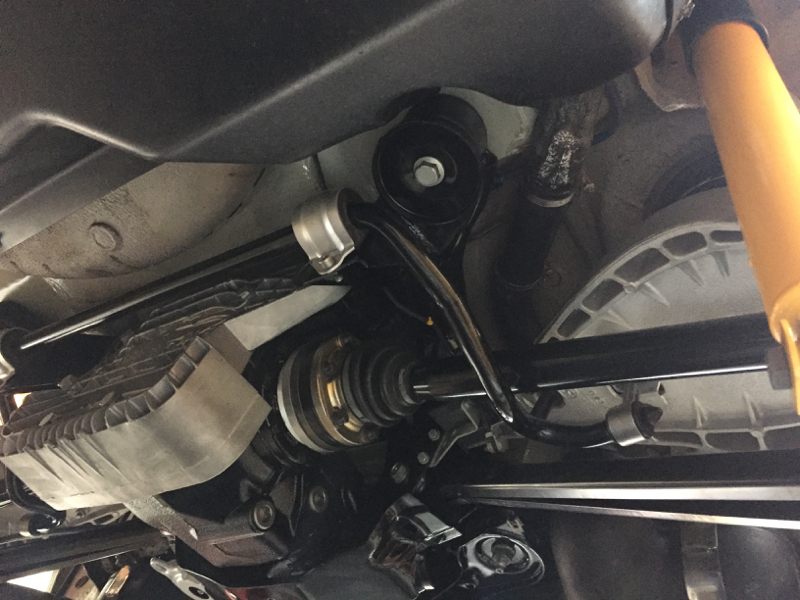
    While the boot is disassembled I'll take the opportunity to go through and remove the extra wiring that was added when a previous owner had a tow bar on the car...

    Til next time.

    Leave a comment:


  • karter16
    replied
    Update #24

    Last night I did a quick test of cleaning auto wax, dirt, etc. off the black trim on the boot handle mechanism.

    Before:


    To clean I simply used hot water with some regular liquid hand soap in it and I carefully scrubbed the black plastic parts with a toothbrush. The heat and soap helps soften and lift the wax. I then used a cotton cloth soaked in the hot water and soap to wipe away the remaining wax. Had to go over a few spots a second time, but I'm really pleased with how well this has cleaned up.


    After:


    I've got lots more to clean, and I want to go through and remove the extra wiring from when the first owner of the car had a tow bar installed.

    I'm also still trying to decide whether I attempt to restore the surface of the reversing light enclosures or whether I just buy new ones. Looking at them it looks as though the plastic may be started to fracture and degrade beyond the surface layer, so may just be better to buy new ones.

    I've also got a couple of bits and pieces on order from Milland for the front of the car, so I'll update when they arrive.

    Leave a comment:


  • karter16
    replied
    Update #23

    Today I finally got a chance to make a start on getting the car cleaned up. As the previous posts show my focus so far has been mostly on the mechanical aspects of the car. Now that it's garaged and properly out of the elements I figured I might as well make a start on getting it cleaned up.

    Back in August our old property was swamped with that horrible yellow pollen from pine trees. That stuff gets in everywhere. I clean it out of both cars every year, but haven't got round to it with the M3 until now.


    It's horrible stuff.

    I started with removing the interior carpet/card/trim stuff from the boot lid so that I could remove the reversing lights, handle, etc. from the boot lid.


    From there I started removing stuff and doing a quick clean/wipe down as I went.


    Now that I've got the bits off I can spend my time properly cleaning them and the boot-lid. I'll take the opportunity while all the bits are off to properly clean, polish and wax the boot lid before reassembly. I'm also going to clean up all the bits of the boot handle and licence plate lights, etc.

    The reversing light assemblies are clouded, as plastic gets. I'm tossing up whether it's worth having a go at refinishing them, or whether I skip that and go straight to buying new ones.

    I'm also keen to get a new M3 badge at some point as the one on there looks pretty faded. Really needs a new roundel as well as the one on there is starting to delaminate around the edges.

    Oh and the gas struts will be being replaced as well - they make an embarrassing groaning sound whenever you open the boot, which isn't in line with the well-maintained sports car vibe I'm going for.

    I'll post an update soon with my progress on cleaning up the bits and pieces.

    Leave a comment:


  • karter16
    replied
    Update #22

    So now that we're in our own house and we have a garage it meant that I was able to remove the tints from the car.

    I've been keen to get rid of them for some time for a couple reasons:
    1. I'm trying to get the car as stock as possible, and the tints give it a different look.
    2. I almost knocked someone over reversing down my parents driveway in the dark - couldn't see ANYTHING out the back window so was relying on wing mirrors (with the front windows down).

    But I've held off doing it while the car has been outside as the tints provide excellent sun protection.

    Now that the car is safely garaged I was able to remove the tints.

    I read up a bit on the process first and used a clothes steamer to heat the tint. The idea being that the sticky stays with the sheet of tint rather than remaining on the window. I have to say it worked amazingly well. I removed the tints on the driver and passenger windows, the rear quarter panels and the rear window all in the space of an hour and a half. I think the fact they were quality tints was helpful when it came to removal as well as the sticky stayed where it should - basically no residue left on the windows at all.

    When I got to the rear window I thought my cunning plan had come unstuck, as a thick layer of sticky was left behind. Turns out the sticky wasn't left on the glass, it was left on the clear sheet of the SECOND layer of tint that was on the rear window... No wonder I couldn't see anything at night. Some muppet had tinted over an already tinted window 🤣. More steam, and lifting up the remaining sheet and it all came off beautifully. No damage to the heater/aerial strips and no residue left behind 👍

    I'm really happy with the end result. The car looks awesome - I much prefer the look of it without tints.

    I'll get some photos up as soon as it's a decent day and I can get some good pictures.

    Leave a comment:


  • karter16
    replied
    Update #21

    Been meaning to post an update for a while, but have kept putting it off..

    In August last year my son was born, at two and a half weeks old he was rushed to Starship and after a week of tests was diagnosed with a rare genetic condition. As a result of the condition he has liver disease and we've spent the last year in and out of Starship (more in than out for most of the year). Its been pretty hard on my wife and I, several times in the last year things have looked pretty grim, the last couple of months have been a bit quieter and we're hoping that that continues for a while.

    Progress on the car has obviously been non-existent as a result. I haven't had much opportunity to drive it (apart from some trips to and from hospital), it's ticked over about 2000km since I did the rod bearings. I dropped by Auckland City BMW a couple of weekends ago and picked up oil and filter ready for a change. I'll post here when I do.

    Excitingly though we're in the process of buying a house (cause we haven't had enough excitement for the year), which means that the car will hopefully be garaged in the near future (hooray!). Which means that I can start getting onto the cosmetic side of things, which I've been intentionally ignoring while the car was somewhat exposed to the elements.

    I haven't planned in detail, but a rough list of things to do are (no particular order other than mechanical being higher priority than cosmetic):
    • Structural Foam in front RACP mounts.
    • Mechanical fan replacement.
    • Water pump replacement.
    • Attempt to get to and clean the ICV without breaking the little clip on the SMG reservoir.
    • Remove the additional trailer connector wiring in the boot.
    • Replace the plastic bits on the bonnet and the plastic weatherstrip at the bottom of the windscreen.
    • Replace the side indicator enclosures with new ones that aren't UV damaged.
    • Replace the weather trim on the B Pillar exteriors.
    • Re-align driver's side door.
    • Re-align and plastic weld front bumper.
    • Re-align and plastic weld rear bumper where it's been attacked to make e-bay diffuser fit.
    • Replace said e-bay diffuser with OE.
    • Remove window tinting now that the car will be garaged (looking forward to being able to see when reversing at night).
    • Inspect the underbody restoration work done a year ago and make sure all is well.


    Hopefully its not so long to the next update!

    Leave a comment:


  • karter16
    replied
    Picked these up recently to add to the collection :-)


    Leave a comment:


  • karter16
    replied
    Something a bit simpler - this arrived in the mail today.

    Since my car didn't come with it's manual and service book, etc. As part of my restoration efforts I've purchased new ones to go with it. This original item is in awesome condition in spite of being second hand. Very pleased with it.
    I've put 1200km on the car since the rod bearings were done. Will be doing about another 800km and will do an oil and filter change. Will then be on to regular OCIs.

    Leave a comment:


  • karter16
    replied
    Update #20

    So the car went back in again yesterday - Alignment on the rear closer to spec, so will let the car settle over the next couple of thousand k and do another alignment then.

    The car also now has it's WOF
    We've got to put a couple of the plastic undertray components back on, and replace the temporary zip ties on the steering boots with proper clamps, and then this round of work on the car is officially complete.

    Have done about 100km on the car in the last couple of days - all in Auckland traffic 
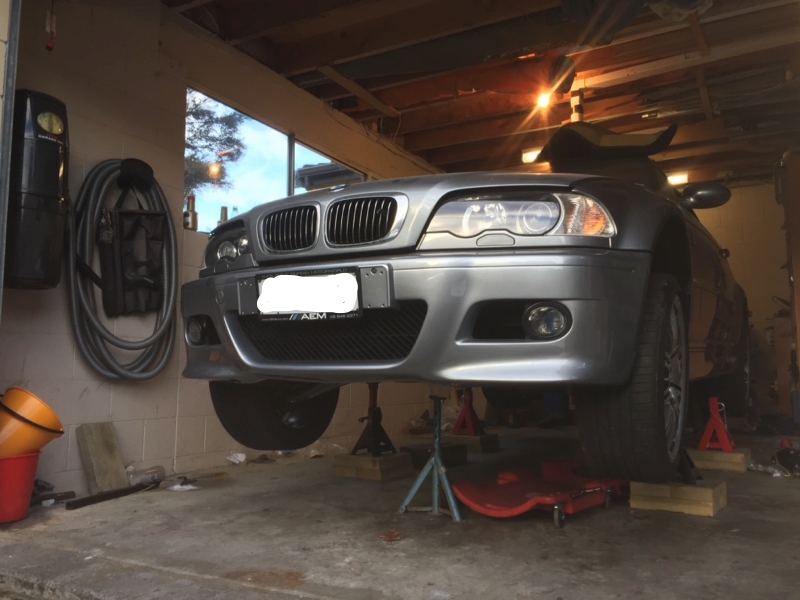
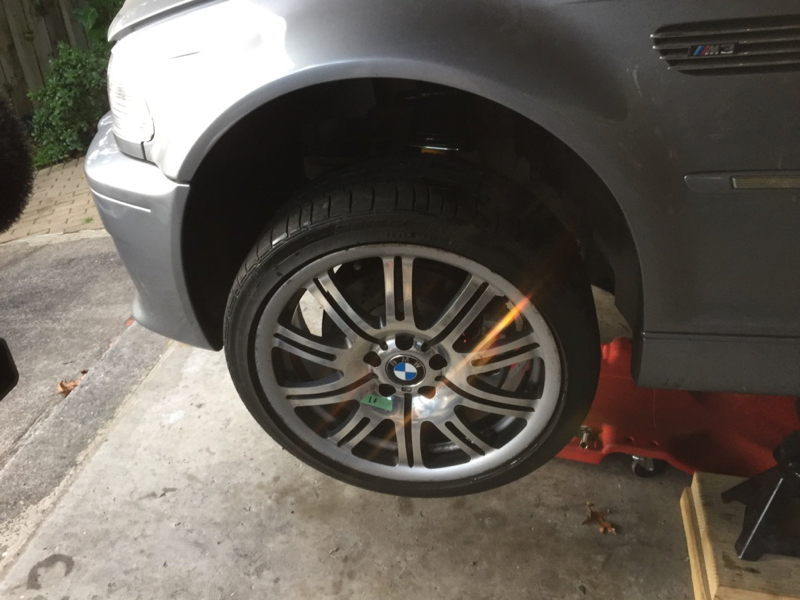
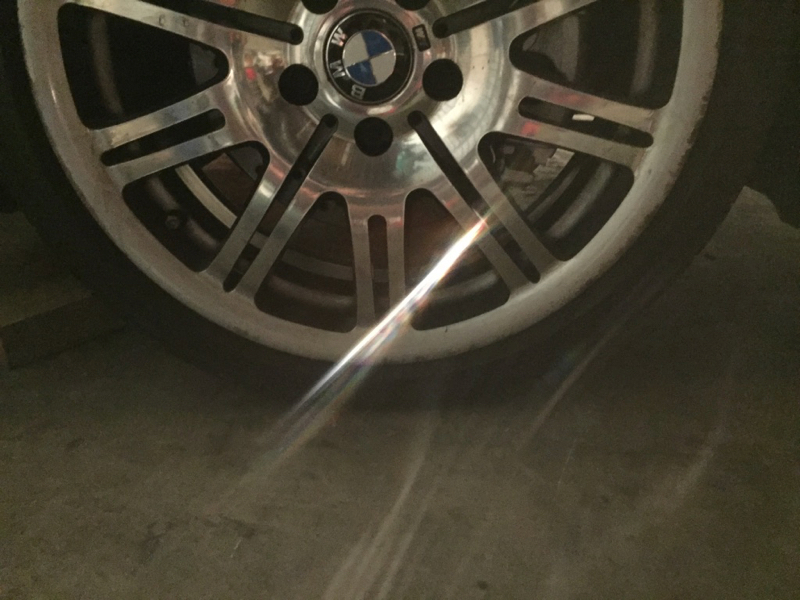
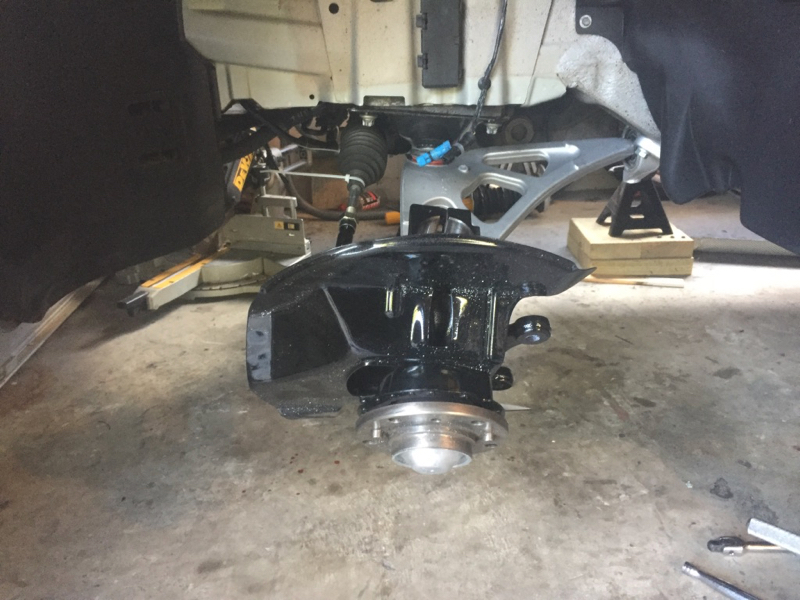
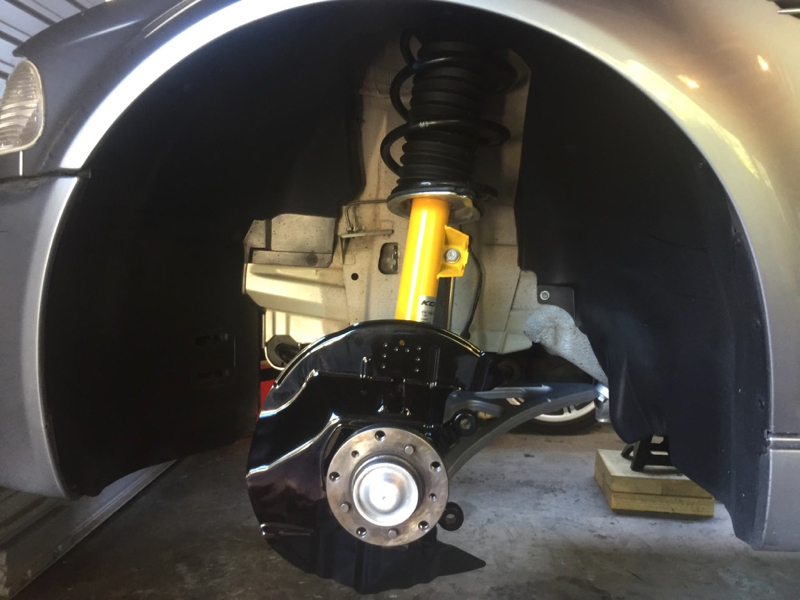
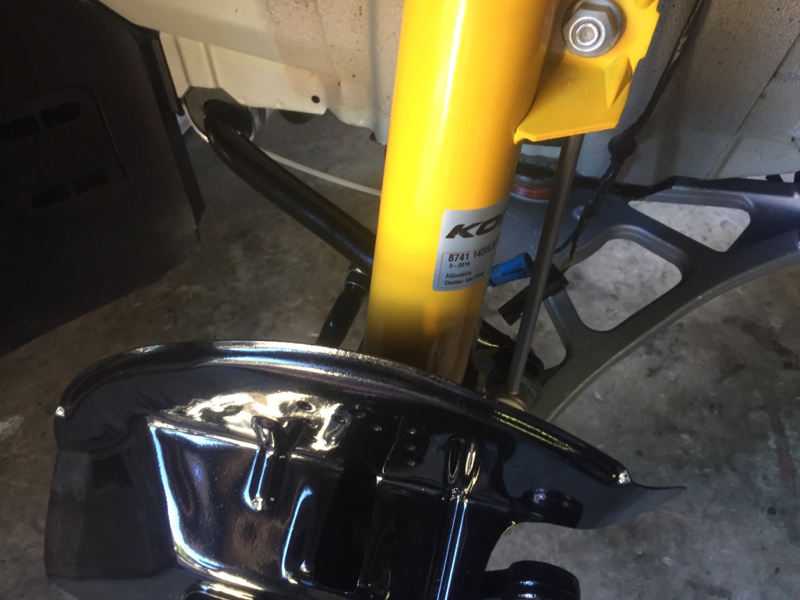
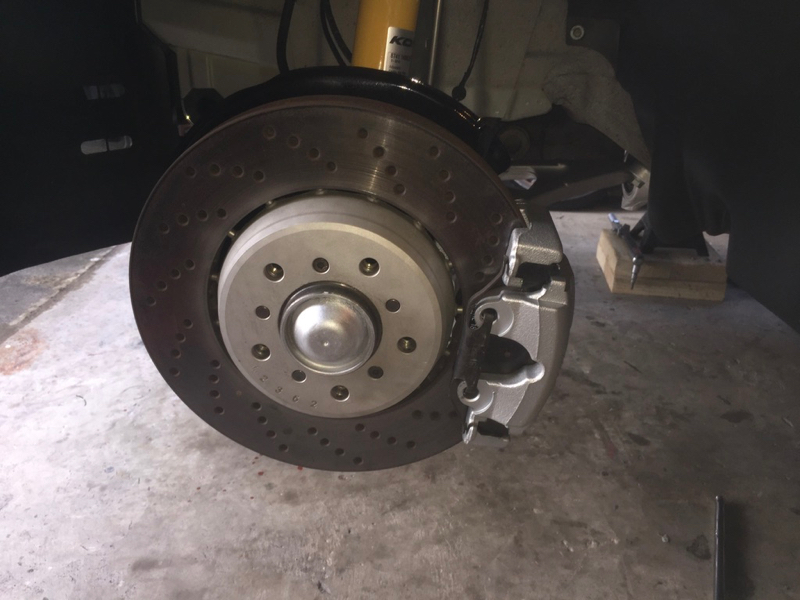
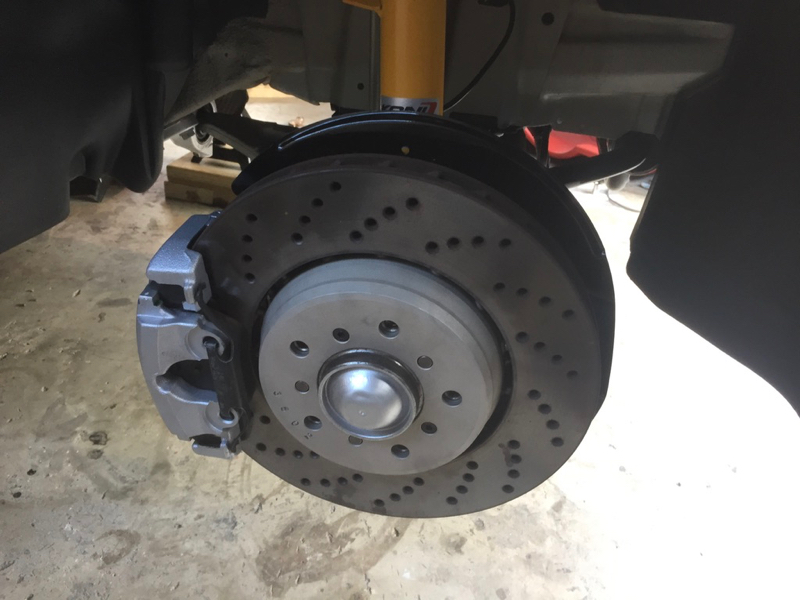
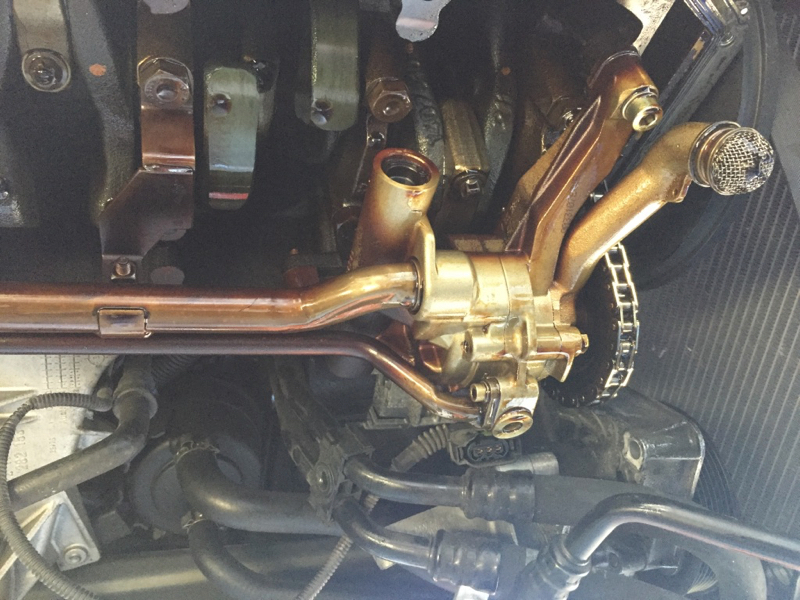
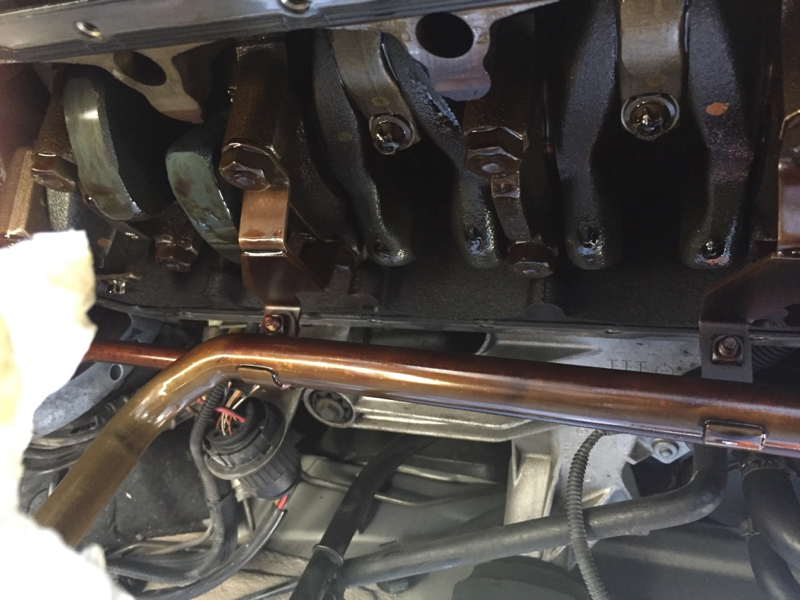
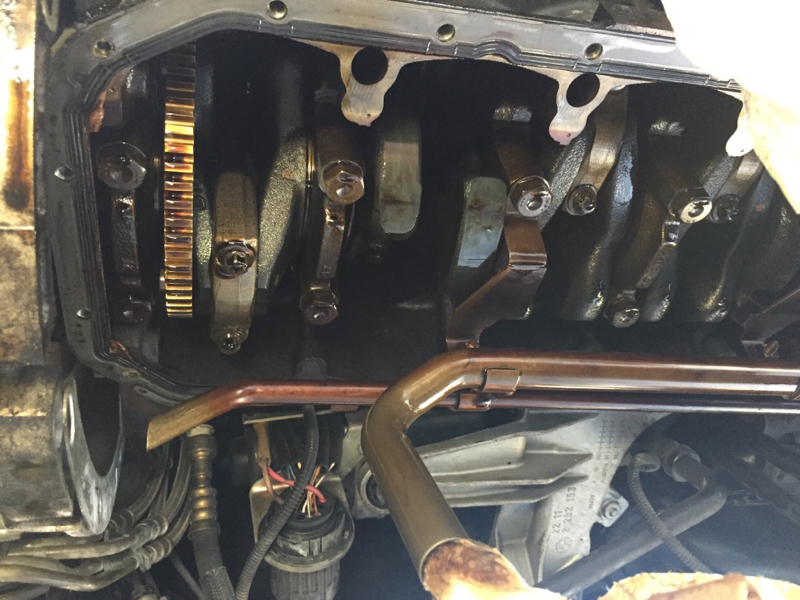
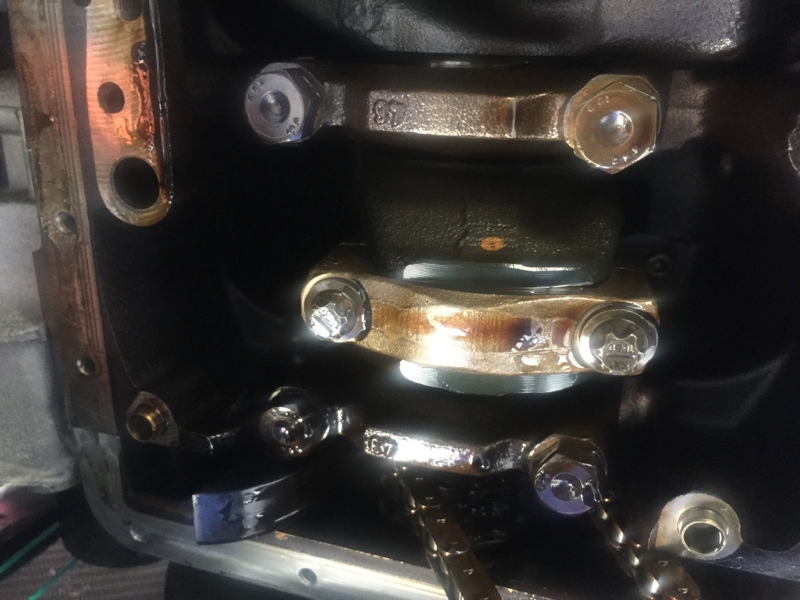
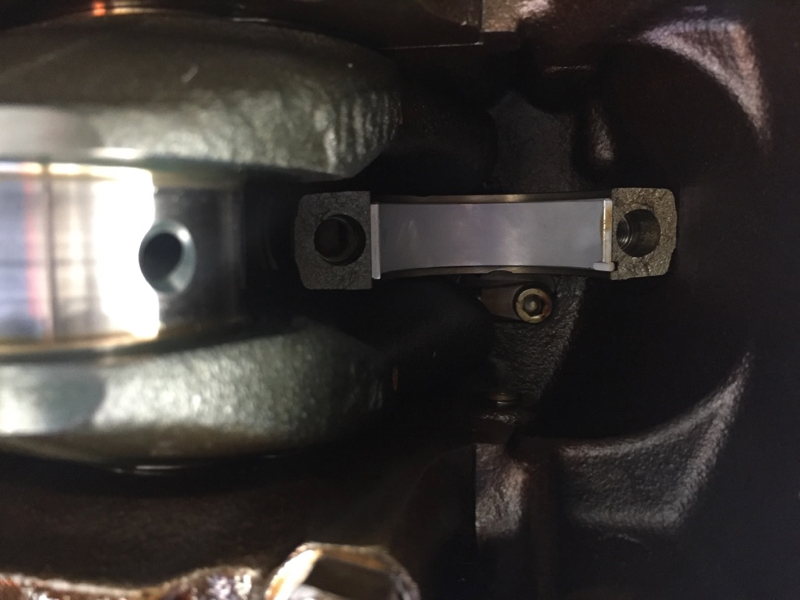
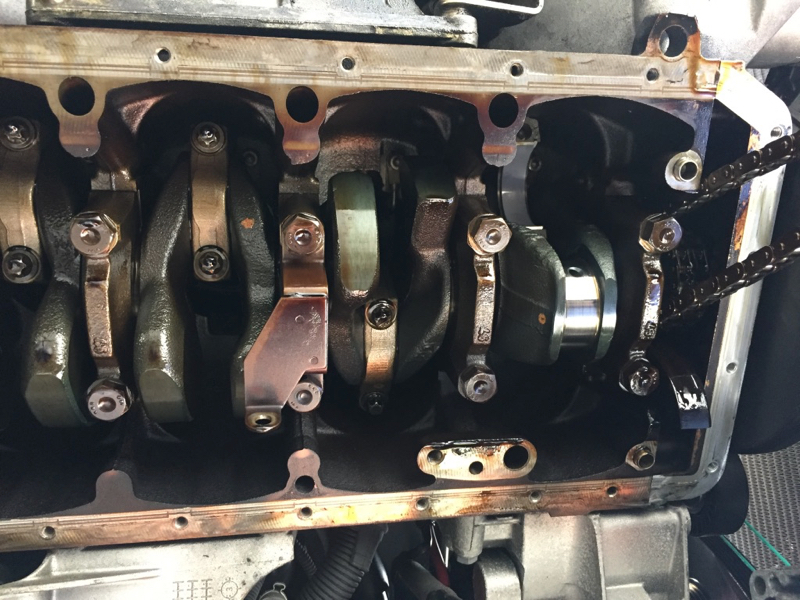
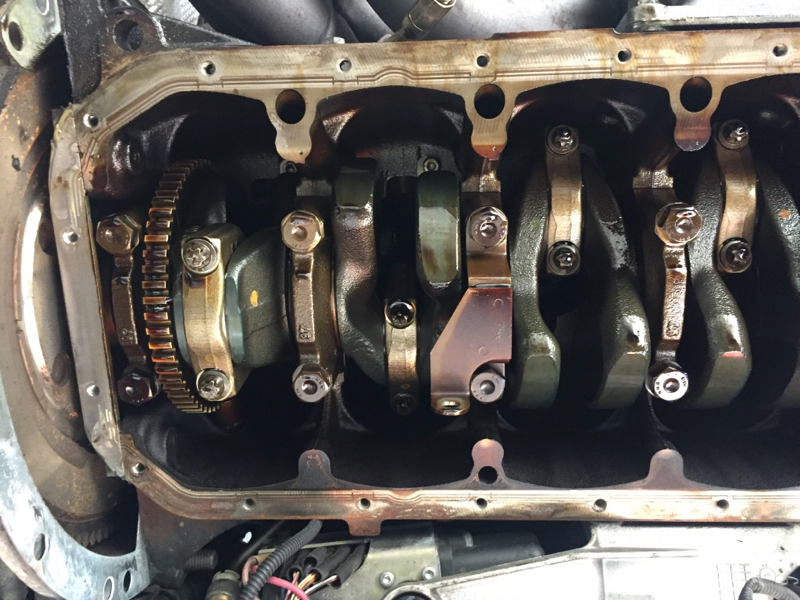
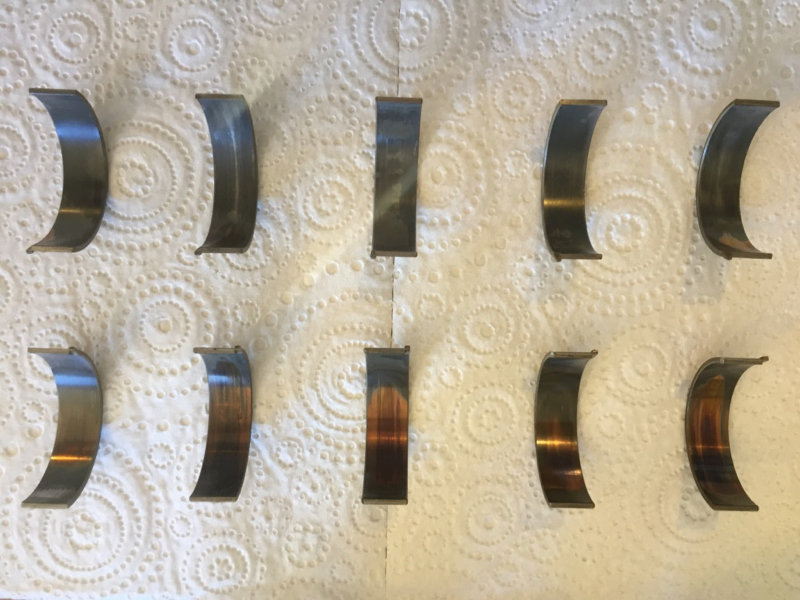
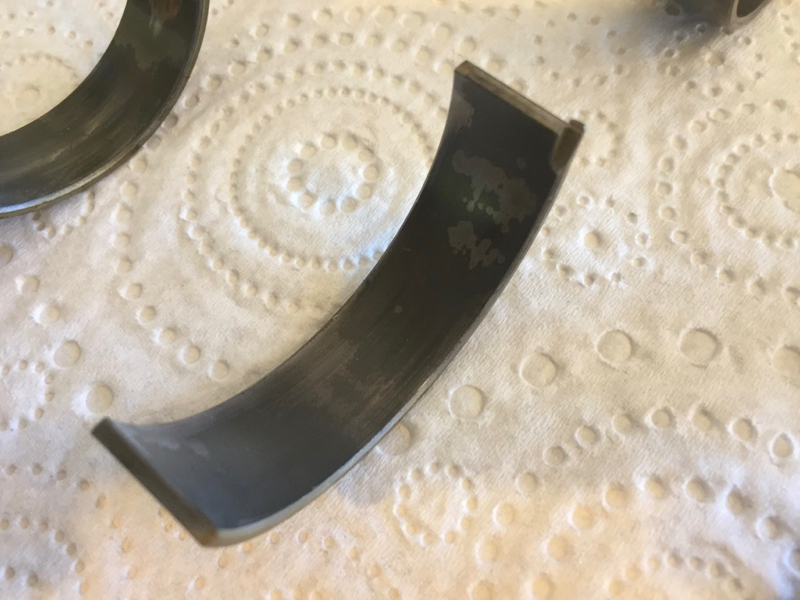
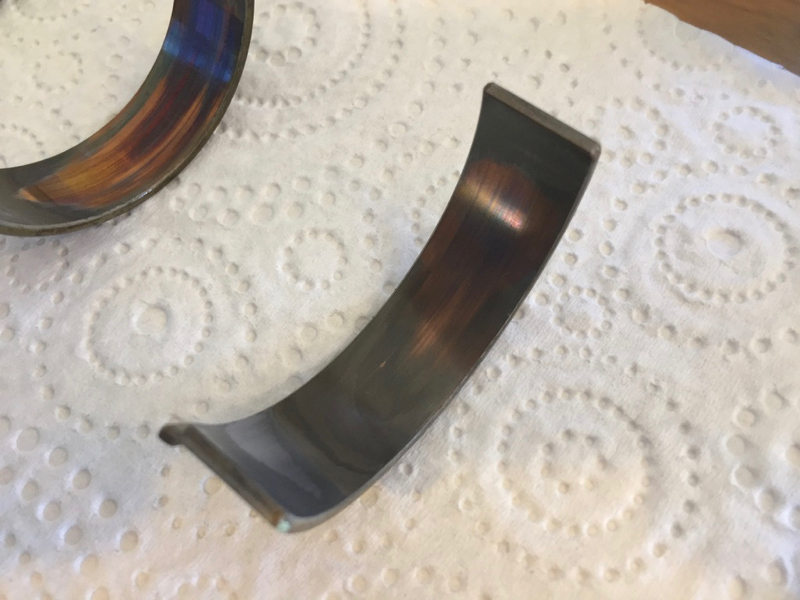
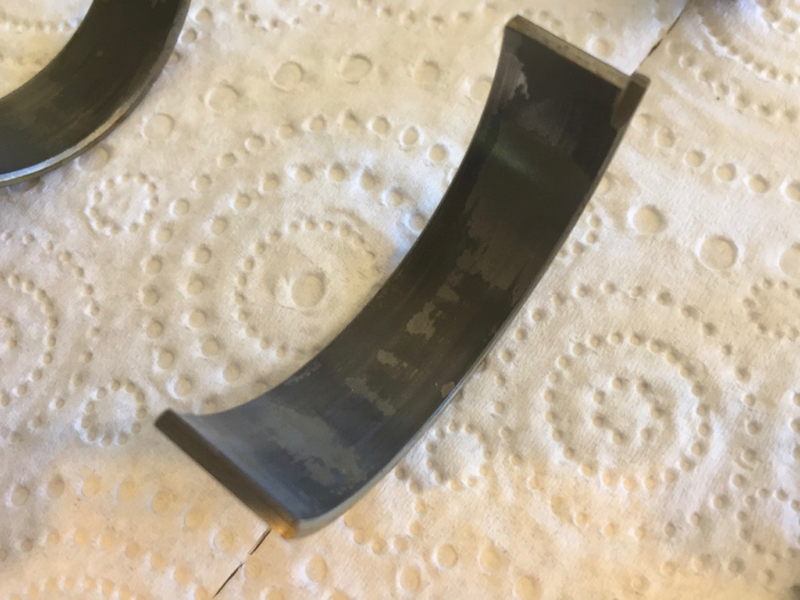
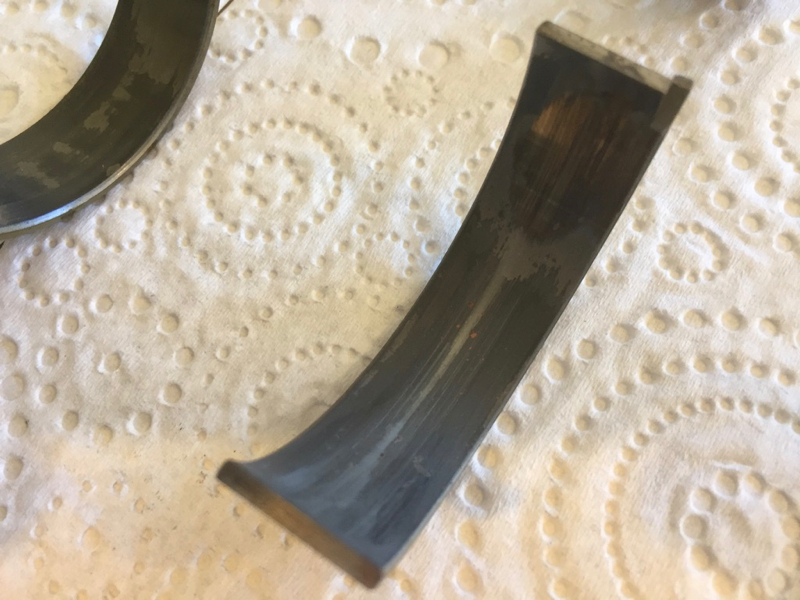
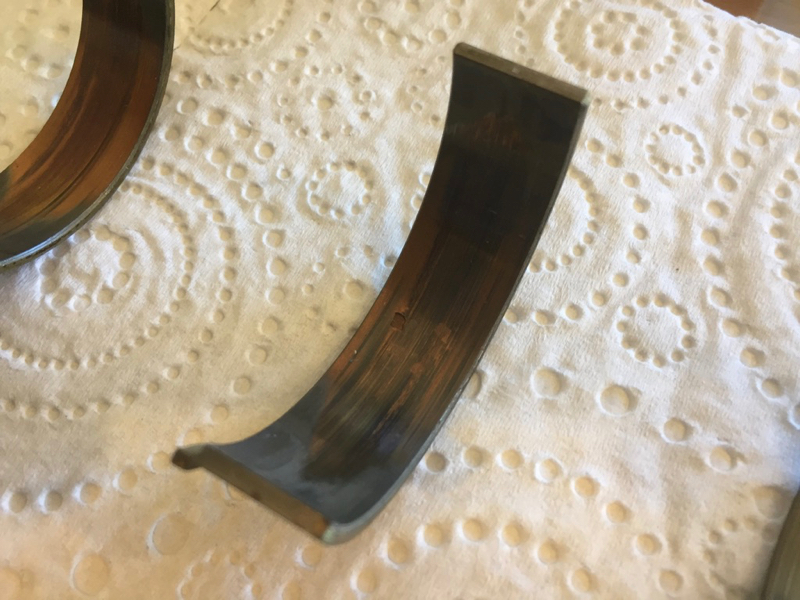
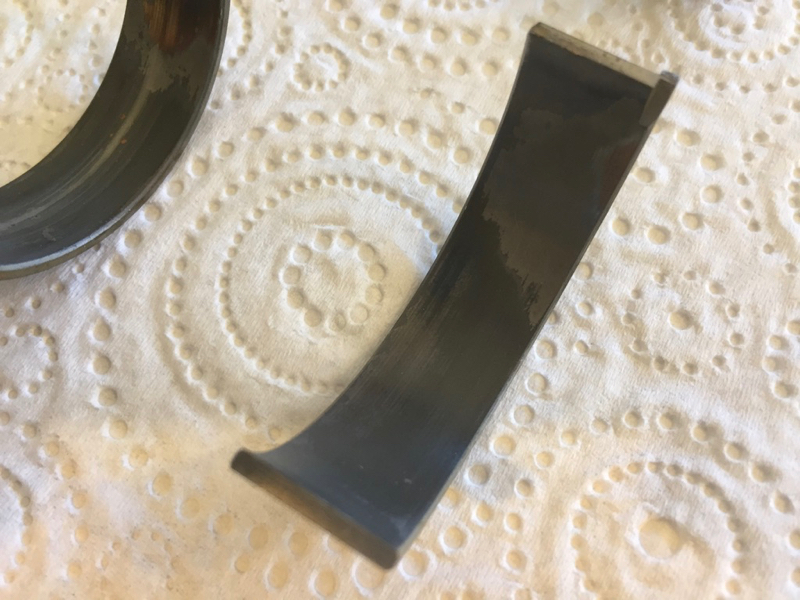
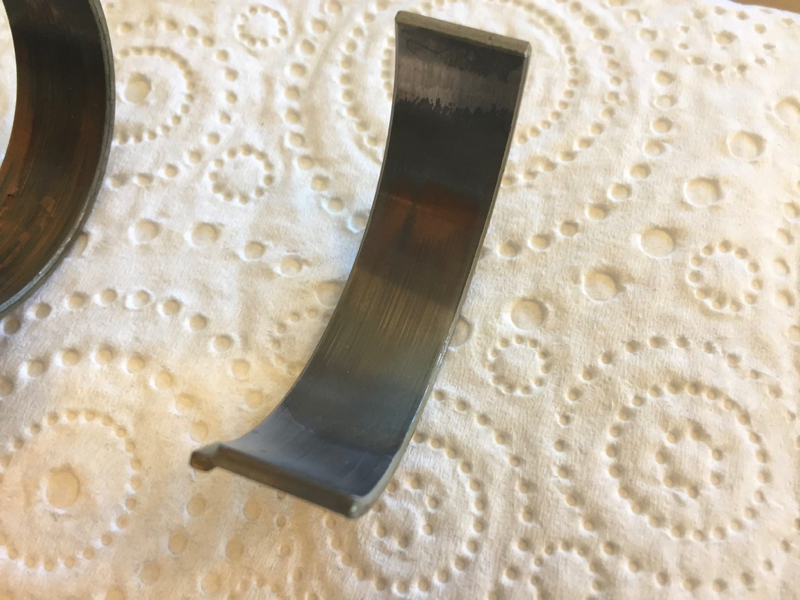
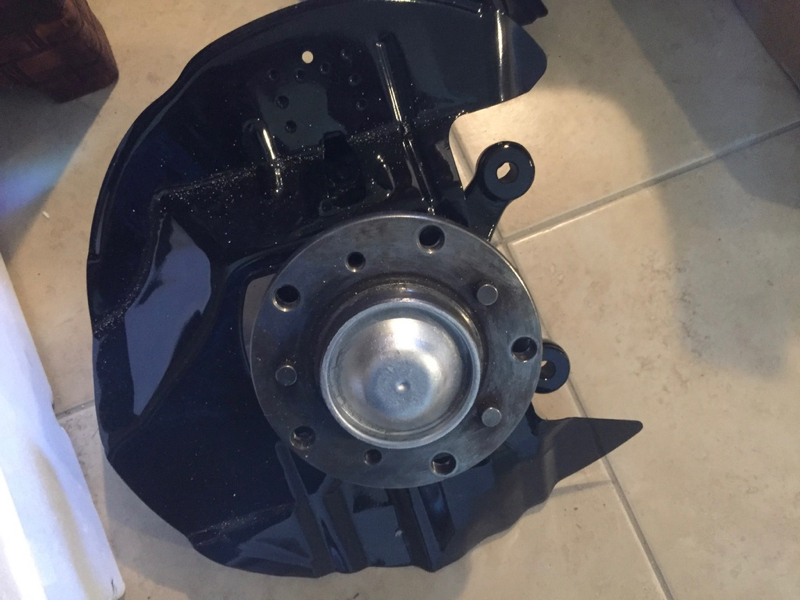
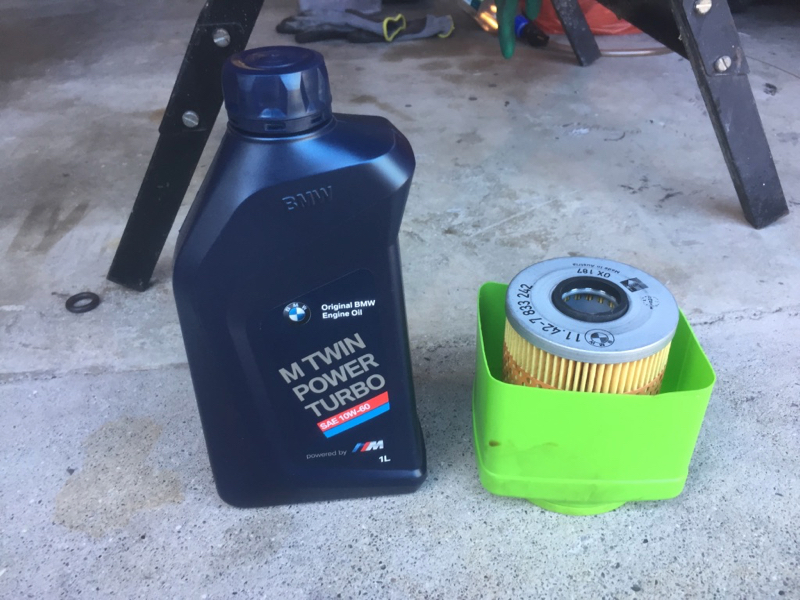
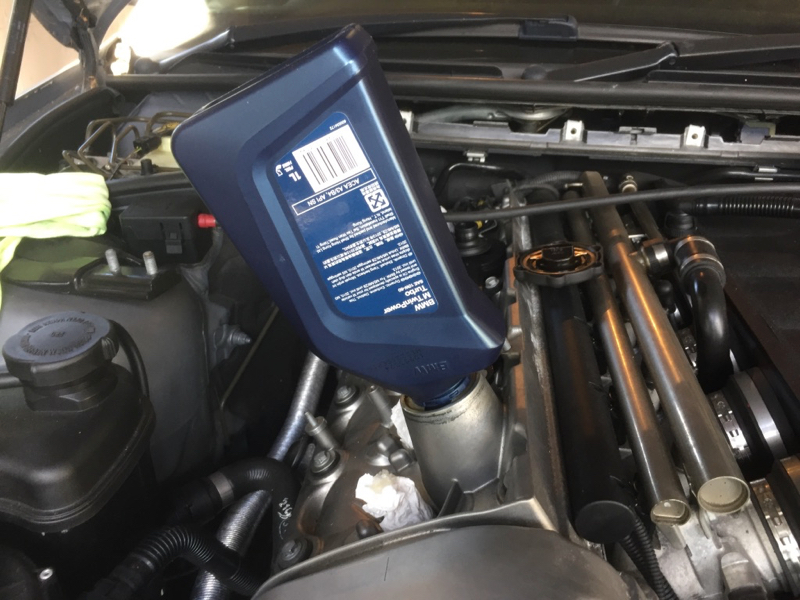
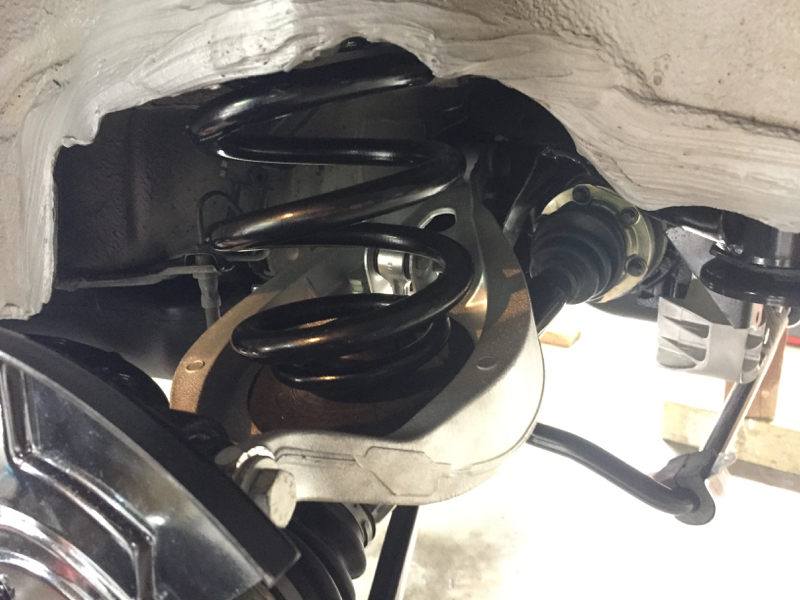
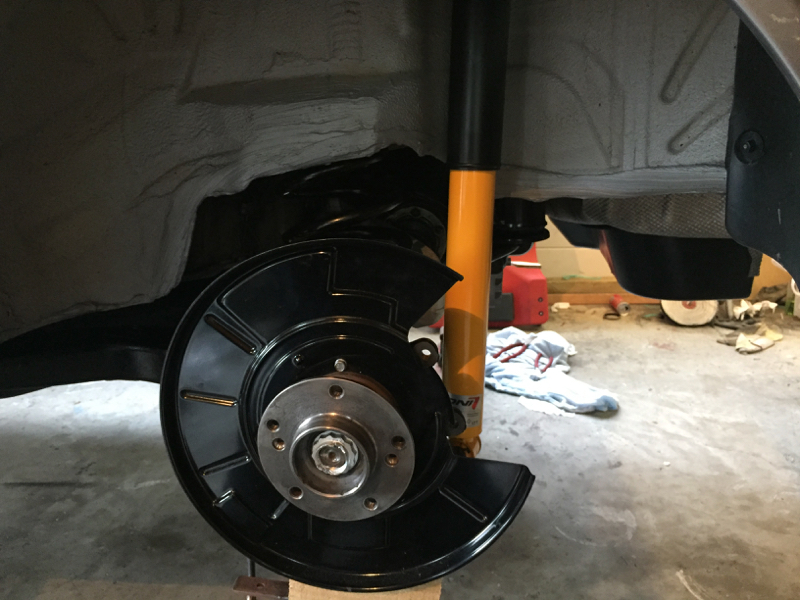
but good to be back in the car and running in the bearings.

    So stoked with how everything has gone, and now that the major maintenance work is done I can start thinking about what comes next

    Leave a comment:


  • karter16
    replied
    Update #19

    So the car went in for it's WOF last Monday. Failed on the handbrake, but everything else was

    Alignment went fine, they noted that the rear left was sitting slightly higher than the rear right, and as a result they couldn't quite get the camber on the rear-right within spec (it's only out by a very small amount).

    They also did the driver's airbag recall at the same time.

    After the wheel alignment, as I expected the dash lights all went away. The codes I was seeing were all related to the steering angle sensor not being within calibration. Once the alignment was sorted the dash lights cleared themselves, and scanning the car shows that the codes are now historical.


    Today we sorted the handbrake adjustment and checked the rear to make sure there was nothing obvious. It's all looking as it should, so the plan is to drive the car for a while and let it settle in, and see if the rear comes back into adjustable range or not. If not then it'll be a bit of work to measure everything up and work out what's causing the issue.


    Haven't done many miles in the car given it doesn't have a WOF, but what I have done has been

    The improvements from the new bushes and shocks, etc. have been much more noticeable than I was expecting. I wasn't anticipating such an obvious improvement. Driving over rough bits in roads is much quieter and less of a "crash" than it was before, and because of that interior rattles and squeaks are correspondingly much less. I haven't had a chance to drive the car "spiritedly" and won't be while the rod bearings are running in, but I'm looking forward to when I do, to see if I can feel the difference then as well.


    The car's going in this week for the WOF re-check and once that's done I'll put some "run in" miles on it. Planning to do another oil change at about 1800km, just to clear out any dirt that might have entered the engine when we had the oil pan off.


    Anyway - nice to get a bit of a feel of what the car was like when it was new :-)

    Leave a comment:


  • karter16
    replied
    Update #18

    Just a quick update. We got the car back on the ground last Saturday, and on Sunday we fired it up and did a systems check. The car started first turn of the key and was running fine. Power steering needed the air flushed out of the lines which we did, but apart from that everything was looking good. Got a couple of codes on the first run to do with throttle body position sensors, etc. but haven't had a return of anything like that.

    We did a short test drive (after warming the engine up) and everything seemed good. Car feels good, we got the alignment good enough to mean we can drive the car (slowly) to the shop for its suspension alignment, and everything seems to be working fine. Checked the car for codes after the first run and all seems fine.

    We're getting a couple of dash lights appearing under braking and reading the codes it appears that it's probably to do with the fact that the wheel alignment is off and the steering wheel/rack isn't currently centred when travelling in a straight line, so expecting that steering/acceleration sensors are getting conflicting readings - expecting this to stop being an issue after the wheel alignment. If it's still an issue we'll investigate further.


    Car's off for it's alignment on Monday - in the mean time here's a pic of it parked outside :-)


    Leave a comment:


  • karter16
    replied
    Update #17

    We're back on the ground!!!

    Been a big day today - and we ended with the car back on the ground arrot:

    This morning we started out by swapping the brake discs on the front, as Rajvosa quite correctly pointed out that they were back to front :facepalm:


    Also while I remember, Dad made up a custom bodge-tool to do the steering tie-rods.

    The interior size of the box-section is exactly the right size to do up the tie-rods, and so with an old socket welded on the other end we were good to go!


    Then we were on to the drive shaft. We'd prepped it last week but were missing the gasket between the driveshaft and the rear diff. With that procured during the week from Continental BMW, we were good to put the driveshaft back in the car.

    Greased and ready to go:


    The offending gasket in place:


    With some fiddling around, we soon had the driveshaft in place:


    CSB in place:


    We torqued up the driveshaft, and reattached the heat shield over the drive shaft, then it was on to reassembling the exhaust.

    The exhaust system is a bit shiny-er than when it was last photographed, here's a couple of photos before we put it together:


    There was a fair bit of fiddling to get the exhaust system all back in the right place and located correctly, but we got there, and it's looking good!


    While we were there we also replaced these trim pieces as one of them was badly damaged, and replacements were cheap:


    Then it was on with the plastic under-tray components and the rear brace (which I didn't get photos of) and then the (clean) wheels were back on...


    A couple of hours later (really didn't want to drop it after all the work we've done on it) and it was back on the ground!!!


    We hooked up the battery, did a final check of everything and fired it up. Given we'd run the starter last week, the fuel lines had charged, etc. and the engine started on the first key-turn. All sounding good (no clanking noises - win) and no dash lights. We let the engine run for a few minutes and switched it off. We were going to give it a short test drive, but night had fallen and we decided that it would be best to do a first test run in daylight - so we have that to look forward to tomorrow.

    It's been 5 months and 3 days since the car went up on the jacks. With the discovery of the RACP issues, plus the decision to do the rod bearings at the same time, it's turned out to be a larger project than anticipated, but it's been enormous fun, and it's very satisfying to have the car back on the ground, and running :thumbsup2:

    It's been a huge exercise, and I'm very much indebted to my Dad for the massive amount of time and effort that he's put into this project. It's great to know that the car's in good shape now and that the major maintenance items are all taken care of.

    Tomorrow we'll move the car out of the garage, give it a bit of a wash and take it for a short test drive. Then next week it'll be off to BMW for a full wheel alignment, a WOF and the driver's airbag recall.

    I'll also be spending some time helping Dad clean the garage so he and mum can finally park their cars indoors again!!!

    :hattip:

    Leave a comment:


  • karter16
    replied
    Update #16

    We're closing in on the finish! Next weekend we'll hopefully be putting the car back on the ground :-)

    Today wasn't entirely without trouble however, but I'll get to that soon enough.

    Dad did a heap of stuff during the week :hattip::
    • Rear brake discs, calipers and pads on.
    • Emergency brake reinstalled.
    • The rest of the engine bay stuff back together.
    • Front under-tray cleaned up.
    • Finished cleaning up the exhaust.

    Today we started off with reassembling the drive shaft. We started by attaching the new CSB, and then bolted the two halves of the drive shaft together.


    Then we bolted the flex disc (guibo) in place.


    (Note that the arrows on the flex disc need to point to the mounting on the drive shaft)


    All torqued up


    We then discovered that we had missed ordering a new gasket to go between the driveshaft and the input flange on the diff. Unfortunately the local dealer didn't have any in stock, so one is on order from BMW NZ and I'll pick it up on Monday.


    I took the opportunity at this point to take a few more photos underneath the car before we put the reinforcement plate back on...

    Steering guibo and new engine mount:


    Steering rack and boots (with temporary "clamps" until the wheel alignment is done):


    Front control arm:


    Front left hub assembly:


    Front left strut:


    Fuel filter:


    Rear brakes:


    Next up was reinstalling the front reinforcement plate.
    Here it is, ready to go on (a bit shiny-er than when we took it off):


    And here it is installed and torqued up:


    We then moved on to bleeding the brakes. Takes a little while, but all went smoothly, and now they're all ready to go. We also adjusted the emergency brake.


    After lunch we got stuck into cleaning the wheels up. As was to be expected there was a lot of brake dust and tar to clean up. There was also a lot of sticky from balancing weights to clean up (always fun :raspberry.

    Several rounds of wheel cleaner got most of the brake dust off. Then we used desolv-it to soften the sticky from the weights so that we could clean it off, then kerosene to take the tar spots off. The wheels cleaned up pretty well, the gunmetal grey colour looks great when it's cleaned up.

    What's not great is that at some point in the car's past the rear tyres appear to have been changed by someone who didn't know how to change tyres on mag wheels properly. Teeth marks gouged into the wheel, and a giant scrape where it appears the teeth let go and scraped the inner circumference of the wheel :shifty:

    That and the fact that someone has touched up the outer rim of the visible face of the wheel with silver paint, and didn't mask properly, so there's sliver paint on the gunmetal parts of the wheel have left me less than impressed with said person's work and attention to detail :facepalm:

    Fortunately the wheels are in pretty okay condition overall, at some point I'll have them properly reconditioned, but cosmetic stuff is still of secondary importance at this point.

    Here's a couple of shots of the wheels in the middle of the cleaning process.


    You can see the gouge marks in this photo... :shifty:


    While I carried on with the wheels Dad cleaned up the boot and reinstalled the carpet, etc.

    It looks like someone had spilled something on the left hand side of the boot as evidenced in this photo:


    So Dad cleaned that up, as well as thoroughly cleaning the battery compartment, brackets, etc.

    Posed photo of Dad cleaning:


    And here's everything back in place (unfortunately I didn't get any photos of the compartments all cleaned up - I was busy cleaning wheels still!!!):


    By the time it got too dark to see, I'd got the two rear wheels pretty much done, but I still need to do the kerosene step on the two fronts, which I'll do next weekend.

    Next weekend should be the last day of assembly on the car, we're hoping to get the drive shaft, heat shielding, exhaust, brace & faring all back in, and a rudimentary wheel alignment done with the car on blocks, before we lower it to the ground, torque up a last couple of things and fire it up!

    Getting pretty close to the end now!

    I'll finish with a pic of the engine bay - everything back together!


    Leave a comment:


  • karter16
    replied
    Update # 15

    Had a great day today - we made heaps of progress! :thumbsup2:

    During the week Dad had refilled the power steering system, and done the tie rod ends, so we were ready to install the front hubs and the rebuilt struts.

    Hub sitting on the control arm, until we realised that the strut has to sit in the hub first :facepalm:


    The (repainted) hubs and struts went in no problem at all and were soon looking like this:


    Then it was in with the front sway bar (also repainted) with new end links and rubber and polished brackets:


    Brakes were obviously the next logical step, so we installed the new seals into the freshly painted calipers:


    And then installed the rotors, carriers and calipers:


    At this point we also did a bunch of minor tasks:
    • Reattach the front xenon level sensor
    • Front wheel speed sensors
    • Brake wear sensor
    • Brake lines
    • Rear hub collar nuts. (Which necessitated a dad-manufactured torque wrench extension to hit 250nm!)

    The whole process went really smoothly and without any real drama.

    Last project for the day was to put some fuel into the fuel tank, check that there were no leaks, and then hook up the battery and run the fuel pump, etc. to confirm there weren't any leaks anyway (fortunately there aren't).

    We then turned the engine over with the starter motor (and no ignition) to get some oil distributed around the place. We initially tried the procedure listed here (http://www.m3forum.net/m3forum/showthread.php?t=300689) but pulling the relay resulted in a car that was in no way keen on engaging the starter motor. We reinstalled the relay, and everything worked as expected.

    So that marks a couple of significant milestones:
    - Front end reassembly is largely completed. Only minor stuff to go now (reinforcement plate, faring, air intake to go back in, and mechanical fan, etc.).
    - Engine turn over and test of fuel system, etc.

    Key things to do next will be:
    - Reinstall the front reinforcement plate.
    - Rear brakes back on.
    - Bleed brakes.
    - Engine back stuff back in.
    - Drive shaft in.
    - Heat shielding in.
    - Exhaust back in.
    - Brace & faring back in.
    - Anything else we've forgotten.
    - Car off of stands.

    The list is short enough now to write down!

    Till next time. :hattip:

    Leave a comment:


  • karter16
    replied
    Update #14
    Time for a big update! Lots has happened since my last update... Hopefully I don't forget anything as I write this.

    The weekend after my last update ended we disassembled the front end. Pretty easy and straightforward process, and unfortunately I didn't get any photos of it.

    We then moved straight on to the rod bearings. Removed the oil pan, associated hardware, etc.


    Oil pump removed:


    We then moved on to doing the rod bearings... To begin with it was actually an absolute mission. It just isn't possible for a single person to manage 105 degrees of angle torque when lying under the car (in our experience anyway). We burned through a couple of spare bolts practicing, and trying different approaches, but we just couldn't make it work. 70 degrees would have been fine, so I can understand how this would have worked for the older E46's, but we just couldn't reliably pull 105 degrees in a single stroke.

    After some trial and error, and a fair amount of frustration on my part we came up with an approach that worked.

    It takes 3 people, but it's a reliable approach. Basically the tool is as follows:
    Bit -> Angle gauge -> 12 in extension -> long breaker bar -> breaker bar extension (pipe).

    Person #1: Holds the bit, gauge, extension assembly in the right place, cradling the angle between the extension and the breaker bar against their shoulder. They're responsible for maintaining the tool on axis as person #3 rotates the assembly.

    Person #2: Their sole job is to locate the gauge and call out progress to Person #3.

    Person #3: Rotates the tool through 105 degrees.

    Person #1 & #2 are underneath the car. Person #3 is near the front left wheel well.

    It's important before each pull that you check that you have 105 degrees of motion available to you. We found that if we got it wrong we would collide with the front left jack stand.

    This approach made the tightening procedure fairly straightforward and reproducible.

    We did run into one further issue. We noticed that the bearings coming off the car had 437/438 stamped into them, and the new ones going on had 439/440 stamped into them. We were immediately concerned that we had different part numbers. A lot of investigation research and measurement later and we concluded that we had the same part, although we can't explain why the number stamped on the bearings is different... Part numbers ending 437/438 don't appear to have ever been BMW bearing parts, so we're a bit uncertain.

    The real kicker though was that in the process of investigating all of this and measuring bearings, etc. we managed to damage one of the new bearing shells. This meant that we were only able to get 5 of the 6 bearings done while a replacement bearing winged it's way to Auckland... It was a bit annoying to not be able to get it done in a day, but ultimately worthwhile getting a pristine replacement.


    I was away over Easter volunteering at a large Easter Camp event for high school kids (6500 kids), and then was also away the weekend after Easter with friends. By the time the next weekend came around the replacement bearing shell had arrived, and 20 minutes later we had it in place.

    Before I move on here's photos of the bearings.

    Yes, I know, there's only 5 in the photo. I'm a fail photographer, will replace this pic as soon as I get a new one with all 6 :facepalm:


    Cyl 1 (Cap side)


    Cyl 1 (Rod side)


    Cyl 2 (Cap side)


    Cyl 2 (Rod side)


    Cyl 3 (Cap side)


    Cyl 3 (Rod side)


    Cyl 4 (Cap side)


    Cyl 4 (Rod side)


    Cyl 5 (Cap side)


    Cyl 5 (Rod side)


    Cyl 6 (Cap side)


    Cyl 6 (Rod side)


    For a car with 85,000 miles on them these seem pretty bad. I'm very, very glad that I didn't wait any longer to do them, and I consider myself pretty lucky that the journals are fine and nothing's damaged. Given I don't know the full service history of the car, I can't be sure how it's been looked after, especially in terms of oil changes. But at least going forward I know where things are at.


    With the rod bearings done we then reinstalled the oil pump, etc. and refitted the oil pan (after a good clean). This took a surprisingly long time to torque everything up, but by the end of the day we had the subframe back on and the steering rack reinstalled.

    During the week Dad reassembled the front struts ready for reinstallation. All looking good!


    Also here's a pic of the front hubs painted up.


    The next weekend we kicked into further reassembly. We started the day with fitting the new oil filter and refilling the motor.


    And reassembly of the front end:


    We then kicked into draining the transmission oil. We'd been holding off on doing this for ages as I'd been having real trouble sourcing MTF-LT-2 fluid. I finally managed to track so down so we were good to go.


    Some family stuff meant that we didn't get anything more done that day, nor the following weekend...

    This afternoon though Dad refilled the transmission.

    Custom oil filler ready to go!


    In it goes...


    And here's the comparison of the old "lifetime" oil and the new.


    This weekend we'll get stuck into finishing the reassembly on the front end. Turn the engine over to get some oil around the place and hopefully do a compression/leakdown test as well. Then it'll be on to reinstallation of the driveshaft, exhaust etc.

    The end is in sight!

    Leave a comment:


  • karter16
    replied
    Update #13

    So this weekend marked a corner in that we were putting things back onto the car, instead of taking them off :thumbsup2:

    We started by reinstalling the fuel tank - no issues this time, 20 minutes and it was in :lolhit:


    With the fuel tank hooked up and strapped in place, we turned our attention to the subframe. Originally our intention had been to assemble the rear axle out of the car, and then lift it into place.

    We evaluated that option, and decided it wasn't for us. The amount of weight involved, and our lack of a transmission jack, resulted in us deciding to assemble on the car.


    One of the challenges with rebuilding the rear axle is getting everything positioned and torqued appropriately.

    With the bushes, etc. it's important that they are torqued in their normal (e.g. their position when the car's on the ground), as the control arm and trailing arm bushes are pinched in position when torqued, and you don't want to torque them in an incorrect position and have them pre-loaded when the car's sitting on the ground.

    To this end, we did a lot of measuring to ensure that everything was set in the right locations when the bushes were torqued up.

    Subframe back in the car:


    Next up was the diff. We filled the diff with the SAF-XJ diff oil, and lifted it into place with the assistance of a dolly and a jack.

    Diff on the dolly (prior to being set on the jack):


    Here's a couple of pictures of it magically back in place:


    Next up after the diff was reinstalling the hand brake cables, then it was on to the trailing arms...

    We were initially going to mount the output shafts to the diff, and then put the trailing arms on. Then we realised mating the output shaft spline to the hub means some wrestling. To that end we pressed the output shaft into the hub, and installed the trailing arm and output shaft in one go.

    Again there was much measuring and positioning to ensure that everything was installed and torqued up in the "normal" position.

    Before long things were looking like this:


    Note that in the above photo, the hub is NOT in the "normal position", it is somewhat lower (or higher, depending on how you look at it) than the normal position - resting where it is cause that's how long the block of wood is :laughhard:


    With the trailing arms in, it was time to get the sway bar in, before the springs, etc. start making things really difficult.

    Getting the end links on is the hardest part - we ended up using the press to provide a little extra leverage.


    Even so - getting the sway bar in was slightly more challenging than intended - but a bit of tactical positioning of the end-links and we were away.

    Then it was in with the spring and spring pads. Note the sway bar in, but hanging loose - to allow us to drop the control arms enough to get the spring in:


    Then it was in with the shocks. We adjusted the Koni's (half a turn from full soft to start with) and put together the strut assembly.

    New bump stop and protective cover:


    At the top end it's new shock mounts & associated hardware, plus the reinforcement plates for extra security.

    Here's a pic of the shock installed:


    And the sway bar reinstalled:


    We also did some extra bits and pieces:
    • Carbon filter cover back on.
    • Rear heat shield back on.
    • Level sensor reinstalled.


    During the week Dad is going to reinstall the brakes, and I'll get some new lock nuts for the hubs (the eagle eyed amongst you may have noticed they're not torqued up yet!).

    Then next weekend it will be on to disassembly on the front (we'll do driveshaft, exhaust, etc. at the end). The plan at this point for the front is to do disassembly, cleaning, rod bearing shells, cleaning and painting of parts in parallel, and then reassembly. Hopefully the front will be a bit of a quicker process than the rear has been :laughhard:

    For now - I'll end with a few more photos:


    Leave a comment:

Working...
X