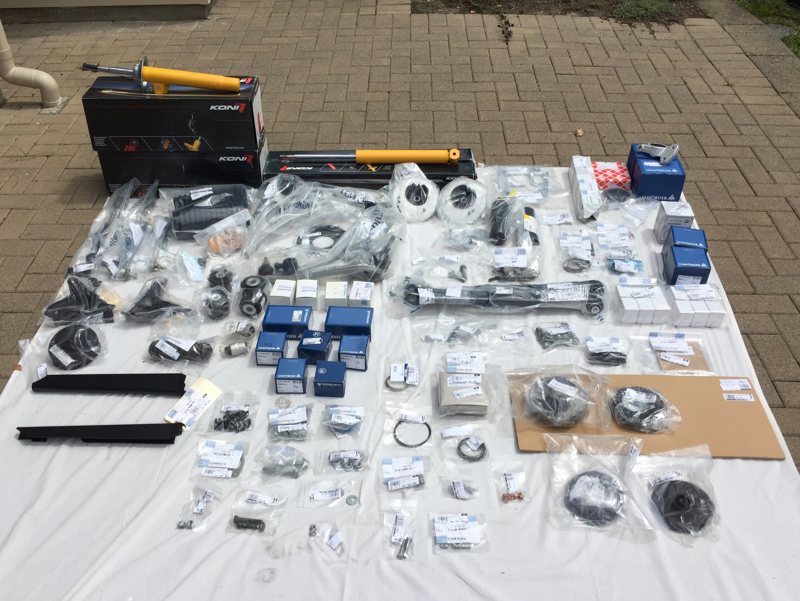
Couple of weeks since I last updated here!
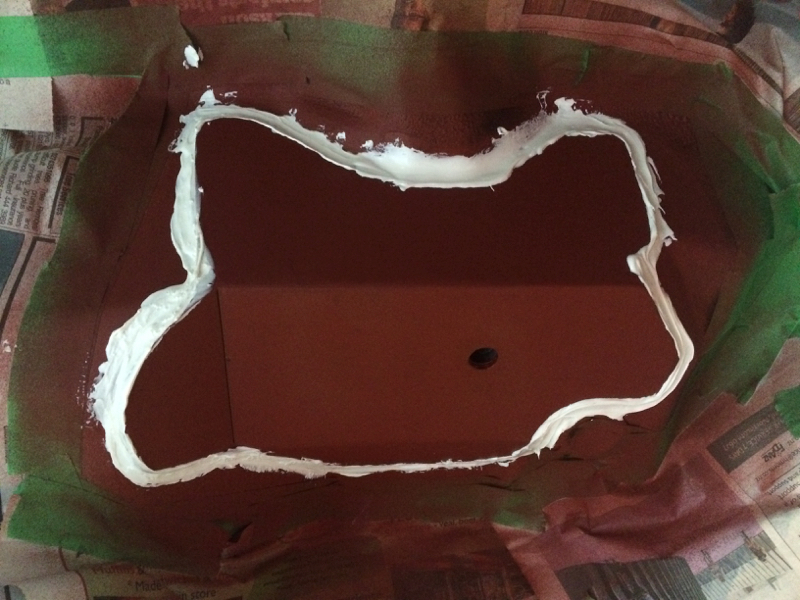
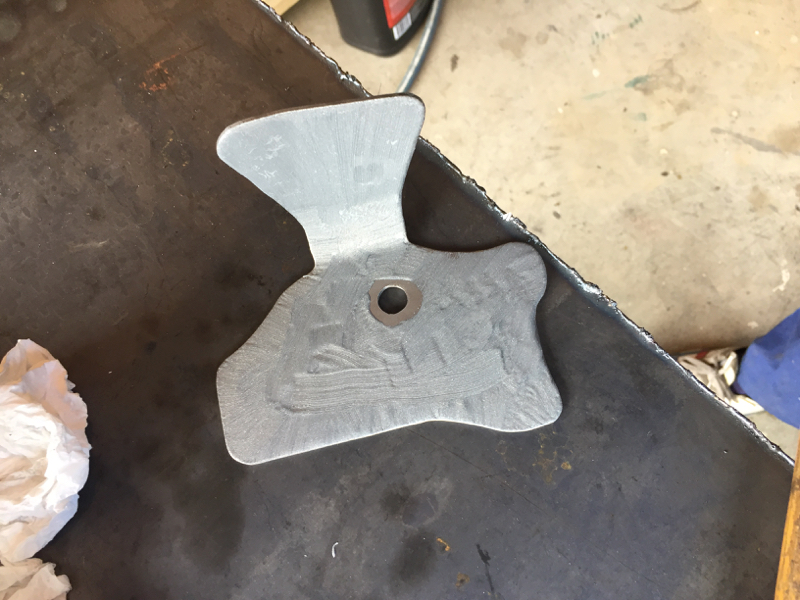
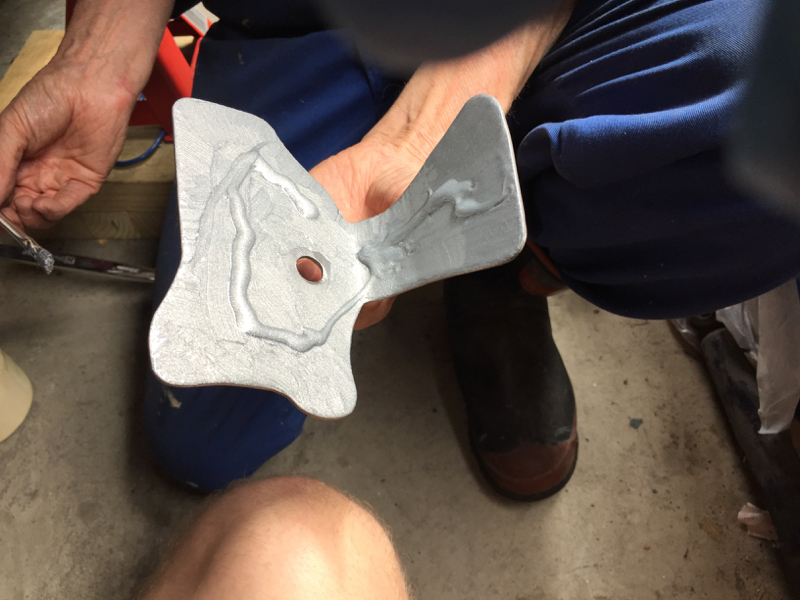
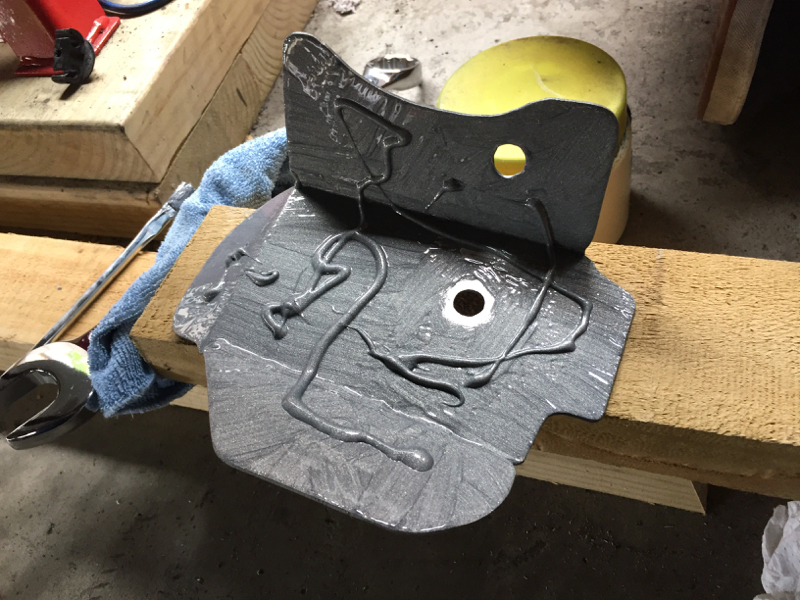
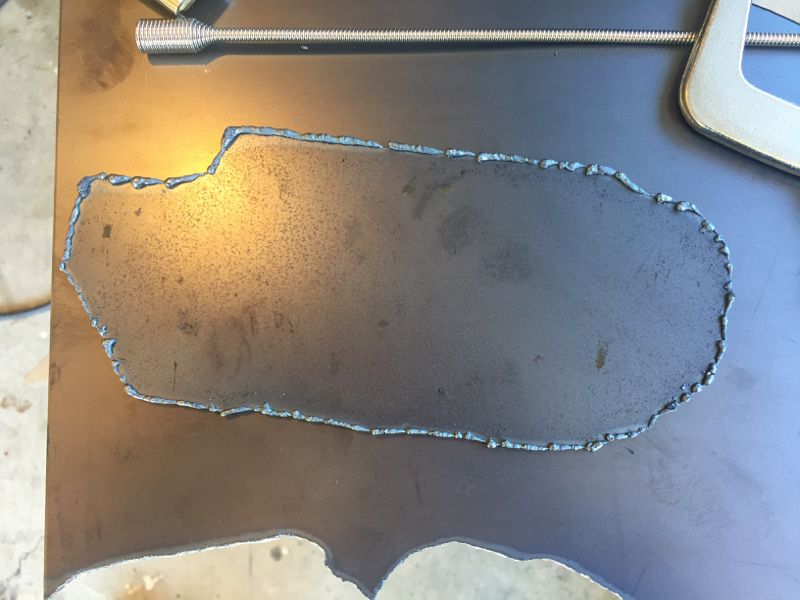
After epoxying the plates and waiting for them to set they looked like this:
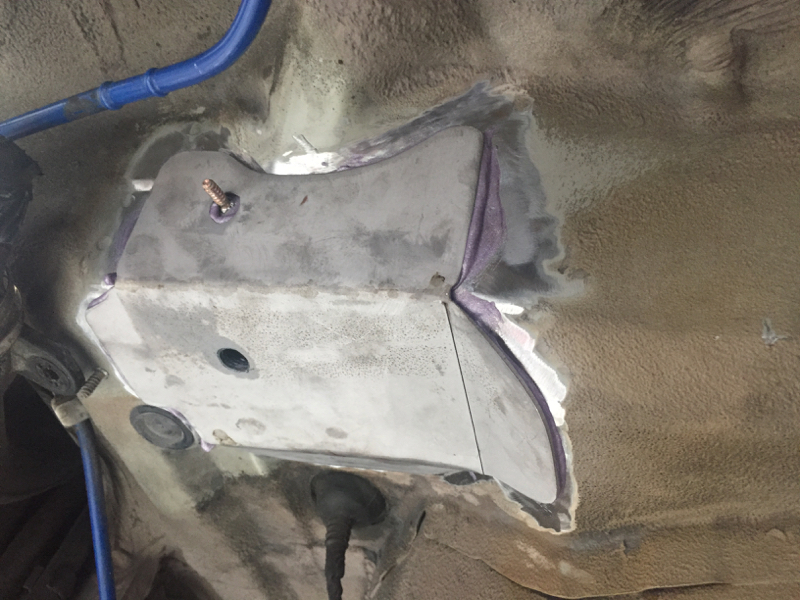
Notice how the epoxy has turned purple now that it's set! Cool visual indicator...
Really pleased with how the epoxy process has gone. We got good beads around the edges of the plates, without too much excessive spill, meaning we got the quantity of epoxy about right.
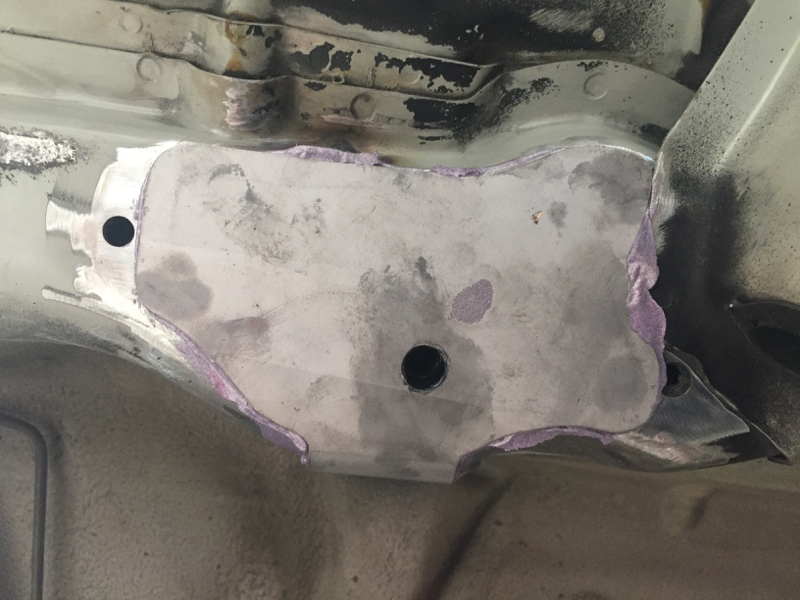
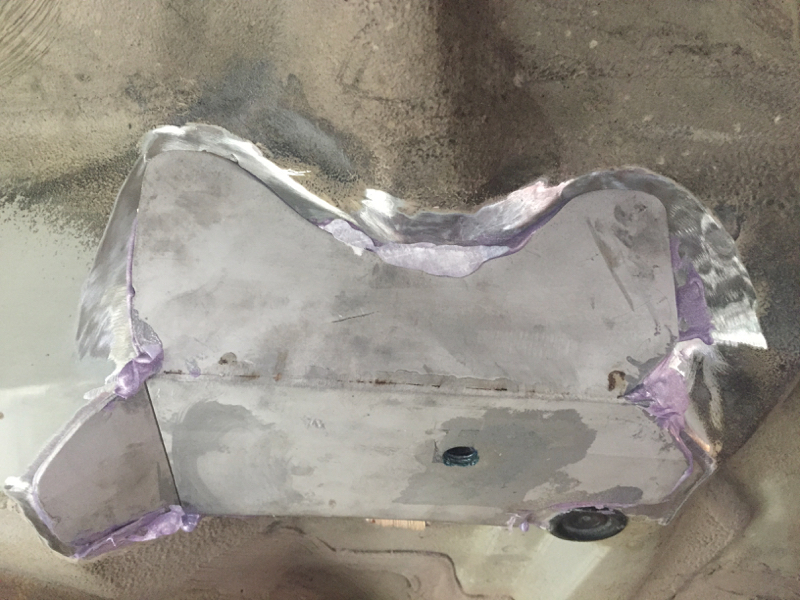
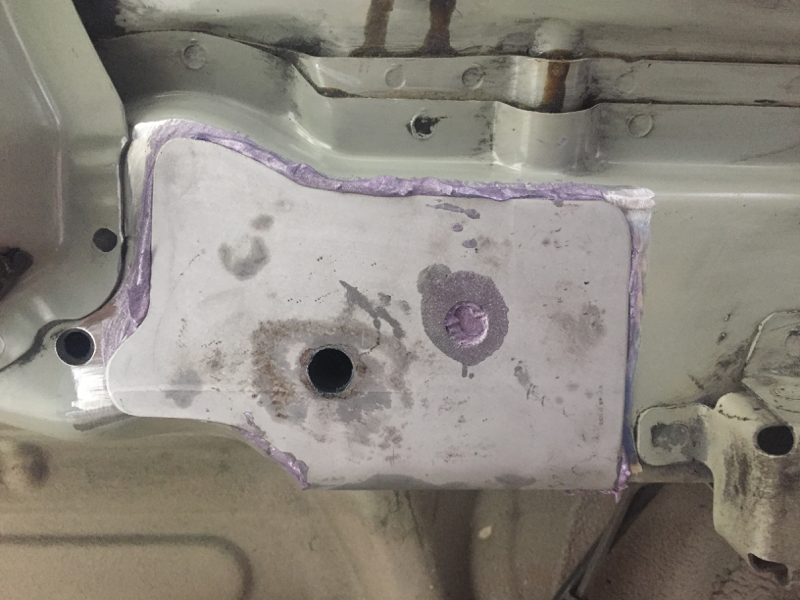
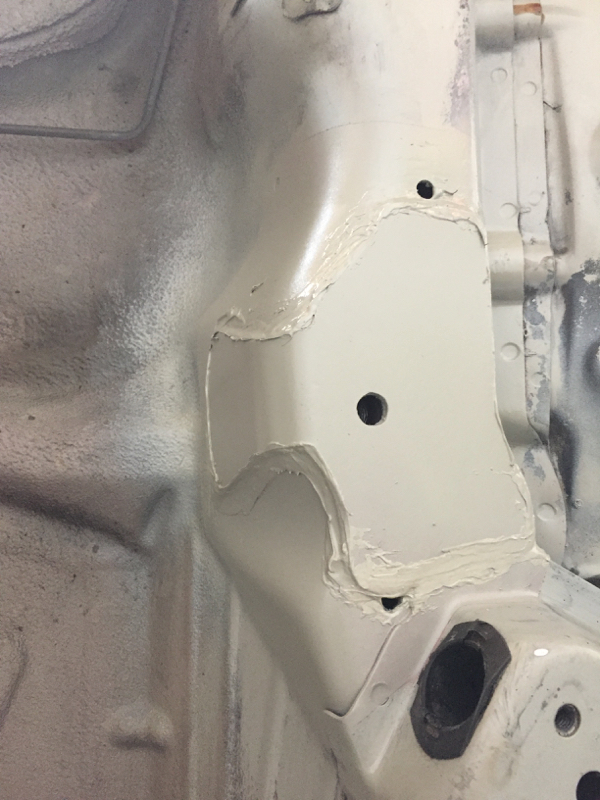
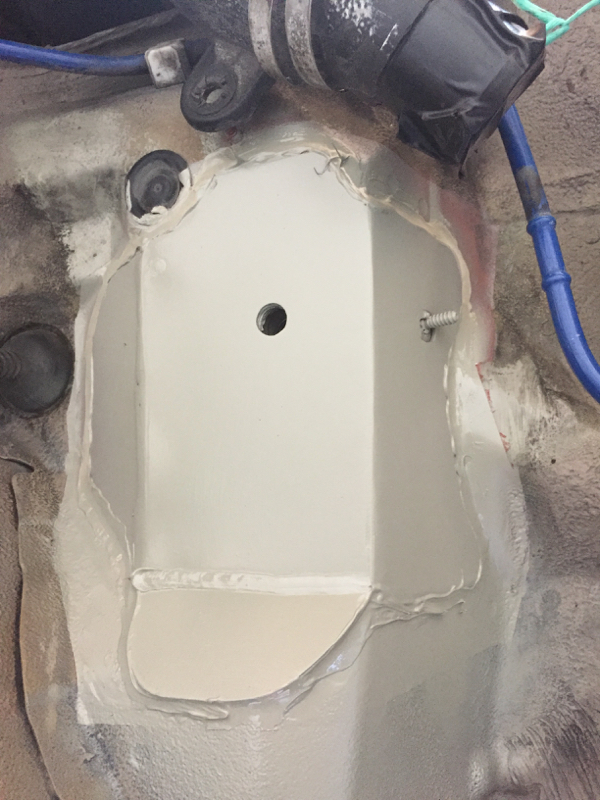
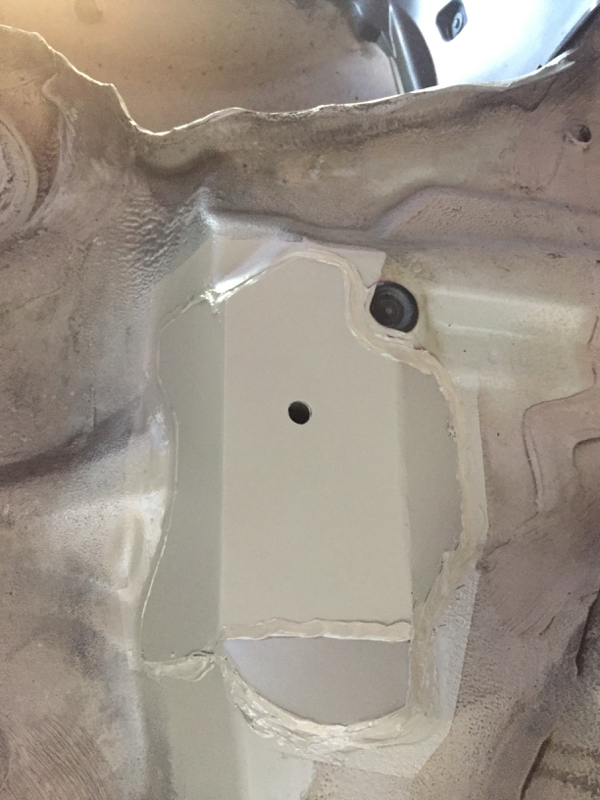
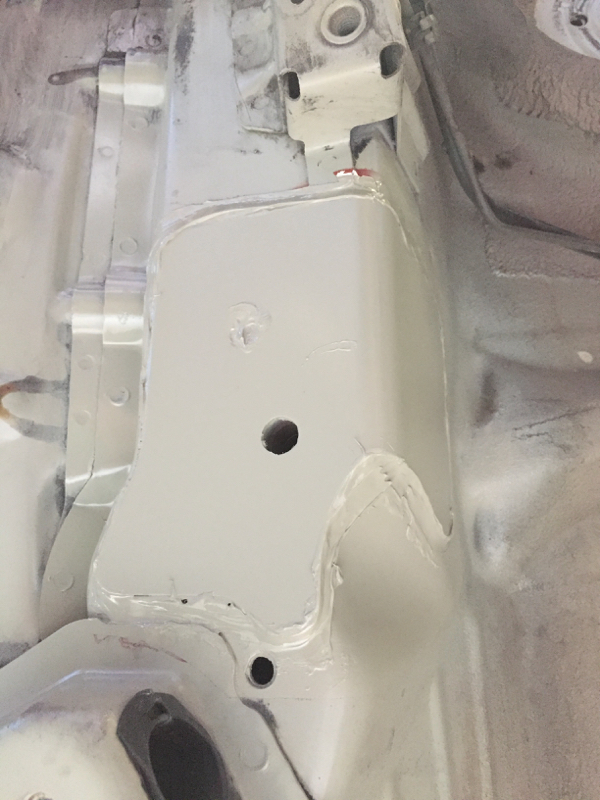
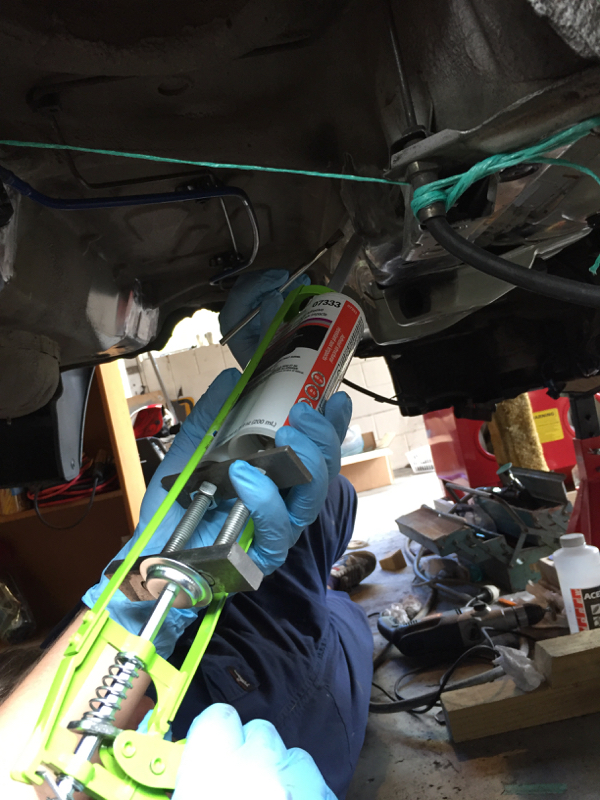
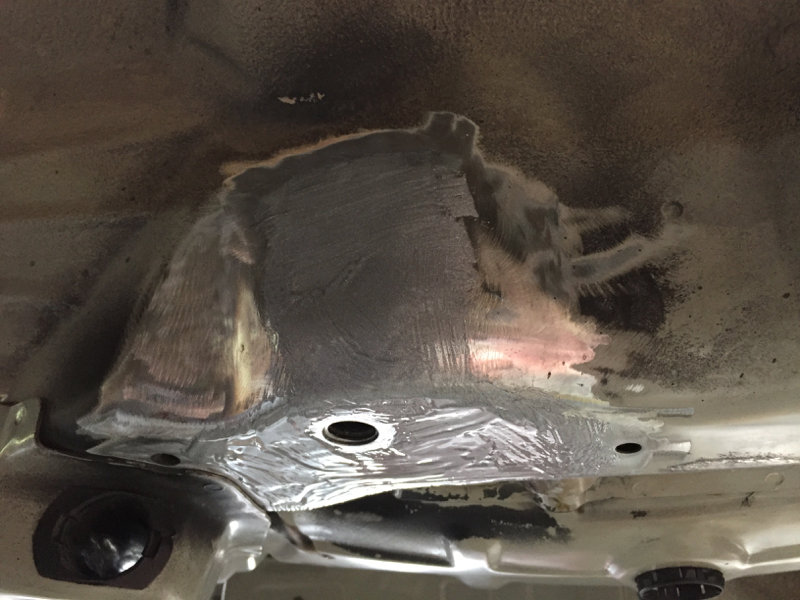
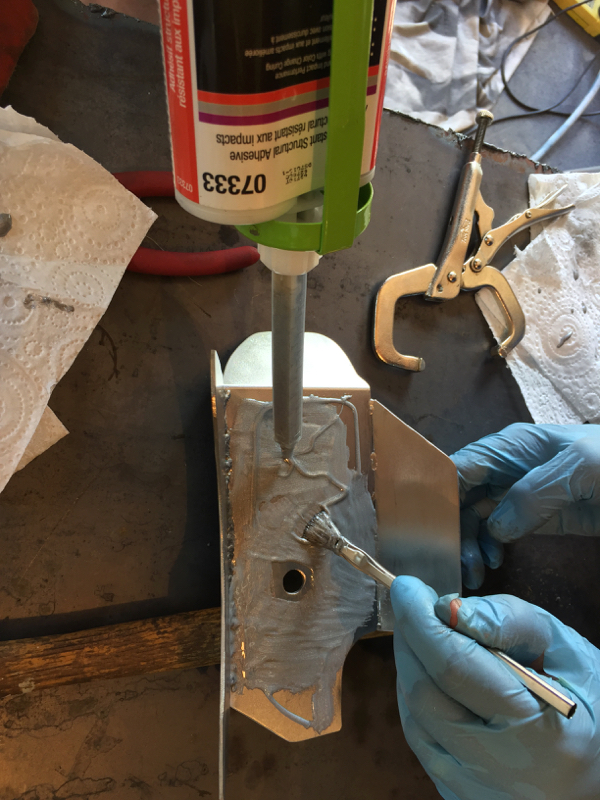
With the epoxy set, we next cleaned up the plates and excess epoxy with the die grinder, cleaned the surface with acetone, and then undercoated the bare metal surfaces with PA10. Once the PA10 undercoat layers were done, we seam sealed all the edges.
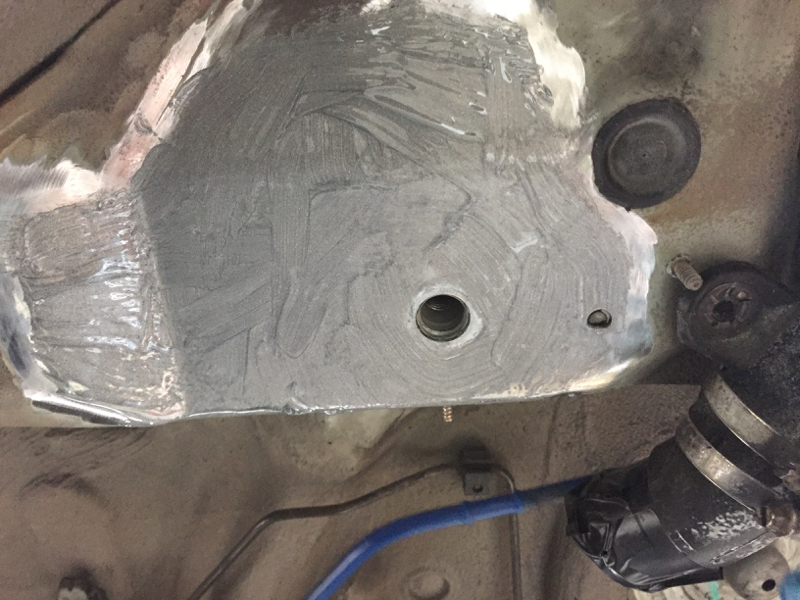
This left things looking like this:
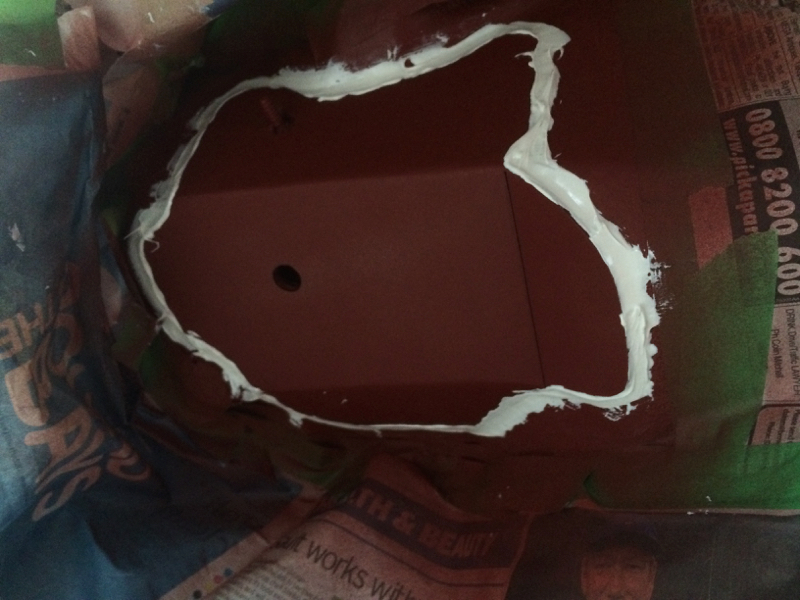
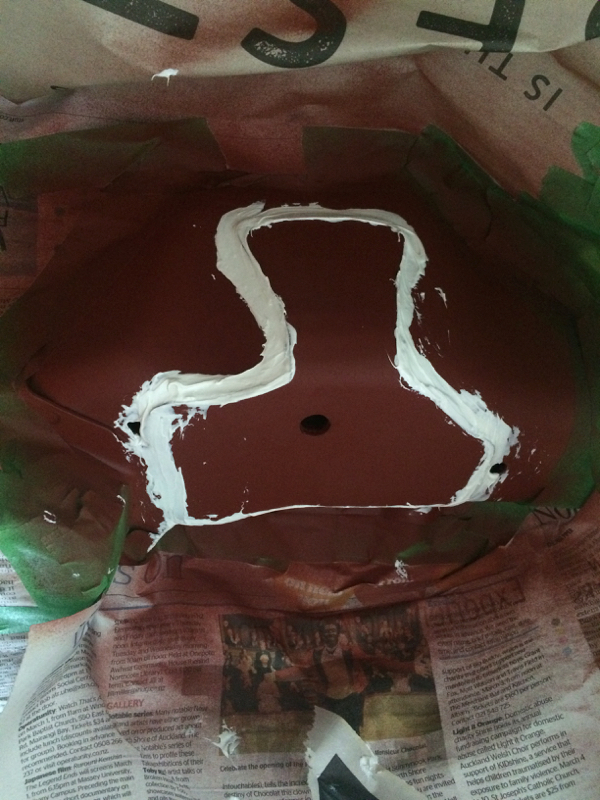
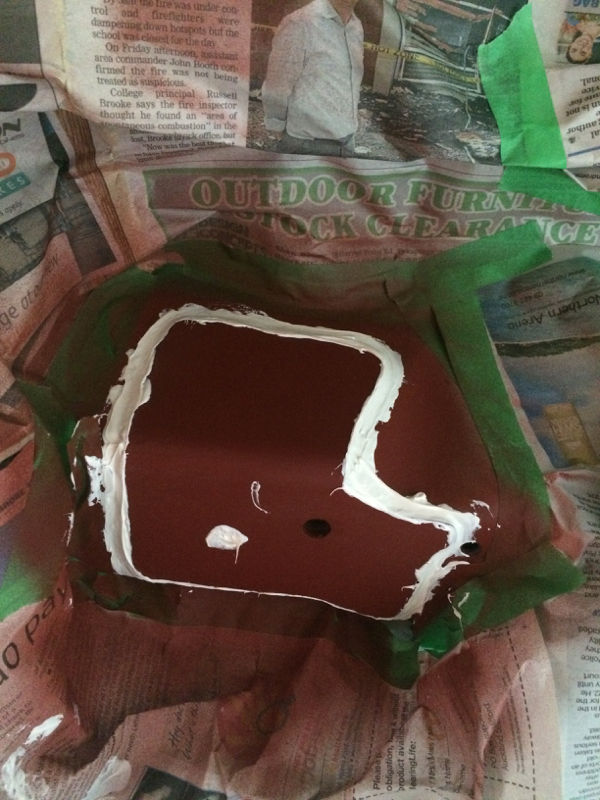
I won't claim to have done the world's most professional job with the seam sealer, the finish isn't perfect, but it is completely functional. :thumbsup2:
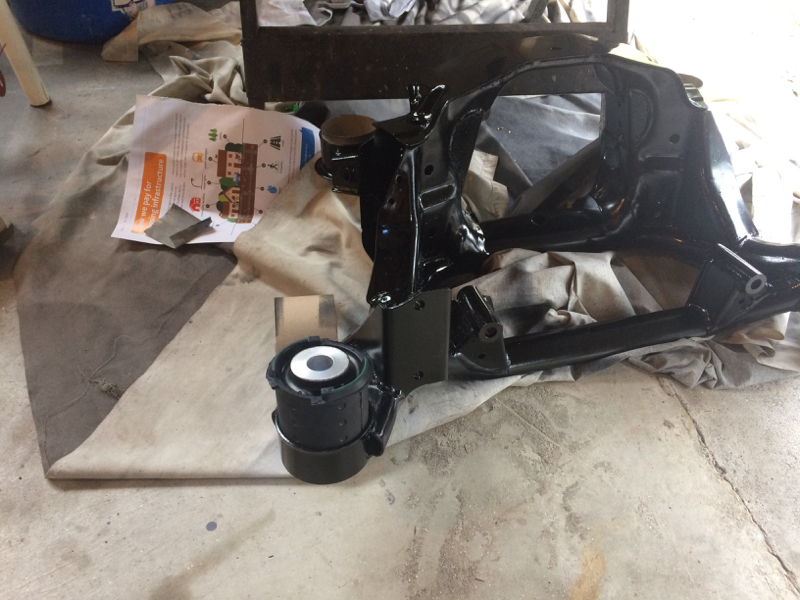
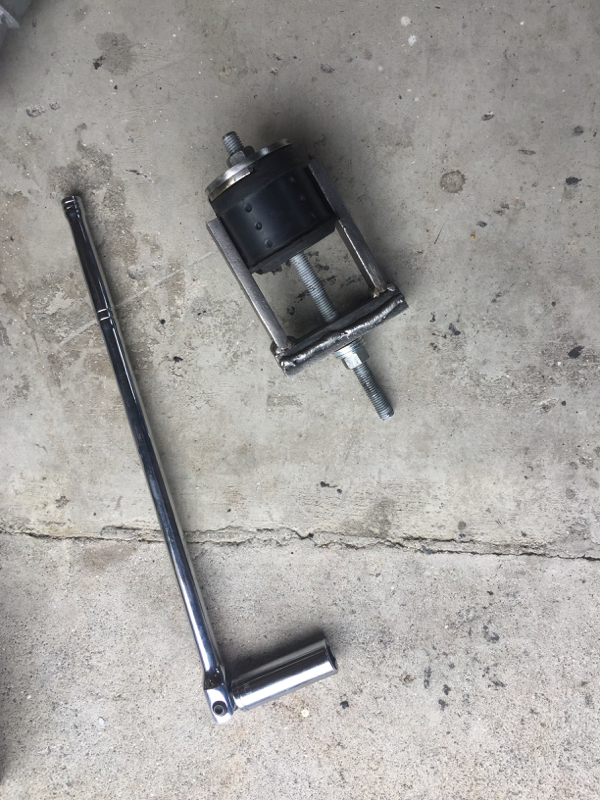
With the seam sealer drying, we moved on to pressing the new bushings back into everything. :taser:
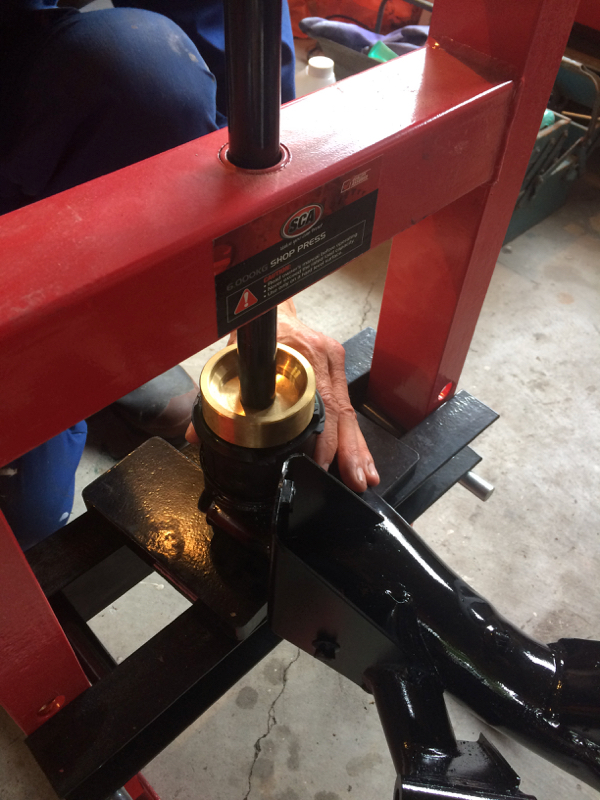
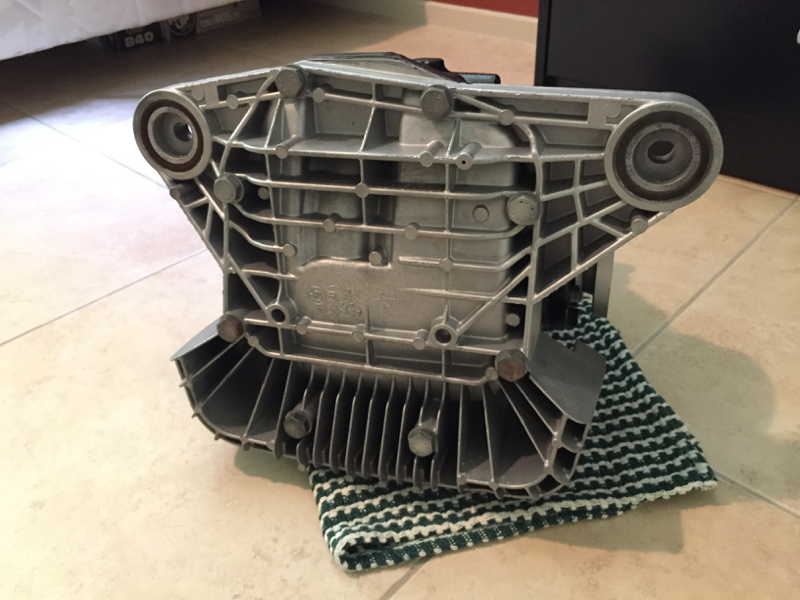
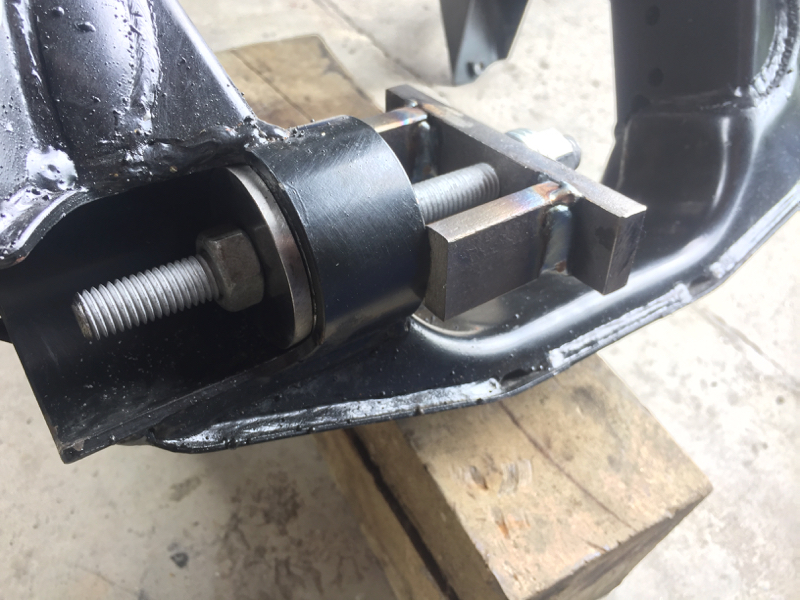
First up was the subframe. We used my friend's 6 ton press to press the subframe bushes - given it fit in the press.
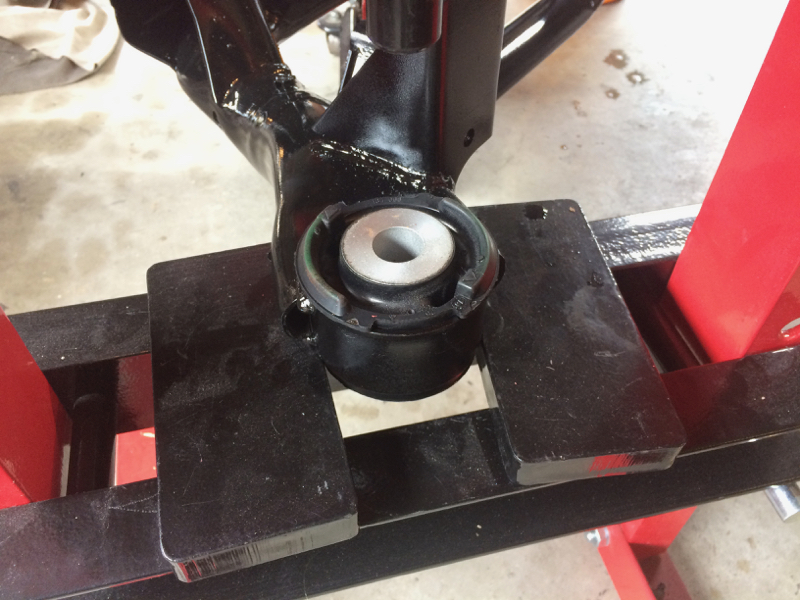
We used a turned brass puck to spread the load across the surface of the bushing.

And hey presto!
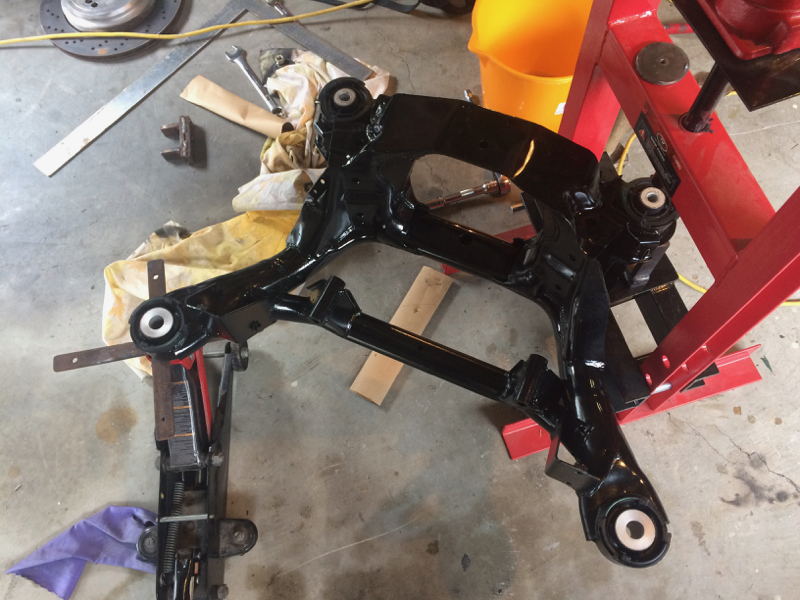
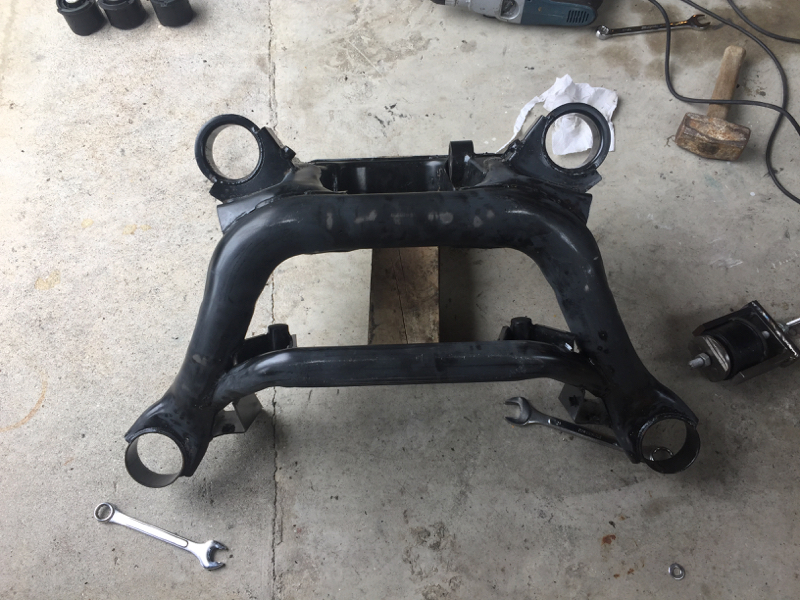
In short order, the subframe looked like this:
:thumbsup2:
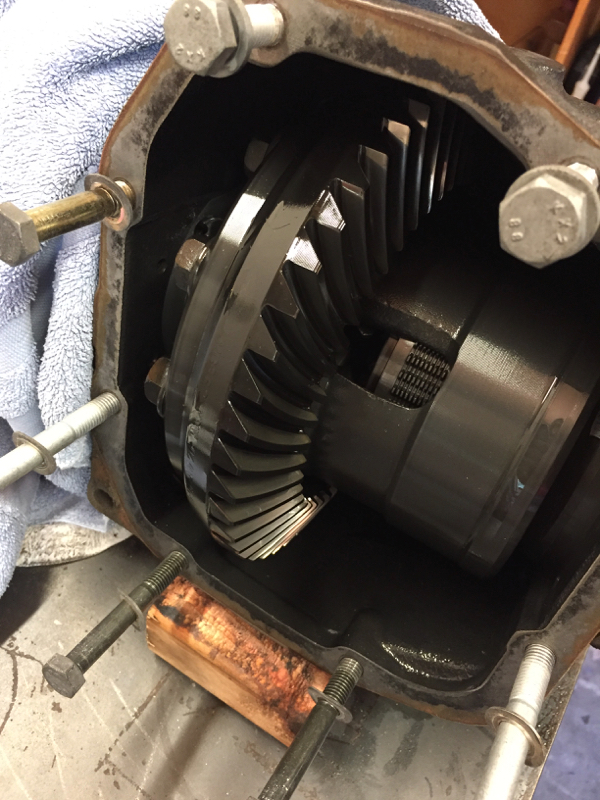
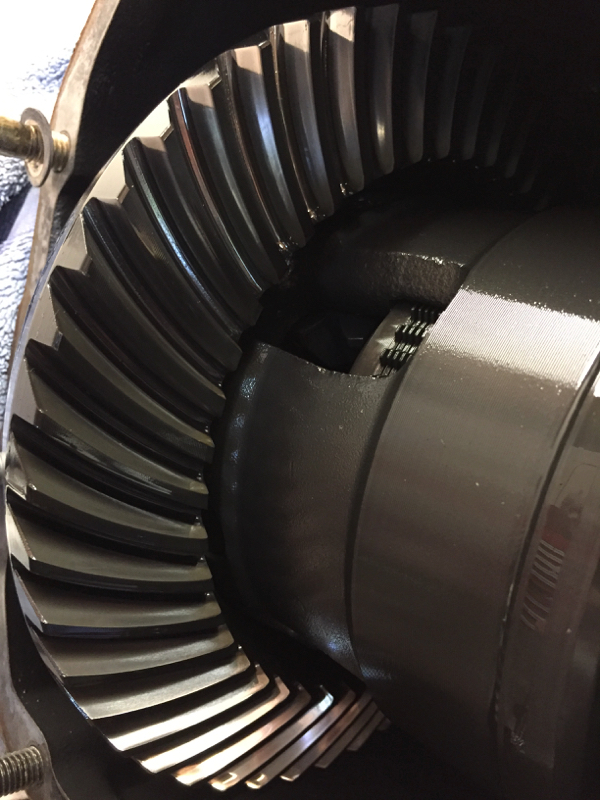
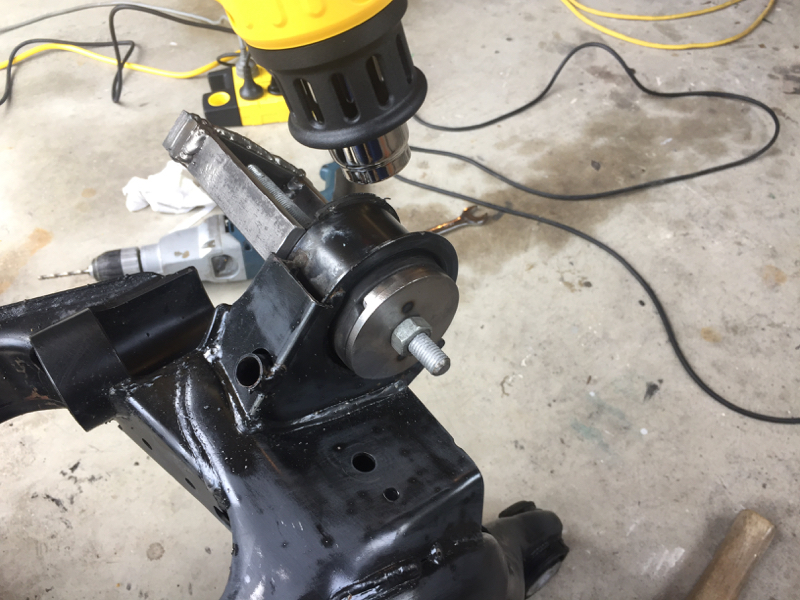
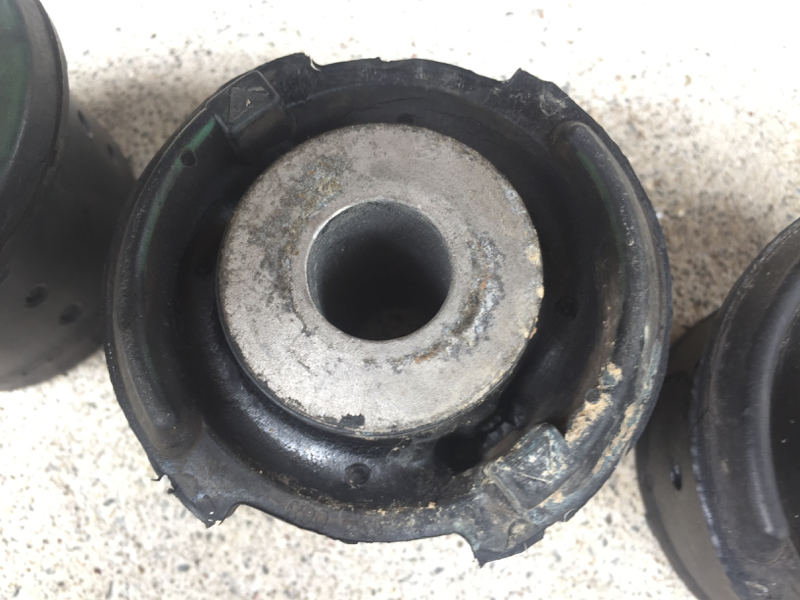
The front diff bushing was a PITA. Used the same process as getting it out. Took ages. Glad I don't have to do it again for a long time. :raspberry:
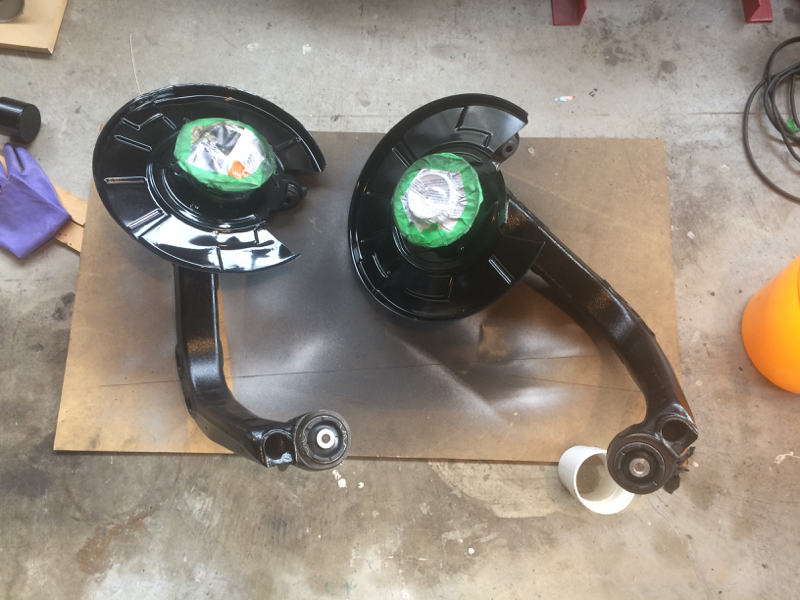
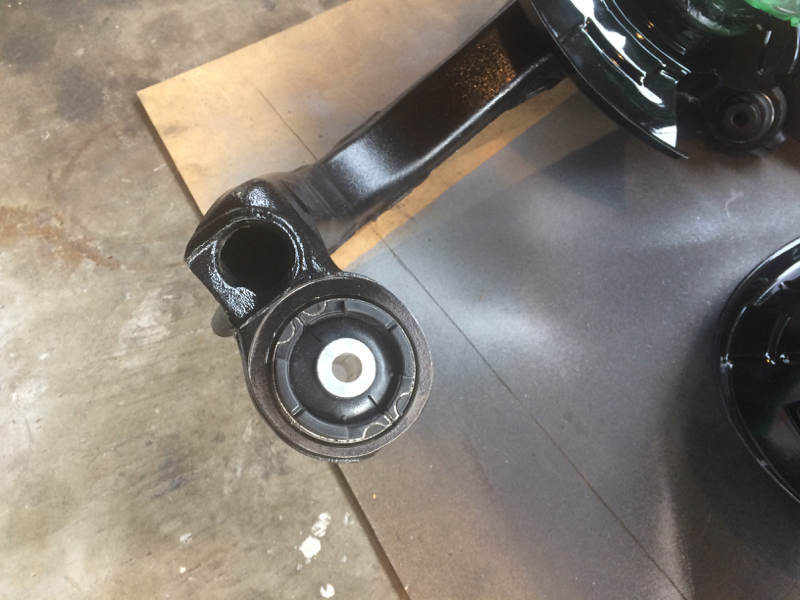
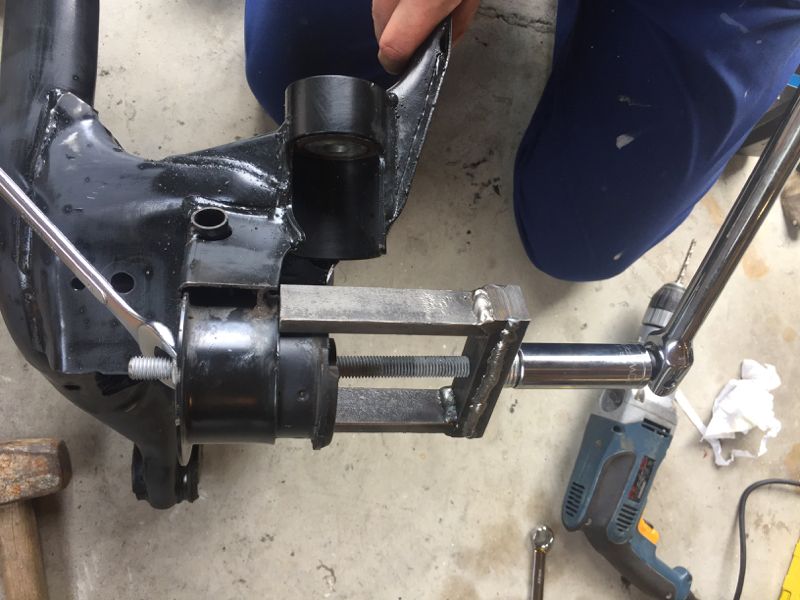
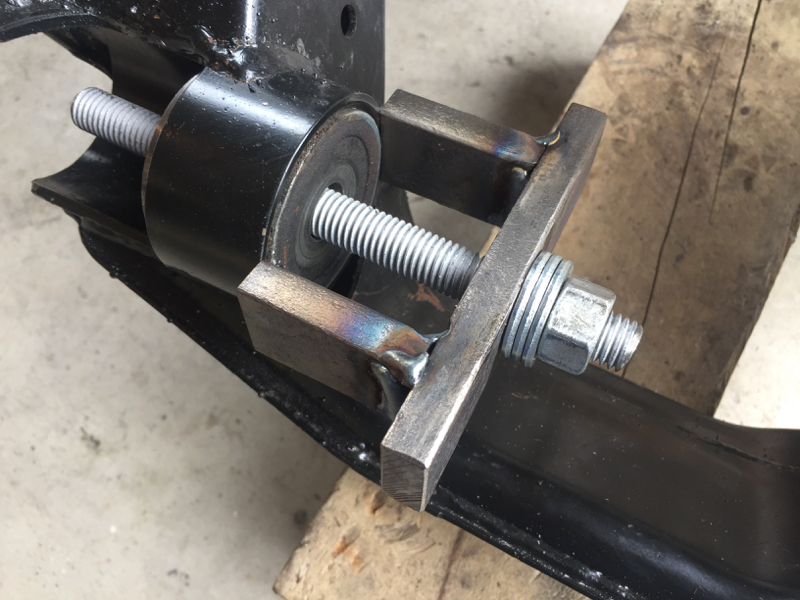
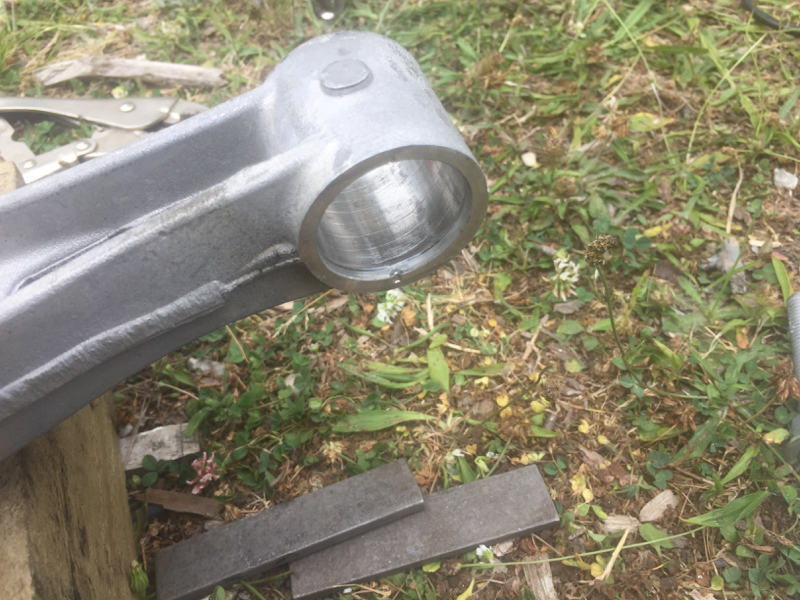
We did the upper control arms in the press as well - all pretty straightforward, and with the trailing arms we did the bushes and the ball joints using the threaded-rod approach. They all went pretty smoothly - no major issues. Didn't get photos of everything, but here are the trailing arms:
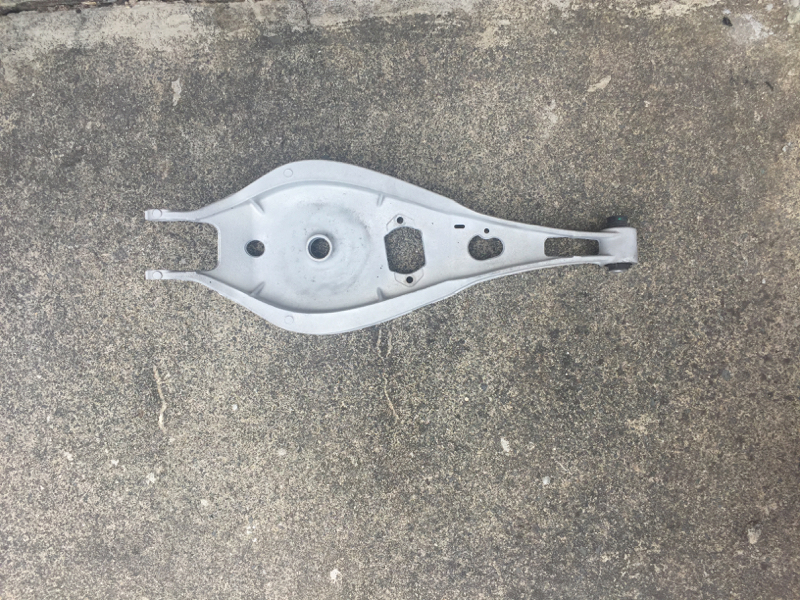
And here's the subframe, with upper and (new) lower control arms reattached:
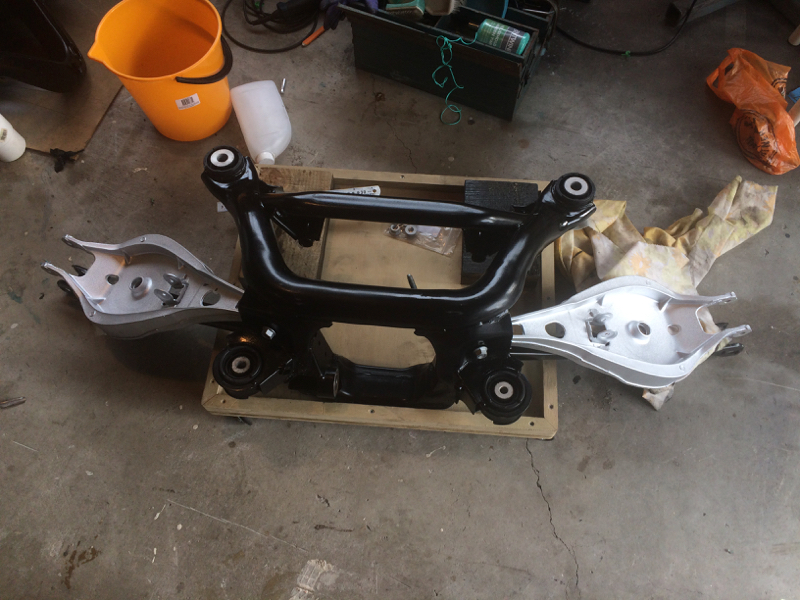
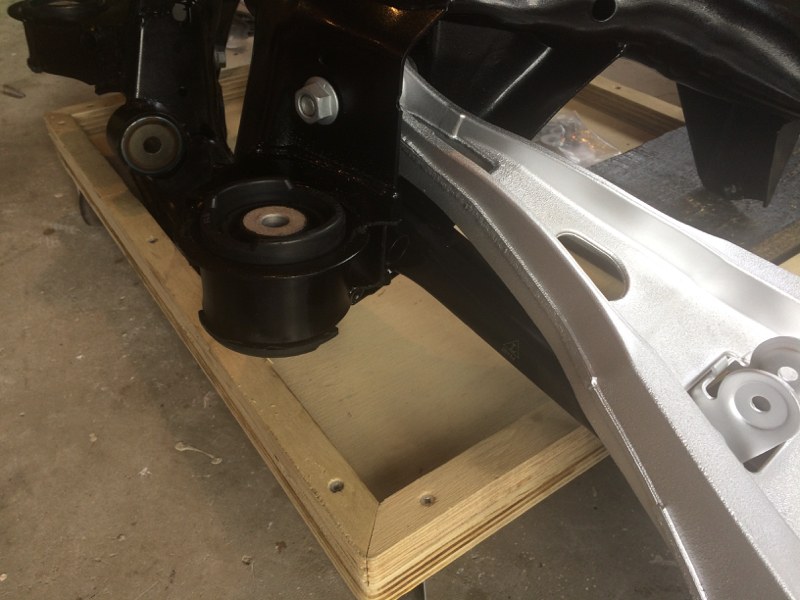
It's all coming together
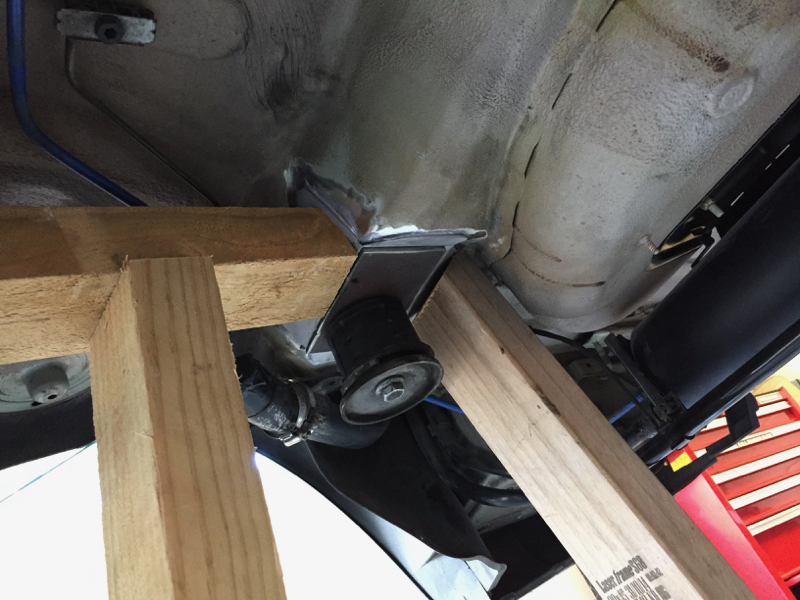
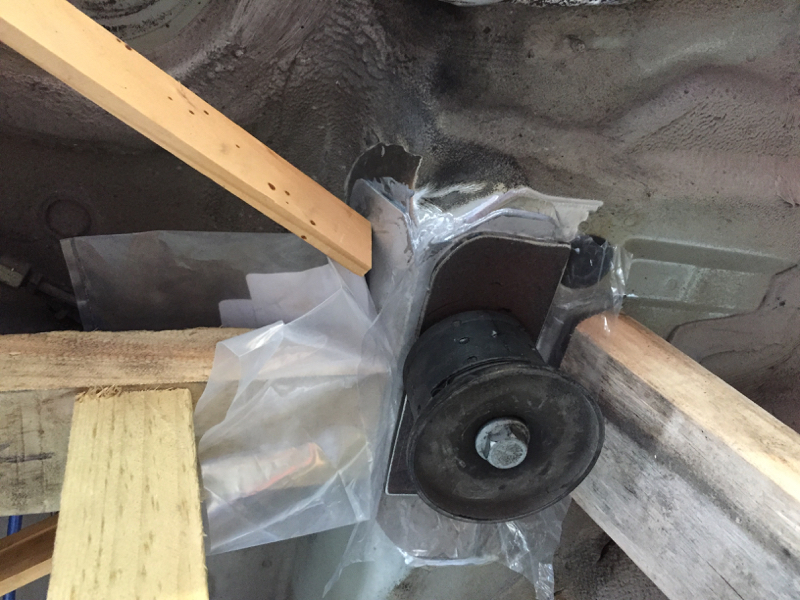
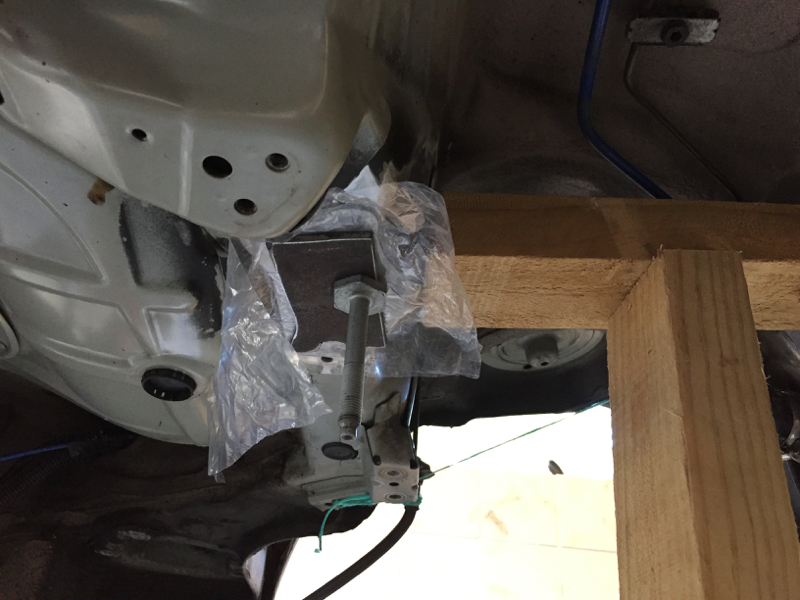
 arrot:
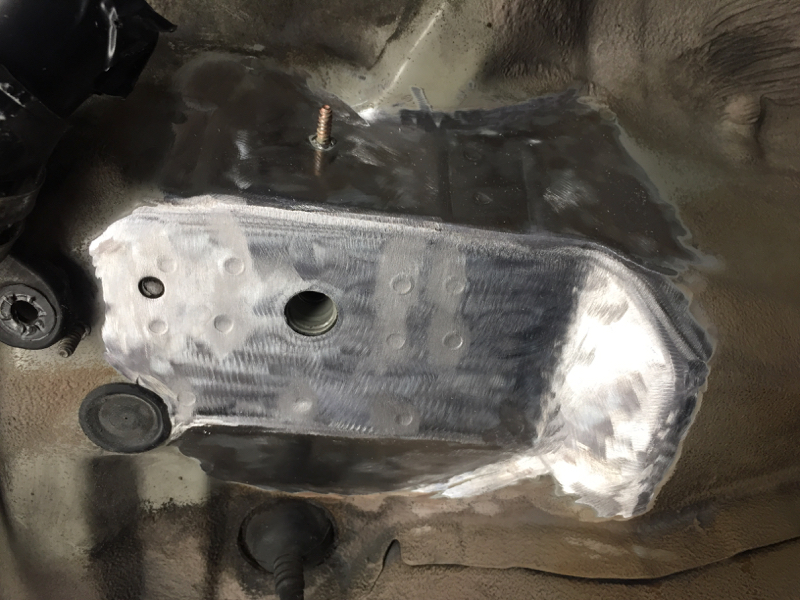
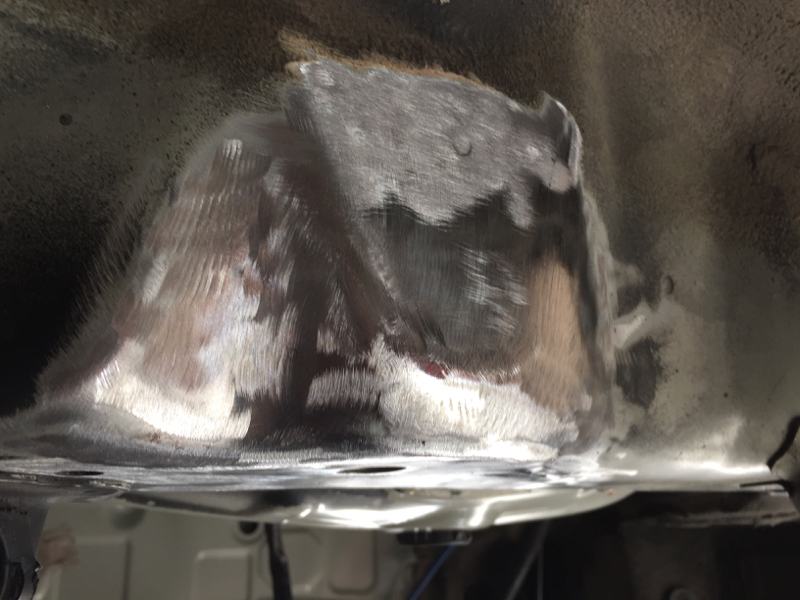
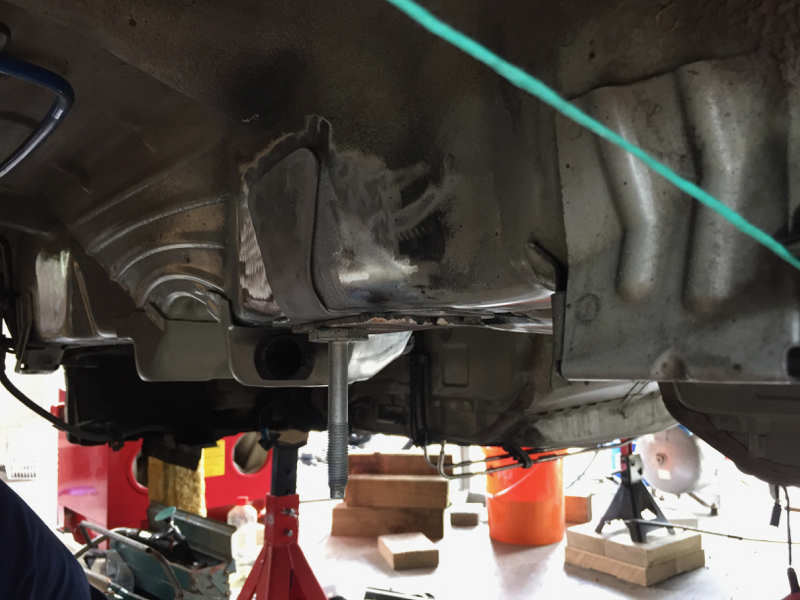
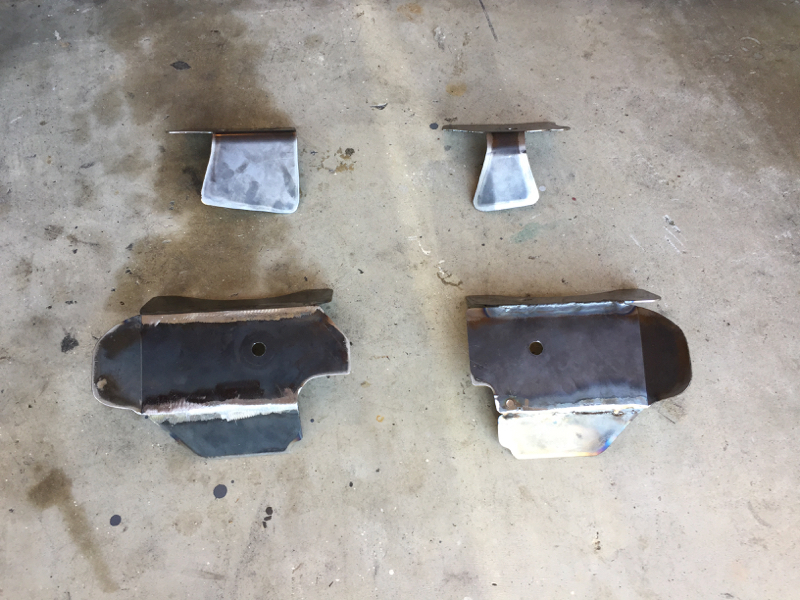
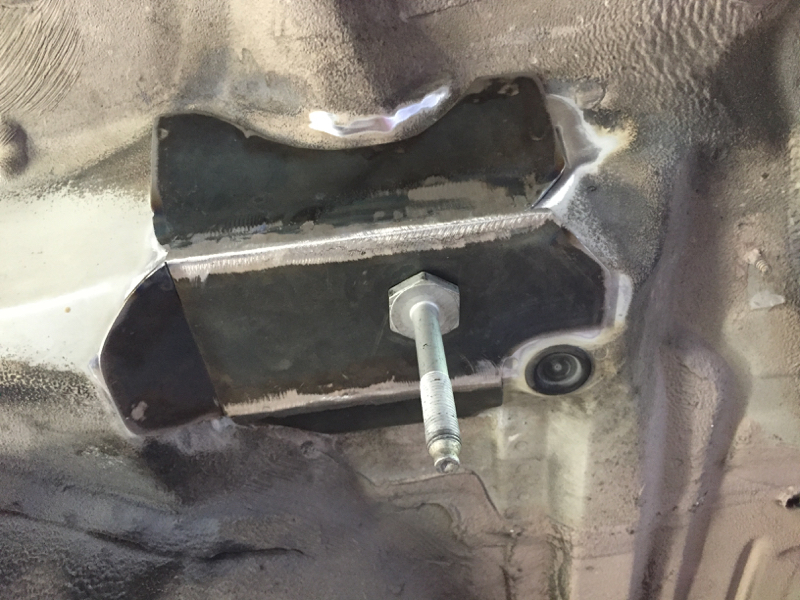
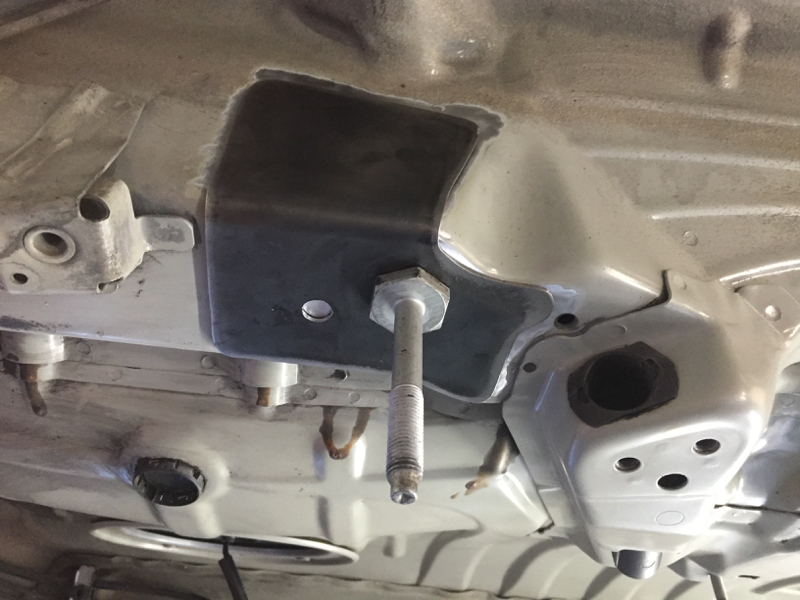
During the week, Dad got some colour-matched top coat for the now reinforced RACP mounts. Here's the end result - very pleased indeed with how it's turned out. It was a process that I wasn't planning on having to go through, but having done it I can say it went much smoother and easier than I was anticipating, and I'm really happy with the end result.
There's a couple of touch ups still to do with the top coat, but really pleased with how it's looking.
Then there was last weekend. Putting the fuel tank back in. It was a comedy of errors and circumstances (I didn't see it as a comedy at the time :facepalm
 .
.Steps to repeat our experience on Saturday.
- Decide to put fuel tank back in car.
- Observe that the hose clamps you have on order for the fuel tank haven't arrived.
- Decide to go to automotive store to get short length of hose to replace the piece you had to cut to get it off, and hose clamps.
- Get to automotive store and discover entire retail area is closed due to power cut.
- Drive through terrible traffic (because of the power cut no traffic lights are working) to another automotive store.
- They didn't have what you wanted anyway.
- Go to racing supplies store who very kindly give you the piece of hose you need for free.
- Go to marine store who have hose clamps.
- Go home.
- Discover that BMW didn't note on the technical diagram that one hose clamp is smaller than the rest -_-.
- Go back to Marine store.
- Go home.
- Get fuel tank under car and start hooking everything up.
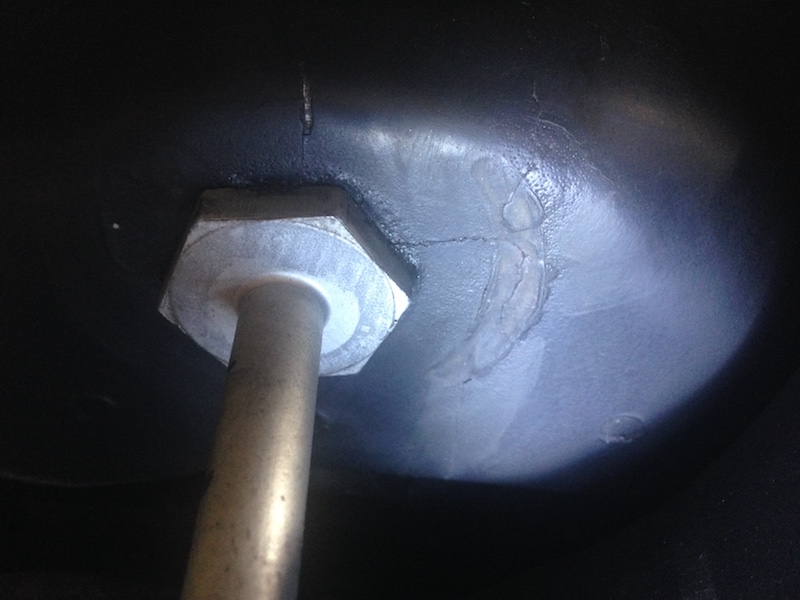
- Notice that a piece of hot weld has bounced across the garage and landed on fuel return pipe.
- Note that fuel pipe has hole in it.
- Decide that today was not the day for fuel tank installation.
- Give up.
TL;DR: Sometimes it's better to just stay in bed.
On the plus side, that's the biggest problem we've had this entire project. Dad picked up a 6x1 joiner on Monday, and hey presto, fixed.
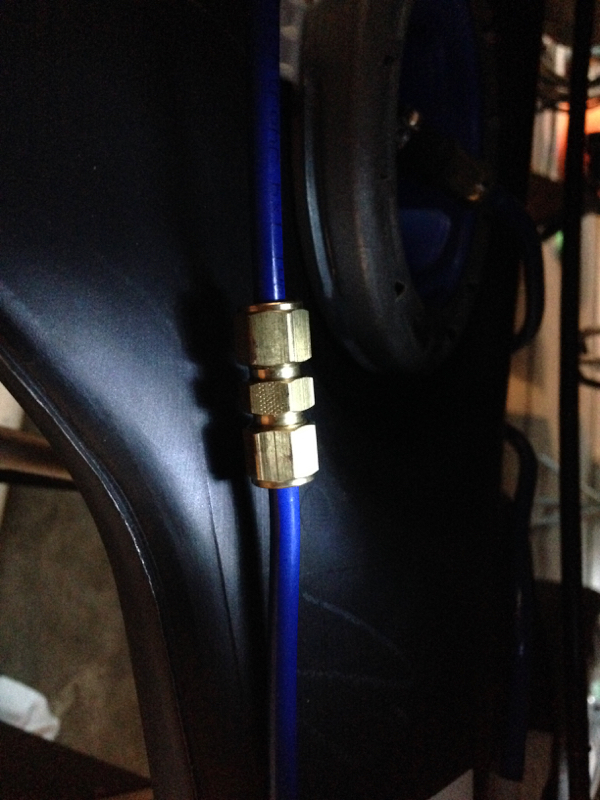
We'll wrap it in foam before reinstallation so it's not vibrating about.
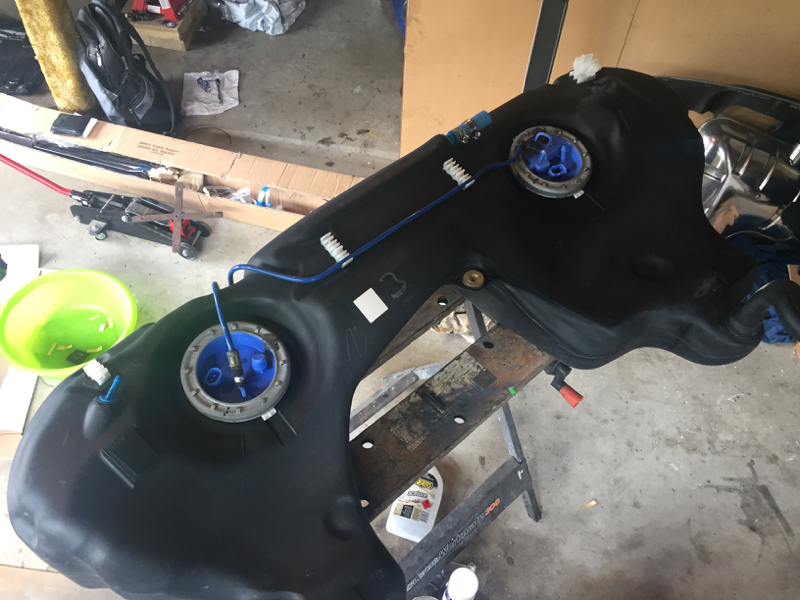
And here's a couple of pics of the fuel tank before the attempted installation, along with the replacement piece of hose.

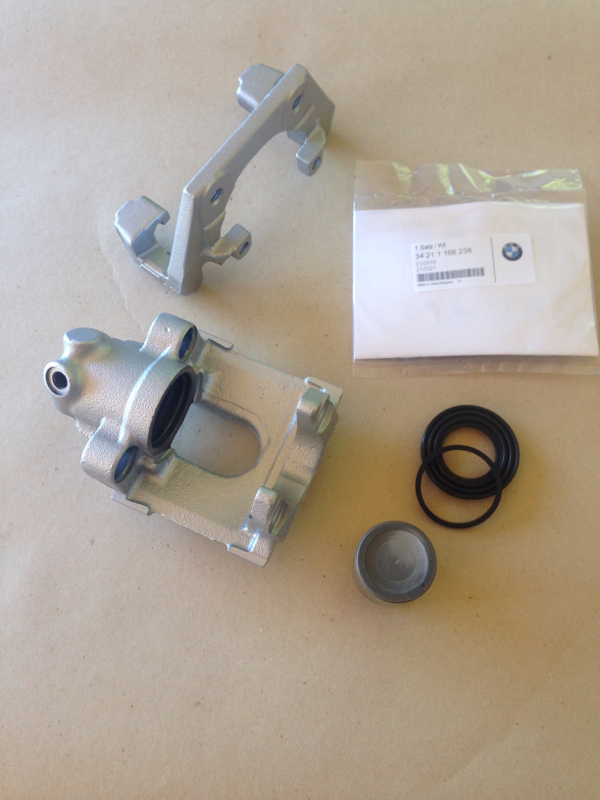
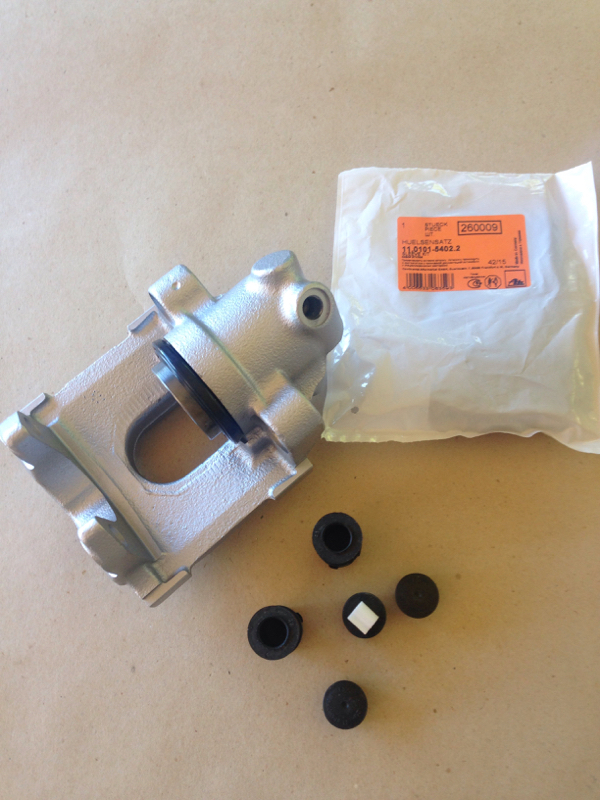
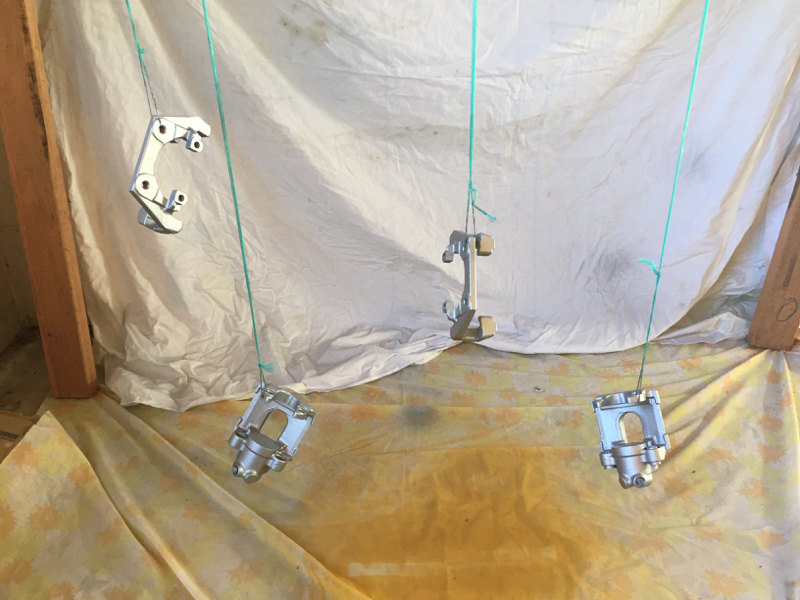
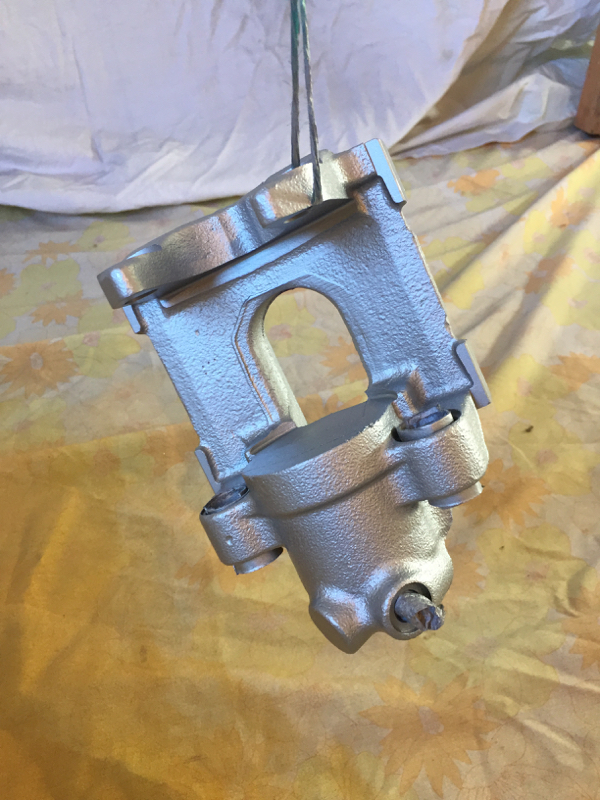
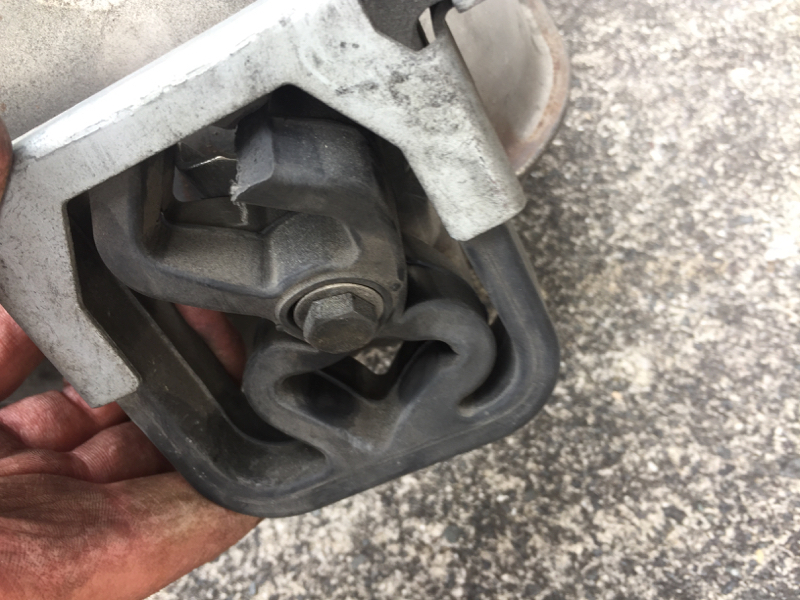
During the week Dad also assembled the rear brake callipers:
Parts ready to assemble:
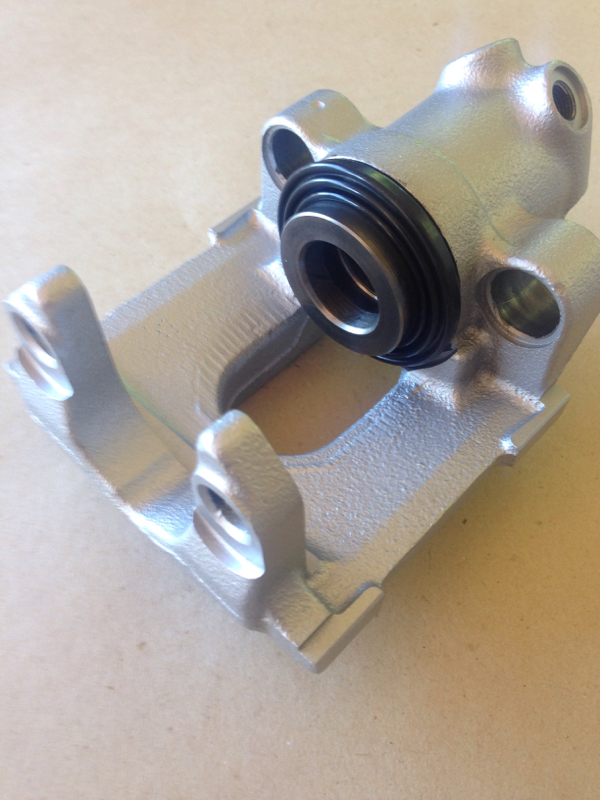
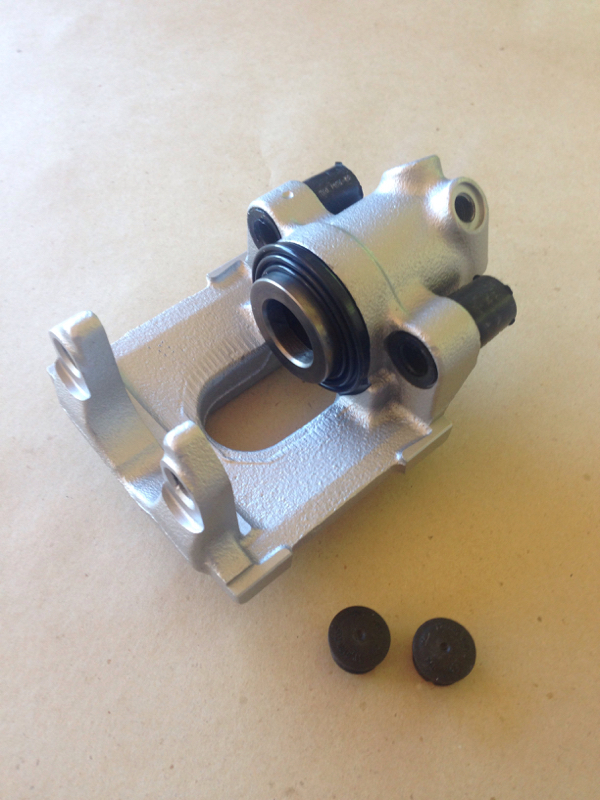
Piston, seal and dust boot installed:
Ready to install guide bushes:
Guide bushes installed:
So definitely getting there. This coming weekend will be fuel tank installation :shifty: and reassembly of the rear end. Meaning that the weekend after we'll be onto disassembly of the front end.
arrot:


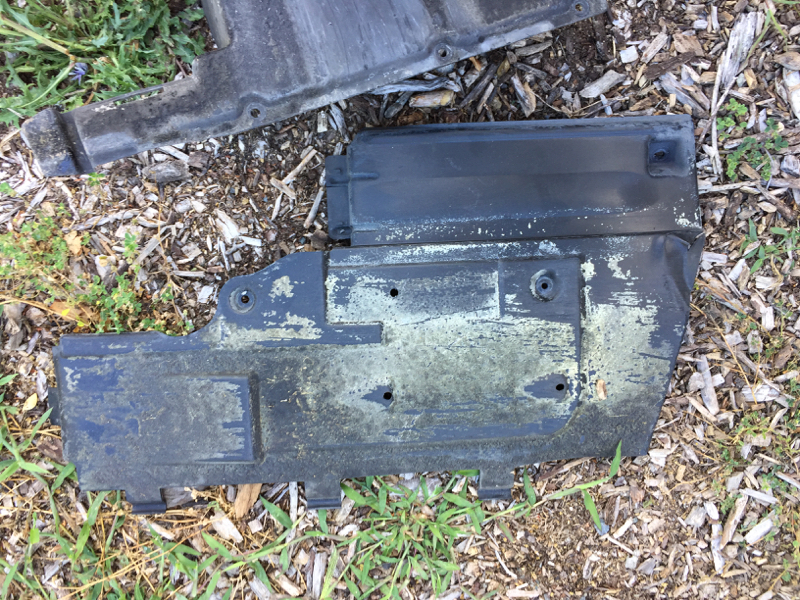


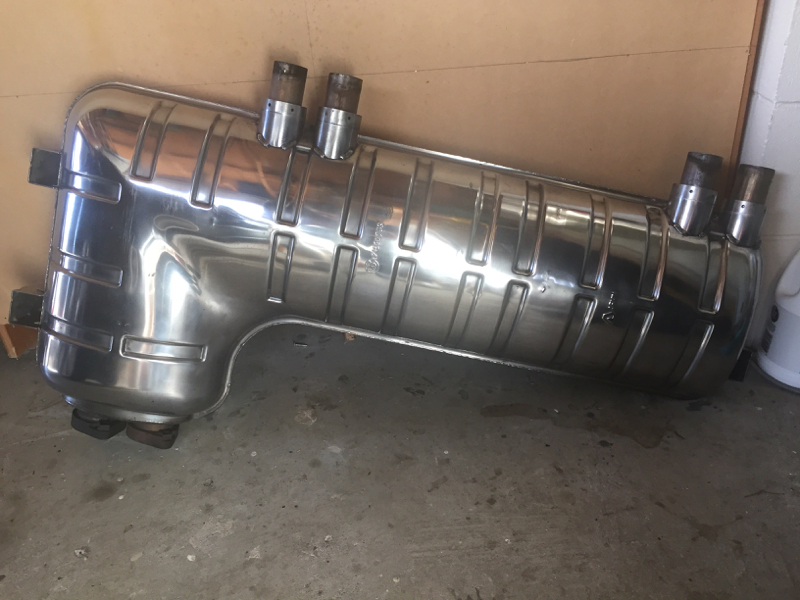

 He's been busy cleaning parts and prepping them for painting etc. From what I hear he's been polishing the muffler, cleaning underbody panels, suspension arms, etc.


Leave a comment: