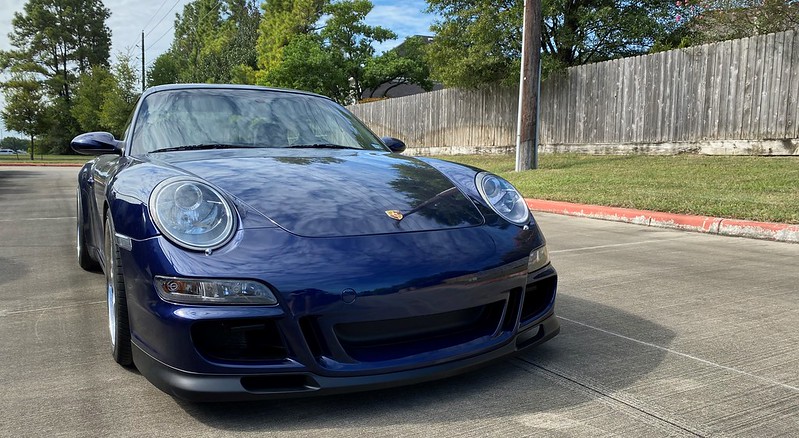
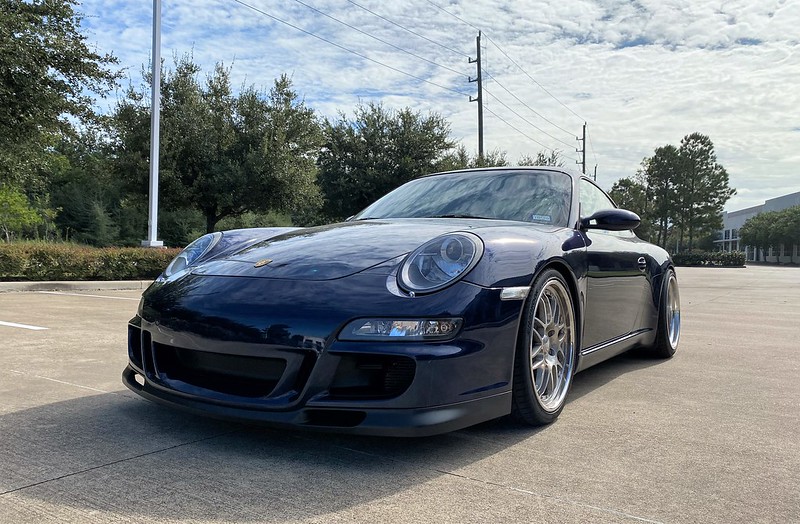
I've had my aerokit bumper sitting in a huge box for a few months now and finally got around to installing it. I did the paintwork myself and I'm pretty pleased with how it came out. I also cleaned my radiators while I had the bumper off and I was shocked at how much junk was stuck between them and the condensers. Overall, not a difficult job, but I did take my time to clean things and make sure everything was done right.
Since a lot of people liked the DIY I did on installing coilovers, I decided to do one to show what all must be done to install the aerokit bumper as well as clean the radiators. I wouldn't say it is overly difficult, but you do need to swap over quite a few things from the standard bumper. The nice thing about the aerokit is that it comes with everything needed to install that isn't interchangeable with the standard bumper.
And of course, photos after the install. For paint ordered online, I'm very happy with the outcome! I decided to do the lip in satin black since it will take a lot of abuse. I used vinyl dye on it and think the sheen compliments the painted surfaces very well.


Comment