Announcement

Collapse
No announcement yet.

Visceral M3 / My Estoril E36 M3/2/5

Collapse
X
 
  • Filter
  • Time
  • Show
Clear All
new posts

    #31
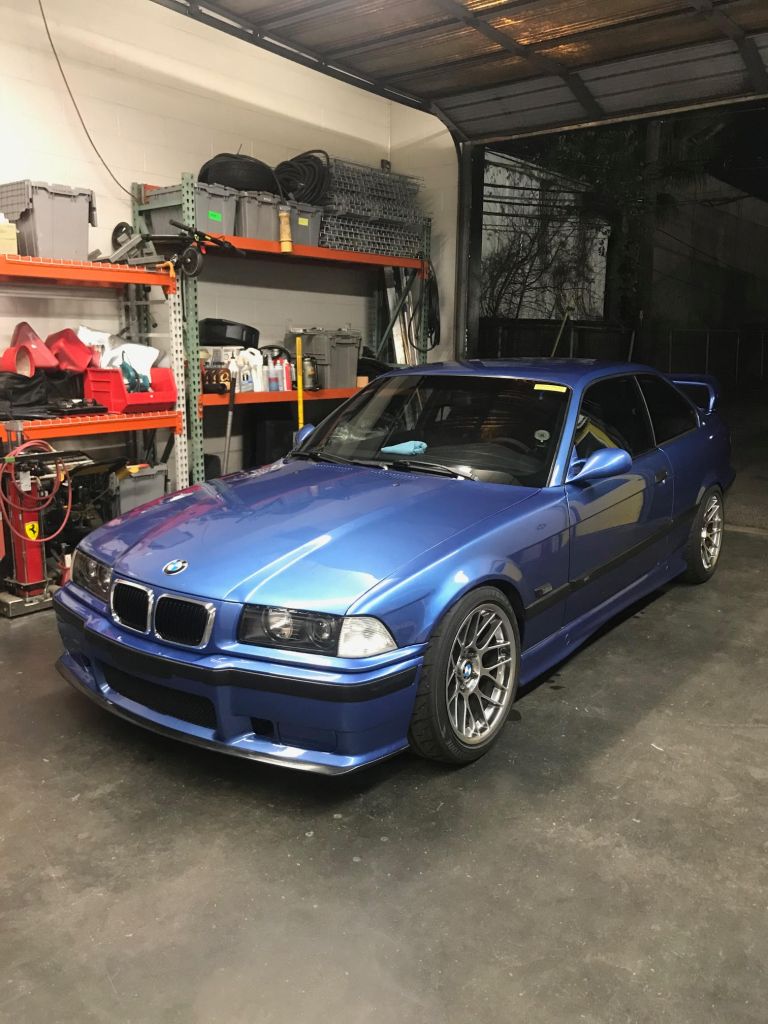
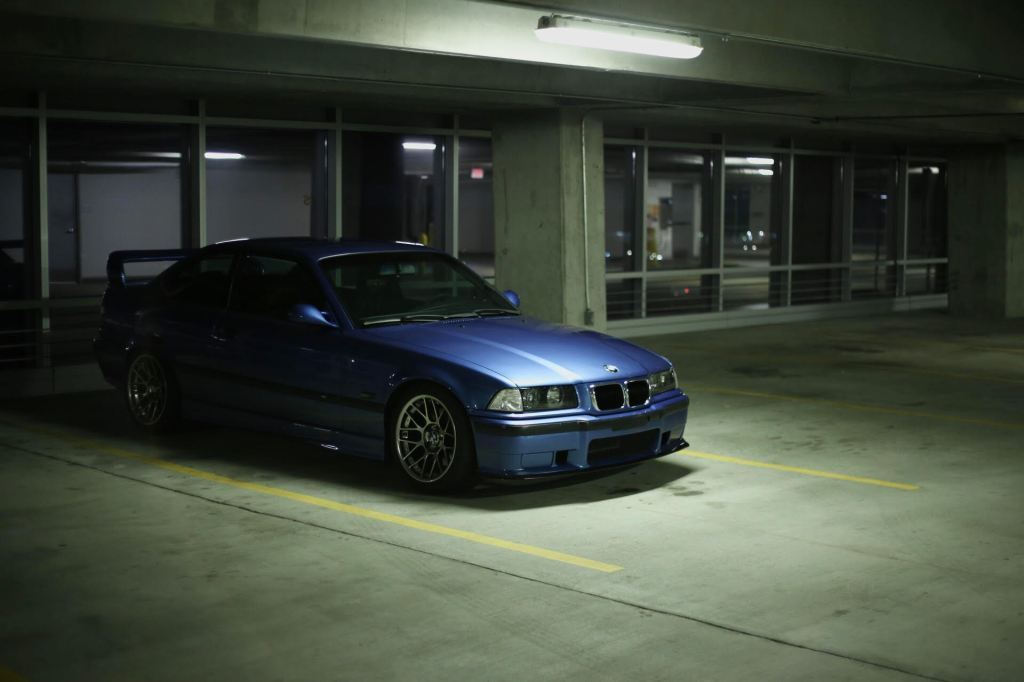
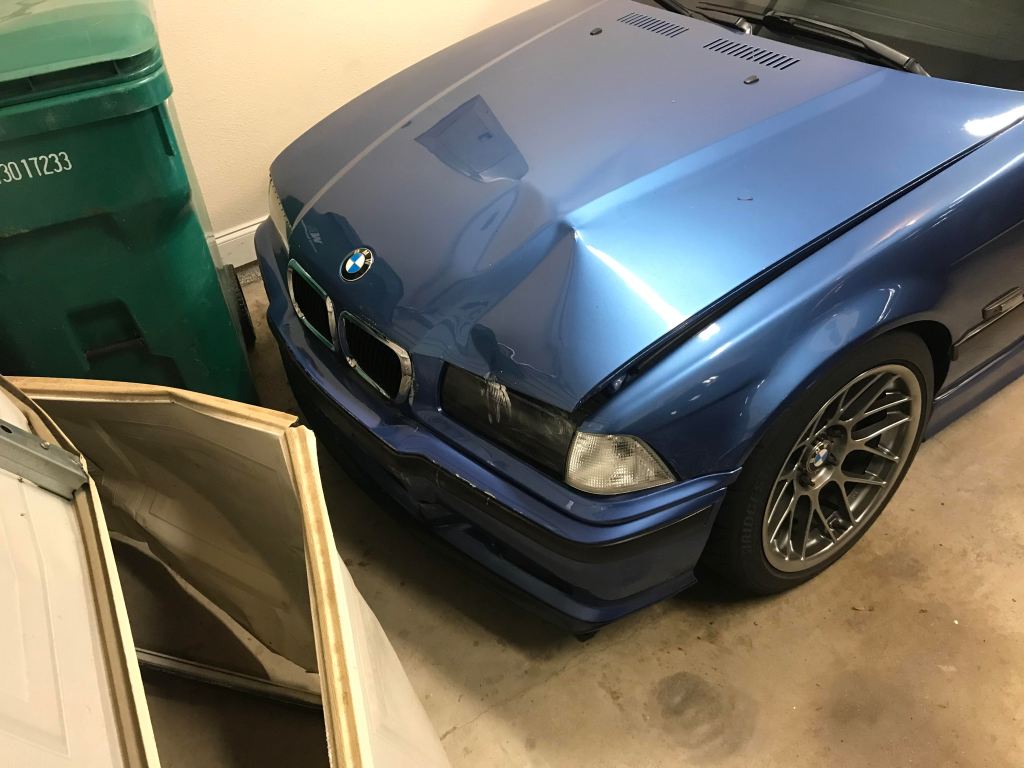
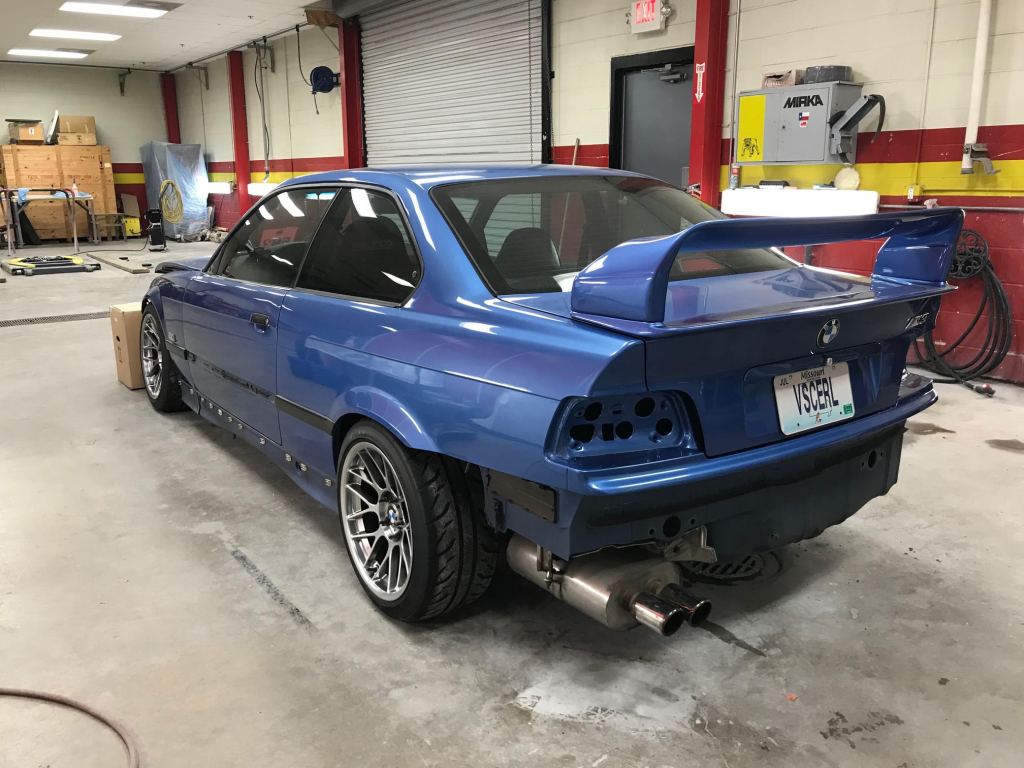
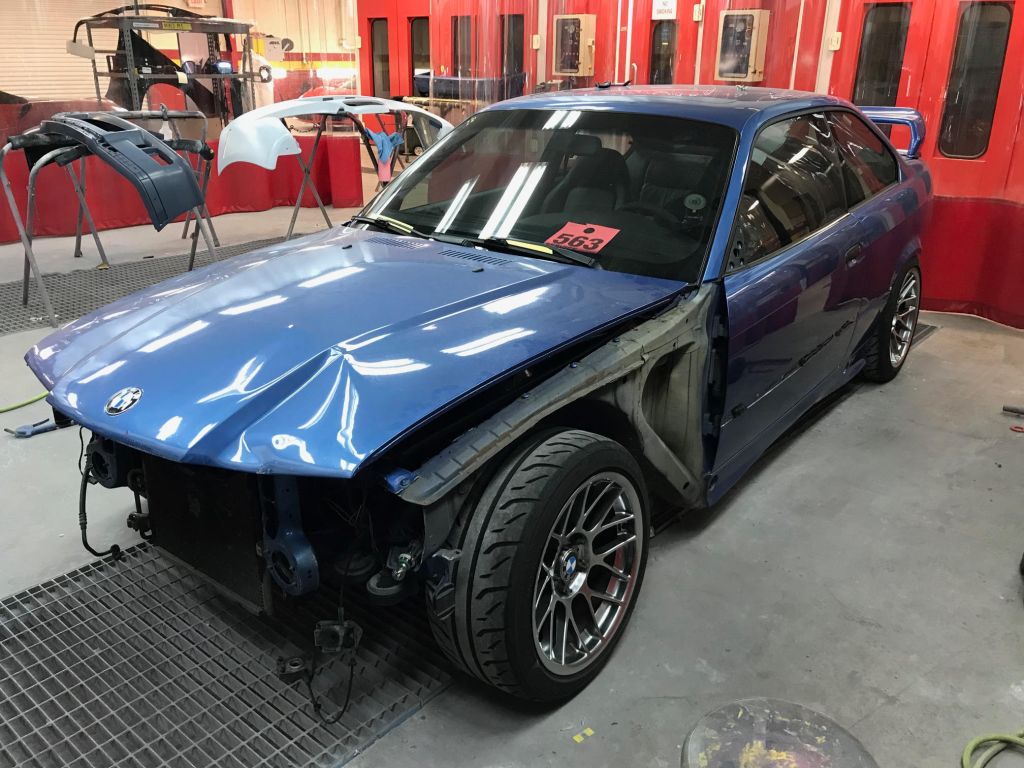
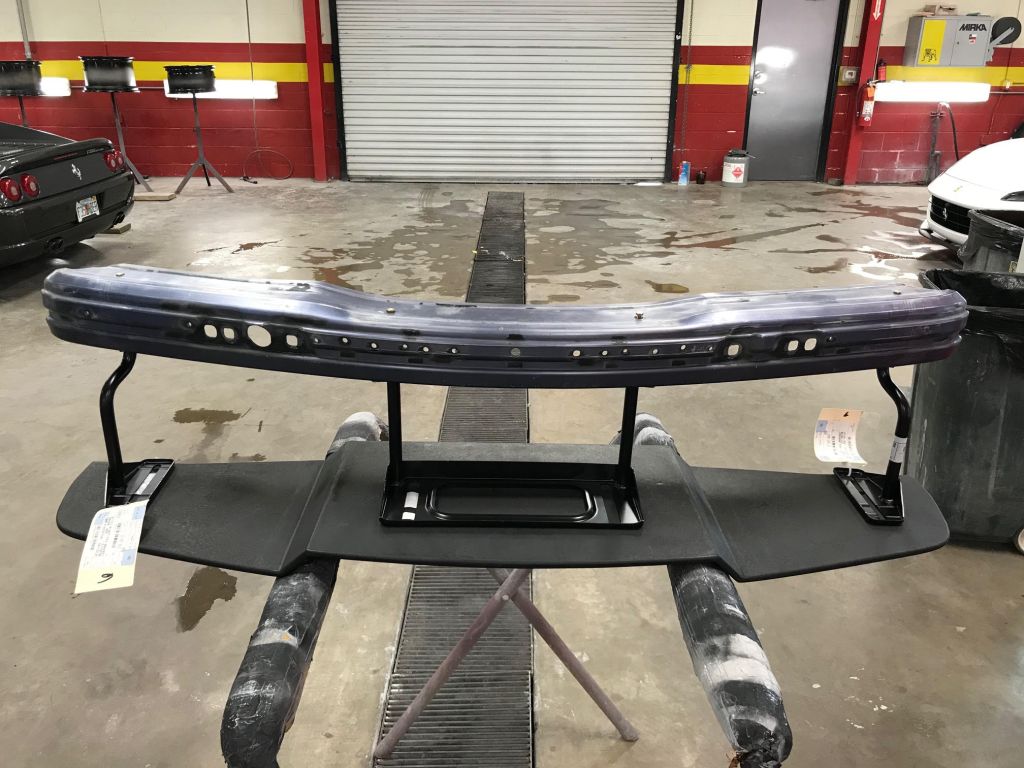
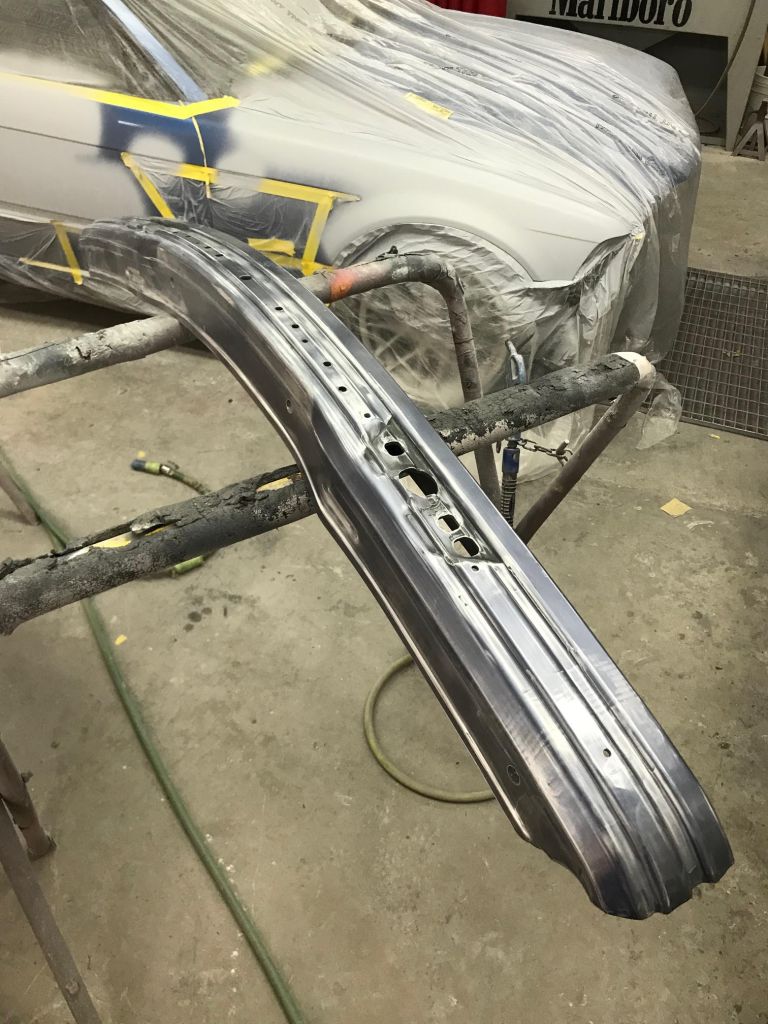
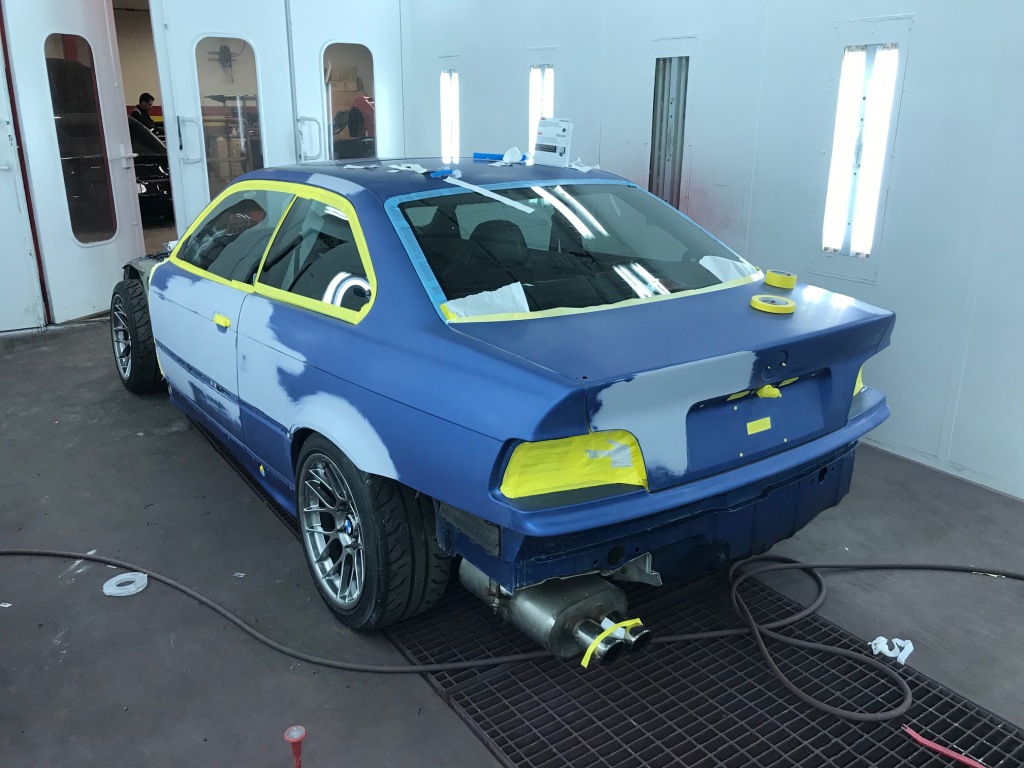
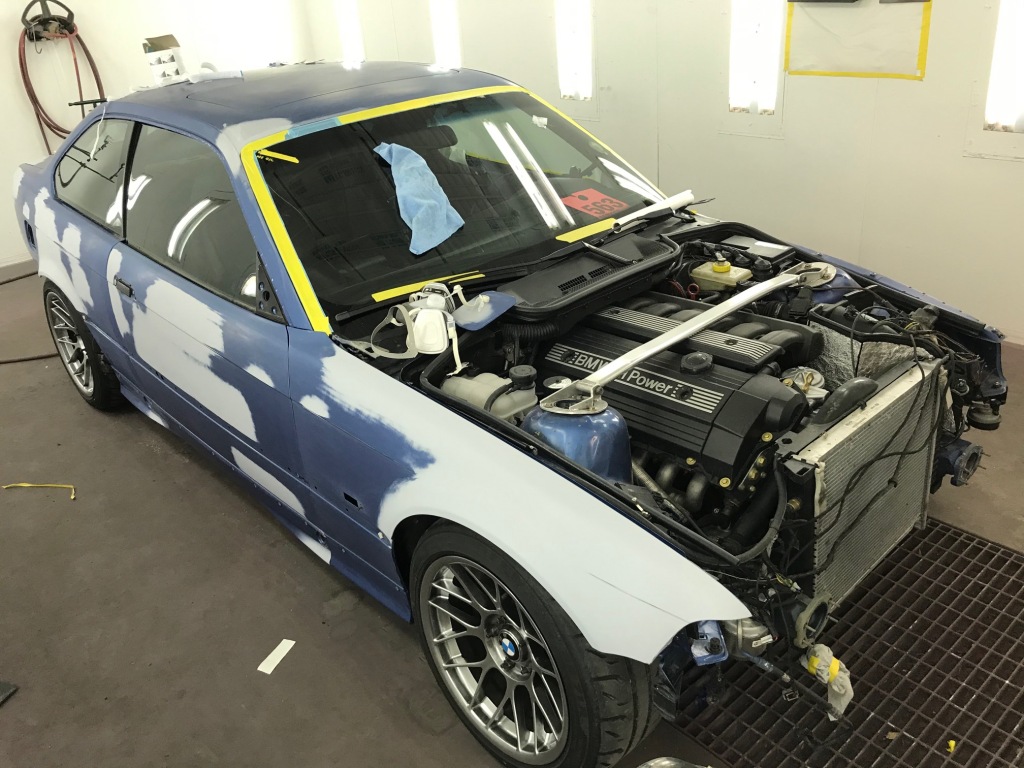
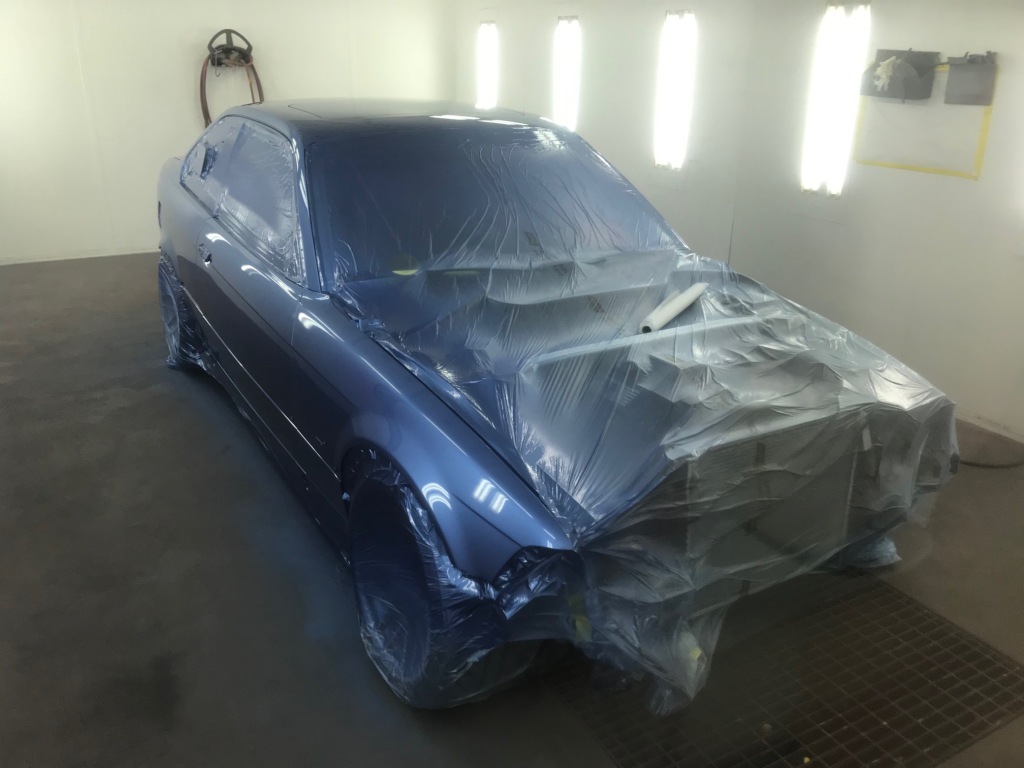
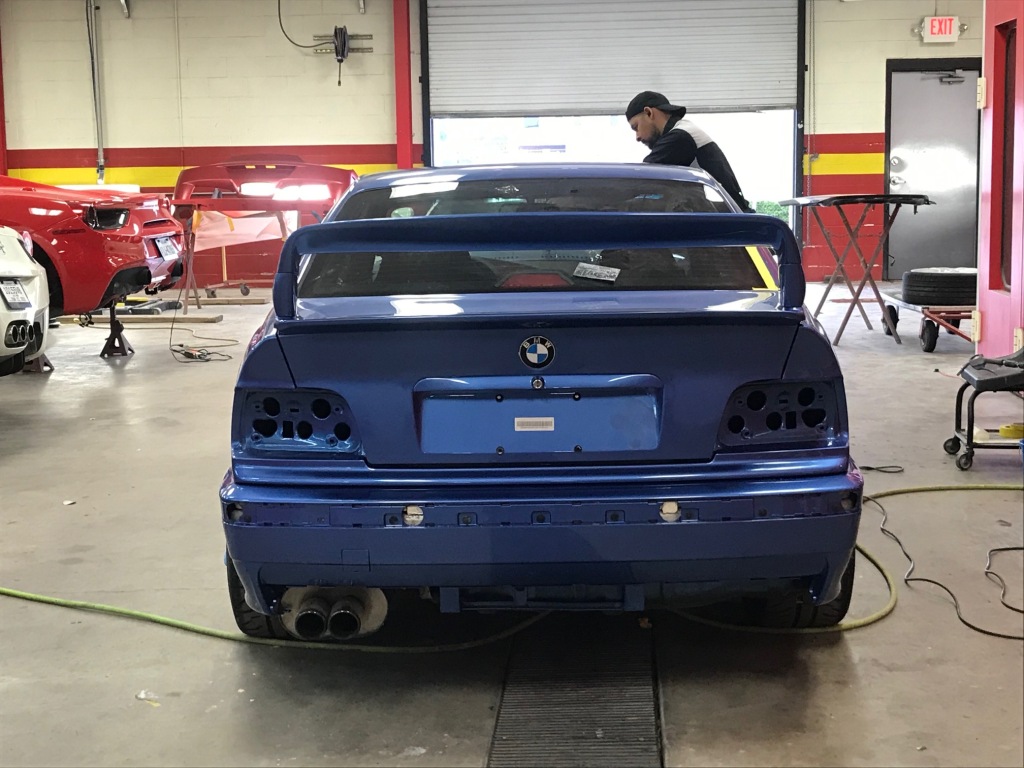
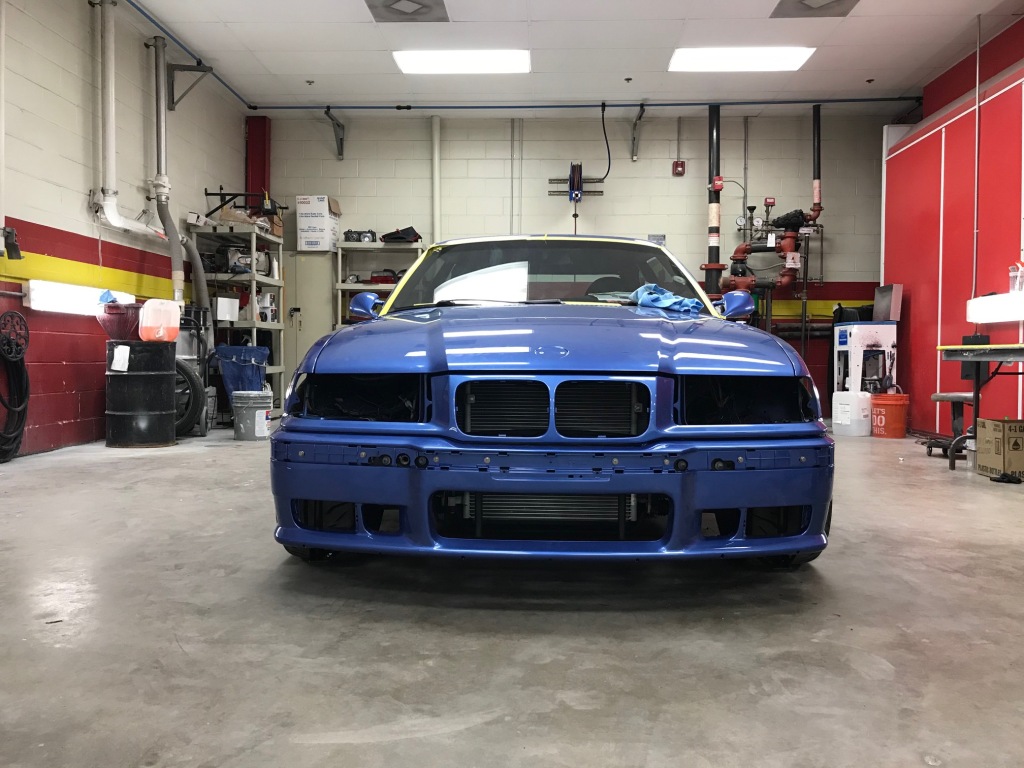
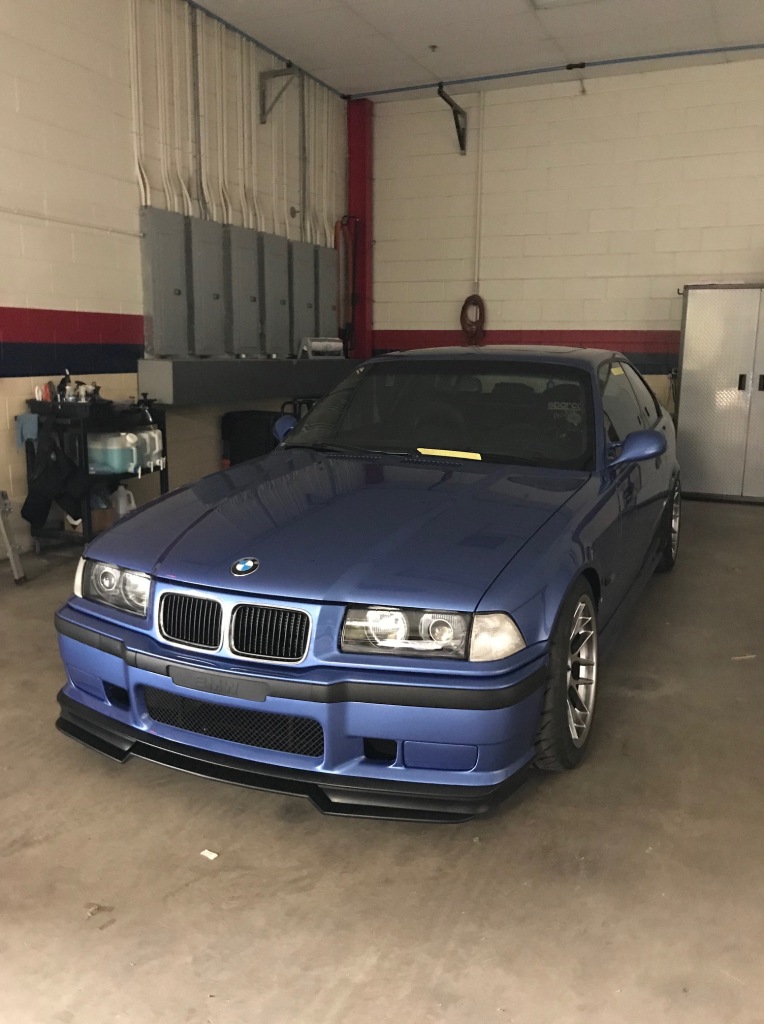
    Part one of a lengthy and detailed update on the M3 that I’m excited to be closing in on wrapping up. As usual life and work has been busy and progress on the blue car has been slow. I recently had my other “project car” shipped down to Texas after having sat in storage for roughly the last five years. It’s been neglected for a while and needs quite a bit of love to get back to where it ought to be. Having both my 90’s sports cars sitting next to each other has been something I’ve looked forward to for years, just need to clean up the white car.


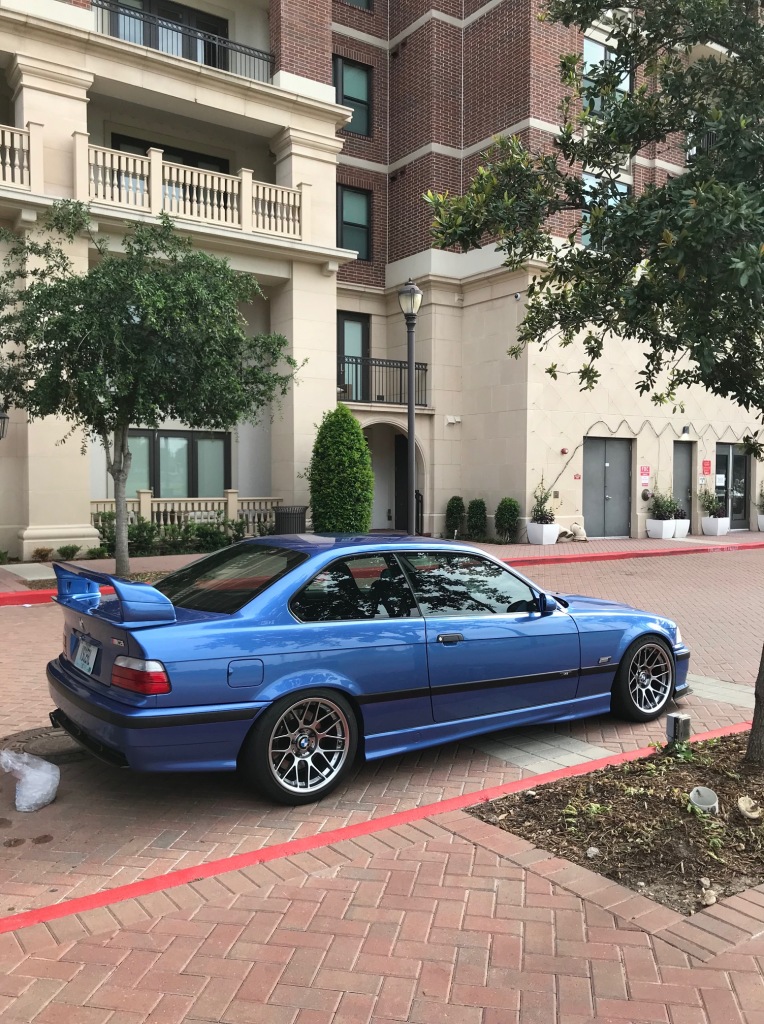
    It seems I have a type. The M3 is a small car by modern standards, but the Silvia makes it look big-ish.

    Last summer, during our day trip out to Austin, on the way home I noticed a faint whine from the rear end that increased with wheel speed. It was pretty subtle at first and I didn’t think all too much of it. Over the last year it increased in ferocity, louder and louder, to the point of obnoxiousness at highway speed. Through some diagnosis I eventually landed on the diff bearings being shot and started ordering up parts. Hours of reading up on different clutch and ramp setups, I decided to keep it simple with the Thayer 3-clutch 40% static lockup/low preload setup and factory 45/45 pressure ramps. A little more reading, and a little more “while I’m in there” going, I decided to change the final drive from 3.23 to 3.46, so I sourced a new ring and pinion from overseas.

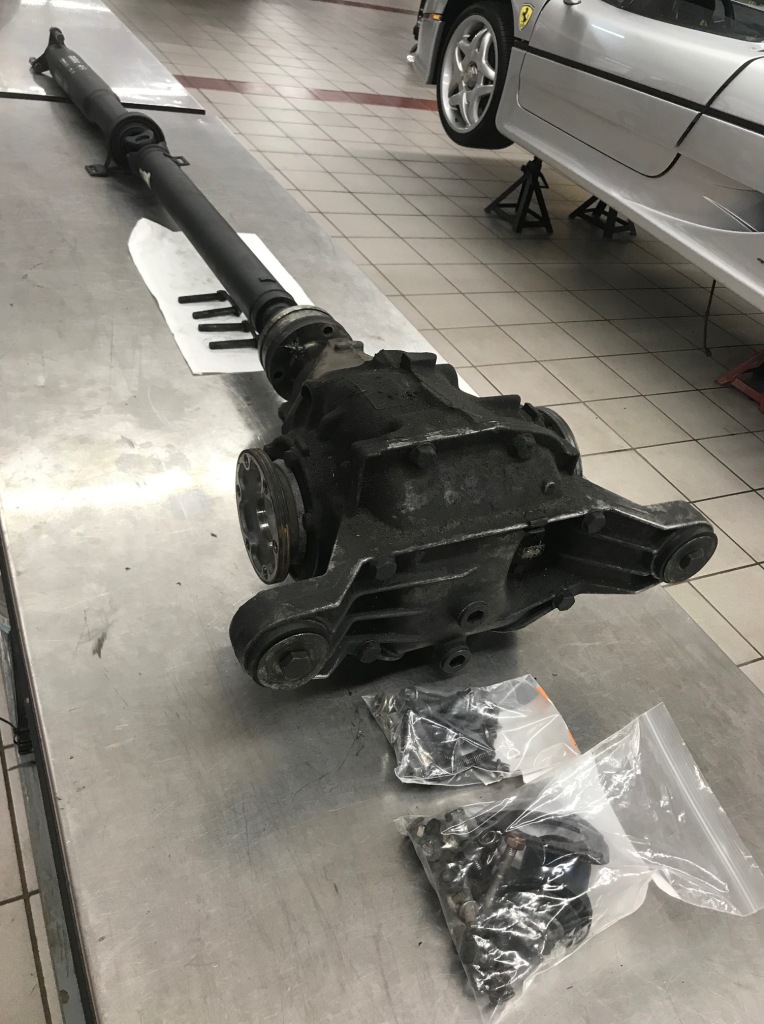
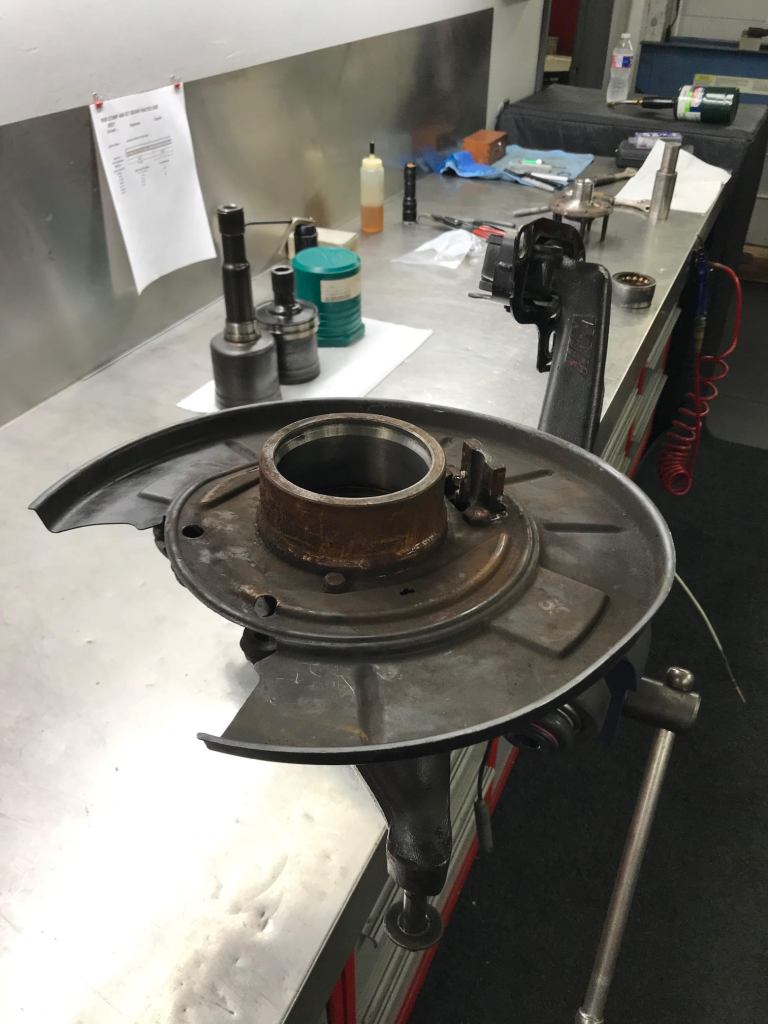
    As usual, I had the parts for quite a while before actually mustering up the motivation to start tearing everything apart. When the time finally came to pull the diff out it didn’t want to cooperate all too well. Although the driveshaft was replaced only 6 months or so ago, for some reason the input flange on the diff was seized to the driveshaft. With a limited amount of time that day we ended up dropping the subframe slightly and removing the diff and the driveshaft as one entire piece.


    Certainly not the ideal outcome I wanted but none of the other options worked. Torch and heat, prybars, hammers and punches, even using the driveshaft as a slide hammer at the expense of the new CV joint, nothing worked. With all options exhausted, it came down to completely disassembling the CV in order to get the two apart.


    What a yucky and stupid problem to have but sometimes that’s just the way it goes. With the main issue out of the way I could get started on disassembly, cataloging, cleaning, and sandblasting the factory hardware that wasn’t being replaced.


    I’ve probably said it before but cleaning, sandblasting, and re-coating hardware is strangely therapeutic for me.


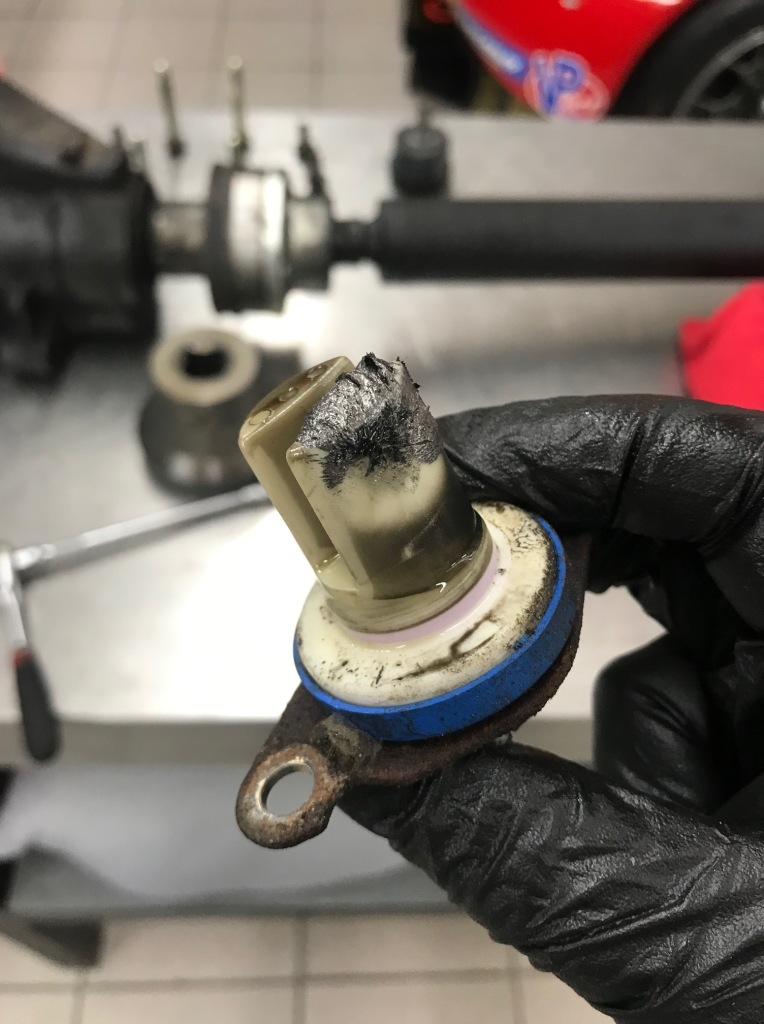
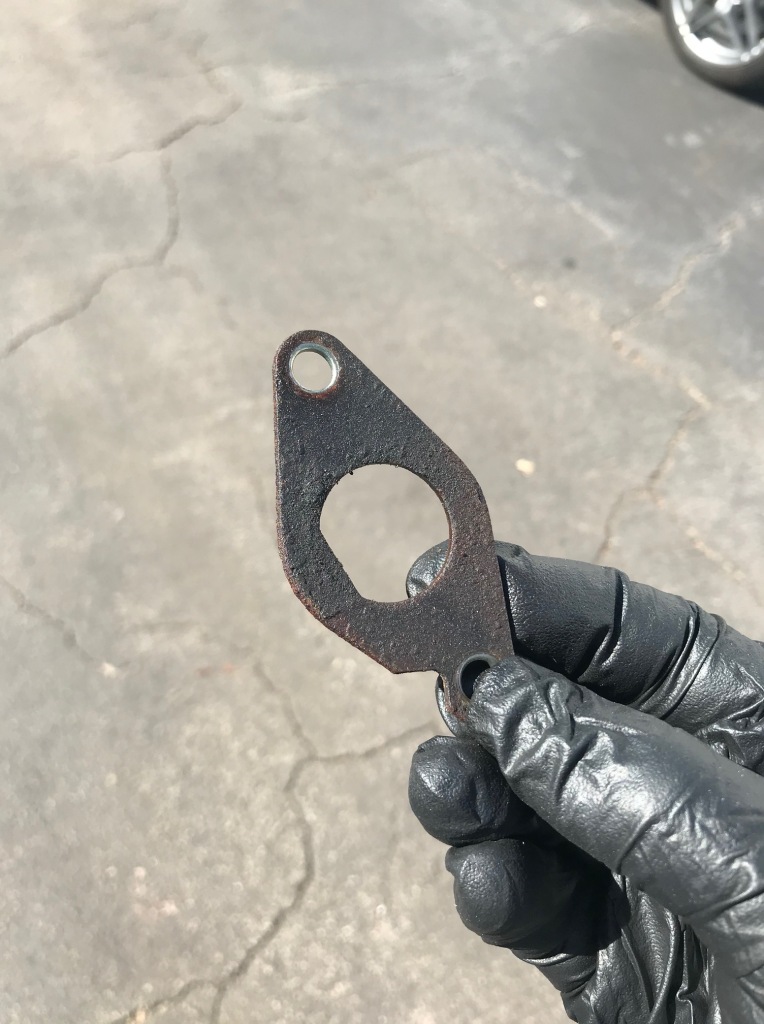
    The speed sensor was pretty caked up with metal shavings, yikes. Originally I thought this to be from one of the carrier cap bolts having backed out and eaten to death by the diff, but that ended up not being the case.


    All eight carrier cap bolts were fully seated and in tact. Surprisingly enough seven of the eight bolts came out without a fuss and I had to get creative with only one of them.


    A couple of zaps with the impact made quick work of the ring gear bolts. Thank whomever for power tools. Now for the fun part, disassembly of the clutches, dog plates, spider gears, pressure ramps, all the washers and the magic of a clutch-type limited slip differential.


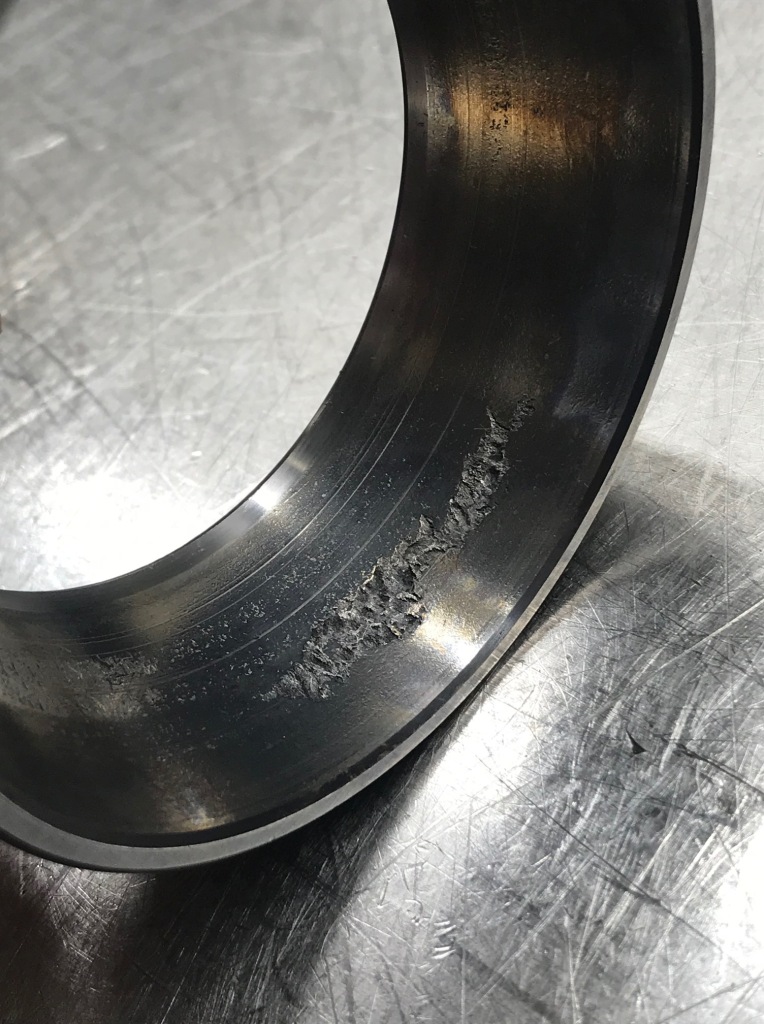
    This is also the part where I find the real carnage done to those parts as well. I expected some wear and tear for a car of this age, but not quite this much.


    Some pretty serious gouging and scoring in the dogs and the pressure ramps. The clutch plates were completely toast as well. Luckily new dog plates come with the Thayer clutch replacement kit. Unluckily, I didn’t plan to have to replace the ramps as well. The damage was too deep to try and machine smooth again. Rather than complicate anything any further, I sourced another set of OEM 45/45 ramps that had been refinished and were in perfect shape.


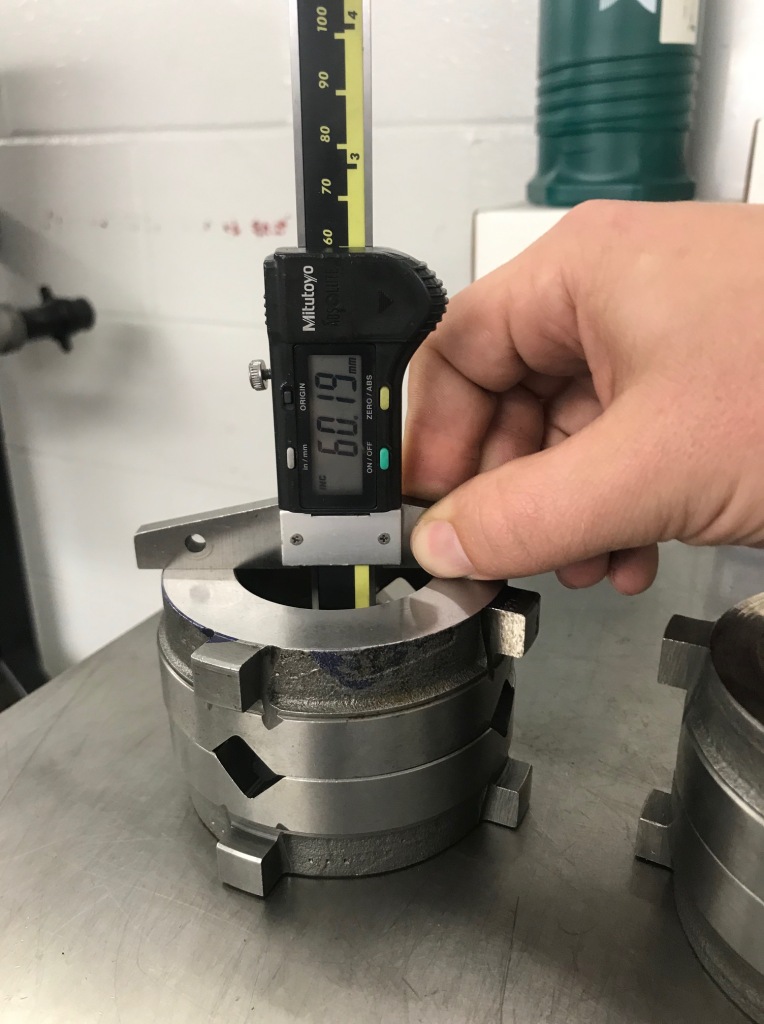
    About a .15 mil difference, good enough for me. But before reassembly of all of the LSD internals, it was time to take care of some of the other items first.


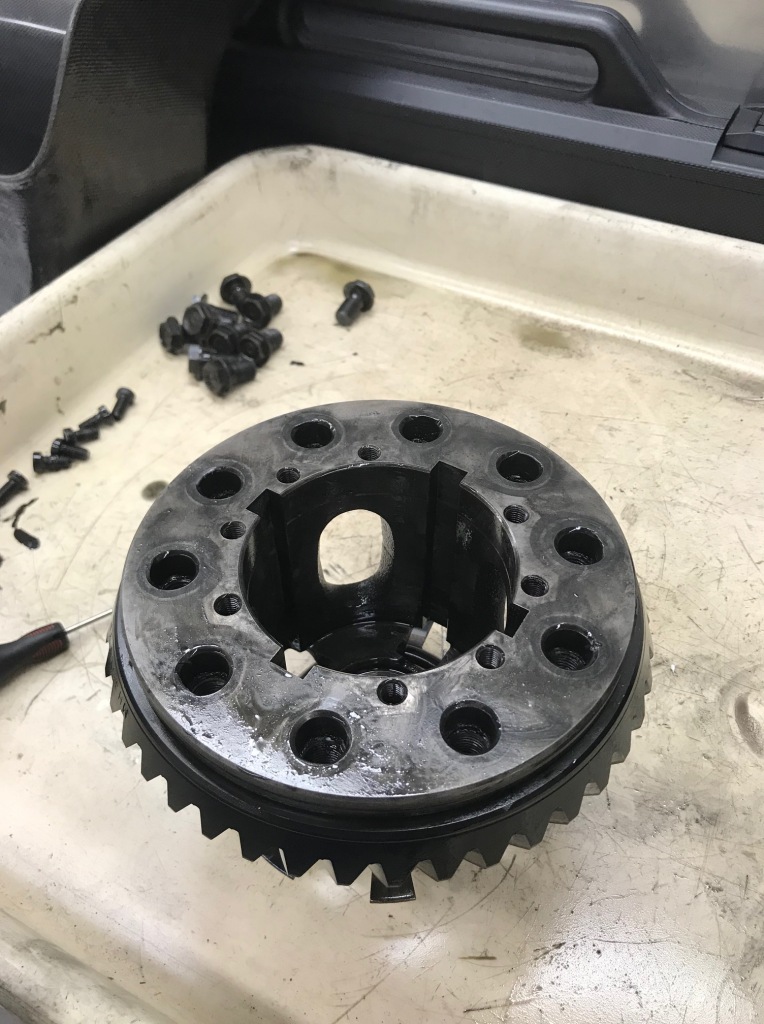
    Starting with installing the new 3.46 ring gear. If I recall correctly the 3.46 ratio out of a medium case/188mm diff was from an E28’s and certain E30’s. These cars used 12mm ring gear bolts as opposed to the E36 M3’s 14mm bolts.


    New OEM bolts and adapting hardware squared that away. Next task was removing both carrier bearings.


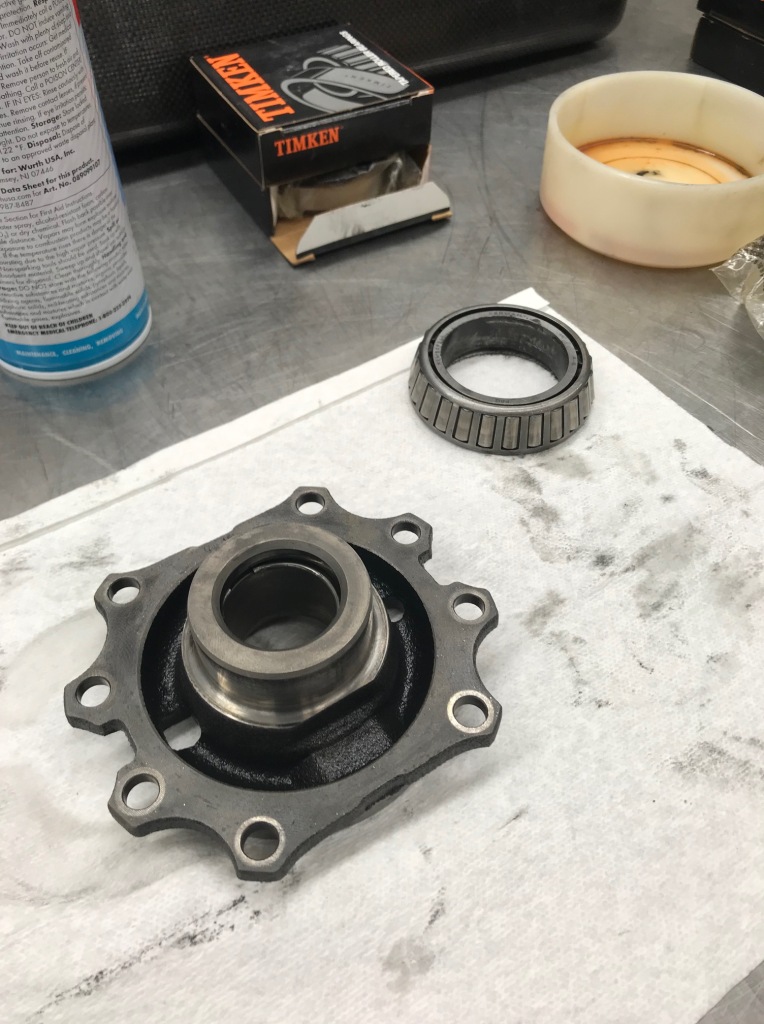
    No fuss in removing the old ones and pressing the new ones on.


    Next up was to clean up and re-paint the carrier caps and then replace the seals, o-rings and corresponding bearing races. While working on these I had the differential housing in the parts washer running for a few hours to try and clean out all of the metal shavings that were lingering inside.


    Old and tired and dirty it was, even after a lengthy bath. A little time with some cleaners, wire brushes and a couple of coats of fresh paint and it’ll be good as new.


    While working on all of this during the evenings, and after a little hiccup with the driveshaft shop, the reman’d driveshaft showed back up.


    Quick pause to take a trip to the east coast to hike some mountains and eat clam chowder.


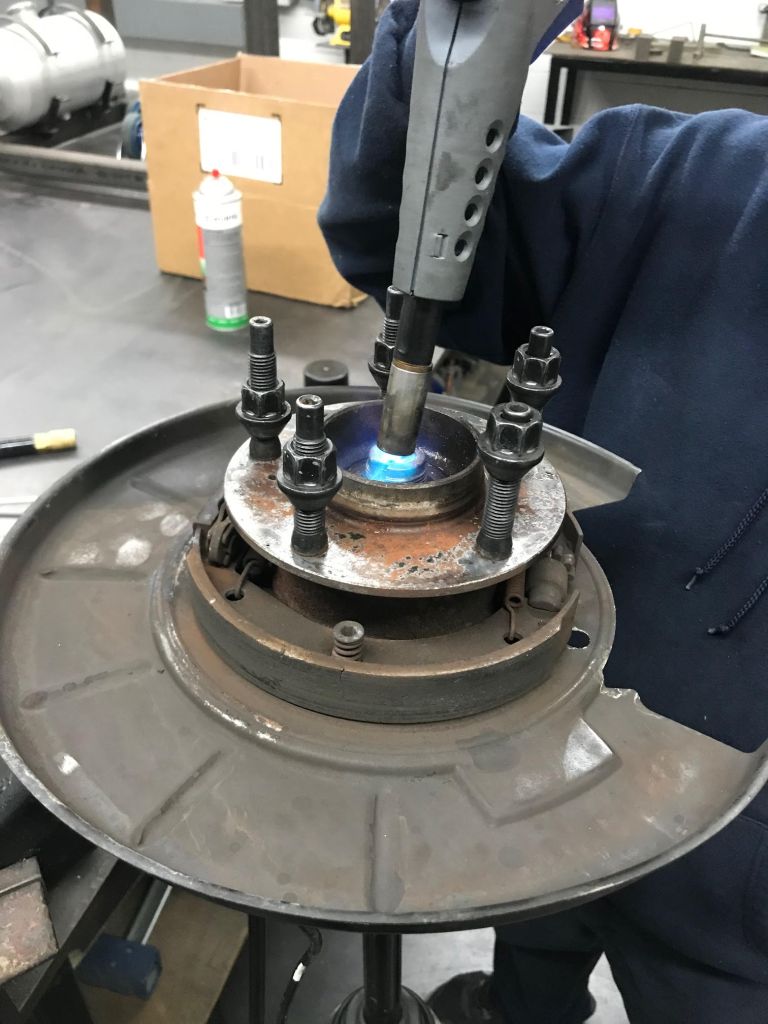
    Back to Texas a little bit later, I stopped by the local Autozone to grab a 30mm socket and to be reminded of the awe in the lack of customer service or automotive knowledge. Ground down the socket to fit and again a couple bumps of the impact had the pinion nut right off. The plan is to put this input flange on the lathe to ensure it’s fully rounded and won’t seize onto the differential flange again, but in the meantime it’s off to the sandblaster.


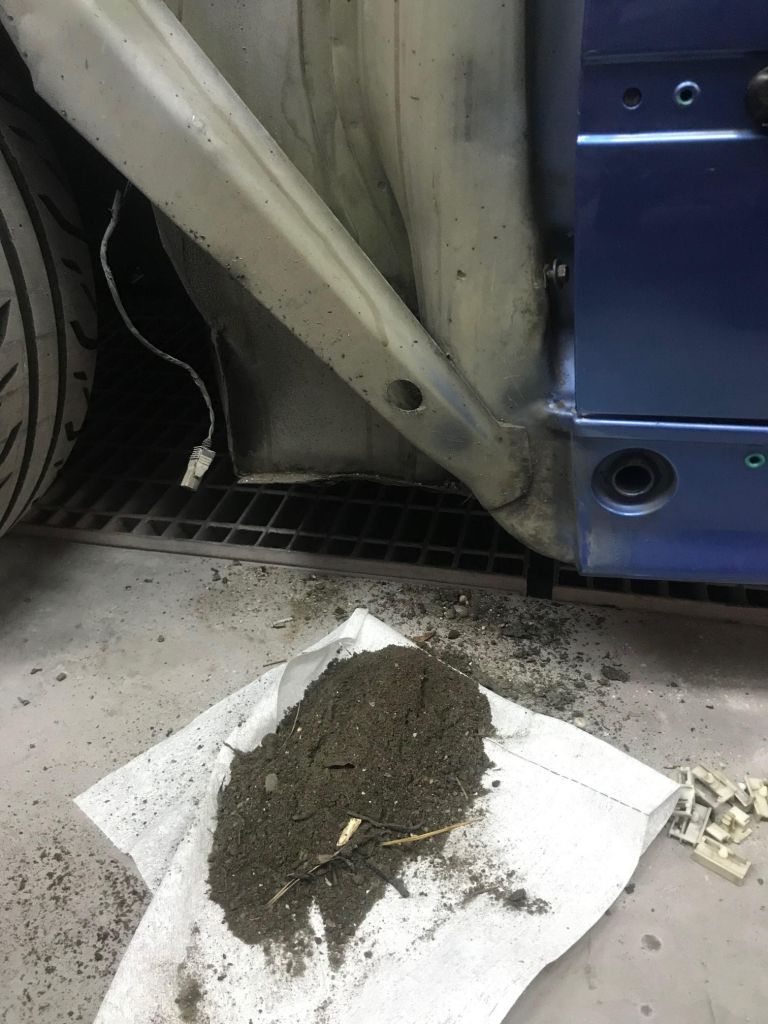
    Years of road debris and grime and corrosion, gone just a couple minutes later.


    And almost good as new, still waiting on some lathe time.


    Seriously, sand blasters are the best.

    With the pinion gear now pressed out of the diff housing itself, it was time to get down to what started this entire project in the first place.


    Andddddd now we know where those metal shavings came from. The roller bearings and races on the pinion were absolutely destroyed, pitted beyond what I anticipated. It feels good to see this and know that all of the work thus far wasn’t for nothing. Now I’m stoked, not only to see how the 40% lockup acts, but how quiet and smooth this thing is going to be.


    Old races driven out……


    …..and coming back to the workbench a few days later to find the new ones were already driven in, the new pinion installed….


    ….and some math on the table with requested shims? Perks of having a full-time gearbox tech that took an interest in helping a clueless guy out. A few days later I had a pack of shims from friend and BMW whiz Jon Eye at Kinetic Motors in St. Louis. With the new shims in, Richard tested backlash, preload, and wear pattern on all of the components and gave me the green light to reassemble the LSD itself.


    He also threw the input flange on the lathe and said it was quite a bit, a couple thousands, smaller than the flange on the drive shaft, likely why the two wouldn’t come apart after being assembled last time.


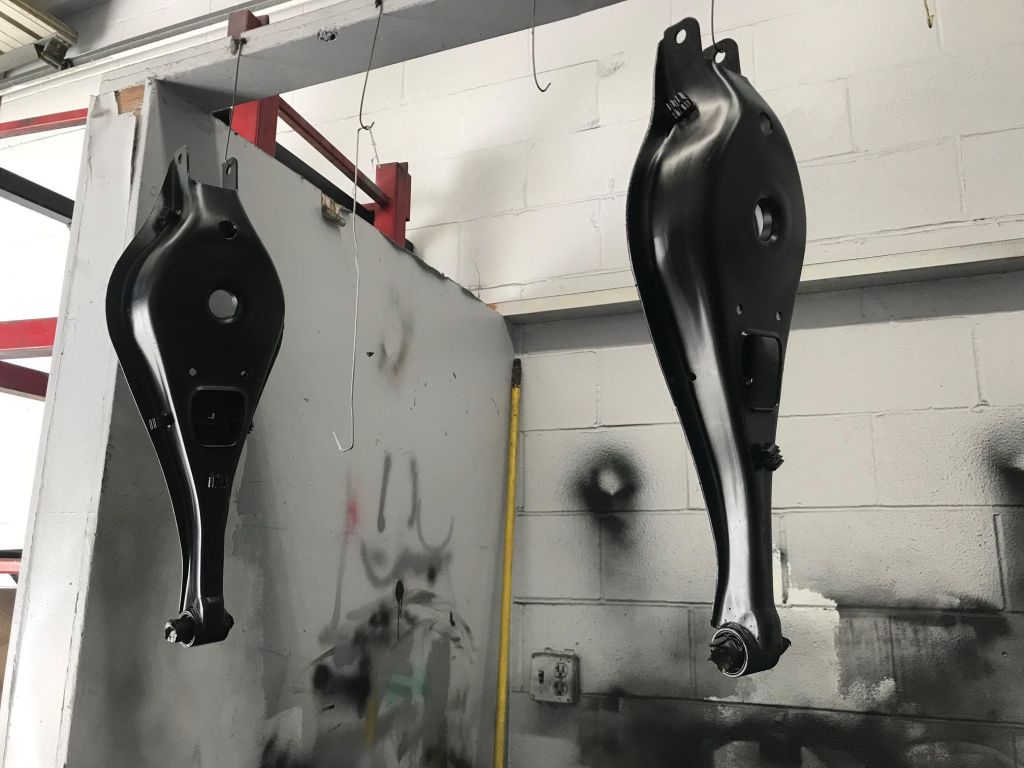
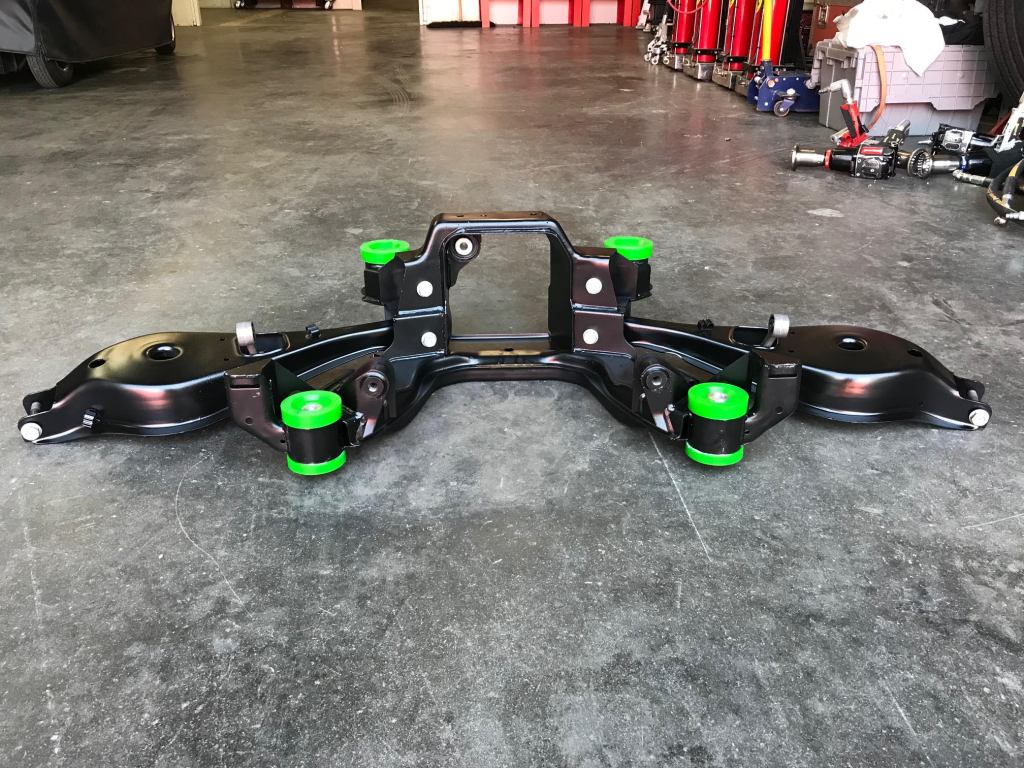
    Diff cover with new OEM rubber bushings pressed in. More on the reason why I removed the poly and replaced them with rubber in the next post.
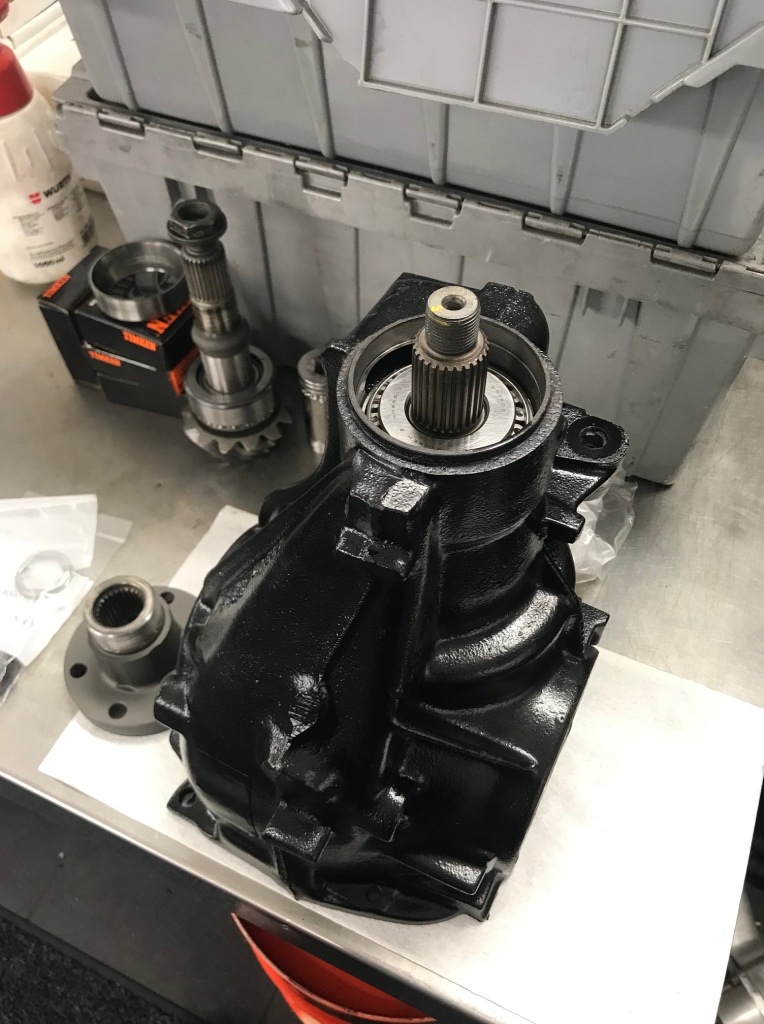
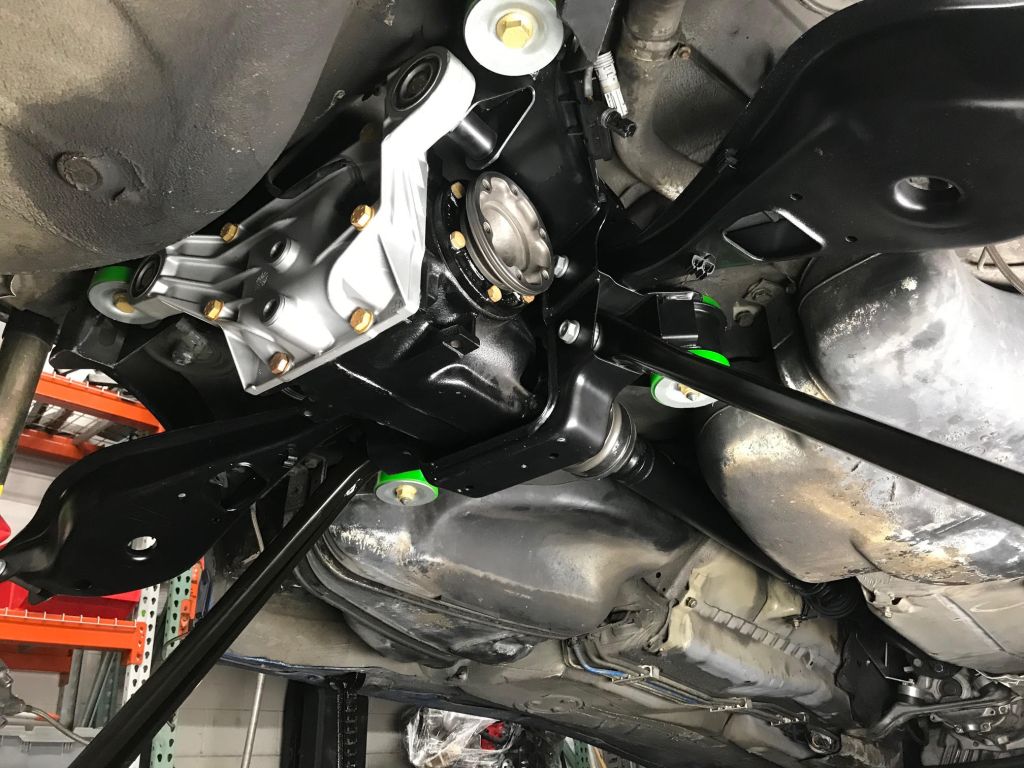
    With all of the work on the differential pretty much done aside from putting the cover on and filling it with fluid it’s time to focus on the other half of this big task, which will be covered in the next post after it’s all done.
    Past: '99 Hellrot/Dove M3 | '97 S14 1JZ | '06 Triumph Daytona 675 | '01 330I M-Tech I '99 Silvia S15 | Current: '96 Estoril/Black M3


    Instagram

    Comment


      #32
      Part two of the big project.


      With the differential rebuild finished up and the subframe mounting bolts already broken loose, it was time to tackle the rest of the "while I'm in there" list. This included dropping the entire rear subframe, control arms, carriers and axles to overhaul everything.


      Yeah, this is heavy. Wiggling everything out as one piece was fairly simple once it was free of the subframe studs.


      The entire back half of the car is filthy, cleaning everything has been on my list for a long time so now will be a good time to finally get some of that taken care of.


      I started to separate the entire rear end into three separate pieces to tackle the cleaning, degreasing, and overhaul in sections.


      Once everything was separated, I started with the subframe. Straight into the sandblaster!


      The subframe took almost two hours to get every nook and cranny, but the end result was super gratifying.


      No proper refinish job is complete without the accompany hardware and brackets.


      While the subframe was still raw I got a set of AKG rear sway bar reinforcements zapped in.


      Moving along to control arms, I purchased new Lemforder bushings for where they attach to the rear carriers. First up was a deep clean.


      The upper control arms, the ones that house the coil springs, were pretty straight forward when it came to pushing the original bushings out. Once the new bushings were in and the arm was thoroughly stripped of any contaminates, it was off to the paint booth to get coated in a thick, durable, satin black epoxy paint.


      The lower camber arms were a different story. Since this piece is effectively two pieces with a small tack weld holding the together, pushing the original bushing out and not getting caught on the second "lip" proved to be incredibly difficult and ended up ruining the arm entirely.


      Hindsight being 20/20, I should have just ordered the replacement camber bars with the new bushings already pre-pressed, as they are only $30 a side. Bonus 488 GT3 content in the background.


      With the four arms out of the way, I moved back to the rear carriers and pushed out the ball joints. It's totally possible that these are the original ball joints, they were pretty loose and I'm glad to have fresh ones in the car now.


      Originally I had ordered Lemforder RTAB's with limiters as that seems to be the general consensus for dual duty cars, but once I had it all apart I found that the car already had Powerflex Blacks in it. Showing no signs of wear, and me having no previous issues with them, I decided not to create more work for myself and will continue to run them. If for some reason I need more compliance down the road, they're not too bad to replace with everything still in the car.


      With the ball joints replaced, it was back to the table with the carriers to drive the axles out, and let me tell you, it was not a good time.


      The first one, the driver side, did not want to leave it's home at all. Soaked in PB Blaster, heated up with a torch, and eventually giving it a few loving taps with a brass punch and a hammer, it finally broke free.
      The second one was the exact opposite. I soaked it in PB Blaster for a minute and came back to it having fallen out pretty much on it's own.


      With both axles out, I did another deep clean and inspection. Everything checked out and looked to be in pretty good shape, so I left them alone.


      I didn't have much reason to believe the wheel bearings were bad, or failing, but when you've got everything this far apart and you don't know the age of them, why wouldn't you replace them?


      The old ones didn't want to come out all too easily either, but a strategically placed 55 ton press said otherwise.


      A little while later the epoxy paint had dried and was in the clear to start handling and reassembling.


      Mentioned in the last post, I had removed the polyurethane differential mounts in favor for OEM rubber. The reason for this is twofold; I planned to do 95A poly in the subframe to try and isolate the subframe and suspension arms as much as possible in an effort to hold alignment specs best, but reading through other's threads I found that when you do poly in BOTH the subframe and diff, that's when you get diff whine. Staying true to the street car theme and not wanting any highway whining, this is what I landed on.


      I can safely say that I'm not a huge fan of the highligher green (or Revshift's customer service), but the Powerflex Blacks were double the price for the same product. If FCPEuro is confident enough in these, then so am I. On a different note, it was nice to see everything coming together freshened up, clean, and recoated. I also temporarily installed the new Lemforder sway bar end links just so I didn't misplace them.


      Another thing to do while everything was apart was the RTAB pocket reinforcements. Grinding everything down revealed everything to be in decent shape, with only one small area of concern that looked like it was beginning to crack.


      One eternity later and a face full of undercoating fragments, I coated the bare metal in weld-thru primer.


      Here's one angry race mechanic sharing a few curse words about how much he loves working on street cars and welding upside down.


      With the whole rear crossmember reassembled with the differential and looking pretty, I became too excited to reassemble the car and run it through the gears to make sure everything still worked.


      Lining everything up and reinstalling this as one piece on your own isn't a great time, but with a little patience and some good music it ended up going back together eventually. Now I REALLY need to degrease and steam clean the gas tanks and rest of the underside.


      Final stretch of the reassembly, double checking torque on axles, driveshaft, subframe, then reinstalling the rear brakes and plugging in the required sensors, and finally snugging up the exhaust system with new gaskets and hardware.


      After feeling confident about the reassembly, and for the first time in roughly three months, the car was back on the ground on all four wheels. First order of business?


      A fresh bath. Months of sitting outside and having the local stray cats use it as a bed was giving me anxiety. I did a quick 45-minute wash to knock all of the surface dirt off but it'll be due for another full day with the buffer soon.
      No abnormal sounds, knocks, or drivetrain explosions on the 50 foot drive to the wash bay, so that's a great start! Next step is going to be putting it on the alignment rack and torquing all of the suspension bushing bolts at ride height, double checking everything for the thousandth time, and then re-aligning the entire rear end. After the long journey of refreshing nearly everything from the driveshaft back, I'm excited for the maiden voyage home to feel out the 3.46 ratio and the silence of fresh bearings!
      Past: '99 Hellrot/Dove M3 | '97 S14 1JZ | '06 Triumph Daytona 675 | '01 330I M-Tech I '99 Silvia S15 | Current: '96 Estoril/Black M3


      Instagram

      Comment


        #33
        Awesome thread, and fantastic documentation of your work. I loved reading every bit of it, thank you for sharing with us. Looking forward to your next updates.

        And that looks like badass place to work (or where ever you are with F50s, 488 gt3s, etc).

        Comment


          #34
          It's been nearly two months since the last update, not for a lack of interest or changes with the car, but because of the heartstrings that are tugged in writing the latest update. Before we get there, let's back up to the end of February.


          With my fiancé out of town I took the car to one of my favorite burger spots for dinner and decided to bring the camera along with me. This time of year in southern Texas is near perfect weather in my opinion. The nights are cool and the humidity is gone, it's the perfect time to get the car out more than normal.


          With the entire rear end of the car rebuilt and an appointment set with an independent to get the intermittent ABS light sorted out, I was feeling good about the car being back near 100%. My 30th birthday was coming up that weekend, so I tucked the car back in the garage and boarded a plane back to my hometown to celebrate with my family.
          The long weekend went great, I finally got to spend time with family and take a break from work and the daily grind. As the universe would have it, the day I was set to fly home from a few days of tranquility, the relaxation would grind to a halt.

          I had given my garage door opener to my neighbor to check up on our cat's food & water while we were gone for a few days. They've done it for us many times before, usually checking in with a quick photo here and there of our furry pal. So when my phone rang at 9:30 in the morning, rather than a text, I instantly started to feel my breakfast begin it's u-turn in my stomach. My first thoughts were that the cat had gotten out of the house or that something had happened and he had fallen ill.

          "My wife accidentally ran into your garage door with our Tesla," he said, and I sighed with a huge breath of relief. After losing my other cat to cancer just two months prior, that scab was far from healed and I wasn't ready for another.

          "The door is too messed up for me to open it and see what all is damaged, but your M3 got scratched up a bit."
          I felt the bacon and eggs start to plan their great escape again. I could tell by his tone that he was upset, definitely not the way he wanted to start out his Sunday morning. His wife was okay, aside from being shaken up, and other than the garage door itself the rest of the house was okay. "Scratched up" I thought, "no big deal. I'll have to replace some clear bra and maybe some trim pieces." I told him that I would be home tonight and we can survey the damages and go from there. In the meantime, send me some photos of the extent of the damage. He obliged and told me to call him right back after getting the photos.


          Warning: The following content may be unsuitable for E36 or otherwise BMW enthusiasts. Viewer discretion is advised.


          Any second now and this kitchen countertop is going to be reacquainted with my breakfast in a different format. Although this was beyond "scratched up" I managed to keep my cool, largely in part of the fact that I was surrounded by my in-laws. Although I was dying inside, I called my neighbor back, told him my thoughts and tried my best to stay level headed. Nothing was going to get solved now, right this moment, while I'm 1000 miles away. I'd be home late this evening to see it myself. I hung up the phone, walked over to the couch that looks out over the woods, and didn't move from there for a good hour. I rotated from staring out the window like a psychiatric patient and staring at this photo, zoomed all the way in on my tiny little iPhone screen. I was trying to make a mental list of what was wrong and what needed to be fixed.

          Those remaining 12 hours before I got home were the absolute worst. With nothing but the single photo and my mechanically inclined mind trying to decipher the extent of the damage, the parts diagrams exploded in my brain as I linked each part to the other. "If the bumper is cracked just below the bumper shock, that means a lot of the force was pushed into the front frame rail, which means it might be bent/collapsed, which means....." and "If the nose panel and the hood are pushed back an apparent 4-6 inches, that means that the AC condenser and the radiator are pushed up against the front of the engine, which means....."
          Sitting there and thinking of every piece of plastic and glass and metal and how they all intersected, how they would spread the damage from one to the next, not being able to know for certain on whether my car was totaled or not, that's some of the worst anxiety I wouldn't wish on anyone.


          Getting home that night and assessing the damage first hand was a strange mix of emotions. It started with anger; having all of my hard work and delicate care over the years being taken away at the hands of someone else and no fault of my own. Then came some more anxiety whenever I walked around to the back to find the car had been pushed back far enough that it broke the glass table behind the car and pushed it through the drywall of the back of the garage. But then came a sense of relief as I started to follow the carnage and survey what all was damaged.

          "Front nubs, look okay but will know for certain when I pull it apart. No cracks or obvious issues on the strut tower, nothing came close to it."
          "Rear frame rails in the trunk are straight. Luckily the table behind the car was made of glass and not a steel toolbox that wouldn't have folded. If that were the case it would have beer-can crumbled the car between the two, at which point all hope would be lost."
          "No fluids leaking under the car. The SPAL fan motor is very slightly pushed up against the water pump pulley, but nothing else is touching the front of the motor. No cracks that I can see. Once I pull the fan out I can start the car to see if anything sounds off."

          Some 45 minutes later of me circling the car with a flashlight I could start to cross things off my mental list I had been making the last 12 hours. All of the damage looked to be purely cosmetic and entirely repairable. Although there was a long way to go, the photo made it look worse than it actually was. The next hurdle: who/how the bill is going to be paid. I know what an insurance company would say, they'd take a look at a piece of paper that says "25-YEAR OLD HIGH MILEAGE 3-SERIES...COST TO REPAIR EXCEEDS MARKET VALUE" or something of that sort and would want to total out the car and leave me high and dry with a measly check that wouldn't cover a fraction of what I had built.

          Adding salt to the wound, just before I left town a few days prior I had reached out to my insurance agent to set an appointment for an agreed value term at a handsome but realistic figure on what it would actually cost to replace this car in the event of a total loss. Welp, I'm gonna have to reschedule that, sir.

          The next day I met with my neighbors to discuss the next steps. Now's a good time to explain a bit more about them. Honestly, calling them my neighbors is a disservice as they're far more than that. They're some of my best friends, people I talk to daily and have dinner with almost weekly. And they know me well, and they know my M3 well. They watch me wipe it down clean after every drive before I put it back into the garage. They know how I'm constantly working on and tinkering with the car, trying to perfect every detail. They have a full understanding of just how much I'm invested in the car not only financially, but emotionally. So naturally they were just as gutted as I was, honestly probably even more than me after I had a day to process it all. If I had to choose someone in my zip code to hit my car, it would be them. Without hesitation they promised to fix the car by any means necessary. It's a shitty situation, but I can't ask for more than that.


          About a week later I had our flatbed truck pick up the car and bring it to my workplace, luckily we have a full body shop on site.


          A couple more days sitting around outside while I waited for some space in the shop to open up.


          Finally, by the third week of March, I got my open spot towards the back of the shop. I quickly started pulling the car apart and chasing down replacement parts. Surprisingly enough an OEM M3 bumper was at the dealership in Dallas, so it showed up quick.


          Over the following week the parts pile grew bigger and bigger while waiting for some body shop time. Although there wasn't anything wrong with the A/C condenser, now seemed to be a prudent time to go ahead and replace that old thing. And even though I didn't show any signs of damage to the S54 Z3M Behr radiator, it is about three years old now and they're cheap enough to replace now rather than a hairline crack I can't immediately see becomes a geiser under pressure on my maiden voyage home.


          Sharp eyes will notice some new brackets in there as well. More on that later.


          One of the silver linings of this: I got to switch the car back to it's proper pre-facelift nose panel with the '96 specific kidney grilles!


          A couple days later I came back to find my car had moved over to the prep area. This means the guys were finally ready to start getting down to business.


          Originally I just planned on fixing the front end damages and rear bumper. When painting the front drivers fender we would have to blend the new paint into the old paint somewhere in the drivers door. With the rear bumper getting painted there would be some blending going on in the back as well. By this point a good portion of the car would have fresh paint while the other half didn't.

          After some deliberation I decided to bite the bullet and take advantage of the opportunity to get high quality paintwork done by some very talented individuals at my work and committed to respraying the entire car. There isn't anything wrong with the passenger side aside from a few nagging chips here and there, but when you've come this far along and you don't care about Bring-A-Trailer nerds with paint depth gauges on a car that'll likely never be for sale, why not? So I stayed after work and stripped all of the side moldings and clips as well as the rear wing.


          Upon removing the driver side fender I found a small garden.


          That's uh.......nice. I weighed it by the way, two pounds! This is sure to help my lap times moving forward.


          This is where I start to become hands-off and leave it to the professionals.


          I don't know what's kind of science project is going on here, but whatever.


          If you were paying attention earlier, you'll likely know what you're looking at here. Something I've been wanting for the car for a long time but for some reason kept putting it off...


          The LTW front splitter! The car has been needing this to balance out the GT wing in back and I'm stoked to have finally gotten this for the car with OEM hardware and brackets.


          They definitely don't look pretty right out of the box. Although most of this is hidden under the car, I'll have to clean this up before installing it.


          Still, I'm very excited about this overpriced front lip.


          The front bumper carrier, again although it's predominantly hidden, needed to be sanded free of it's surface blemishes. I just can't install parts that don't look like they're refreshed.


          An hour or so later of sanding down the splitter tray, this should be ready for primer and paint now.


          The last piece of the puzzle to show up all the way from Germany, the OEM hood! It took about two weeks to get here and it showed up in great shape, thankfully.


          All the new OEM parts waiting to get sprayed and reinstalled, soon!


          Meanwhile my body guy has been cranking out work and fixing imperfections before priming the whole car.

          And with that, we're up to date. It's been a long month and a half of street and waiting patiently, but with the end goal becoming clearer by the day I'm optimistically looking forward to the end result. Although I could have done without the car being crashed into and the headaches that have come with it, I think at the end of this I'll be glad I got to address some little nitpicks I had with the car and have the exterior entirely refinished and done so properly. It's definitely bittersweet, but it could have been worse and it's all going to work out in the long run.


          Past: '99 Hellrot/Dove M3 | '97 S14 1JZ | '06 Triumph Daytona 675 | '01 330I M-Tech I '99 Silvia S15 | Current: '96 Estoril/Black M3


          Instagram

          Comment


            #35
            Been down this road with a neighbor smashing the front end of my E30 after i fully restored it (difference is she was completely high while doing so). In the end all the imperfections the front end had was quickly outweighed from the repairs after. In hindsight i was happy i was able to clean up the front even better than prior to the accident. Sucks to see but in the end you will come out with a super minty car. Looking forward to updates

            Comment


              #36
              Originally posted by antknee View Post
              Been down this road with a neighbor smashing the front end of my E30 after i fully restored it (difference is she was completely high while doing so). In the end all the imperfections the front end had was quickly outweighed from the repairs after. In hindsight i was happy i was able to clean up the front even better than prior to the accident. Sucks to see but in the end you will come out with a super minty car. Looking forward to updates
              That's the mentality I've come around to. Sucks up front, but I get to monitor and be a part of the process on the full respray so it'll be near perfect when it's all back together.
              Past: '99 Hellrot/Dove M3 | '97 S14 1JZ | '06 Triumph Daytona 675 | '01 330I M-Tech I '99 Silvia S15 | Current: '96 Estoril/Black M3


              Instagram

              Comment


                #37
                Time for another Sunday write up, part 2 of the exterior overhaul.


                Since I was already so committed to the exterior overhaul, I decided it was finally time to switch from my 2-piece “GT” wing over to a more proper 4-piece wing. After reading through countless threads and posts comparing quality on the different replicas available, I ended up ordering a wing from DriftShop over in Europe. More to come on this later after it’s been painted. At some point down the road I will likely use the base of the 2-piece wing as a sacrificial test to try and mount a third brake light like the genuine LTW cars.


                As they say, “Good things take time.” After a couple of days my body guy was confident he had leveled out every last imperfection and moved the car over to the paint booth to get the car into primer. I left him alone while he taped the car off and got to work. I came back later in the day to find him shooting the primer.


                All of the new parts were primed and painted separate from the rest of the car.


                Coming back again later in the day, probably for the 70th time, I got my first glimpse at that lovely 335 Estoril Blue getting laid down. ***Excitement ensues***


                I don’t know if there’s a specific term for it, or even if they still do it anymore, but this felt like that room in a hospital where they put all of the babies after you’ve given birth. You have to sit there on the other side of the glass and admire from afar.


                After the booth cooked all of the paint I could finally open the doors and walk around the car. Straight out of the gun, no sanding or buffing and it looks incredible already!


                I’ve had a fire extinguisher in the car for a while now. Someone in the shop said, “Why not color match that while everything else is being painted?” I had never thought about it. I sanded and prepped it and had it shot at the same time. I sourced some “BMW Fire Extinguisher” stickers from a vendor in France and threw them on after it was all done. I think it turned out pretty cool! It should look nice tucked under the front of the passenger seat.


                The bracket for the fire extinguisher had plenty of chips in the paint. I sandblasted it and threw a coat of wrinkle black on it.


                I took a week off of work to explore some of the wonders California has to offer. Such a surreal state to visit with some unreal driving roads to boot. Anyways, no photos of the clear coat phase.


                Back in Texas a week later after all the paint had cured and settled, it was time to start reassembling. The building block of the front end, a fresh core support. Once the core support was in I could install the new A/C condenser as well.


                After attaching the hood cables and lining everything up it was a nice surprise to find that BMW doesn’t pre-tap the bolt holes for the hood catches. Back apart we go.


                Trim tape removed, hood back on and loosely fitted and rear bumper mocked up. Starting to look like my car again. I got everything hung where it needed to be and will circle back to work on panel gaps when some of the bigger ticket items are addressed.


                New OEM hood gasket and latches installed. Nice and fresh.


                Switching gears, I moved over to getting the front bumper set up. I didn’t take a ton of pictures during this process because I was too busy feeling absolutely awful about cutting up a brand new OEM bumper with perfect paint on it. But, in order to mount the LTW brackets and splitter, it needed to be done. Luckily I still had the original bumper to use as a learning curve and to make a “template” with.


                Another quick mock up because I was too excited. I’ve wanted the proper LTW splitter setup for a long time now so it was very exciting to see it coming together. There is still a lot to be done, the velocity splitters need some trimming, the splitter tray itself needs painting, and a whole lot of panel adjustment to line up all the gaps correctly.


                While my painter was working on wet sanding, buffing, and polishing, I spent some time assembling other bits, including the wing. As mentioned earlier, I purchased the 4-piece wing from DriftShop in Europe. With all the other current expenses and money flying out the window, I figured now wasn’t the right time to spend $2500+ on a PTG wing. The photos I had seen of the DriftShop wing appeared to be decent so for $450 or so, I took the gamble.
                There are a lot of threads and photos on the internet of the “LTW” wing and without a common denominator of photos, it’s hard to definitely tell how the various brands stack up in terms of fit and finish. I tried to take a few photos from further away but zoomed in and a few from up close with a wider angle. Note: the hardware is only snugged down in these photos. Final assembly and tightening of all the bolts hasn’t been done yet. Here’s my take on it:
                • It was shipped to me in under 5 days, which was impressive.
                • The quality of the fiberglass is overall pretty decent. There are a few pinholes in it that will need to be filled and sanded smooth if you’re looking for perfection, some photos of this below.
                • Compared to my previous wing, the angle of the wing/gurney is far more aggressive. It kicks up pretty good.
                • The leading edge of the wing (the lower line when seen from behind) is pretty flat with maybe a hair of “sag” in it.
                • The rear edge (the upper line when seen from behind) arches upwards a little bit rather than being flat.
                • The outer angles of the risers/upper wing are semi-close to correct in terms of being close to an OEM wing. It bows outward and then angles back in, just not as much as OEM. The inner angles are pretty much 90* which isn’t ideal.


                Overall, at under $500, I think it’s a pretty fair bargain when it comes to replica wings. Although imperfect when it comes to replicating the factory wing it’s not bad enough for me to spend an extra $2000 on and I can live with it. We will see how it holds up to high speed downforce over the coming months.


                The risers fit okay, but again, all of the hardware is barely snugged up in these photos and I haven’t attempted to make any adjustments to this yet. I don’t think I’ve seen any wings whose risers fit perfectly, even OEM setups.


                Mentioned earlier, here are some photos of the in holes in the fiberglass on the upper portion of the wing. These will need to be filled and re-shot.


                Getting to the final stages of this, while wet sanding and polishing continued, I worked on lining up the front end gaps. A couple hours of opening and closing the hood, checking, minor adjustments, and checking again, I landed here. The driver side of the front bumper still needs to come up a few millimeters to the nose panel, if you look closely. Overall, pretty pleased with how it’s coming back together.


                The OEM side skirt gaskets together would have been $150. I saw someone recommend Clinched Flares and so I tried them out. 15 feet of this rubber gasket only ran $50. Looks pretty close to me.


                Random photo of me appreciating the new gloss.


                All new OEM clips installed and ready to go.


                With the bumpers and side skirts mounted in anticipation of the PPF installation, I rolled it outside for the first time in a long time to appreciate it in the evening sun.


                With all of the exterior bits on and aligned for the most part, it was time to install the paint protection film. This starts out with the first exterior wash the car has had in over two months.


                I’m a big advocate for PPF. It makes life so easy and has saved me from having to do paintwork many many times. It’s much easier, quicker, and often cheaper to replace a section of PPF than it is to repaint something. Almost all films now days have self-healing properties so light swirls and scratches are a thing of the past. With all of this in mind, and the fact that I still plan to track this car regularly, it was a no-brainer to have the entire car wrapped in XPEL film.


                Houston PPF is a highly talented group and I can’t recommend them enough. Here you can see the passenger side C-pillar where it meets the roof. The rear quarter panels all the way to where the A-pillar ends next to the mirror is one piece. The only seam that is remotely visible is here, where the seam was cut to match the body line of the roof.


                The trunk seam is on the upper edge which will be covered by the wing.


                Two more shots of their precision and hidden seams. Some of my favorite details on this car are in the details you don’t see unless you’re really looking.


                Now that the PPF had been completed on the bumper and wrapped underneath I could install the grille and the front lip onto the bumper along with the velocity splitters.


                This mean finally and properly installing all of the LTW splitter hardware and snugging everything up for the last time. The spring loaded brackets that BMW designed for this are pretty clever.


                Bumper slid onto the carrier and tray at full-out. Looks pretty aggressive, I love it.


                *Almost* final assembly! I still need to acquire a new driver side headlight housing to transfer my FXR retrofit into, as 3 of the 4 tabs are broken on this one. Once that’s done I’ll go down headache road with aligning the headlights to their final resting places. I think I still need to bring the hood down a couple of millimeters as well.

                Other than that, with the lights in, the new 96-specific kidneys in, and all new OEM bumper trim installed, I ended yesterday on a high note. It’s been a lot of work getting it here but it’s come along nicely and I’m glad to be in the final stretch of this repair.


                Now with almost the entire exterior being completely refinished I’ll have to turn my focus to bring the interior up to the same grade as the exterior. I’ve still yet to install the door panels I made a while back as I haven’t finished the inserts and I also haven’t installed the leather wrapped roll bar either. I’ve also got a rear seat delete I’ve been working on so I’ll try and do these all together in one movement which will account for 75% of my plans for the interior.

                As of now, I still need to install the rear bumper trim and diffuser, side moulding trim, and the rear wing to be done. As mentioned before, the wing needs some minor repairs before I’ll be able to install it. Finish line in sight, soon I’ll be able to enjoy it again.

                Past: '99 Hellrot/Dove M3 | '97 S14 1JZ | '06 Triumph Daytona 675 | '01 330I M-Tech I '99 Silvia S15 | Current: '96 Estoril/Black M3


                Instagram

                Comment


                  #38
                  You PPF'd the whole car?

                  My man over here spending bread.

                  It looks amazing dude.
                  2004 BMW ///M3 Carbon Black/Cinnamon 6MT
                  2005 BMW ///M3
                  Interlagos Blue/Black 6MT Dinan S3-R

                  2008 BMW ///M3 Alpine White/Bamboo/6MT Track Build
                  2000 BMW ///M5 Royal Red/Extended Caramel 6MT
                  2004 BMW X5 Toledo Blue/Sand Beige 6MT
                  2023 Toyota Supra //A91-MT CULG/Hazelnut 6MT


                  Instagram

                  Comment


                    #39
                    That's an awesome result. Paint looks epic.

                    Comment


                      #40
                      Not many e36 M3's can say they were refreshed and repainted in a Ferrari bay...BAT nerds should be drooling

                      Comment


                        #41
                        the full respray looks phenomenal man!! and the front splitter, I feel, is the final piece to your puzzle

                        Comment


                          #42
                          This build is next level, kudos!

                          Comment


                            #43
                            🤤 🤤 🤤

                            Comment


                              #44
                              Originally posted by Sharocks View Post
                              You PPF'd the whole car?

                              My man over here spending bread.

                              It looks amazing dude.
                              Thanks dude. PPF is kind of like windshield tint, once you've had it, it's hard to imagine living without it. PPF has made my life so much easier (and cheaper in the long run) many of times.

                              Originally posted by PipeUy View Post
                              That's an awesome result. Paint looks epic.
                              Thank you. I'm excited about the result, looking forward to finalizing all the details and bringing it back home.

                              Originally posted by fattycharged View Post
                              Not many e36 M3's can say they were refreshed and repainted in a Ferrari bay...BAT nerds should be drooling
                              True, but then the same BAT nerds will be chastising the fact that it was ever in an accident, and that it was driven in the rain, and that I didn't wear a hermetically sealed suit while driving it.....
                              Originally posted by ejendow View Post
                              the full respray looks phenomenal man!! and the front splitter, I feel, is the final piece to your puzzle
                              Thanks you, and agreed. I've been wanting the OEM splitter setup for a while but just kept pushing it off.
                              Originally posted by Str8f4c3 View Post
                              This build is next level, kudos!
                              Originally posted by antknee View Post
                              🤤 🤤 🤤
                              Thanks guys!
                              Past: '99 Hellrot/Dove M3 | '97 S14 1JZ | '06 Triumph Daytona 675 | '01 330I M-Tech I '99 Silvia S15 | Current: '96 Estoril/Black M3


                              Instagram

                              Comment


                                #45
                                Overdue for the next update, so I'll jump right in.


                                For the first time in a little over two months I got to make the maiden voyage back to my garage. Having it back at home meant I got to tweak panel gaps and fitment items at my own leisure.


                                I also got to start cleaning up the engine bay again and rid it of all the dust and dirt that had accumulated through it's stay in the body shop.


                                After two failed attempts I finally got the correct side molding clips to finish up the car. First I had to strip all of the trim stain I had used in the past, the fresh front bumper trim was far more of a matte finish than the rest of the car.


                                Back and forth on the nose panel / hood gaps and then the front splitter / front bumper gap. It looks like there's a slight gap in the center, but I haven't been able to pinpoint if this is normal or if something is awry. Everything is lined up and snugged down as best as possible.


                                I drove the car to and from work and around town for a week or two, everything on the car felt sharp and the car shoots straight. The oil in the car was well overdue so it I switched out the 10W60 for some 5W50.


                                I realized that my APEX studs were roughly 3 years old now, so I changed them out for fresh Bimmerworld studs. Removal was easy, torquing the new ones to 40 ft/lbs was abnormally frustrating.


                                Next, the flaws in the paint on the wing had been corrected so I spent an afternoon mounting it onto the car with the MSportParts lower gurney. Finally, some four months since the accident, it was looking like my car again. I gave the car another nice wash and stepped back to appreciate it in the setting sun.

                                It's been a long time coming getting to this point. Aside from maybe some different wheels down the road, I'm now at the point where I can say that the exterior of this car is done. The paint is fresh and protected by PPF on every surface and it really glows in person. I'm super happy with the final product seen here. It really needs to be seen in person to appreciate.


                                So what do you do with a near-perfect, freshly repainted E36 M3?


                                You get your friends together and go to the track!


                                Apparently I've got a knack for going to the track on the hottest days of the year, ambient temps were probably around 100. The car still handled it pretty well, cylinder head temperatures topping out around 215*. This was my first time back on the track with the TCKlines, the new diff setup, and the RE71R's. Most of the morning sessions were spent getting stuck in traffic while trying to fine tune the compression and rebound on the TCK's.

                                By the time I had found a setting that felt decent I think the heat in the tires just ended up being too much and hit a plateau. The car would feel pretty good and planted mid-corner for the first 2-3 laps but started to fall off after they really started to get hot. However, I still managed to set a new personal best with a 1:47.6 in one of the early afternoon sessions, but couldn't break out of the low 1:48's much after that. Last time I ran this track in the clockwise format my best was a 1:49, so that's a good bump I suppose.


                                A little friendly rivalry with my friends absurdly loud 991.1 GT3. Unfortunately GoPro's lifecycle is trash and I can no longer produce the speed, g-forces, or any other GPS data on my videos so the videos feel a little plain now. I'll be moving over to a different action cam for next time, GoPro can pound sand.


                                One thing I know I can change for the next event will be more front camber. If I recall correctly I was at -3.2* up front but as seen here I was rolling over onto the sidewall pretty good. Luckily there's still a lot of adjustment in the TCK upper plates. I kept an eye on pressures and hot temp pressures were consistently at 30 psi. Maybe I'll try going a little higher next time as well.


                                Now, the painstaking task of scrubbing all the melted rubber off of the PPF and cleaning the car up nice again.
                                I think the car could use a little more power, so maybe it's time for the ASC delete elbow, Porsche MAF, and 24# injectors that have been sitting on my shelf for a while.

                                Next task is to finish the rear seat delete panel I started long ago so I can finally install my leather wrapped roll bar that has been collecting dust. For now, just happy to have the car back in the garage and under the cover!
                                Past: '99 Hellrot/Dove M3 | '97 S14 1JZ | '06 Triumph Daytona 675 | '01 330I M-Tech I '99 Silvia S15 | Current: '96 Estoril/Black M3


                                Instagram

                                Comment

                                Working...
                                X