Originally posted by Radekxpl
View Post
-
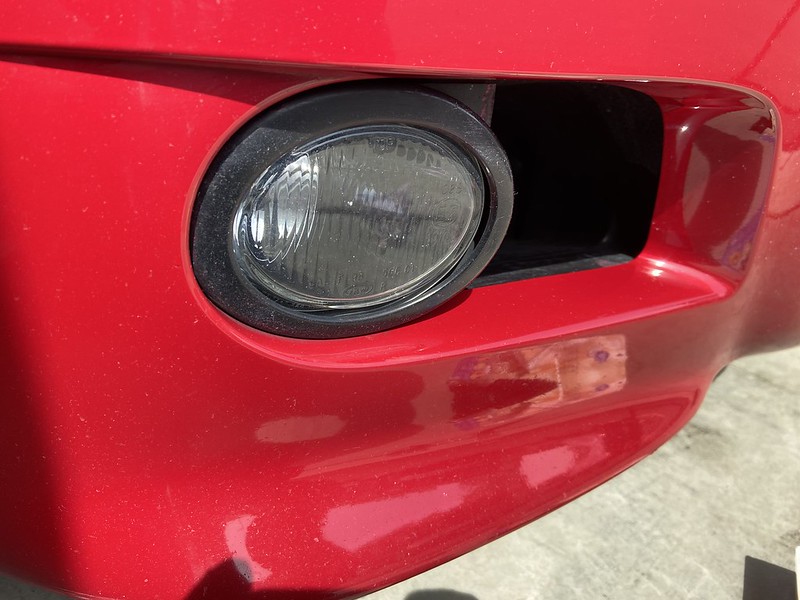
Onto the next rounds of projects. With COVID sending the world into a lock down, it seemed like a good time to spend some more major time on maintenance. First up was replacing my lower bumper trim. It was going gray and a new one really wasn’t that expensive. After taking the old one out and hitting it with some 303 Aerospace they almost looked the same lol, oh well.


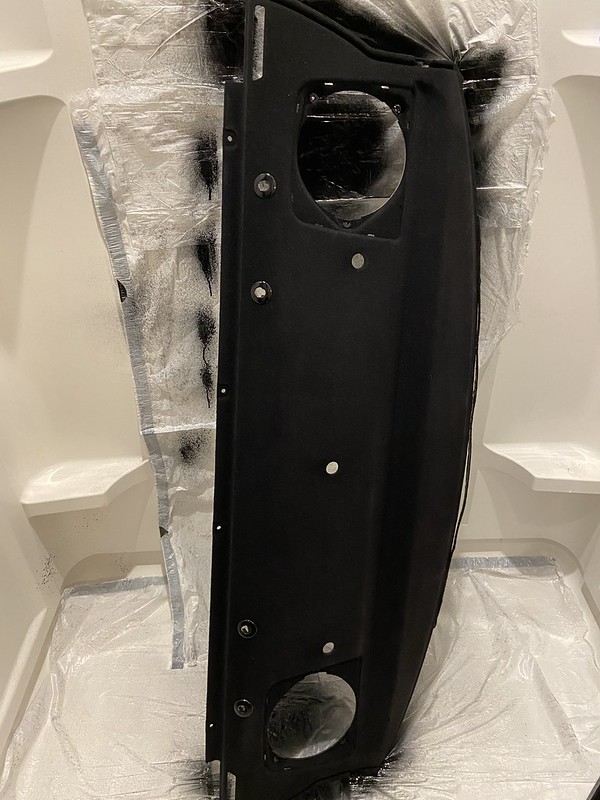
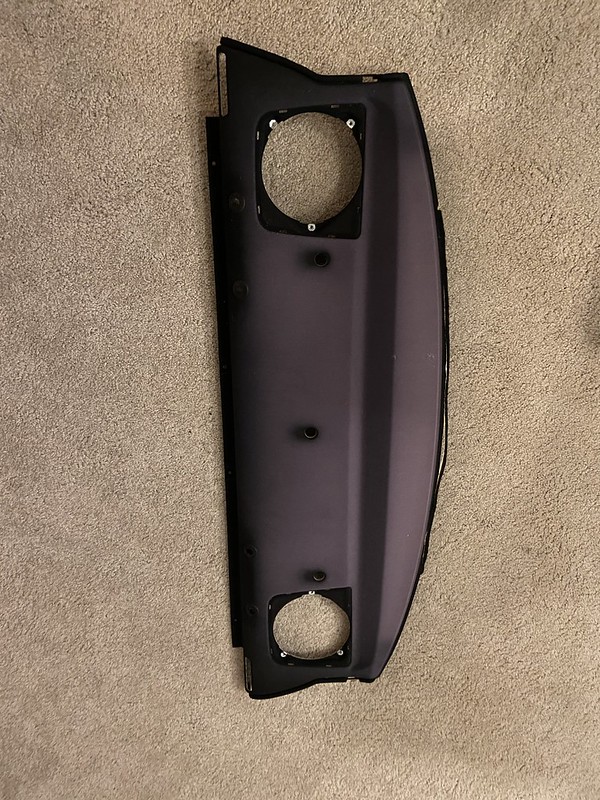
The next thing I have done was a little more major. I am still mid-way through it, but it is going rather smoothly so far. I have never taken off the valve cover for this car nor seen any pictures of it. The previous owner said VANO had not been addressed but when the last valve adjustment happened the mechanics reported it was fine. I ordered almost everything from Beisan as well as new cam bolts from Lang Racing. Time for me to open it up and see for myself what I am working with.

Initial impressions are really good. Everything was very clean (no sludge), definitely taken care of correctly. I took a deeper look at my exhaust hub tabs, and thankfully they were both together as well. I shot the old owner some pictures and a thank you for not breaking them. He seemed to enjoy them.

I removed the clutch fan and shroud. Somehow I ended up dropping both out of the bottom of the car rather than pulling them out the top. I guess whatever works! Then off came the solenoid, sealing plate, and the VANOS unit itself.


I moved from my garage up to my apartment to replace all of the seals, put in the new oil pump disk, cleaned up the solenoid plate (on my patio), and began reassembly. The O-ring that sits inside of the cylinder was probably the most frustrated I was during the process. It took me nearly 45 minutes to get it so sit in there. The oil pump disk was a bit annoying as well trying to get all of the springs compressed and seated in the bearing all at one time.


The whole process once I was up in my apartment took me nearly 3.5 hours. Not terrible for a first timer. Definitely room to improve with the oil pump disk and the cylinder o-ring.
Next on my plate is the upper chain guide, Lang Racing cam bolts, the anti-rattle kit, and a valve adjustment. After the motor is back together and before I put the fan back on, I will replace the driveshaft flex joint and rebuild the shift linkage with new bushings.Last edited by Inizes; 04-07-2020, 03:52 AM.Leave a comment:
-
Hey thanks.I appreciate it. I think bimmerfan08 said it best (I think it was him) that the hard part about these cars (engineering) is already done! Everything now to maintain them is just taking them apart and putting them back together. The community is great and has a ton of DIY information and is super supportive of it. Currently working on a few projects and will be updating the journal once they’re done.Originally posted by MrClutch55 View PostLeave a comment:
-
Leave a comment:
-
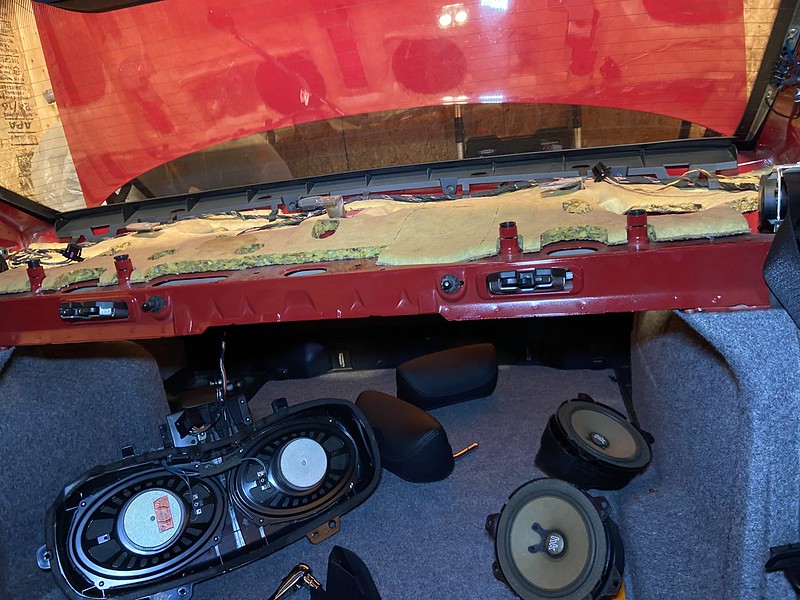
Where did you find the part to replace the decorative window trim that sits underneath the rear window?
I know you bought the 3m for the upper part but i want to make sure i buy the other part also
Leave a comment:
-
Thanks! I might be reaching out soon to get my steering wheel trim refinished (if you're still going it)Originally posted by TexaZ3 View Post
With the self-isolation going on, I have been putting a lot of time into correcting the paint. The results are pretty good - not perfect. Ceramic coating to come to bring some of the gloss after a plolish. This is touch up paint only. Anyways, here is a teaser:

Leave a comment:


Leave a comment: