Very cool build! I love Imola red, I was originally looking for one myself. The exhaust with both resonators sounds way better than before
-
-
Thanks! I think so too, kind of crazy how much of a difference one resonator makes.Originally posted by gheorghe View PostComment
-
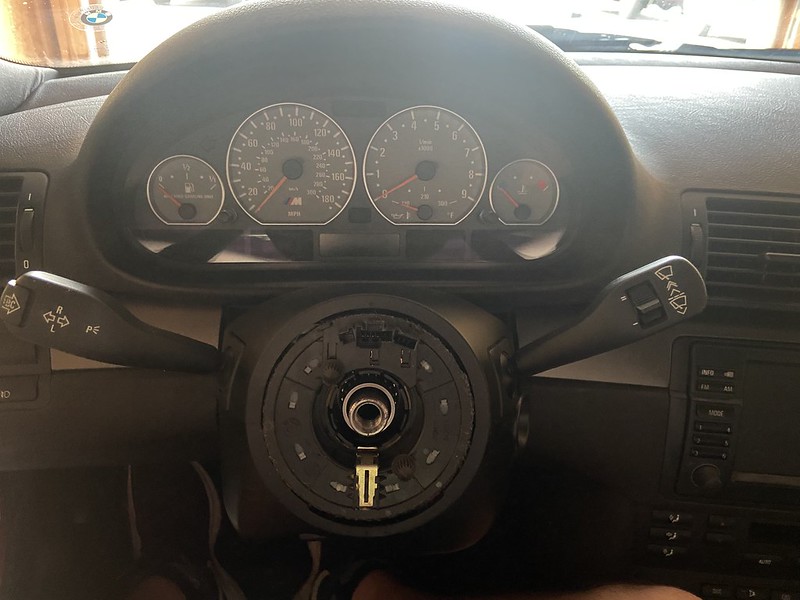
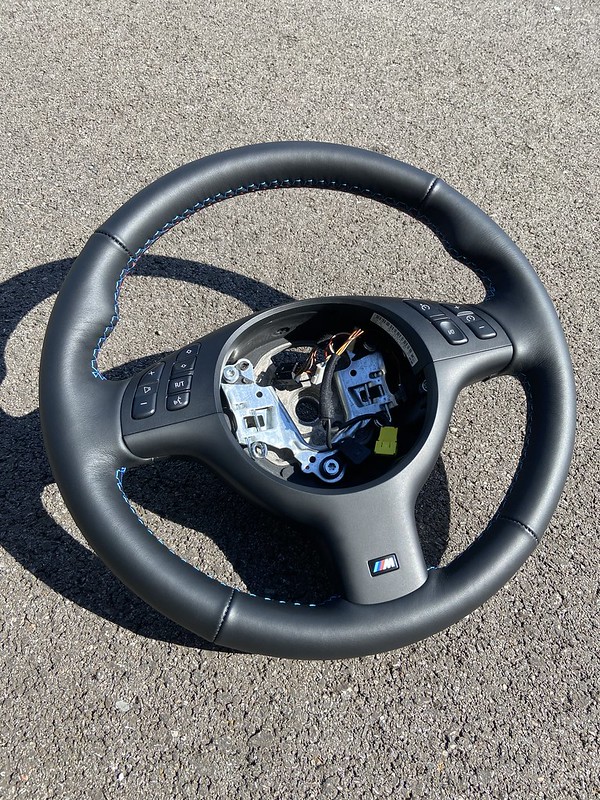
That steering wheel looks great! I wasn’t too impressed with the pic of the wheel he had on his site but yours look so much better. Perhaps picture quality ? Who knows.Originally posted by Inizes View Post
Ive been on a quest to find a clean steering wheel to replace my Coby alcantara wheel.
What is the difference between OEM style grains and the nappa? Is the oem style grains have all of the little lines in it and the nappa is more fine finished ?Comment
-
-
Been a while since I've been in here....love your interior update. That's a mighty fine E46!Past: '99 Hellrot/Dove M3 | '97 S14 1JZ | '06 Triumph Daytona 675 | '01 330I M-Tech I '99 Silvia S15 | Current: '96 Estoril/Black M3
Instagram
Comment
-
Thanks I appreciate it. Took a little bit or restoration work and cleaning but I love it.Originally posted by Mike0032 View PostComment
-
Spring is almost here and with warmer temperatures and a few months away from the car I have been getting excited to get out and drive. Ohio saw a really warm (60 degree) last day of February. This was the perfect time for me to go tackle a couple small projects. My main task was to locate and eliminate a heat shield rattle that popped up after the header install. This gave me a pretty good idea of where to start. Sure enough the first spot I looked at was the source of the rattle. The header was touching the heat shield that covers the passenger side front control arm bushing. A slight bend to the heat shield and I was good to go. In the second photo you can see a little mark on the header from where it touched the heat shield.


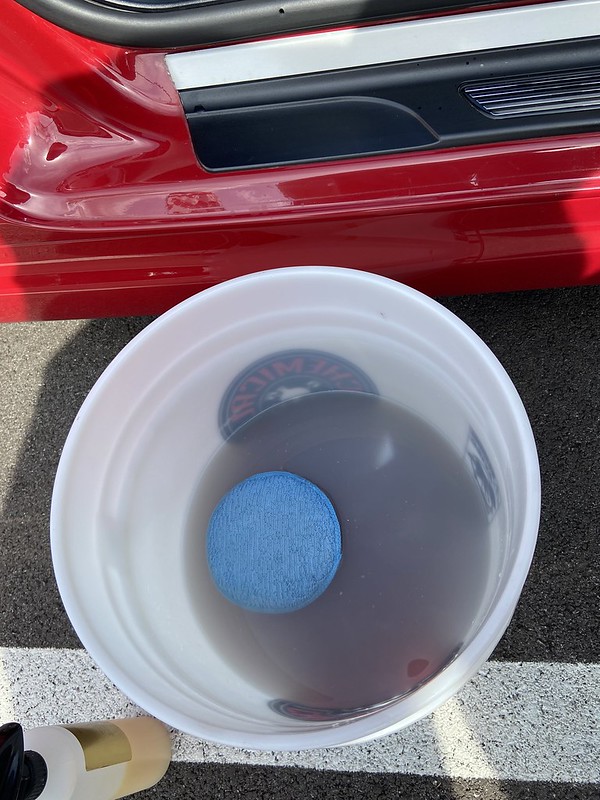
I also had purchased some Solution Finish Black Plastic & Vinyl Plastic Trim Restorer over the winter. My main target was the weather stripping above the front windshield. I was so happy with the results that I also did the rubber around the sun roof and the rear window. To me it looks brand new, but I want to see how it holds up over time and through some washes. From what I have heard, it should stay for a while.


For my final “pre-spring” change to the car, I focused on the shift knob. Ever since I put on the ZHP knob, I felt like the car was missing one thing that makes an M car an M car: an illuminated shift knob. I personally couldn’t convince myself that a back lit shift pattern was worth $300+, especially if I wasn’t going to use the shift boot. I found a pretty solid eBay deal for a very slightly used F80 M3 knob. I figured I could sell off the ZHP knob I am currently using and the F80 shift boot and be pretty close to even.
I logged all of my steps in this DIY: https://nam3forum.com/forums/forum/m...tom-shift-boot
I wasn’t sure if the DIY had been created before but I couldn’t find anything on it. Anyways, here is the result. Exactly the same as before except it lights up!

Comment
-
I just saw the video of your car on instagram.. Im in love with the CSL intake sound on your car. Sounds 100% perfect. Keep up the fine modding bro.Comment
-
Shortly after the shift knob installation, I reached out to Hassan from HTE Performance Tuning to maximize the performance out of the OEM euro headers. I opted for a street tune rather than a dyno tune since this tune would be pretty generic and not require a lot of adjustments from base files Hassan has. I drove out into the country, used my phone as a hotspot, and Hassan connected into my laptop to go to work. Overall process was pretty quick and easy. Immediately I could feel a little more power in the middle and top of the RPM band. I also noticed that the tune runs a little rich which gives me a single pop between shifts under a hard load - I love it.

Next, I got together with one of my friends here in Columbus so that he could do a review video for his YouTube channel. This was the second time he has driven my car, I still want to get behind the wheel of his ZHP to see how different it is. I have driven his E92 comp and it is surprising to me how different his M3 feels compared to mine. For those interested, the video is in the link below:
https://www.youtube.com/watch?v=aFVe...tedPerspective
A week ago I went to the season opener for Dayton Cars and Coffee, which was the first show they have had since COVID started over a year ago. This show is always pretty big, but with the length of time from the last show it was huge with easily over 1000 cars. I left Columbus around 6am with a local E30 M3. Somewhere along the way I picked up a sheet metal screw in the passenger front tire. I decided to drive back to Columbus before removing it and plugging the hole since the tire was still holding air.


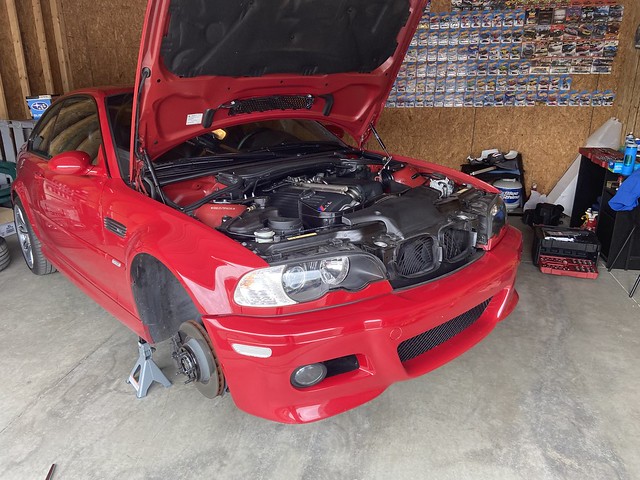
I have been mentioning it for a while, but it was finally time for me to service my rod bearings. This is my 2nd of the “big three” since I completed the VANOS overhaul last year. I was definitely nervous for the job ahead, but I kept telling myself that at the end of the day it is all just nuts and bolts. I read through all the DIYs over several times, printed out the full DIY and BMWs TSB for the job, and watched a few YouTube videos on people replacing the bearings to familiarize myself with the job ahead. I also contacted one of my college friends who worked at BMW of Louisville for a bit where he did some rod bearing jobs. He ended up leaving when ownership changed to go chase his dreams to become a commercial pilot. Timing worked out that he is currently working in Columbus as a Certified Flight Instructor while he gathers more hours.
I started out on my own taking care of all of the components that needed to be removed before dropping the subframe and removing the oil pan. Everything came off with ease as I expected since most of the components were removed over the winter when the OEM euro headers were installed.
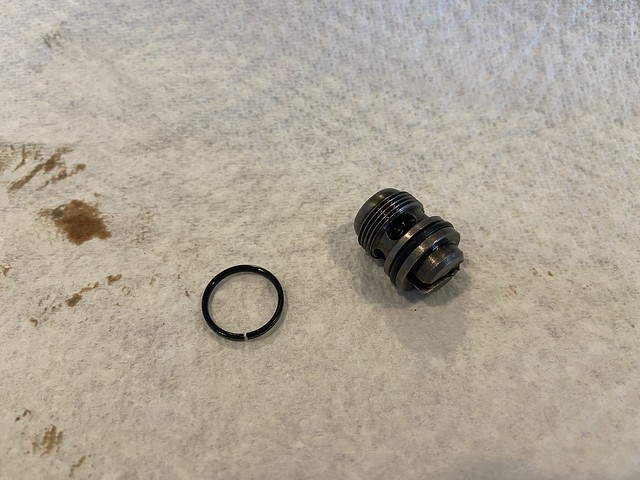
Prior to dropping the subframe, I replaced the CPV o-ring with a new one from Mpower22. The old o-ring was definitely leaking and upon inspection after removal, it was hard as a rock. I also drained the transmission of the Redline fluid I put in last year and replaced it with OEM BMW transmission fluid. I also replaced the serpentine and AC belts and their tensioners because I didn’t think I had their age. As I went back through the prior owner’s records, the belts were replaced 3 years and 20k miles ago but I believe the tensioners were original. I’ll be sure to pay better attention to the records I have before replacing parts in the future.


Once my friend arrived, we dropped the subframe and oil pan and went to work.The first pair of bearings we did were cylinder 1 and 6, which in retrospect were not the best bearings for me to learn on because of the lack of space to access the rod side. I got the hang of the process and having a second set of trained eyes working on the installation process was comforting. I think I mentioned it before, but I did decide to use ACL bearings.

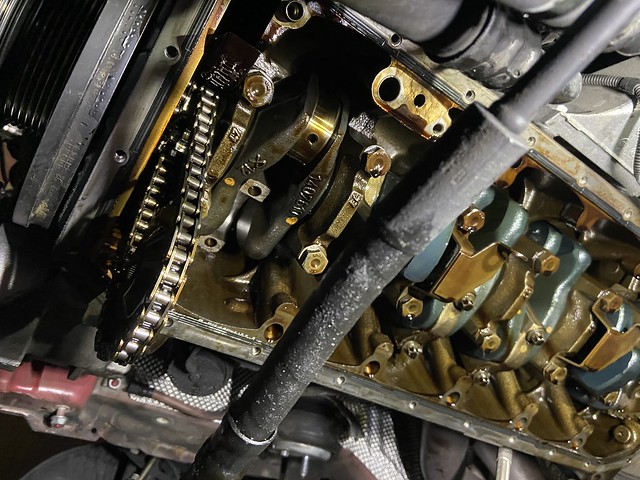
We moved onto cylinders 2 and 5 next, and then finally cylinders 3 and 4 before calling it a night around 1:30 in the morning. The bearings still looked decent, no signs of copper on any. As expected, there was more wear on the rod side than the cap side.

On Sunday everything was put back together. The oil pickup tube got a new o-ring (thank you BMWahba for checking over my parts list and noticing it was missing) and the oil pan was put back on. The engine mounts and steering guibo were replaced as the subframe was put back up. Before putting the reinforcement plate back on, we cleaned up the underside of the car to remove excess dirt and oil so a potential leak could be easily identified. At this time, we also pulled the fuse for the fuel pump and cranked over the motor using the starter only to prime the bearings and listen for any strange noises. Everything sounded great so the fuse was put back in and the engine was fired for the first time. I was confident in our work but still nervous. The motor sounded great and we brought the coolant level up to operating temperature before turning the car back off as the clutch fan hadn’t been reinstalled yet.

After reinstalling the rest of the components and dropping the car back on the ground, it moved out of the garage under its own power where we checked the oil level. A quick trip around the block proved that we had a successful rod bearing job and we shared a celebratory drink. Never again do I want to do rod bearings on the floor of a garage. My whole body was sore and I was exhausted. I do still think that the overall difficulty wasn’t too bad, it was just a very long service.Comment
-
I was pumping gas at a Shell (v-power for the gainz) today in Springboro and someone came up to me complimenting me on my car. He said that one of his friends had an Imola one up in Columbus, I took a guess and asked if this individual bought out of state and just did rod bearings. Turns out it was you that he was referring to! Small world!Comment
-
I loved what you did to the car amazing buildComment
-
Small world! Wonder which of my friends this was. Time to do some interrogating. Some of my close friends grew up there and were back visiting their families this past weekend.Originally posted by S3diment View PostComment
-
Thanks! Not sure what to do now haha. More maintenance I guess.Originally posted by Rudbari View PostComment


Comment