Here's the story of the Red Drift Machine. Started out as a track car but has been slowly evolving into a car geared towards competition. Not sure what yet. I hope to start in TT in 2021. Unfortunately scheduling...can't make any 2020 events in addition to the whole COVID thing.
-
Last edited by bigjae46; 08-09-2020, 06:12 PM. -
It started in Nov 2012. I had a supercharged 330Ci (LOVED IT!!!) which lost, yet, another oil pump sprocket nut. Third time. So it was time to move on.
Here is the last ride...
That car was fast! 1:57 at Texas World Speedway on street tires at 3300lbs. I needed something more reliable and less susceptible to heat soak.
I bought this red on red 2004 M3 for $10,500. It was an auction car so that is part of the low price. Since it was going to be a track car, didn't really care since I was going to gut it and replace everything consumable.
98,000 miles
Imola red on Imola Red
6 speed
Moonroof
19" wheels


So you've seen endless pics of stripping the interior...mine looks no different. I installed this VAC floor panel. Lesson learned, make it easily removable. Funny story. I was driving home from Ice Hockey at 10pm. I totally forgot that I was low on fuel. I pulled off on the next exit and then the car died. I was going to call my wife. I dropped my phone and it fell under the floor plate. So I had to walk 1 mile in a bad neighborhood and carry fuel back in 2 Gatorade bottles.
 Last edited by bigjae46; 08-09-2020, 10:43 AM.
 -
Brake fluid was nasty...

Changed all of the fluids, FCABs and RTABs. Installed the TCKs, Vorshlag camber plates and Turner rear control arms from my 330ci. Ordered a new Stoptech BBK, UUC SSK Only issues I found at this time was a seized rear outer control arm ball joint and a leak from the diff pinion seal. I sent an oil sample off to Blackstone.
So you read that correctly, I used non-M camber plates on my M3. I called TC Kline because Vorshlag did not have the M3 plates in stock. TC Kline said I could use the non-M plates if its a track car. I'll just gain negative camber and lose some caster. So I set the Vorshlag plates to max caster (they come set in the middle setting). The camber range is -2.5 degrees for -4.5 degrees. This is GREAT because I have a much more usable range of camber for track use.
I had NTB align the car. The front camber was at -4.0 degres and the rear was stuck at -1.8 degrees. All in all, NTB did a good job but it was too much of a camber imbalance front to rear. Totally on me. So off to the track...

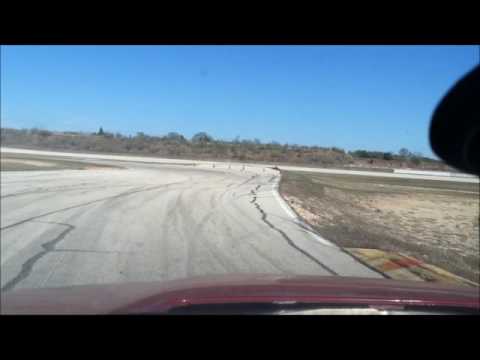


As you can see, the rear end was pretty squirrely. Then bad news. I spun bearing #3 at its first track event. I shut it down before anything else got chewed up. I get home and that Monday my Blackstone report arrives.
 Last edited by bigjae46; 08-09-2020, 10:42 AM.
Comment
-
This is what it looked like...


Lots of learning going on at this time. I ended spending $3000 to get the motor back together but it was money well spent in knowledge. I used a shop foreman that I knew to do the engine rebuild, an amazing dude.
Against his advice, I tried to cheap out and just replace the bearings and clean up the journals. Still knocked. So the engine was disassembled. Luckily, the crank was able to be turned and still be within spec for +.001 bearings. Turned the crank, installed VAC coated bearings and sent it. Storied of dust free shops to do engine rebuilds...lol...the shop foreman reassembled and installed the motor in less than a day.

Looking back, the only mistake made was the crank should have been heat treated. Overall, got really lucky!Last edited by bigjae46; 08-09-2020, 10:41 AM.Comment
-
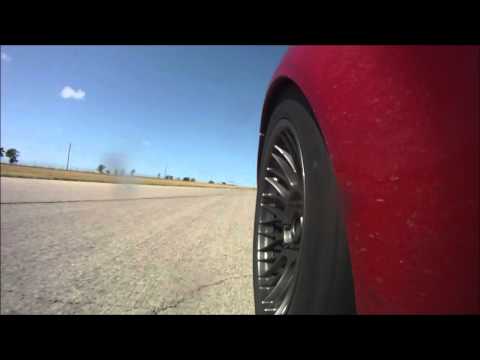
Fast forward to Nov 2013. Installed a used Bimmerworld Race Exhaust on an otherwise stock car. It was missing the rear bracket. Its track weekend...gotta do what I gotta do...

Added some much needed pep. The car feels like a dog, I was having trouble passing a Miata on the straights without them lifting. Still feels like the engine is weezy but the exhaust made it feel a little better.


At this point, I'm living in Milwaukee, WI and the car is in Houston. Not really doing much maintenance but the car is still going! The bad news...A "racing shop " sold me some manual transmission fluid. I flew in from WI that afternoon and was doing maintenance in the paddock (not fun!). So I put in that $30L Motul gear oil that I bought at the "race shop". Found out later on that is a GL5 lube. The transmission wasn't great before that but it was significantly worse afterwards. I had to rev match perfectly downshift. I got better at rev matching but was not perfect by any means. Grinding and missing a gear wasn't an uncommon thing.


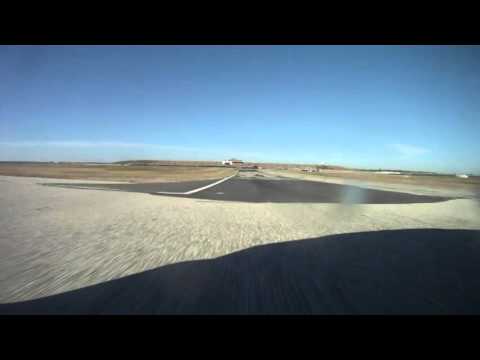
The parting shot as the car leaves Houston, TX
 Last edited by bigjae46; 08-09-2020, 10:40 AM.
Comment
-
The Red Drift Machine is now in Milwaukee...
Added some brake ducts on the cheap. Had some Bimmerworld steel backing plates, the rest was from eBay. I zip tied the ducts into the foglight openings. They worked well. I was able to use the Stop Tech sport pads on the track. Stopping power wasn't great but the pads didn't fade. Track pads last about 50% longer (used to get 5-6 weekends, now I get 8-9).


Reinforced the rear subframe and installed solid subframe bushings. I epoxied the plates on using 3M DP420 epoxy (sorry, no pics)

Also installed a SPAL fan. I want to cut off the threads on the water pump...someday. Its a 16" slim fan...works pretty well.

Installed an "racing" steering wheel. It was a little better. The OEM steering wheel is pretty darned good!

Ran a couple of events at the Milwaukee Mile. Not the most exciting track but its a 15 minute drive. I did a couple of Track Night in America events with SCCA. These particular events were great. Take off from work at 1pm. Show up at the track 3pm. Run until its dark and go home. So simple, well run and great people!
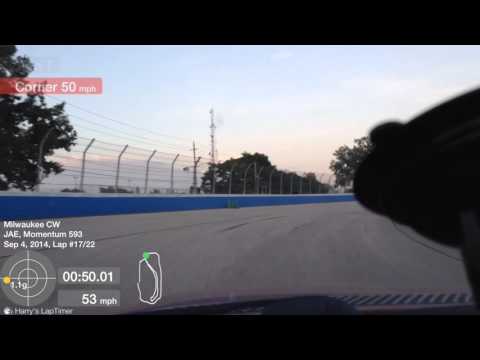

Car is ready to go for BMWCCA Oktoberfast at Road America (Sep 2014) and disaster strikes during the 2nd session...

Rod #3 again. Back to the earlier engine problem...the engine would have lasted a lot longer if the crank was re-hardened. In the end, not too upset. Got 15k miles out of the rebuild...most of it being track miles all the while being poorly maintained. From this point, the car sat for about a year.Last edited by bigjae46; 08-09-2020, 10:39 AM.Comment
-
Sat for a year. Life stuff...

Decided to make it into one of the lightest E46's to ever hit the track for maximum fun and minimum cost. This includes installing a roll cage. My plan was to make the car as light as possible before installing the roll cage. This includes wire harness thinning, cutting sheet metal, and removing unnecessary brackets. Also want to make improvements to the rear subframe reinforcement.
First up - 5 speed conversion.

Wire harness thinning and removing the heater core. First time wiring harness thinning so I'm taking a step by step approach. Remove some wires, test and go in and remove some more.


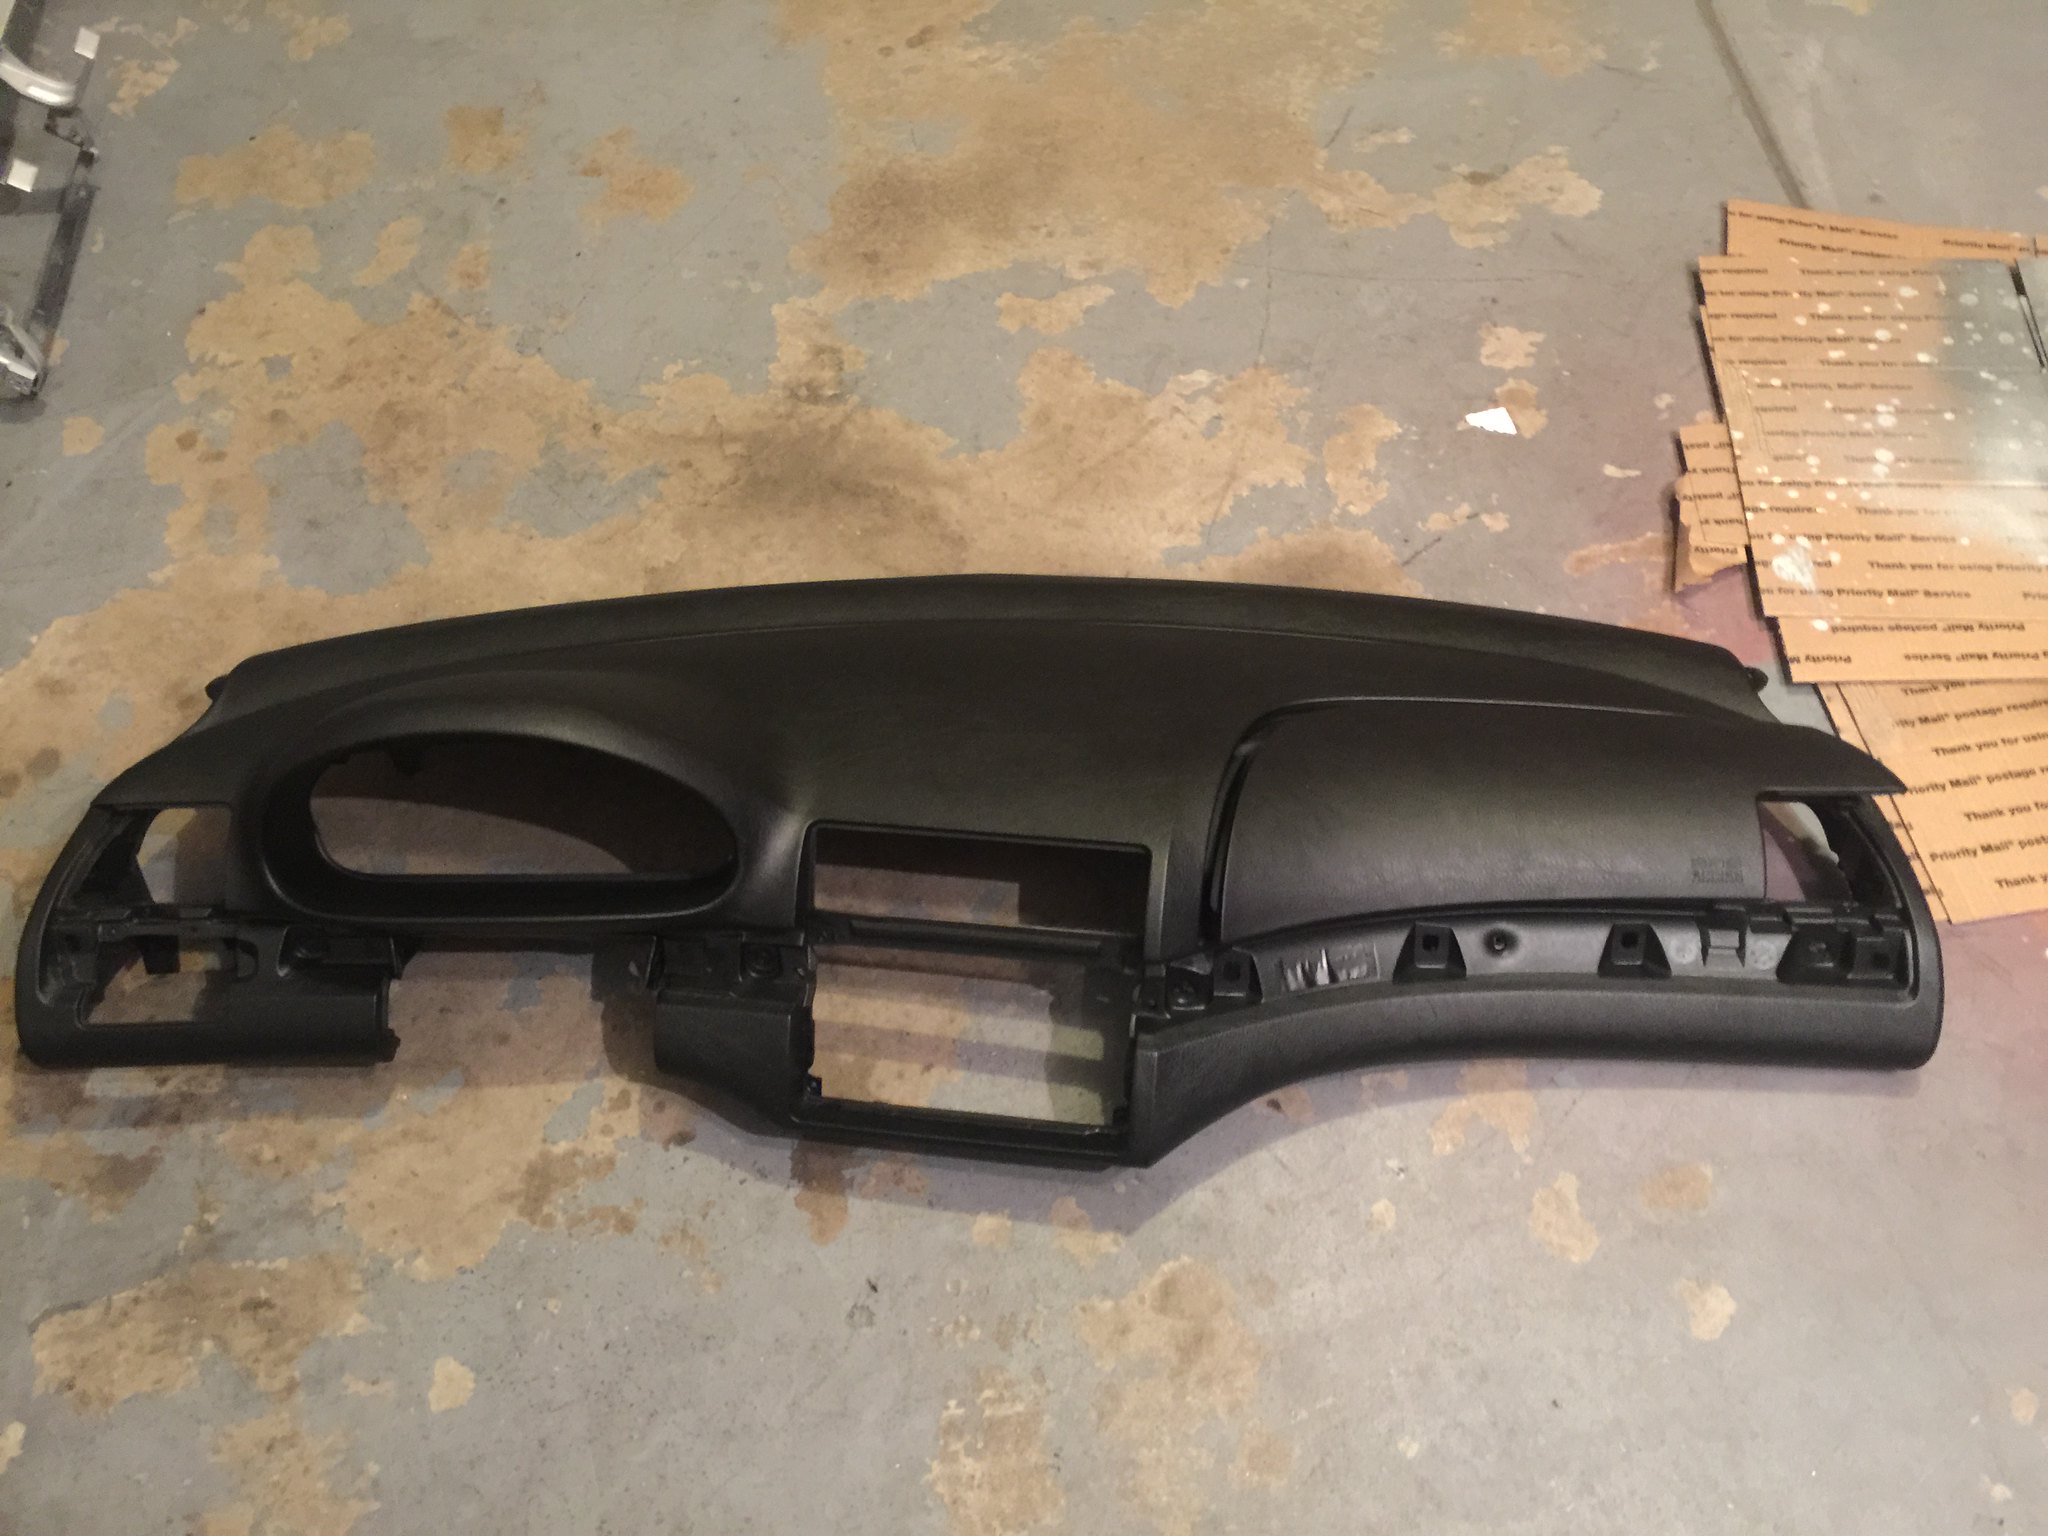
Sold my black dash...bought a tan one for a 1/4 of the price. Didn't want to hack up a nice black dash.

Painted it black with this and worked really well. A perfect match to the OEM black.

 Last edited by bigjae46; 08-09-2020, 10:38 AM.
Comment
-
Experimenting with an autometer oil temp gauge. This is an M12 sender in the oil drain plug hole. It takes a weird wire connector that makes it easy to remove for oil changes.
Removing some brackets that I no longer need.


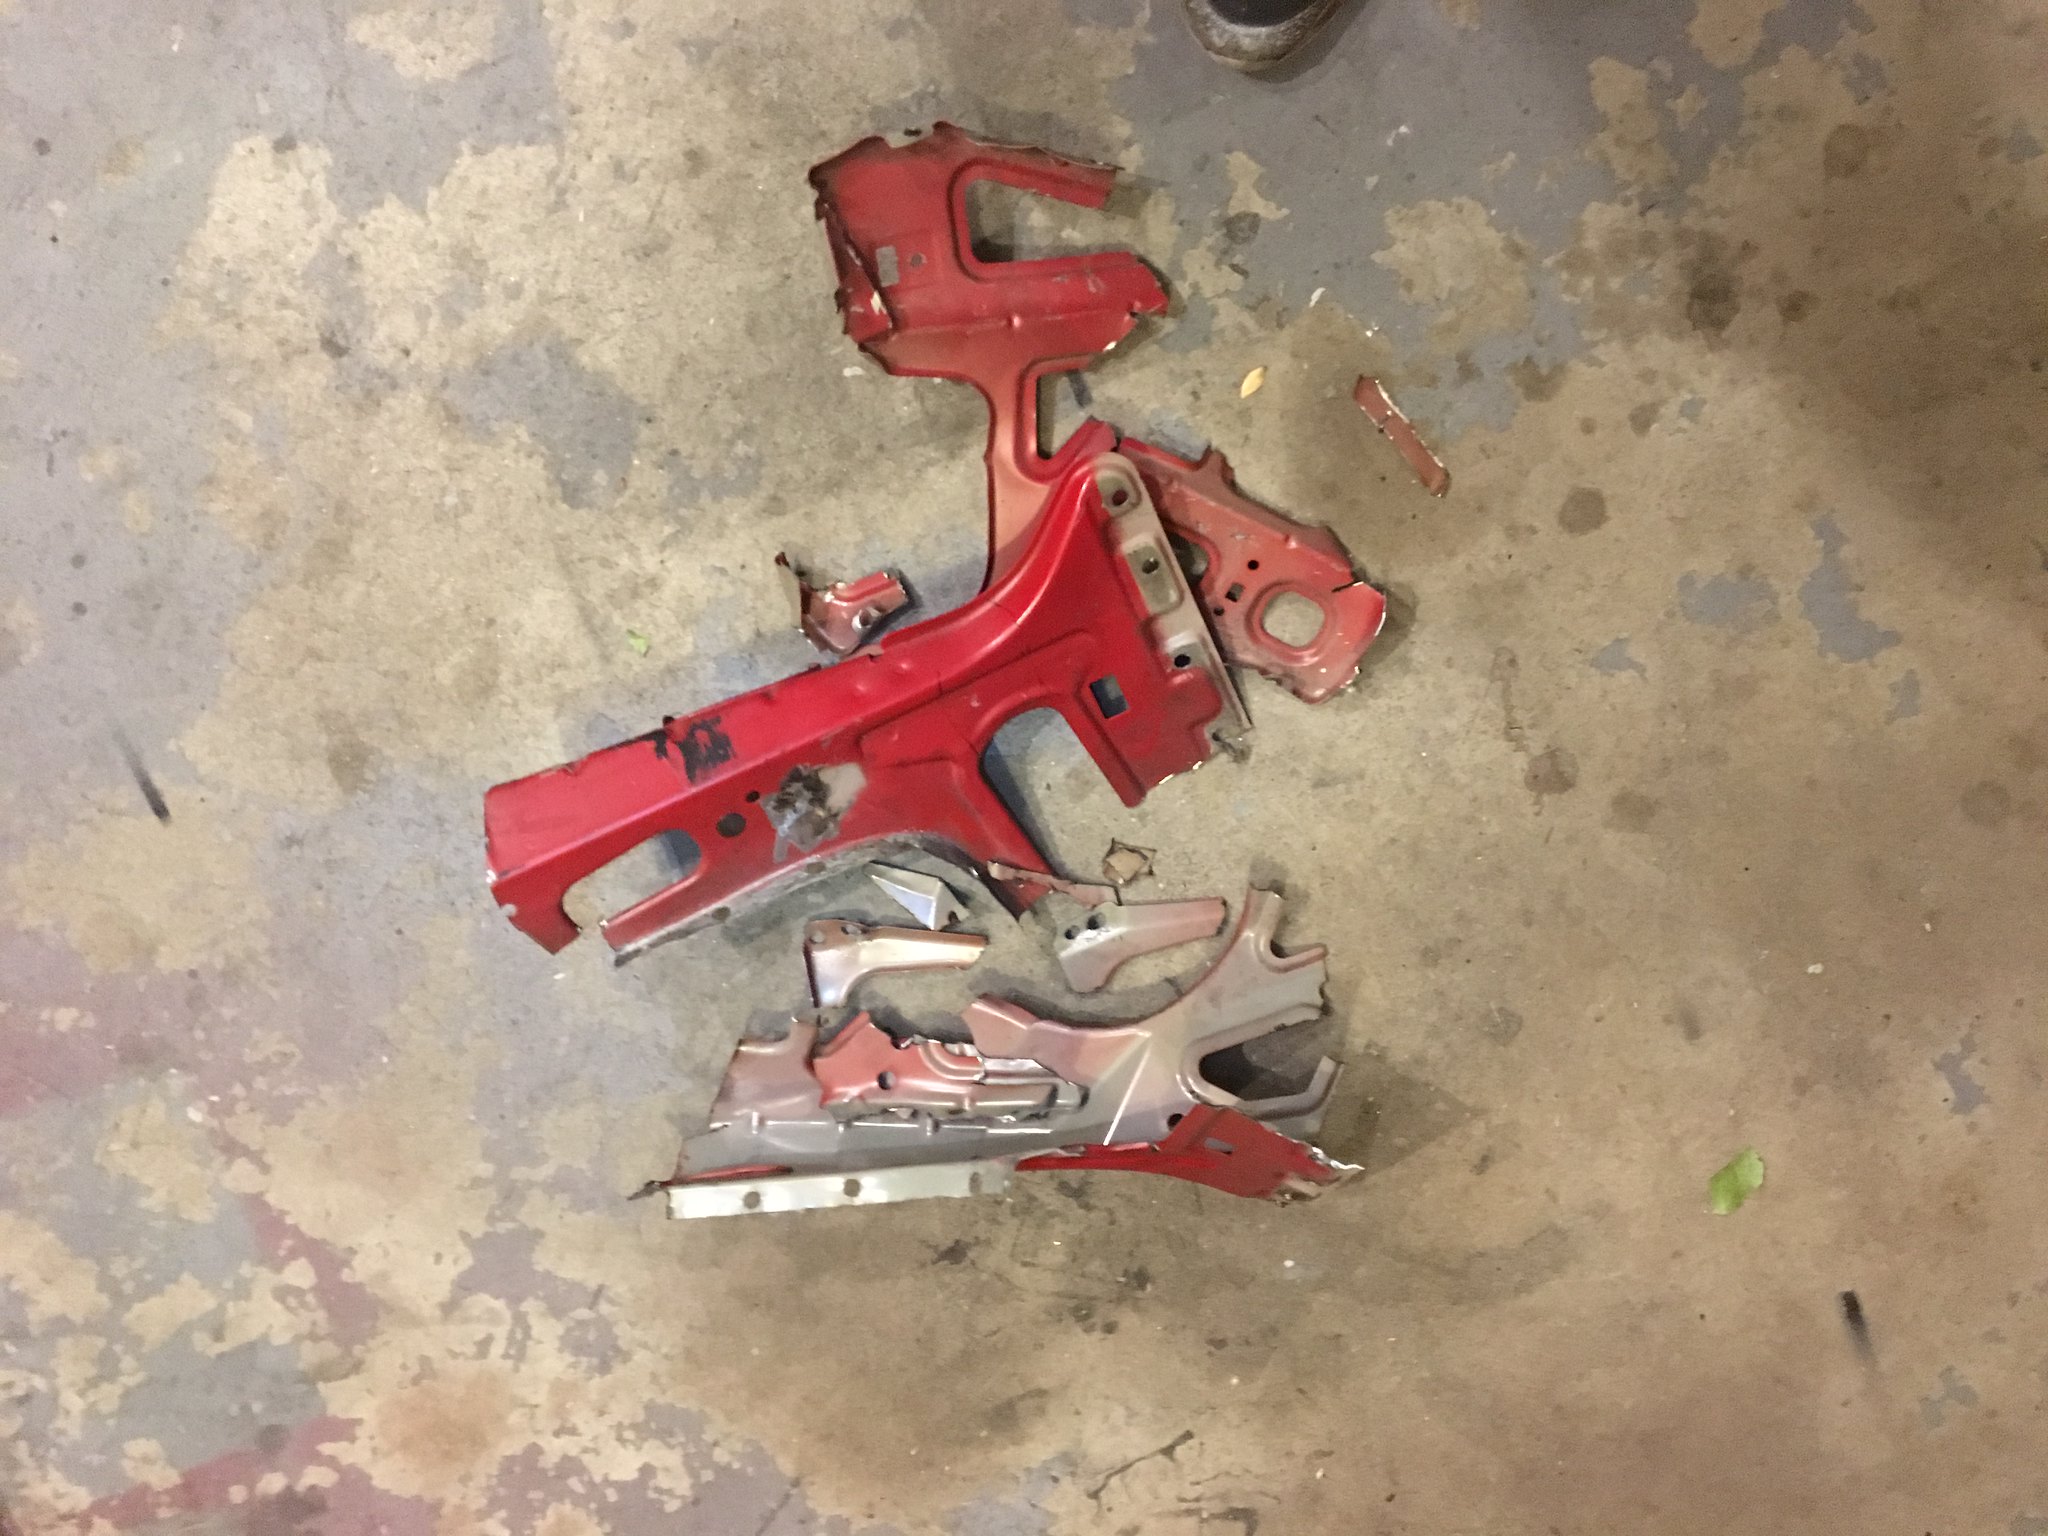


Removed the parking brake tubes.

Only need one wiper...
 Last edited by bigjae46; 08-09-2020, 10:36 AM.
Comment
-
Final couple of things to do before the roll cage goes in.
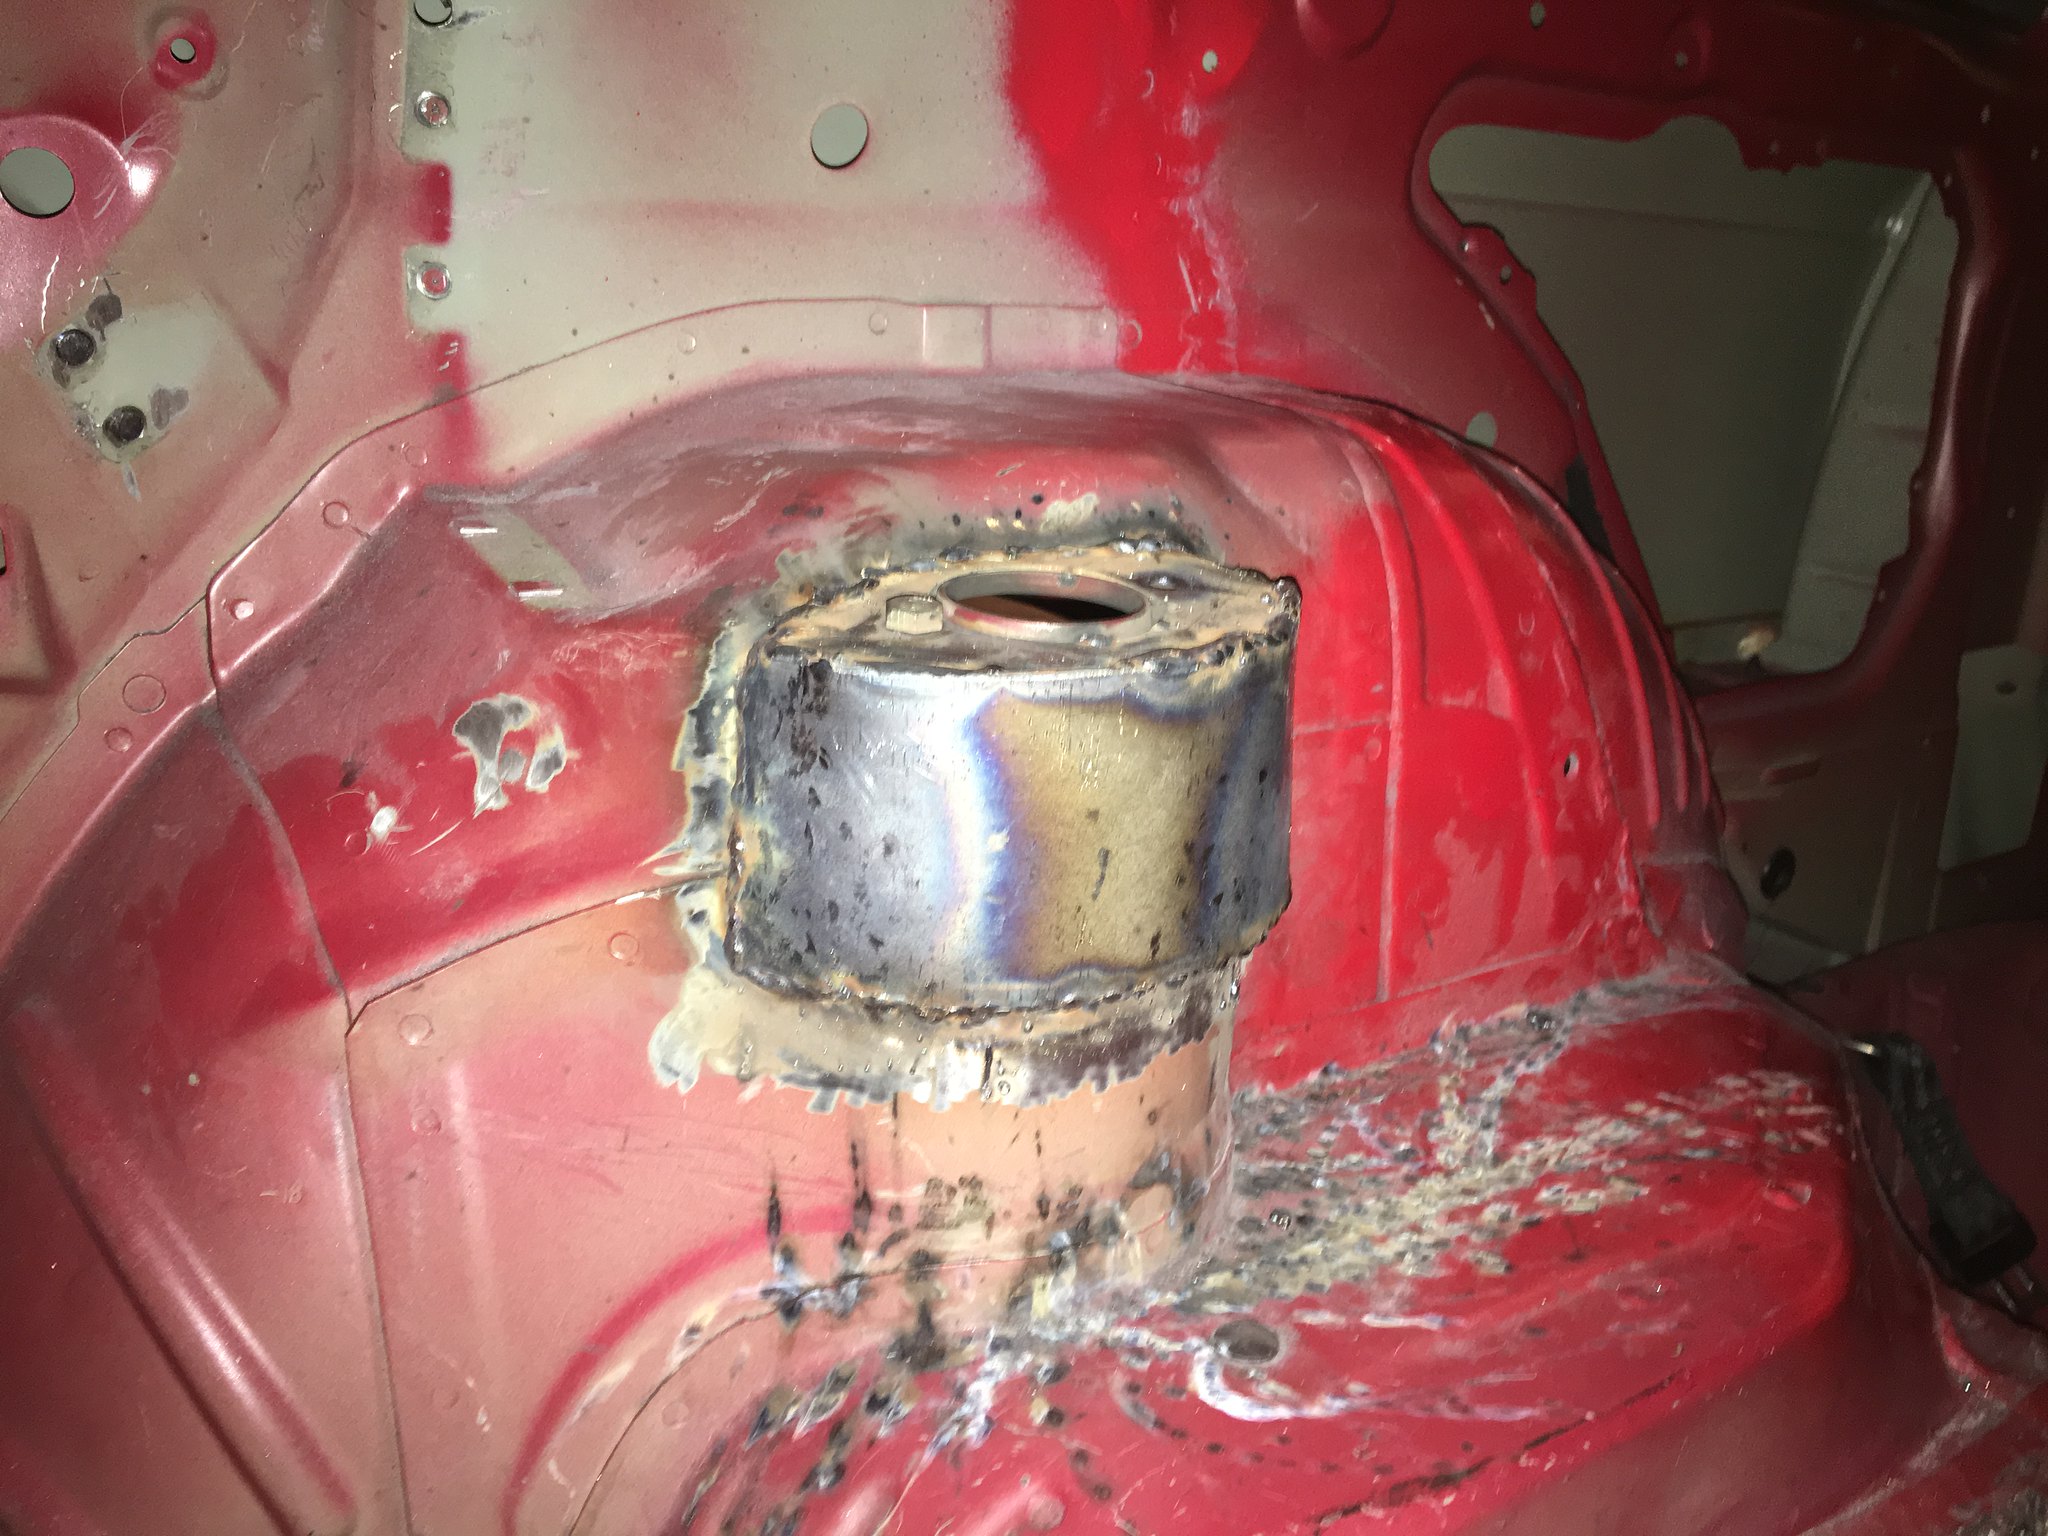
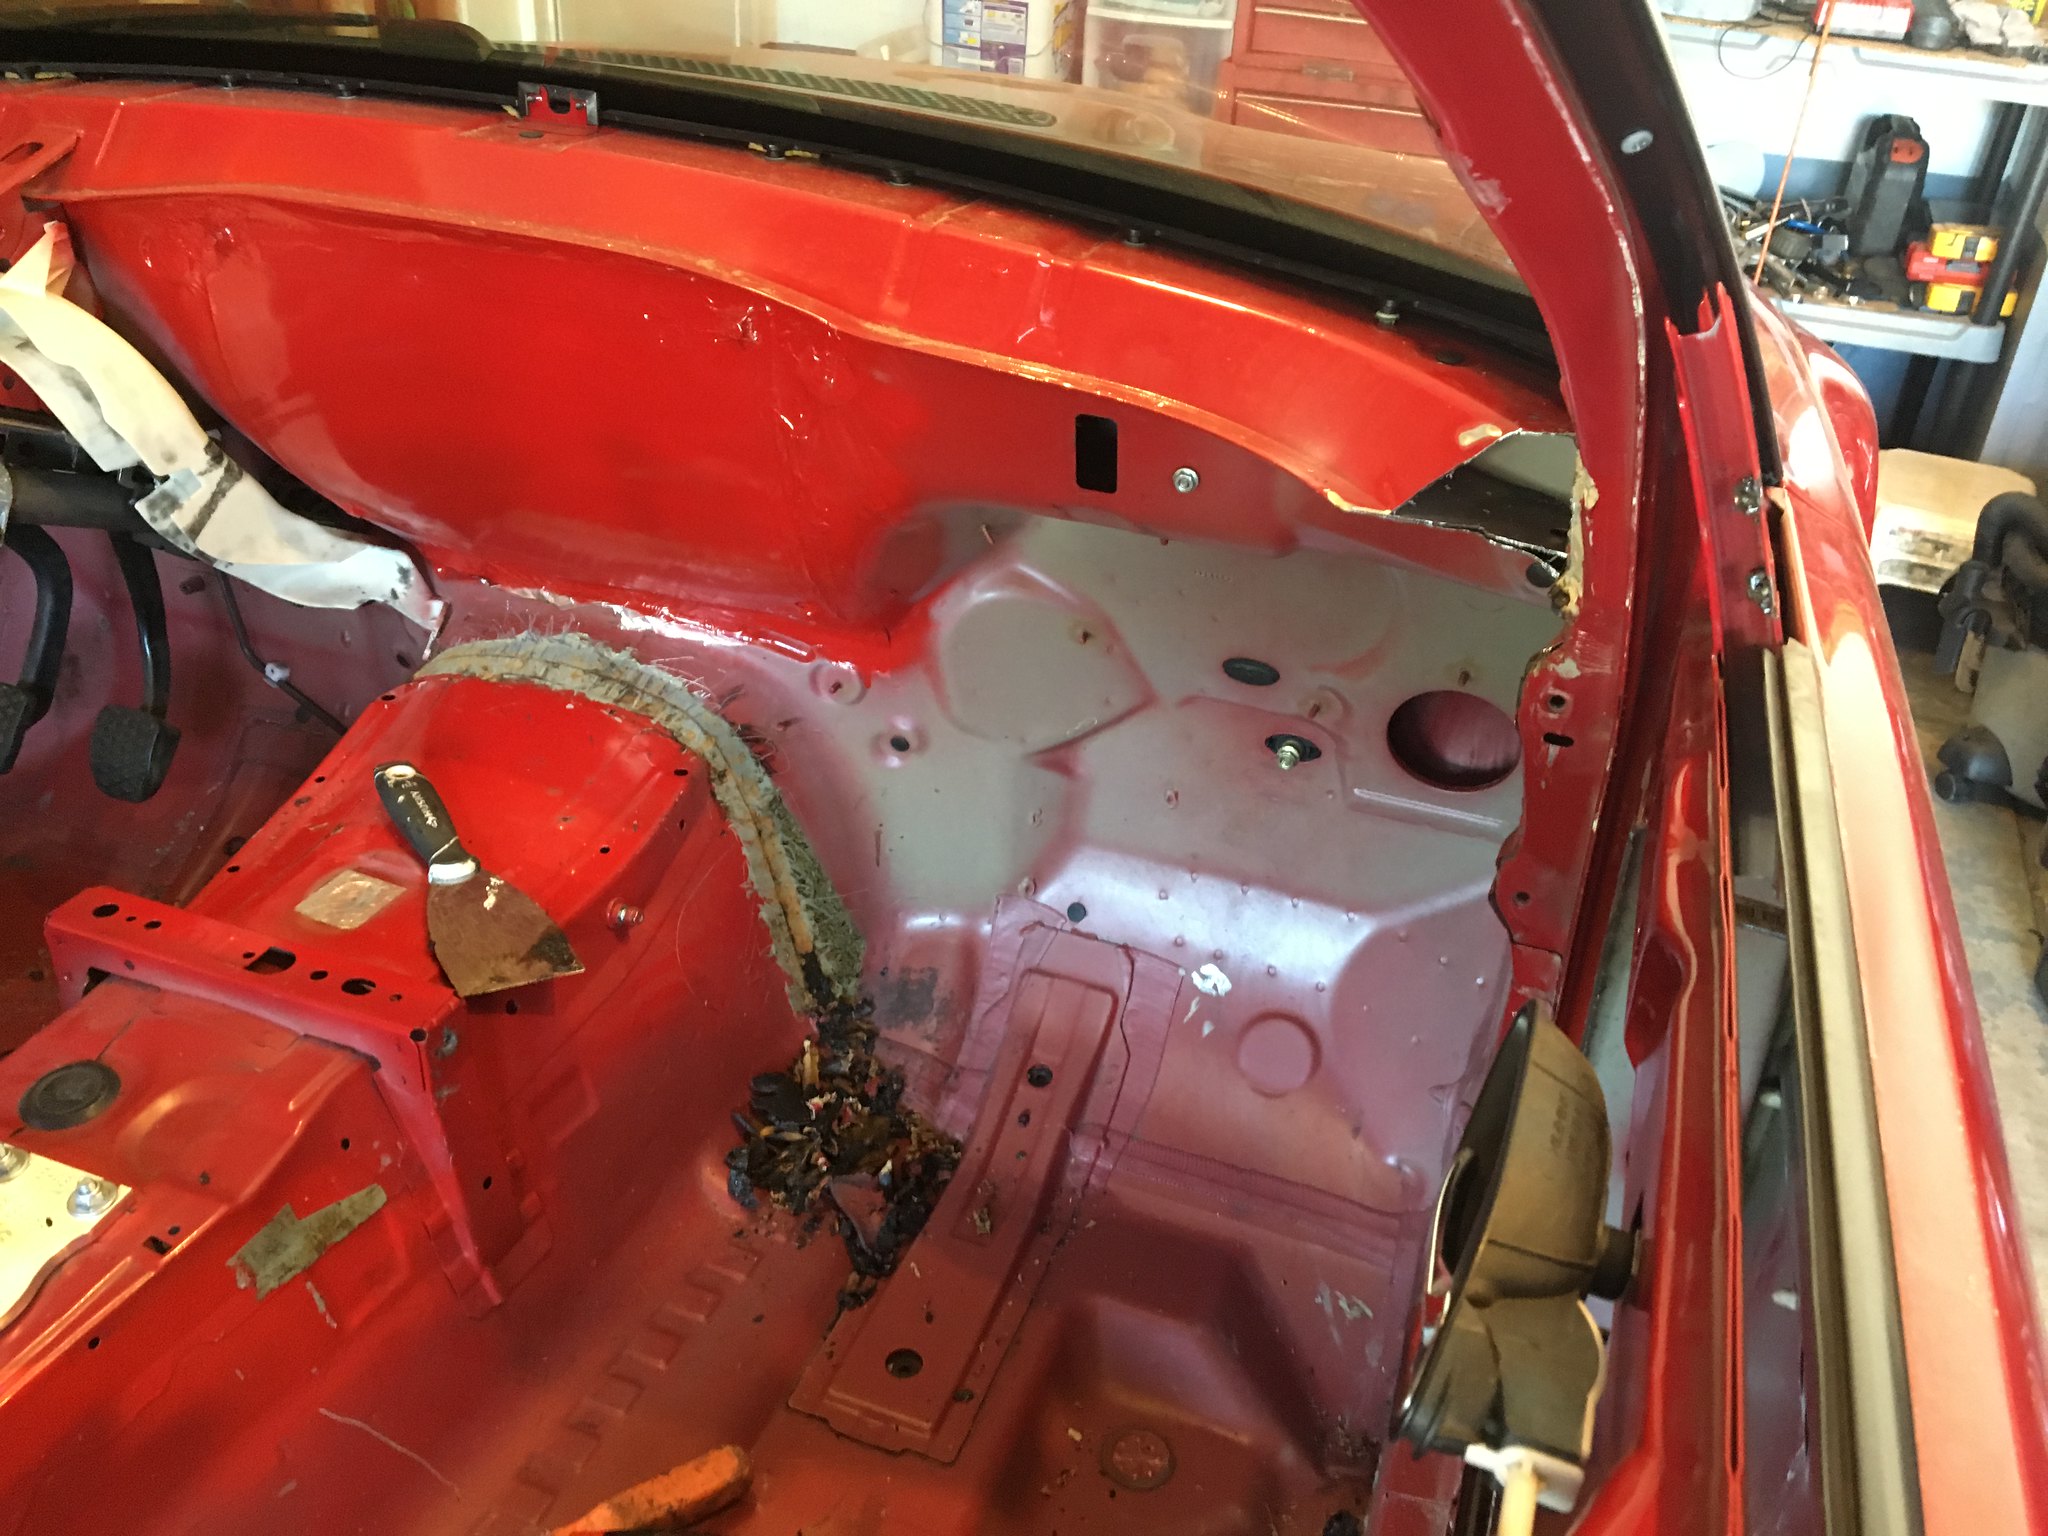
Welding on the rear shock tower plates to tie in the roll cage and a rear subframe/strut tower brace.
I didn't remove enough undercoating and it caught fire while welding. That was fun. Luckily the undercoating didn't stay lit for long.

I used the plates from GTFour...they were a blessing! I had trouble welding some of it, especially the bottom. Novice welder...needed more heat and wire speed so I can get more travel speed.

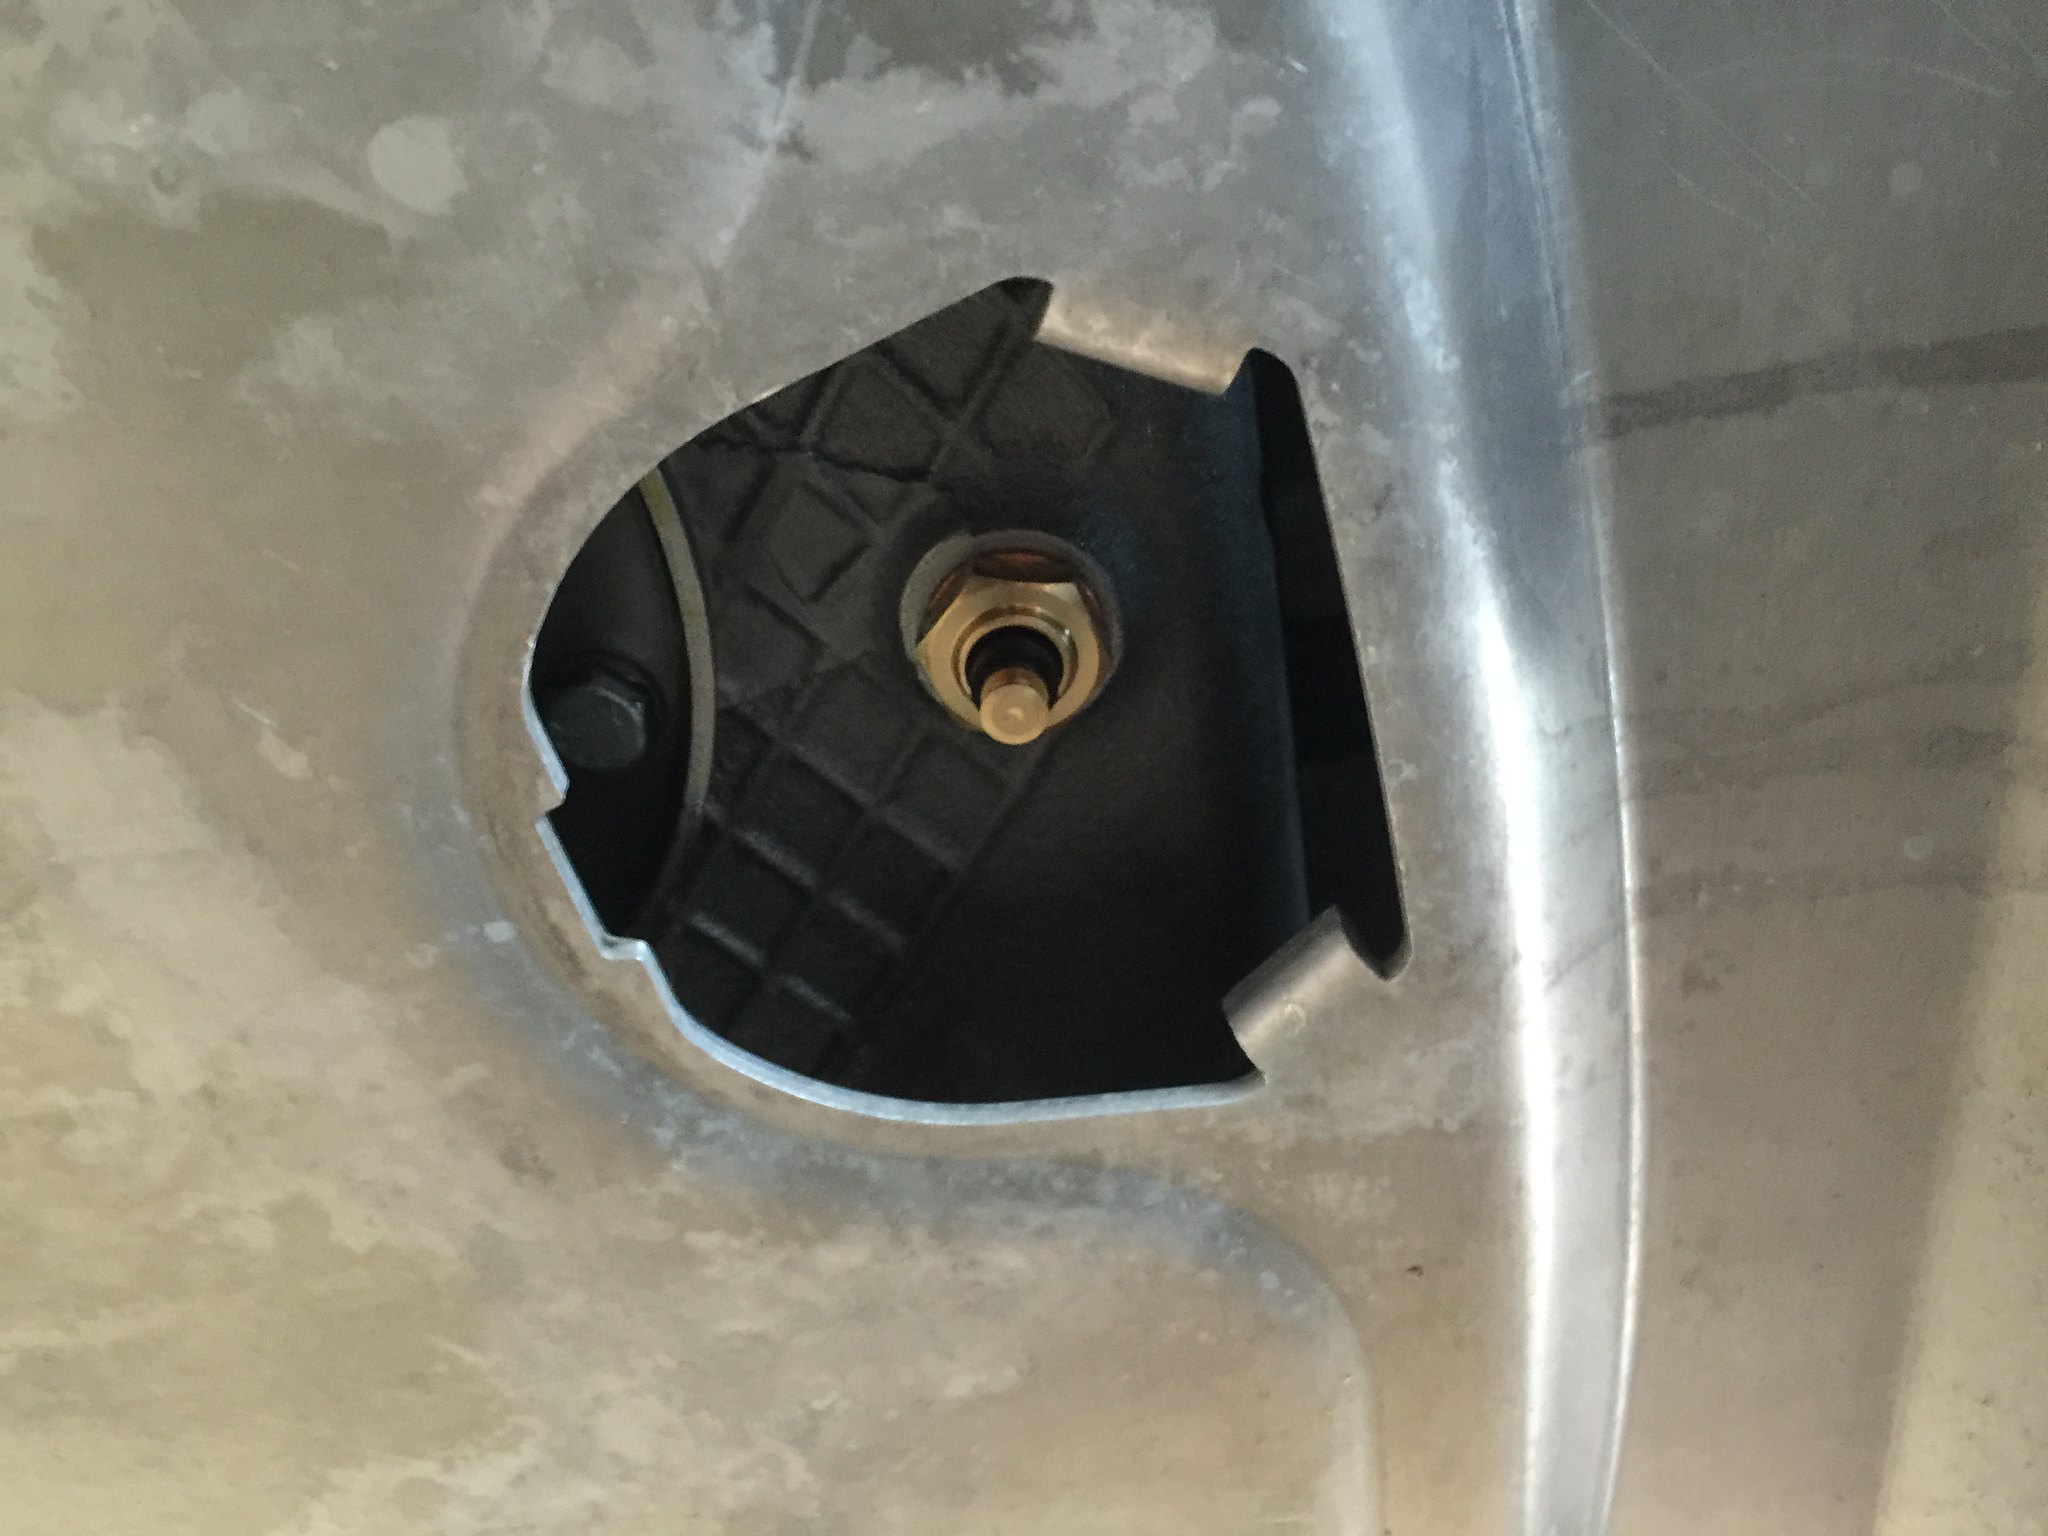
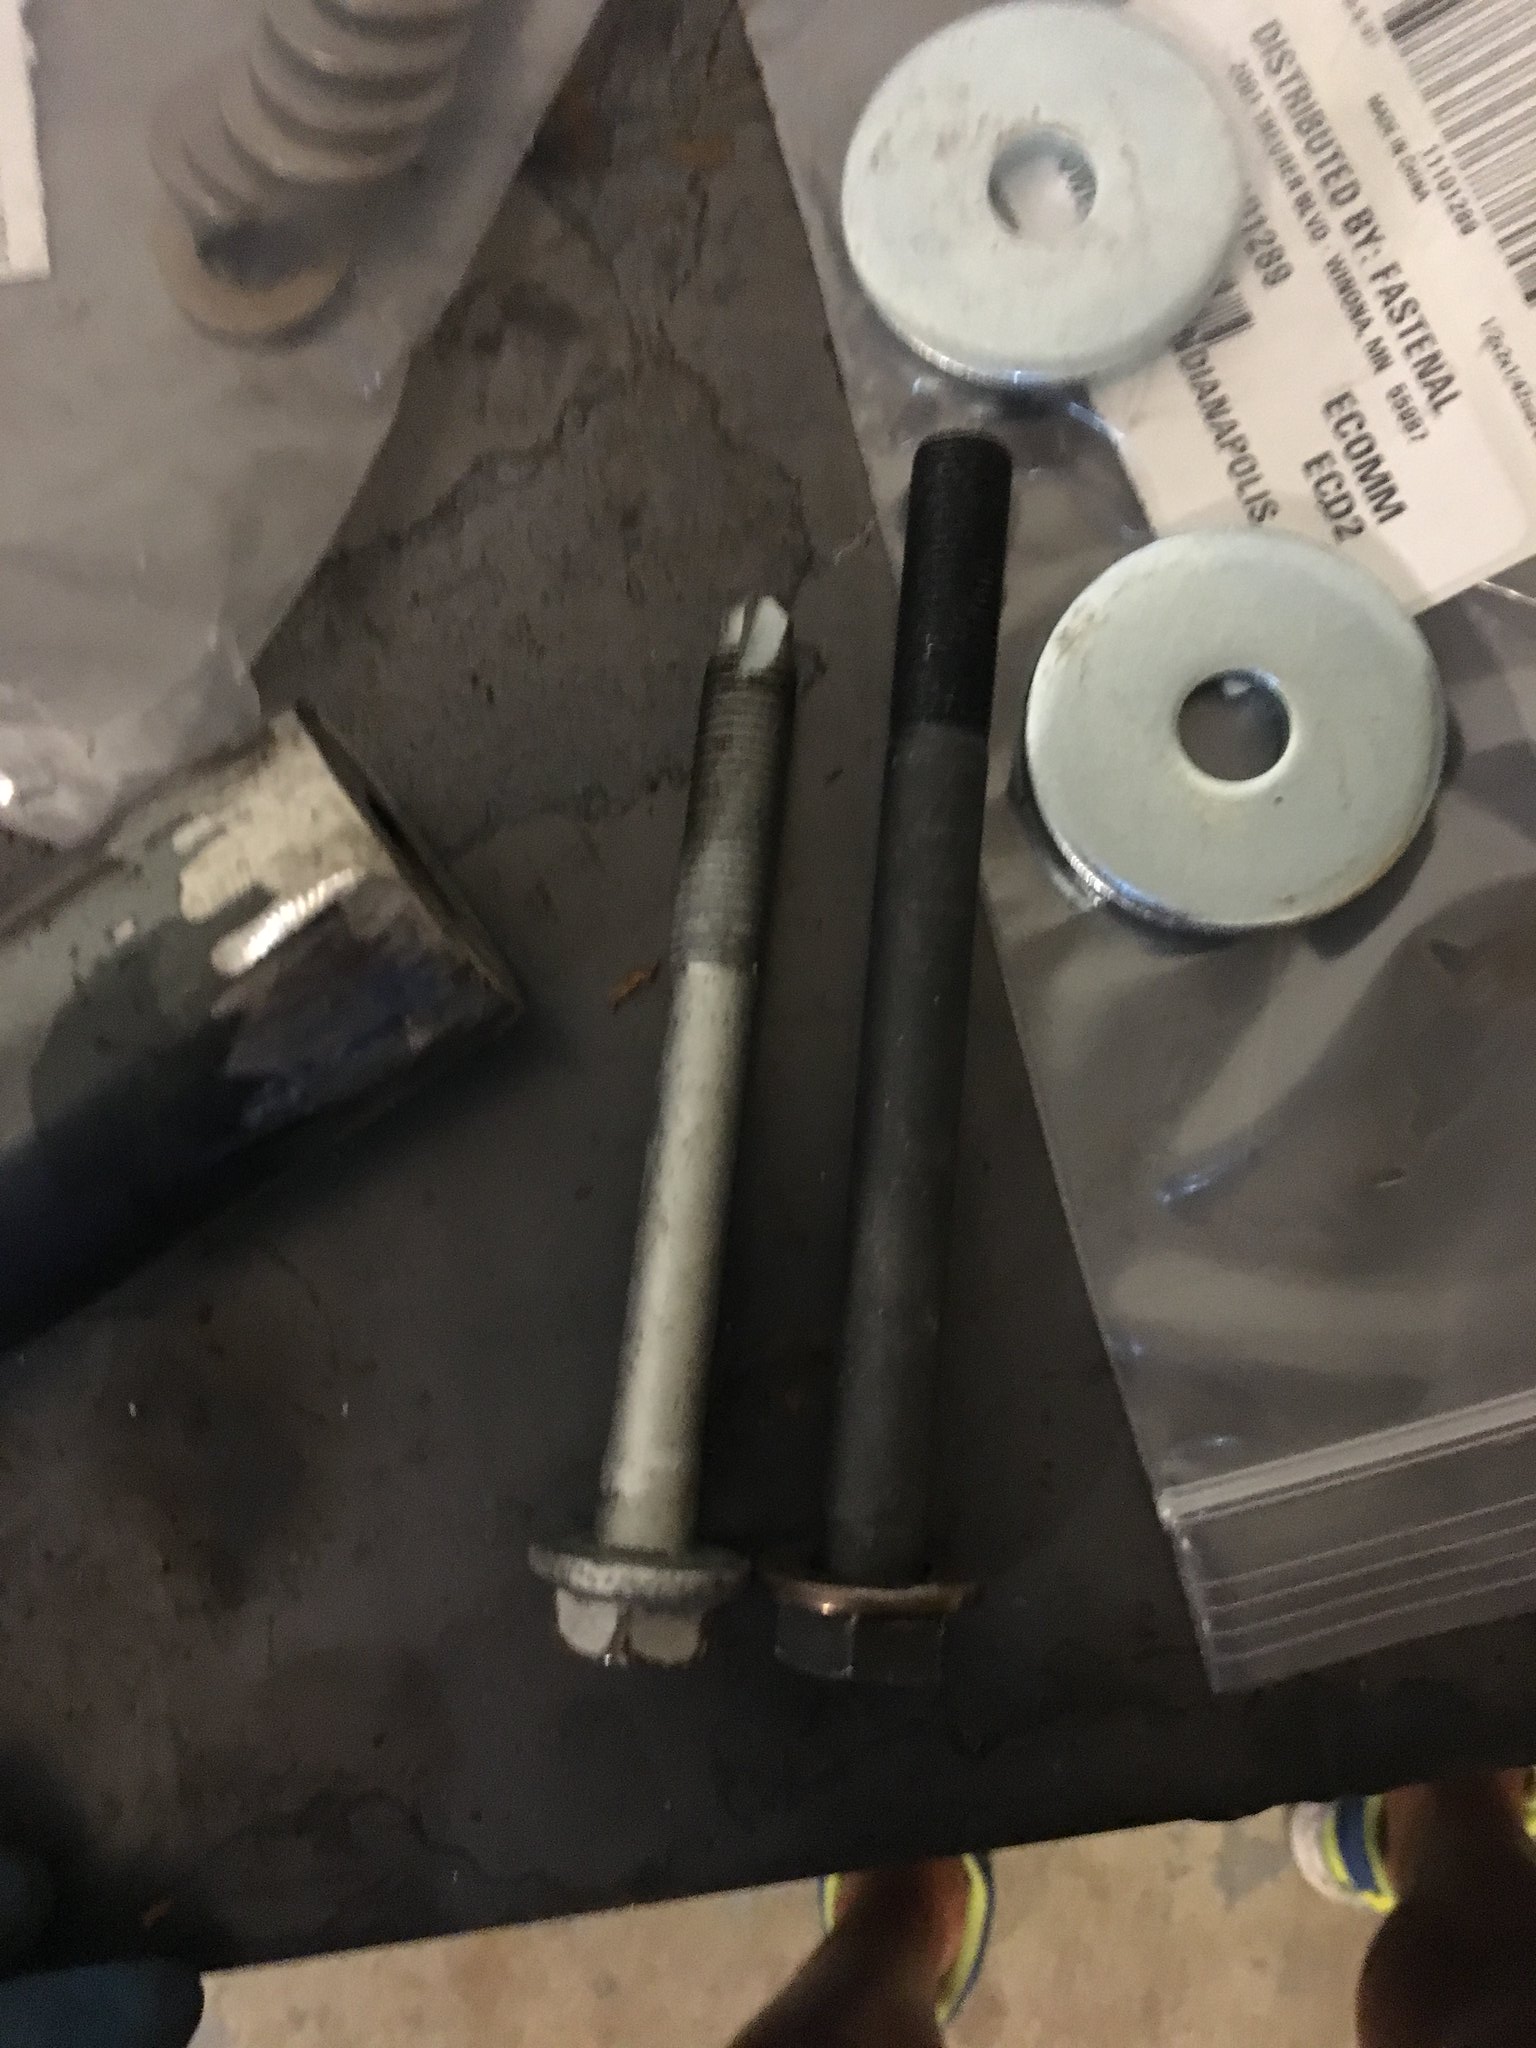
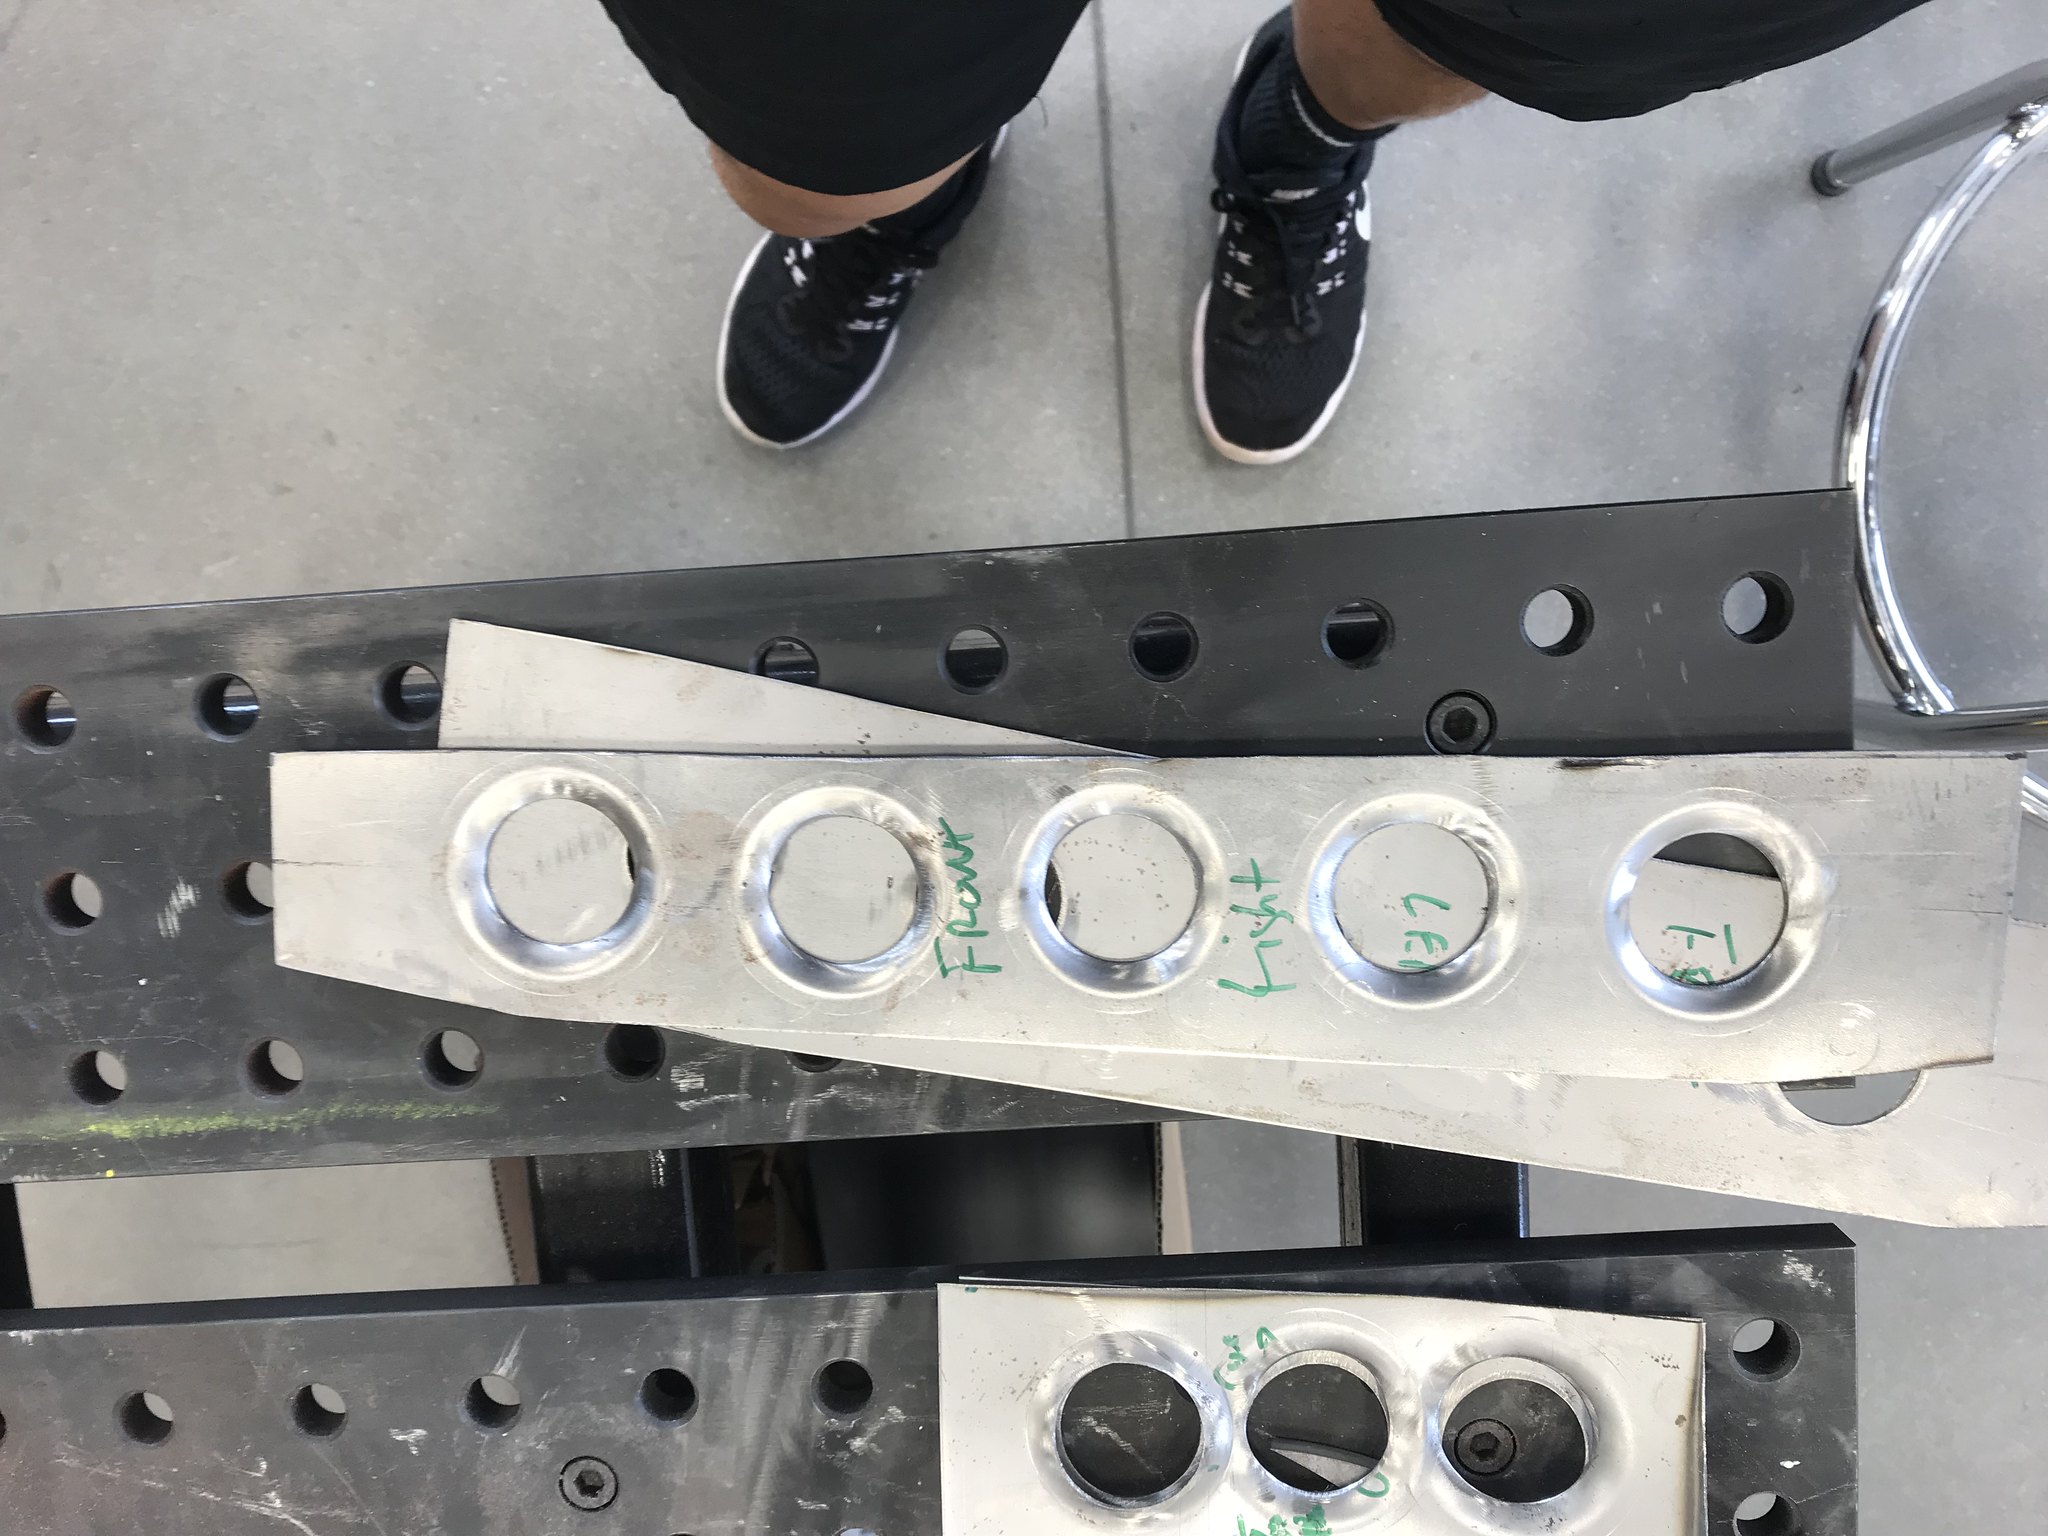
Onto the rear subframe. I drilled out the threads for a 1/2' grade 8 bolt that goes through the floor. Includes using grade 8 washers and grade 8 lock nuts. But first, had to fix some cracks on the top of the front mounts (pass side I think? I also had a crack on the bottom of the rear mount and a few spot welds that didn't look so good.

OE bolt on left, new grade 8 bolt on the right
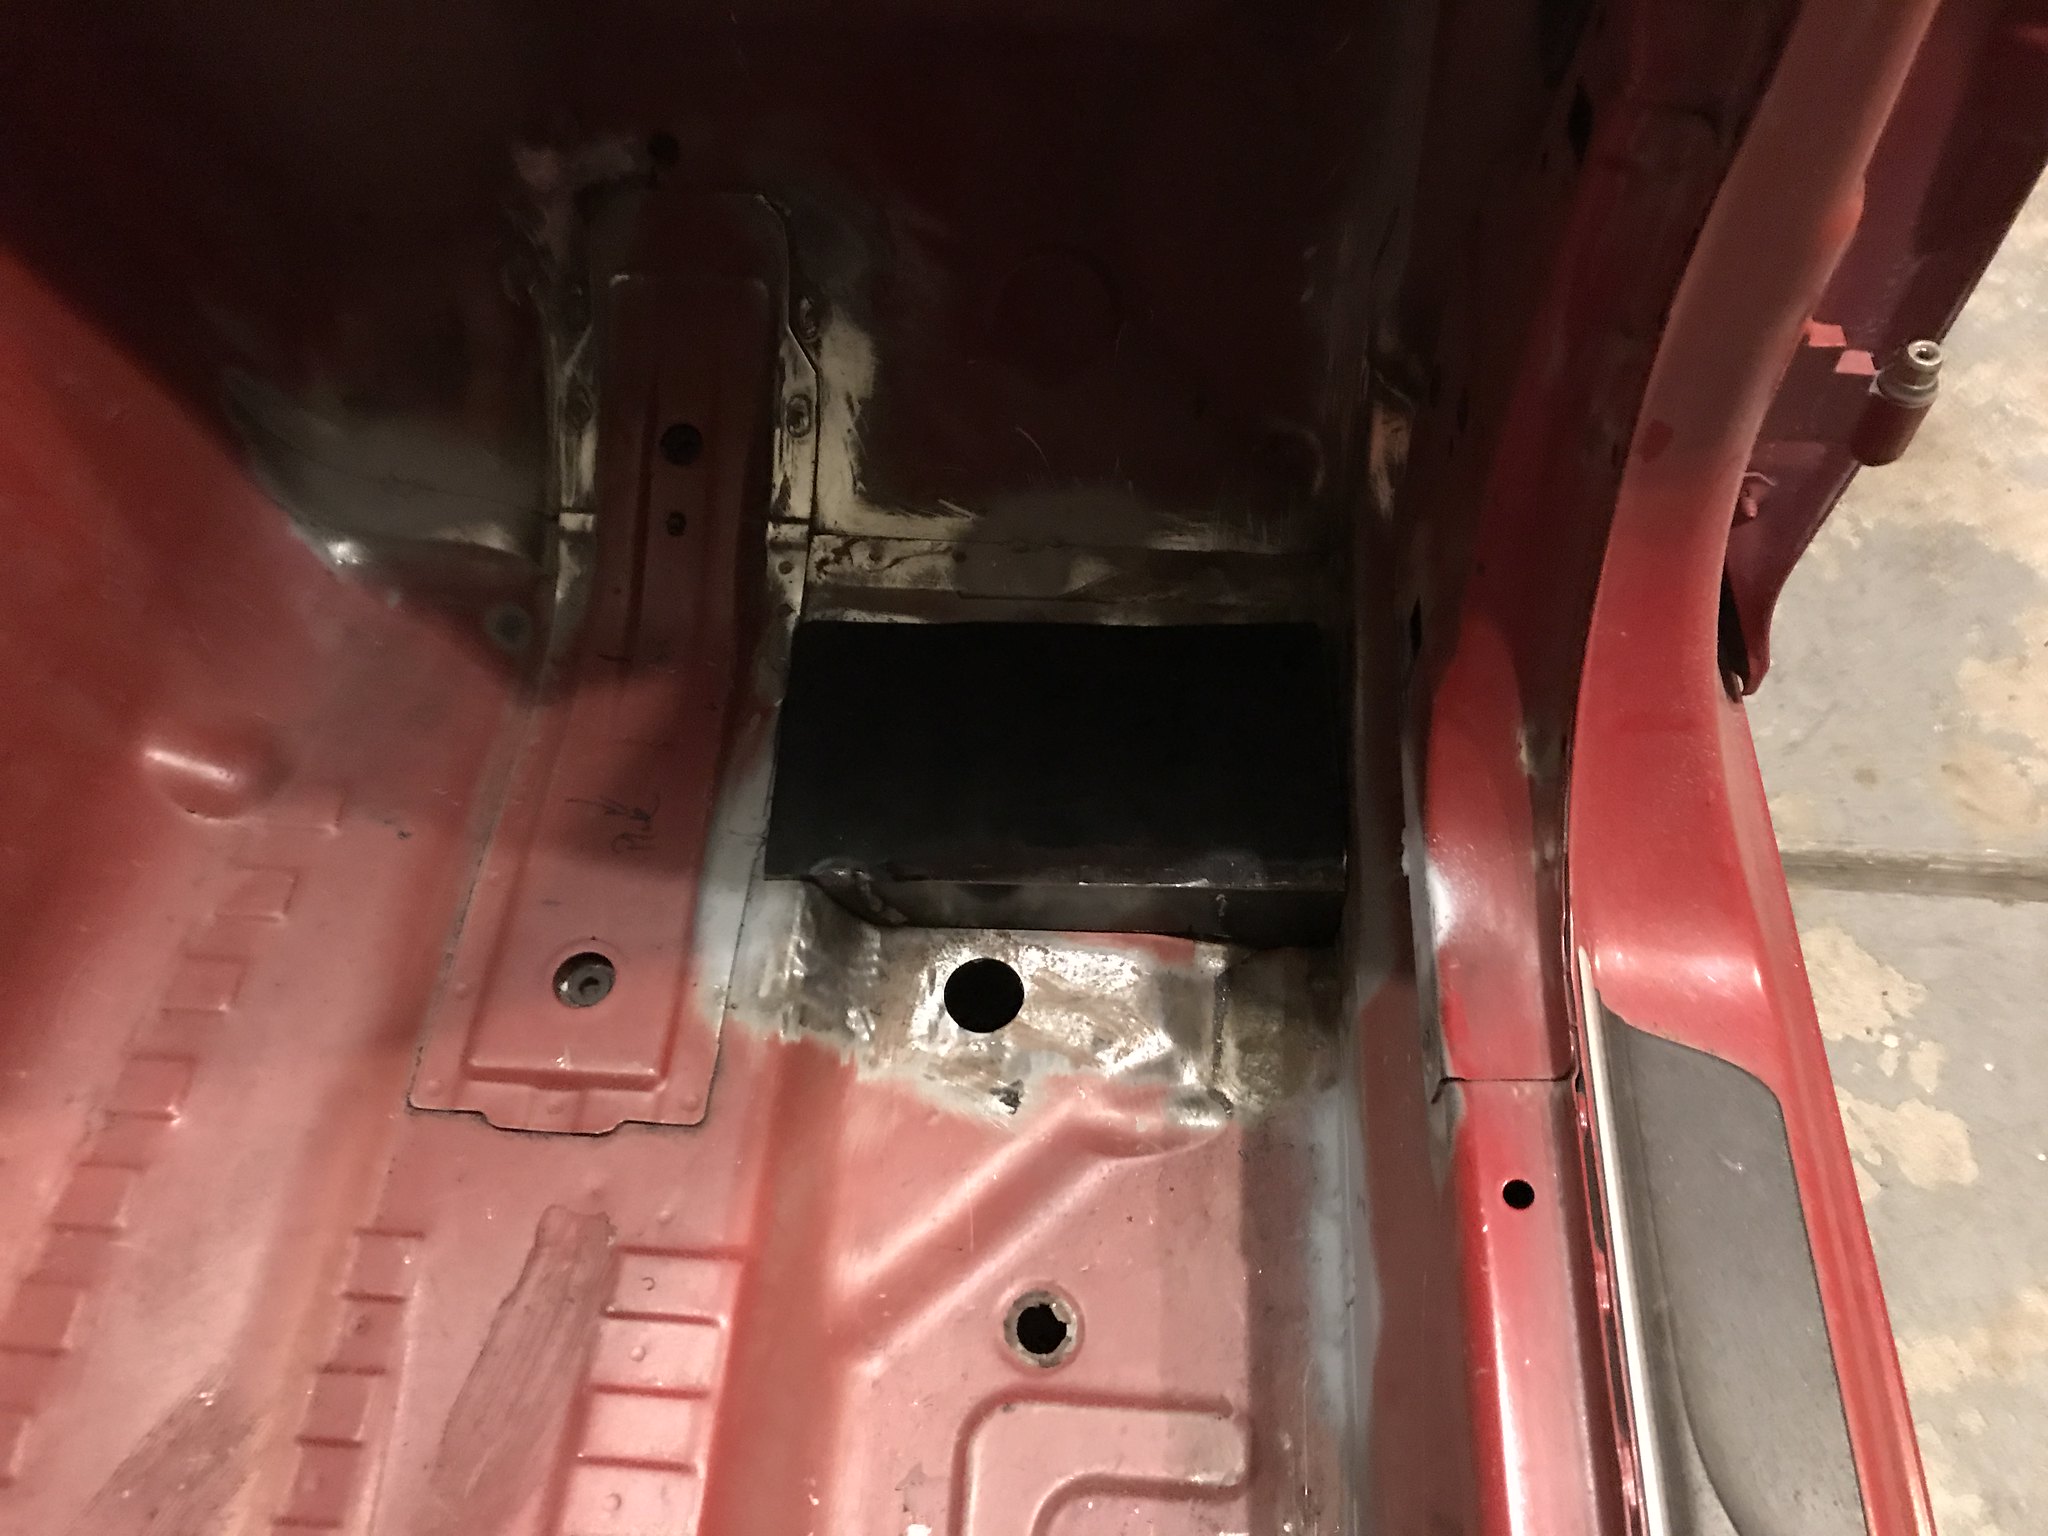
Drilled through the rear mount

Bolted up, torqued to 120 ft/lbs and ain't going nowhere

All bolted up with the tubes welded to the chassis.

All finished. I'd do it differently the next time. I'd tack everything together, remove it to welded it up. Finally bolt the rear subframe up and then weld the vertical tubes to the floor. It was hard to get a good weld on the vertical tubes to the floor. In fact, I didn't. Its one thing I do check. Someday I will get back in there and weld it up better.

 Last edited by bigjae46; 08-09-2020, 10:34 AM.
Comment
-
Some more work before cage installation. Cutting the rear deck. I think the rear should be stiff enough with the rear subframe bracing. I will also install a strut tower brace.


Cut out the rear floor. Going to install some tubes to stiffen the rear floor up some more.

Had to notch the sheet metal near the bottom of the windshield so I can push the A-pillar forward and keep the cage tight to the body.
Welding some of the sheet metal seams
 Last edited by bigjae46; 08-09-2020, 10:31 AM.
Comment
-
Roll cage is going in...FINALLY! Using 1.5" x.125" wall DOM tubing to meet NASA/BMWCCA regs. I'm well under 3000lbs at this point (about 2400lbs). I estimate that my final race weight with the cage will be 2575lbs. I was about 25lbs off, ended up 2600 lbs. I wish I would have done some more weight loss to get to around 2250lbs pre cage so I could get with 1.5" x .095 wall tubing which would have saved 50lbs of weight from the cage.
First up...main hoop. I practiced on some ERW tubing which is 1/3 the price of DOM tubing.


Floor plates
Forward hoops and roof bar in. A view of some of my better welds. Had some challenges and put myself in a couple of tight spots. FIRST...I welded in steel plates to mount the main hoop to the floor. I tacked in the forward hoops and then cut through the floor to drop the main hoop to weld the top of the forward hoop to the main hoop. The cross brace on the main hoop didn't allow me to drop the main hoop as much as I wanted. It was tight welding the top. I ended up using a mirror. Its welded and fully penetrated. Just looks a ltttle...big.
All of this could be avoided by using rocker boxes for the main hoop.
 Last edited by bigjae46; 08-09-2020, 10:30 AM.
Comment
-
2nd mistake...should have removed the windshield and rear window to do the cage. Would have made life easier. Especially the rear window with the back section of the cage.
I should have made those rear vertical tubes a little longer so the brace could clear the sheet metal. Had to notch it out.


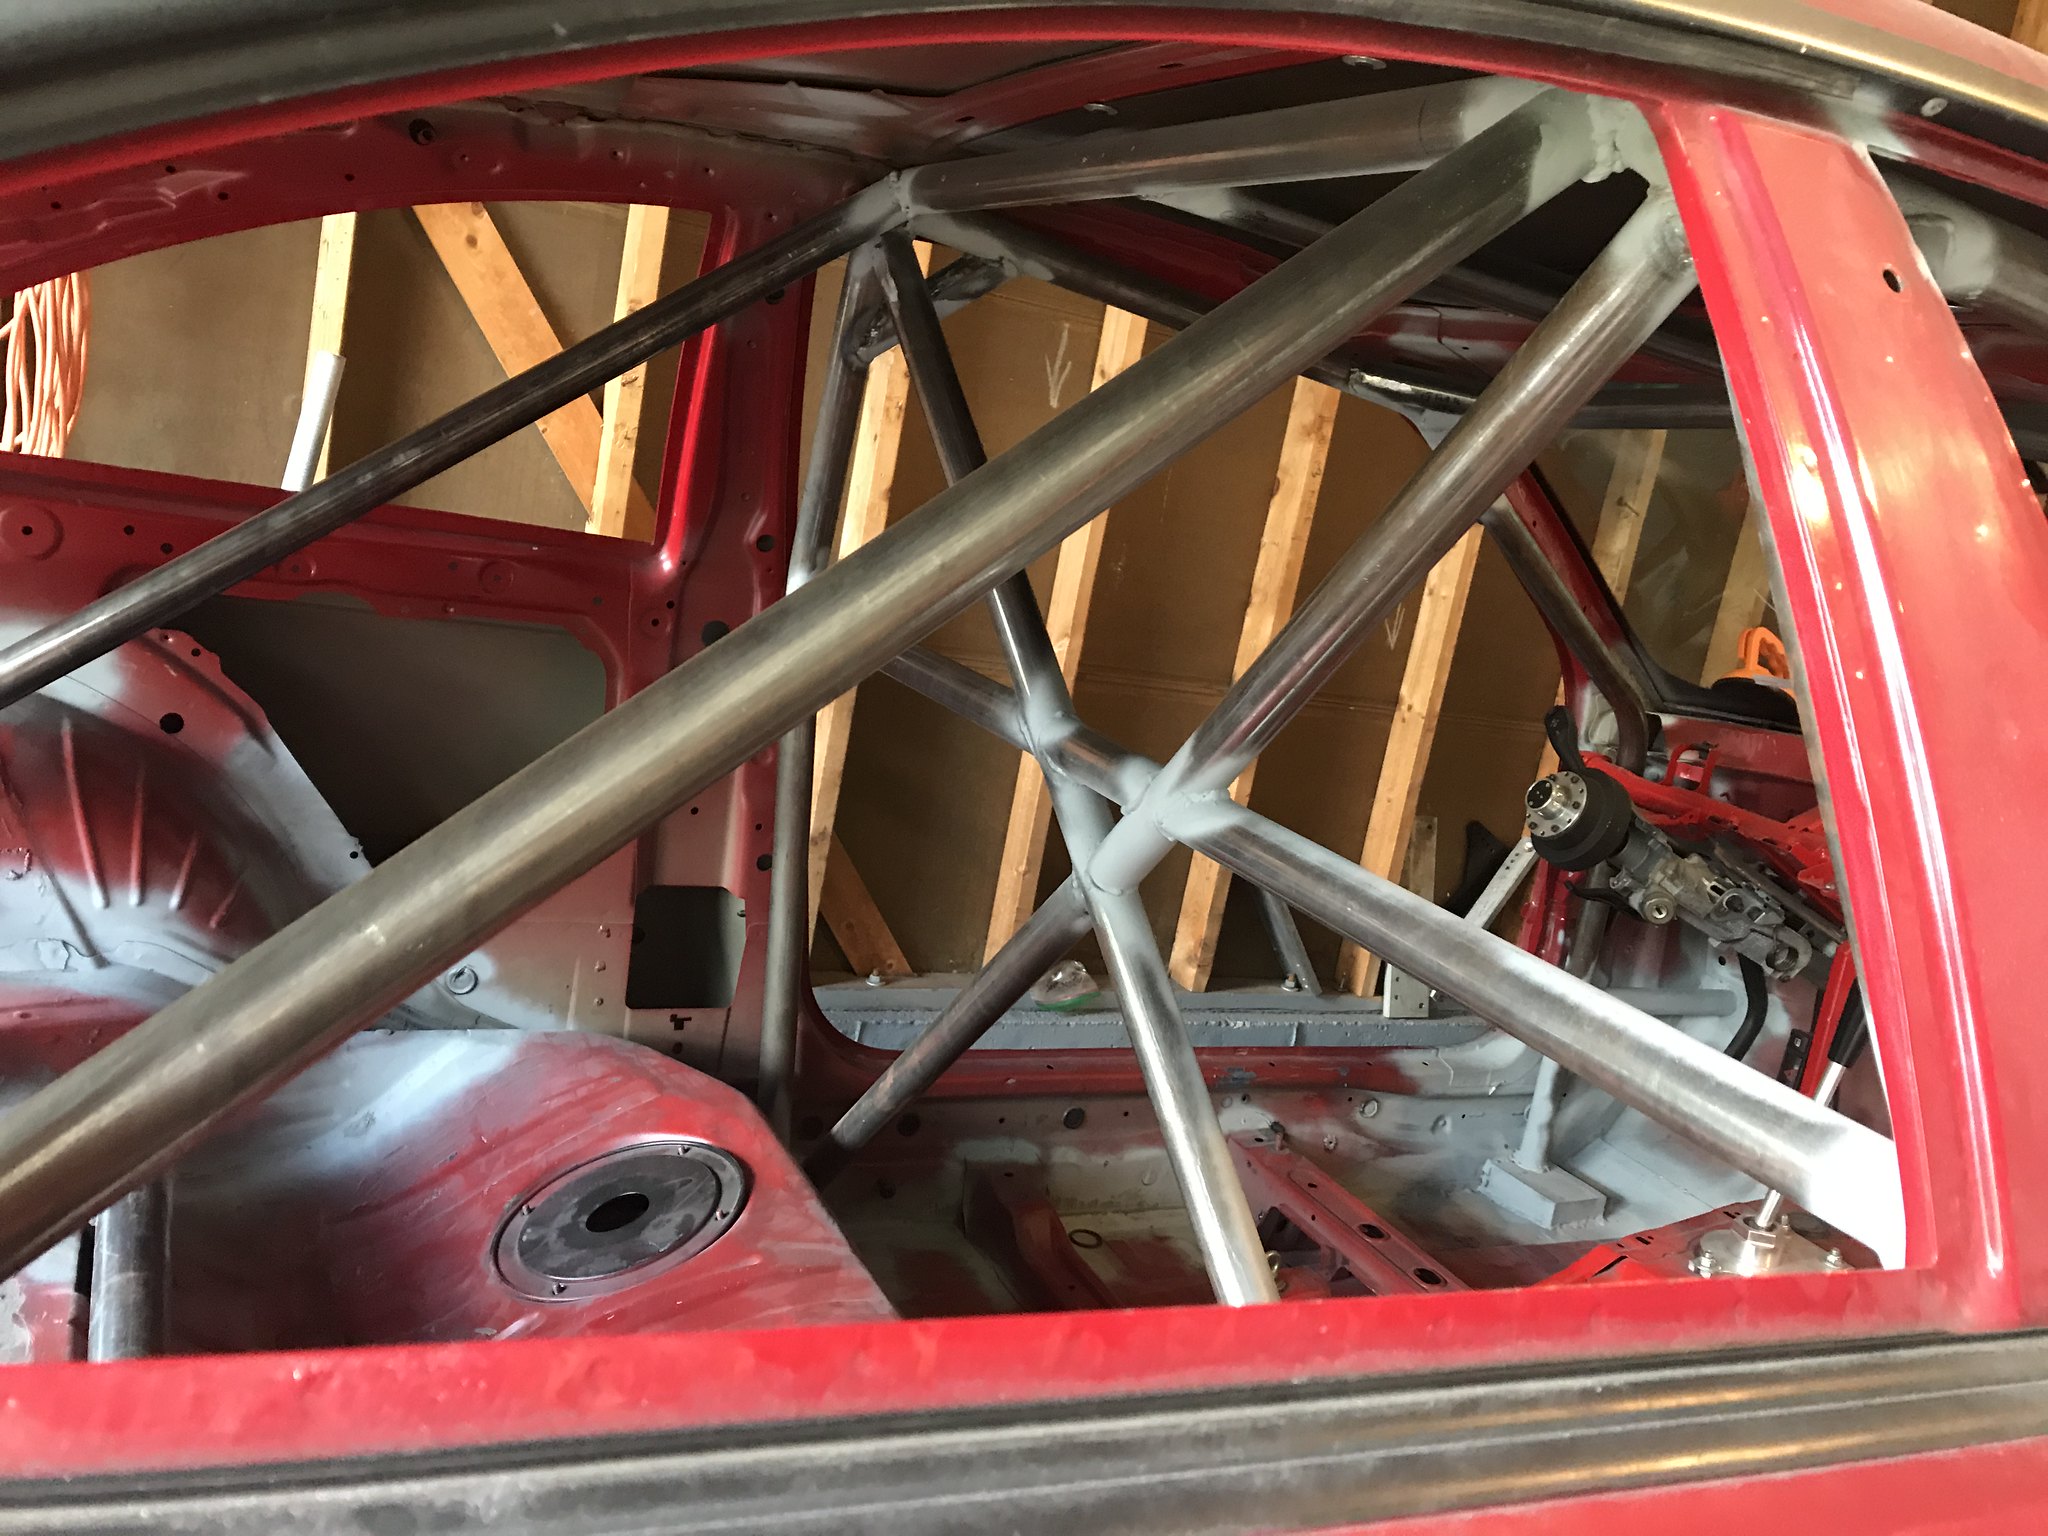
Door bars. Decided for the cool look which will be sure to please all the men in the paddock...NASCAR bars. It is time consuming and probably adds weight but it provides a lot of room and makes getting out of the car easier.


The door bar was the last tube where I need a long length. When I bent the tube, the bend was offset which is why it is not level. I have to buy DOM tubing in 100' batches...so fack it...its going in. Plus..passenger side. lol

Here is the rear floor finished.

Last edited by bigjae46; 08-09-2020, 10:55 AM.Comment
-
Building some gussets for the A pillar and B pillar. I should have cut smaller holes for the b pillar. The inner edge interfered with the cage. I trimmed it a little bit to make it fit.


And that's all for the cage! Not perfect, won't win any beauty contests but all of the key joints are welded 360. Had a storage tank engineer look at them. He said not pretty but they would pass. He did see some questionable welds on some corner reinforcements that connect the roof bar to the windshield and main hoop and the subframe tubes welded to the floor...not a surprise. Not critical or really important so not going to worry about it.
Next regret...my interior rattle can paint job isn't so great. N
Now to put the car back together.
Overall...HAPPY!
Last edited by bigjae46; 08-09-2020, 11:06 AM.Comment
-
First up...windshield and rear window from Five Star Bodies. Normal thickness is 1/4" for the windshield. Saving weight is the name of the game...gambled and went with 3/16" windshield and 1/8" rear. I had the windows installed like normal with a urethane adhesive by a local windshield installer. I added some bracing to both windows. At speed the windows were moving quite a bit. The windshield still pushes in a little on the passenger side (scares the sh1t out of most passengers...lol) but not a distraction to me so not worried about it.


Installed a Wink mirror. This is another roll cage install failing. I should have welded in some tabs for the windshield and some sort of brace in the middle. The mirror shakes so its hard to see what's going on behind. I guess its more of an incentive to just drive faster.

Installed some NACA ducts in the side windows. Some day they will feed a diff and maybe a trans and oil cooler (dry sump!)
Oops...

Installed some hood pins and deleted all of the hood catch hardware. I'm not one of those idiots that will forget to pin my hood.

And some springs on the back trunk. Deleted the locking mechanism...

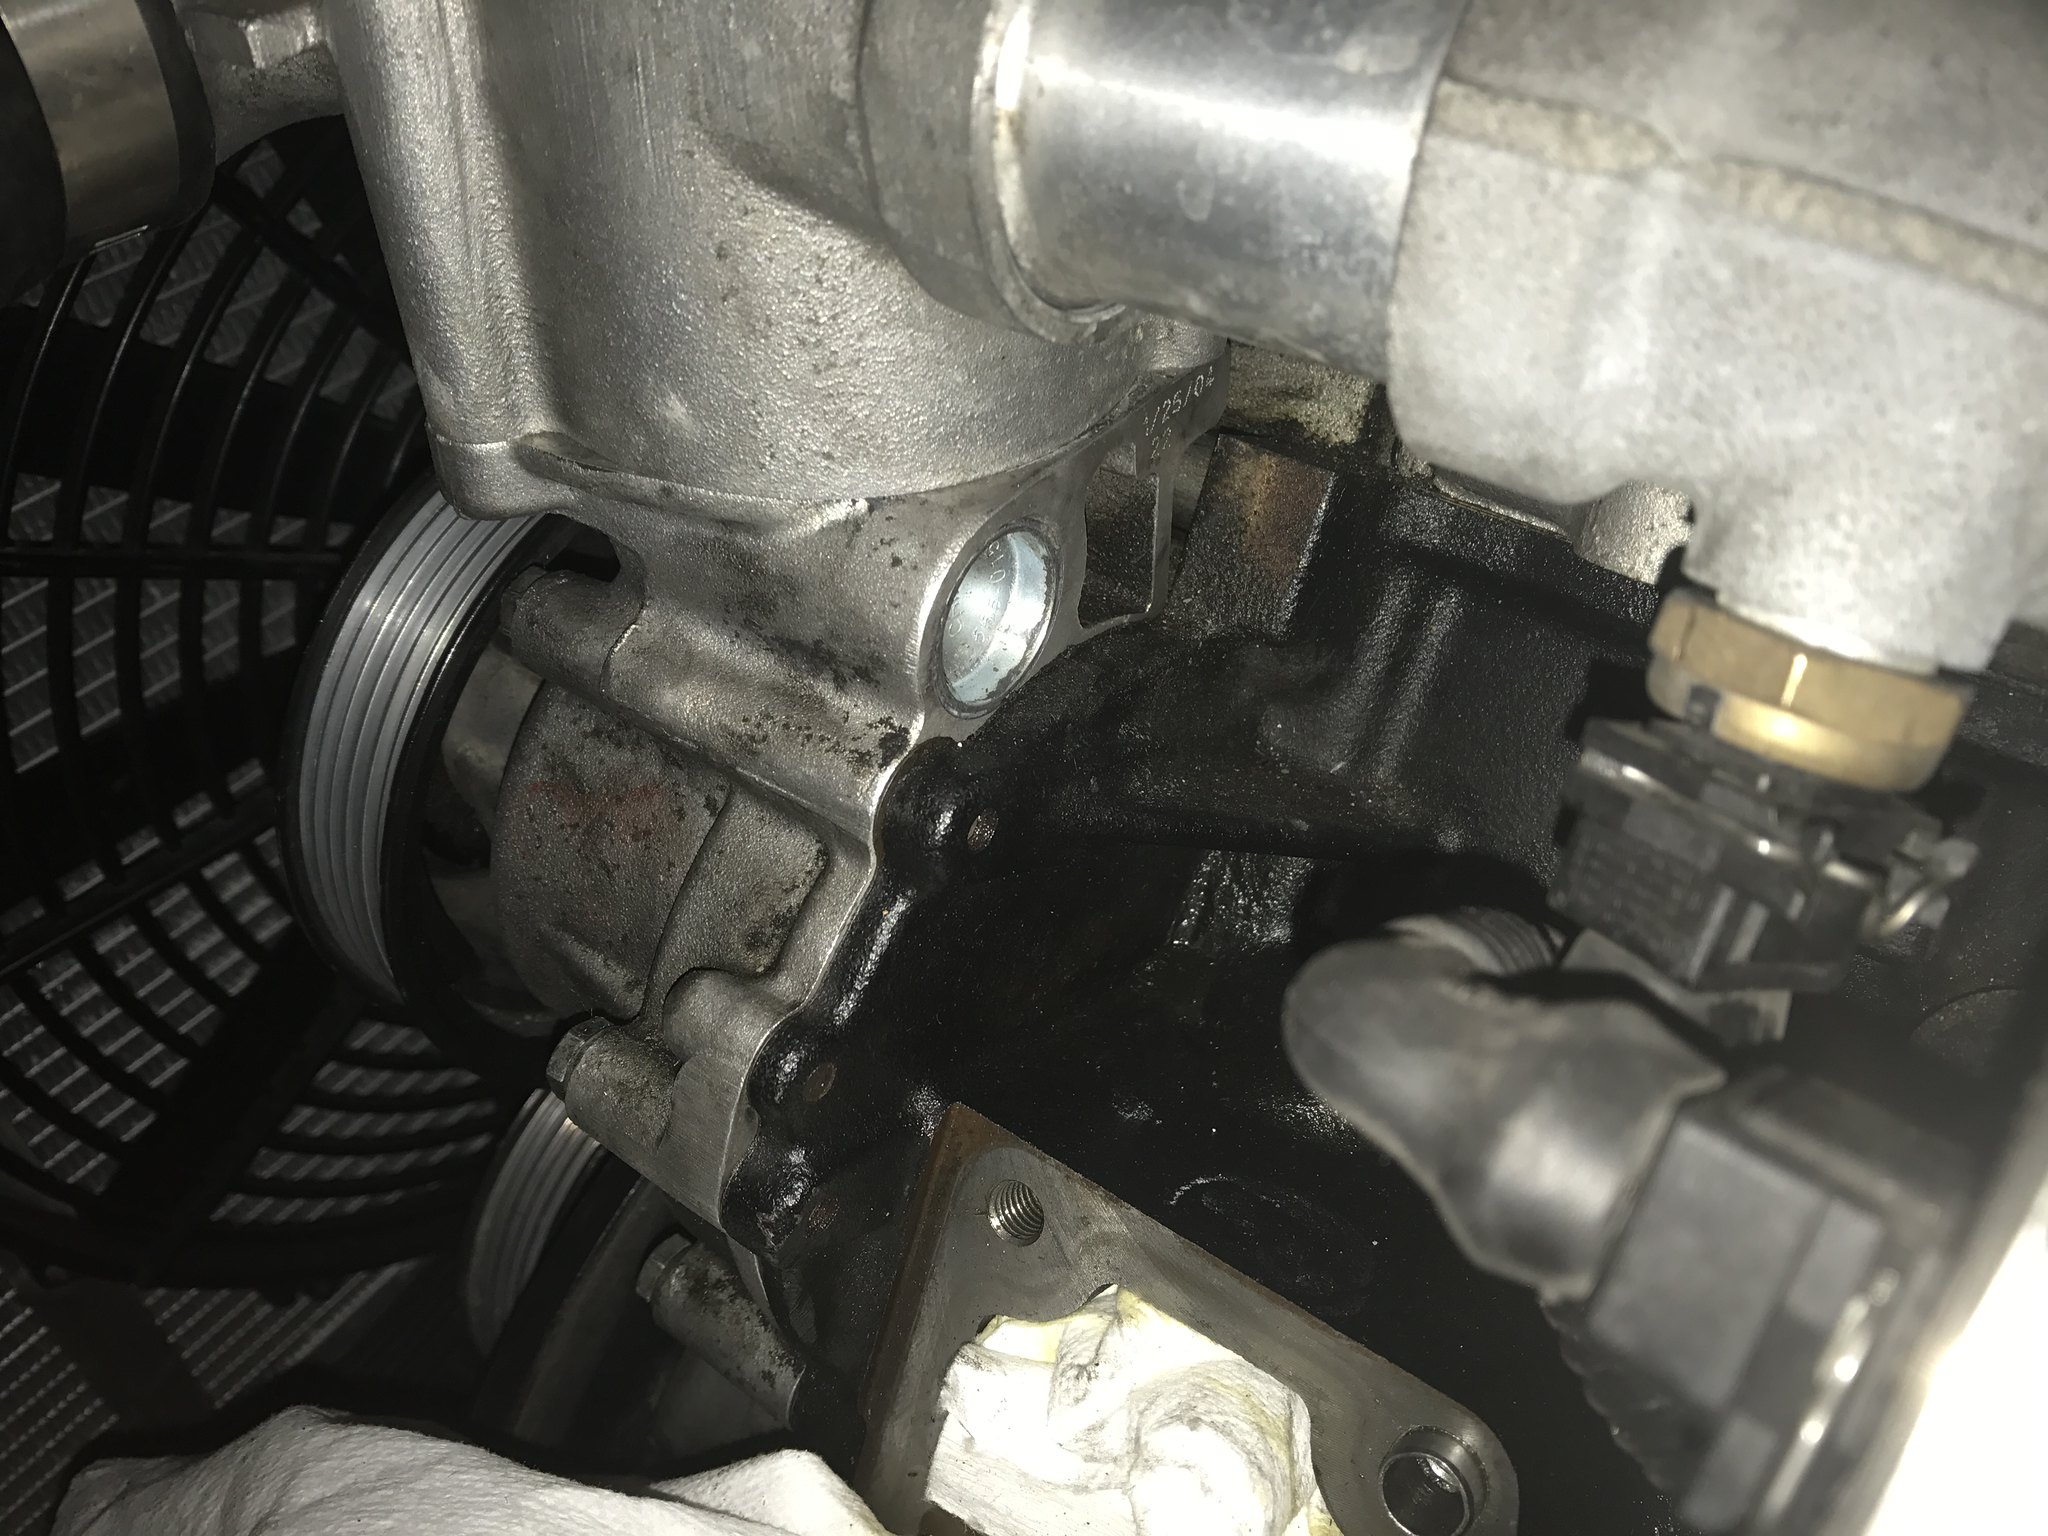
Also installed an AN line on the engine block coolant drain plug. Flushing coolant is now easy and neat.
I deleted the heater core so now to block off the loop. Thinking lightweight... installed a freeze plug in the water pump. Got it at O'reilly's for a $1. I wanted to TIG weld the freeze plug in but couldn't find an aluminum freeze plug in the correct size. So used some JB weld and pressed it in (5 speed trans drift pin and a hammer). The hard part was the water pipe. I cut off the end, used a step drill bit to drill out the end to make it a round (there's a casting seam). Then same thing, JB weld and freeze plug.

Last edited by bigjae46; 08-09-2020, 11:27 AM.Comment
-
Oil cooling...up front...so far I've not achieved the results I've wanted. If temps are above 85-ish, I can get oil temps under control (back to 255-ish) if I use 5th and back off for a couple of corners. Temps get as high as 280 and 290 which was much better than before but still far off from where I want it to be.
My theory is a second cooler is needed. I know some have had some good results with the C&R cooler from BW (Thundermoose) and I'm starting to lean that way. I want to avoid mounting the 2nd cooler behind the foglights due to potential for splitter mounts. I need to find some time to analyze data on oil temps vs speed. I think oil temps are increasing at lower speeds.
AN lines to an external thermostat. Its a $40 eBay unit which is pretty much the same as most sell for $100+ dollars.

Replaced the OE oil cooler with a new OE unit. Then the oil goes to a second cooler. Had a lot of room since I deleted the secondary air pump and moved the coolant expansion tank to the drug bin. I know..it's next to the head and on the exhaust side of the engine. There is a lid and an aluminum shield on the back side of the cooler. I also had the headers swaintech coated. I want to try and swaintech coat the back shield to see if that helps.
I need to look at data and see when temps are going up. If its at low speeds then I would suspect heat from the head it causing oil temps to go up.


I installed some brackets so I can put the windows in for transport or when it rains at the track.


 Last edited by bigjae46; 08-09-2020, 11:45 AM.
Comment
Comment