-
This is the AmeriSeal multi-purpose bulb seal. I did heat it up for a few minutes with a blowdryer beforehand. It seems to fit really awkward around the rail at the end, but I don't know if I can get it to sit any flusher without damaging the rubber. -
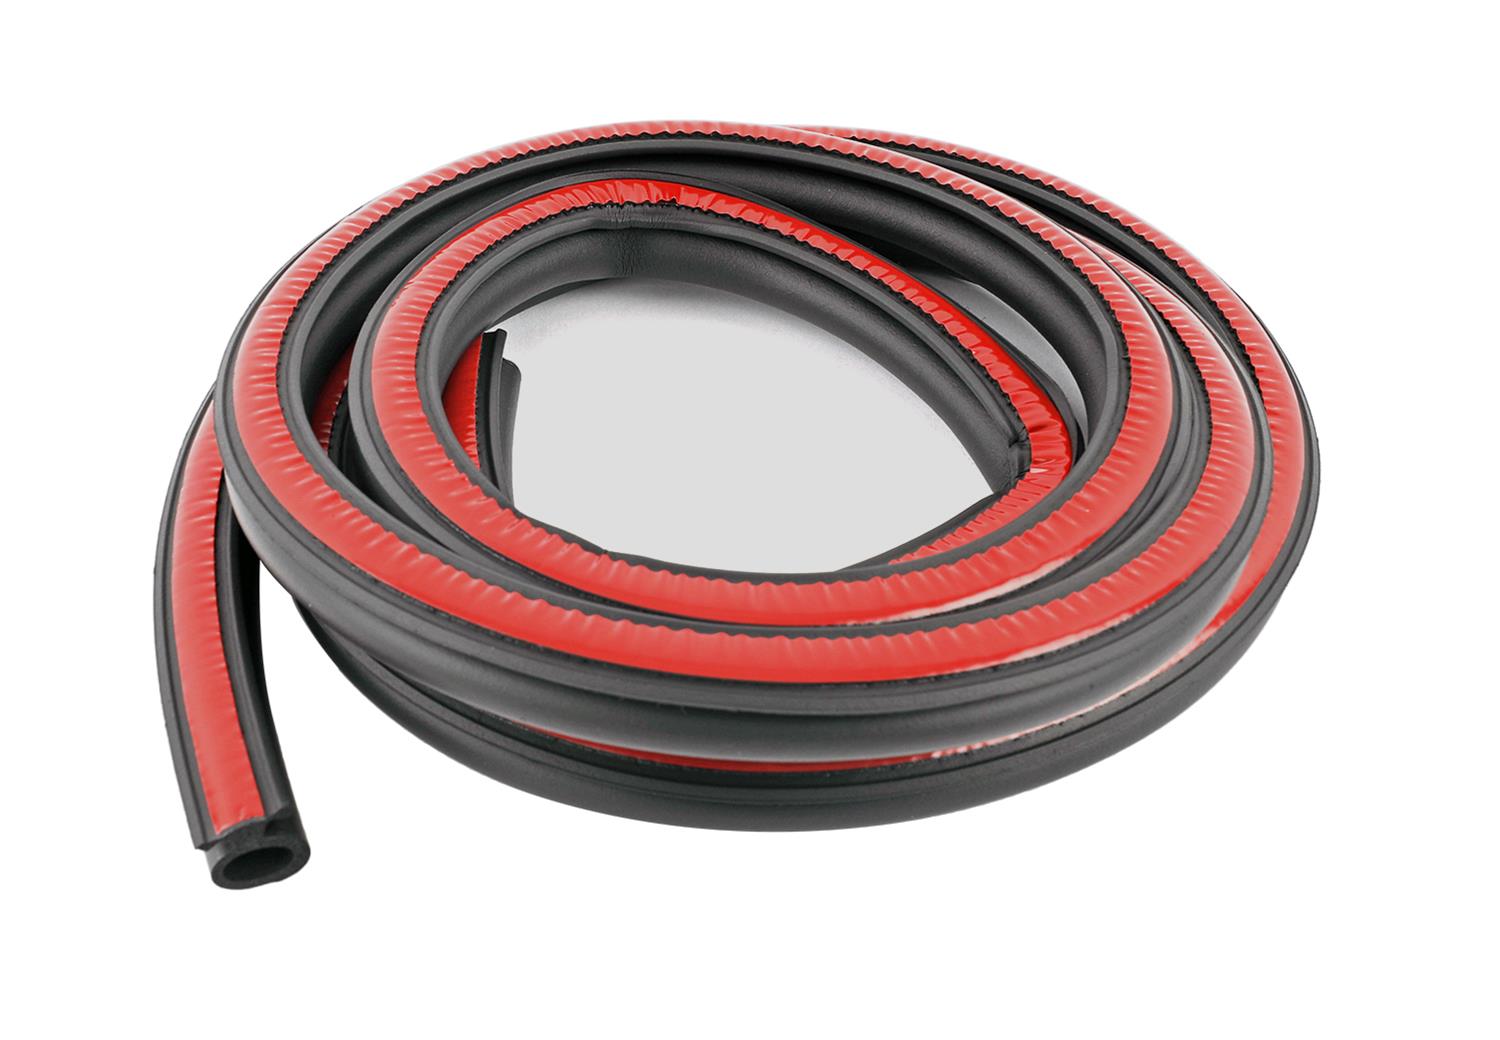
that looks really good. no kinking at all. which tubing did u purchase?Leave a comment:
-
I'm in the middle of replacing the weatherstripping - can someone take a look at these pictures and tell me if I've done it right? I'm waiting on the quarter window horizontal trim, so I haven't attempted reinstalling the side finishers yet. My weatherstripping didn't kink and I didn't use any plastic tubing. I've been reading comments about getting a perfect "bulge" with the tubing, so at this point I'm wondering if this will fit or seal right since I didn't use any. I did trim the spine around the screw holes everywhere except the last two screw holes where the rail is. Does this sound right?Attached FilesLeave a comment:
-
-
Good call on the eraser wheel.Originally posted by Maxima SE View Post
My understanding is the Shadowline trim is the same for the M3 as the ZHP, and in the OEM catalogs listed as "glanzschwarz" but I could be wrong. Any idea?Leave a comment:
-
I used an "eraser wheel" to remove the double sided tape from the original rails. It worked great. It removed about 95%, so I only had to scrape off about 5%.
Leave a comment:
-
i think those gloss black gasket railings are for non M3. the M3 ones are matte and $35.Originally posted by Turd_Ferguson View Post
i would also buy one of these for when you take off the gasket railing. it will make taking off the 3M tape much easier.
Leave a comment:
-
Thanks. That's what I suspected but wanted to confirm before I jumped in.Originally posted by Cubieman View Post
If I'm reading through this properly, a list of materials needed:
--Lower Rail Left/Right:
https://www.fcpeuro.com/products/bmw...ck-51367891912
https://www.fcpeuro.com/products/bmw...ck-51367891911
--Metro Weatherstripping:
--or--
3M NOS stripping if you can find it. I searched but couldn't locate.
--7/16" OD vacuum line x about 8 feet for both sides from your local hardware store
--Dry silicon lubricant- https://www.amazon.com/08897-Silicon.../dp/B000PJED72
--3M adhesive remover- https://www.amazon.com/3M-General-Pu...xpY2s9dHJ1ZQ==
--Plastic razor blade/scraper: https://www.amazon.com/Plastic-Scrap...NsaWNrPXRydWU=
Am I missing anything here?
Leave a comment:
-
Thanks for the outstanding thread. Been searching for this for my ZHP and don't want to spend $1K on parts when I've got other stuff to do.
Question: the guys that are putting the 7/16 OD tubing in, are you leaving it in to hold the shape or removing it once its in place?
Thanks!Leave a comment:
-
the 7/16" tubing worked great. i did the passenger side but the glass doesnt seal against the new weatherstripping. I even loosened the glass bolts and moved it around and just can't seem to get a 100% water tight seal. anyone else have this issue? in this pic you can see the buldge created in the weatherstripping by the inner 7/16 tube... maybe i should have pushed it in further?
Leave a comment:


Leave a comment: