
So after a week of backwards and forwards to hospital with my wife, wife is now better and Dad, James and I spent yesterday making more progress.
First up was finishing up the RACP reinforcement plates.
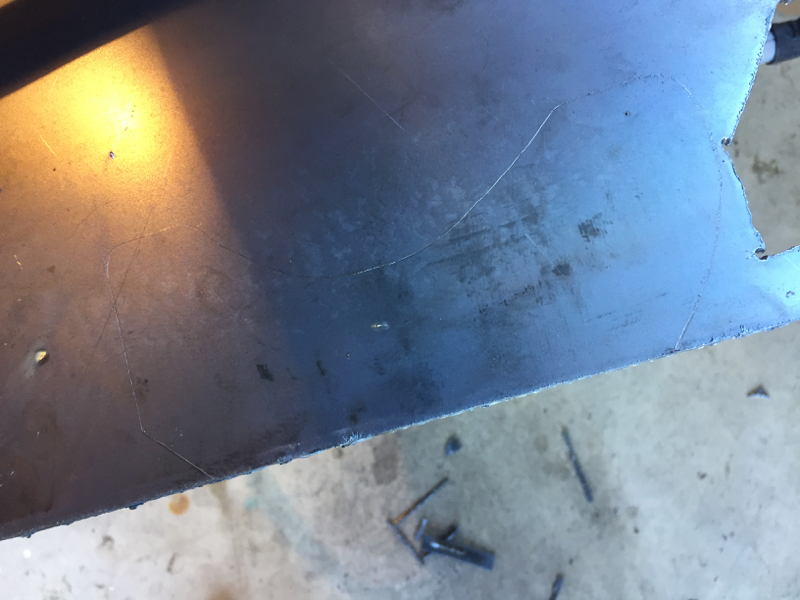
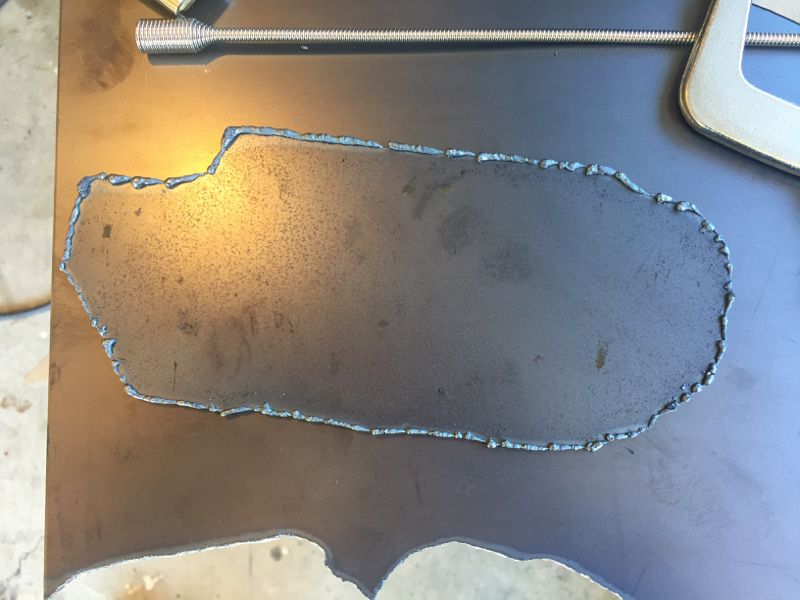
We tack-welded the second rear plate, and then seam welded both of them up.
The two front plates were just simple bends. We measured the fold lines and were able to manually fold the two front plates :thumbsup2: the folds ended up perfect, no gaps at all around the arc of the curve.
With the plates welded / folded up, the next step was to drill the holes for the mounting bolts. Obviously it's important to get these in exactly the right place, so that the hole can be no larger than necessary for the bolt to fit through (i.e. enlarging the hole to allow for imperfect fitment, is then not supporting the mounting bolt as well as it could).
A brief discussion around how best to do this led to Dad's excellent suggestion of using a laser sight to mark the centre of the hole.
We rigged up the laser level like so:
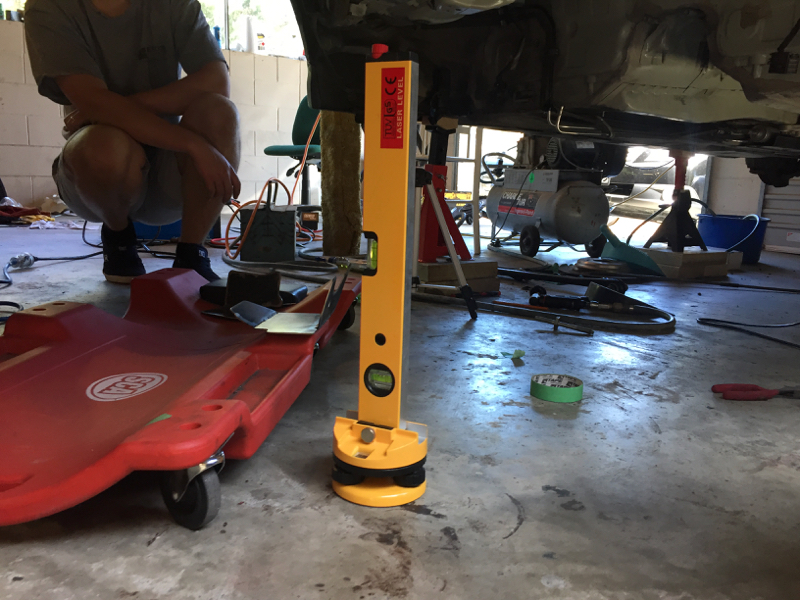
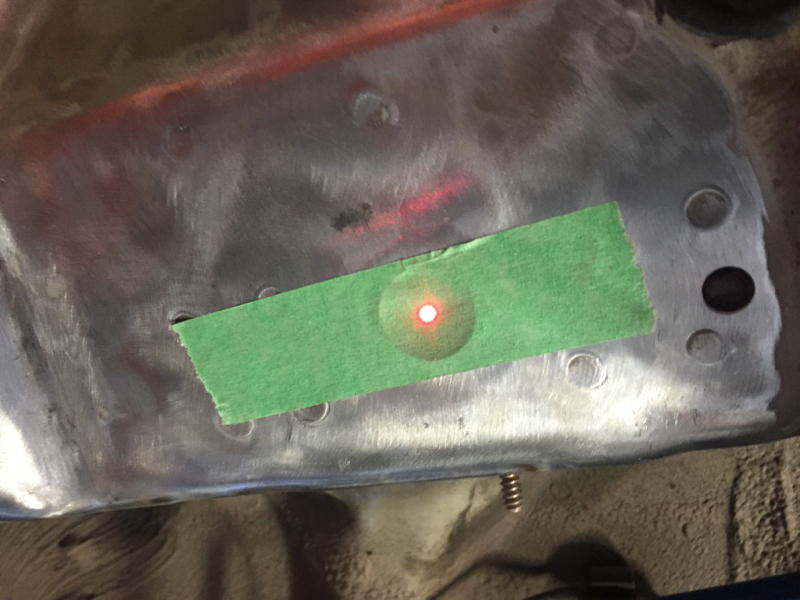
A piece of masking tape across the hole lets us align the laser dot correctly.
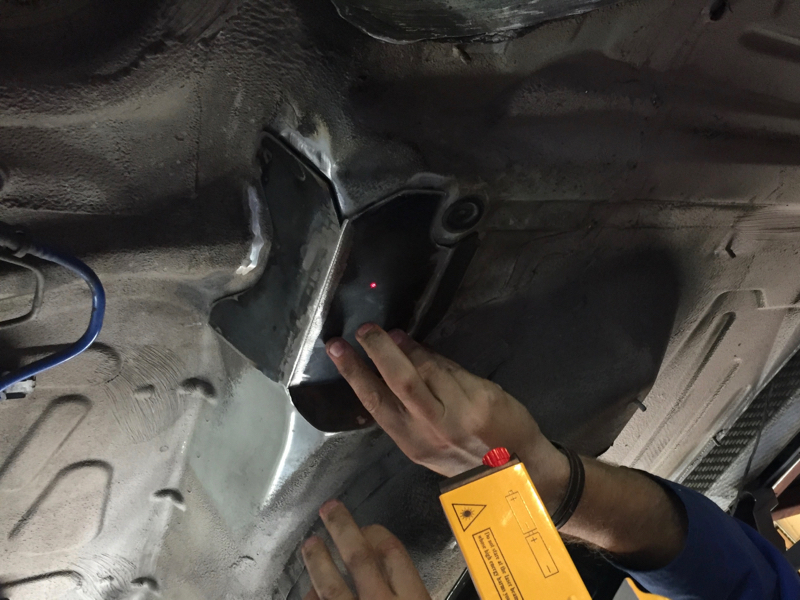
We were then able to locate the plate, and mark the plate where the laser dot fell.
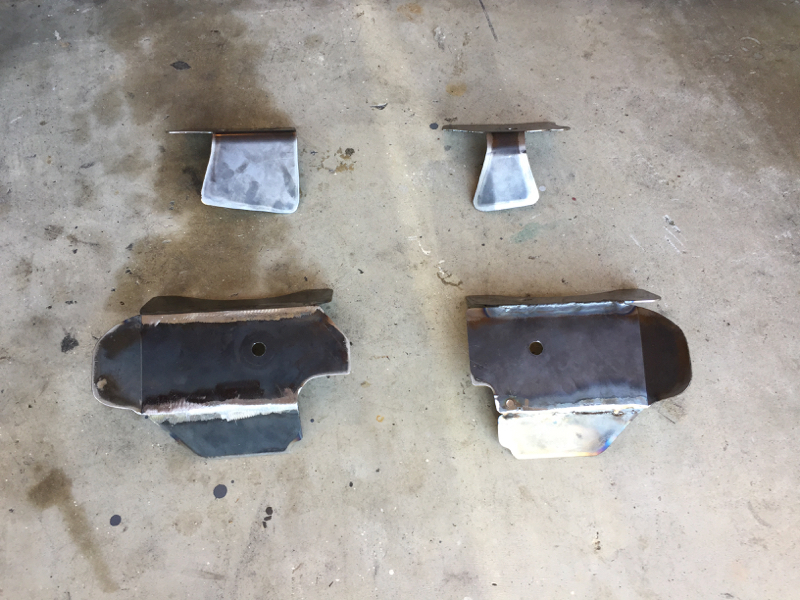
With the holes drilled we have a set of 4 completed plates:
Here's how they look sitting on the RACP. (Note: Only showing three, as the two rear ones are essentially a mirror image of each other.)
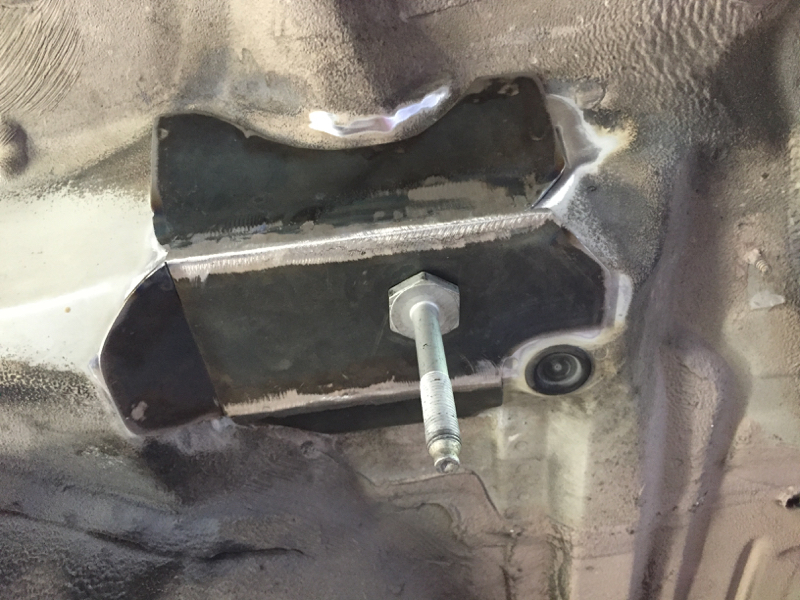
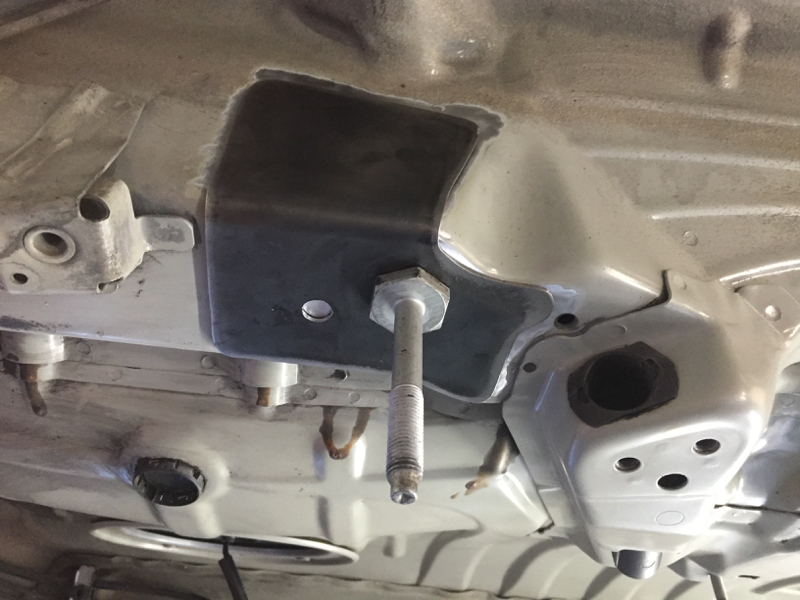

The last items to manufacture are the two small plates for the diff cradle. They're pretty straightforward, small flat spacers with two holes drilled in them. Here's a token picture of their manufacture to prove that we made them.
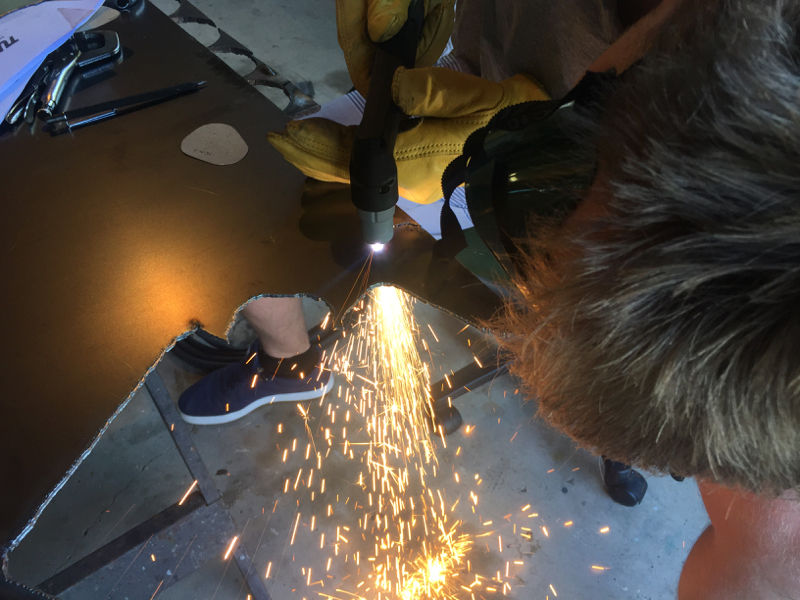
That pretty much brings to a close the manufacturing stage of the plates. They will of course get a final clean up prior to being epoxied on, but there's no point in doing that until directly before they're going to be affixed.
I've got the 3M 8115 epoxy on order. Rather than paying for the special applicator gun, we'll just modify a standard caulk gun. Provided the epoxy arrives this week we'll look to attach the reinforcement plates next weekend. :thumbsup2:
After finishing up the plates, we split up, Dad and James took on changing the diff seals, and removing the rear cover so that it can be glass bead blasted to clean up the aluminium fins.
The diff looks to be in pretty good condition.
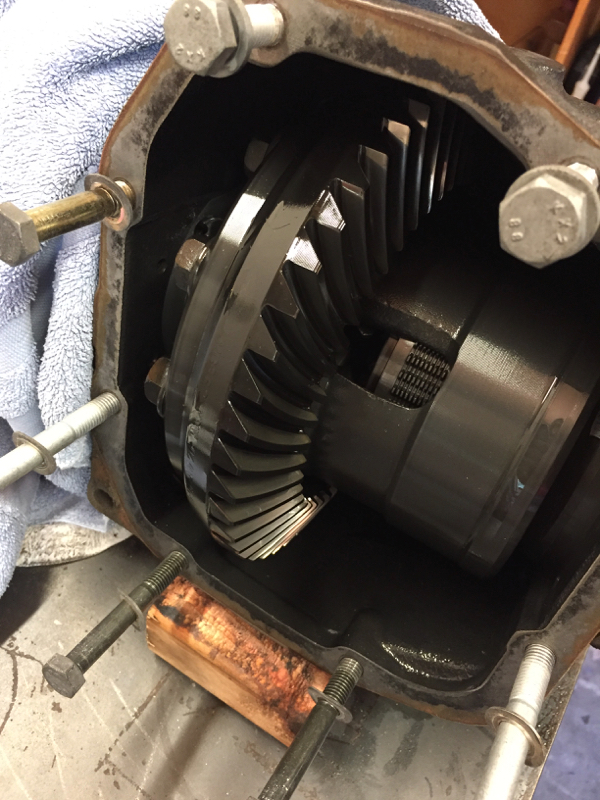
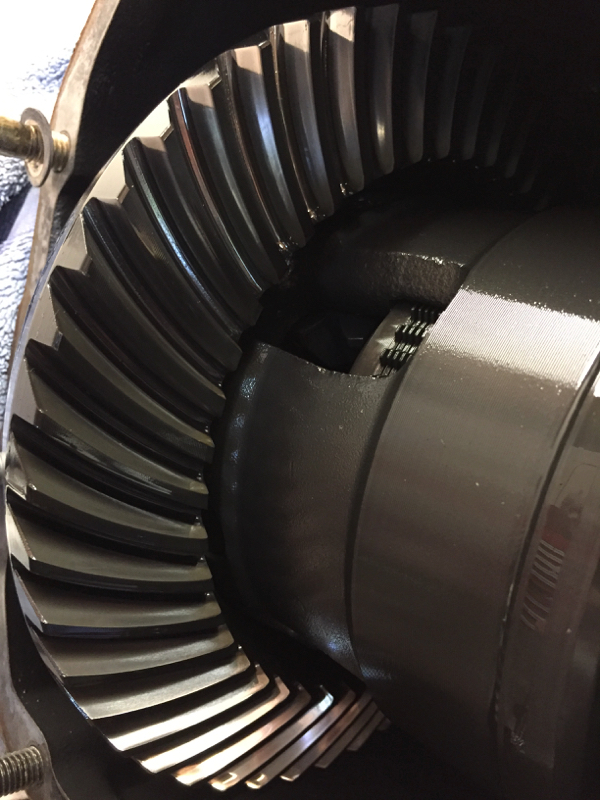
With new seals and some new oil it should be good to go
 arrot:
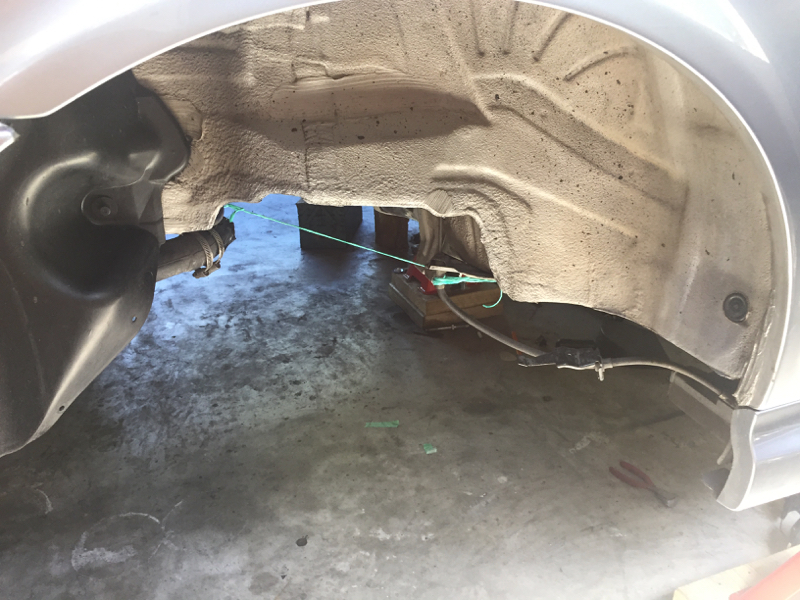
While Dad and James did the diff, I armed myself with some degreaser, and scrubbing brush and a towel and got to work cleaning up the underbody. It's pretty tedious work but the upside is that it cleans up really nicely. I got through the two rear wheel wells with the degreaser, and did one well with kerosene to take the tar spots off. Unfortunately the photo below shows the wheel well that hasn't been kerosene'd (the lighting didn't allow for a decent pic of the other well, so just imagine the below, without the tar spots :lolhit
 .
.
I'll do more degreasing and cleaning up after work during the week, and then next weekend we'll hopefully be ready to epoxy the plates and commence reassembly of the rear axle. We're going to build it up and then lift the entire thing into place at the end. This is preferred for a couple reasons. 1: easier to work on, 2: allows us to work in parallel while the epoxy plates are curing.
We'll also be starting on disassembly of the front suspension in the near future, as there will be some lead time on cleaning and painting parts etc. that we want to get a head start on.
Starting to feel like it's all coming together!
arrot:
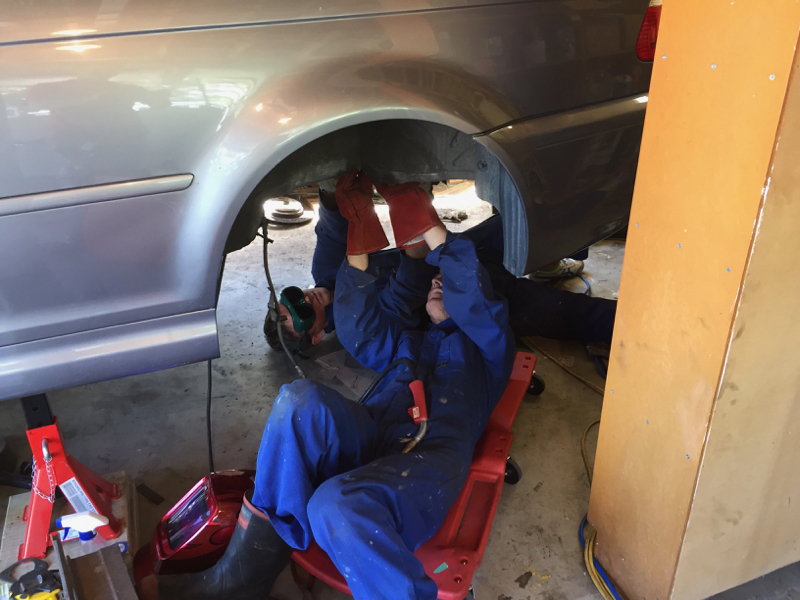


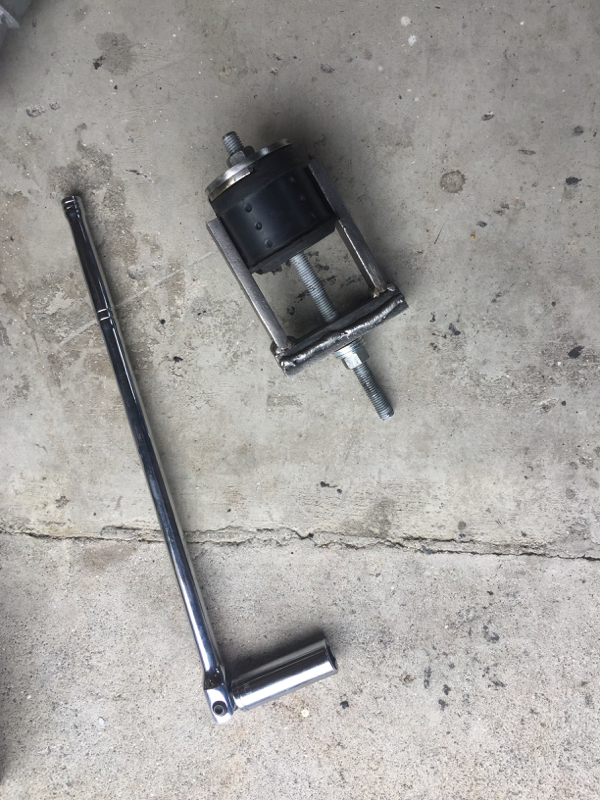
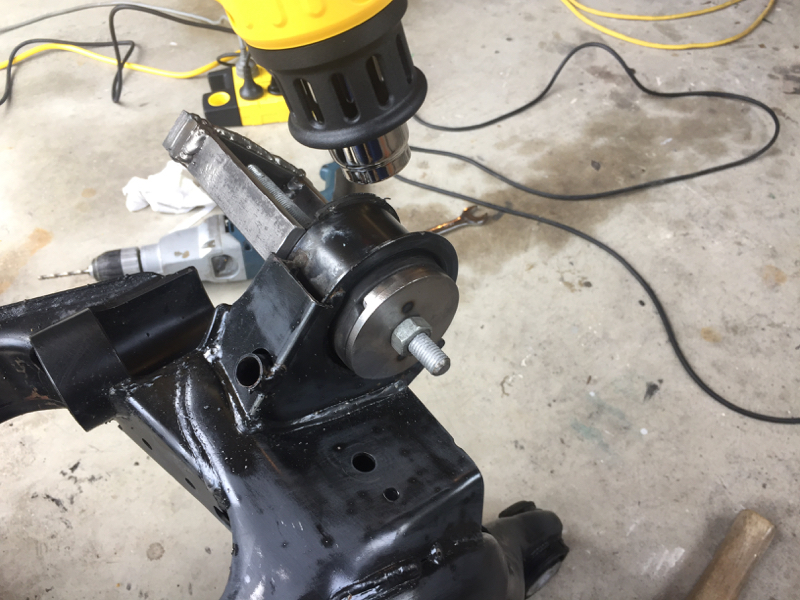
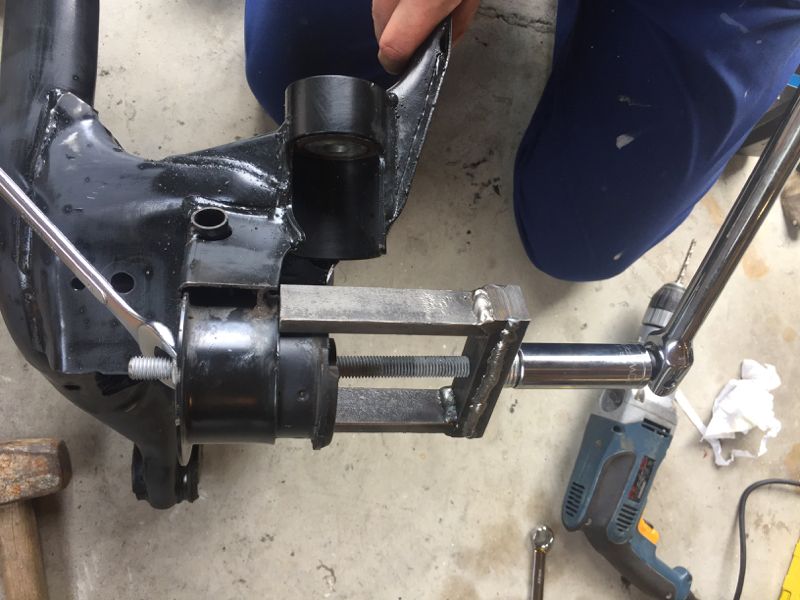
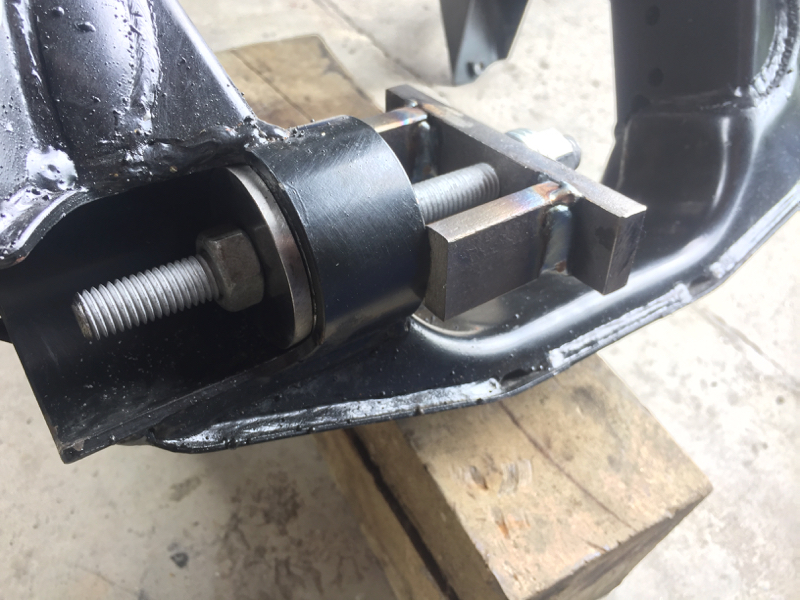
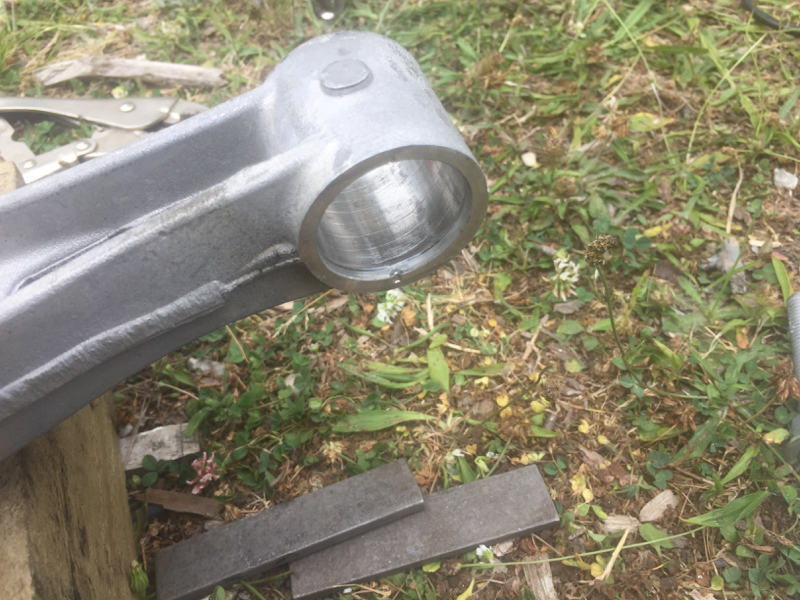

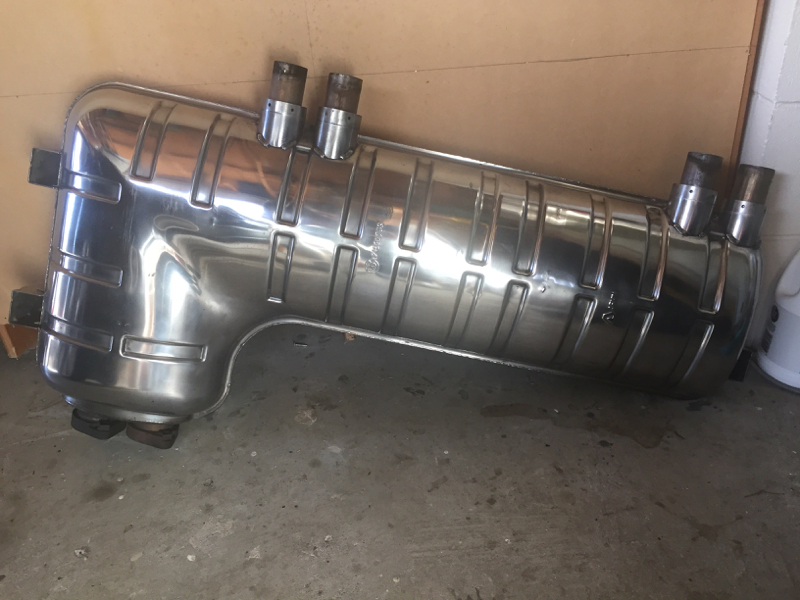
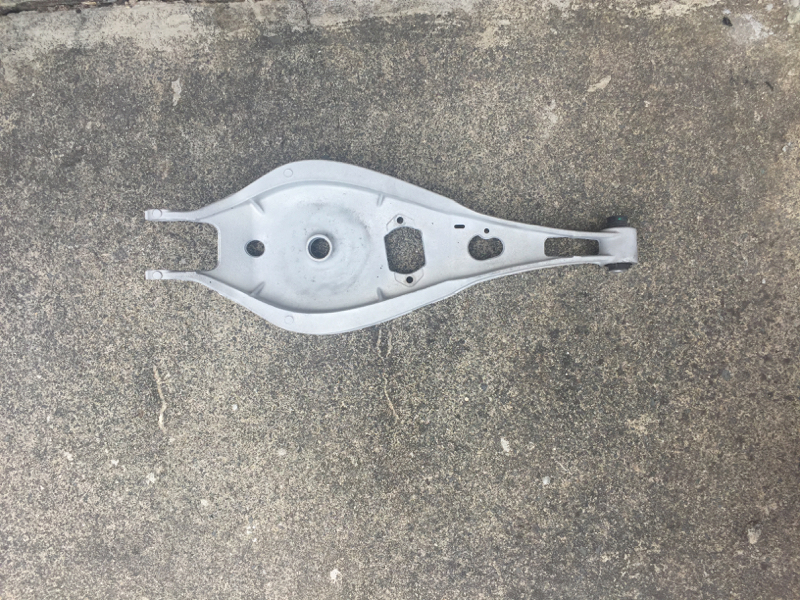

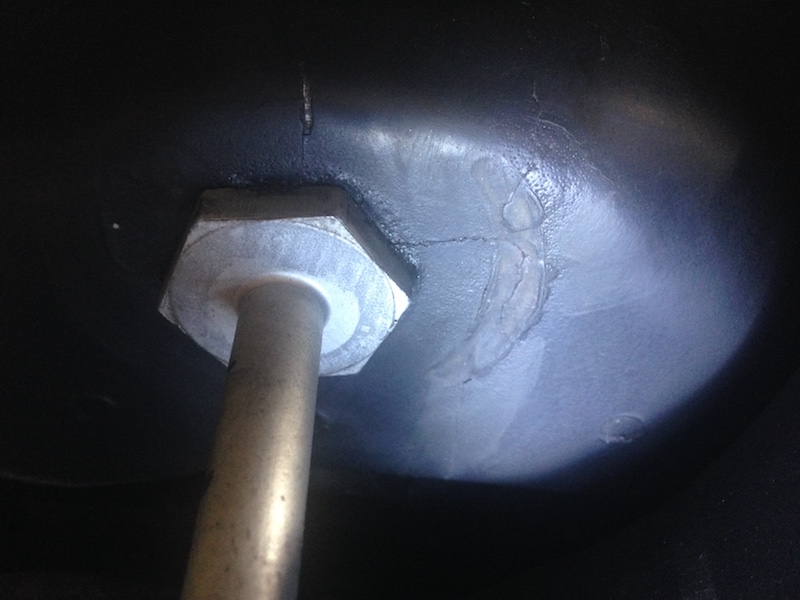
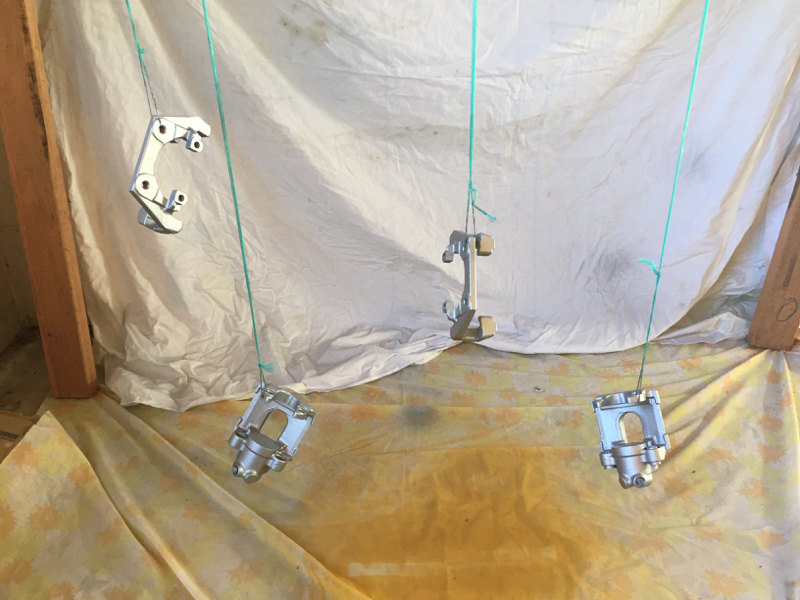
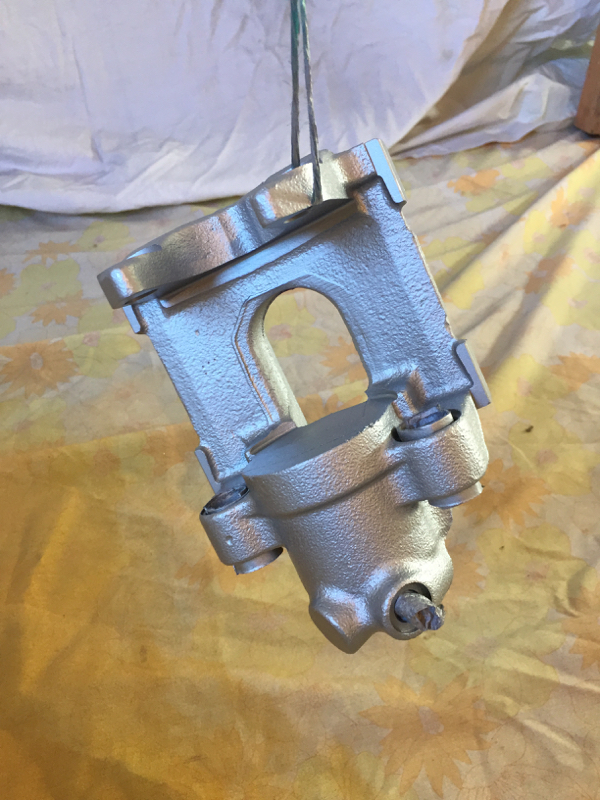
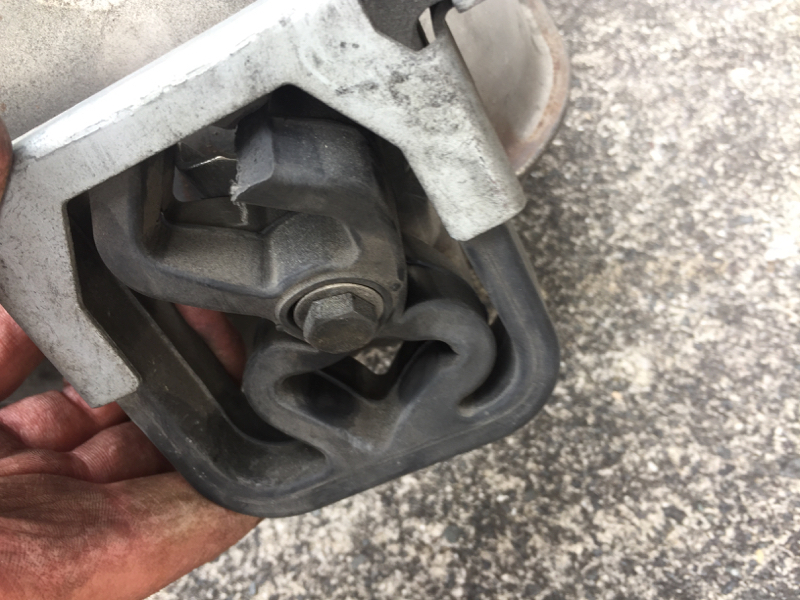
 He's been busy cleaning parts and prepping them for painting etc. From what I hear he's been polishing the muffler, cleaning underbody panels, suspension arms, etc.

Leave a comment: