Welcome to my build journal for my Imola Red 2005 6MT M3. Late fall 2019 I began my search for a my M3. I originally wanted one a few years ago, but being in college in southwest Ohio, a RWD sports car didn’t make much sense for driving in the winter. I ended up picking a 2017 Subaru WRX that I love and still handles all of my daily duties with. But even up until the fall, I still wanted my experience with a BMW. I had several friends who had some, everything from base E30s to limited edition E90s. The E46 was in my price range and I think it is a timeless car, and the car for me.
I wanted something that was stock, not crazy high mileage, and something I could work on and bring back to life if needed. I would check several times throughout the day, but often would come up just short or the distance was too far away. Being located in central Ohio, most of the cars around me spent their whole life in the rust belt and unfortunately were starting to have the salt damage show. I woke up the morning of December 6th and did my normal routine of checking all the online for sale pages, trying to find the right car for me. Out of Sacramento, CA I found a new for sale ad that had popped up overnight. I immediately texted the owner at 6:30am EST, forgetting that this was much much earlier on the west coast. To my surprise, I received a text not too long after saying the car was still available.
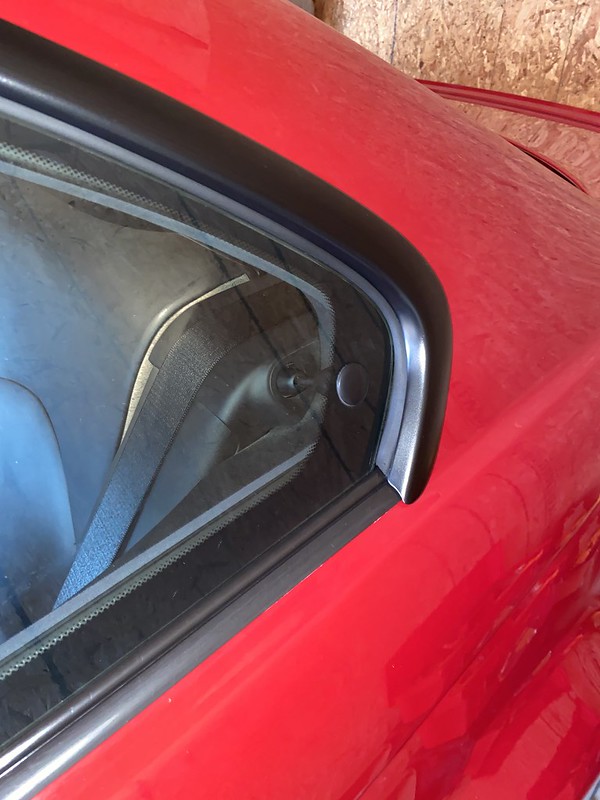
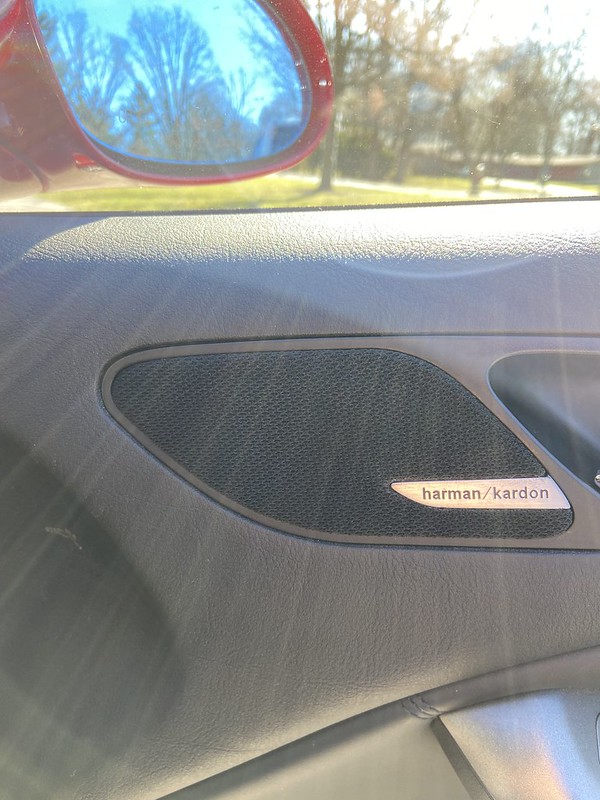
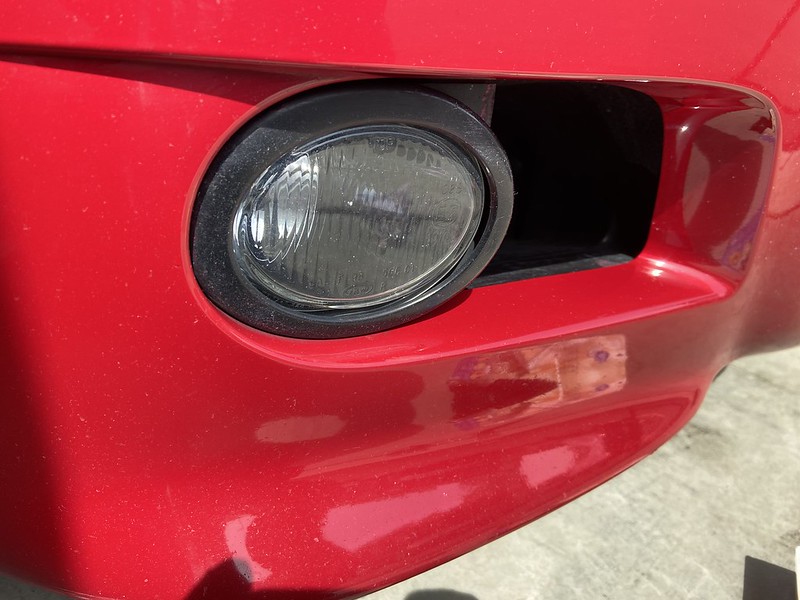
The for sale ad only had 4 pictures, I was eager to see some more. The new pictures I got weren’t the best, and the car definitely had some wear, but nothing that couldn’t be fixed with a little bit of love and attention.


I continued messaging the owner during the weekend, trying to decide if this was the one for me. By Sunday night, I was one of a few seriously interested parties. I spent the weekend talking with friends what the best method of getting to the car and getting it back to Ohio would be. We talked about booking a pair of one-way tickets and having a cannonball-style drive back across the country in two days. Ultimately, I ended up booking a round trip flight to Portland, OR where I have a friend living 45 minutes away. He would pick me up from the airport and we would drive down to Sacramento and back. I would store the car with him until after the end of the year holidays were over and ten ship it back across the country to its new home – of course, only if a sale went through. Sunday night, I had my flights booked and sent over the information minutes before another party was going to put down a deposit. The owner asked me to send over another small deposit to secure the spot since I wouldn’t be coming out until to see the car for another week. This was enough information for him to hold the car for me until I was able to come out and see it in person. The seller was still skeptical though, how believable is it when you have someone say they’re flying out from the other side of the country, driving down with a buddy named Steve, and taking the car home just days after your posting?
March 13th, I jumped on a plane at 5am and started my journey west. I landed on Portland where my friend was waiting to pick me up. As we headed south, I grew more and more tired. We arrived at our hotel in Sacramento around midnight pacific time. I had spent a full 24 hours traveling and I was exhausted.
The next morning, I met up with the owner, Brian. He bought the car new from the dealer and had put 101,000 miles on it in his ownership. He kept almost every receipt, and was only getting rid of the car because his new M2 was ready for delivery. Everything he told me about the car was correct. The car was as described and I was ready to make a deal. After a quick test drive, we signed some papers and I was on my way back north to Oregon on my maiden voyage.
The scenery of Northern California is so much more beautiful than the Midwest. It was a perfect place for my first drive.
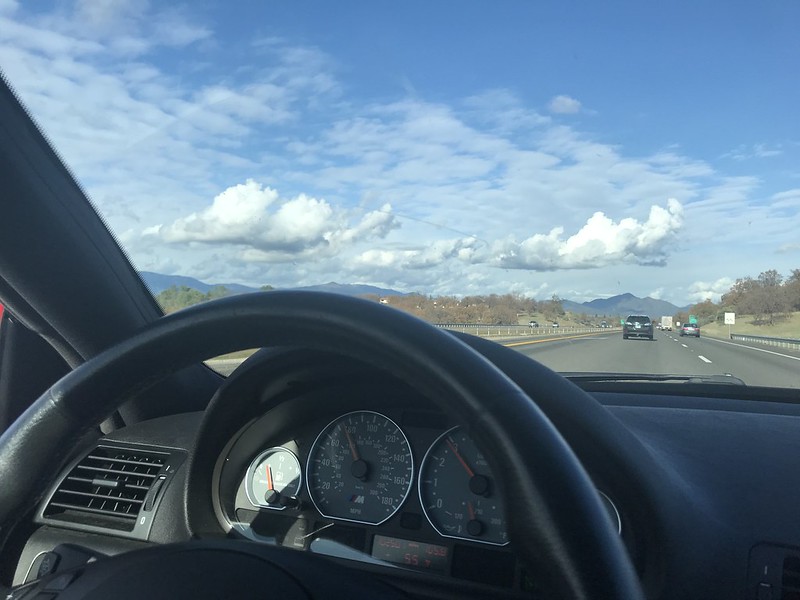
When the highway was clear and it was just my friend and I, I decided to open up the car in 3rd gear and see what it was made of. The first pull felt strong, but it smelled awful. The now prior owner probably didn’t drive the car very hard during his short commute to work. A few pulls later and all the crap had been blown out of the cats and the odor was gone. We continued north and began to hit some of the mountains.
We had to stop for gas and decided it was also a good stopping point for lunch. Somehow we picked probably the two slowest gas pumps in the world. It took us each nearly 30 minutes to fill up our tanks. While we waited, I ran inside to the Burger King next door for a quick bite.

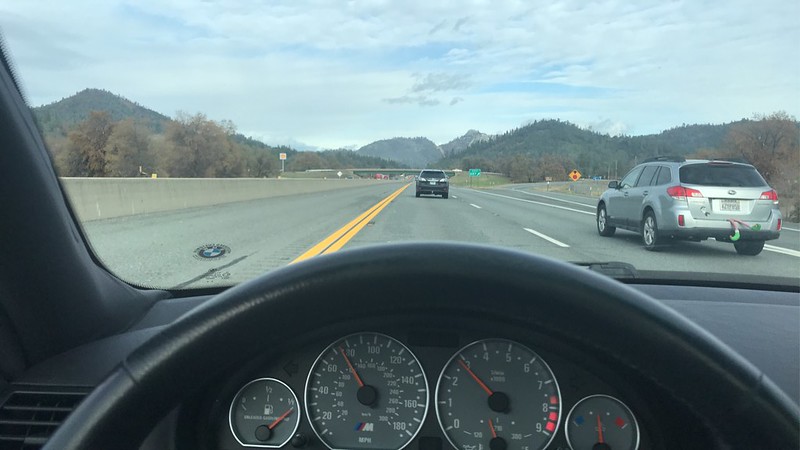
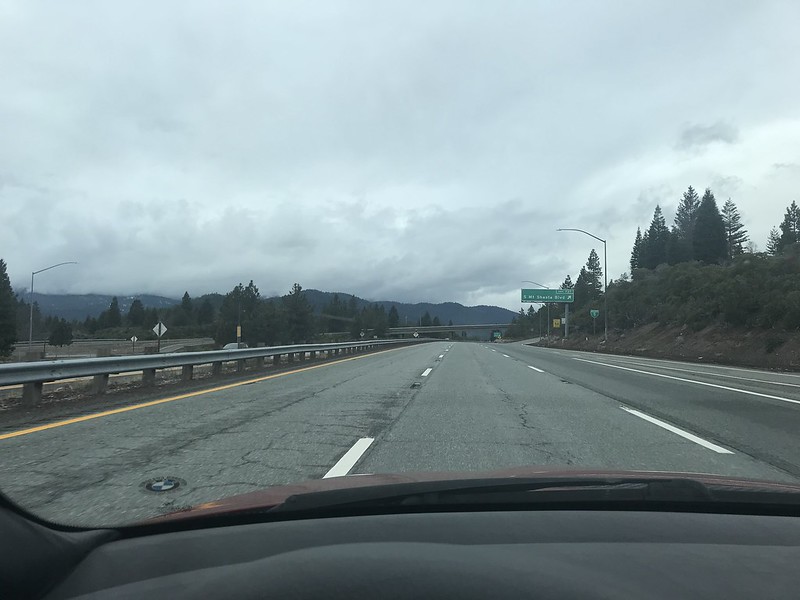
We continued North into the mountains, the roads were still amazing. Really wish we had them back in Ohio.

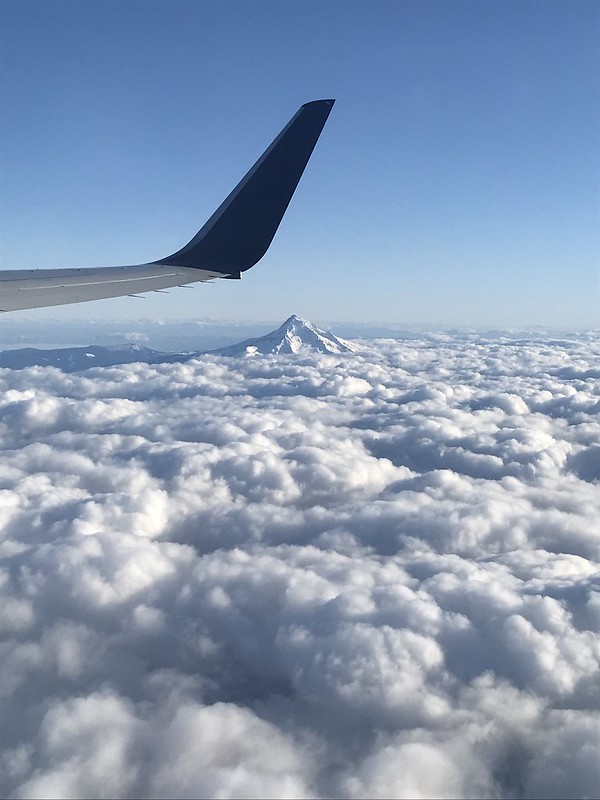
We made it safely back to Bend and my new M3 was tucked away in a garage for a few weeks. On my flight home, I passed Mt. Hood. Took this pretty neat photo of it peeking out over the cloud layer.
I needed to arrange shipping. I ended up using another forum user’s suggestion and selected Andrew Kraus with Capital Auto Transport ([email protected]). I would HIGHLY recommend them for your shipping needs. Here a photo of it being loaded up to be send across the country.

Less than a week later it arrived! Nothing like a 5:30am pick up in below freezing temperatures. The car was probably the coldest it has ever been. It was covered in salt and I immediately got it washed off.


The rock chips and swirled paint were to be addressed when it was warmer again.
I wanted to get a fun personalized plate. To my surprise, this was available! Seems suiting for the car.

I wanted something that was stock, not crazy high mileage, and something I could work on and bring back to life if needed. I would check several times throughout the day, but often would come up just short or the distance was too far away. Being located in central Ohio, most of the cars around me spent their whole life in the rust belt and unfortunately were starting to have the salt damage show. I woke up the morning of December 6th and did my normal routine of checking all the online for sale pages, trying to find the right car for me. Out of Sacramento, CA I found a new for sale ad that had popped up overnight. I immediately texted the owner at 6:30am EST, forgetting that this was much much earlier on the west coast. To my surprise, I received a text not too long after saying the car was still available.
The for sale ad only had 4 pictures, I was eager to see some more. The new pictures I got weren’t the best, and the car definitely had some wear, but nothing that couldn’t be fixed with a little bit of love and attention.
I continued messaging the owner during the weekend, trying to decide if this was the one for me. By Sunday night, I was one of a few seriously interested parties. I spent the weekend talking with friends what the best method of getting to the car and getting it back to Ohio would be. We talked about booking a pair of one-way tickets and having a cannonball-style drive back across the country in two days. Ultimately, I ended up booking a round trip flight to Portland, OR where I have a friend living 45 minutes away. He would pick me up from the airport and we would drive down to Sacramento and back. I would store the car with him until after the end of the year holidays were over and ten ship it back across the country to its new home – of course, only if a sale went through. Sunday night, I had my flights booked and sent over the information minutes before another party was going to put down a deposit. The owner asked me to send over another small deposit to secure the spot since I wouldn’t be coming out until to see the car for another week. This was enough information for him to hold the car for me until I was able to come out and see it in person. The seller was still skeptical though, how believable is it when you have someone say they’re flying out from the other side of the country, driving down with a buddy named Steve, and taking the car home just days after your posting?
March 13th, I jumped on a plane at 5am and started my journey west. I landed on Portland where my friend was waiting to pick me up. As we headed south, I grew more and more tired. We arrived at our hotel in Sacramento around midnight pacific time. I had spent a full 24 hours traveling and I was exhausted.
The next morning, I met up with the owner, Brian. He bought the car new from the dealer and had put 101,000 miles on it in his ownership. He kept almost every receipt, and was only getting rid of the car because his new M2 was ready for delivery. Everything he told me about the car was correct. The car was as described and I was ready to make a deal. After a quick test drive, we signed some papers and I was on my way back north to Oregon on my maiden voyage.
The scenery of Northern California is so much more beautiful than the Midwest. It was a perfect place for my first drive.
When the highway was clear and it was just my friend and I, I decided to open up the car in 3rd gear and see what it was made of. The first pull felt strong, but it smelled awful. The now prior owner probably didn’t drive the car very hard during his short commute to work. A few pulls later and all the crap had been blown out of the cats and the odor was gone. We continued north and began to hit some of the mountains.
We had to stop for gas and decided it was also a good stopping point for lunch. Somehow we picked probably the two slowest gas pumps in the world. It took us each nearly 30 minutes to fill up our tanks. While we waited, I ran inside to the Burger King next door for a quick bite.
We continued North into the mountains, the roads were still amazing. Really wish we had them back in Ohio.
We made it safely back to Bend and my new M3 was tucked away in a garage for a few weeks. On my flight home, I passed Mt. Hood. Took this pretty neat photo of it peeking out over the cloud layer.
I needed to arrange shipping. I ended up using another forum user’s suggestion and selected Andrew Kraus with Capital Auto Transport ([email protected]). I would HIGHLY recommend them for your shipping needs. Here a photo of it being loaded up to be send across the country.
Less than a week later it arrived! Nothing like a 5:30am pick up in below freezing temperatures. The car was probably the coldest it has ever been. It was covered in salt and I immediately got it washed off.
The rock chips and swirled paint were to be addressed when it was warmer again.
I wanted to get a fun personalized plate. To my surprise, this was available! Seems suiting for the car.


Comment