Originally posted by Petener
View Post
-
jo-ann’s fabrics. I didn’t take a picture of the exact fabric number Unfortunately. I cut off a sample of the existing fabric and took it into the store and matched it up to several that were very similar in Thickness and material and color and went with it. With shears, spray adhesive glue and a yard of fabric i spent $30.
-
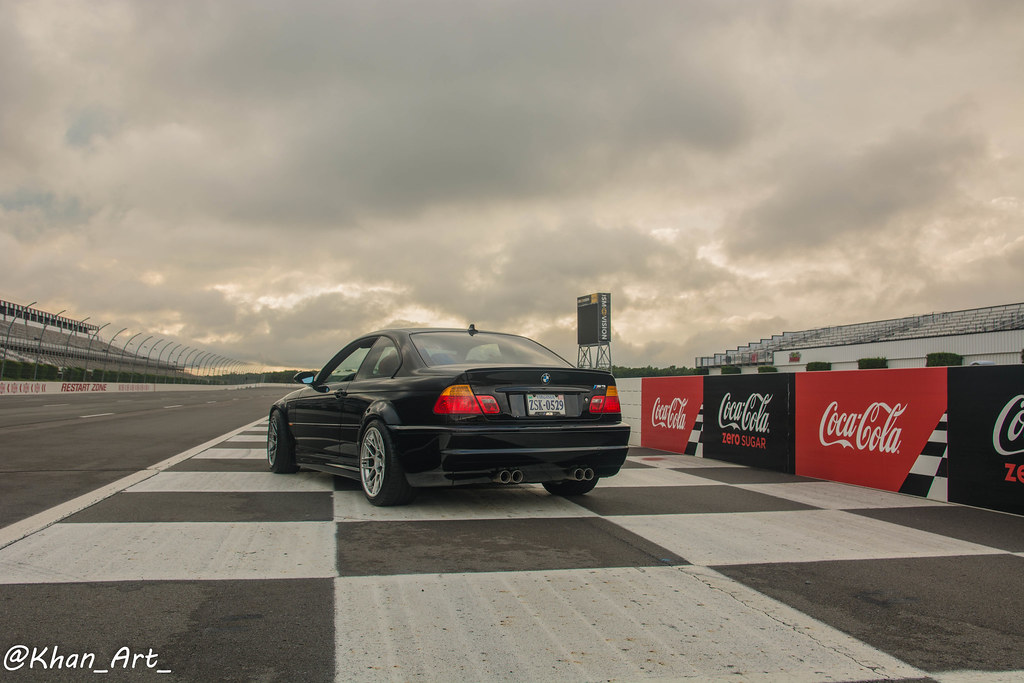
I replaced the PITA final stage resistor unit. It’s easily my least favorite DIY on this chassis.Comment
-
I need to do that too. I've had a new resistor lying on my bench for months and haven't gotten around to installing it because I know it'll be a pain lol.Originally posted by JudahJD904 View Post2002 Topasblau M3 - Coupe - 6MT - Karbonius CSL Airbox - SSV1 - HJS - Mullet Tune - MK60 Swap - E86 Front Triangulation - ZCP Rack - Nogaros - AutoSolutions - 996 Brembos - Slon - CMP - VinceBar - Koni - Eibach - BlueBus - Journal
2012 Alpinweiss 128i - Coupe - 6AT - Slicktop - Manual Seats - Daily - JournalComment
-
I’ve replaced four of those now on three E46 and one E39 and never found it to be particularly painful ... small hands maybe? Didn’t think so but maybe lol. Nothing on the E46 really stands out to me as being too terrible.
E39 M5 on the other hand ... that engine bay is way cramped. Even getting the drivers side valve cover back on is an exercise in frustration and fury. And the god forsaken power steering line back to the servotronic box requires three long extensions connected by universal joints to tighten the banjo bolt and is nearly impossible to get it started.Comment
-
Good advice on taking the pictures. As long as they handle it well like they did then it’s an easy fix.Originally posted by Dino View PostComment
-
Past week, took some pics, put some headers sec1 and sec 2 and swore a lot.
Best part of the install, was not securing that last fuking nut on cylinder 5 on the bottom, no it wasnt that, it was cleaning... felt so therapeutic.
Attached Files2006 Silber Grau Metalizat ZCP 6 MT
M-texture (F2AT) - Turner CSL V2/CatCams 280 272/SSv1/SS Sec1/Sec2 dual res/SS Race 63.5mm - FatCat stage 3 ult 400f/784r - Vorshlag - EC7r 18x9.5 ET35/CRS 275/35/18 - PFC ZR45/31 BBK/MileEnd CSL bumper/Vorsteiner Trunk/Cobra Nogaro Circuit Mtexture/GC RCA/YURKan Cages/Hotchkiss/BW/MRT full rear eccentric bushing set
IG: https://www.instagram.com/htrlo/Comment
-
-
A tab broke off on my jobComment
-
Nice, those SSv1's were definitely harder to install than the Euro headers as you don't have nearly as much room, I used the n54 studs which made things more tricky yet.Originally posted by CrisSilberGrau View Post2004 Silbergrau Metallic 6MT
Karbonius/OEM Snorkel/Flap/HTE Tuned
Ssv1/Catted Sec. 1/SS 2.5" Sec. 2/SCZA
OE CSL Bootlid/AS SSK/TCK Vorshlag/4.10 Gears/ Sportline 8S Wheels/Cobra Nogaros
RACP Plates/Vincebar/CMP/Turner RTAB/Beisan
2006 M6 Black Saphire SMG
InstagramComment
-
People with coilovers might enjoy this mod.
Easy to do. Took 20 minutes for both sides

 2002 Jet Black · 6MT · Cinnamon · CSL Tribute
Engine · Karbonius CSL Airbox · CSL DME · Kassel MAP · Paul Claude Tuned
Exhaust · SS Stepped V1 · SS 2.5 Res Sec 2 · SS Sport Sec 3
Suspension · JIC Cross/ZMS RS coilovers · GC Weight Jackers · SDW RTAB · Corner balanced
Wheels/Brakes · BBS E88 18" x 9.5" / 10.5" · Michelin Pilot Sport 4S · 996 Brembo BBK
Exterior · Mile End CSL bumper · OE CSL trunk · Mile End CSL diffuser · OE LED taillights
Interior · Avin Avant 4 · Llumar Air 80 TintComment
-
That’s great and I need those for sure, would you happen to have a link please.Originally posted by Lip View PostComment
-
Bronze ARC-8's back on for the street.
Sent from my Pixel 5 using Tapatalk
Comment
-
Loosely fitted my rear 996 Brembos while I wait for my new rotors, and installed the rear part of my Ohlins R&T kit at the same time. I used the Rogue RSMs and control arm reinforcement plates, plus stock top spring pads. Replacing KW V2s which for some god forsaken reason have the adjusters at the top ... such a pain to loosen the spring enough to get it out without spring compressors.Comment
-
Test fit my OEM rears in the front to see if they would fit. I know people have done it, but I'm getting a fair bit of liner rub in turns. I'm running about 2.5 degrees of camber in the front, so I'm not sure why I'm getting rub if others aren't.
Comment
-
New cup holder

Sent from my SM-G965U1 using Tapatalk
Comment
-
Wrapped the door. A bit of wrinkling on the front half while attempting it solo. Turned out my 7 yr old daughter helped a lot and we discovered a method to lay it on nicely w lots of stretching and some heat. Door handle is a 10-footer. Respect for those who do this.
Sent from my Pixel 5 using Tapatalk
Comment
Comment